Rob would be the definitive answer, but I suspect this has to do with pockets that may contain uncut areas. It would be nice if the pocketting plunged the depth per cut and then continued from the current position saving the travel time, reversing direction to maintain conventional cutting, but that’s not likely.
Iirc CC doesn’t do rapids for retracts (been on non-CNC projects for the last few weeks) like Estlcam so that’s a potential simple improvement.
G1 retracts are a real pain for diamond drag engraving. Perhaps it’s overly conservative but I use a low plunge rate to protect the diamond, and high feed rate while engraving. Watching that bit slowly pull itself back up with the added spring compression distance gives a lot of time to think about how retracts could be better
I am using 513, although I think this problem is with all versions.
On a 3D roughing toolpath, if I edit the feed rate, the change does not stay.
For example, if I change the feedrate from 120 to 130 the 130 value is not kept. But there is something else going on here, it appears I may be able to edit this once, but never a 2nd time. I have to reselect the tool from the tool database then use my single shot at changing the value after selecting the tool.
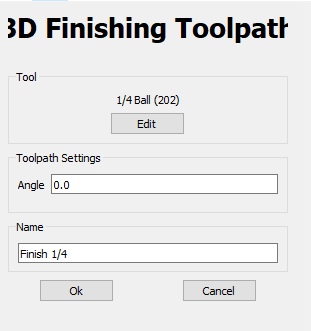
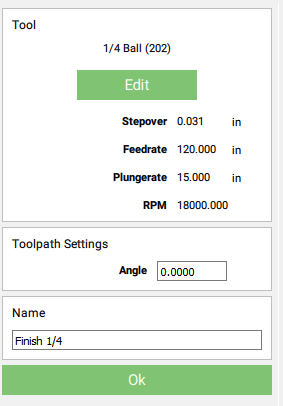
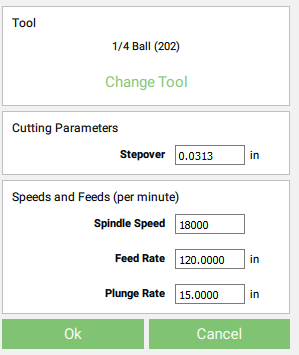
I am using 513, and not sure if this is a bug or not. On a 3D finishing toolpath, I was using the 1/4 ball (202) and when editing the toolpath, the only setting here is the Angle (just like version 474). But I don’t get to see the feeds and speeds, which I am fine with just (minor) loss.
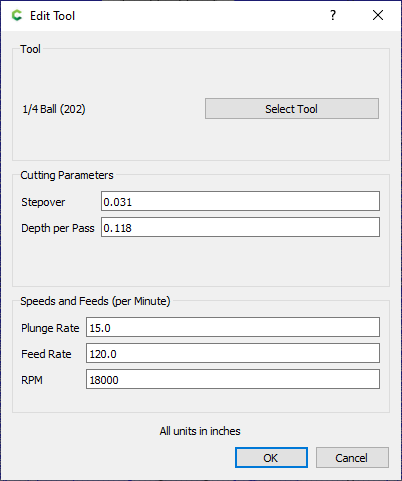
The interesting thing, and potentially bug is if I edit the tool I get the option to change the stepover, AND the Depth per Pass?
I do not know where the 0.118 value came from.
Comparing this to version 474, when editing the toolpath…
… and when editing the tool, no option for depth of pass…
… should I be able to edit a depth of pass on a 3D finishing toolpath?
I tried changing the value and did not see any change in the simulation.
Now using 514, stumbled on something else for you to look at.
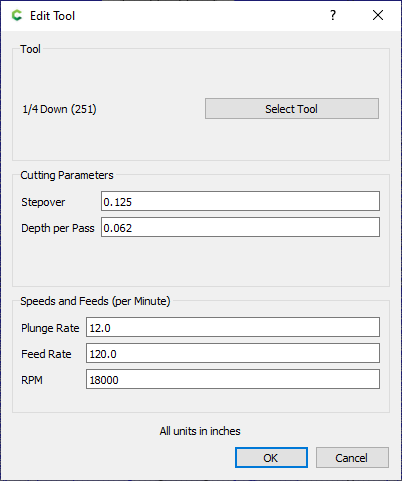
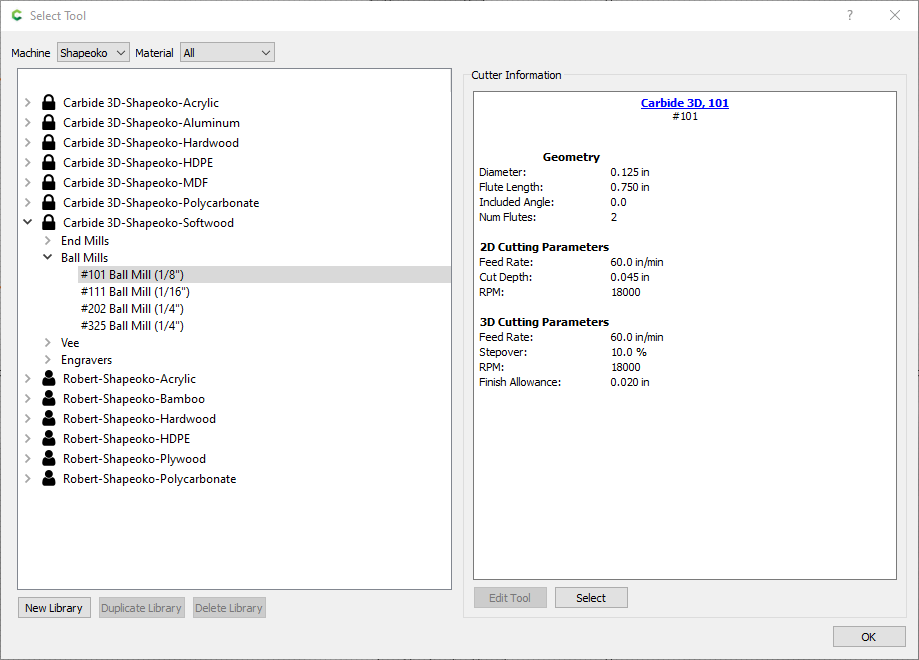
I was creating a 3D finish toolpath, when I got to the point where I was selecting a tool, I choose the #101 Ball Mill. Notice in the tool database it has a 10% stepover setting for 3D cutting.
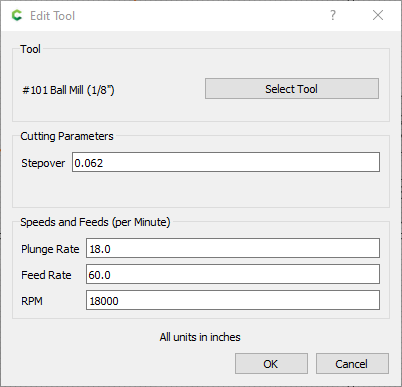
But after selecting the tool, the cutting parameters say it is going to use a 0.062 stepover. Which is not the expected 10% of a 1/8th (0.0125).
And while I realize this is probably not needed, the OCD in me REALLY wants to see at least one more decimal place on all these parameters. So 1/16 can be 0.0625 instead of .062. Probably never makes a difference but my OCD doesn’t always listen to logic.
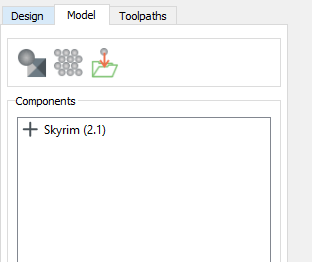
I’ve been working on a topographic map and I found something you might want to look at. I had already imported two layers/components, when I was importing a third (the number probably isn’t important).
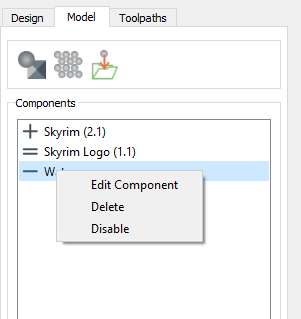
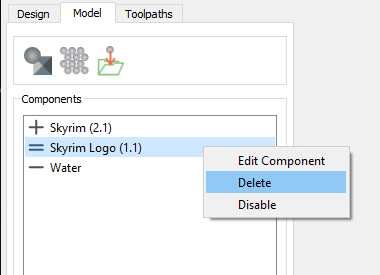
I didn’t get the result I wanted, so I tried deleting the third “Water” component.
I right clicked on the “Water” component, selected Delete…
… and that deleted the “Water” component, but it ALSO deleted the component above that one.
After reloading, I experimented by trying to delete the 2nd of 3 layers…
I have tried several different ways to reproduce. I’m not using a map, but with general objects, I’m not getting the same results. Things are behaving as expected.
Hopefully Carbide 3D can figure out whatever unique thing I did to cause this problem. For me it is 100% repeatable on my topographic map, but the problem does not happen when I tried creating a simple project to demonstrate the problem.
Texturing tool paths don’t seem to be working very well. Start depth seems to be stuck at top of stock. And I guess the min/max setting for the texture now is determined by the start and stop depth (like a contour or pocket path)? They used to be separate inputs. Build 514.
edit: yeah, that depth start separate from min/max was pretty useful. Seems we can no longer set the start depth on a texture…