I upgraded to the new Carbide Motion 611. It is certainly different in some good and some bad ways. The first good way is you set up your machine first thing and the BitSetter position. That is good. The bad for me is the position where the machine rests after the BitSetter is closer to the BitSetter. I liked the center position but I guess I will get used to it. Another good thing is the homing seems faster. I guess they increased the travel speed. The bad thing is I broke my Jtech laser mount before I got things set up right. That is not C3D’s fault but mine but it is still broken. My laser mount was on the left side because of dust collection in the center of my HDZ. There are more warning messages when you first start about zeroing, more of the same, but a new one warning you not to change the bit during jogging. I would like to suppress those messages if you dont want them.
I am running a job right now and things are running smoothly. The job is a maple male inlay and things are progressing smoothly so I guess there is no real change to the actual running a job.
I just think it will get some getting used to with the new rest position but I had to rearrange the front of my machine because I have a plastic tray that catches bits if they fall from the router when changing/inserting bits. Onward and Upwards, I guess.
Here is my inlay all trimmed up.
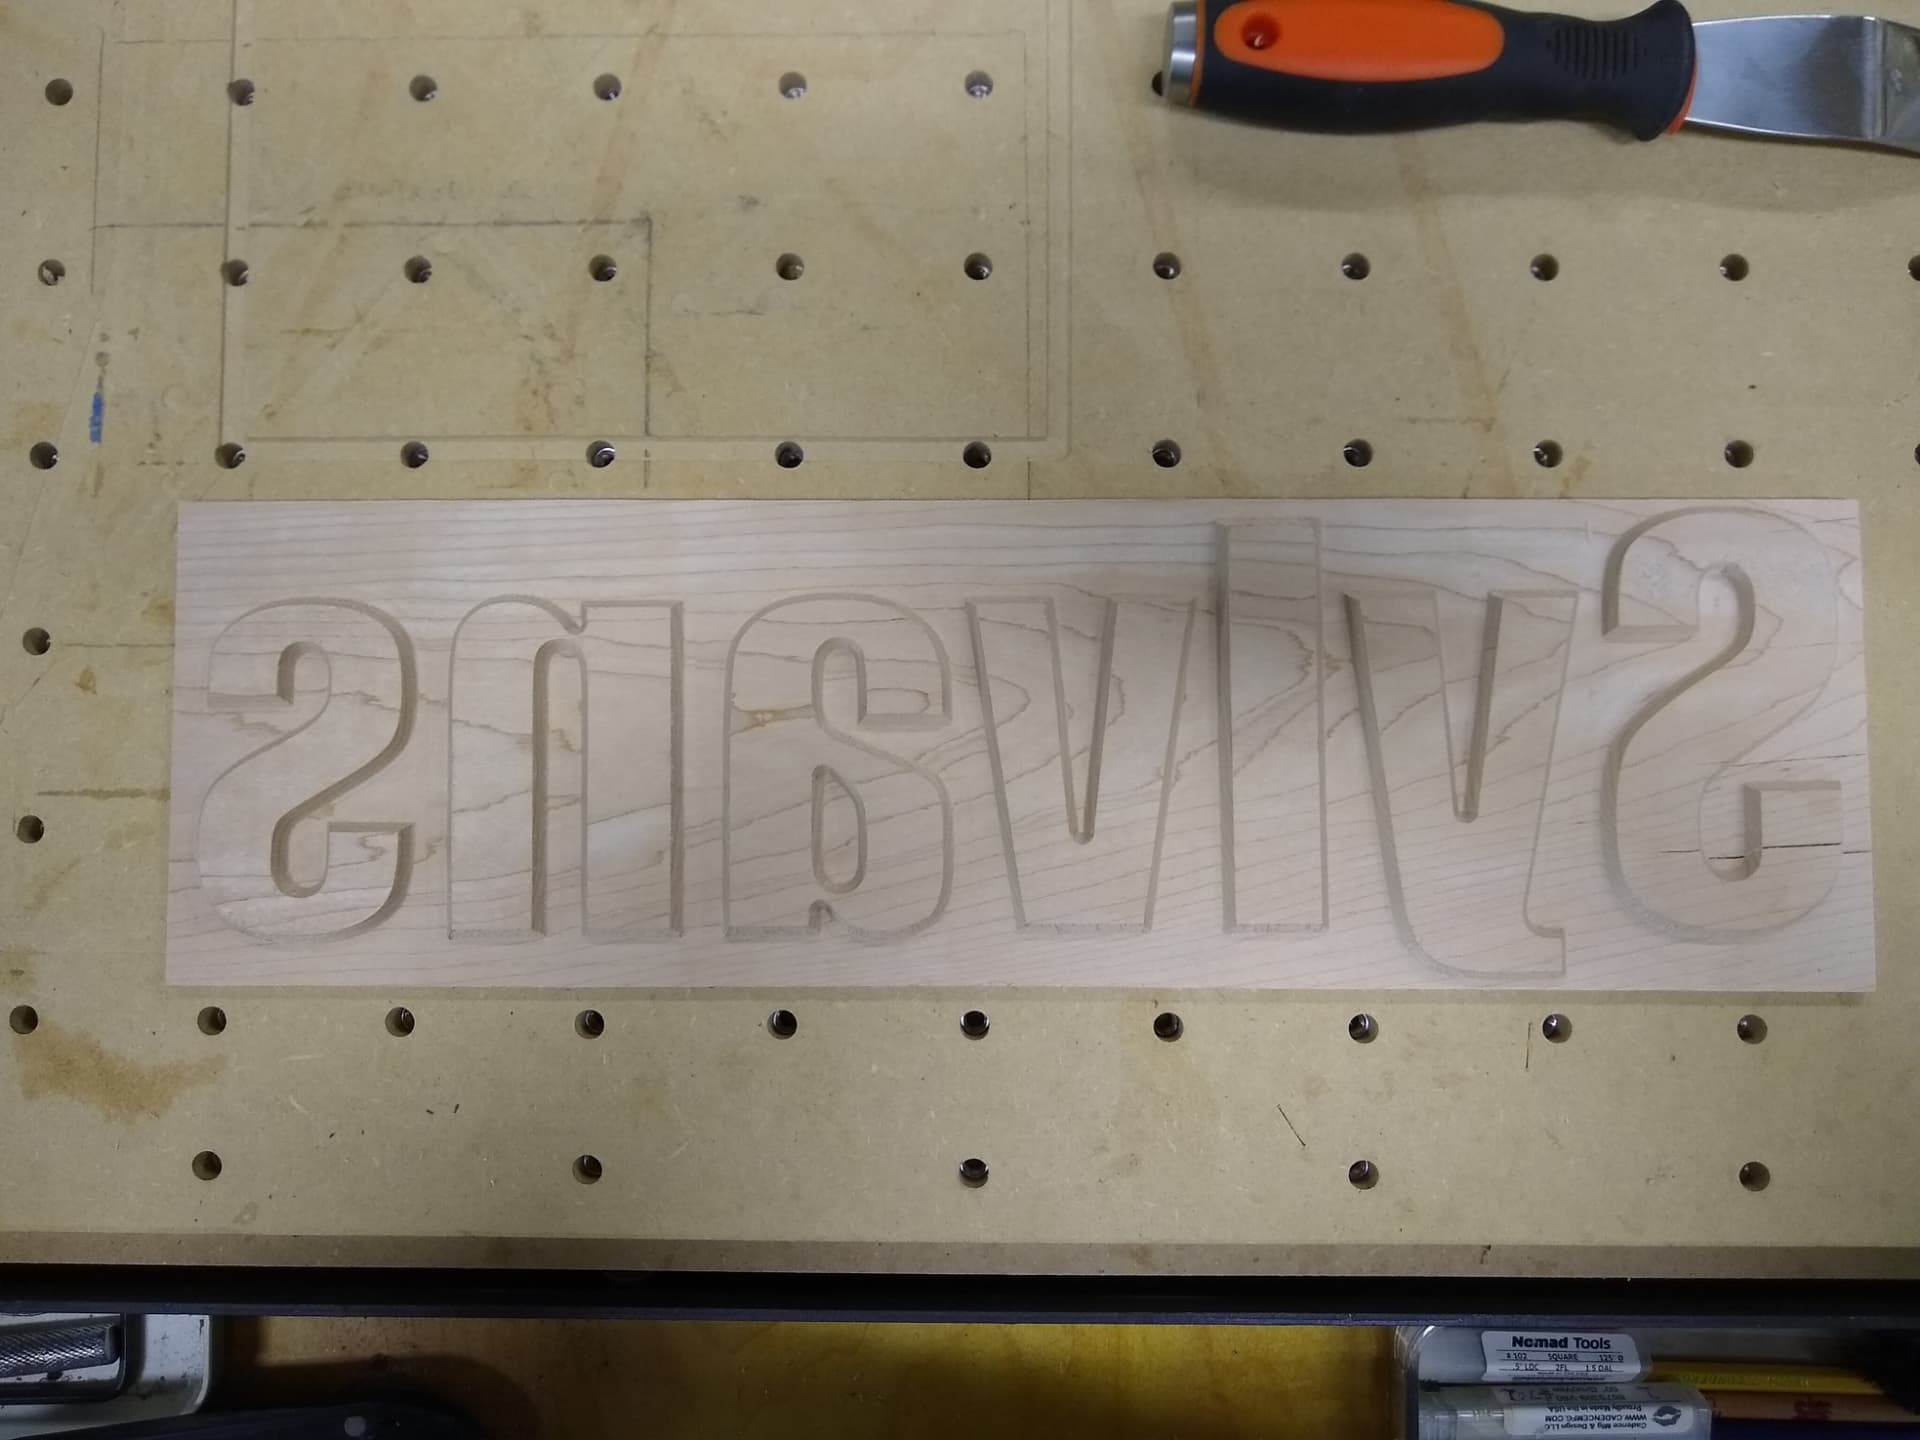
The maple has a crack on the right hand end but I think it will be ok once I get it pressed into the female pocket. If not I will fill it with some putty. Things happen.
The picture is right off the machine with no touch up. I used the 60 degree Groovee Jenny down cut vee bit and a new Yonico 3/16" down cut bit. Pretty smooth and I dont think I need to touch it up.
I used the Inlay mode and cut the vee first. Originally I was going to use the #102 for the clearing but that took too long. I was going to use the #251 but that would not get up in between the letters. The vee bit would clear it but takes forever and is rougher due to the nature of a vee bit. The inlay was .2" deep and 0.02" bottom gap. I will cut the female pocket next and report back the results.