OK, so I make custom sculpted rocking chairs. I would like to carve different things in various locations on a couple of these chairs, primarily the headrest. The headrest has a convex curve of about 20 degrees across its length. How do I convince my CC version 8 pro to do this? Thank you
Are you cutting out the curve or steam bending the piece? If you steam bend then just engrave before bending. If you are cutting the curve out then you will have to 3d model what you are wanting to carve. I have seen people on her take a thick piece of stock and carve out a curve but I do not recall anyone cutting a scene into a curved piece of work. I am by no means a 3d expert but perhaps someone with more 3d experience will jump in. (I am sure they will).
3 Likes
You can do this with two Model objects. I’ve fiddled with this a bit, putting a cameo face on a convex background. Here’s a quick sample of what I’m on about:
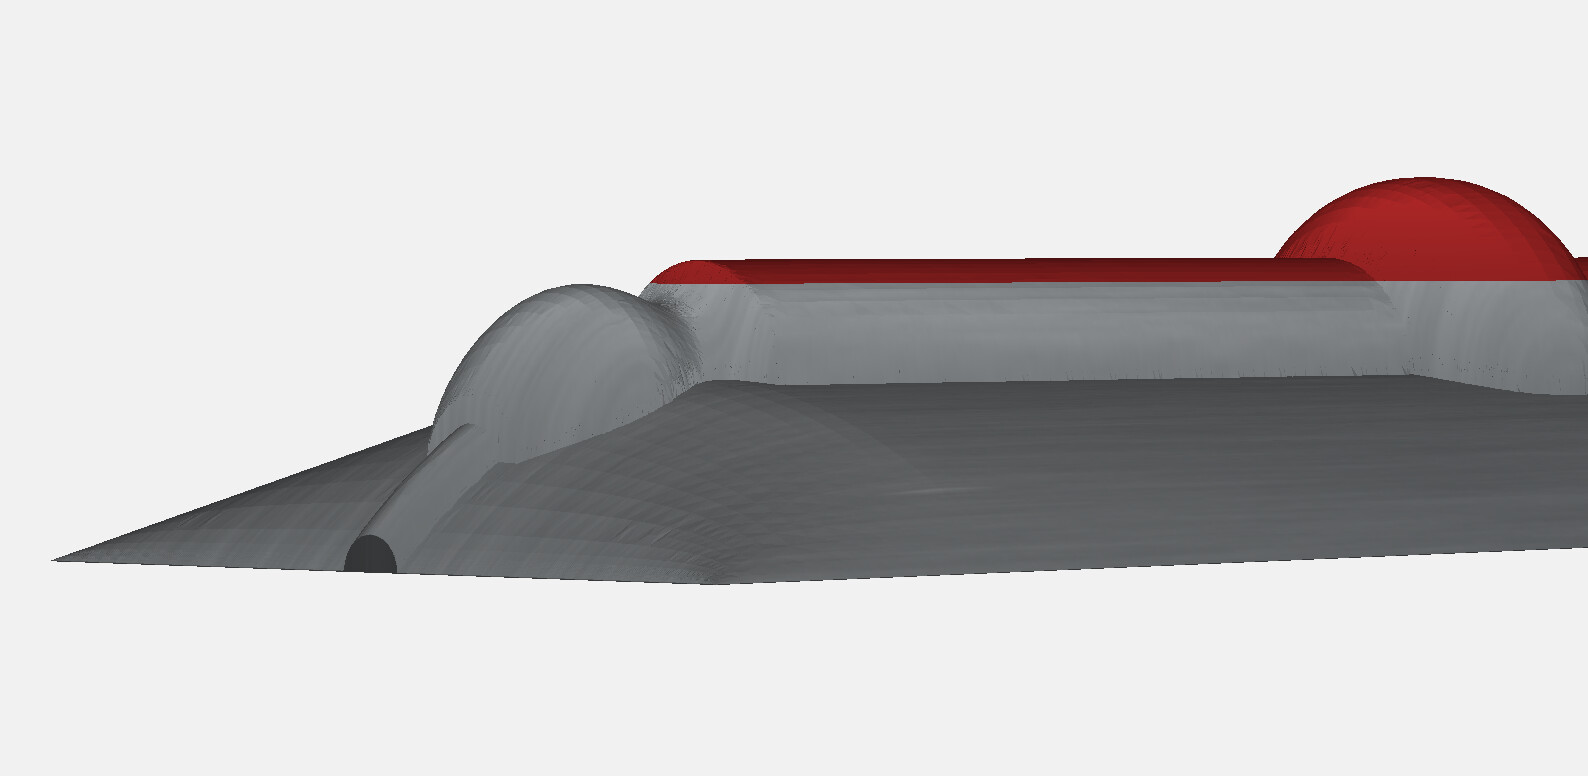
The object on top is just a current project of mine, by itself it is straight as if off a lathe. This object is then warped (Added) to a CC built-in shape (‘Round’). Of course that shape should be concave only along the X for you. The built in object is flat most of its width so doesn’t mimic your situation except near the edge.
The first step would be to model your curve either as an STL or a depth map. This would be face-on just as you would view the carving and would appear as a gradient left to center to right. Left and right would show the same value, the center would be lighter. Make the Merge type ‘Equal’.

Put your model to be carved on top of this (place below in the Model pane), Merge type ‘Add’ or ’Subtract’.
This would likely require a lot of trial and error, especially to model the gradient for the curve properly. That said, you have a parameter in the Model pane, Height, to help set the depth of the curve. You would maybe need to tweak the falloff of the gradient in whatever program you use to generate it. (Affinity will do this, I think it’s still free.) Then there’s the usual trial and error to get your model at the right depth.
I’m assuming you already have some facility with carving in CC Pro. The basics for that are covered elsewhere on the forum and on the Carbide site.
2 Likes
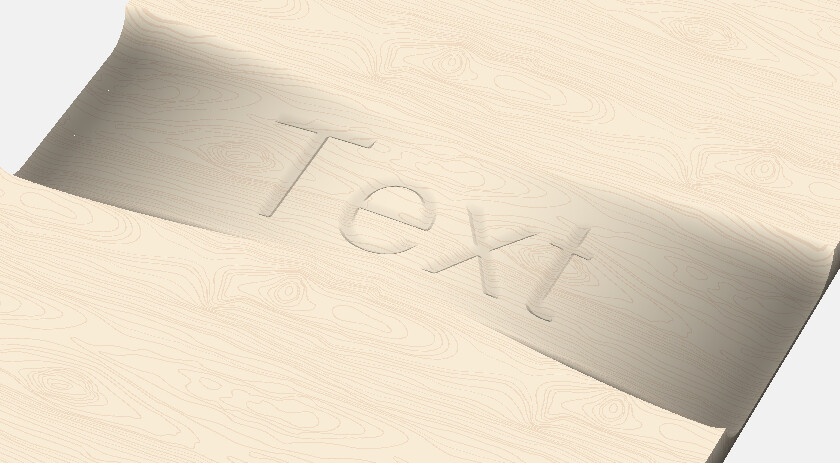
Assuming your chair back is something like the cross section, this example is 8.5" wide with a 1/2" rise in curvature. I can model this using the large oval with these settings to get 1/2"
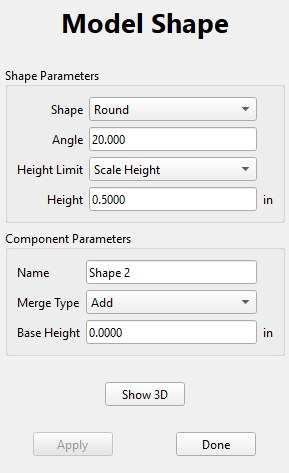
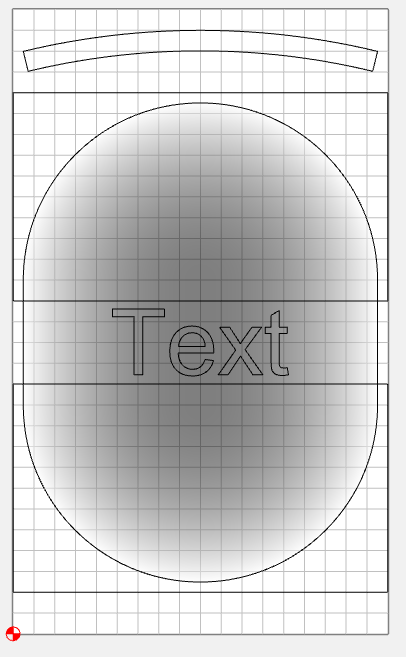
Then I model the detail into that shape. I just used a text object
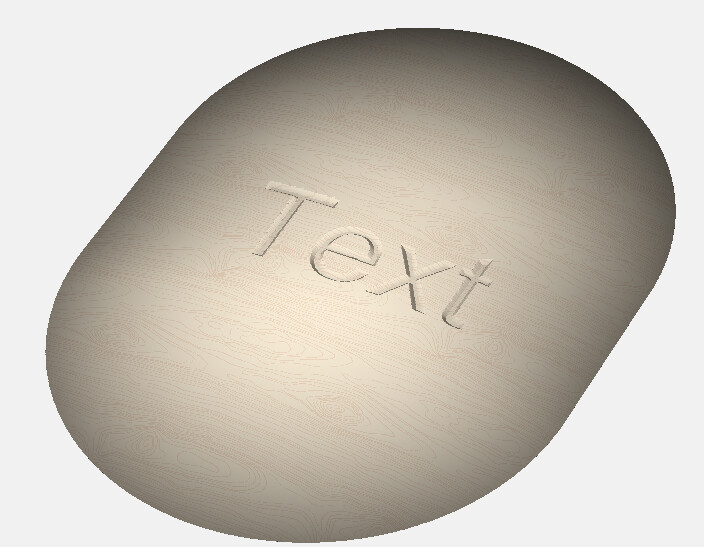
I subtracted the ends just to make it look right. It’s not necessary for machining
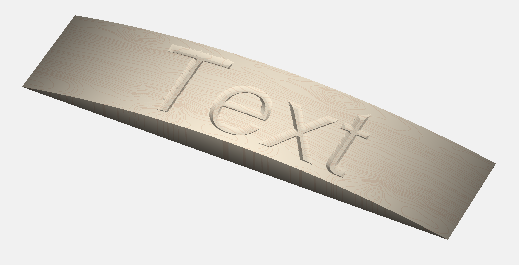
I machined the whole piece with a 1" ball so you can see the engraving, then machined only the text with a 1/8" ball. I would just use the 1/8" path on the machine.
6 Likes
Thank you for the information
Thank you for the information!
Well ok I guess I’ll do it this way. Thank you all for the information! I’ll try out each of these techniques. My Headrests are coopered to start the shape with the sides of each piece cut at 4 degrees. The curves along the x axis and top and bottom y axis are cut on the bandsaw. Then it is cut to length to fit between the back legs, lengths vary with each chair.
Well as I’m writing this, I’ve discovered it’s a moot point. The x axis shape leaves the piece too tall, at about 5". The gantry won’t safely clear the ends so I’m outa luck. But I’ll see if I can apply your information elsewhere.
Which machine? Can you remove some slats or spoilboard to get more room?
1 Like
…makes it sound like you are cutting the front of the headrest, the concave side???
If so, turn it 90° aligned along the Y axis, so the higher ends aren’t in the way.
3 Likes
Oh, you are correct! I wrote that wrong. Concave front is what I’m wanting to do. I can do the alignment the way you suggest and manually set zero. But when I start the job, I believe the gantry will hit when it rides forward for the bit change. Is there a way around that?
Turn off the bitsetter & don’t do a bit change. 
Use a post that doesn’t output M6 T#
Set the zero manually, and leave the gantry in the middle.
Verify that the back of the gantry will still clear when cutting the back of your detail.
3 Likes
I’ll give it go! Thank you