All very good reasons, but for the application of a wall hanger, one would have to get purty close to see those tool marks. (I have actually had a “guest” do something like that! Haven’t we all? )
You could add a path at 90° to make a visible cloth pattern, but then you’ve doubled your production time doing it.
Maurice, you’re gonna have to brace up that wall when you put this all together!
That stepover of 0.010" is showing in the close shot, but with a light sanding on the vertical surfaces it will be just fine. In its basic form, its a wall covering. (But what a wall it will be!)
Wow! The grain pattern on #1 is so fine. Put a drop cloth on the floor and do the mix-and-match thing to get those panels in some matched order. I’m thinking that you’ll need to be careful to apply the finish en masse so you don’t get a checkerboard look.
+1
PS. Be aware that your cut blocks can start warping after the cut. Heavy weight will hold them back some, but you’ve just opened up that whole surface to new humidity.
Tex, you are always on point. No doubt that opening that surface is dangerous, especially that there’s 2 boards glued together to get that 14” width I wanted.
The secret sauce of planing wood is removing an equal amount on each face for moisture release. When I planed each board, I kept this rule knowing the top face would get the most removed during the CNC operation.
But still, all that does go out the window with the new cut surface. I’m just glad I live in CO Springs as it’s dry as heck here. Funny story, at the wood store I brought my moisture reader and found the driest boards I could find for this one, the guys at the wood store looked at me funny buying a bunch of warped and cupped Cherry over the prime
For the finish, I dialed in my Ferric Nitrate solution for cherry. It’s going to be a nice dark stain on this one.
I’m still working my way through all these panels. I have a handful left, but looking to push to completing this week.
In the meantime, I pushed a how to video doing 3D toolpath generations with Fusion360. Not too many of these video’s out in the wild of YouTube, so decided I would share. Note that my mic just didn’t want to cooperate.
Just use satin and not get the shinny gloss. People have told me that craft show sales people like shinny and in particular women. Personally I dont like shiny gloss so I almost always use satin.
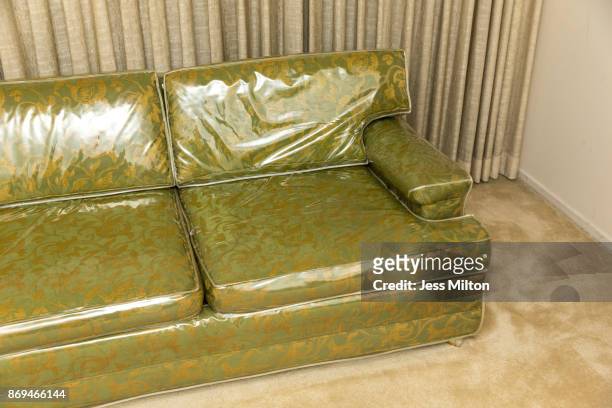
For those too young to remember their grand parents putting plastic covers on their furniture here is a blast from the past.
In some ways the god awful materials they used to put on furniture in the 50’s and 60’s the plastic helped tone that down.
That looks great! You can say you have a piece of fine furniture on the wall!
Curious about your mounting it to the wall. I think I’d frame the edges for sure. Perhaps a frame that you could screw onto the back of these pieces to hold them without glue. I’m thinking the frame then is what you screw to the wall; around the perimeter.
Leave enough screw hole diameter in the frame so the pieces can move. (They will move.)