Carved Capitone Leather Panel for Box

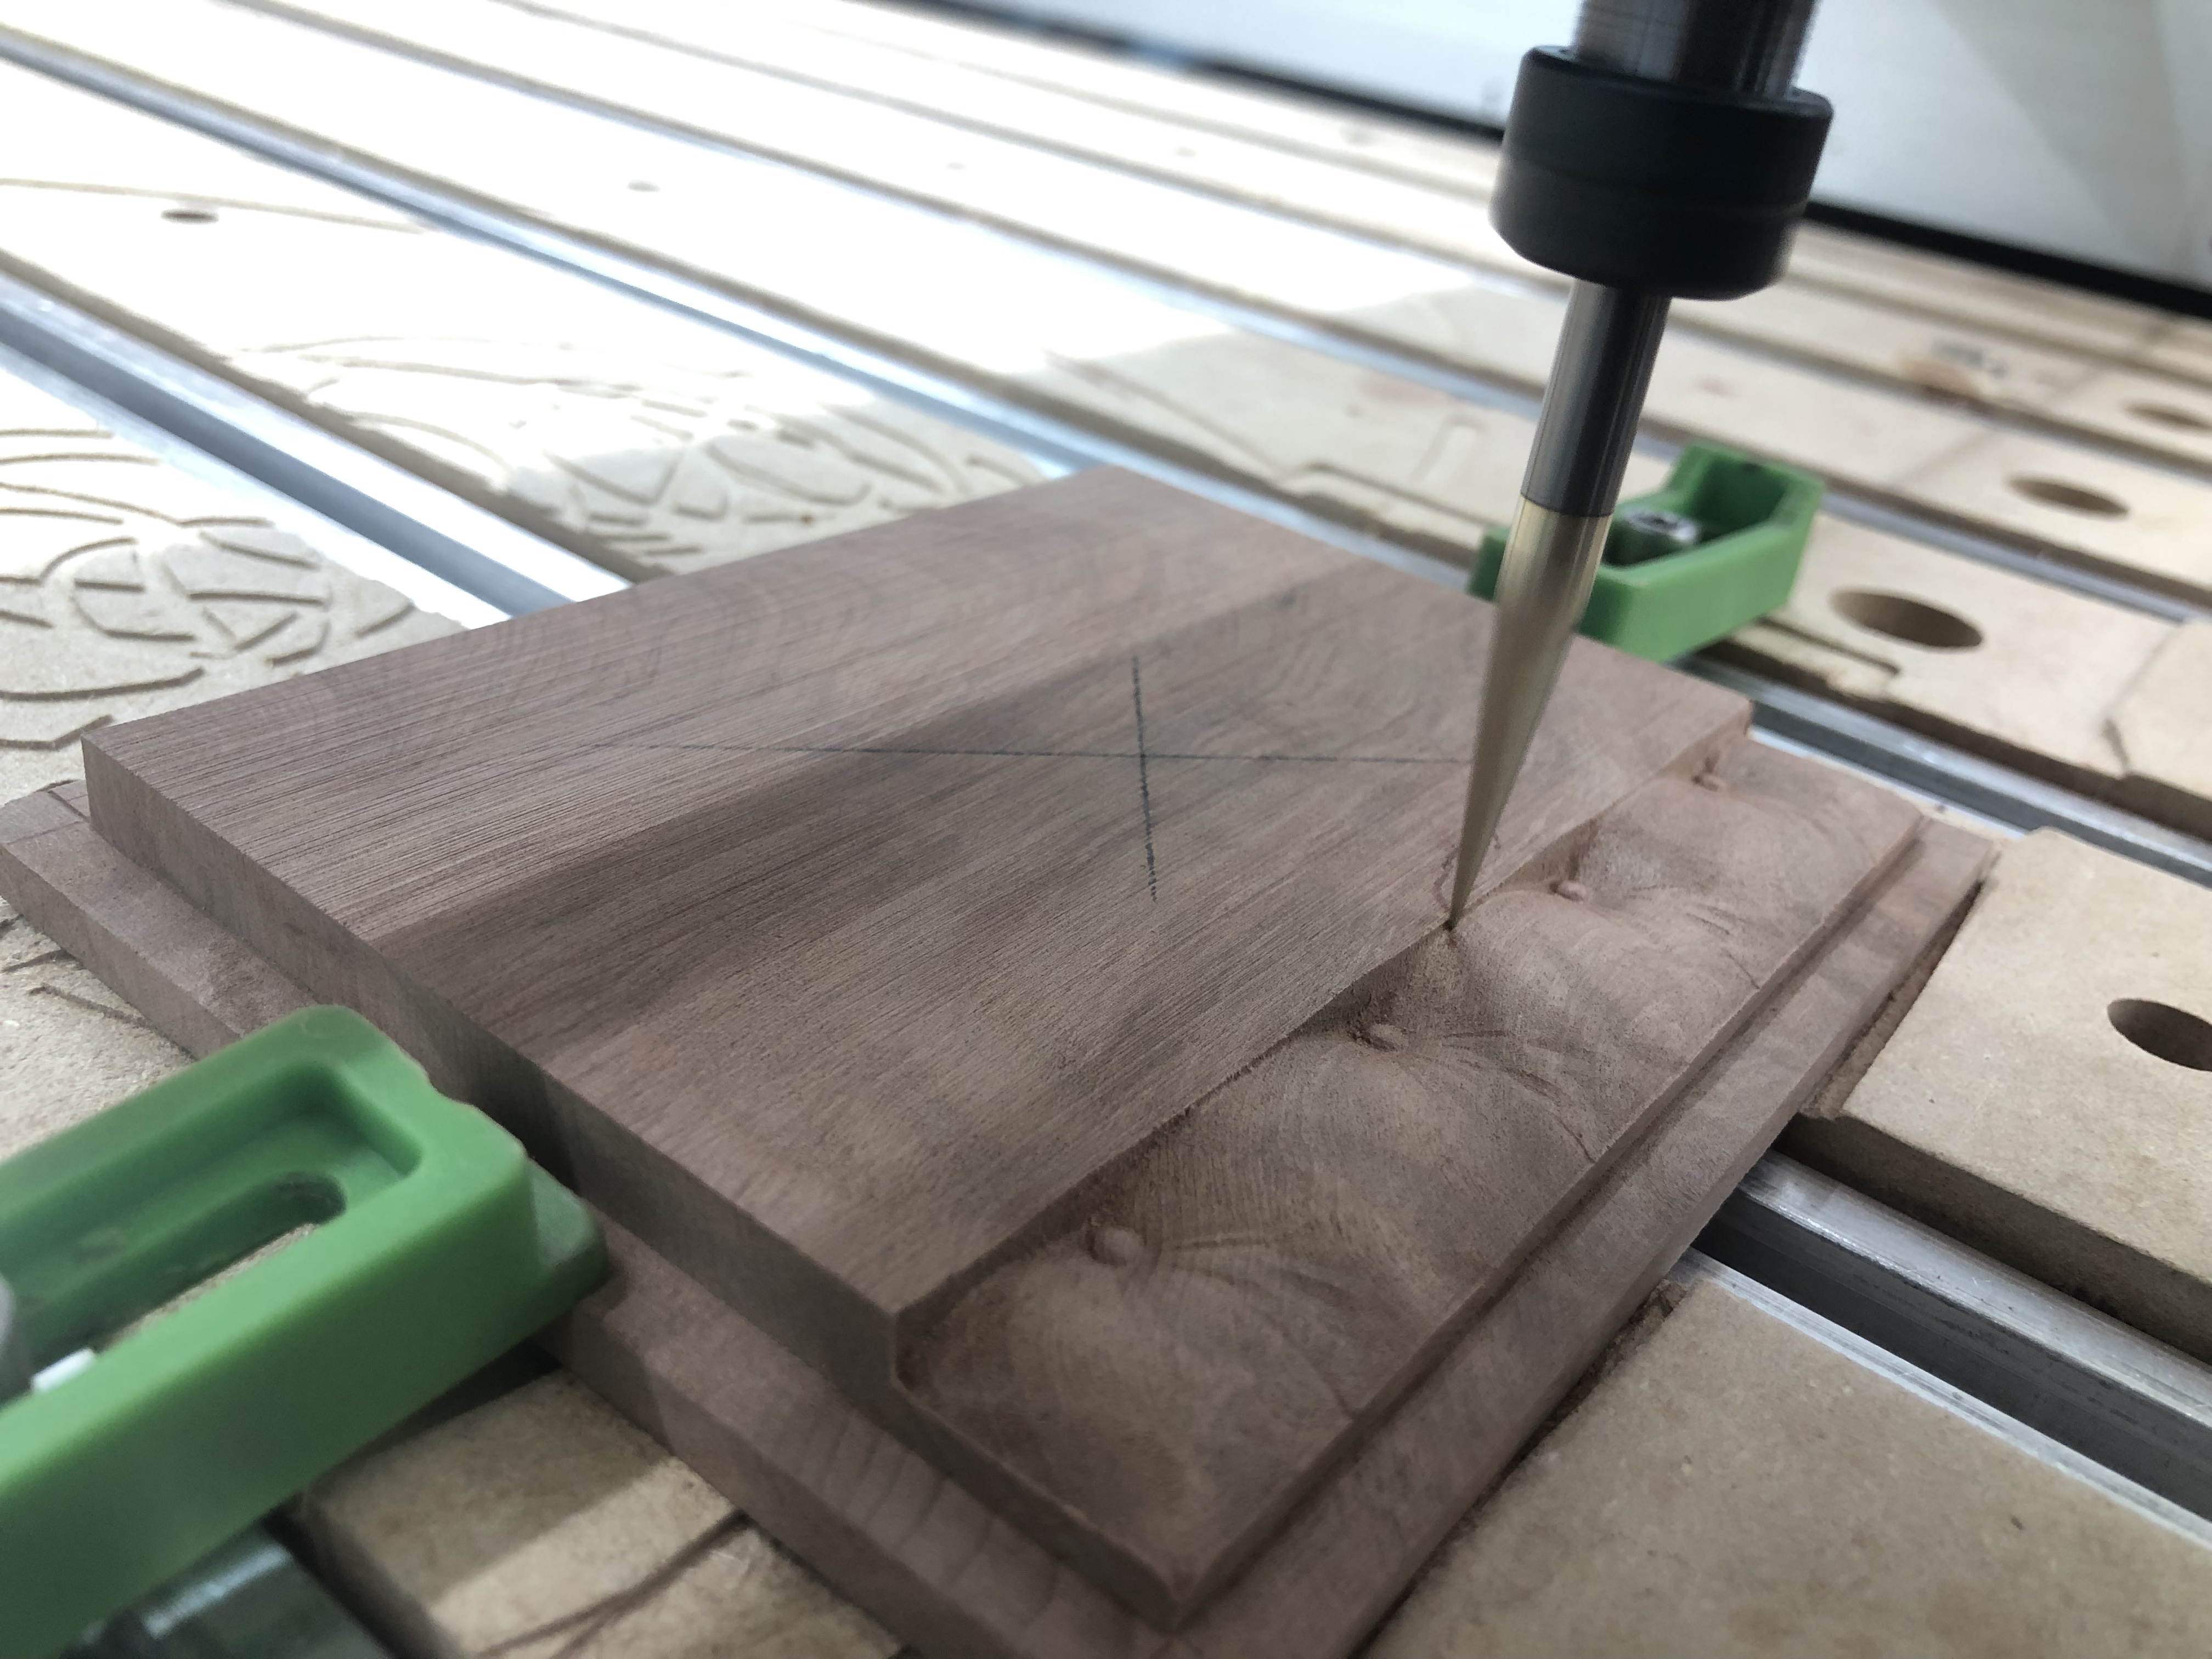
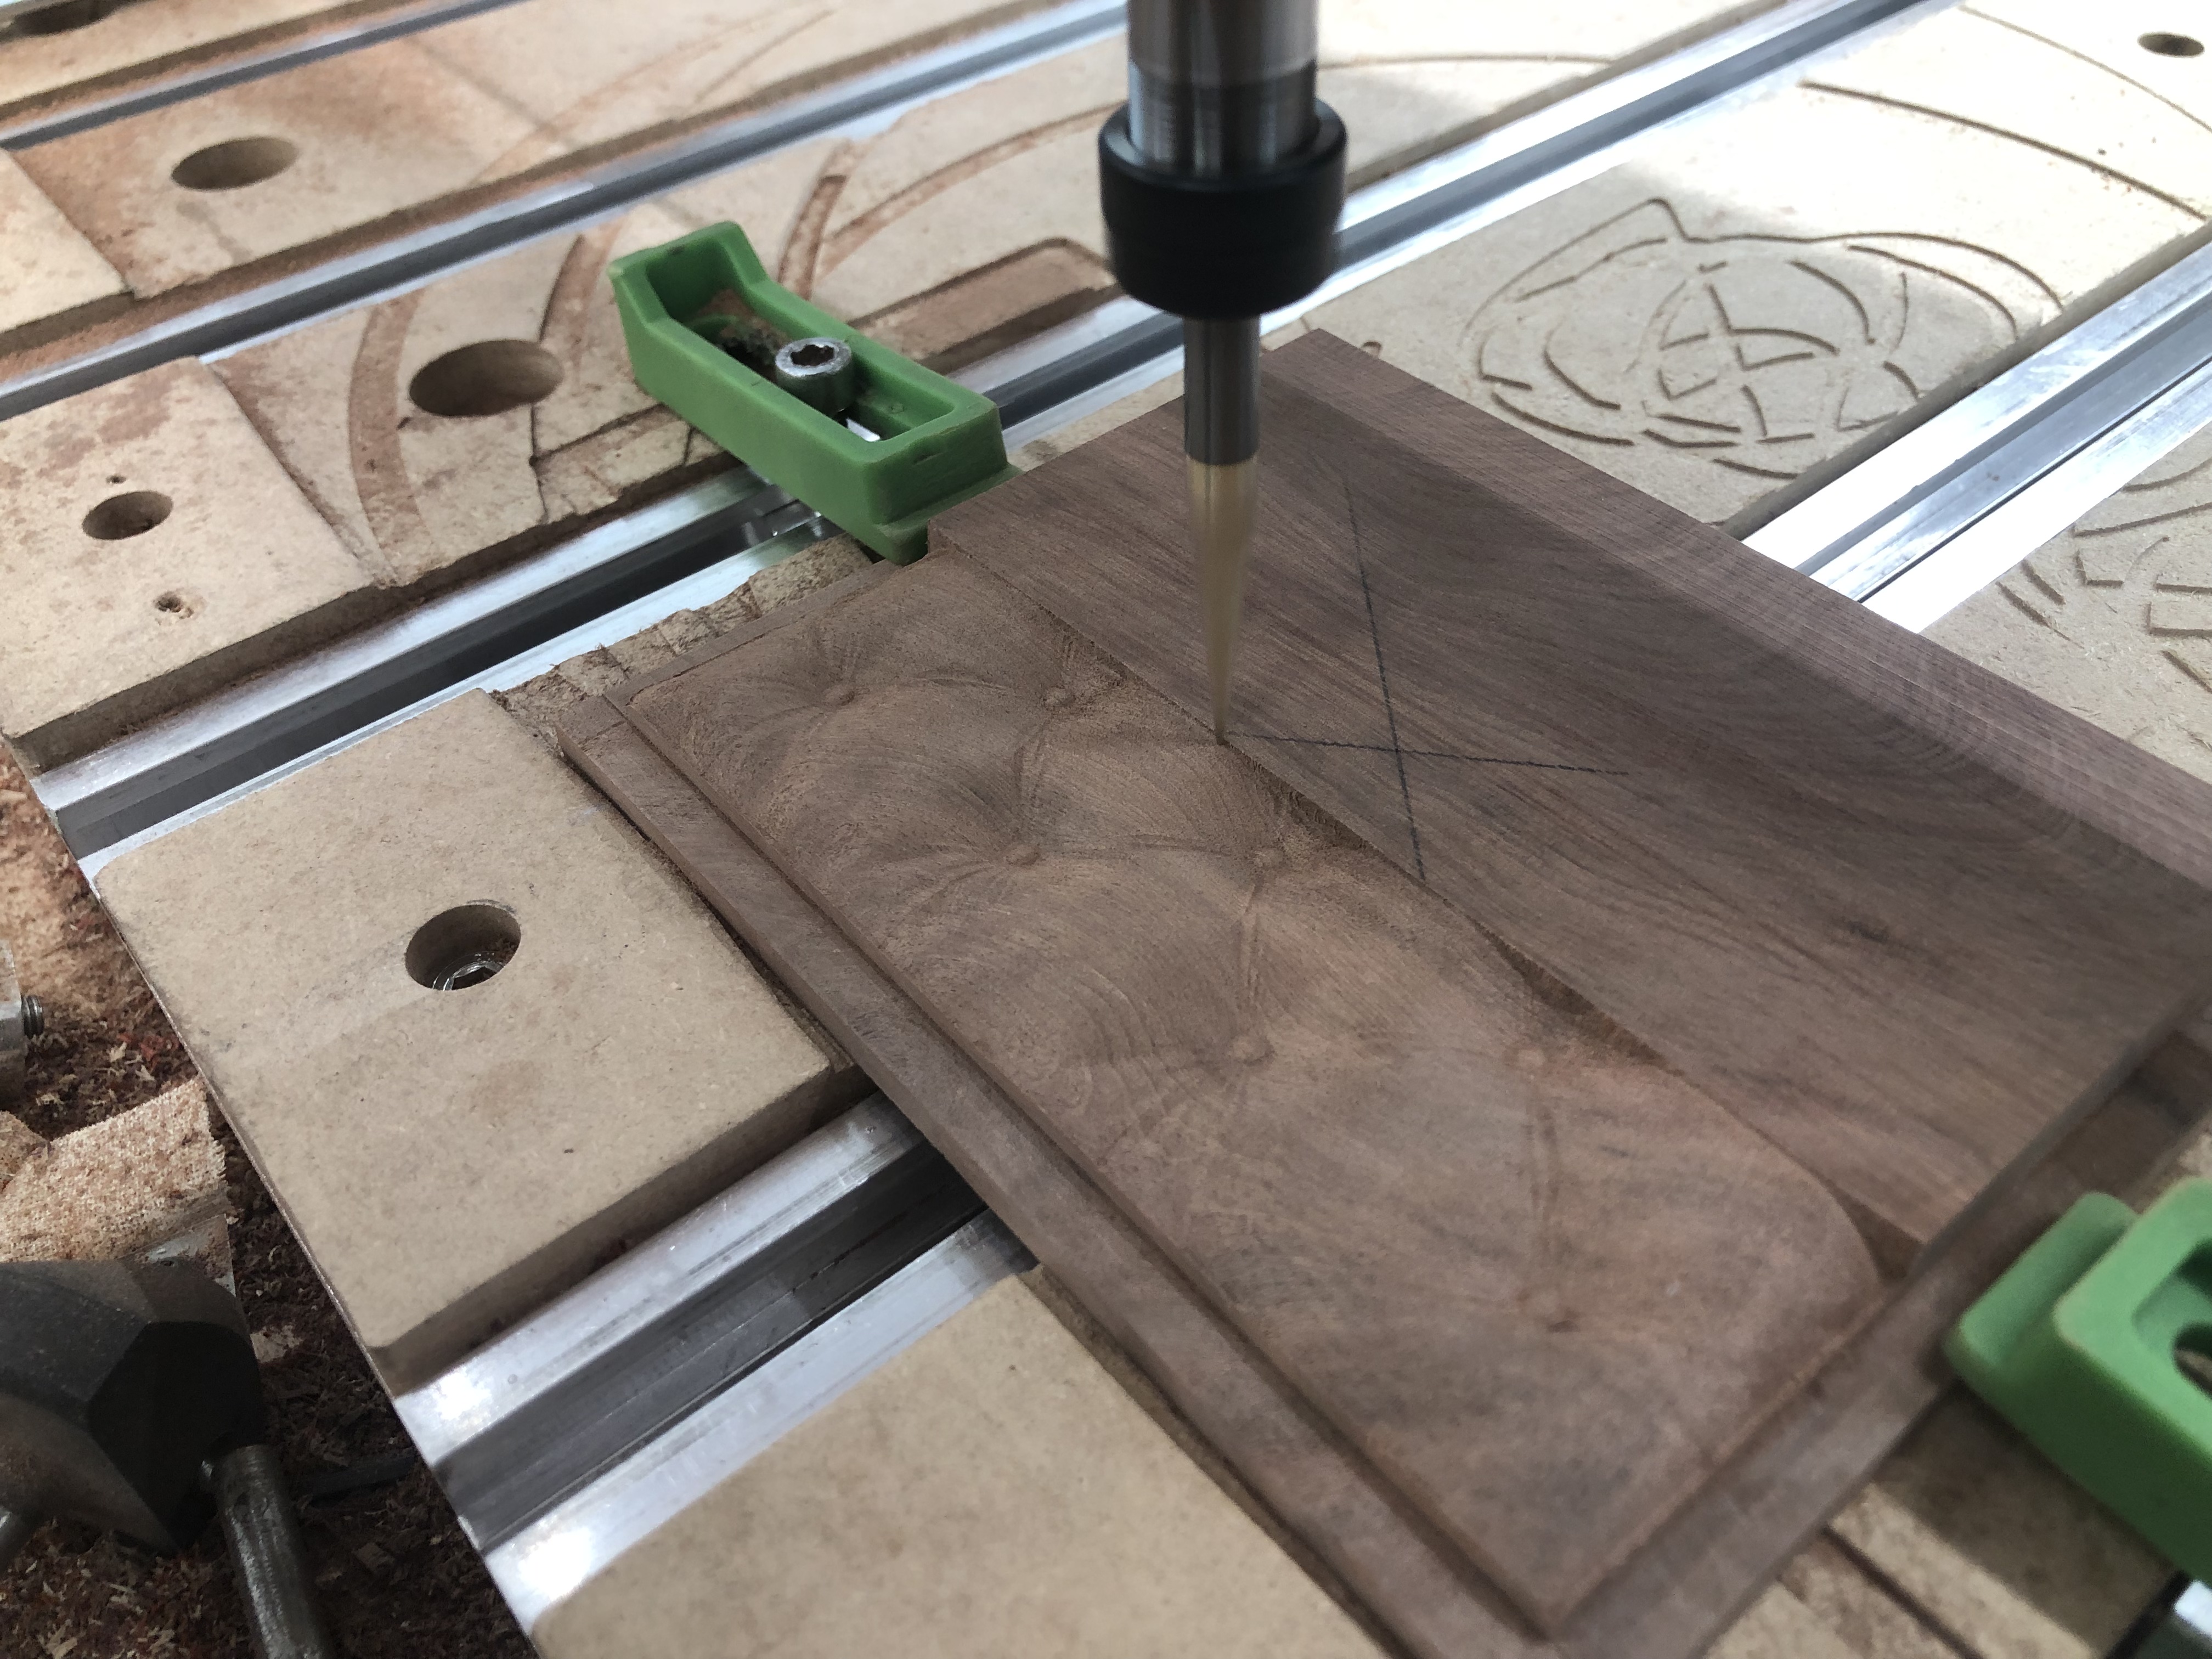
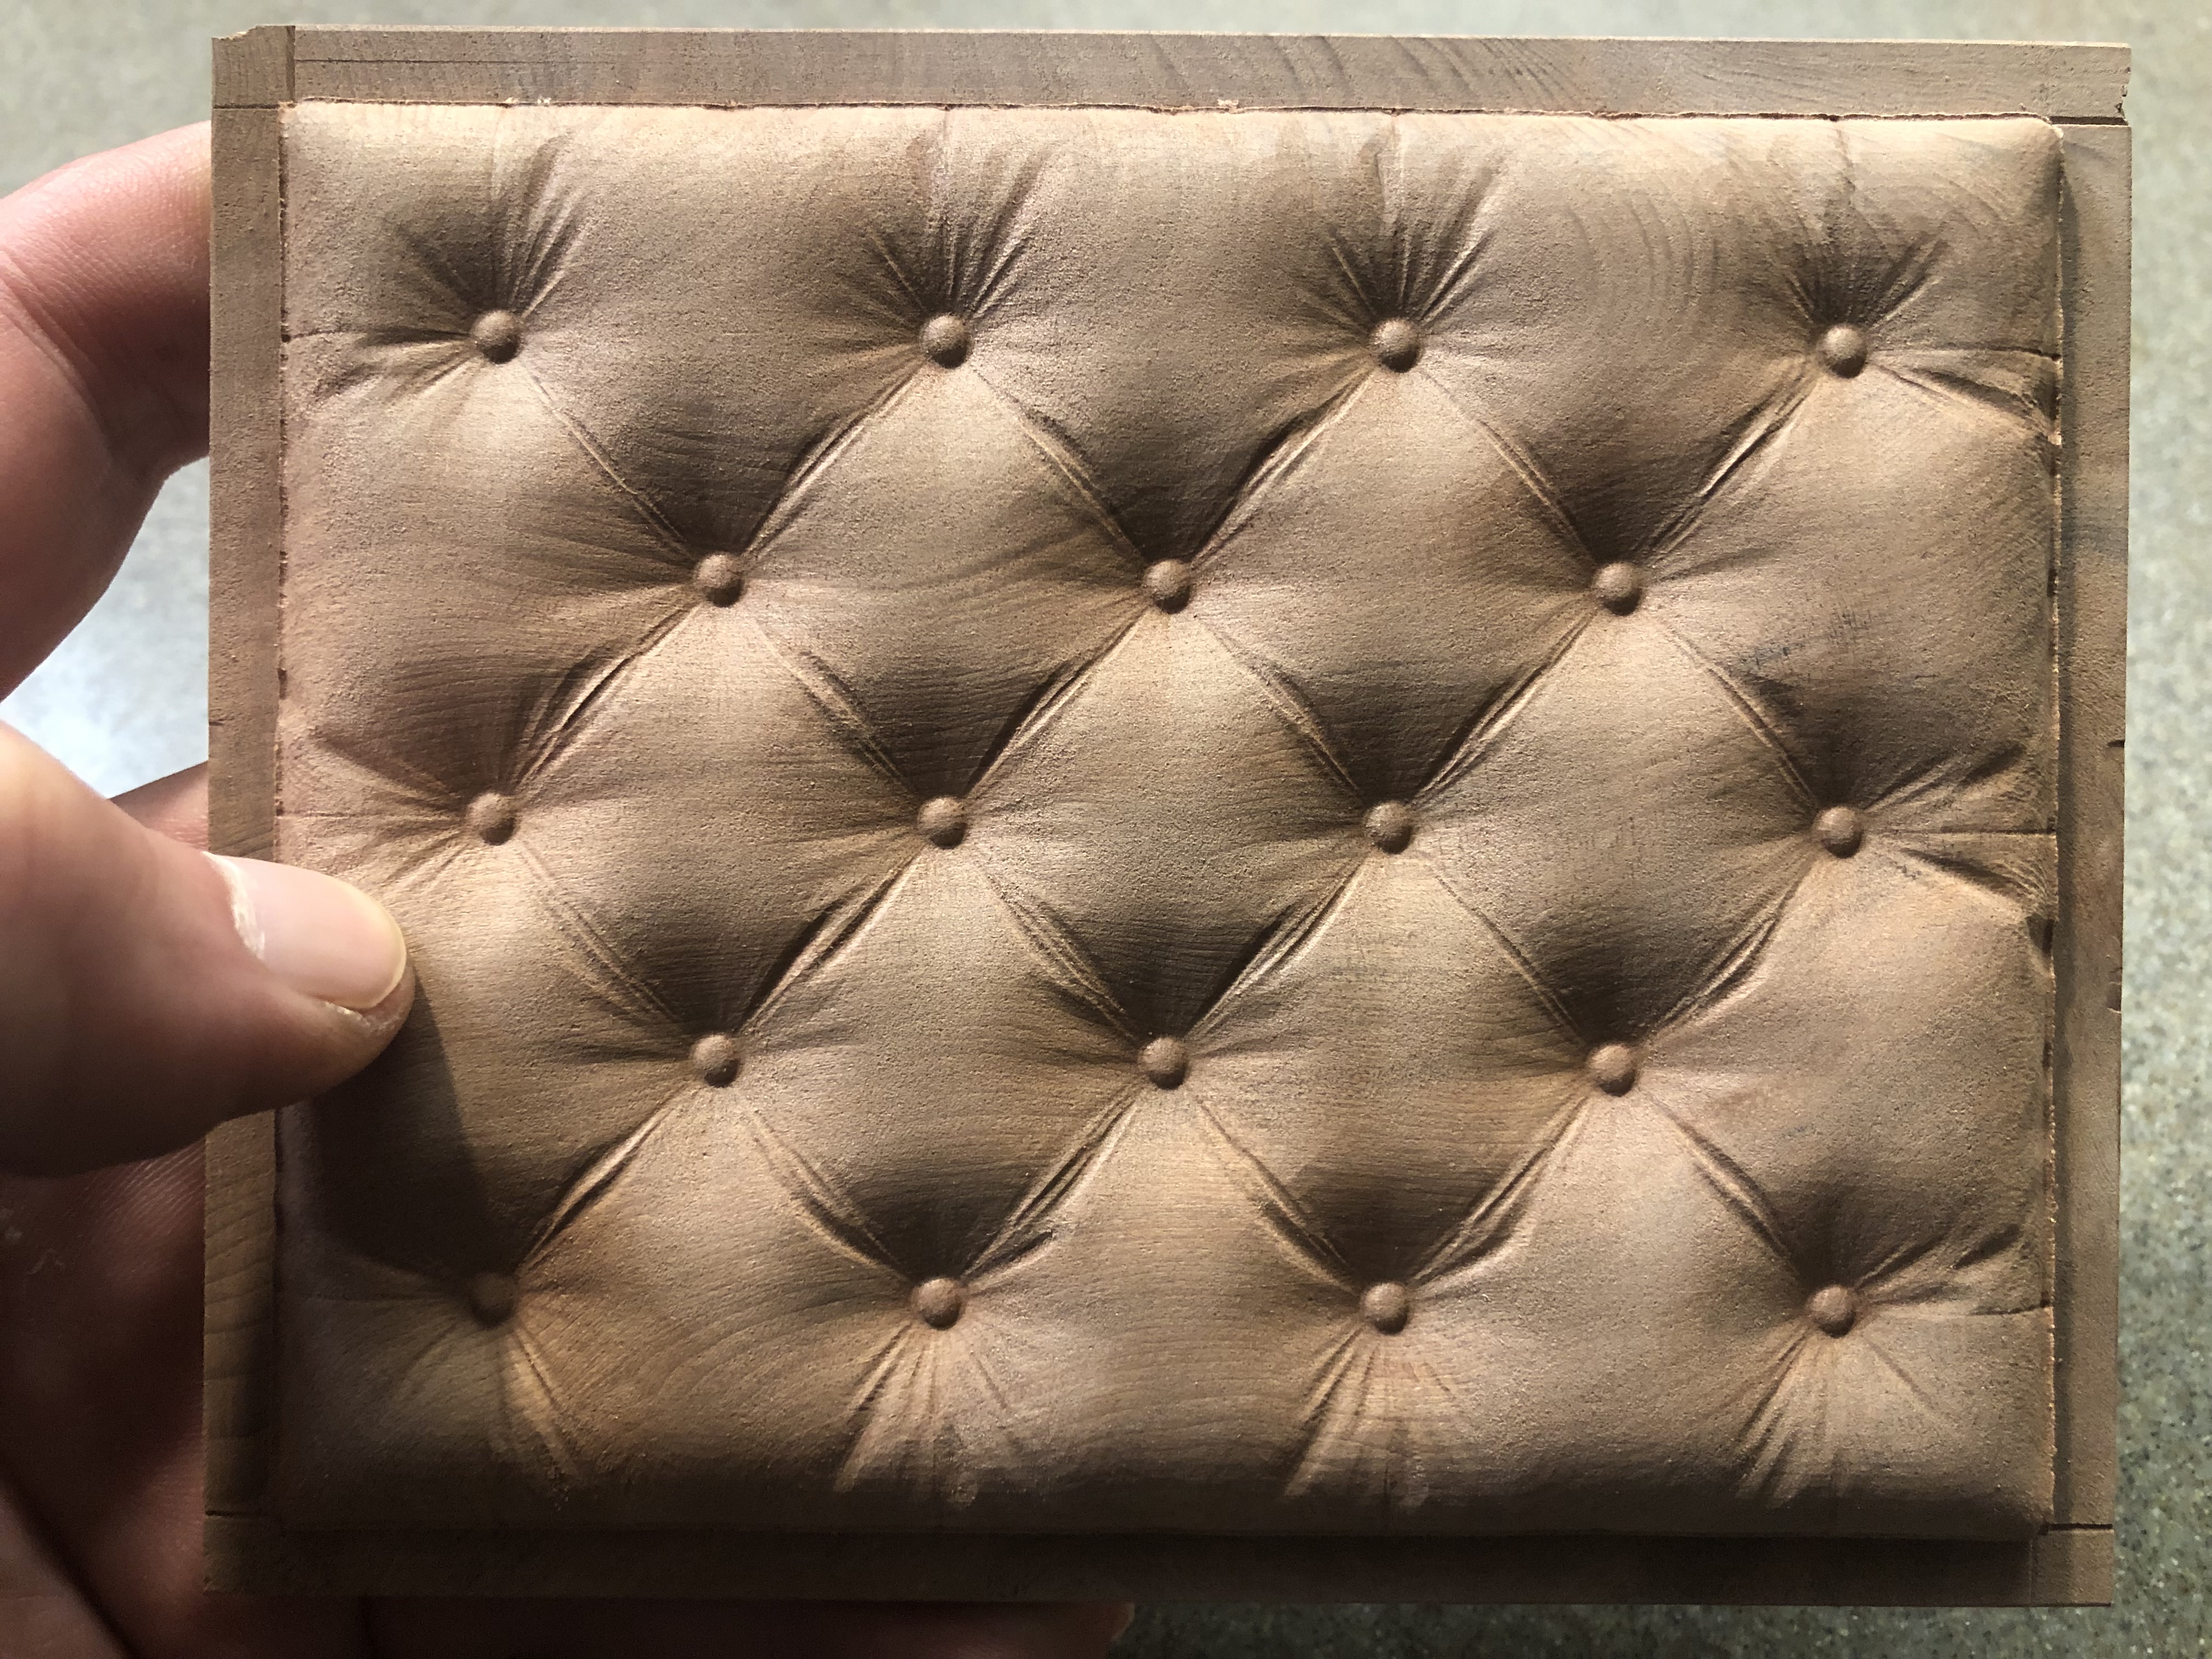
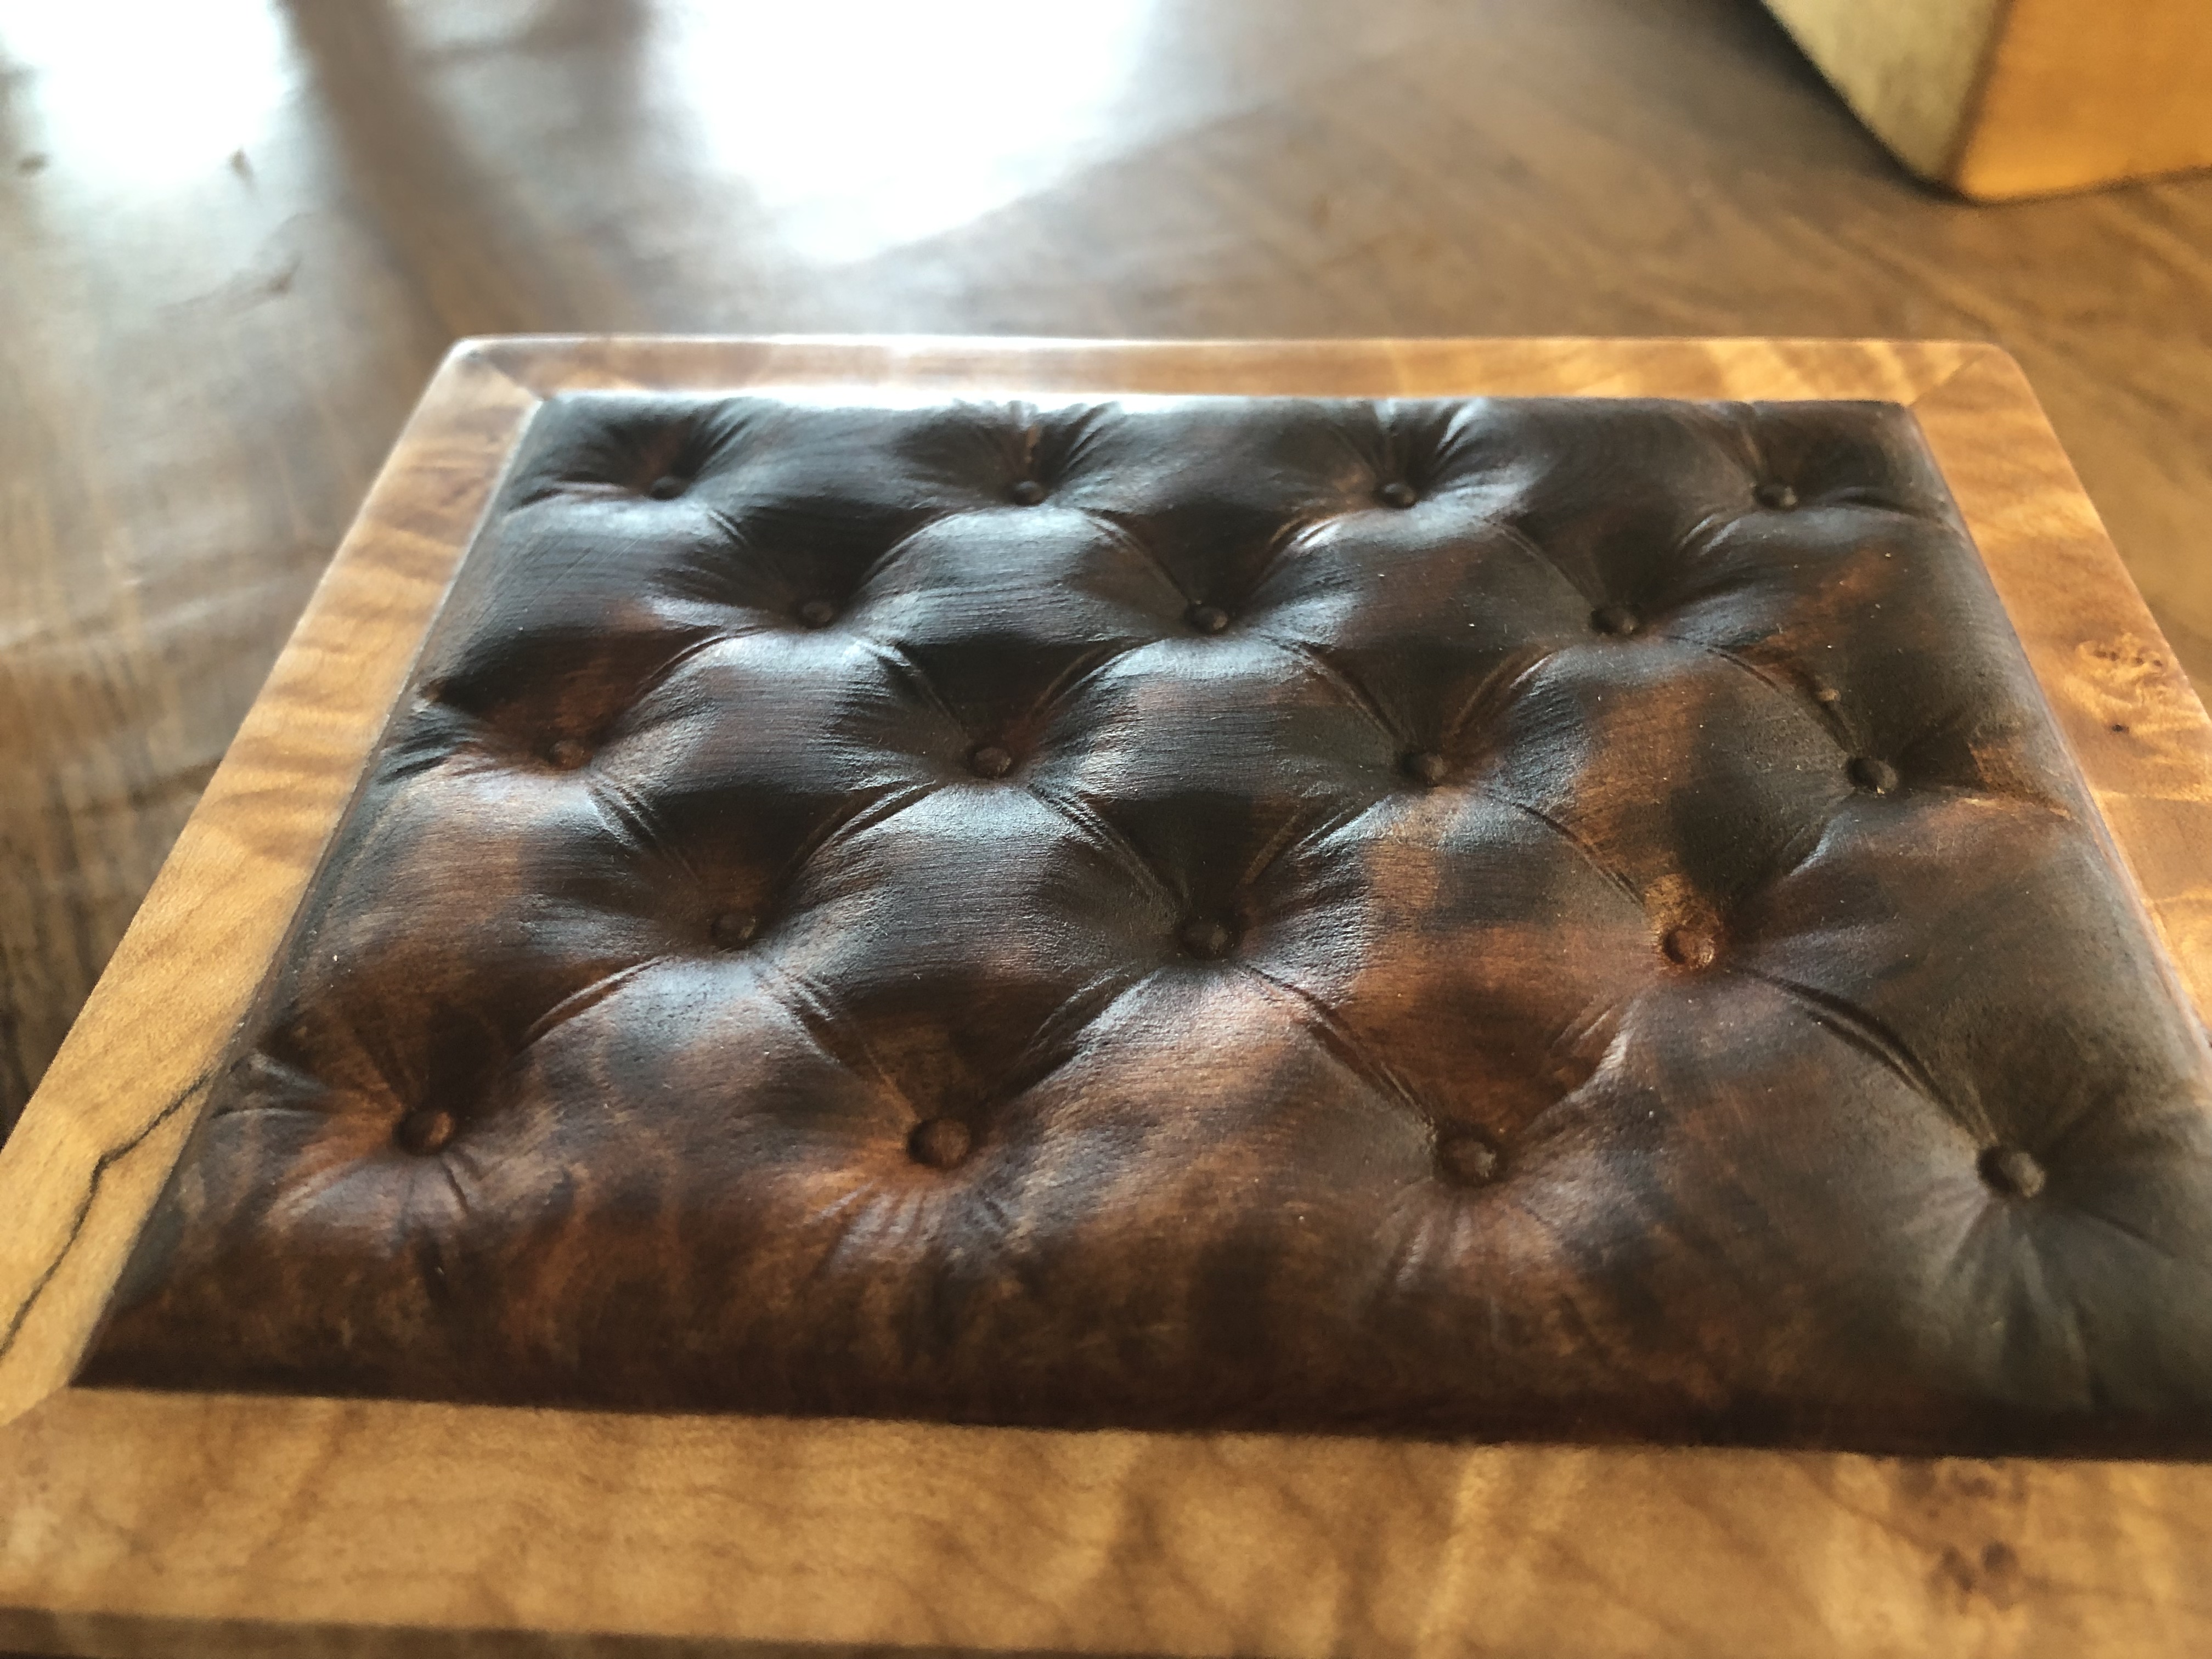
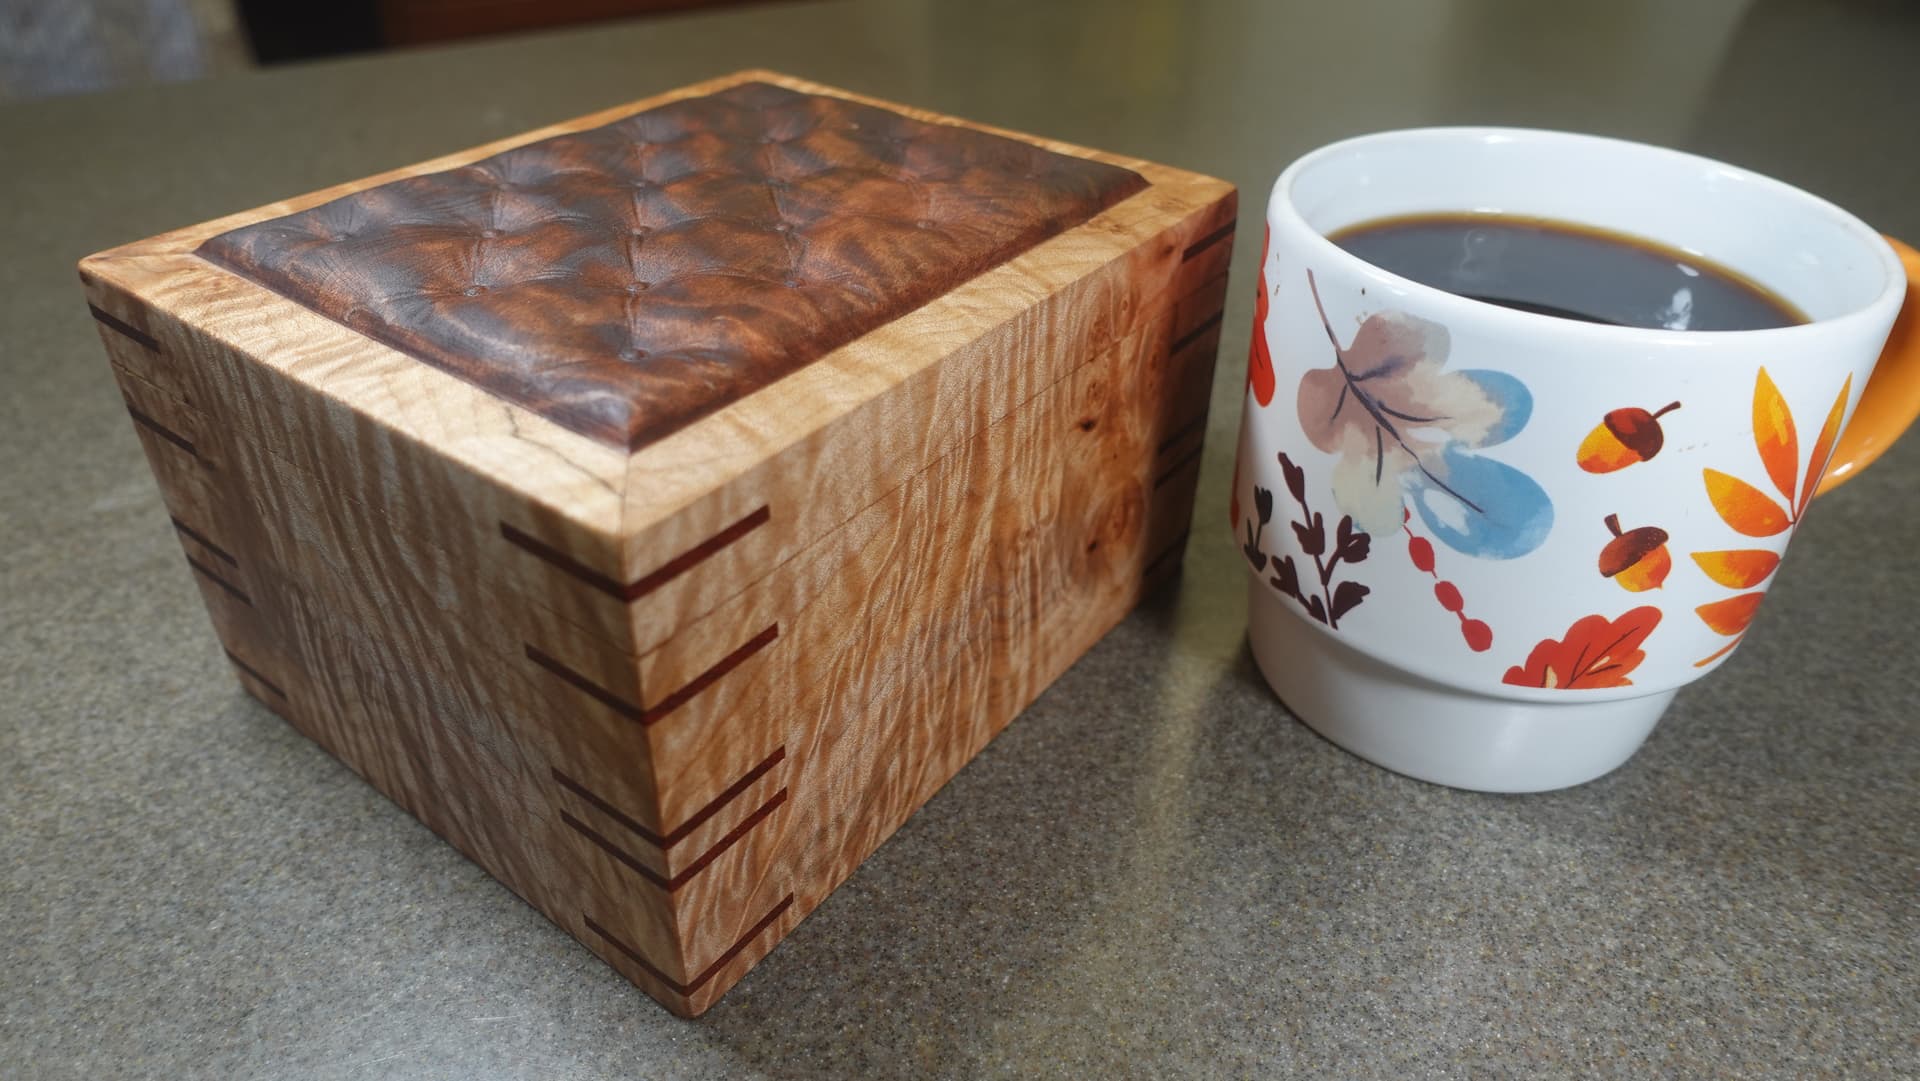
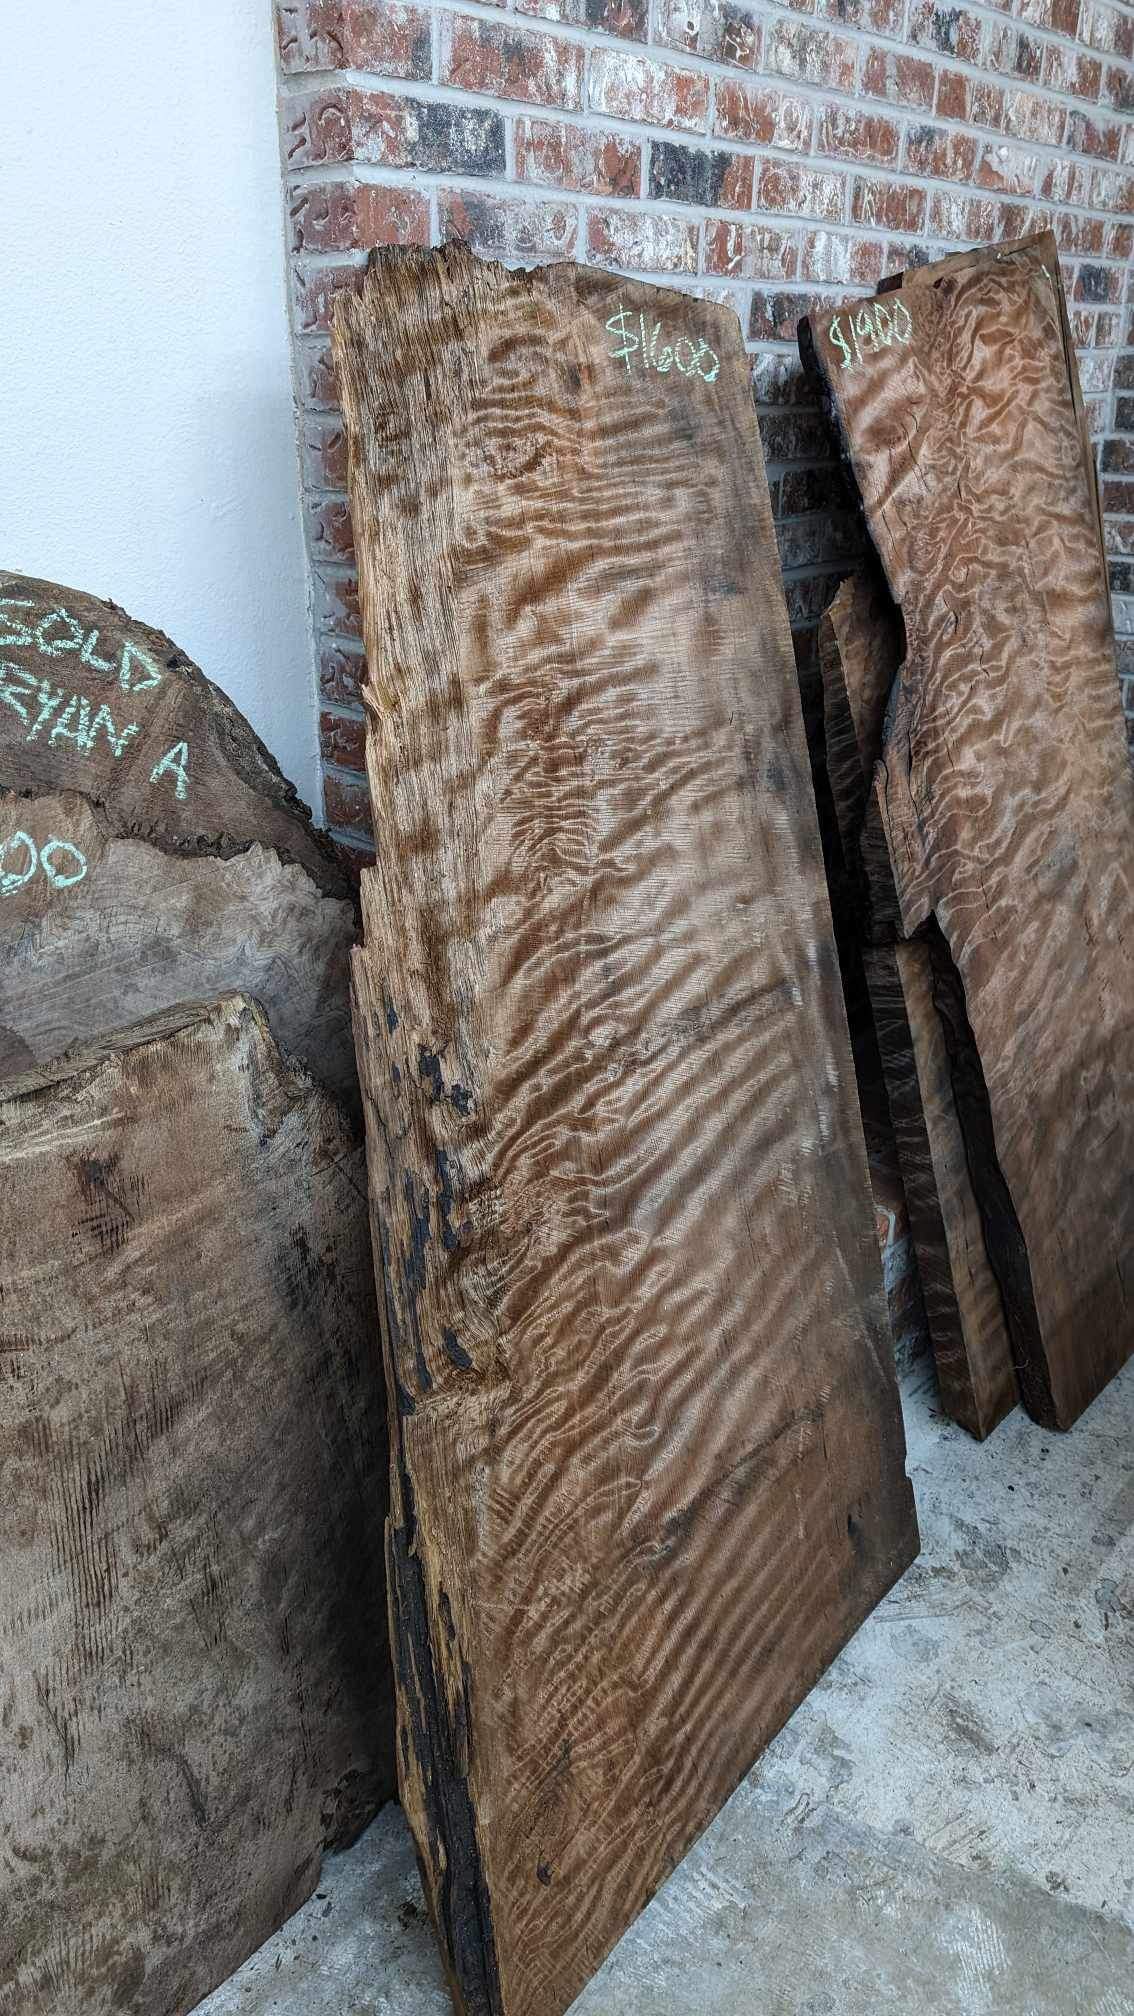
Quick sneak peek for a box I’m making. I had some left over old growth curly redwood. Figured I would try and see if it could hold up to machining it. Redwood is pretty soft, so I wanted to test it out.

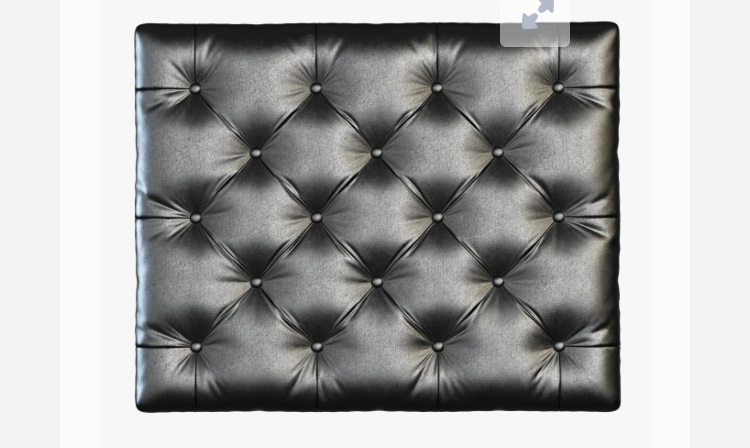
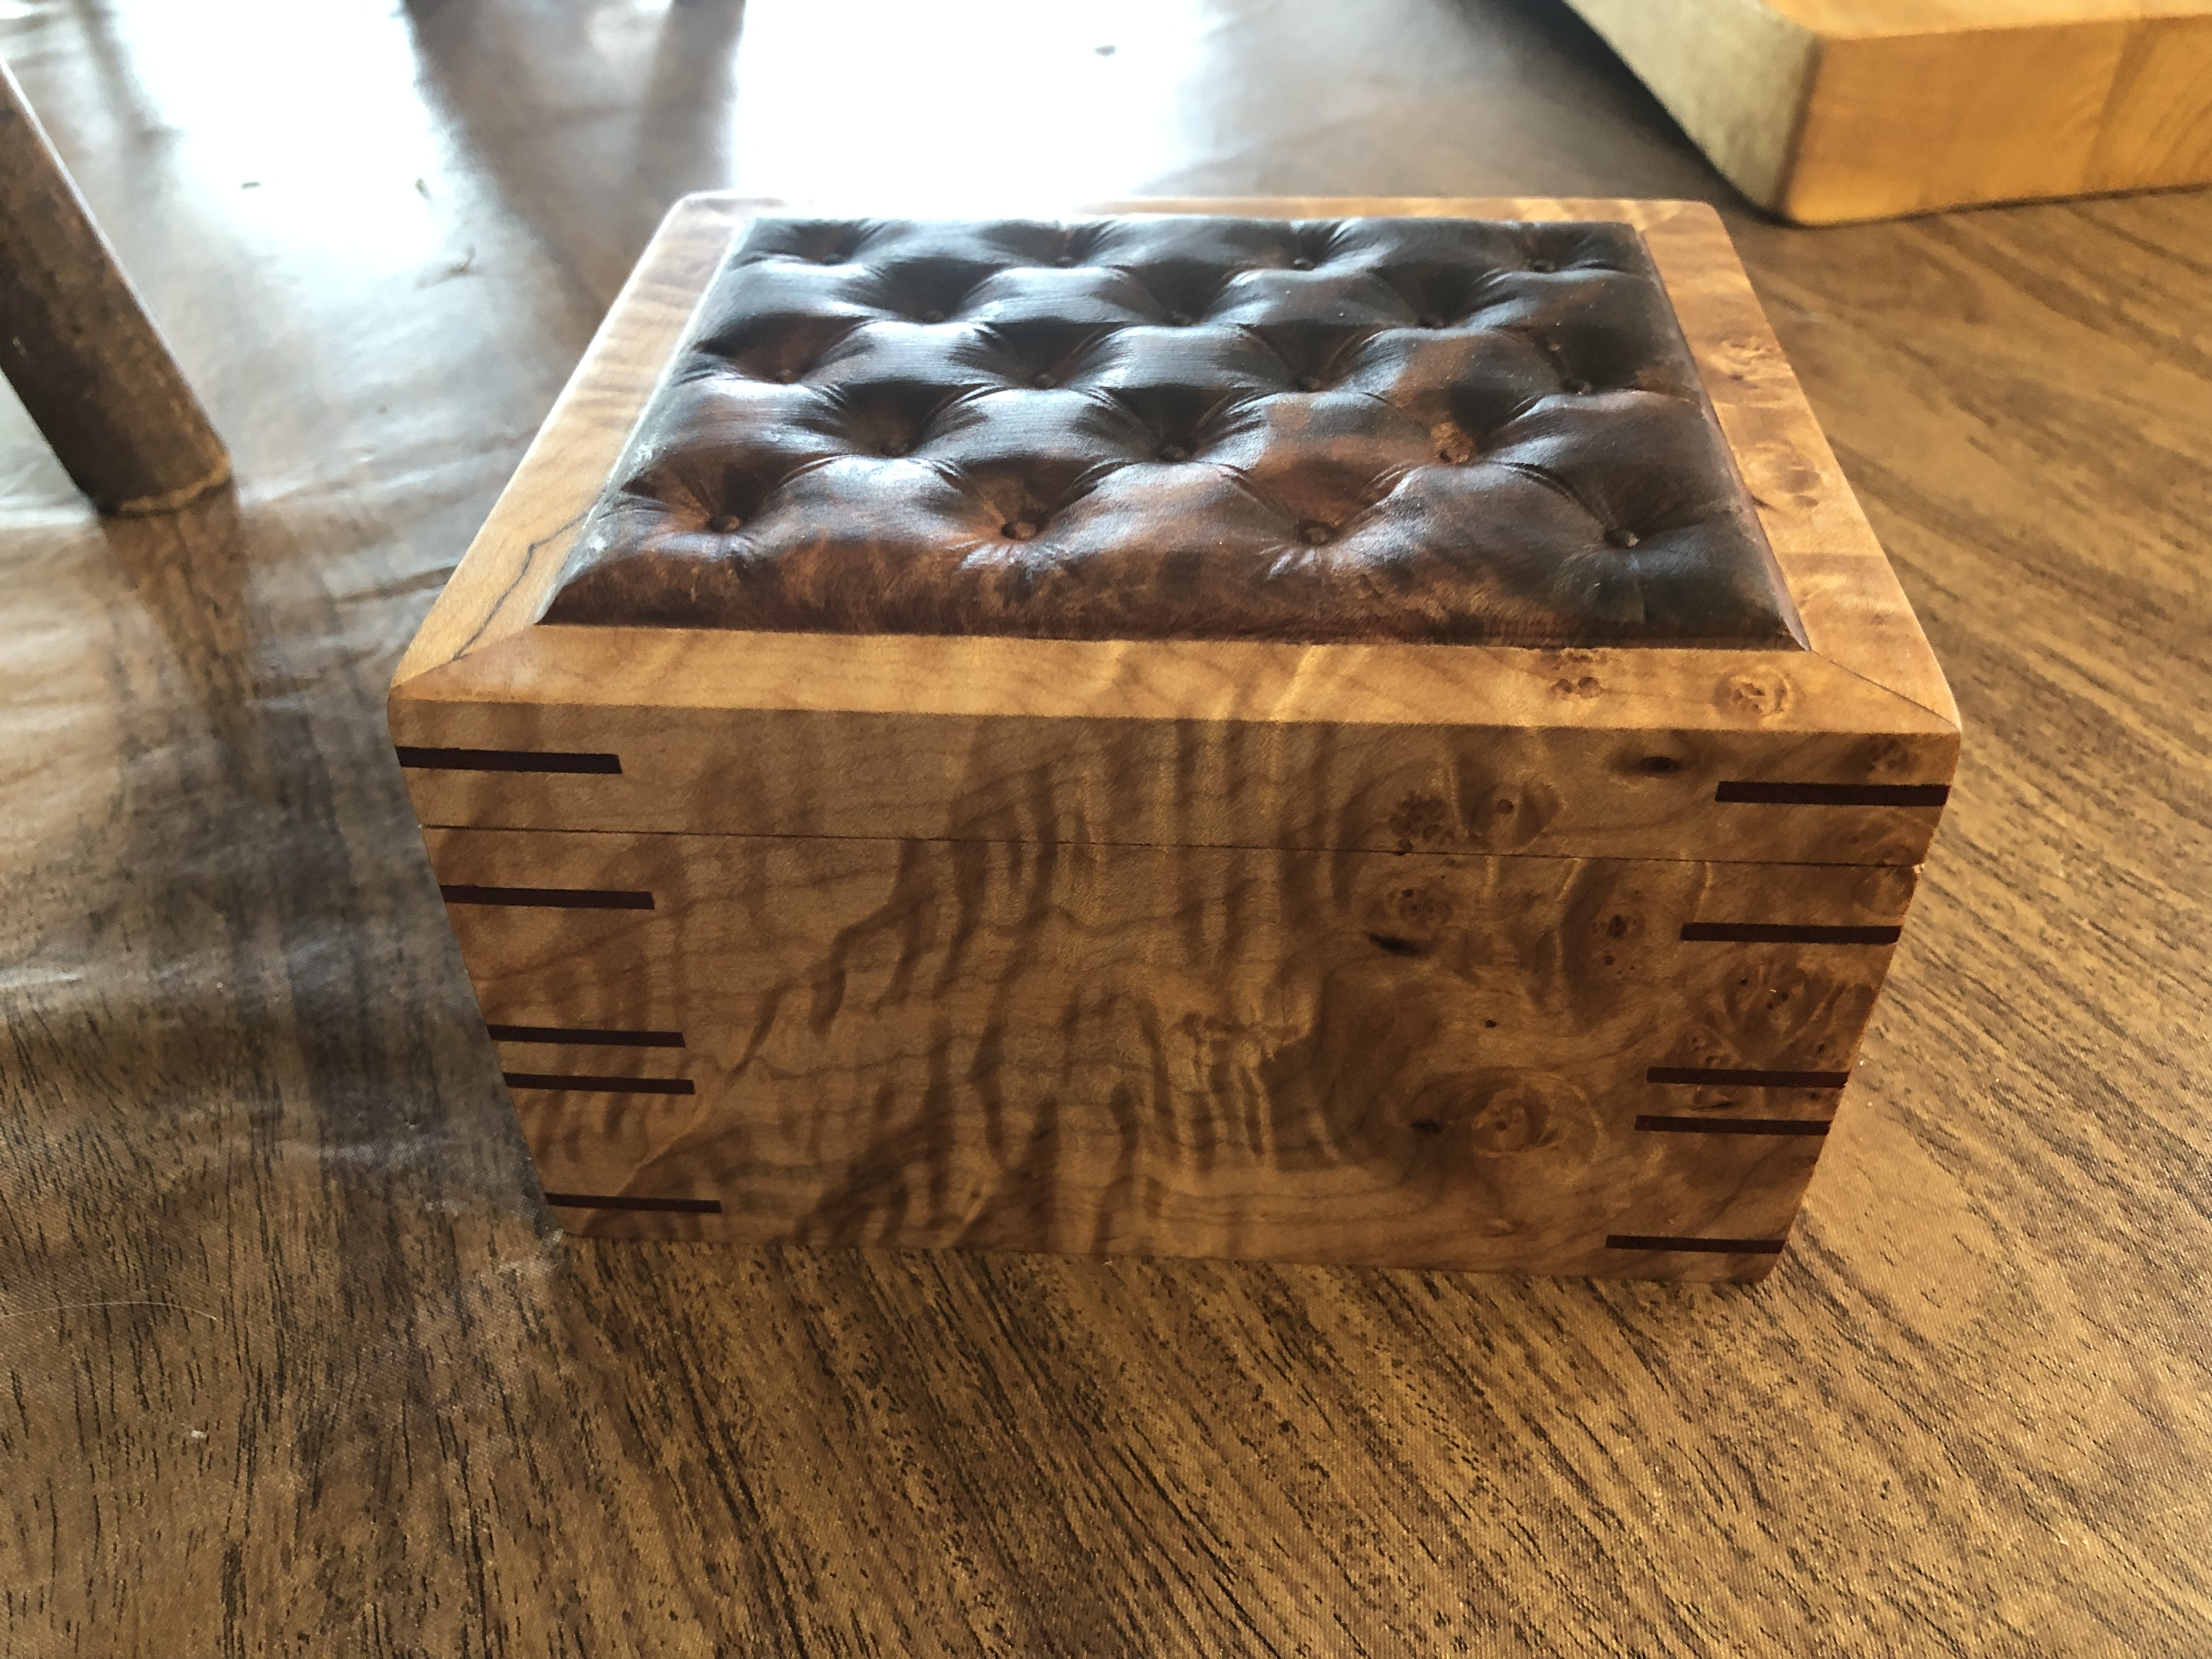
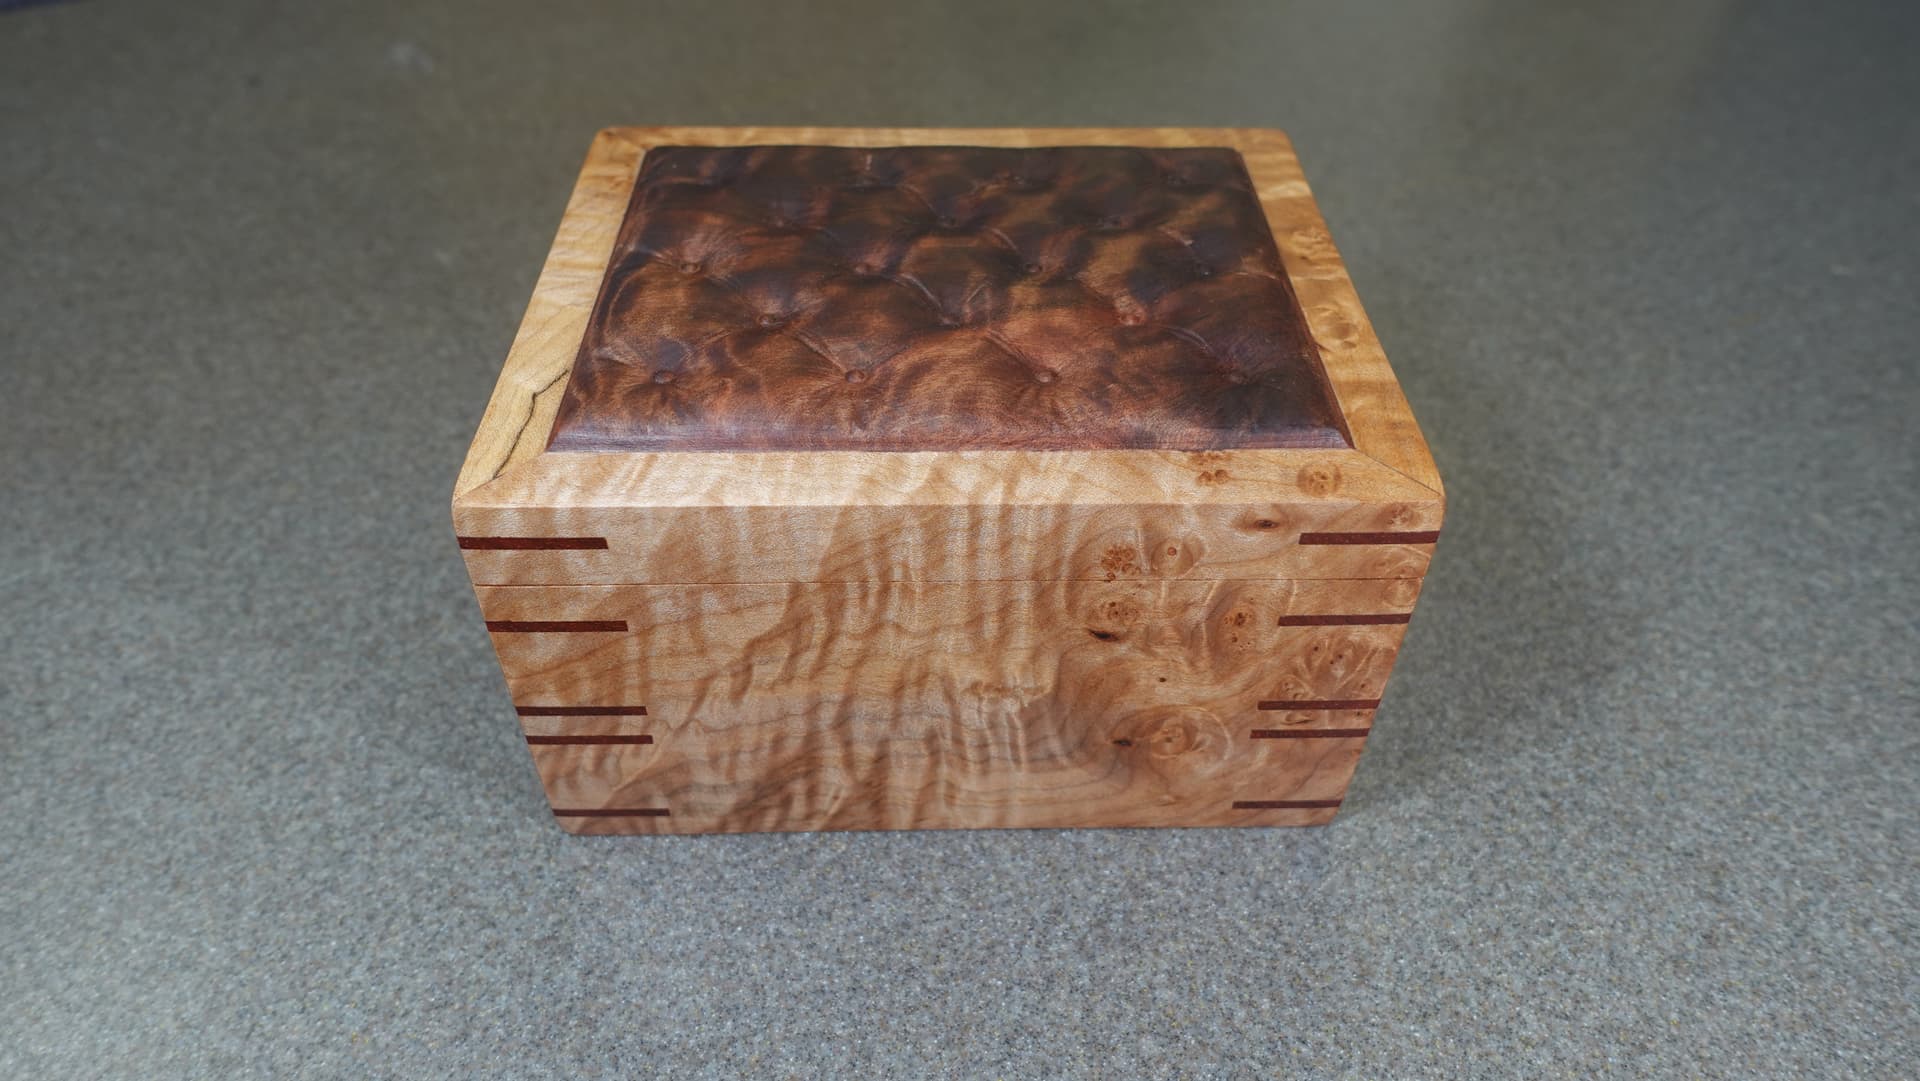
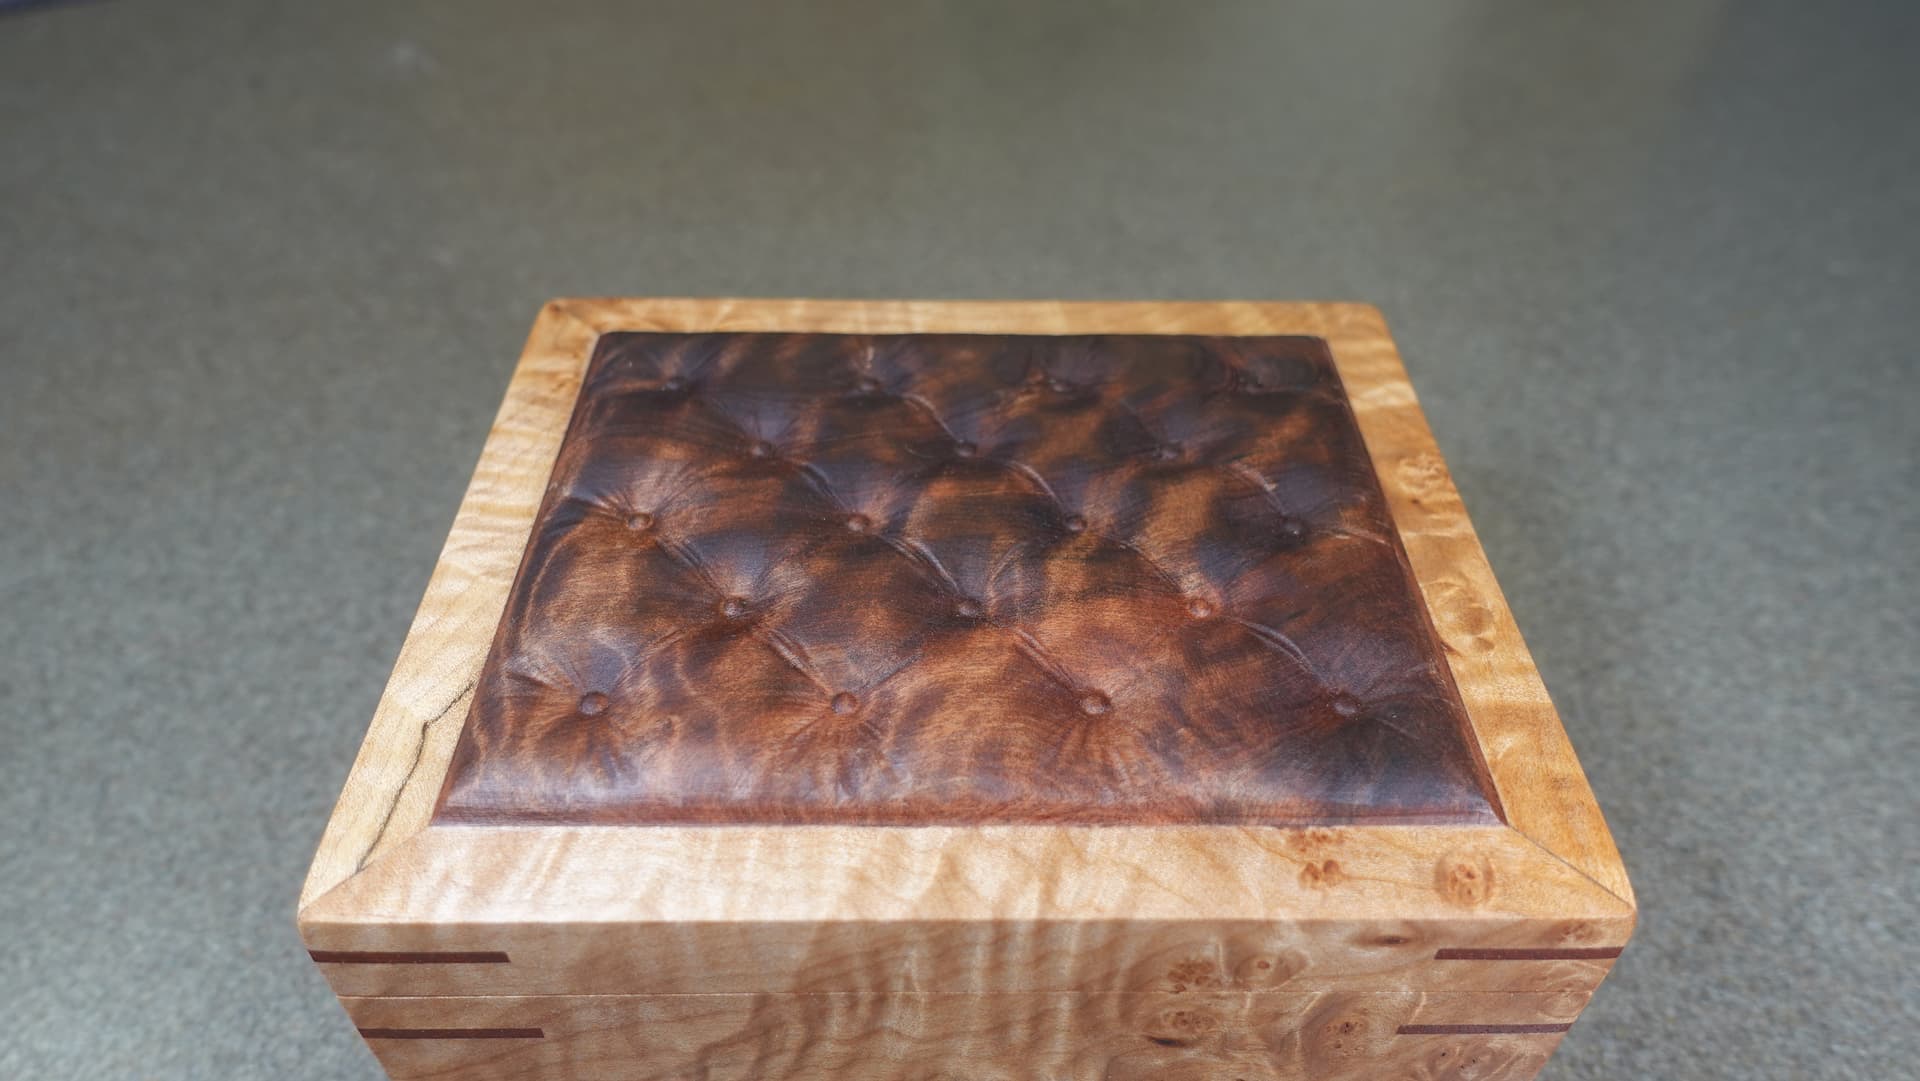
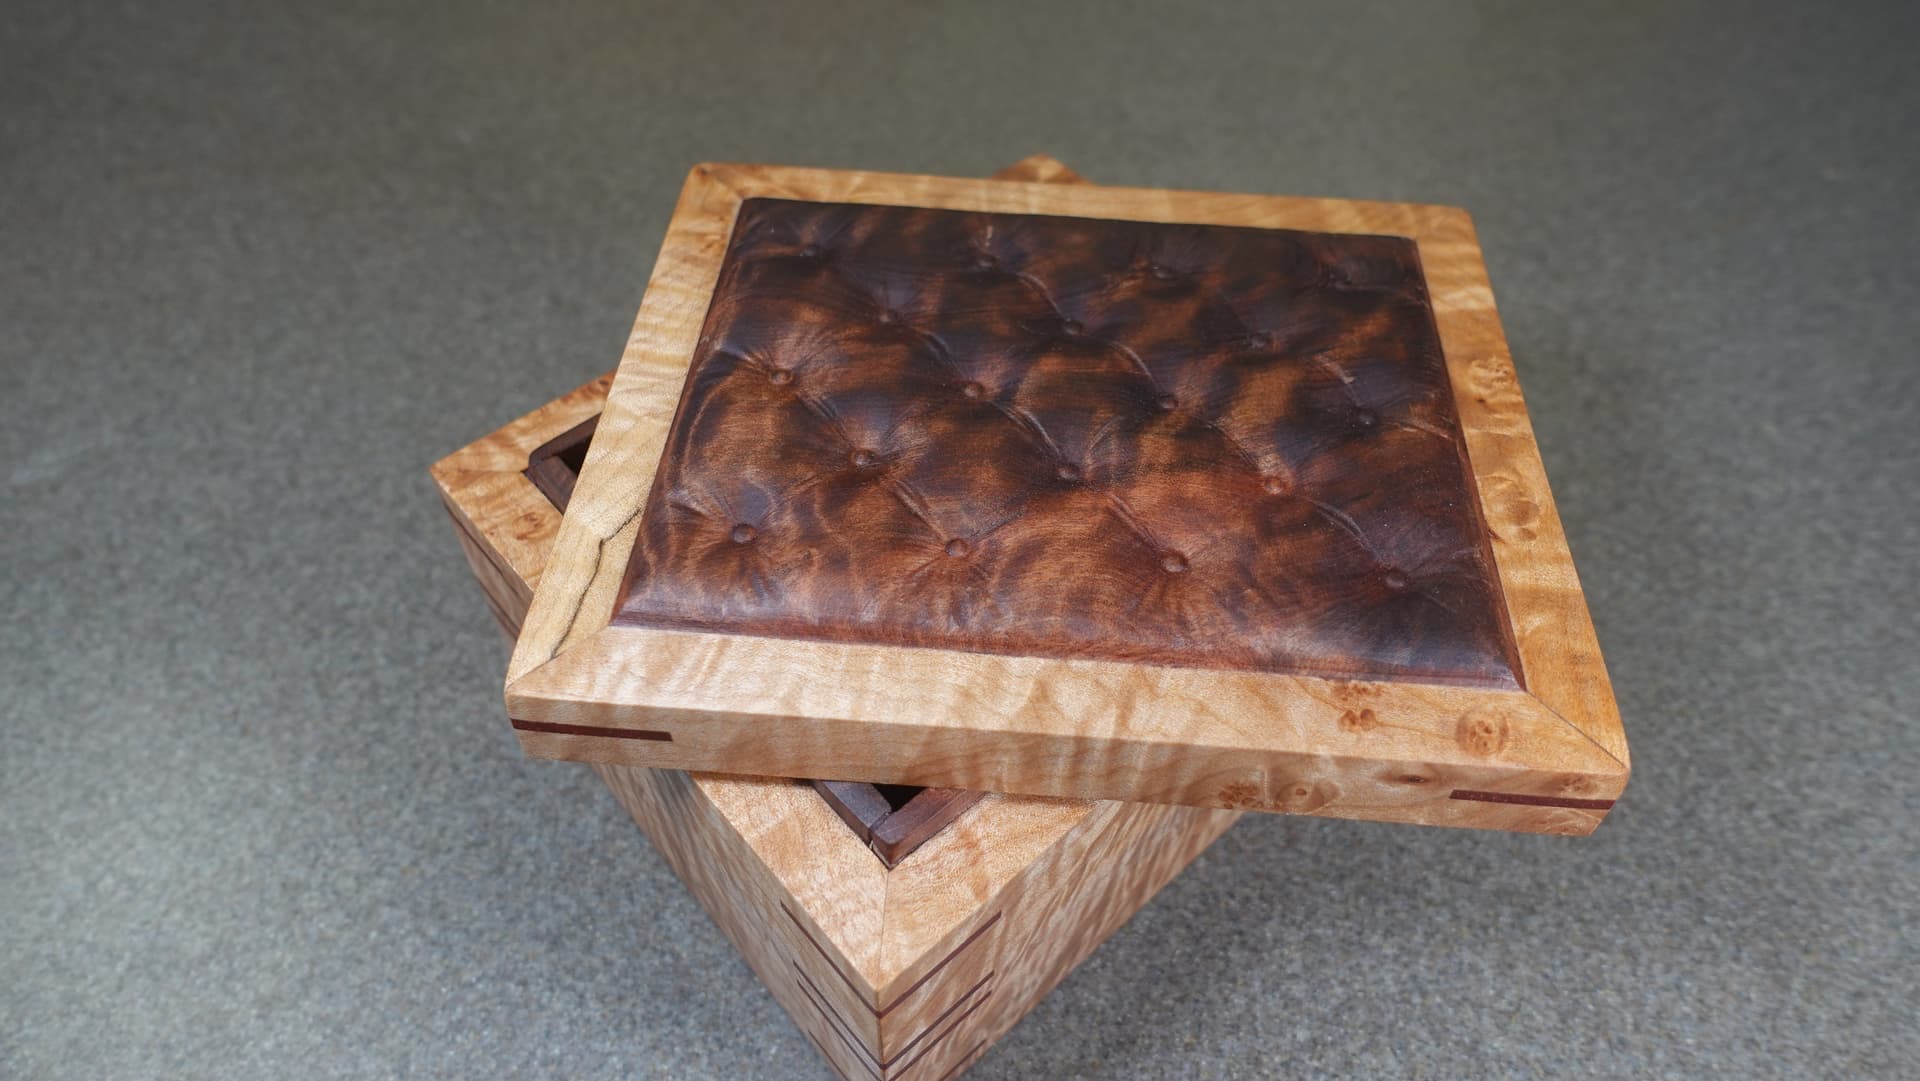
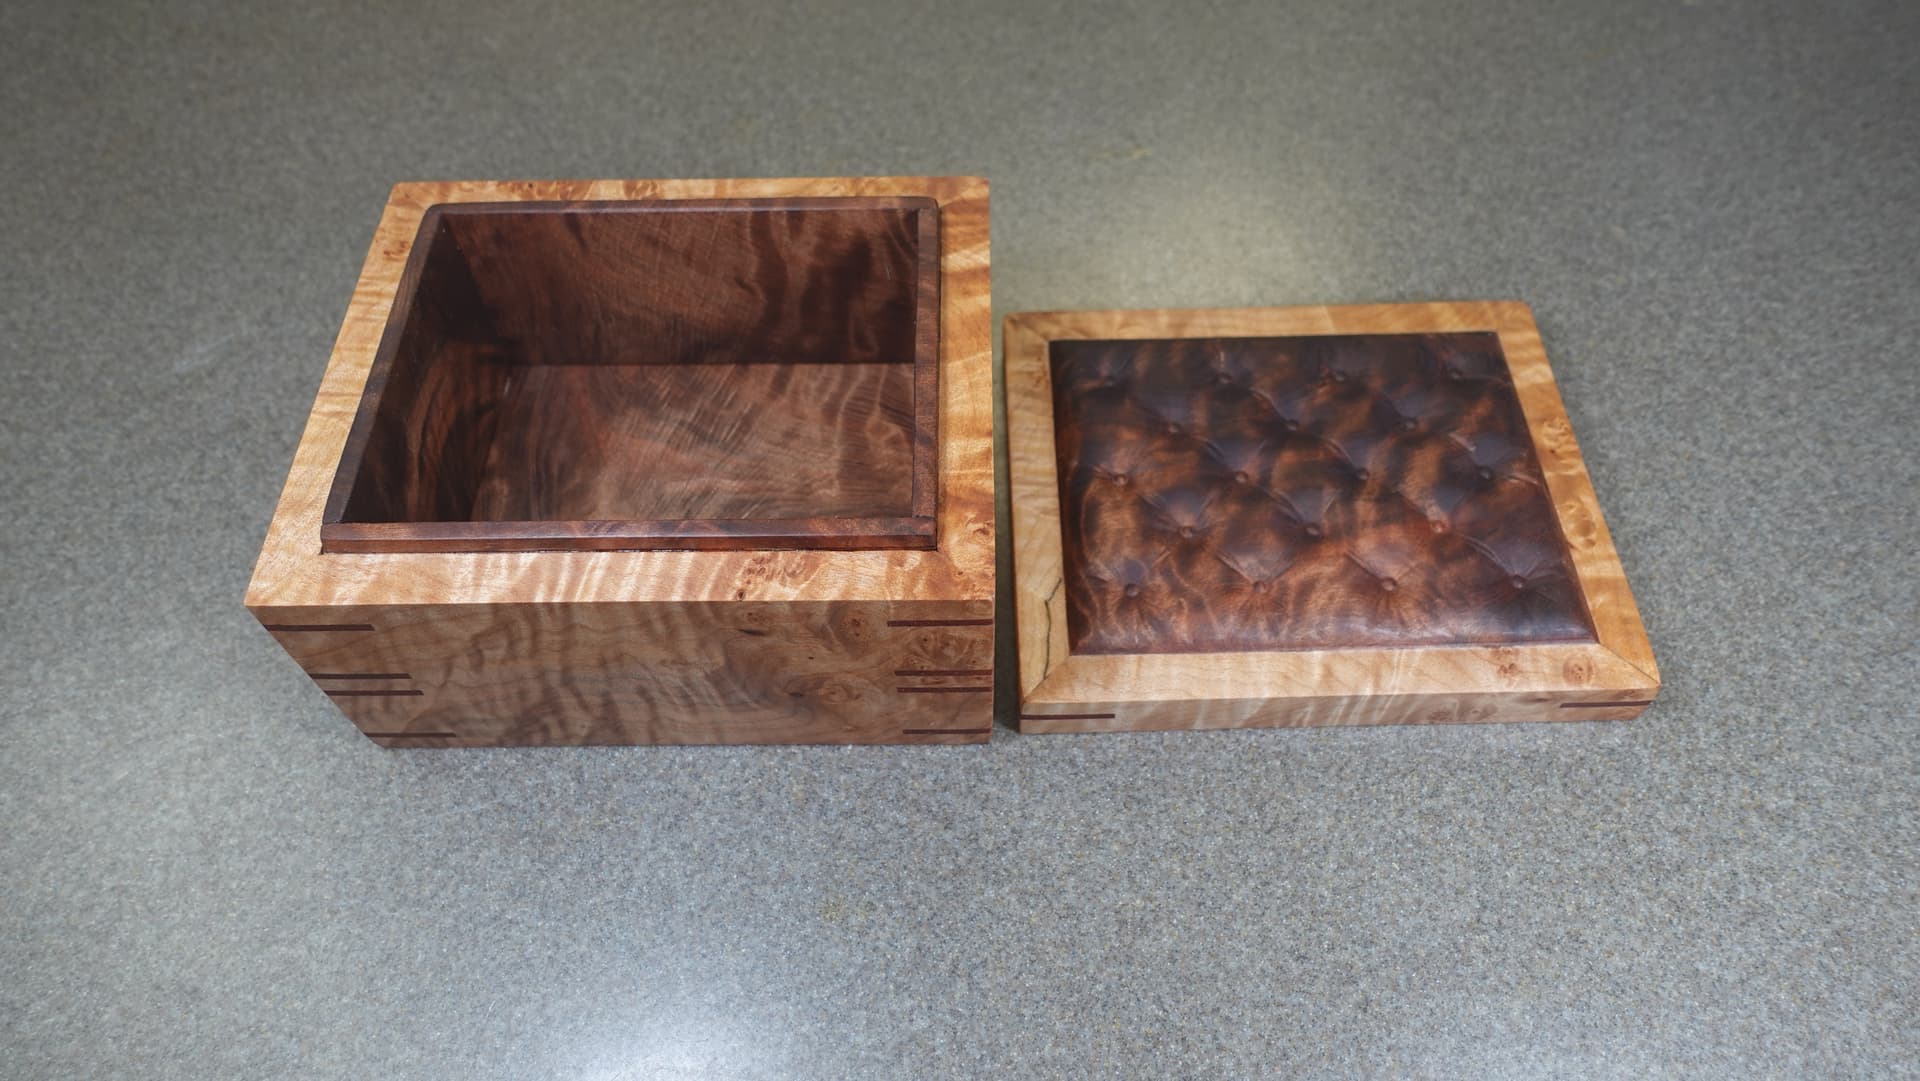
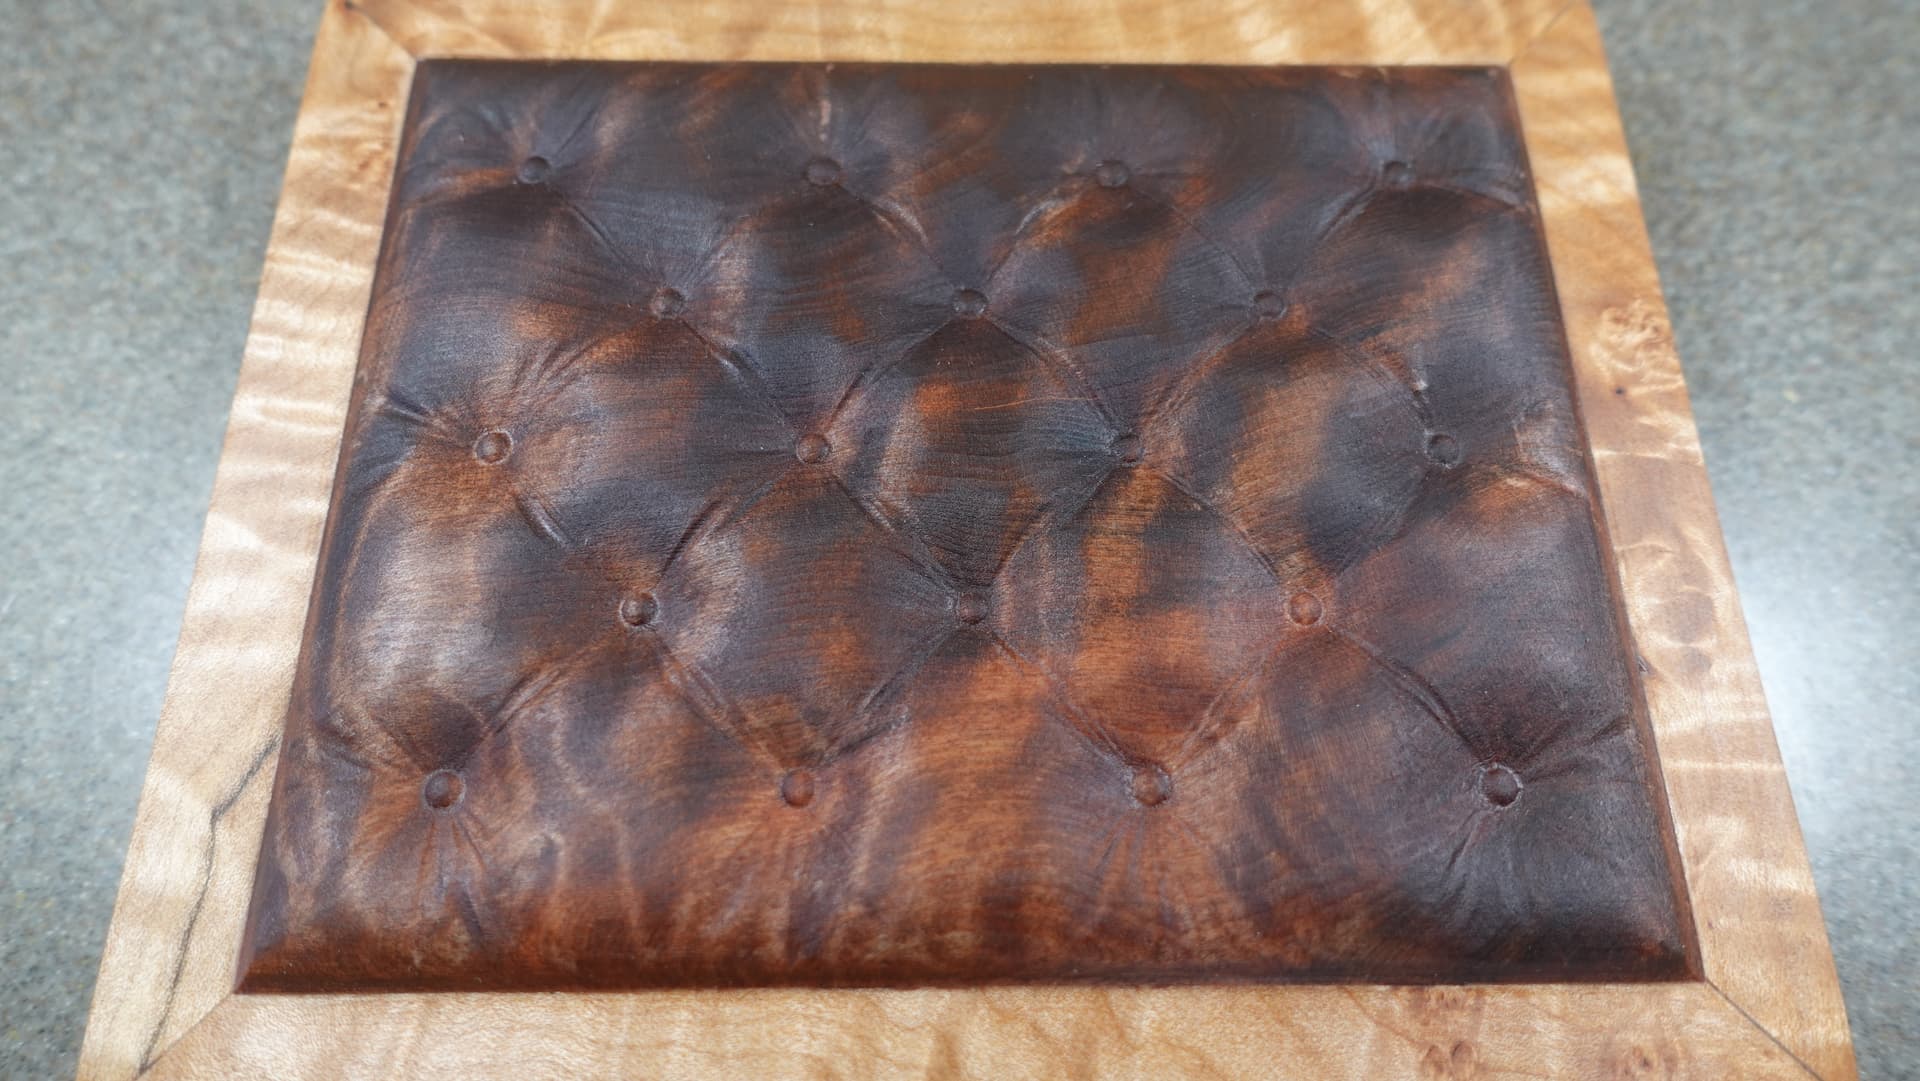
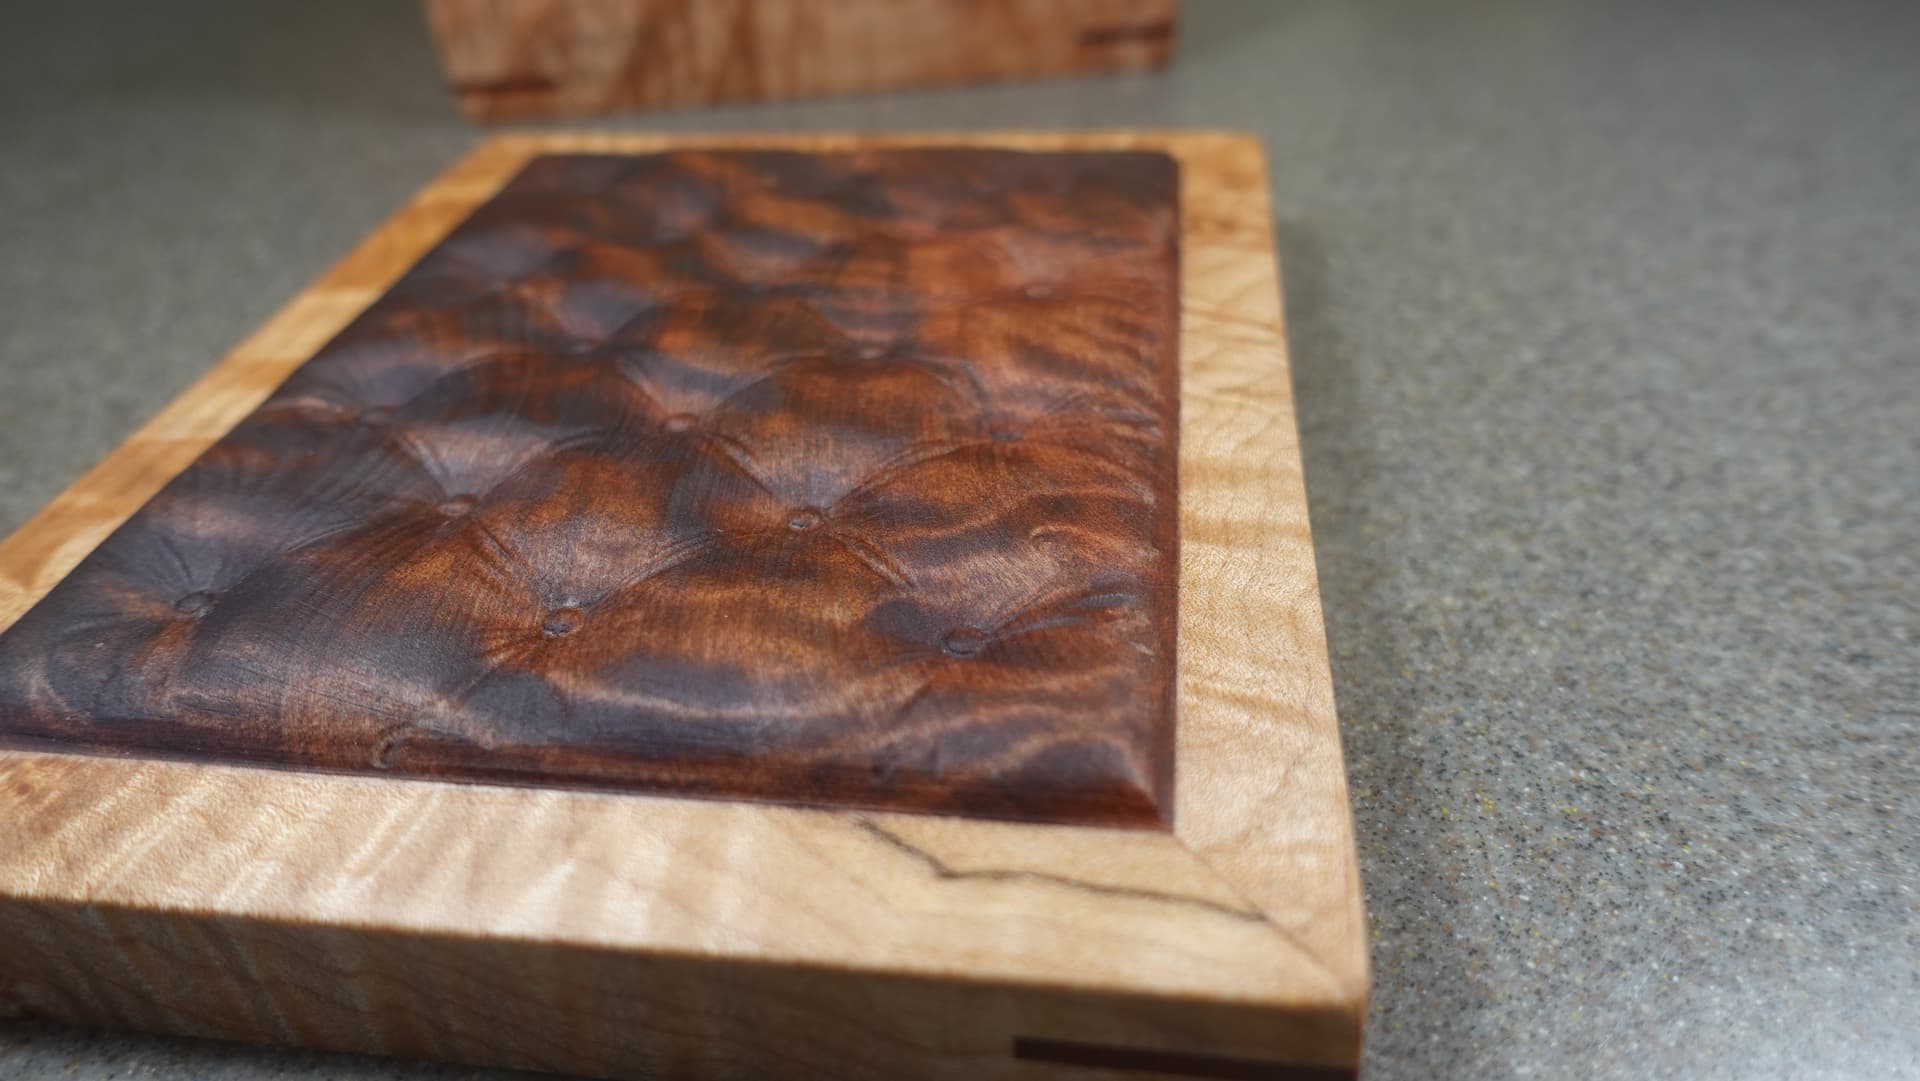
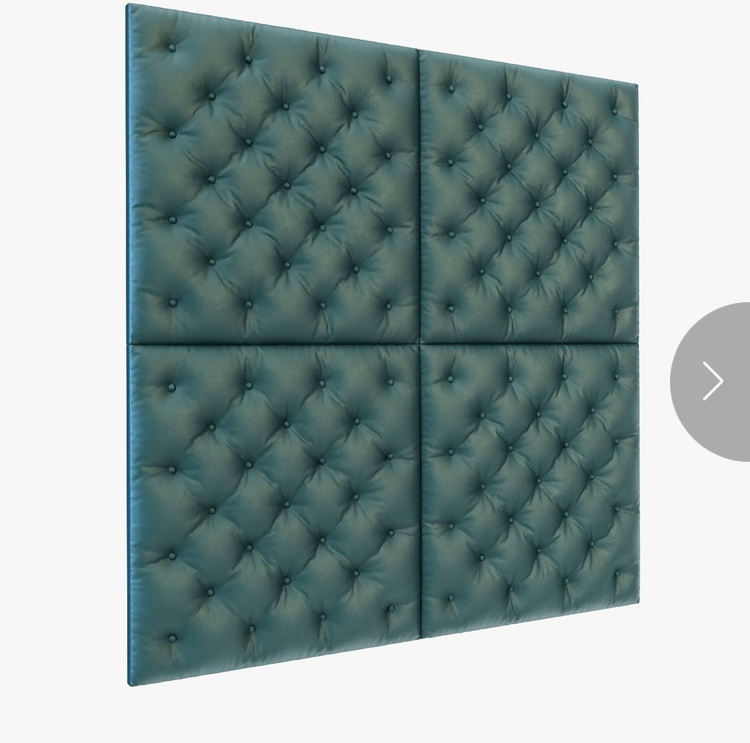
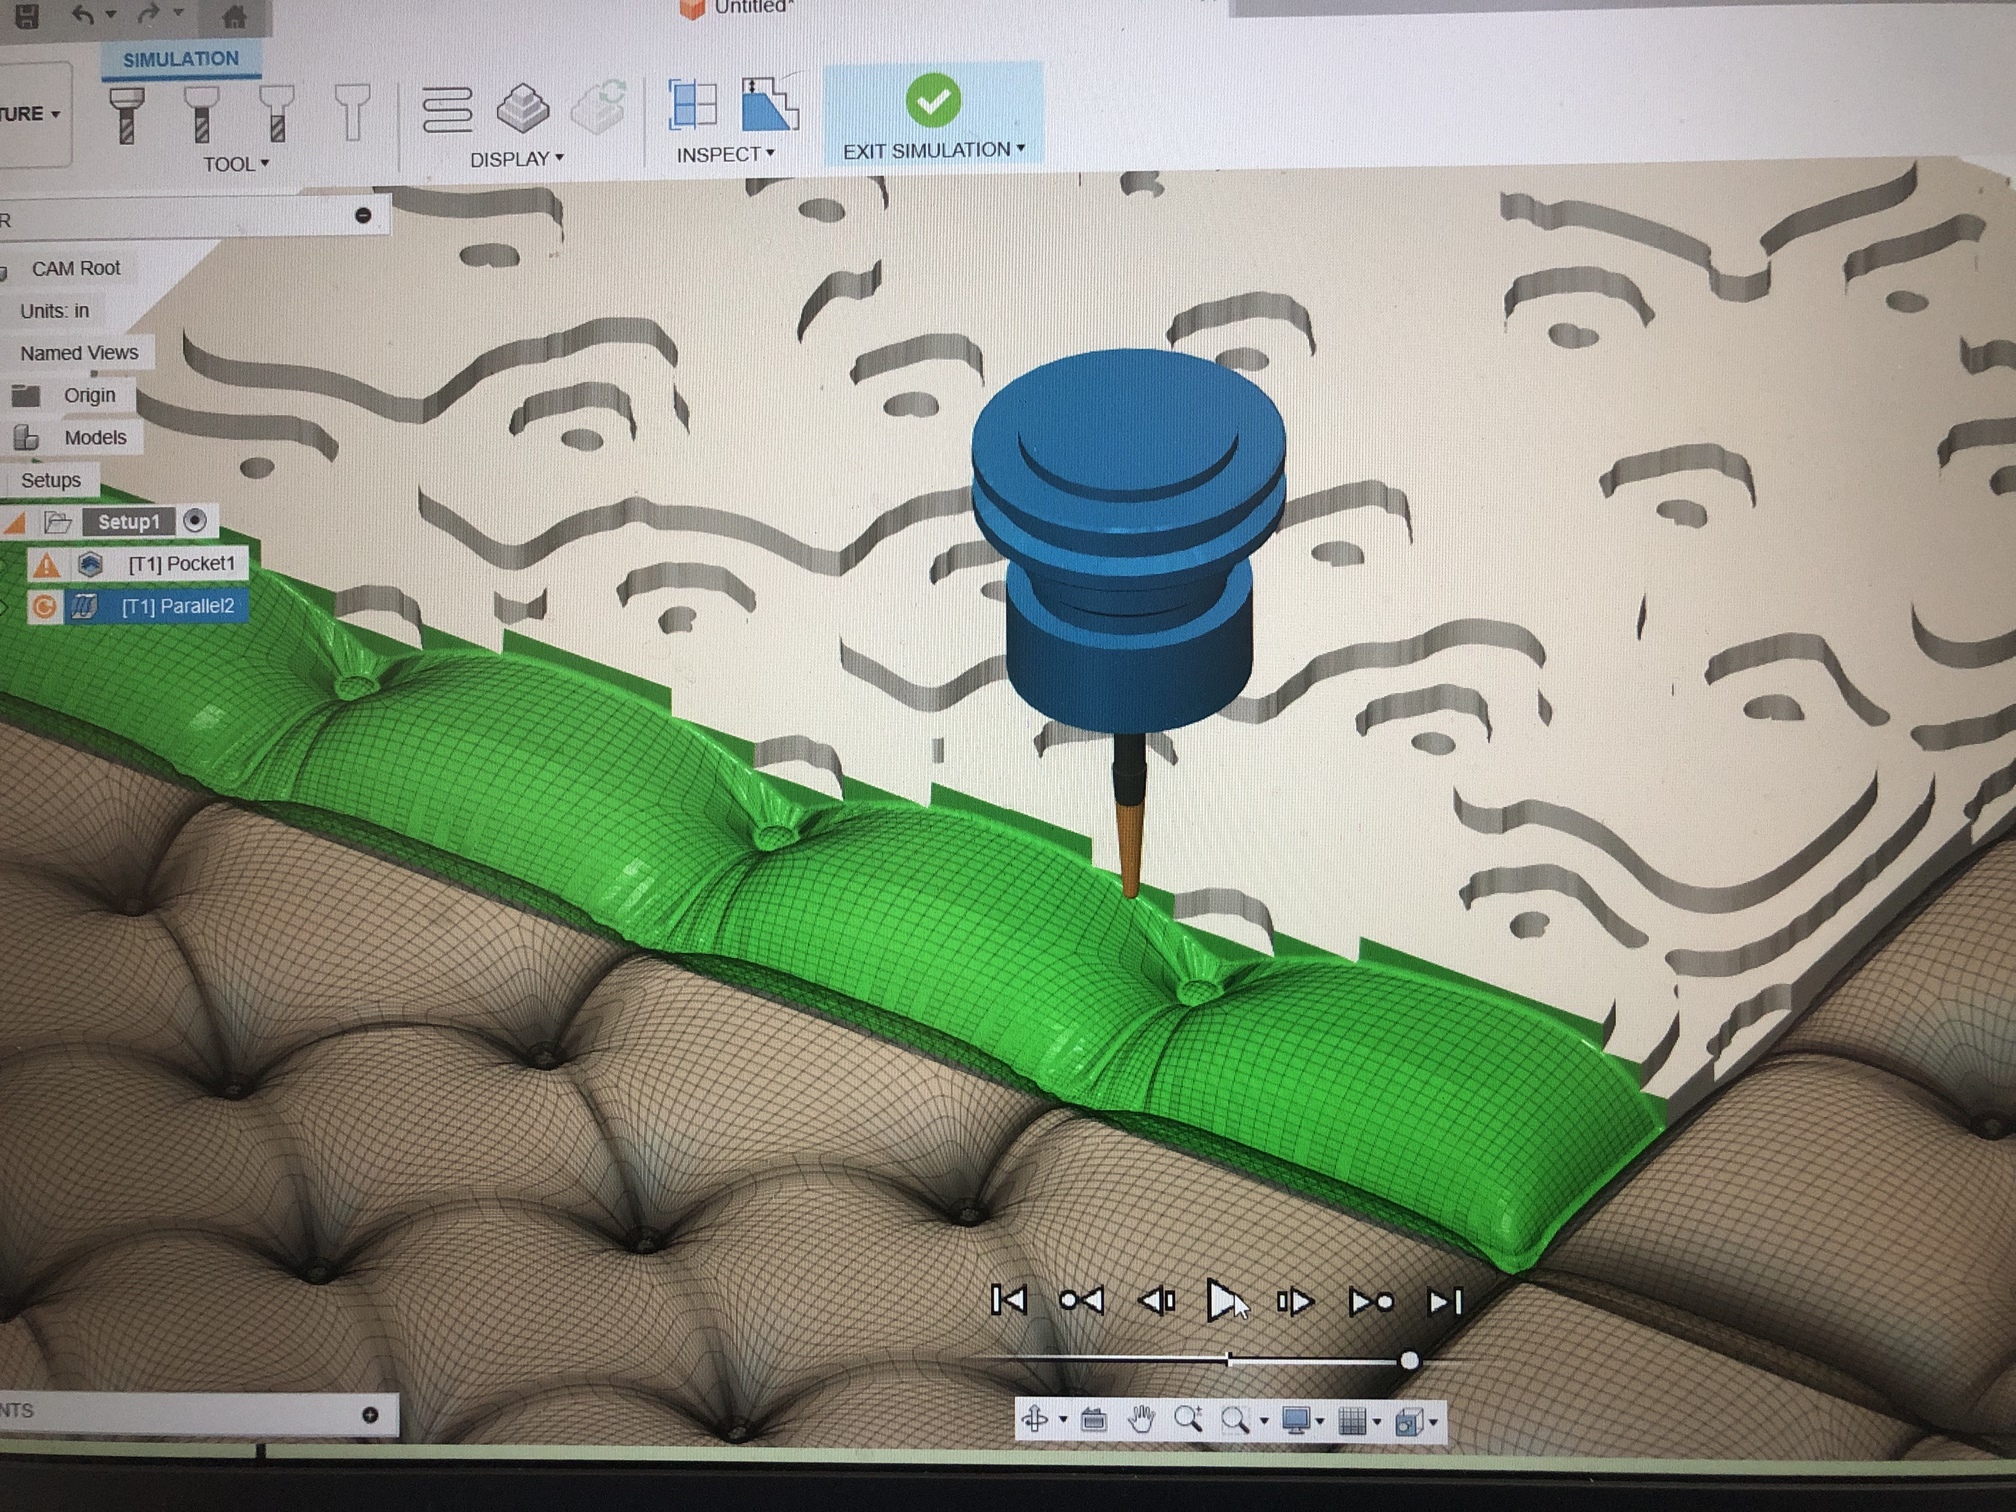
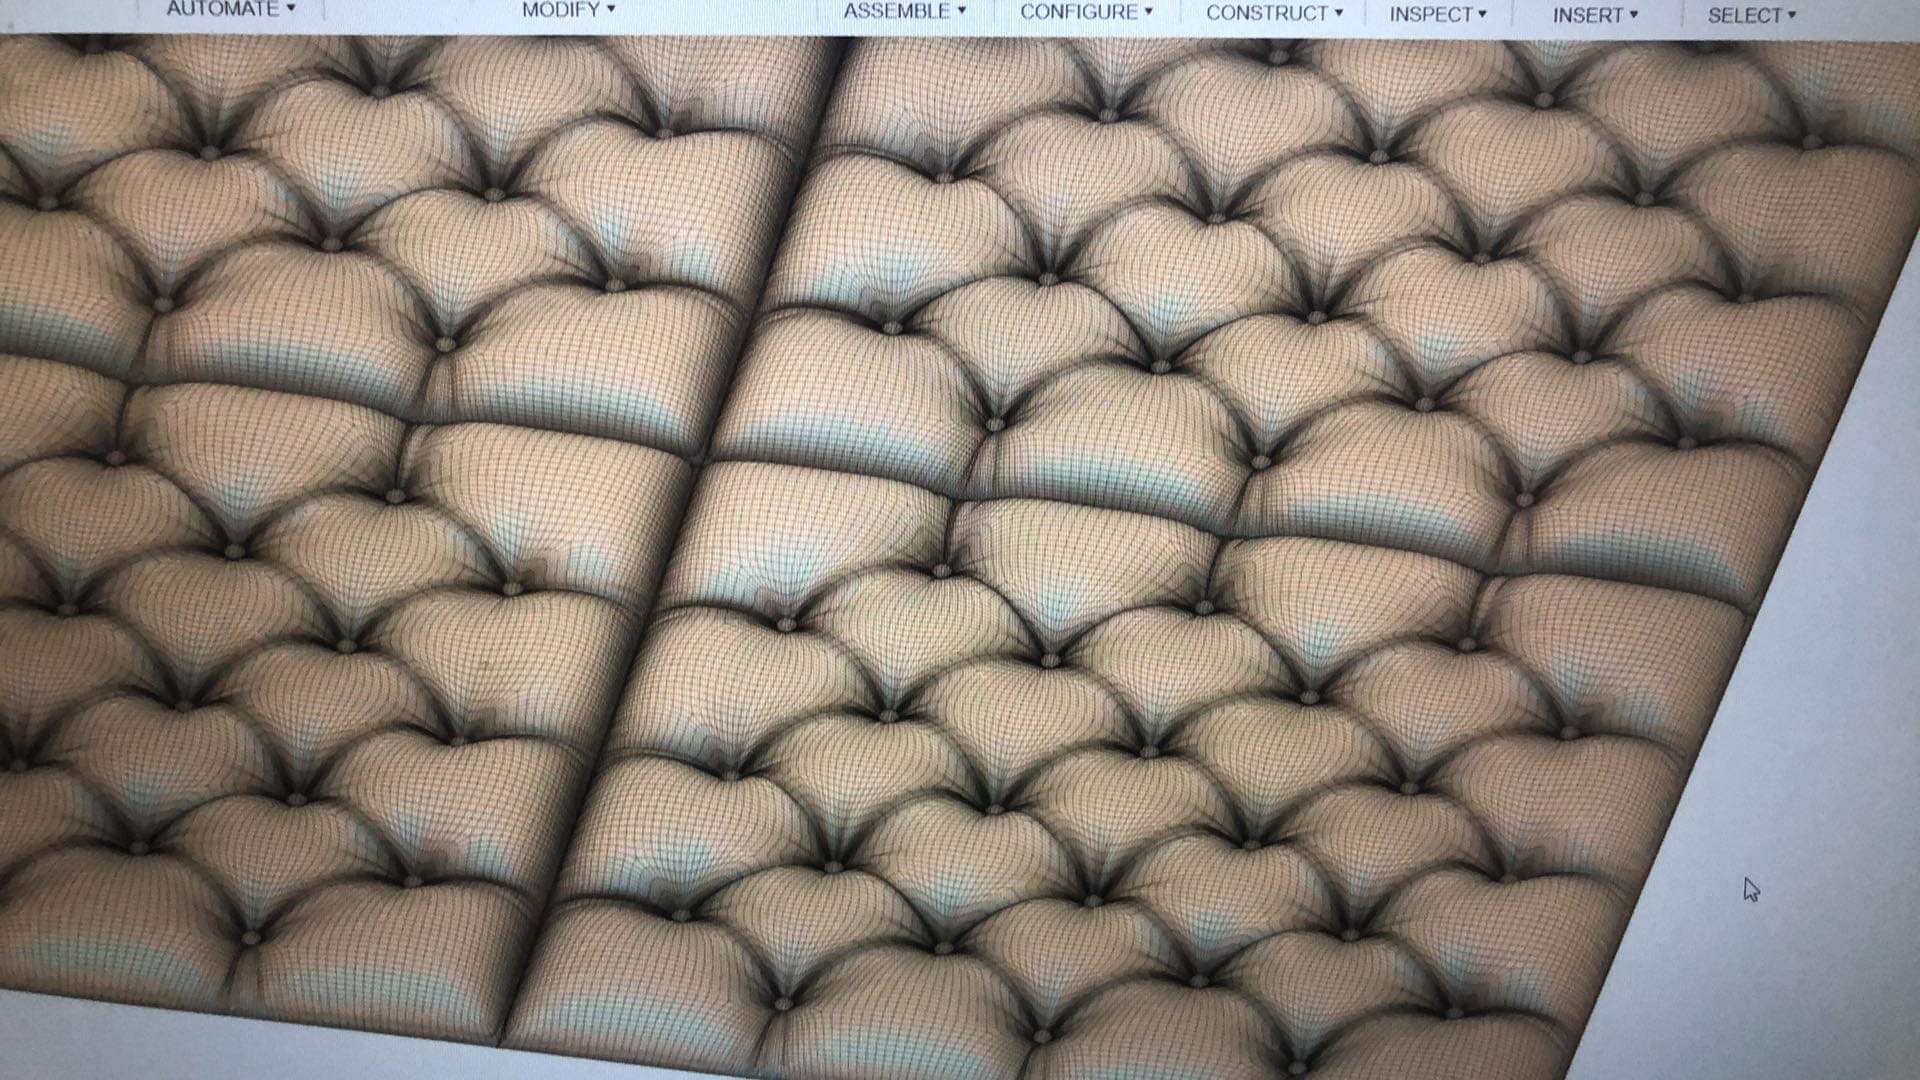
I’ve been wanting to create large wall panels that look like a leather buttoned couch for awhile now. So why not make a small version of it before I start making large walnut versions.

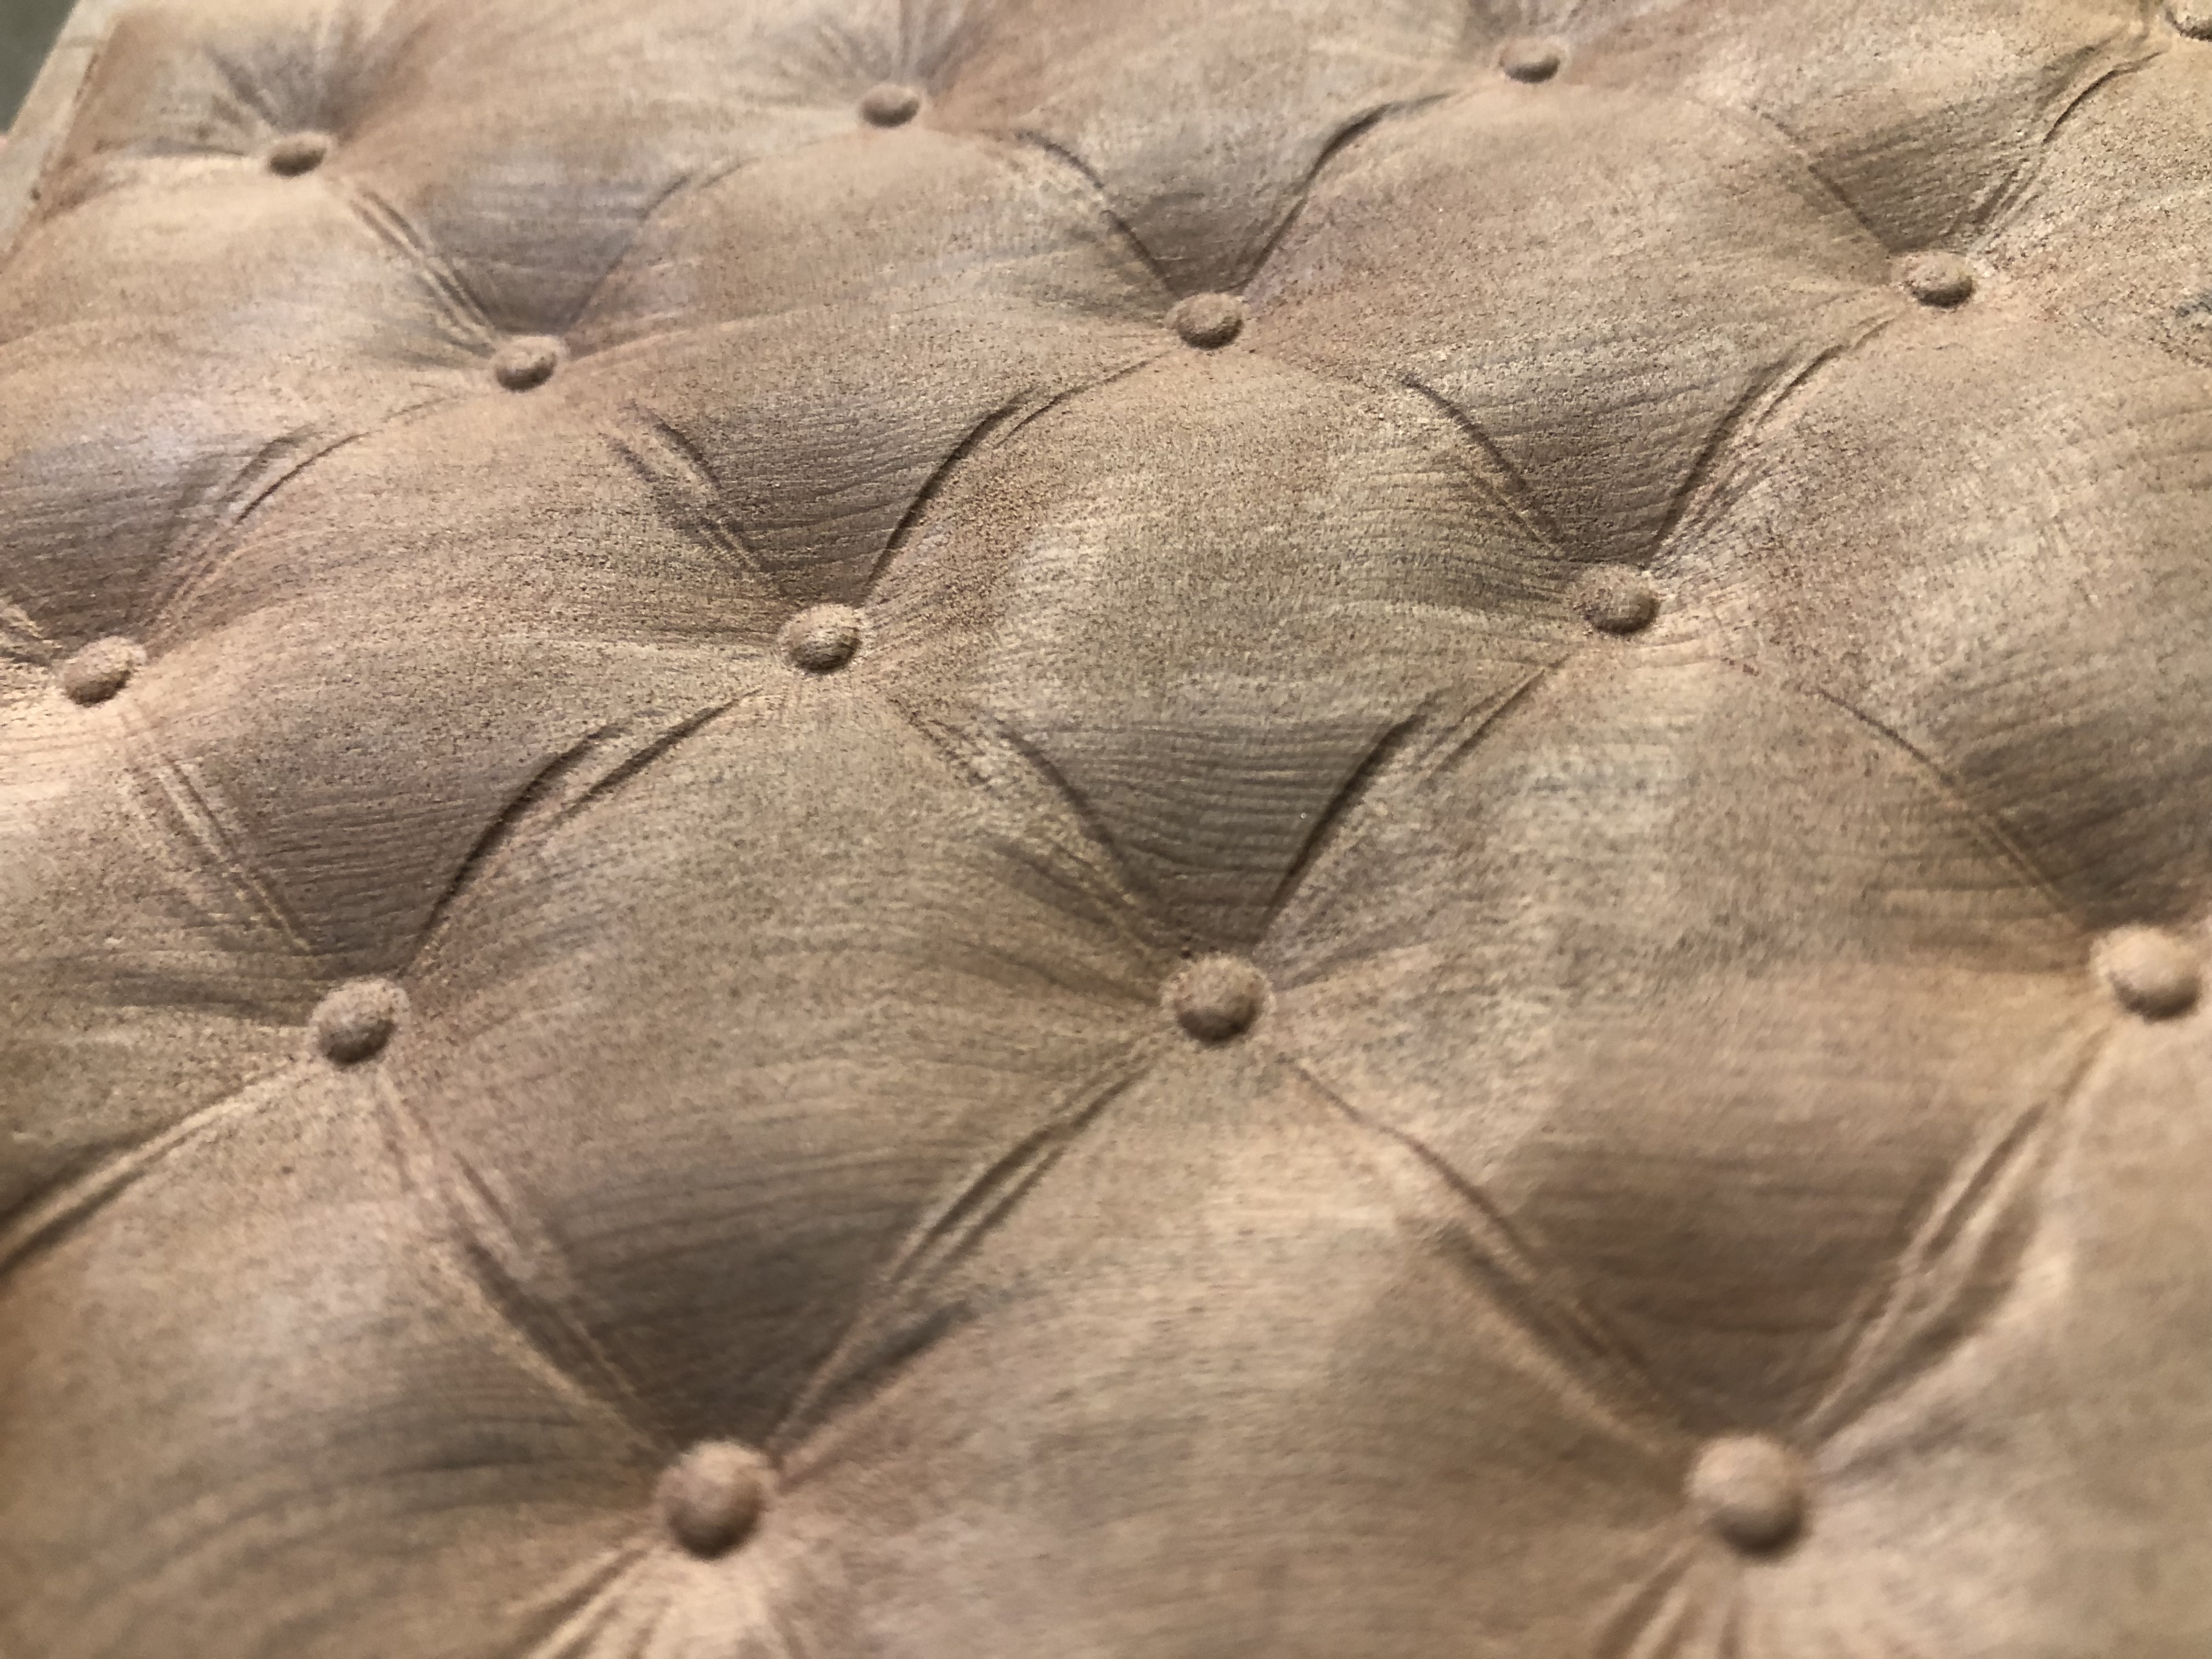
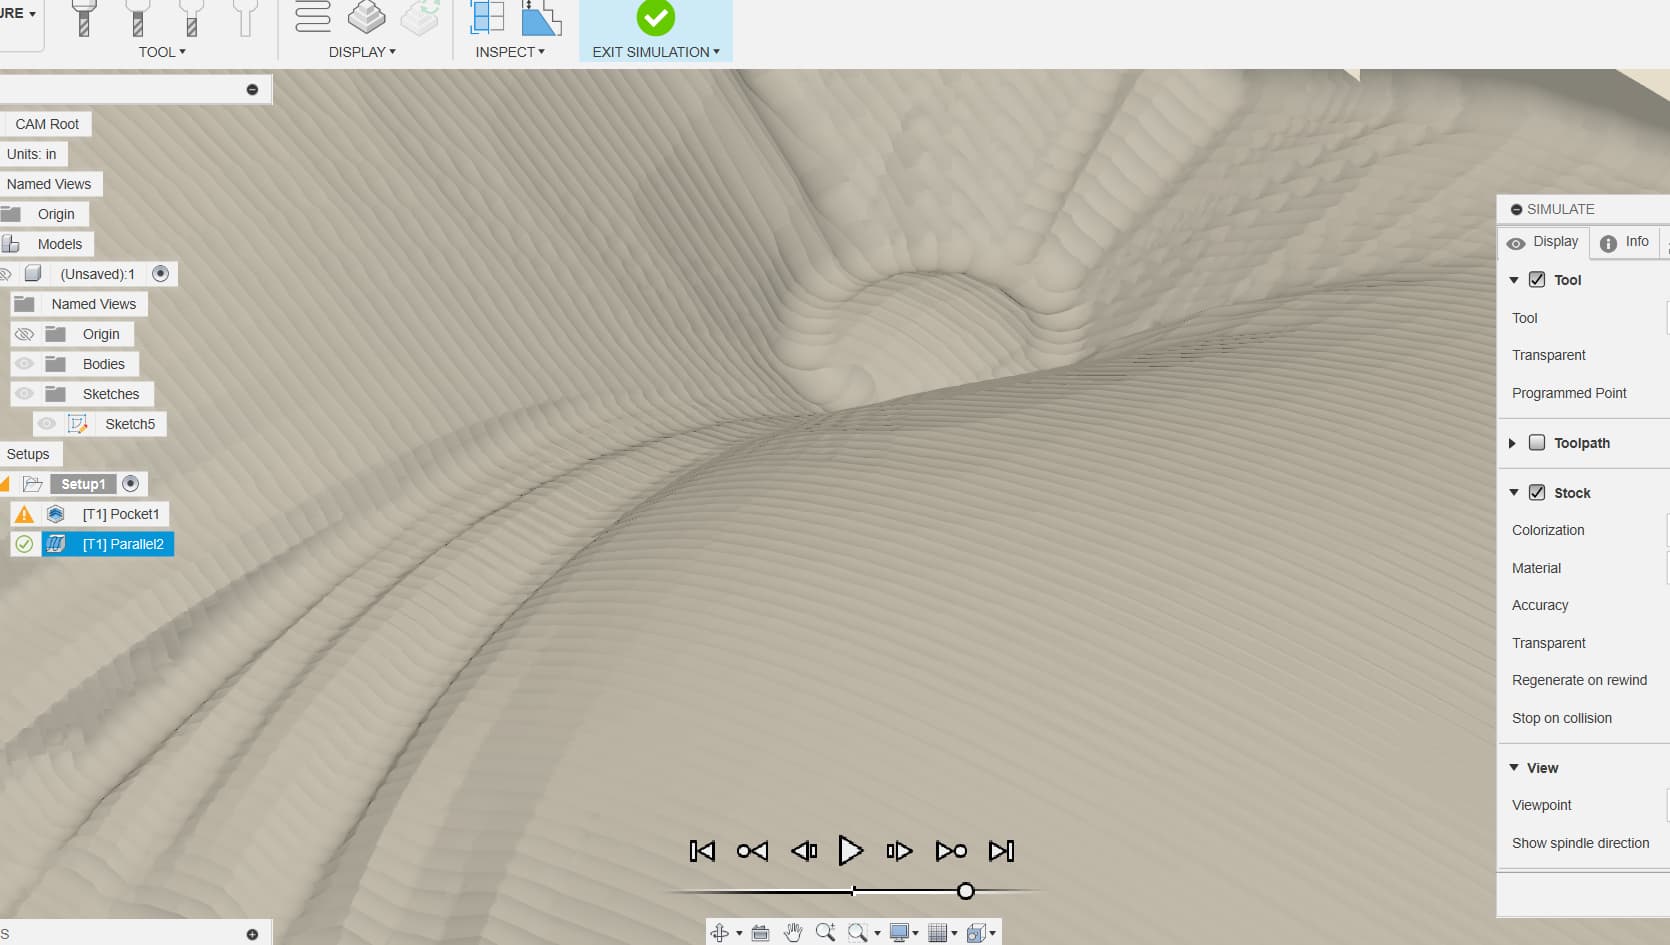
Not my model, just testing out texture densities with different soft and hardwoods.

Will post the final result and hopefully should be my next vid

Cheers!

15 Likes

Looks like a fun design and that things are going well so far! Do you daddo cut your stock first to clamp it down?

Joinery prep for the box, it was nice to have it in place as hold down points

1 Like

I’m really liking this!

No sanding requires, I left my stepover smaller than what was necessary. Also really happy with the grain structure of the redwood, this OG redwood is super old and the growth rings are extremely tight. That and the color matched the texture perfect for some weathered leather look.

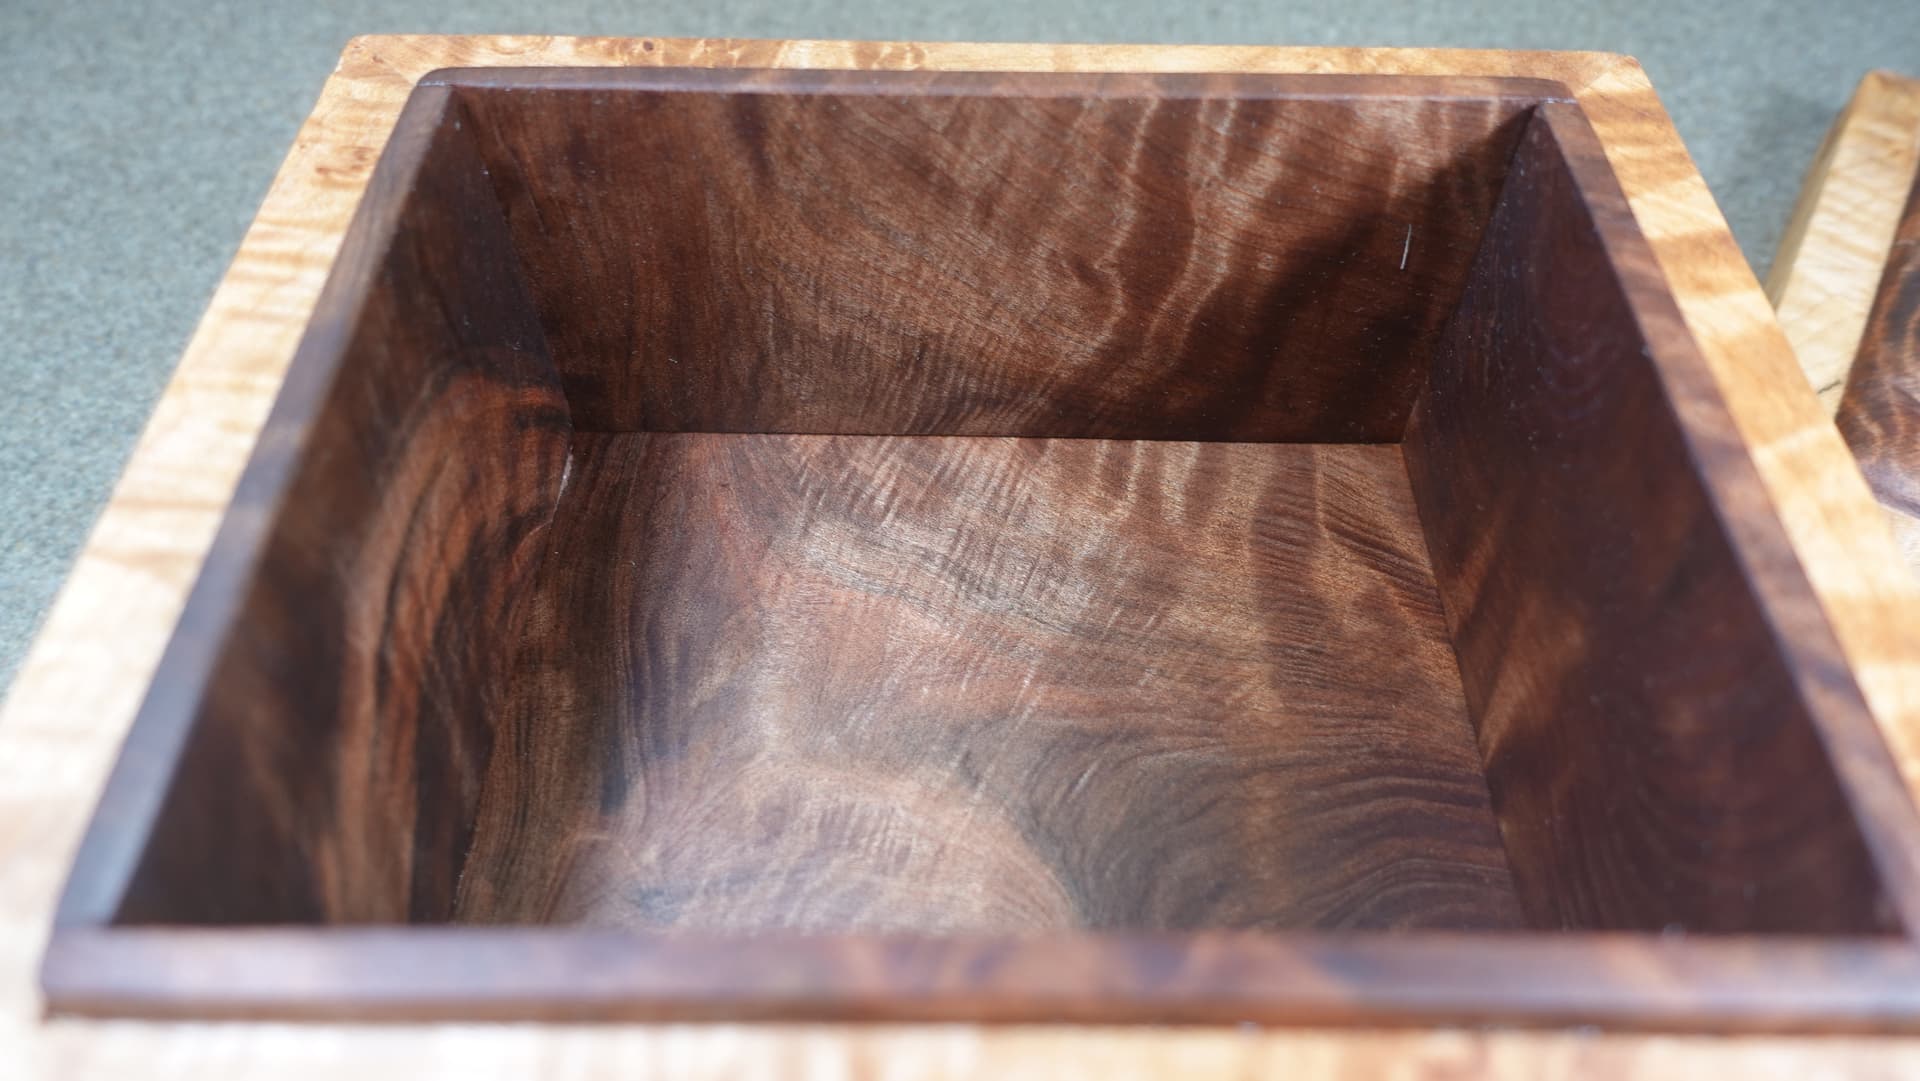
The box is being made right now, had some left over Bog Leaf Maple Burl leftover from a project, should turn into something quite exquisite.

26 Likes

That is a very cool locking effect.

Wow! Looks great so far.

The curly redwood was a good choice, in the light, it really does mimic weathered leather.

28 Likes

Design is really cool! End product looks great!

1 Like

Nailed the look! Well done!

1 Like

Thanks! Here are some pics and the build video. Fun experiment over the weekend. Cheers everyone!

16 Likes

Welp it’s official, saving my penny’s to buy a Shapeoko 5 Pro. I used all my dollars for a couple slabs of OG Curly Redwood.

Going to make large leather wood panels That will span 4x8ish

In the CO Spings area, I think fetching the price point is achievable, or not and it will hang in my living room :nerd_face:.

6 Likes

That’s quite a few penneys. Looks beautiful.

1 Like

Ouch! At those prices I would be sweating every cut.

Wow, that turned out fantastic! Can you post a link to where you got the model?

1 Like

Alright Shapeoko….50hrs of cutting starts today….

Material: Cherry
Panel size 16”x14”
Number of panels: 9
~4.5hrs per panel

Tool: 1/16 TBN
Speed: 180mm/s
Stepover: .005”

Total Dimension of completed Wall Panel:
48”x42”

I have a metric crap ton of 8/4 Cherry for this, shooting for 1.5” thick with a walnut frame around it.

Speeds are a little aggressive, but Cherry is softer than most. More than likely will ebonize the cherry with an oil/wax finish.

Cheers!

7 Likes

Is a metric crap ton more or less than an imperial crap ton?

I think it’s more, by about 10%.

To accurately measure the difference, you have to hold the checkbook directly in front of your eye, drop it and watch how far it bounces off the ground. That’s been my only way :nerd_face:

1 Like

Wow. Do you really need that kind of precision for a wall decoration? Seems like you could cut your production time way down.

Tex,

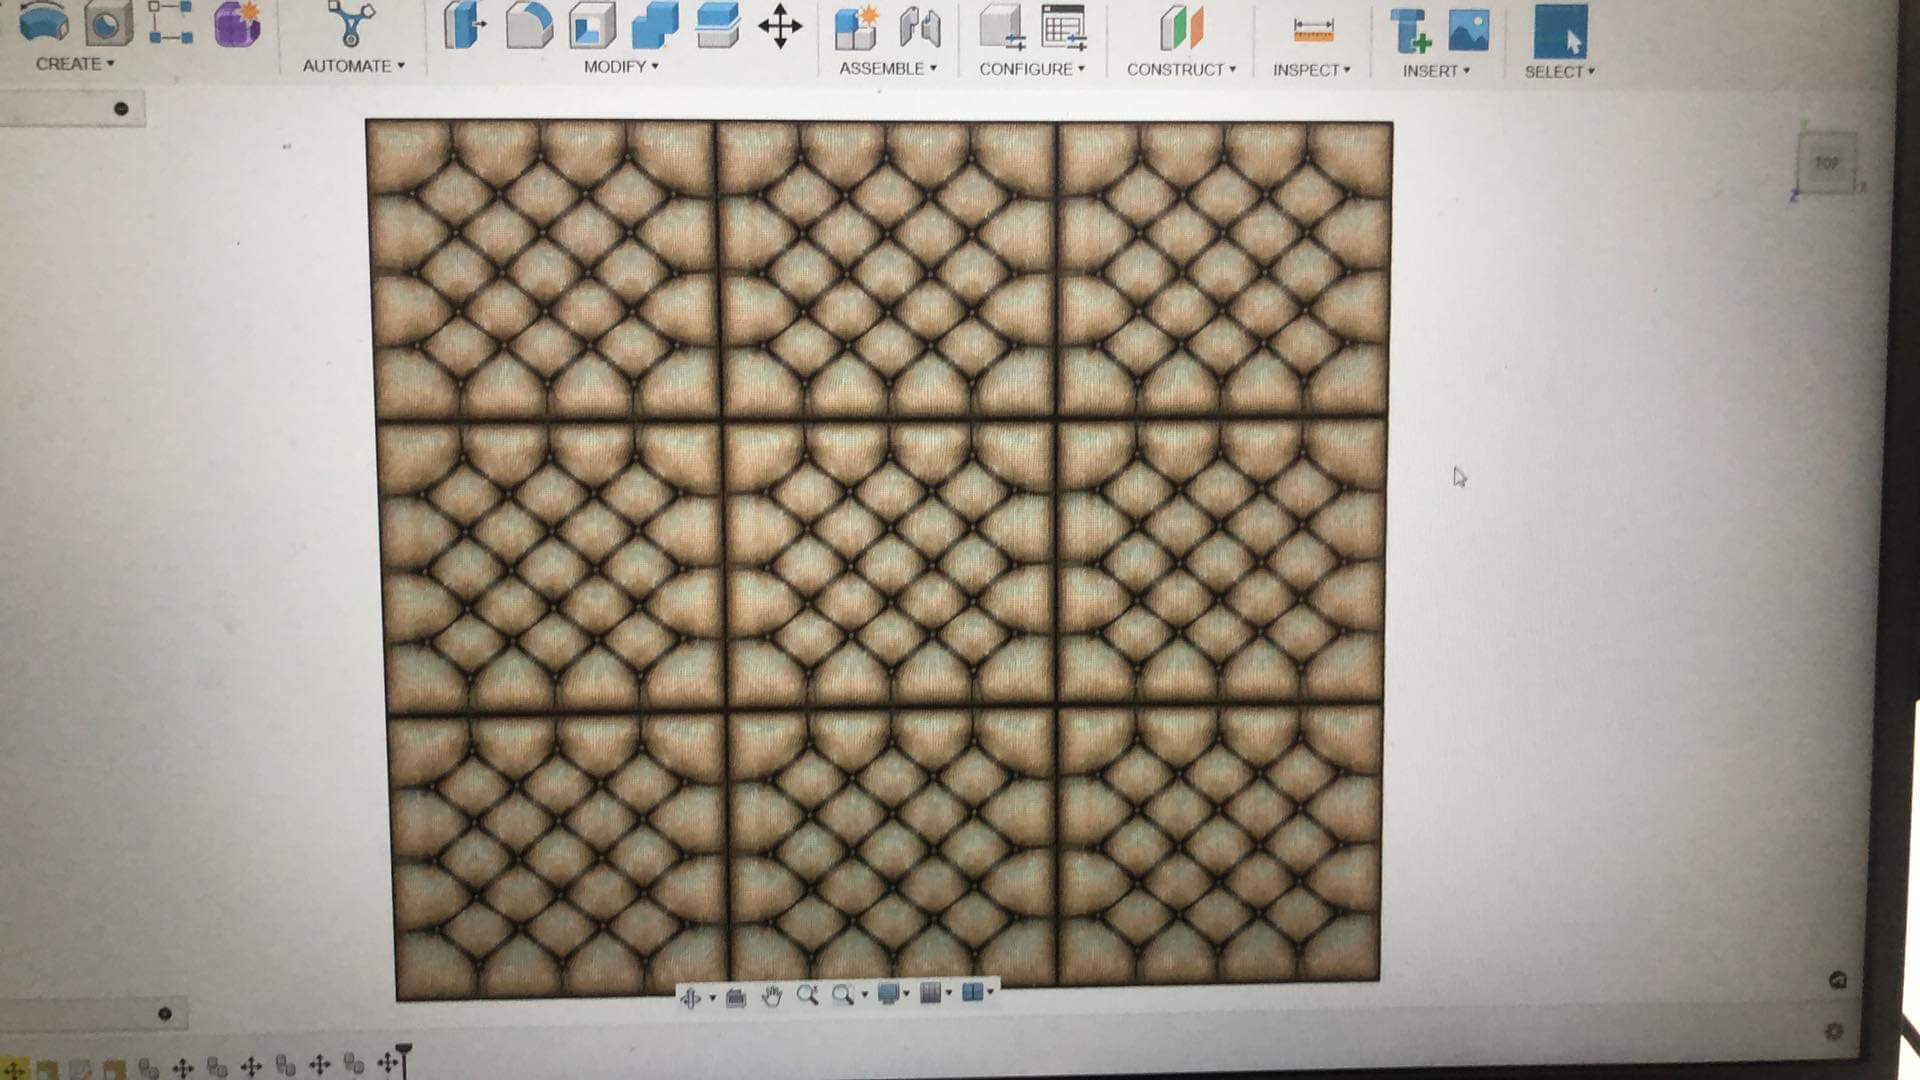
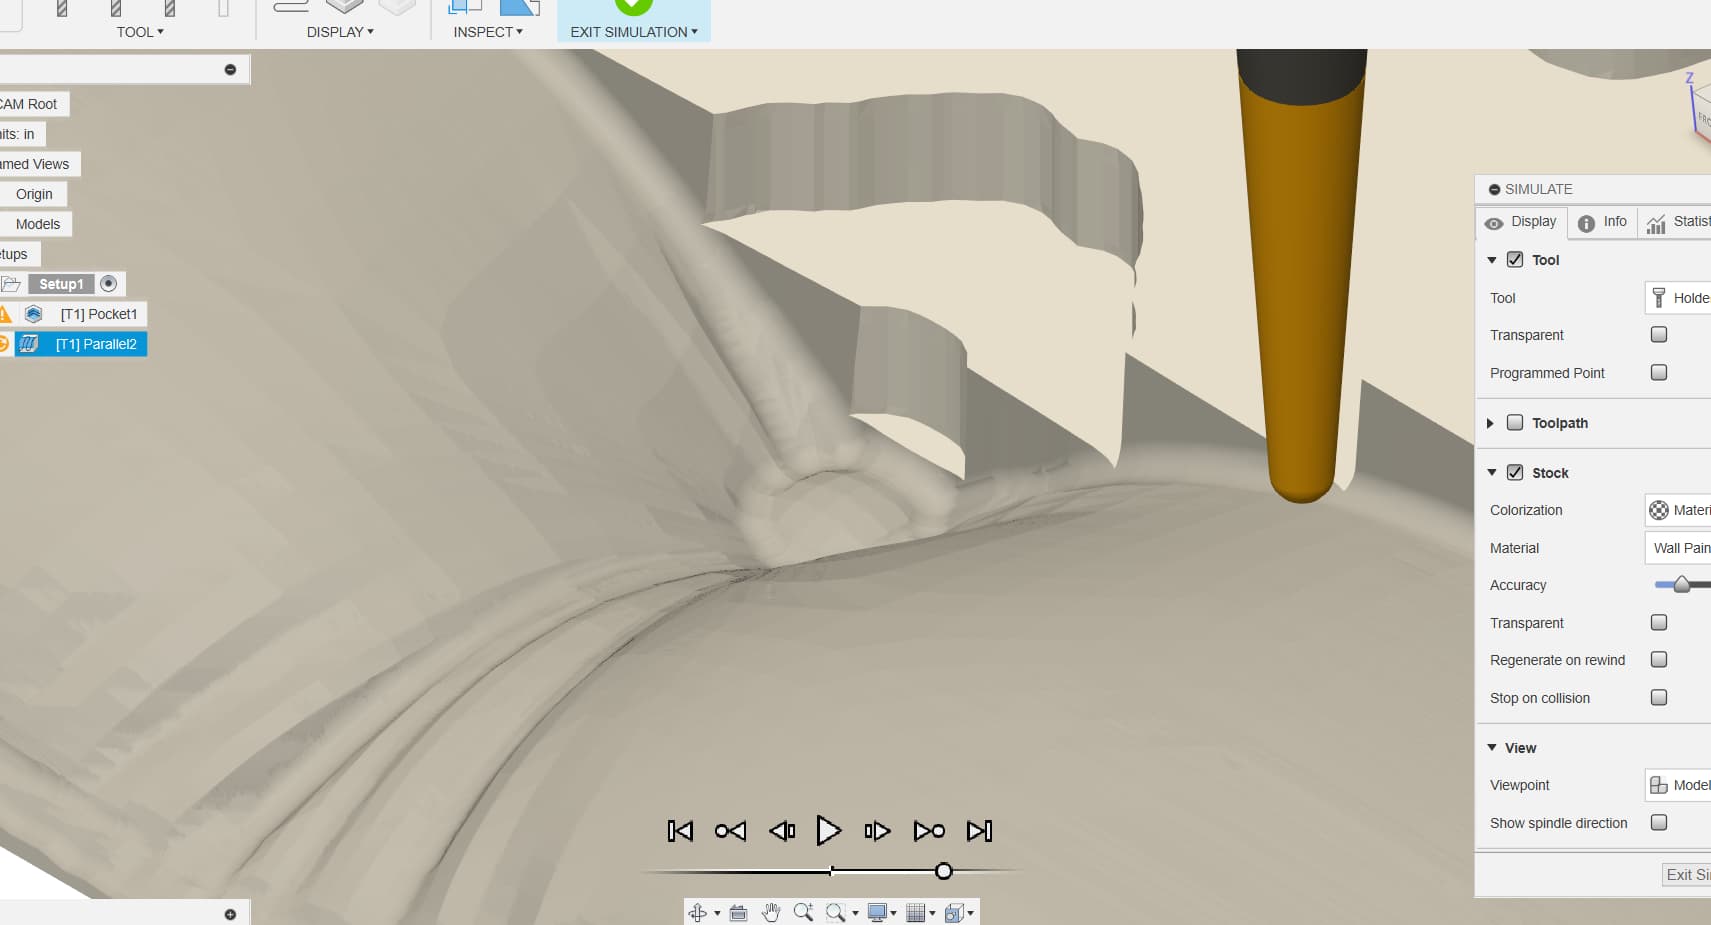
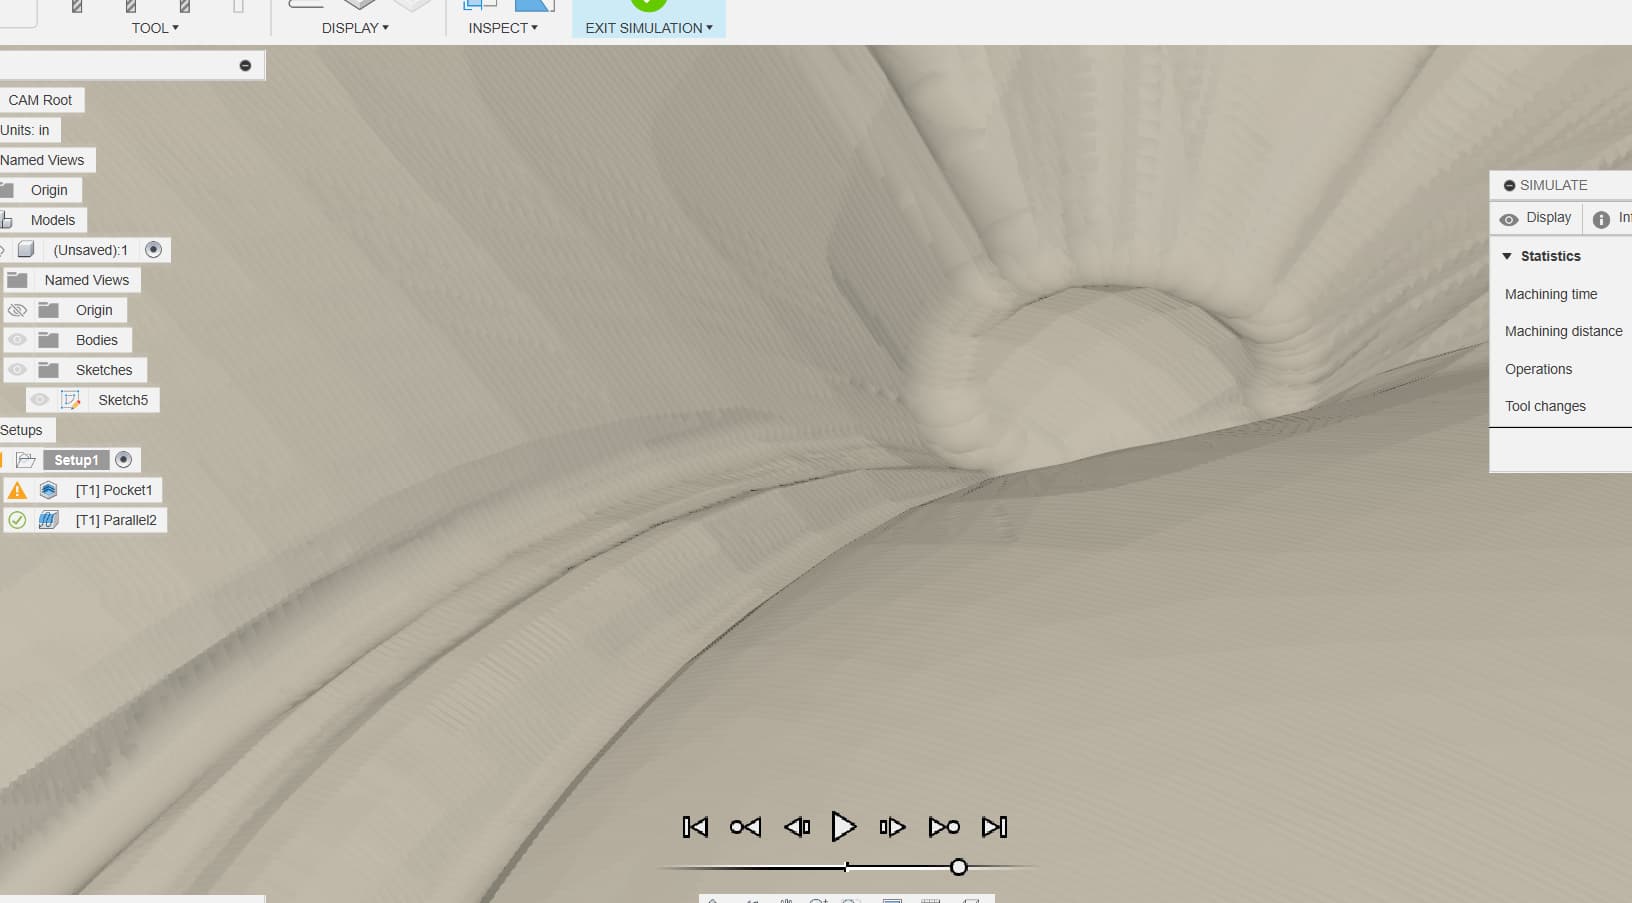
Not looking for precision, more resolution and clarity…meaning less machine marks from the stepover, while maintaining the small profiles. Below are some screenshots:

.005 Stepover

.01" Stepover **You can start seeing the machine lines from the larger stepover.

.025" Stepover ****I would spend the next 4 hours trying to remove those marks

I guess it all depends on how much sanding one wants to do. Looking at the model, I’m probably good with .01". I hate sanding machine marks that are visible, even on a flat surface, they are a pain to completely remove. Now if I wanted to have this mimic fabric, I would increase the stepover to give an added texture of a cloth couch.

Also, if I use a 1/4" TBN, I’m losing the small creases in the model to include a more defined button.

3 Likes