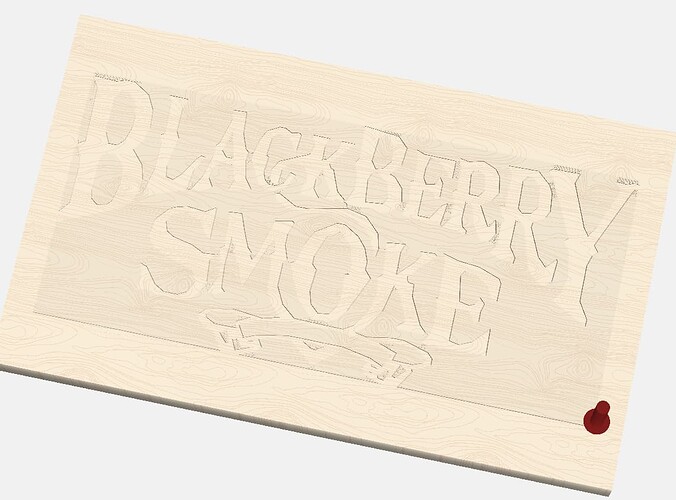
When carving out the lettering on a project I use a smaller end mill bit. Unfortunately it takes a long time to cut out the pocket with that bit. How do I get it so when the lettering is done I can change the bit to a larger bit to cut out the pocket.
Thanks
Eric
Just select all the text and make a tool path. Then select the heart and make a separate tool path. Depending on the size of the distance between the lines of the heart you have to select a tool that will fit at the narrowest part. If you are doing just a simple vcarve the bit will go as deep as necessary to touch both sides of the line. If doing a pocket as long as the bit can fit inside between the two lines (flat end mill). An advanced vcarve would make it possible to limit depth and the flat areas are cut out by a flat end mill and then a vee bit goes around the perimeter.
When doing a simple vcarve you should use bottom of material to get a full depth cut. However if machining thin material with wide lines you can cut right through the material. During the simulation of you see what at the bottom of any object you are cutting through. If you limit depth with a simple vcarve you get erattic results and not fully formed objects. With advanced vcarve you can limit depth but if there are any areas where the flat end mill cannot fit the vee bit will carve out those parts.
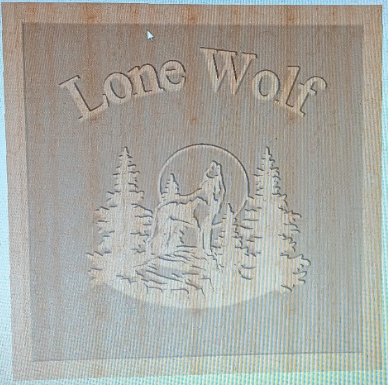
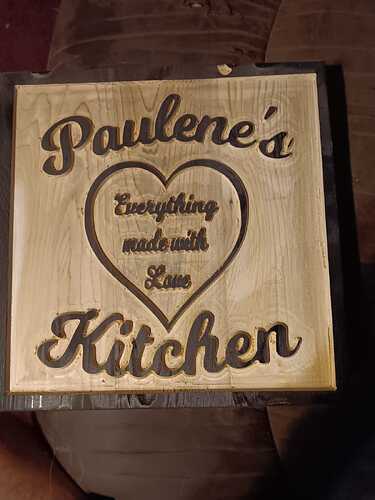
Thank You Guy for responding. Attached is an example of what I am trying to find out. I’m making a sign with raised letters with the background cut out. I have no trouble carving out this sign as long as I use the same end mills bit I start with. I use advance V carve, an 1/8" end mill and a 60 degree V bit. How do I create a toolpath to cut out the background with a larger end mill bit so it doesn’t take so long without cutting away the lettering.
Thanks
Eric
Carbide Create Pro has an option for “REST” machining.
Alternately, you could use V carving with the pocket clearing option enabled.
I think he is using the pocket clearing option but using an 1/8 bit which takes a while to do the larger area.
You could draw a border around the areas with the finer details and then do a pocket with a larger bit between that and the outer frame. Or do a separate Adv Vcarve in that area with a 1/4 clearing bit. You may have to have multiple vectors in the middle and alternate which one you use on the inner and outer pocket to keep from having a ridge in the middle.
I think you would need to add geometry to limit how far the VCarve is going (so you aren’t clearing the whole are with a small bit), then create a new pocket toolpath for the larger bit to do the clearing.
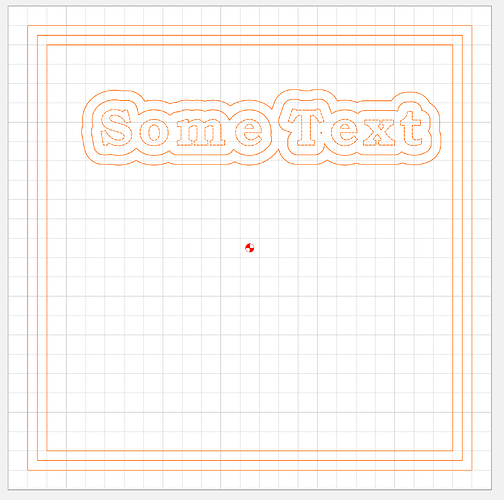
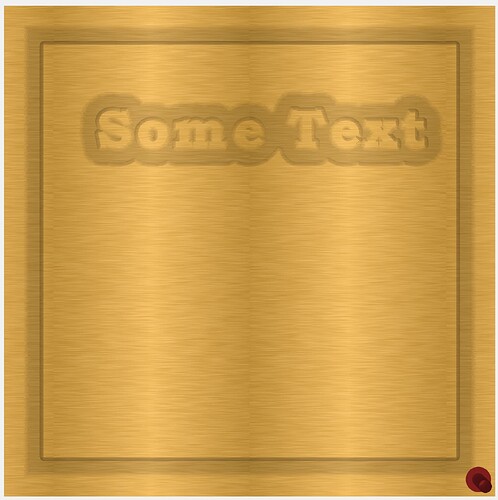
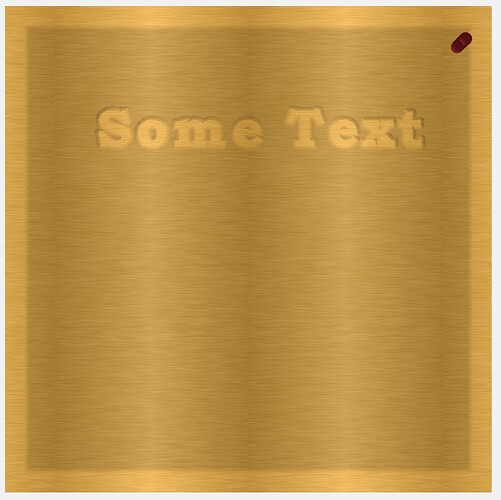
Here I’ve added geometry (using ‘Offset Vectors’) 5mm and 10mm away from the areas I want VCarved. We VCarve up to the 10mm boundary, the pocket using the 5mm boundaries, so there is overlap.
VCarve to 10mm boundary:
Add pocket to 5mm boundary to do the grunt work:
I agree with @mhotchin. Do an advanced vcarve on the lettering with a border, maybe offset, and then a pocket for the large space with a larger bit. There are many ways to skin a rabbit but in the end you get a skinned rabbit. Just make your offset around the letters a little larger and overlap the offset with two rectangles and pocket that.
I have 2 questions. First how do you guys copy the simulation? I have been taking a pic with my phone and then posting that.
Second, I understand what your saying about the offset. I did that but when I created another toolpath to clear out the surrounding area in my simulation it removed all my lettering too.
I use Greenshot to capture images. But the built-in alt-print screen works. You just have to crop the image.
If I understand correctly, you want to do a limited V-carve just around the letters, then a clearing pocket with a larger tool…
So in Michael’s example, for the first Advanced V-Carve you select these vectors

And for the second clearing operation you select these vectors
That’s what I meant in my earlier post about alternating the vectors but it is much more clear with the pictures from @Tod1d
I’ve copied the simulation by using Window’s snipping tool. (if your using windows)

Hope this helps.
![]()
Thanks for your help. I forgot about the snipping tool, I have used this before.
As for the other topic, I have tried and tried and cant seem to get it. I’m still super green at this and when it comes to Toolpaths and layers I’m lost. I don’t know how to separate toolpaths to cut them separately or if you can even do that.
In the example above “Some Text” the red is the selected first correct. Are you saying cut this out at this point or is this a separate toolpath? If that’s the case, can you have more than 1 toolpath. I have been doing everything with a single toolpath.
At this point, if you post your file, we could show you on that. Then you could look at something familiar, and see what has been added.
To your last point, yes you can have multiple toolpaths, and the toolpaths can operate on completely different sets of vectors.
I’ve included the example I created above so it’s easier to see what is going on with it. I actually re-created it, so it’ll be slightly different than the examples above, but it’s the same idea. I also grouped the vectors that are used for each toolpath, so you can easily see what vectors are being used together.
SomeText.c2d (252 KB)
Lone Wolf Howling.c2d (1.5 MB)
LW.c2d (1.4 MB)
There are 3 toolpaths in this file now. The first two are the VCarve+ Pocket (in Group 1), the third is just using the VCarve to do everything. You would EITHER use the first two toolpaths, OR just the third toolpath.
You can enable and disable toolpaths by right clicking on them. CC estimates that the VCarve+ Pocket saves about 1/3 of the time of just doing VCarve for everything (183 minutes vs 309 minutes). CC feeds and speeds are pretty conservative, I have no doubt that you could save quite a bit more time by increasing the feedrate and DOC for all the bits.
Thank you very much Michael for your help. When I first started using the machine I watched many “how to” videos on Youtube to learn how to use it. I did do a few projects and got a little familiar with the machine. Last night I re-watched a bunch more videos some of which I watched before, between this post and watching the videos it was like a light going off and I could understand what people were trying to tell me.
Thanks again to all who helped.
Eric
This topic was automatically closed 30 days after the last reply. New replies are no longer allowed.
