Newbie here.
Is it possible to carve text onto curved surfaces in C3P?
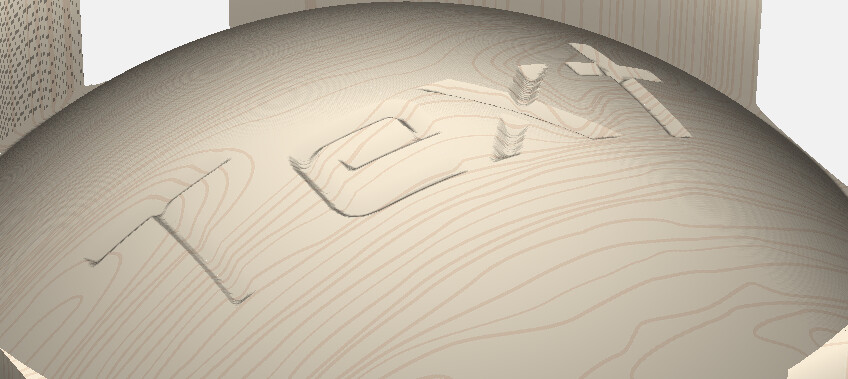
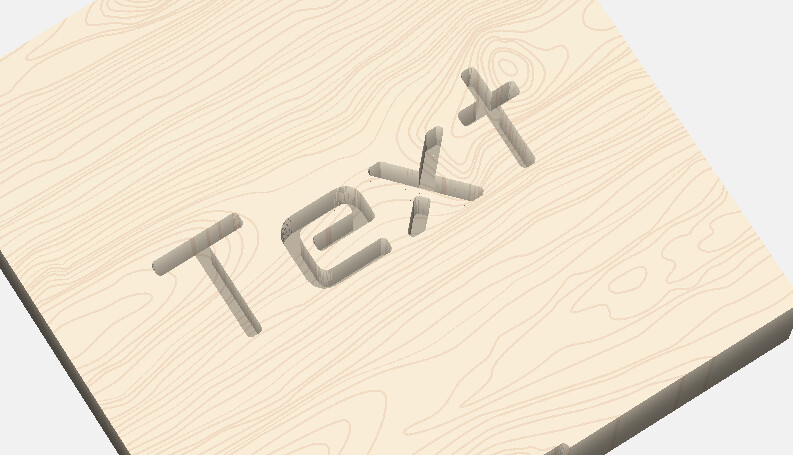
It seems easy enough when modeling the shape of text onto a dome but, I just can’t seem to cut out the text on the dome in toolpaths. It always cuts on a flat level and cut across and into the shaped stock.
Am I missing something or is it simply not possible on C3P?
Sorry, C3P is my way of saying Carbide Create Pro. I keep typing C3P. Maybe have C3PO in the brain.
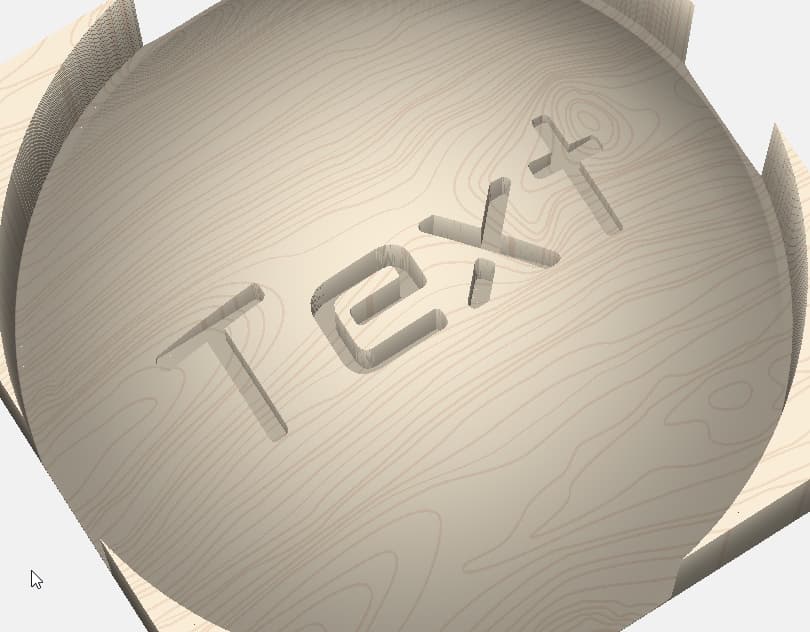
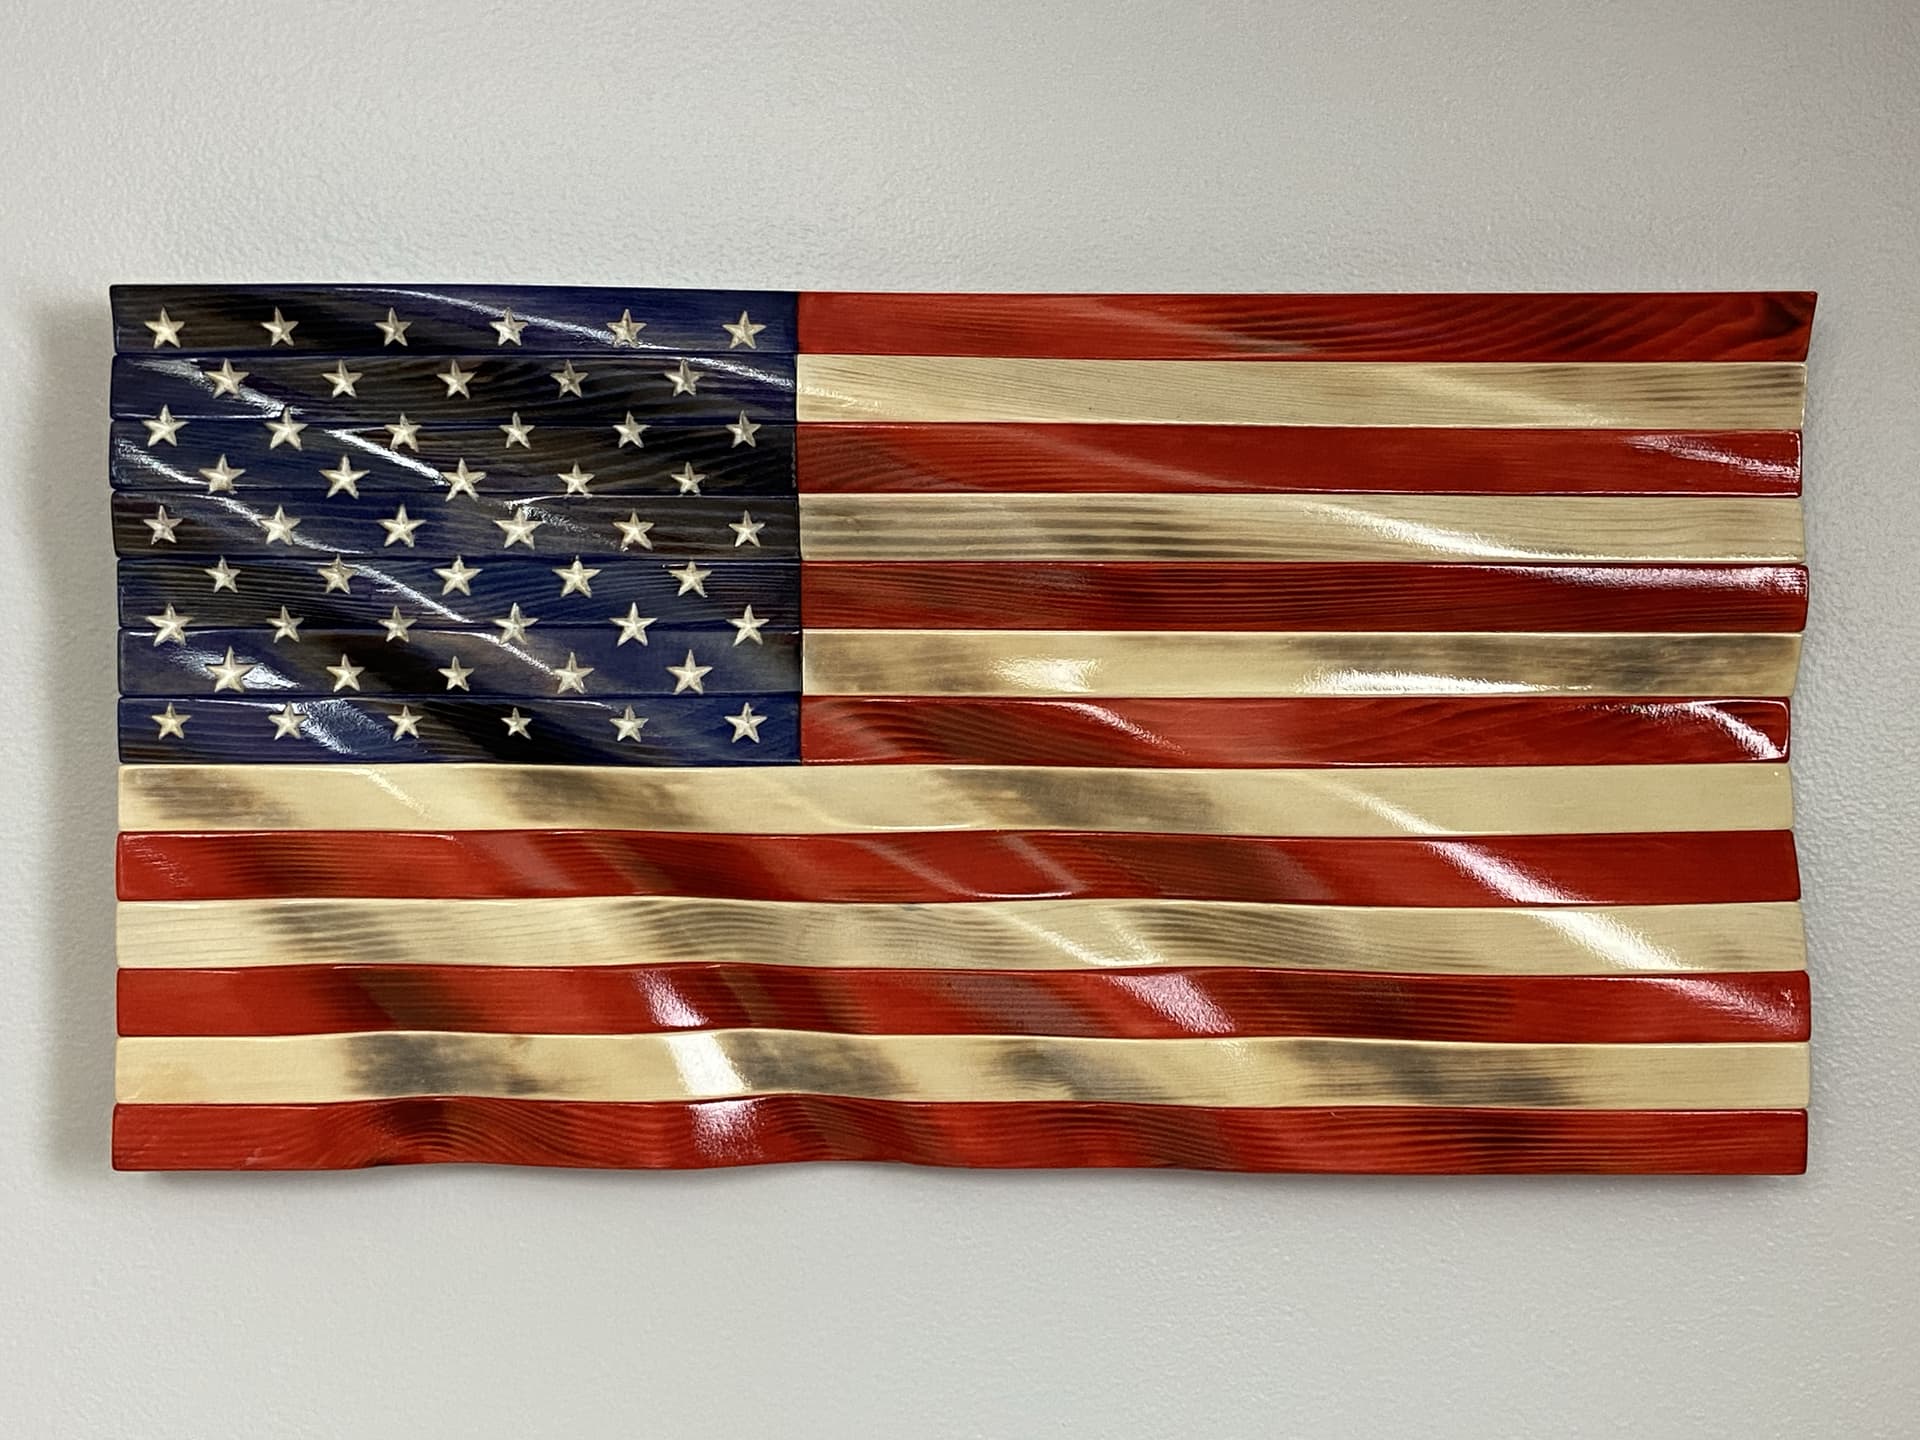
In your First image, that is what I get and it looks great in modeling but, image 3 is the result I always get in Toolpaths.
I noticed that Vcarve does by clicking calculate, (on someones youtube Video) and thought CC could do the same.
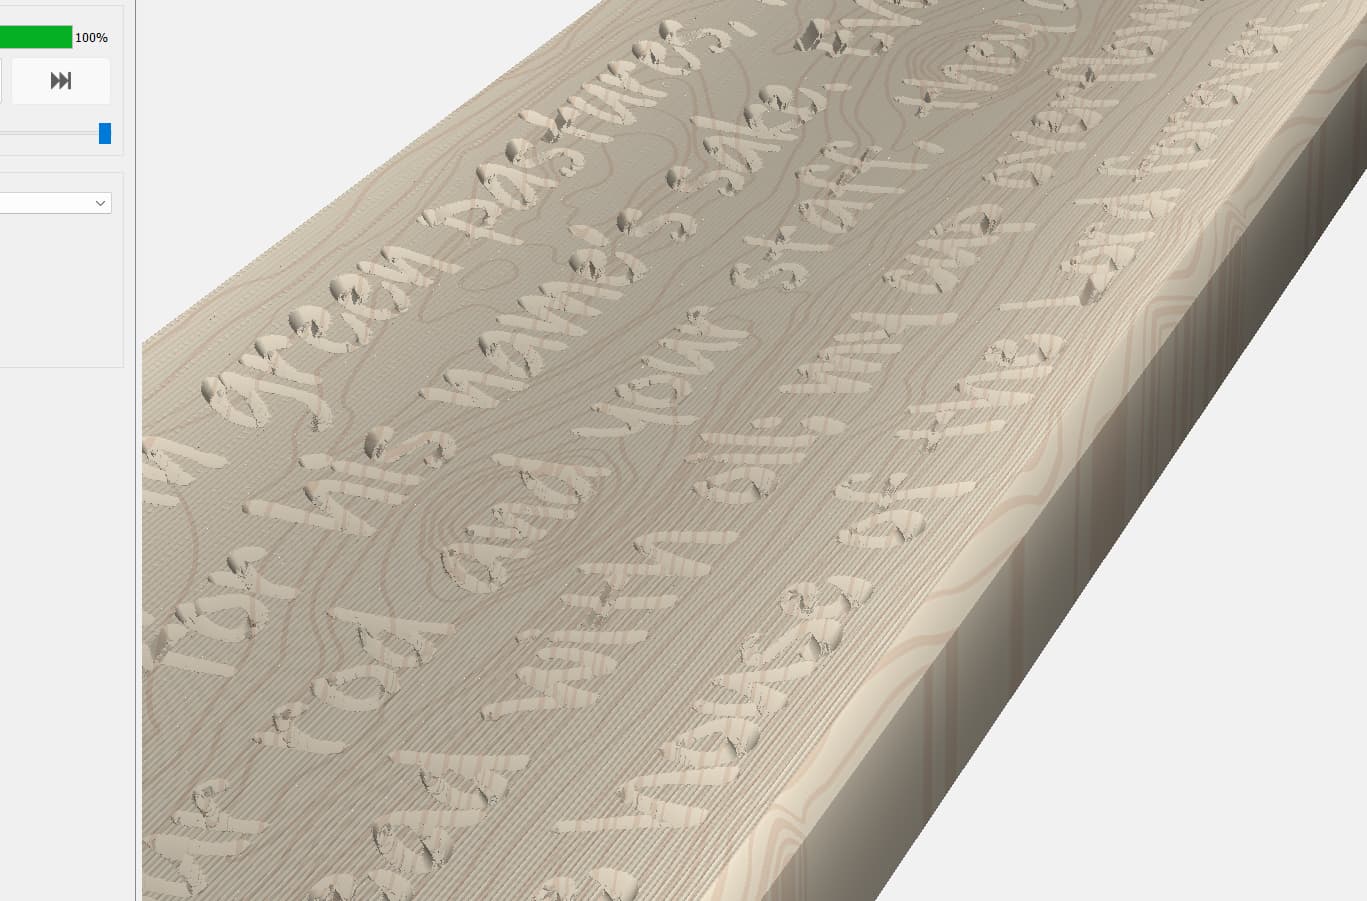
This is the best I have been able to do so far; by breaking down each line of text and specifying each lines own toolpath at varying depths of cut.
You need to have the source for your curved surface turned on (in the model tab). I will also note that for the examples I have shown here the there are two different 3d model files I used an STL for the flag waves then I exported the heightmap that CC created from the STL and took it to photoshop where I superimposed the stars/logo on a layer above the wave height map. I combined the two layers into one in such a way that the new feature was added to the wave depth (in photoshop I set the detail layer to multiply). Flatten the image down and resave as a png. Import this new png into the model tab at the exact same size as your original depth map (use the same bounding shape you had selected when importing/creating the original 3d surface) Make a compound shape with the text you want carved. then with the text selected and that 3D curved source define a 3D finish toolpath. I use a very fine detailed tapered ball nose (.015625 radius / 12 degree)
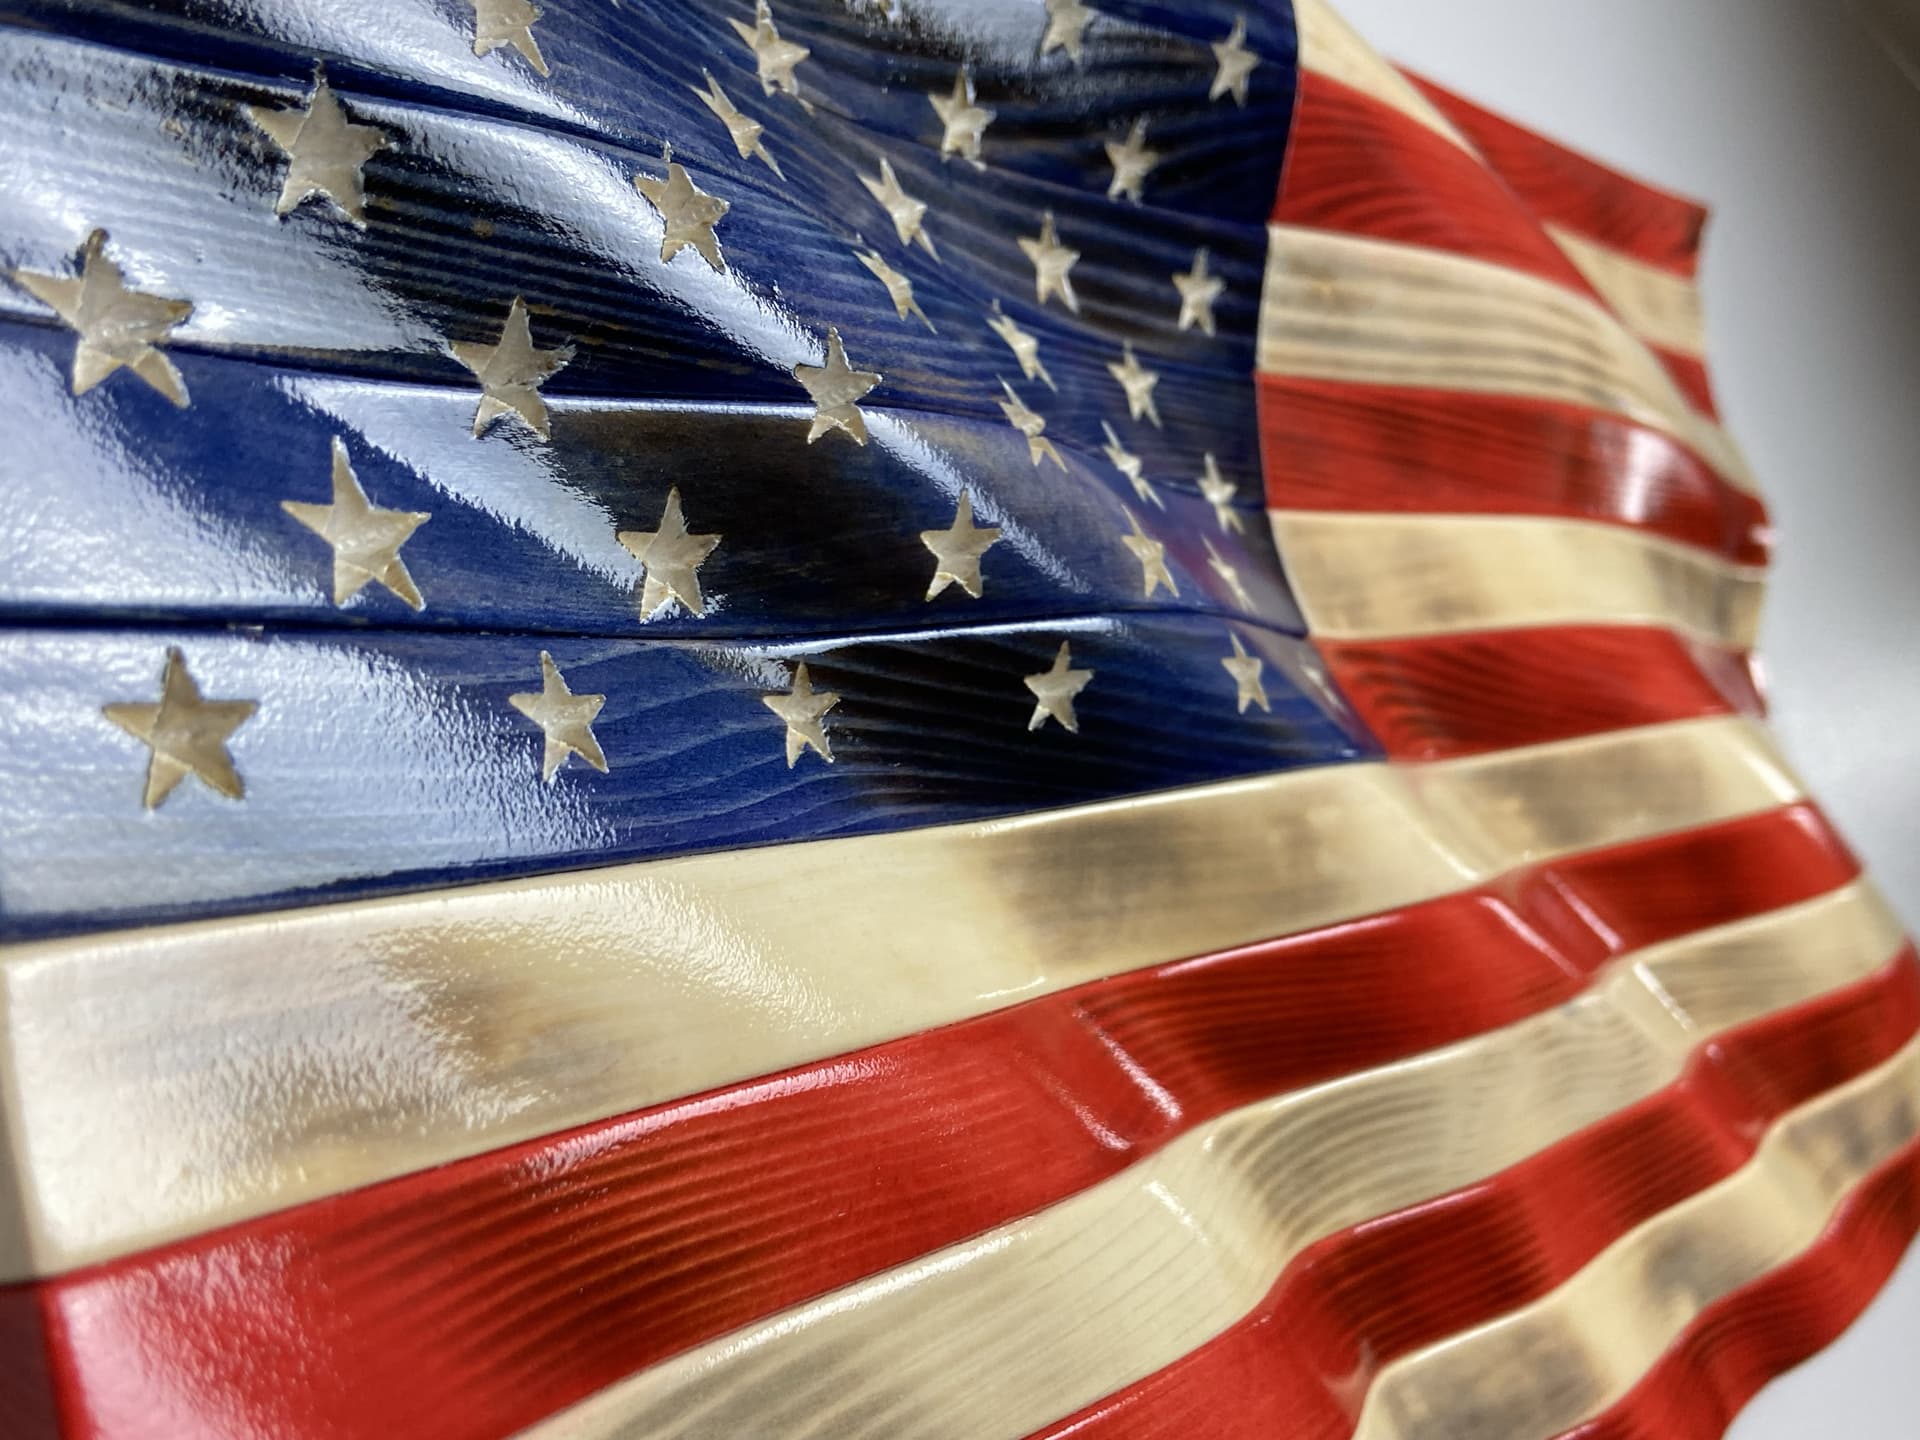
The stars ended up slightly different sizes because I hand sand the wavy contour perfectly smooth after carving which means that I have removed varying amounts of wood from different areas of the surface resulting in different sizes on the stars. Also some distortion is introduced because the carving head is always perpendicular to the table and not the surface being carved so engraving the leg of a star in an area that goes downhill that leg will look elongated slightly.
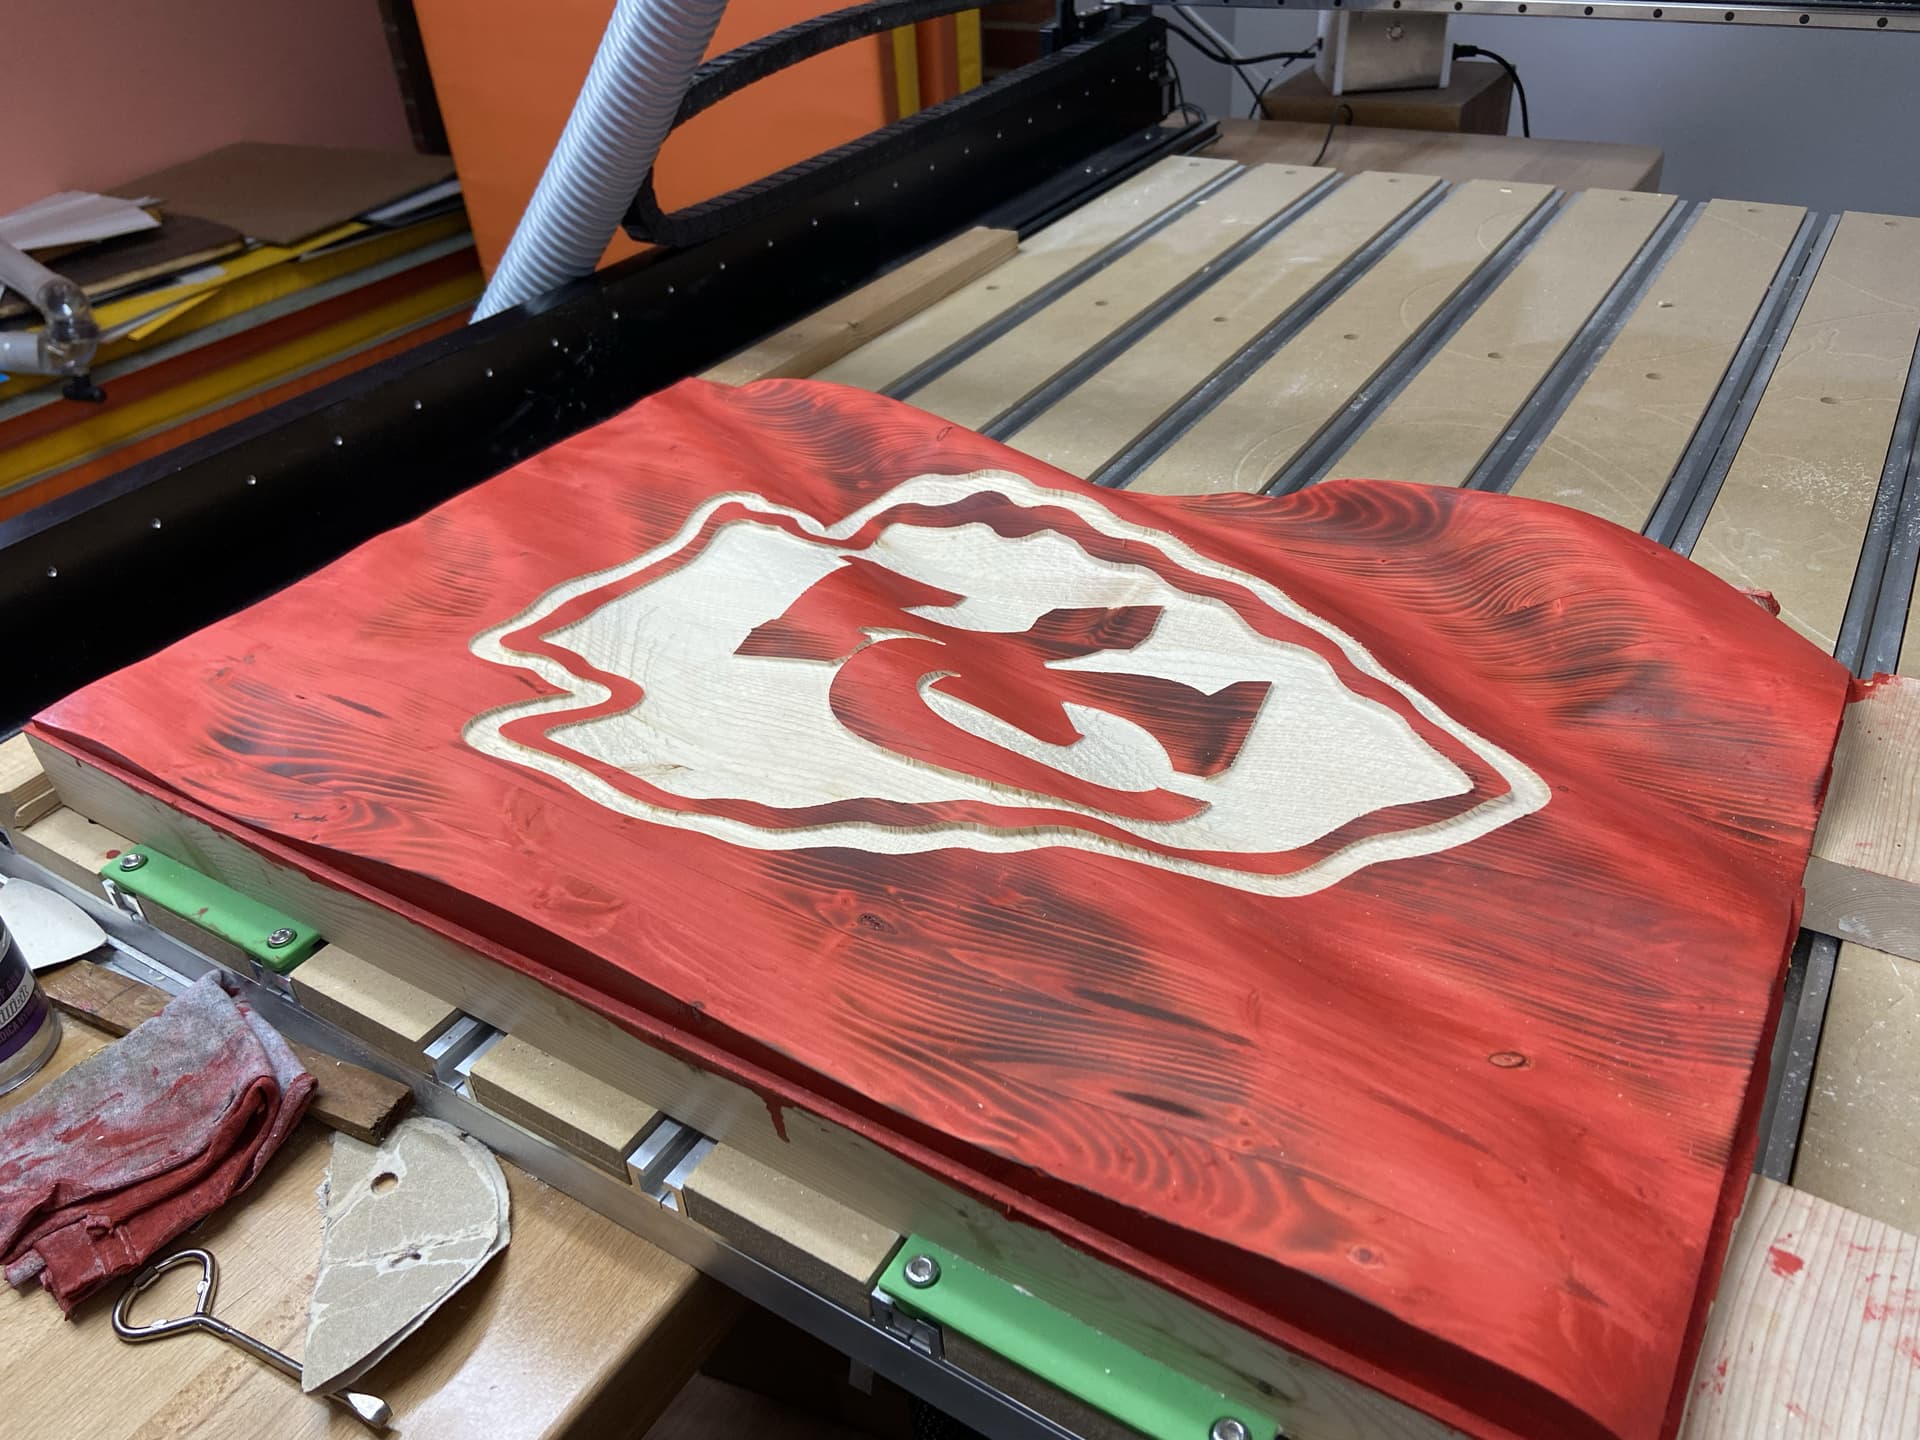
On this Chiefs flag I used a .03125 Radius 12degree tapered ball nose. Same process though.
This is a bit of an abreviated explanation but I have some time in the evening I can try to put together a more detailed process description. Unless someone around here <looks at @WillAdams > would like to share another tutorial that he has probably got stashed in his digital box of goodies!
Thank you, OneEyedDogLLC for taking the time to explain, it’s not easy explaining things such as this.
I don’t have and I’m not familiar with photoshop so, I’m afraid you lost me at that point. I am trying to make just plane text curve around a concave surface like that in my last picture. As you can see from that picture, if you look at the word ‘green’, you will see the depth of cut is deeper at the top of the word than at the bottom. I understand it’s not possible to have an even depth of cut on a concave or convex surface in CC. I thought that by converting the text to curves might make it possible because the letters then become just shaped vectors but, I can’t for the life of me work it out yet. I have had the source for the curved surface turned on and off, I have even used 3D Rough and finish but still cuts flat with the same result seen in the word ‘green’ in the picture. Perhaps there is something I’m just not getting yet. If anyone is able to do a tutorial on this I would be eternally grateful.