I just got into 3D carving using CC Pro. My first job is machining a 3D map which was provided as an STL file. Importing this into CC and creating the roughing tool path and finishing tool path worked great and I was able to get some great results after tweaking the stepover (btw, how do I report bugs? The stepover percentage in the tool library does not match the distance displayed and used).
The Situation
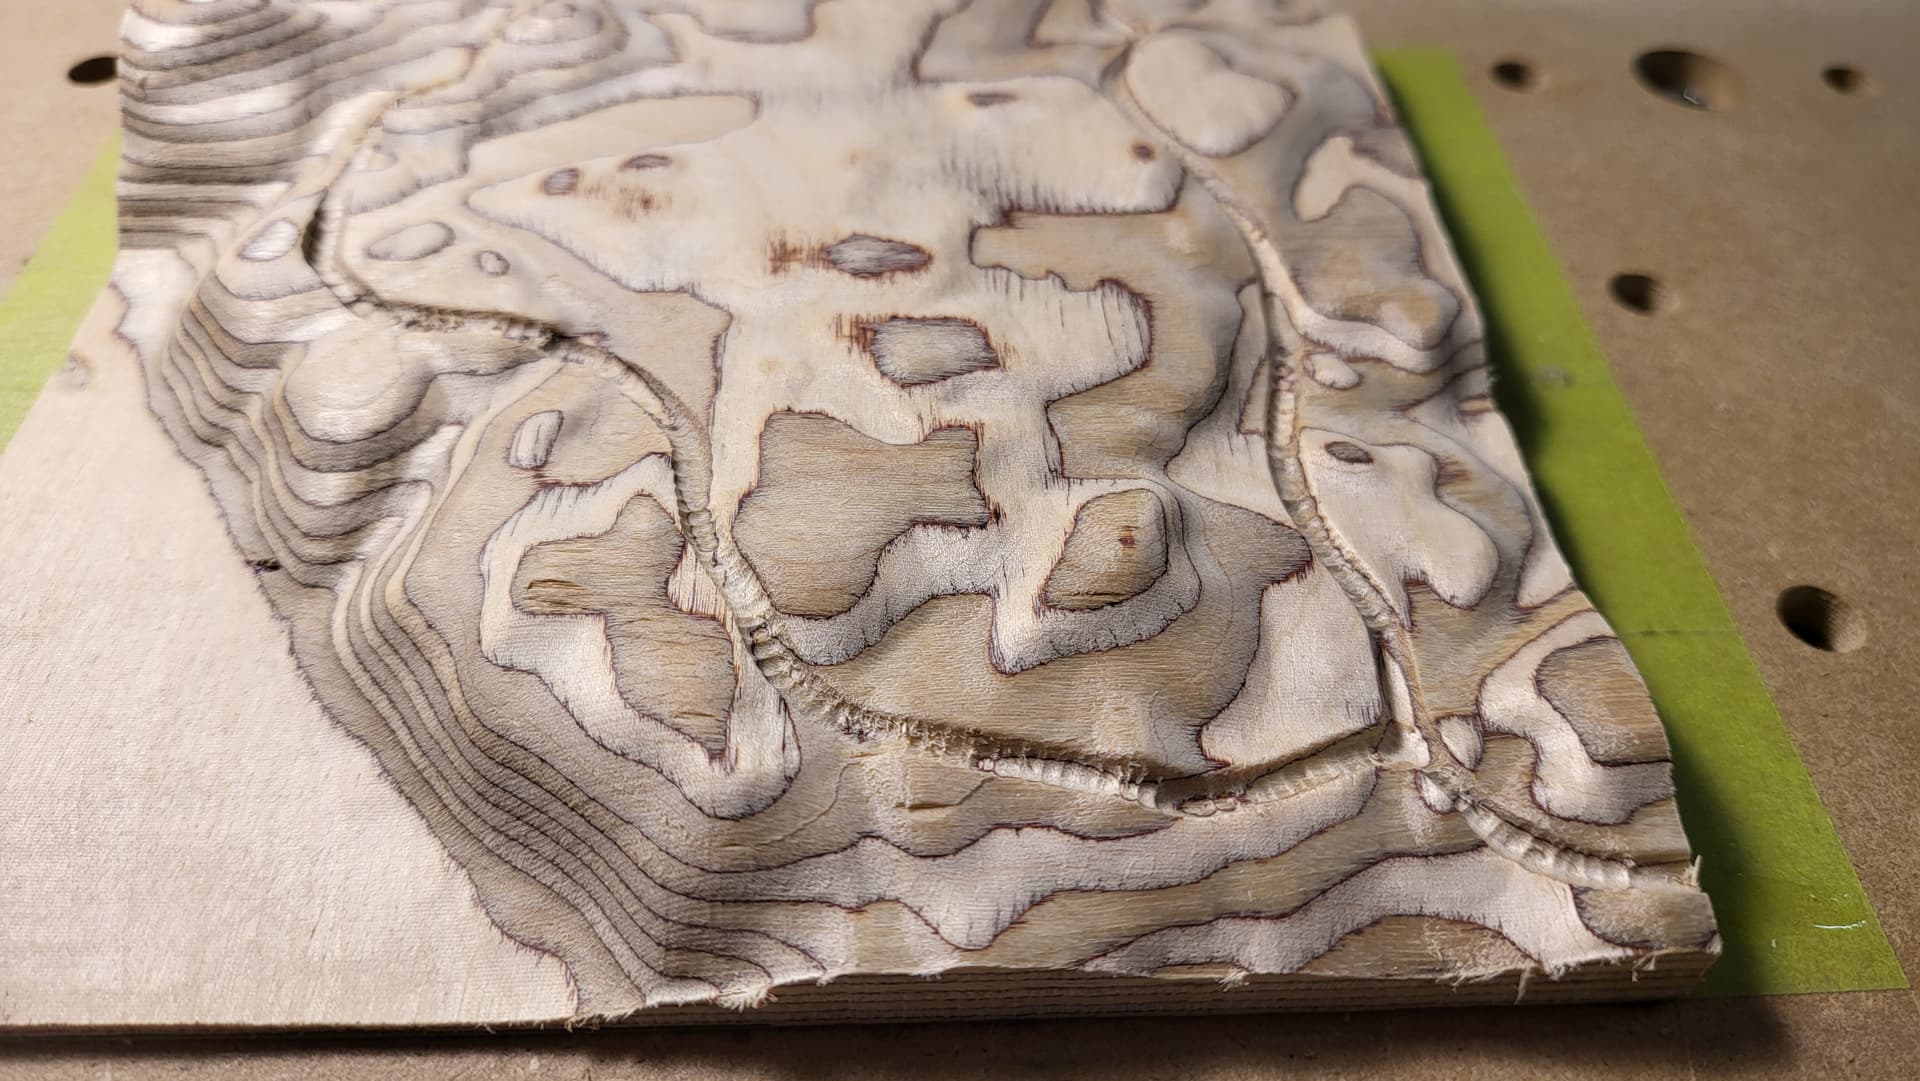
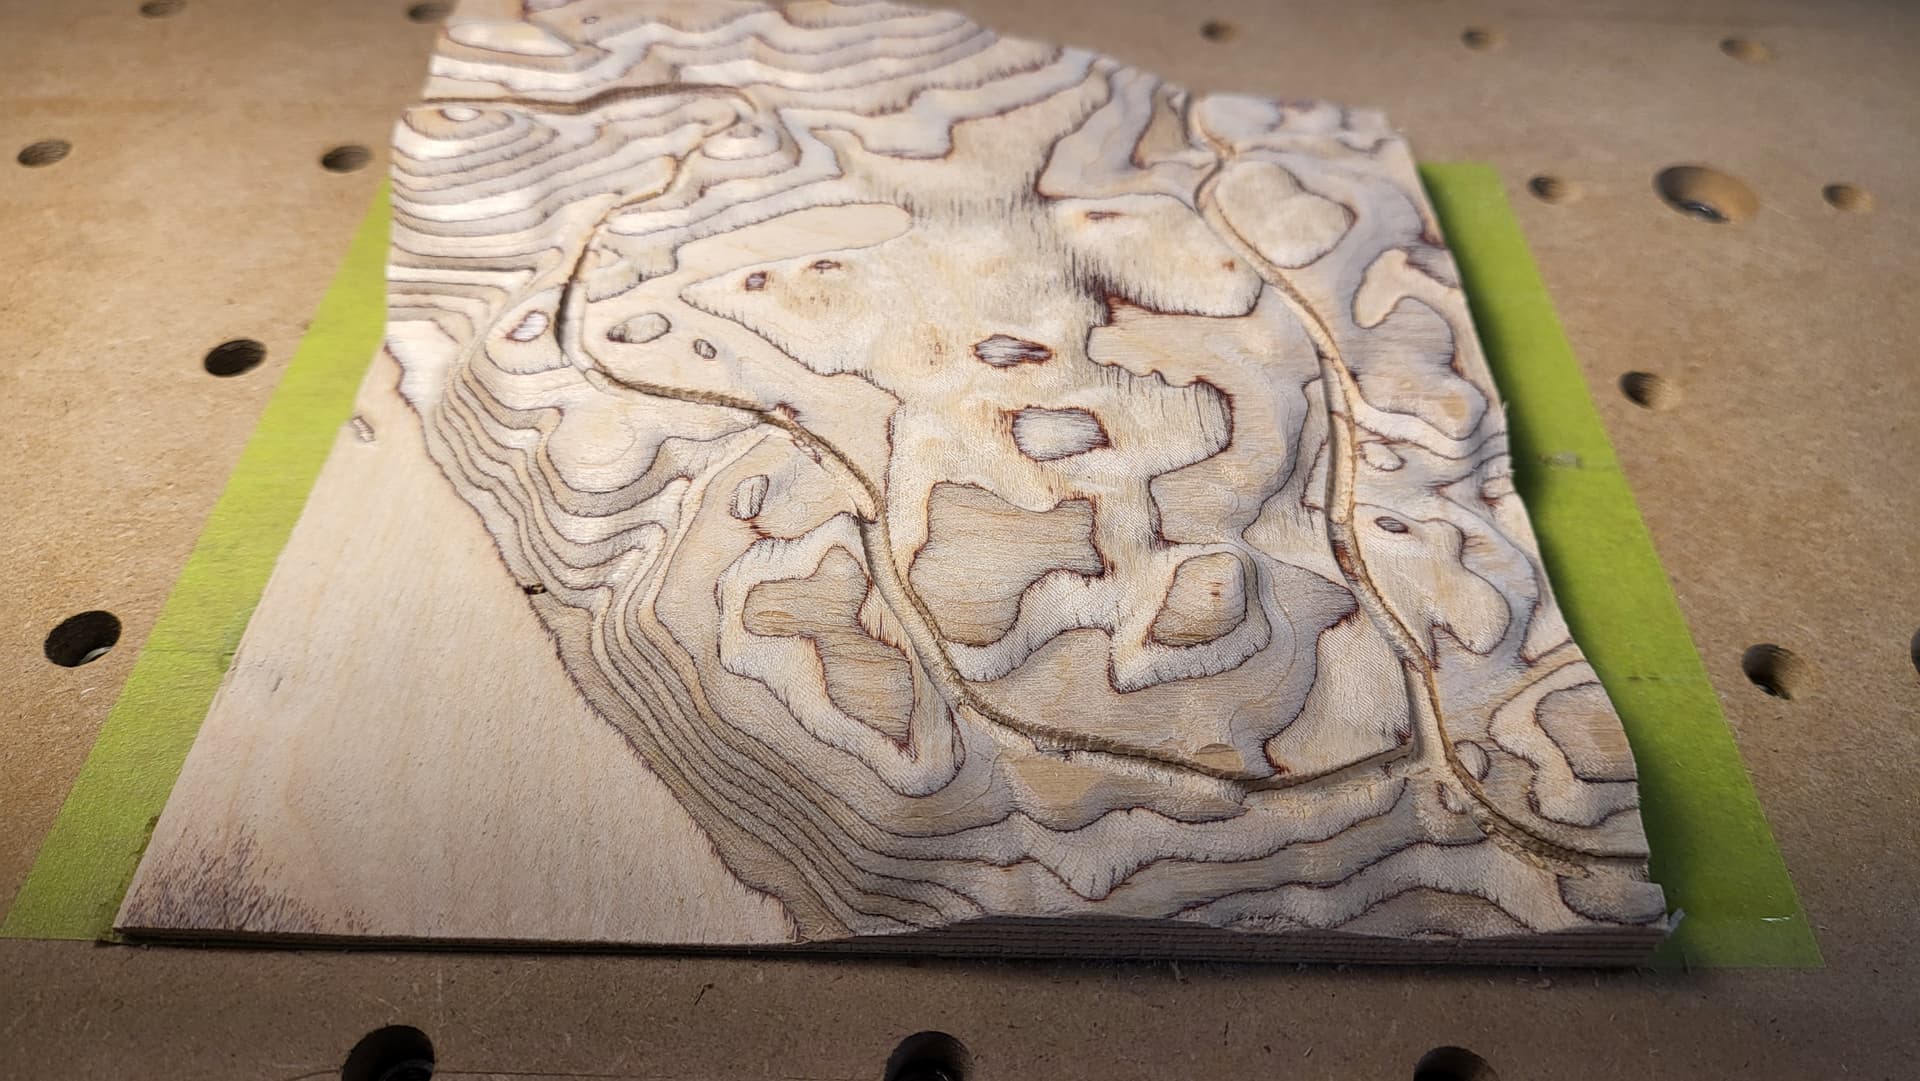
I want to ‘engrave’ a road into the terrain. At the moment the road is modeled in the STL file as a ‘trench’ that cuts its way through the map, with the depth of the trench a consistent depth from the surface of the terrain. I have found that I can get a great finish on the terrain using only a 1/8" ball end mill, but the road looks choppy (as seen in the photo above). To get the road (or trench) to look nice and smooth I need to do another pass with a 1/16" with minimal stepover. The 1/16" machining step takes almost 2 hours and is really only affecting the road which probably only accounts for 5% or less of the model - this is a lot of wasted time. (Also, this model is 1/12th the size of the full model so that 2 hours turns into 24…)
This shot is after a 1/16" ball finishing pass I would like to avoid
The Question
I feel the optimum solution to this project is to do it in 3 stages. 1 - Rough 3D toolpath of the terrain, 2 - Finishing toolpath using the 1/8" ball of the terrain, 3 - A contour tool path using the 1/8" ball that follows and cuts the road into the terrain. Using a contour path instead of the raster-style path of the 3D machining would produce a nice smooth road in one shot. However, to keep the road a consistant depth relative to the terrain surface this contour tool path needs to be in 3 dimentions. Does this makes sense? Is this possible in CC Pro? Is there some hack I could do to get this to work? Any other ideas for how I could do this would be great!
I’m not sure what you mean to create some geometry along the road to limit the bounds of the finishing pass. Is that a feature in CC? Might you have an example?
Limiting the finishing tool path would definately help with the time but it will still be using the raster style toolpath (back and forth purpendicular to a set angle). If possible I feel a 3D contour would still be optimal - if its possible
Cheers!
It’s not possible to get the tool to follow directly, but if one:
creates/imports a 3D model
draws a closed 2D geometry along it which is at least 10% wider than the tool which one wishes to use
subtracts that as a rounded form to say a depth equal to the radius of the tool plus 10%
It should work to:
disable the subtracted path from the 3D model and cut it as a 3D model w/ roughing and finishing toolpaths
enable the subtracted path so that it is now a part of the 3D model
select the 2D geometry which defines the path and cut that as a 3D finishing toolpath using the approriate ball-nosed tool — it won’t directly follow the toolpath (no pencil mode for 3D FInishing), but it will cut along the shape and describe it in 3D as a cutting toolpath