One of the things I have been working on recently is protective caps for CGA fittings that need to be kept clean but use ready. (I will talk around the NDA. It is not a medical/patient care application)
If you are unfamiliar, CGA is the Compressed Gas Association, and they provide the standards for most types of compressed gas connections used throughout north america and many other places in the world. A common one is the CGA580, the connection for a regulator to the valve on most inert gas cylinders used in welding (most Argon, CO2, end so on). The specifications cover low and high pressure, where low pressure is (mostly) 13bar (200PSI) and below, and high pressure goes to well over 150bar (2200PSI).
This application requires that connections be kept ready for immediate use, and that they be kept clean and uncontaminated. There are a number of ways to do this, but the one that is desired allows for advance prep and partial setup rather than cutting bags open while wearing full PPE. Slip on caps are available, but are not that secure (they can come off during handling) and are often a pain to remove with gloves. So I was asked to provide an alternate option. Surprisingly, there isn’t one commercially for the fitting here.
The material is Nylon 6-6. Tough, can be cleaned and sterilized. Can make a satisfactory seal with the seat involved. 25.4mm diameter virgin bar (1.000").
The price is… not my problem, but anyone that has ever dealt with getting a pedigree for material knows that it is not cheap. I’m showing the prototype run here, as I don’t have the tool on hand for the threading on the mill (just a bit too course for the tools I have on hand). I did that with a hand tap. The prototype run was done with less than optimal toolpaths, and at lower speed than the final job will run at. I ran five protos, and threaded for CGA-032 (Argon or other inert mix. I can use them on my portable welding rig lines). I’ll adjust the threading and lay out for 25 at a time to run volume. I still need to adjust the thread length. Full thread is too much. Three turns is about ideal. This will be done using a cylindrical bore at the entry and starting the thread further into the cap.
As an aside, the fixturing I did for the last contest was practice for this. The stock is friction fit into the wasteboard:
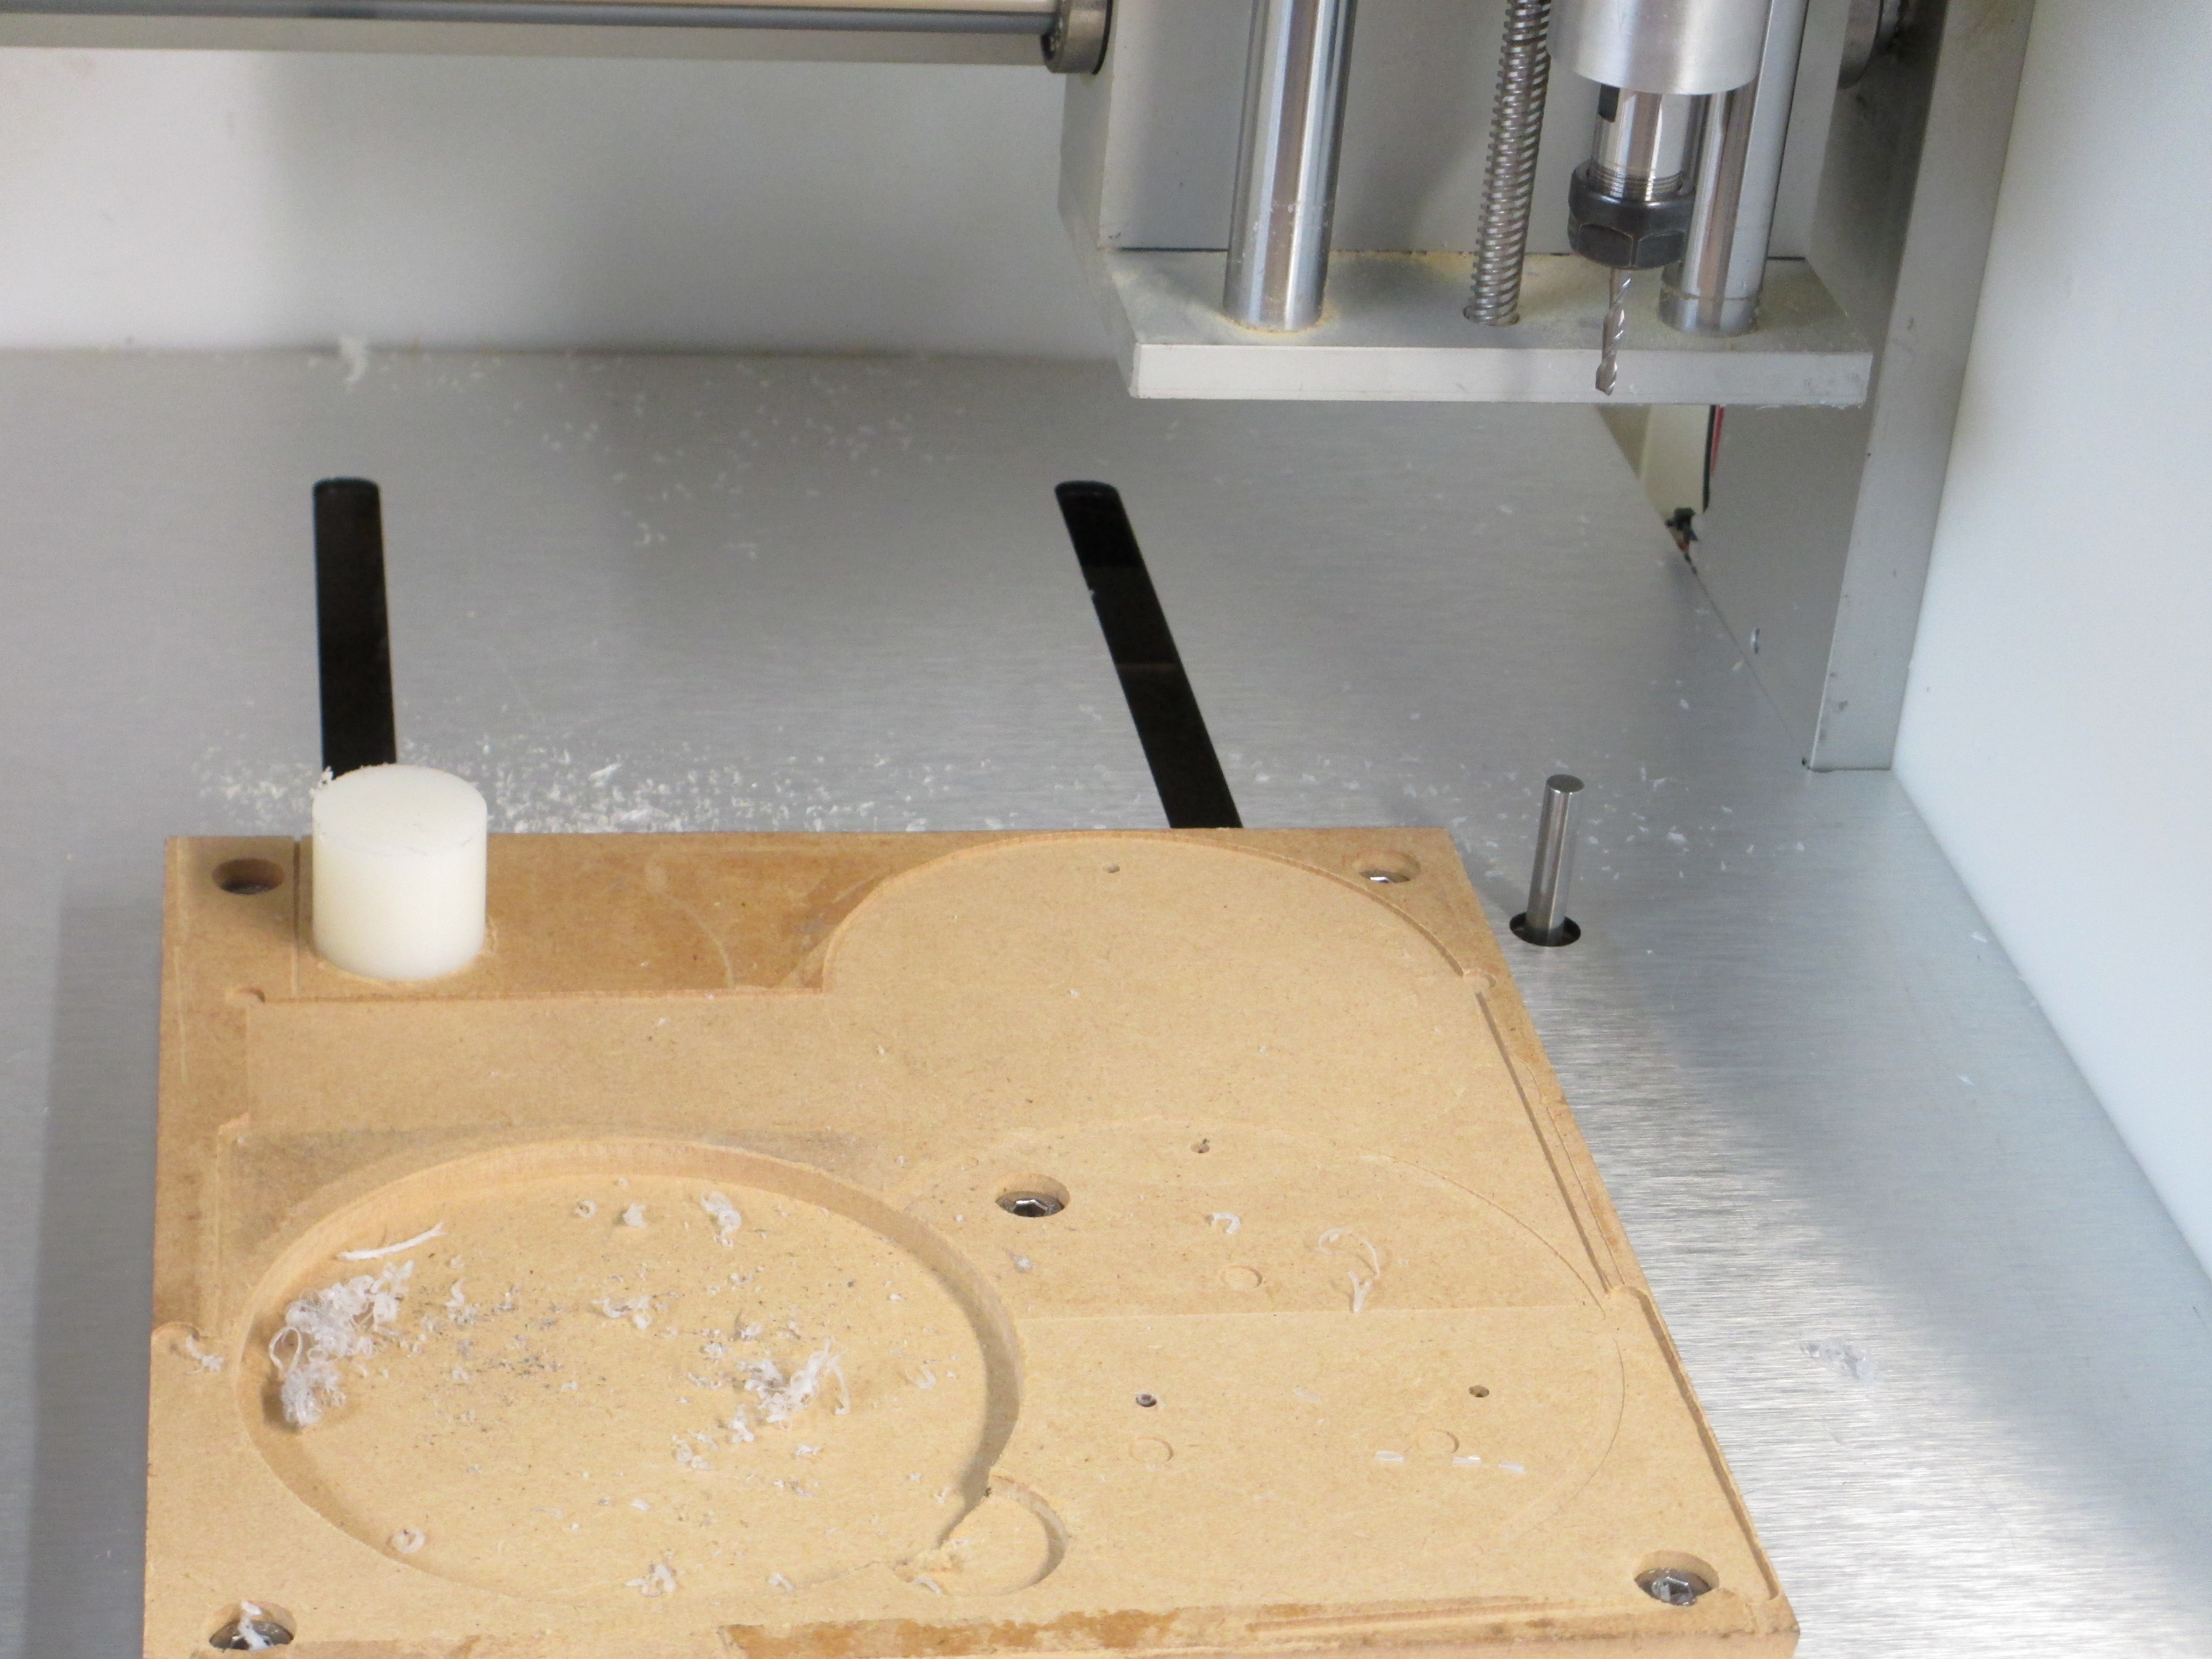
I cut the blanks with a bandsaw and faced and chamfered one end in the lathe. The rest of the ops are on the Nomad for the final part. Insertion of the blank was done with a special tool I call big-ass channel locks. Rotate with the pliers while pushing down to a seat in the pocket. Removal was done in a similar way, but with a wrench (also being the qualification test for the wrench flats)
The part looks like
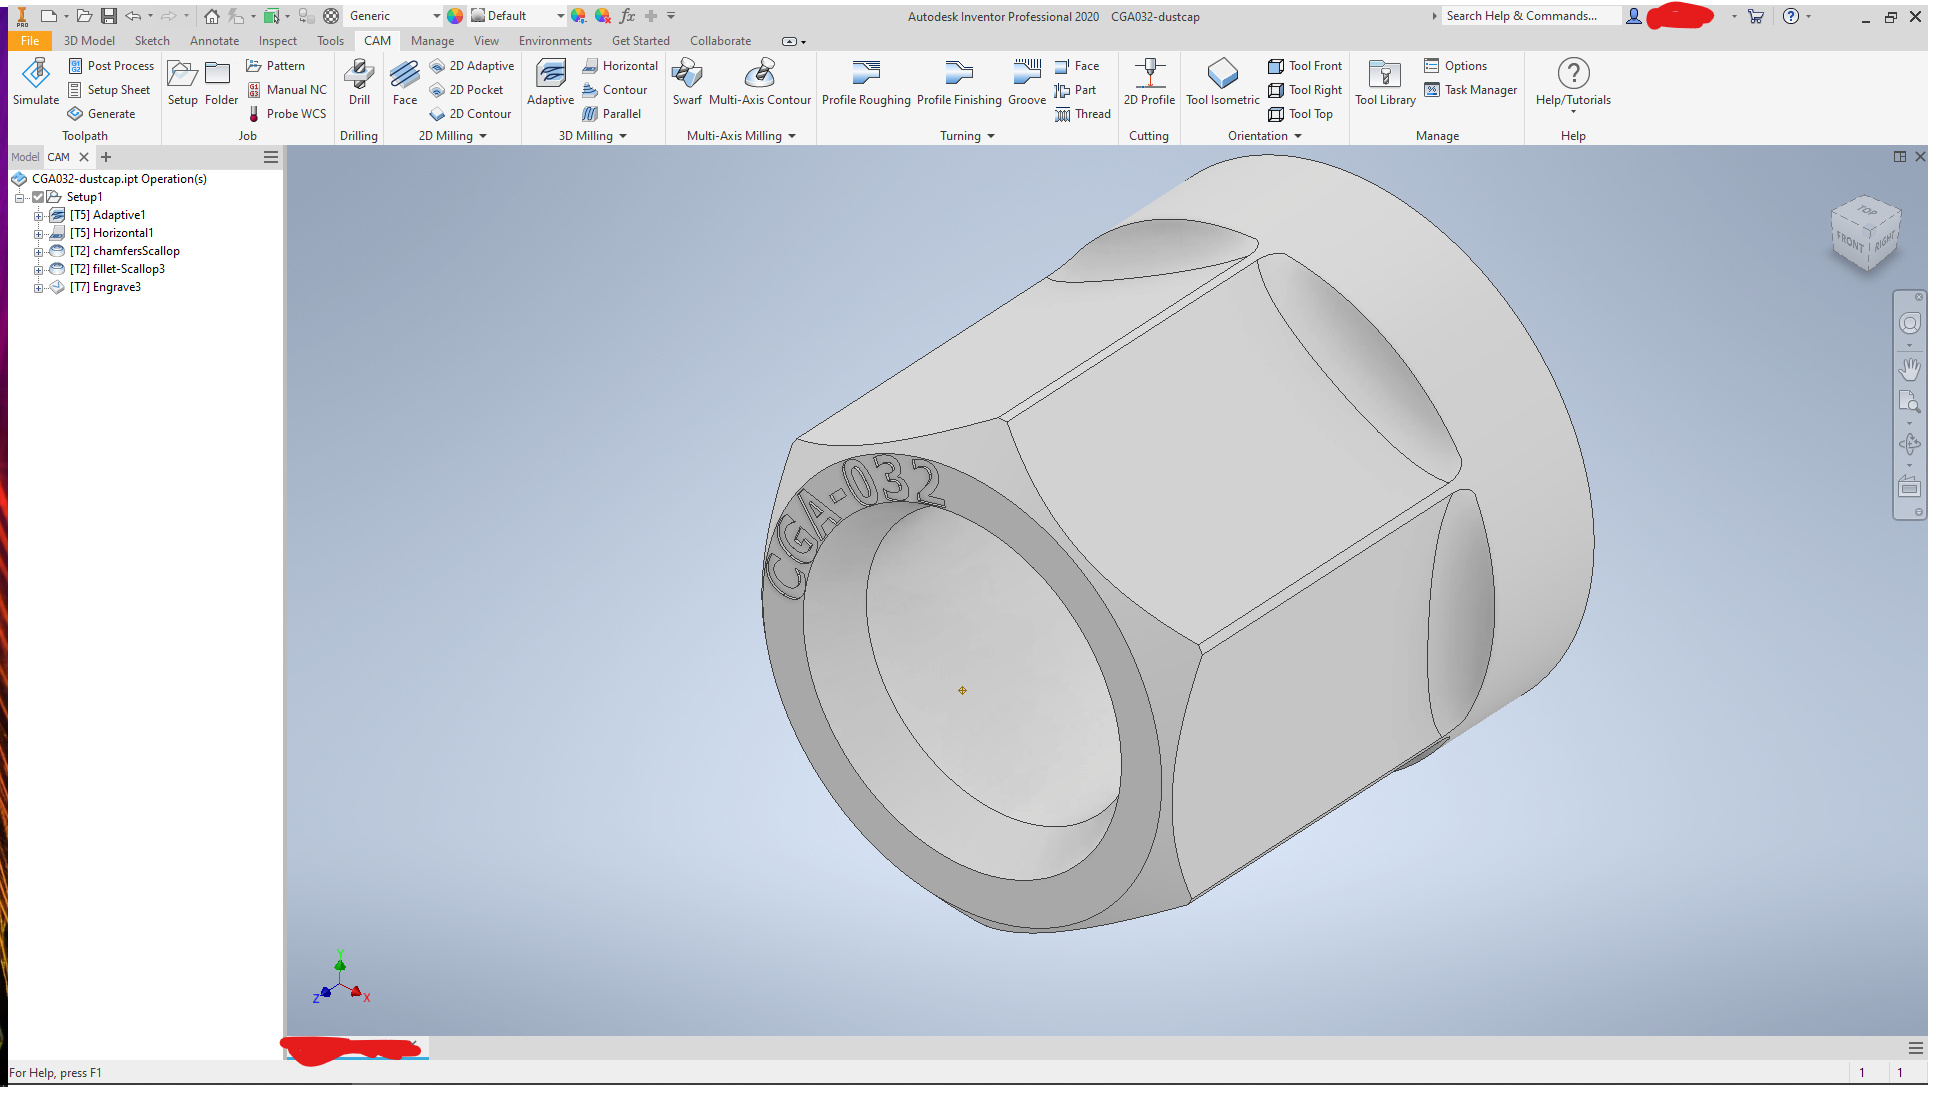
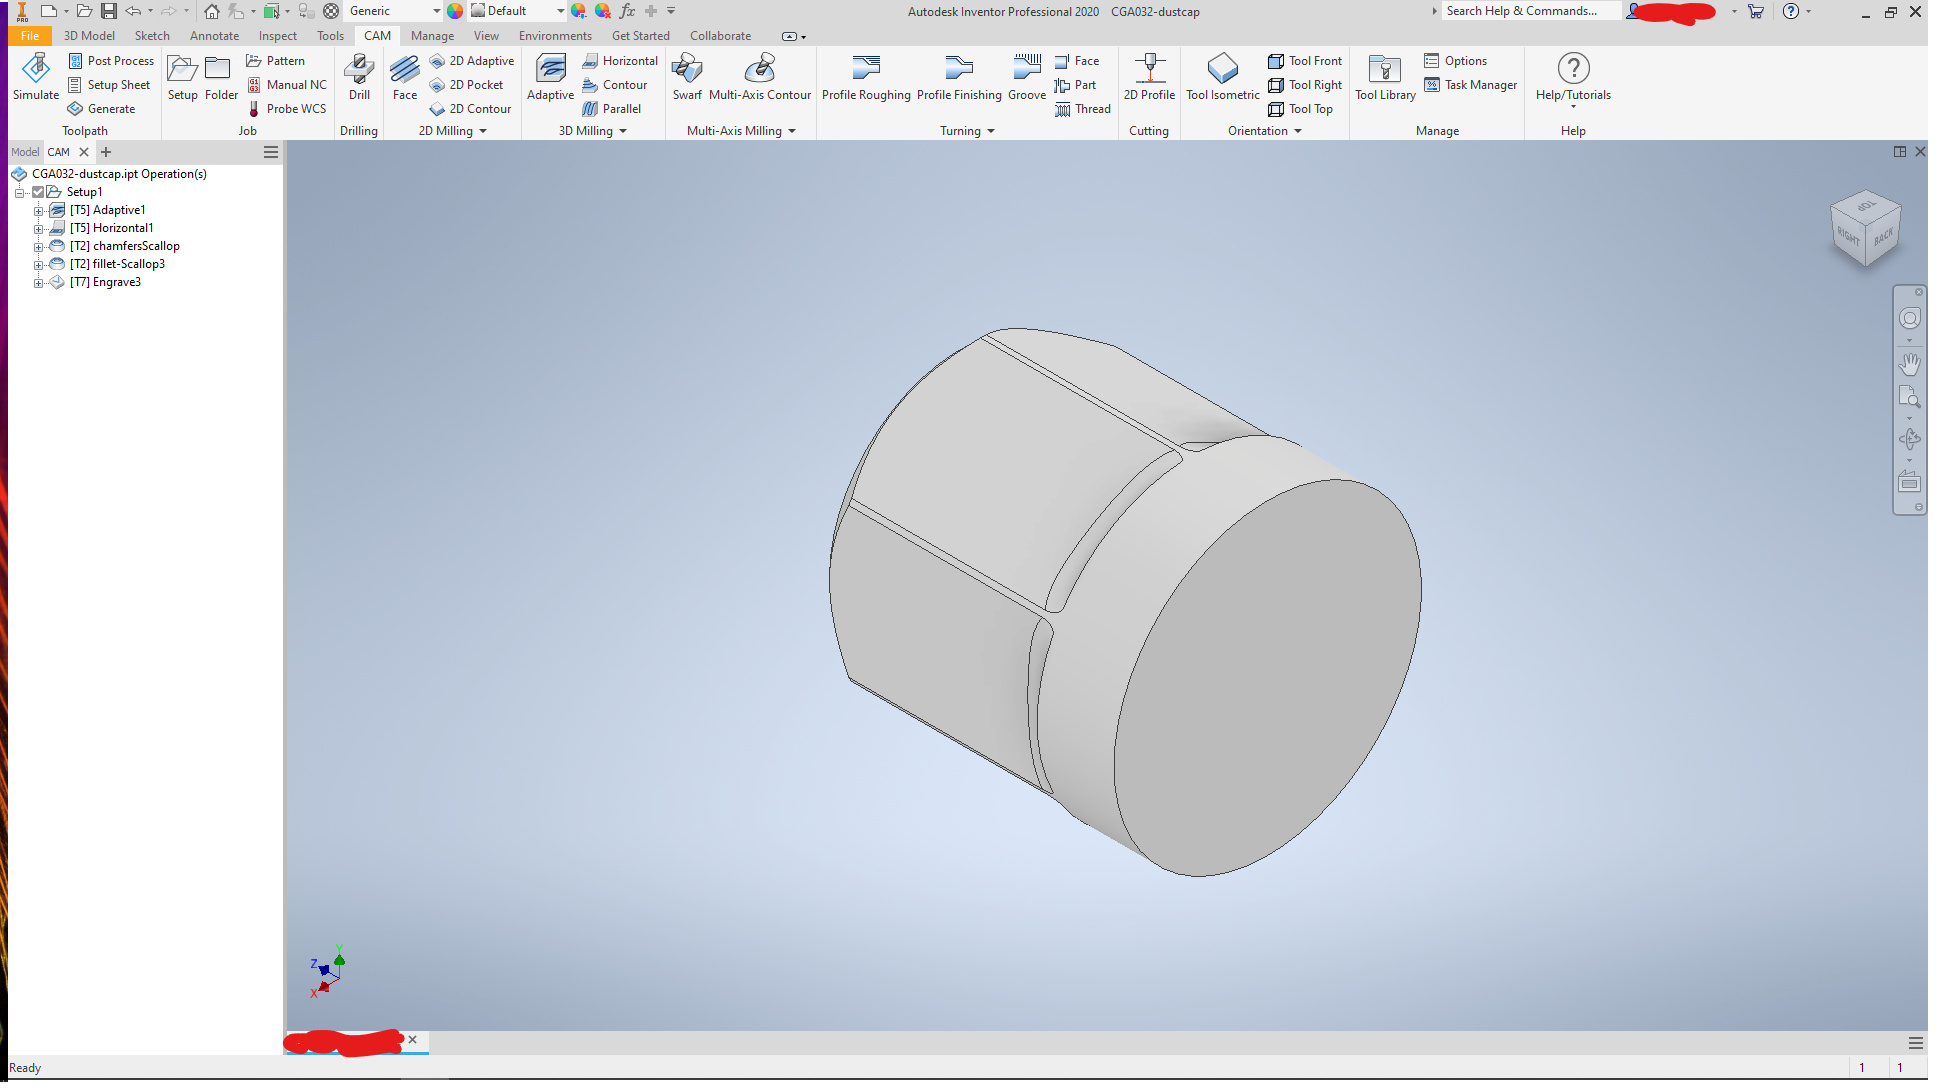
minus the chamfer on the blank end. No need in the model, since they won’t be done on the mill. One setup. Simple.
The machining, in video. Total time for the first prototype was about 15 mins, including tool changes and the engraving on the end, not including threading. Total for production will be about 6 minutes each, including threading, as the parts did not budge so I upped my roughing each time to see where it could go. Tool change time won’t be important in the actual batch run.
The start:
A bit further:
Well in. Deeper in the bore and flats:
Doing the chamfers, for the threads and around the end of the flats. This was split into two ops later (thread lead and hex corners) to speed it up:
And the fillets at the other end of the flats. WAY too much time for these. The op was revised by being hand coded to be a single swipe on each flat and is now a few seconds. Inventor doesn’t make it easy to take advantage of a ball end for fillets.
One thing with nylon is that it machines pretty well, but it is kind of tough and stringy. It is less machinable than acetyl, but not terrible. Stringy, but not melty if the feed if kept up (2 to 3 m/min, 0.1mm/tooth or so) and there is a way for the chips to get out. After machining, it needed more cleanup than acetyl or HDPE, as there are often some strings that don’t separate. Adjusting the operations helps, but still gotta go over it.
The product (dirty because for the first one, I didn’t care. The tap was last used in steel, and the fitting I tested it on came out of my junk box)
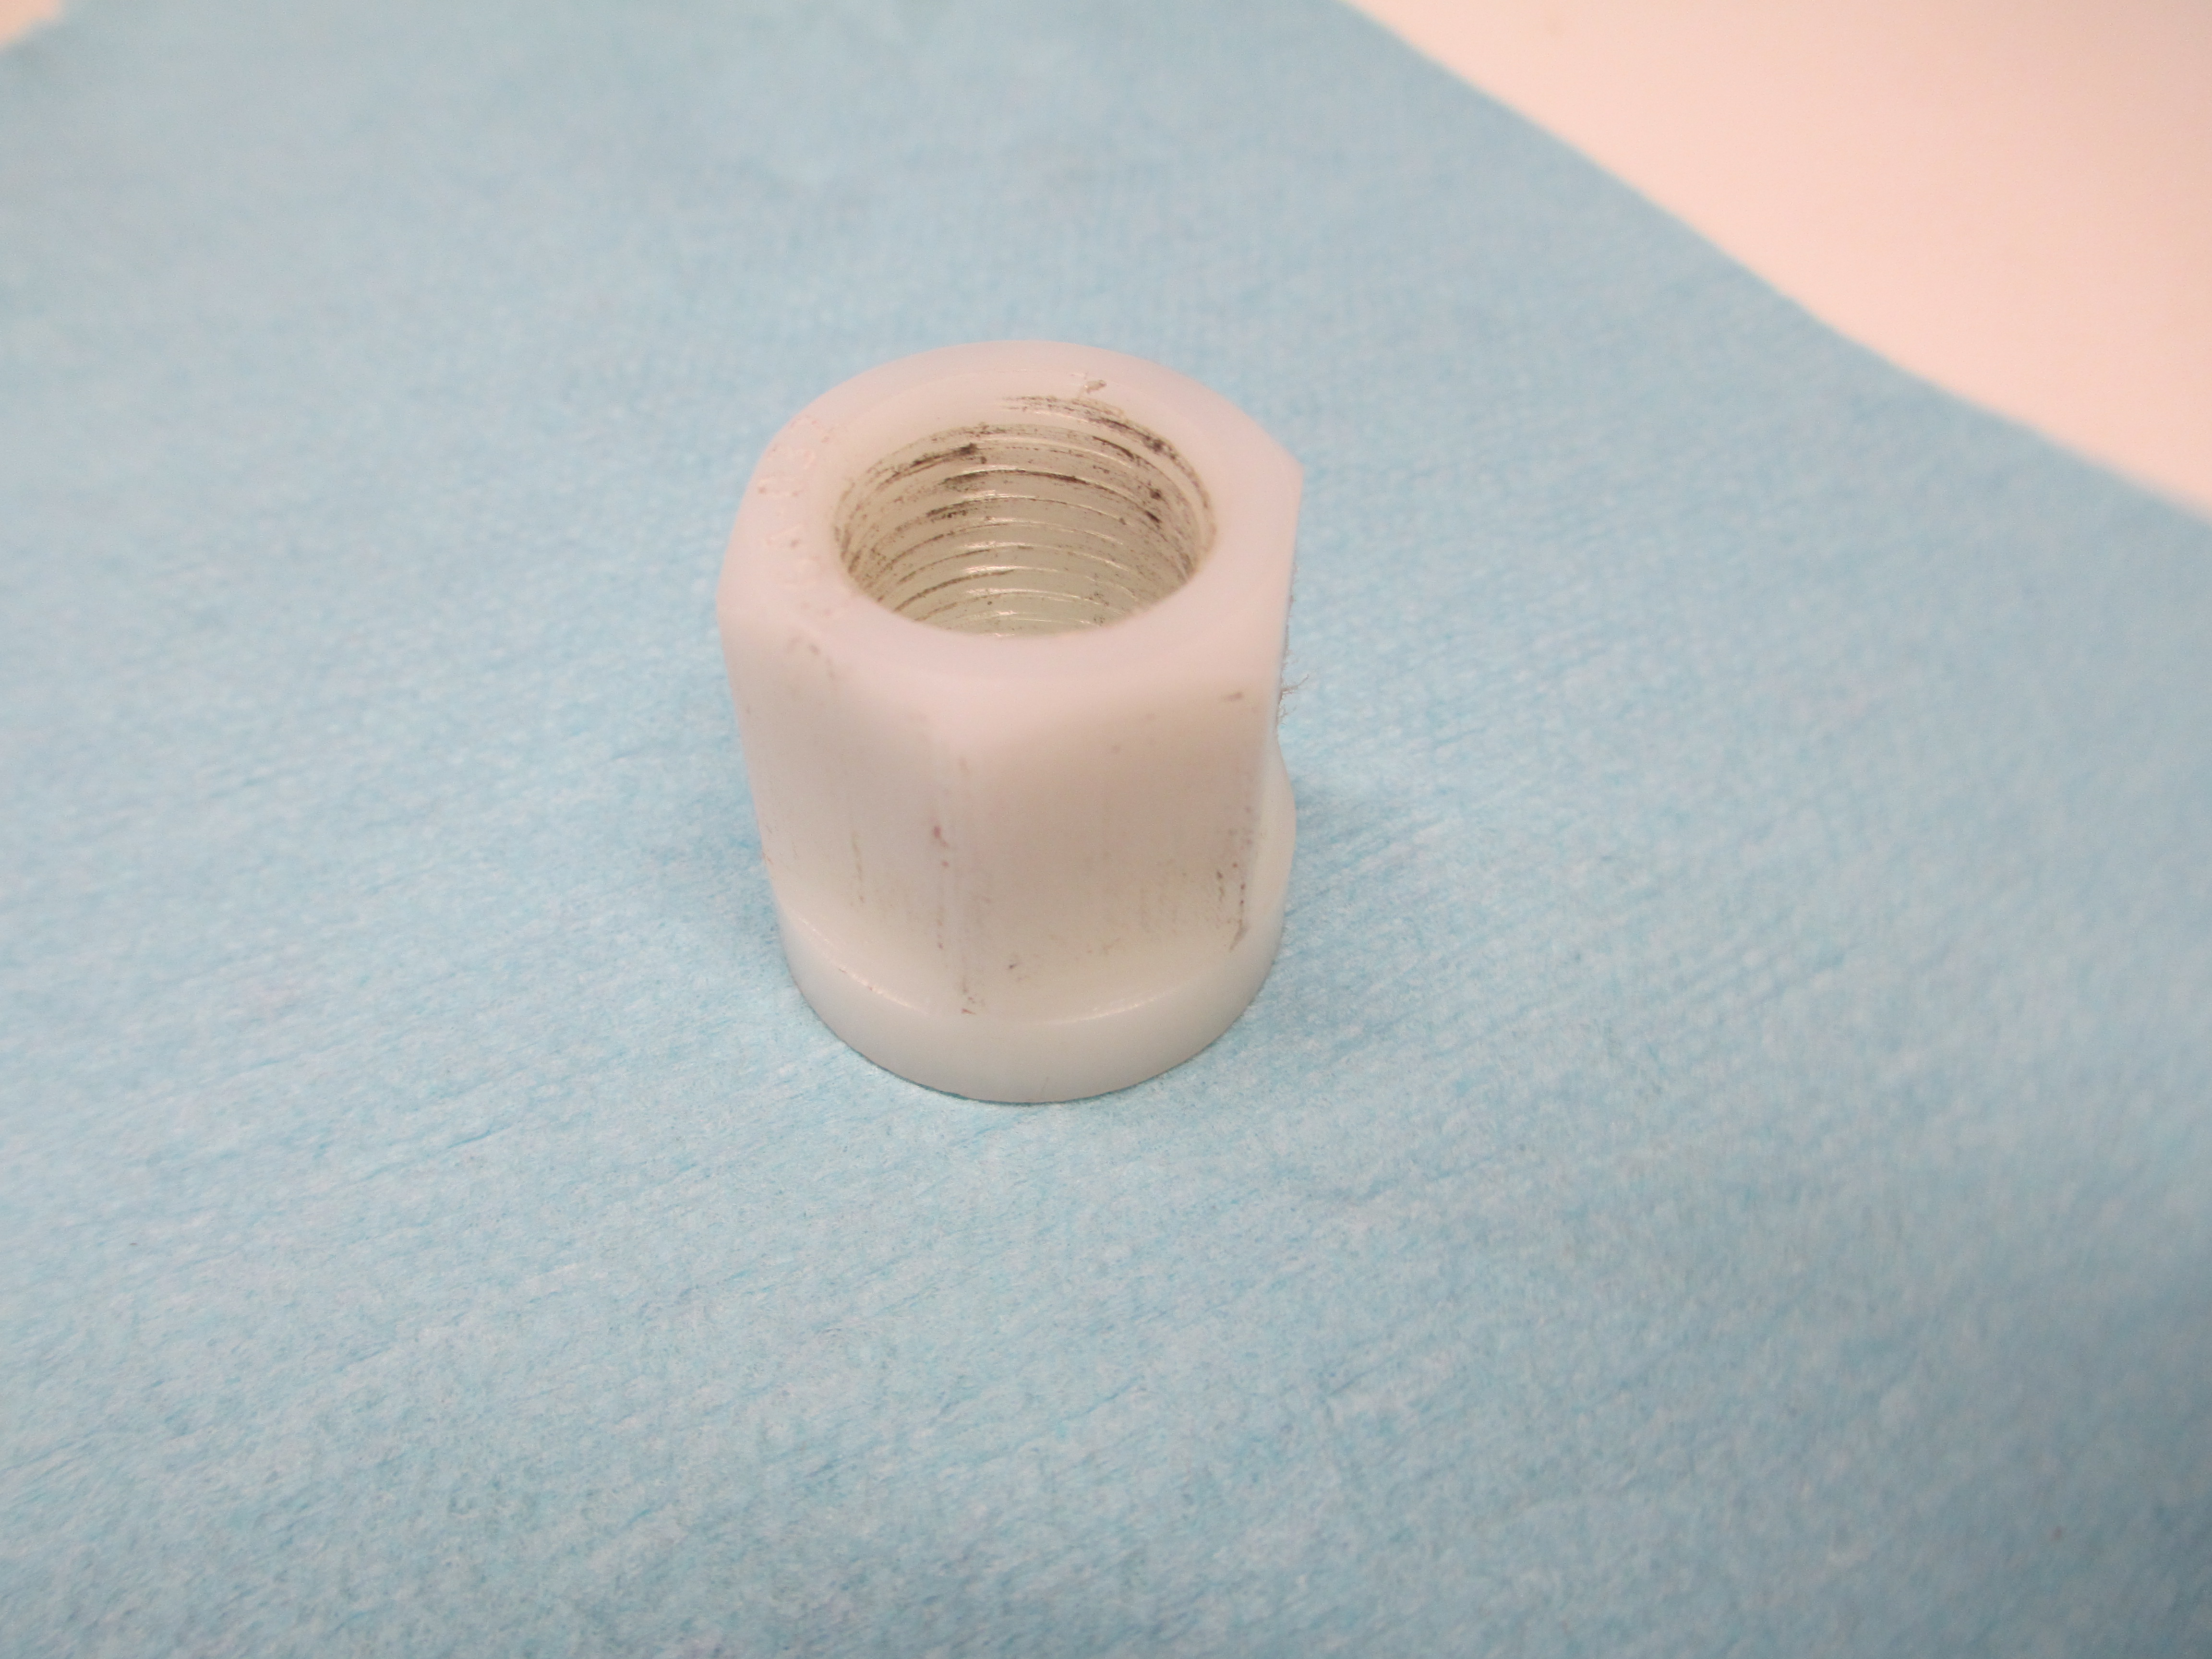
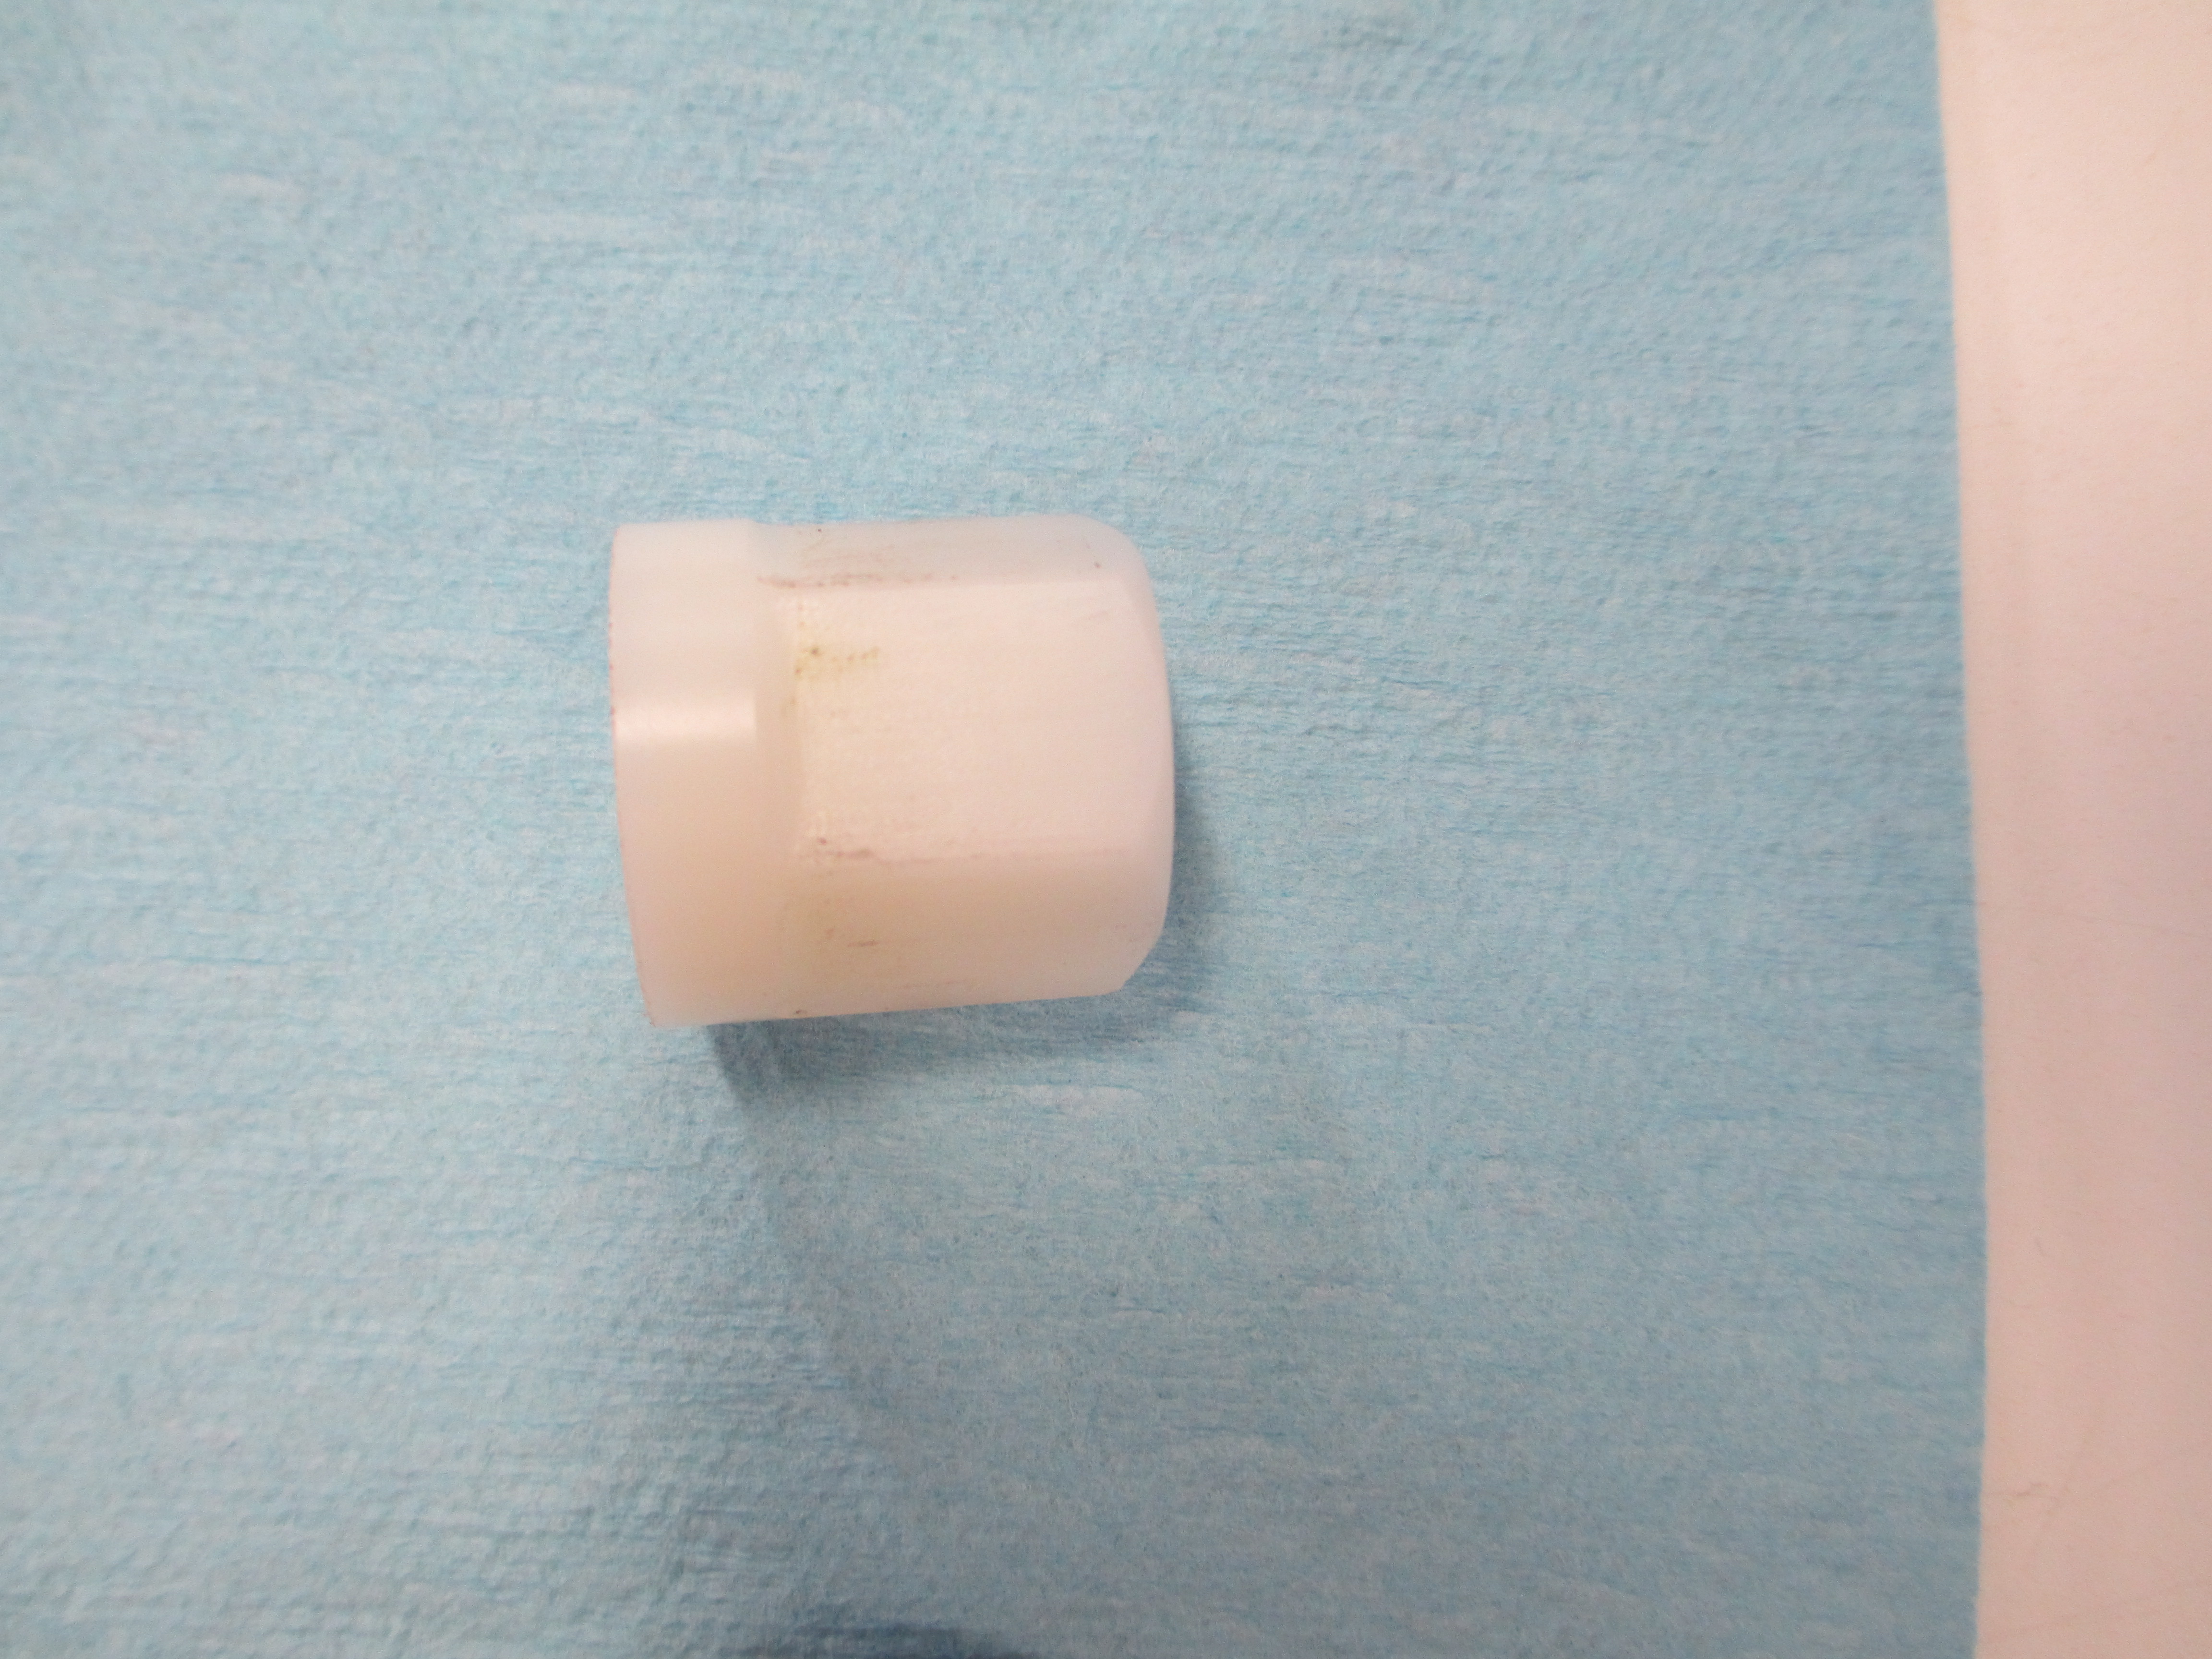
The chamfers and fillets look nice, no?
The idea is that they are on the hose, and drop into slots in a rack that act as the wrench for the cap, but the caps are large enough to grab and hold easily. Larger than the wrench hex on the fitting. The rack will also retain the caps by the fat and so they don’t end up on the floor or somewhere else they don’t belong, like when the slip-on type go flying. There is a wrench there for the fitting to install it and remove the one that is in service already.