Channel Letters for Halo Lit Sign

Hello,

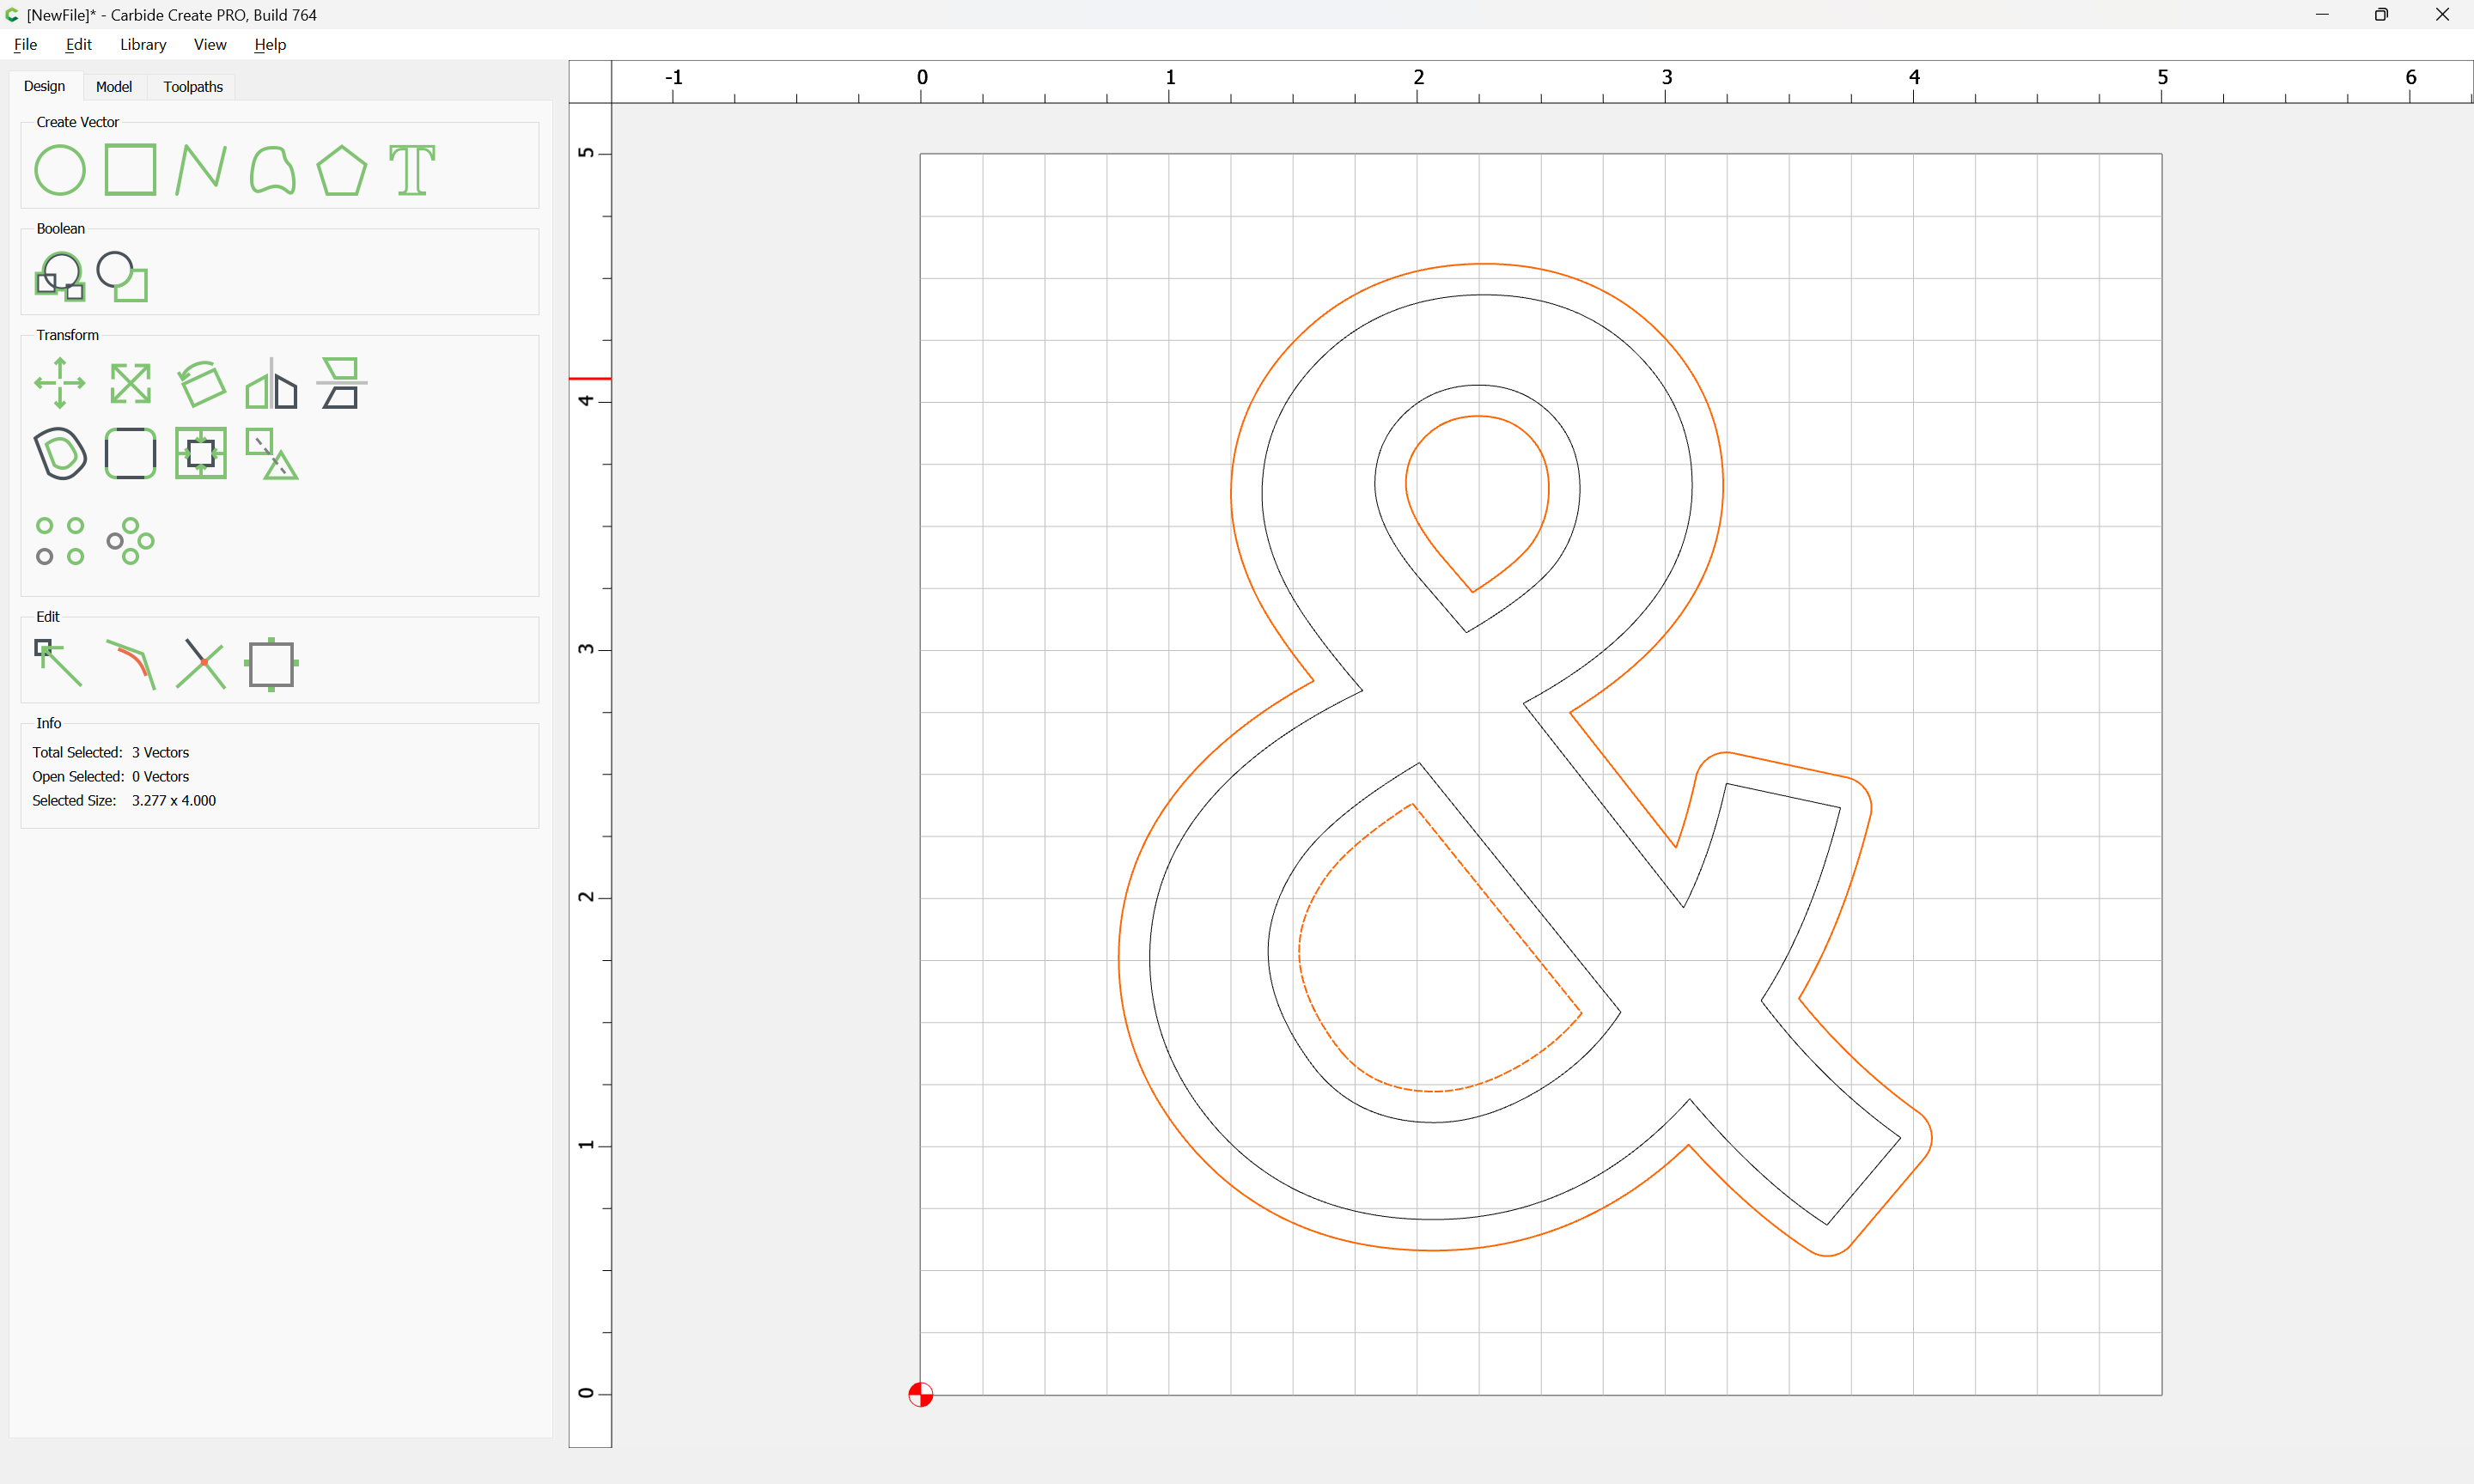
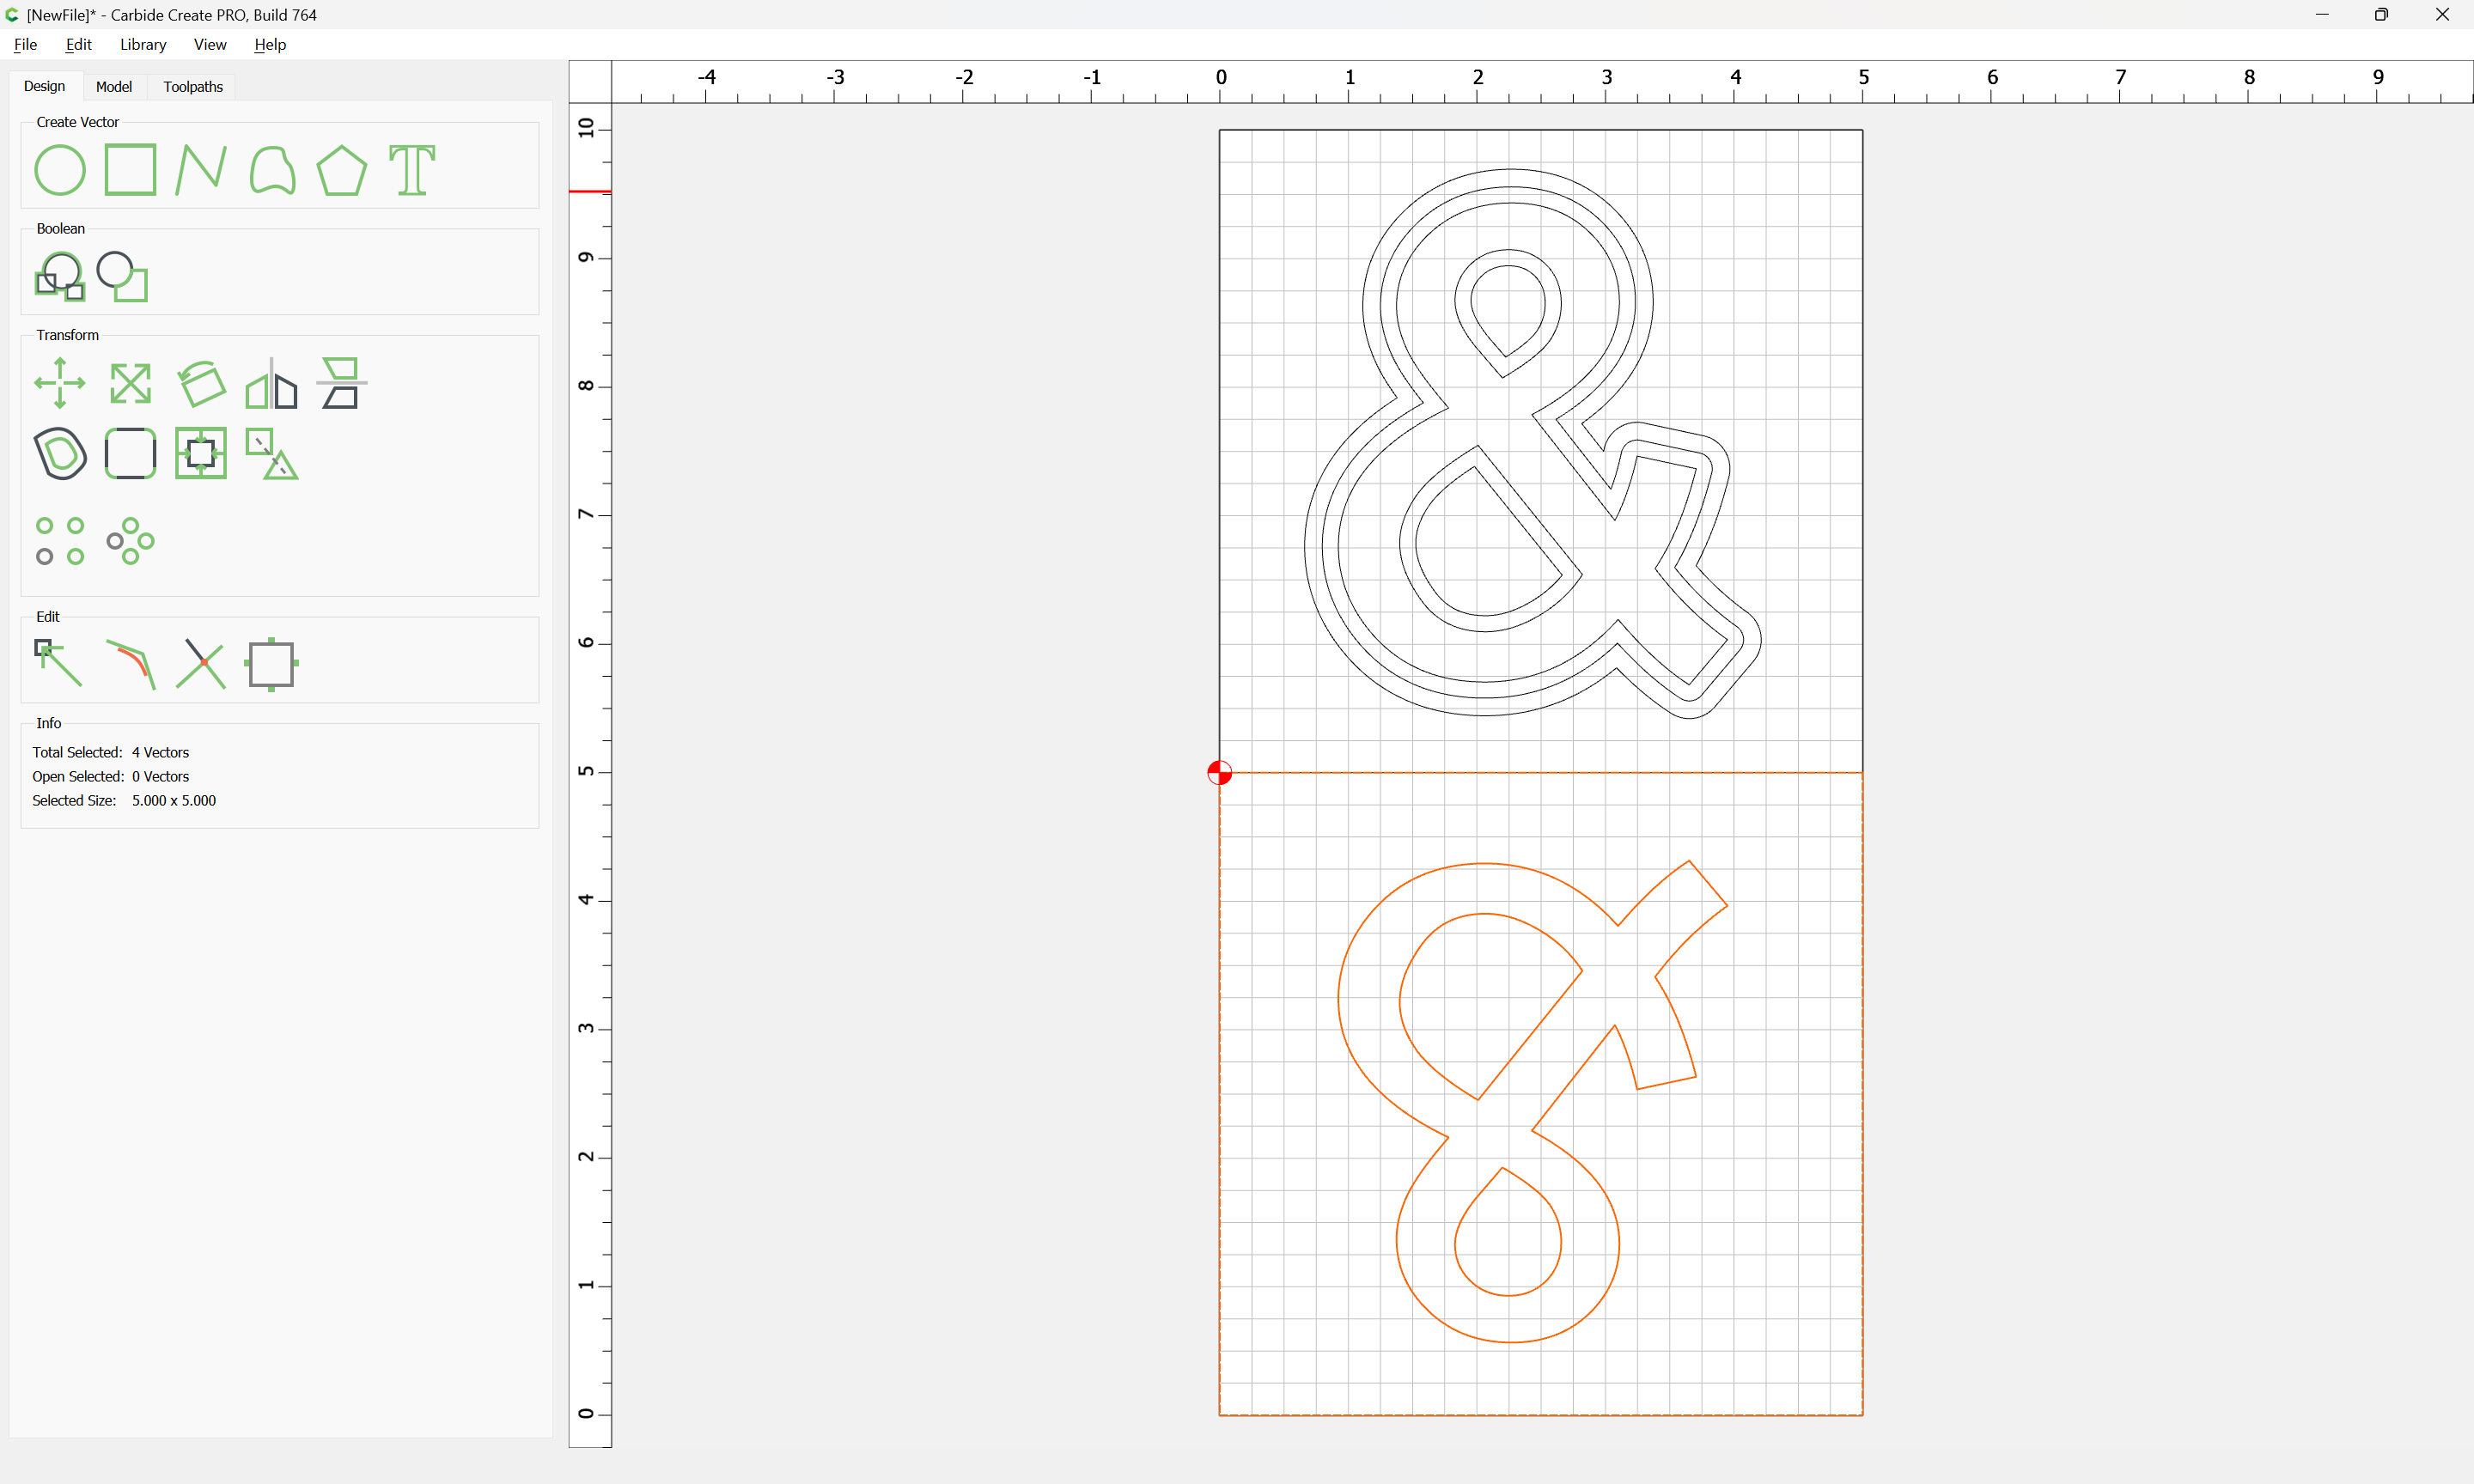
New to Carbide Create and struggling with creating a wooden lettered sign with a hollow channel on the back of the letters. I would like it to look similar to the photo below except with a thinner channel. I plan to add LED lighting in the channel and mount it to the wall for a halo lit sign.

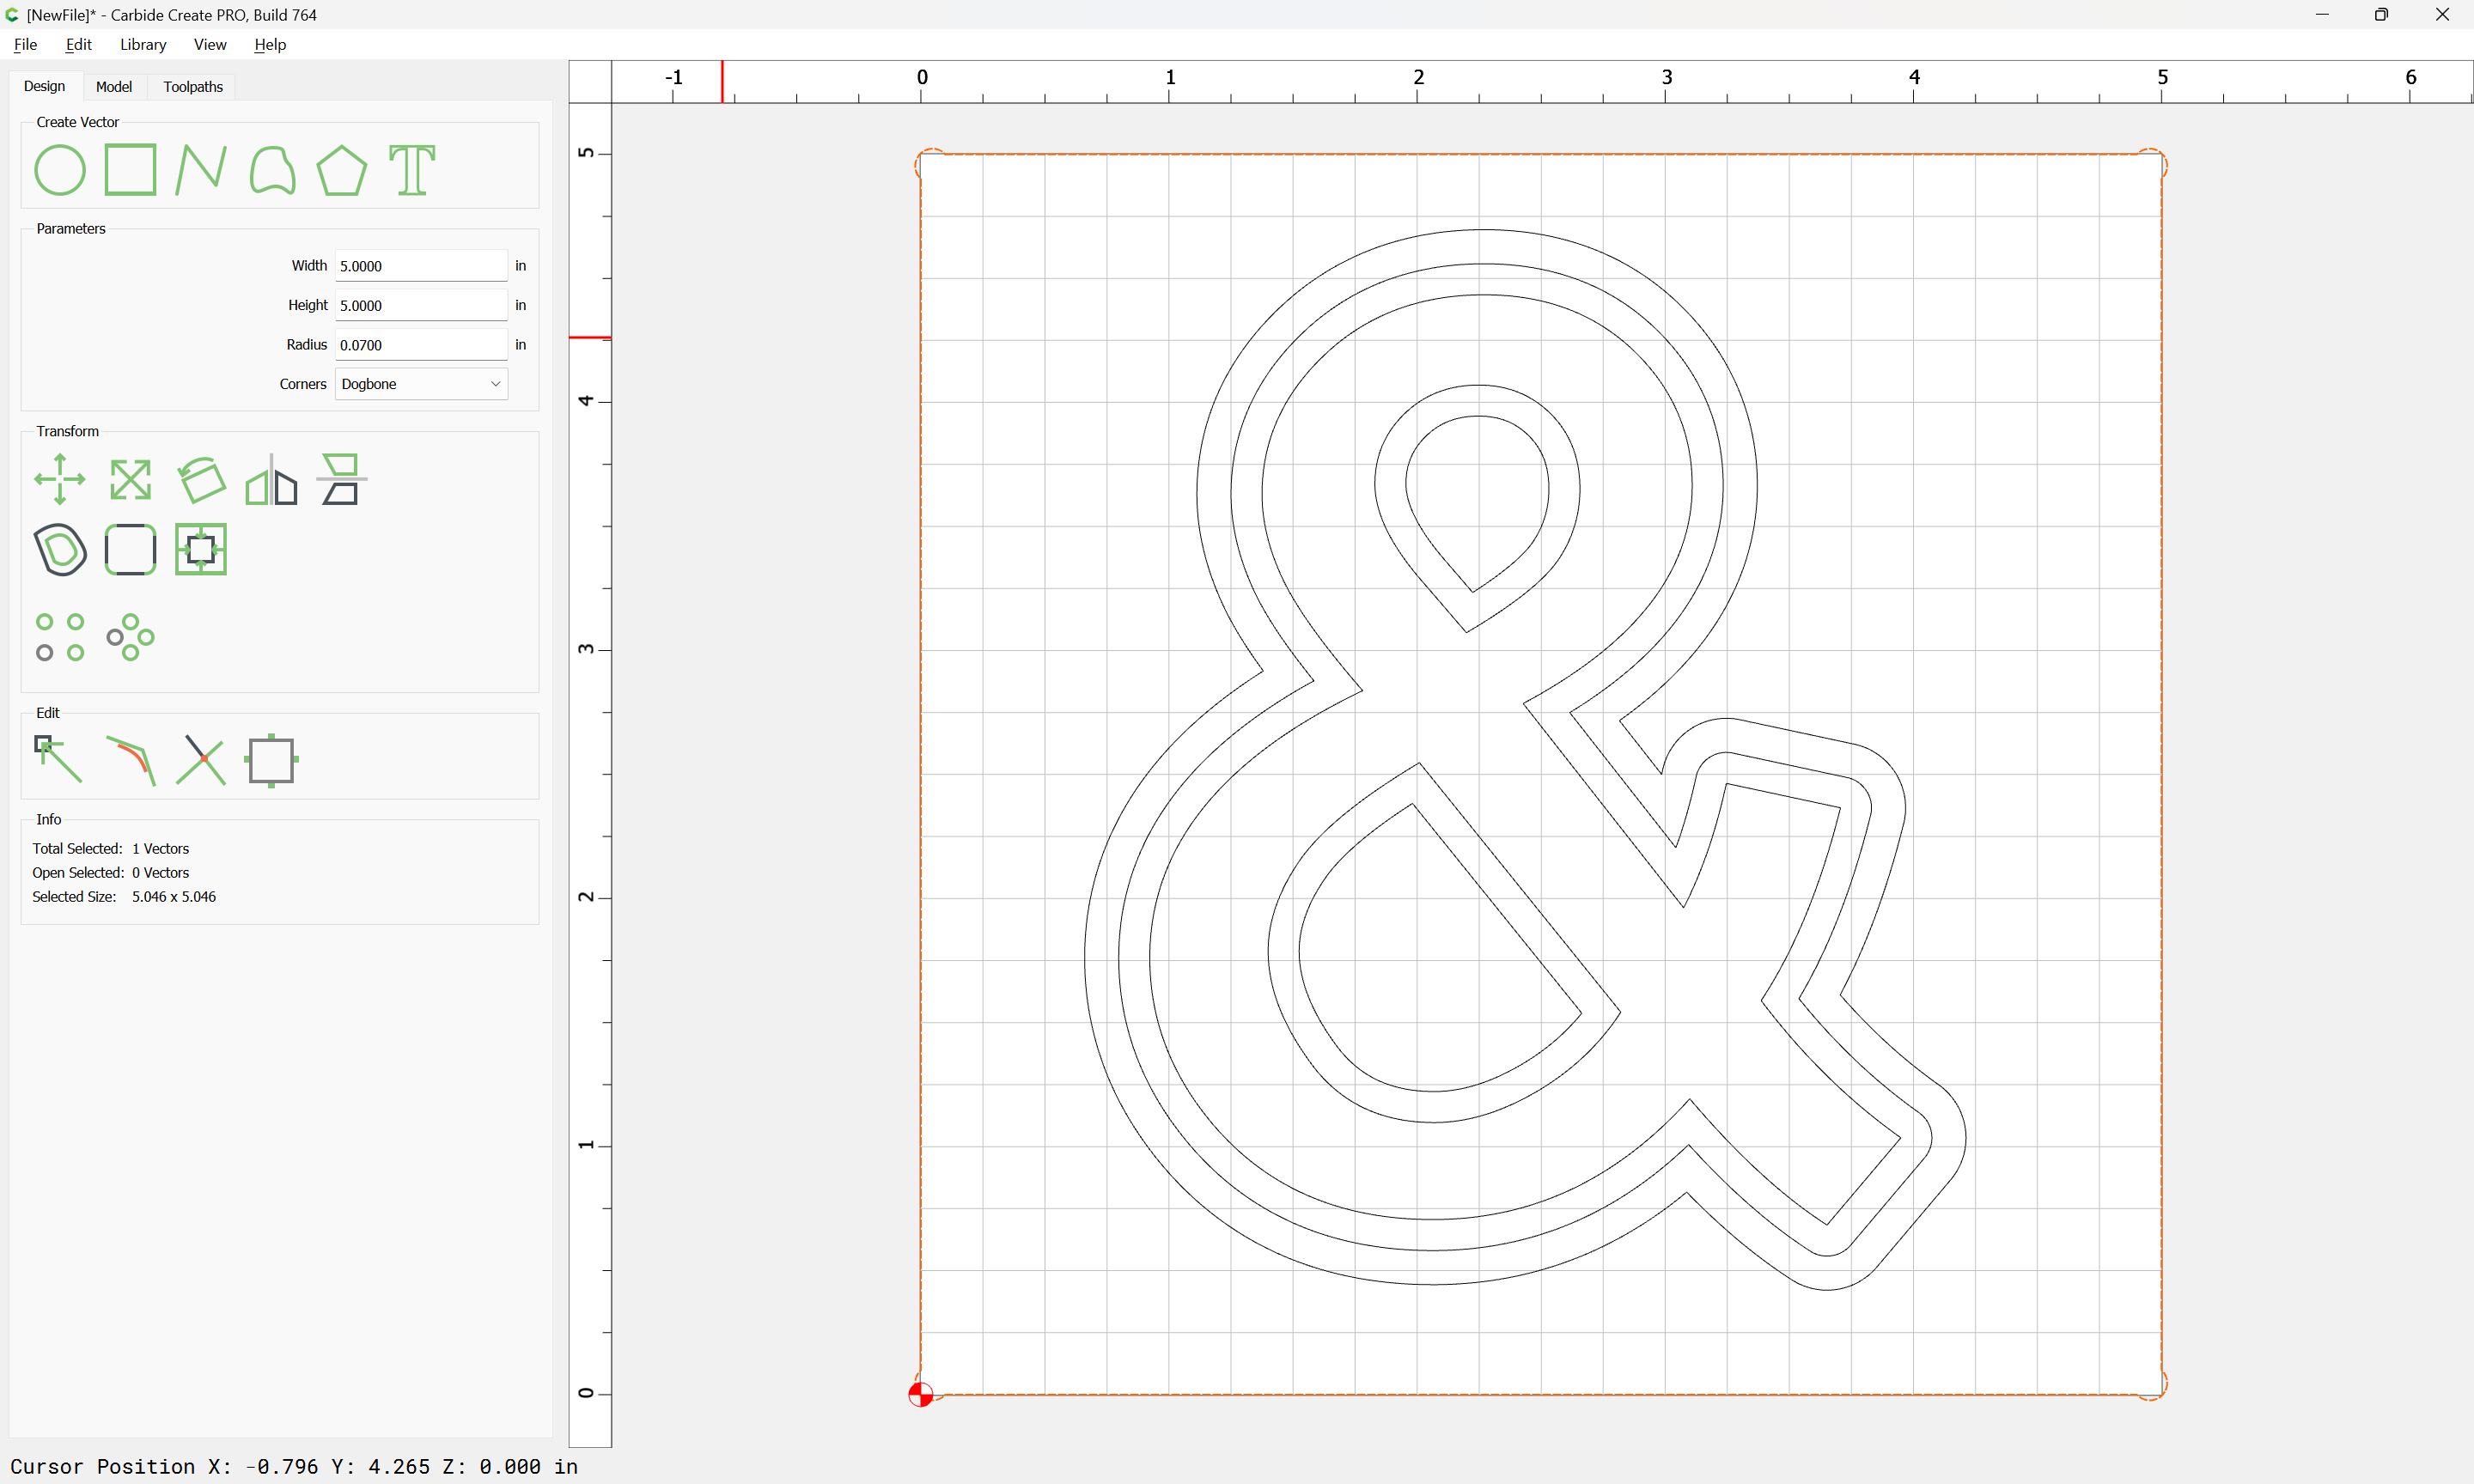
I would need these letters to be about 4 inches tall.

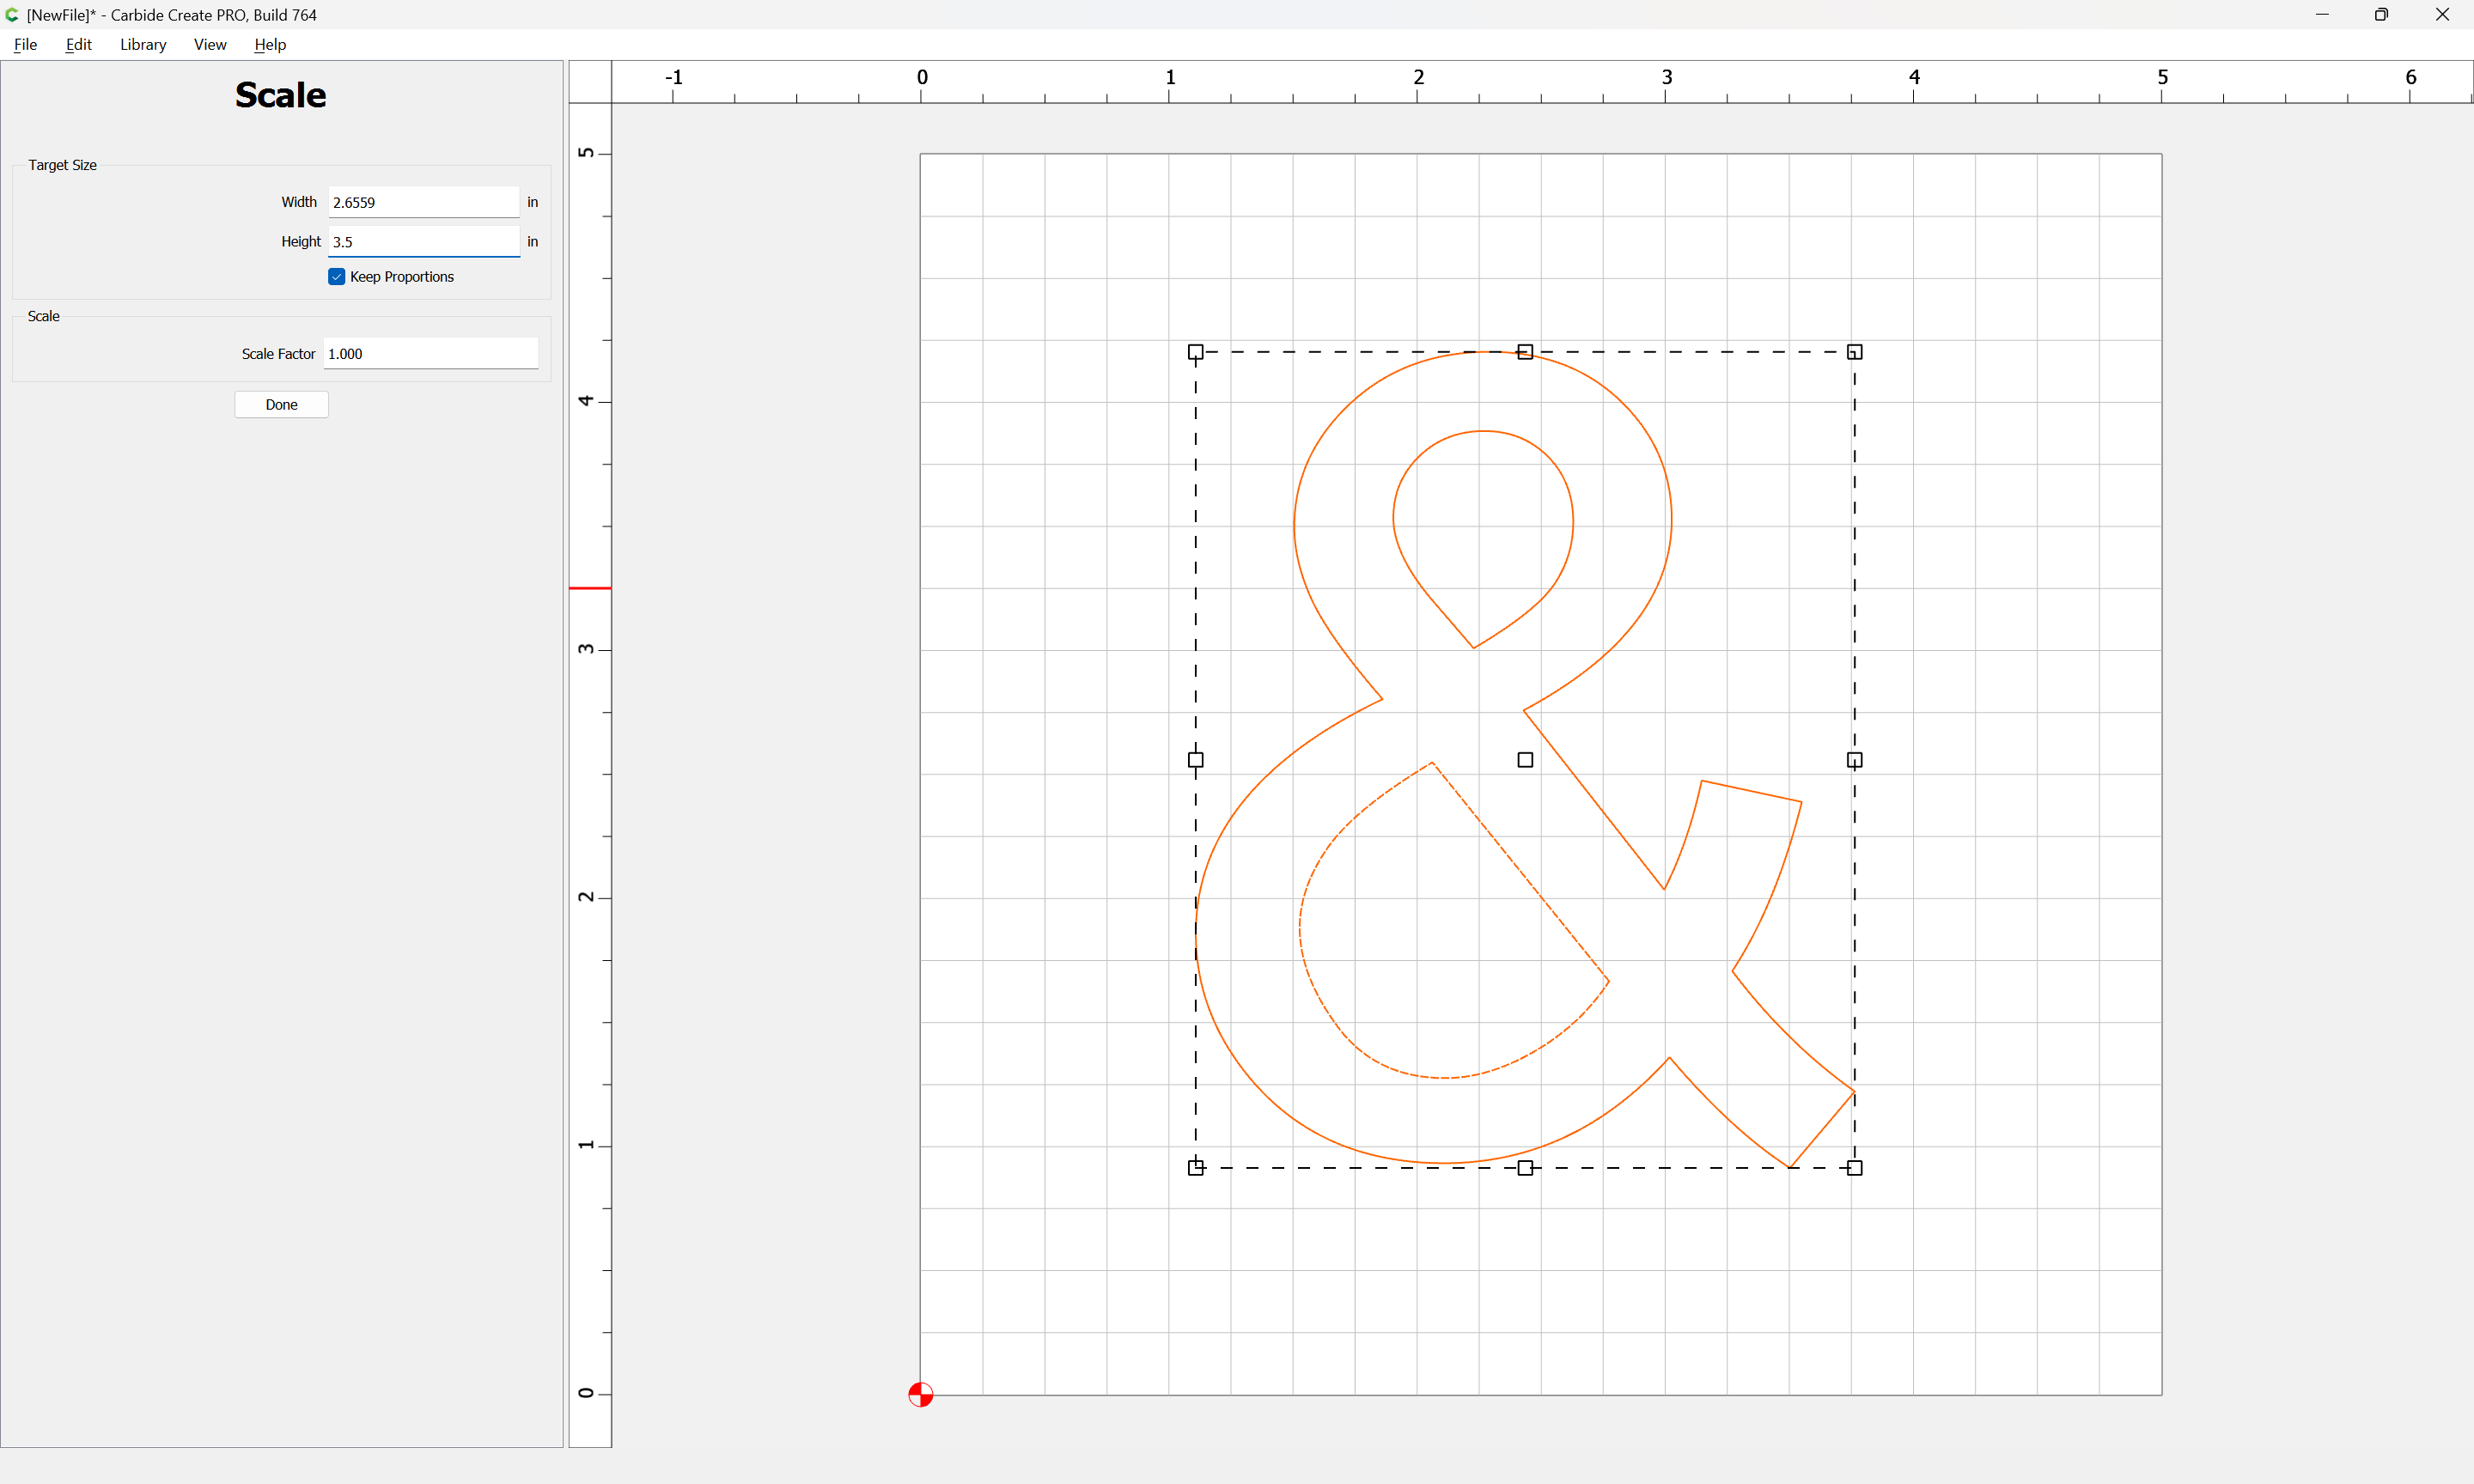
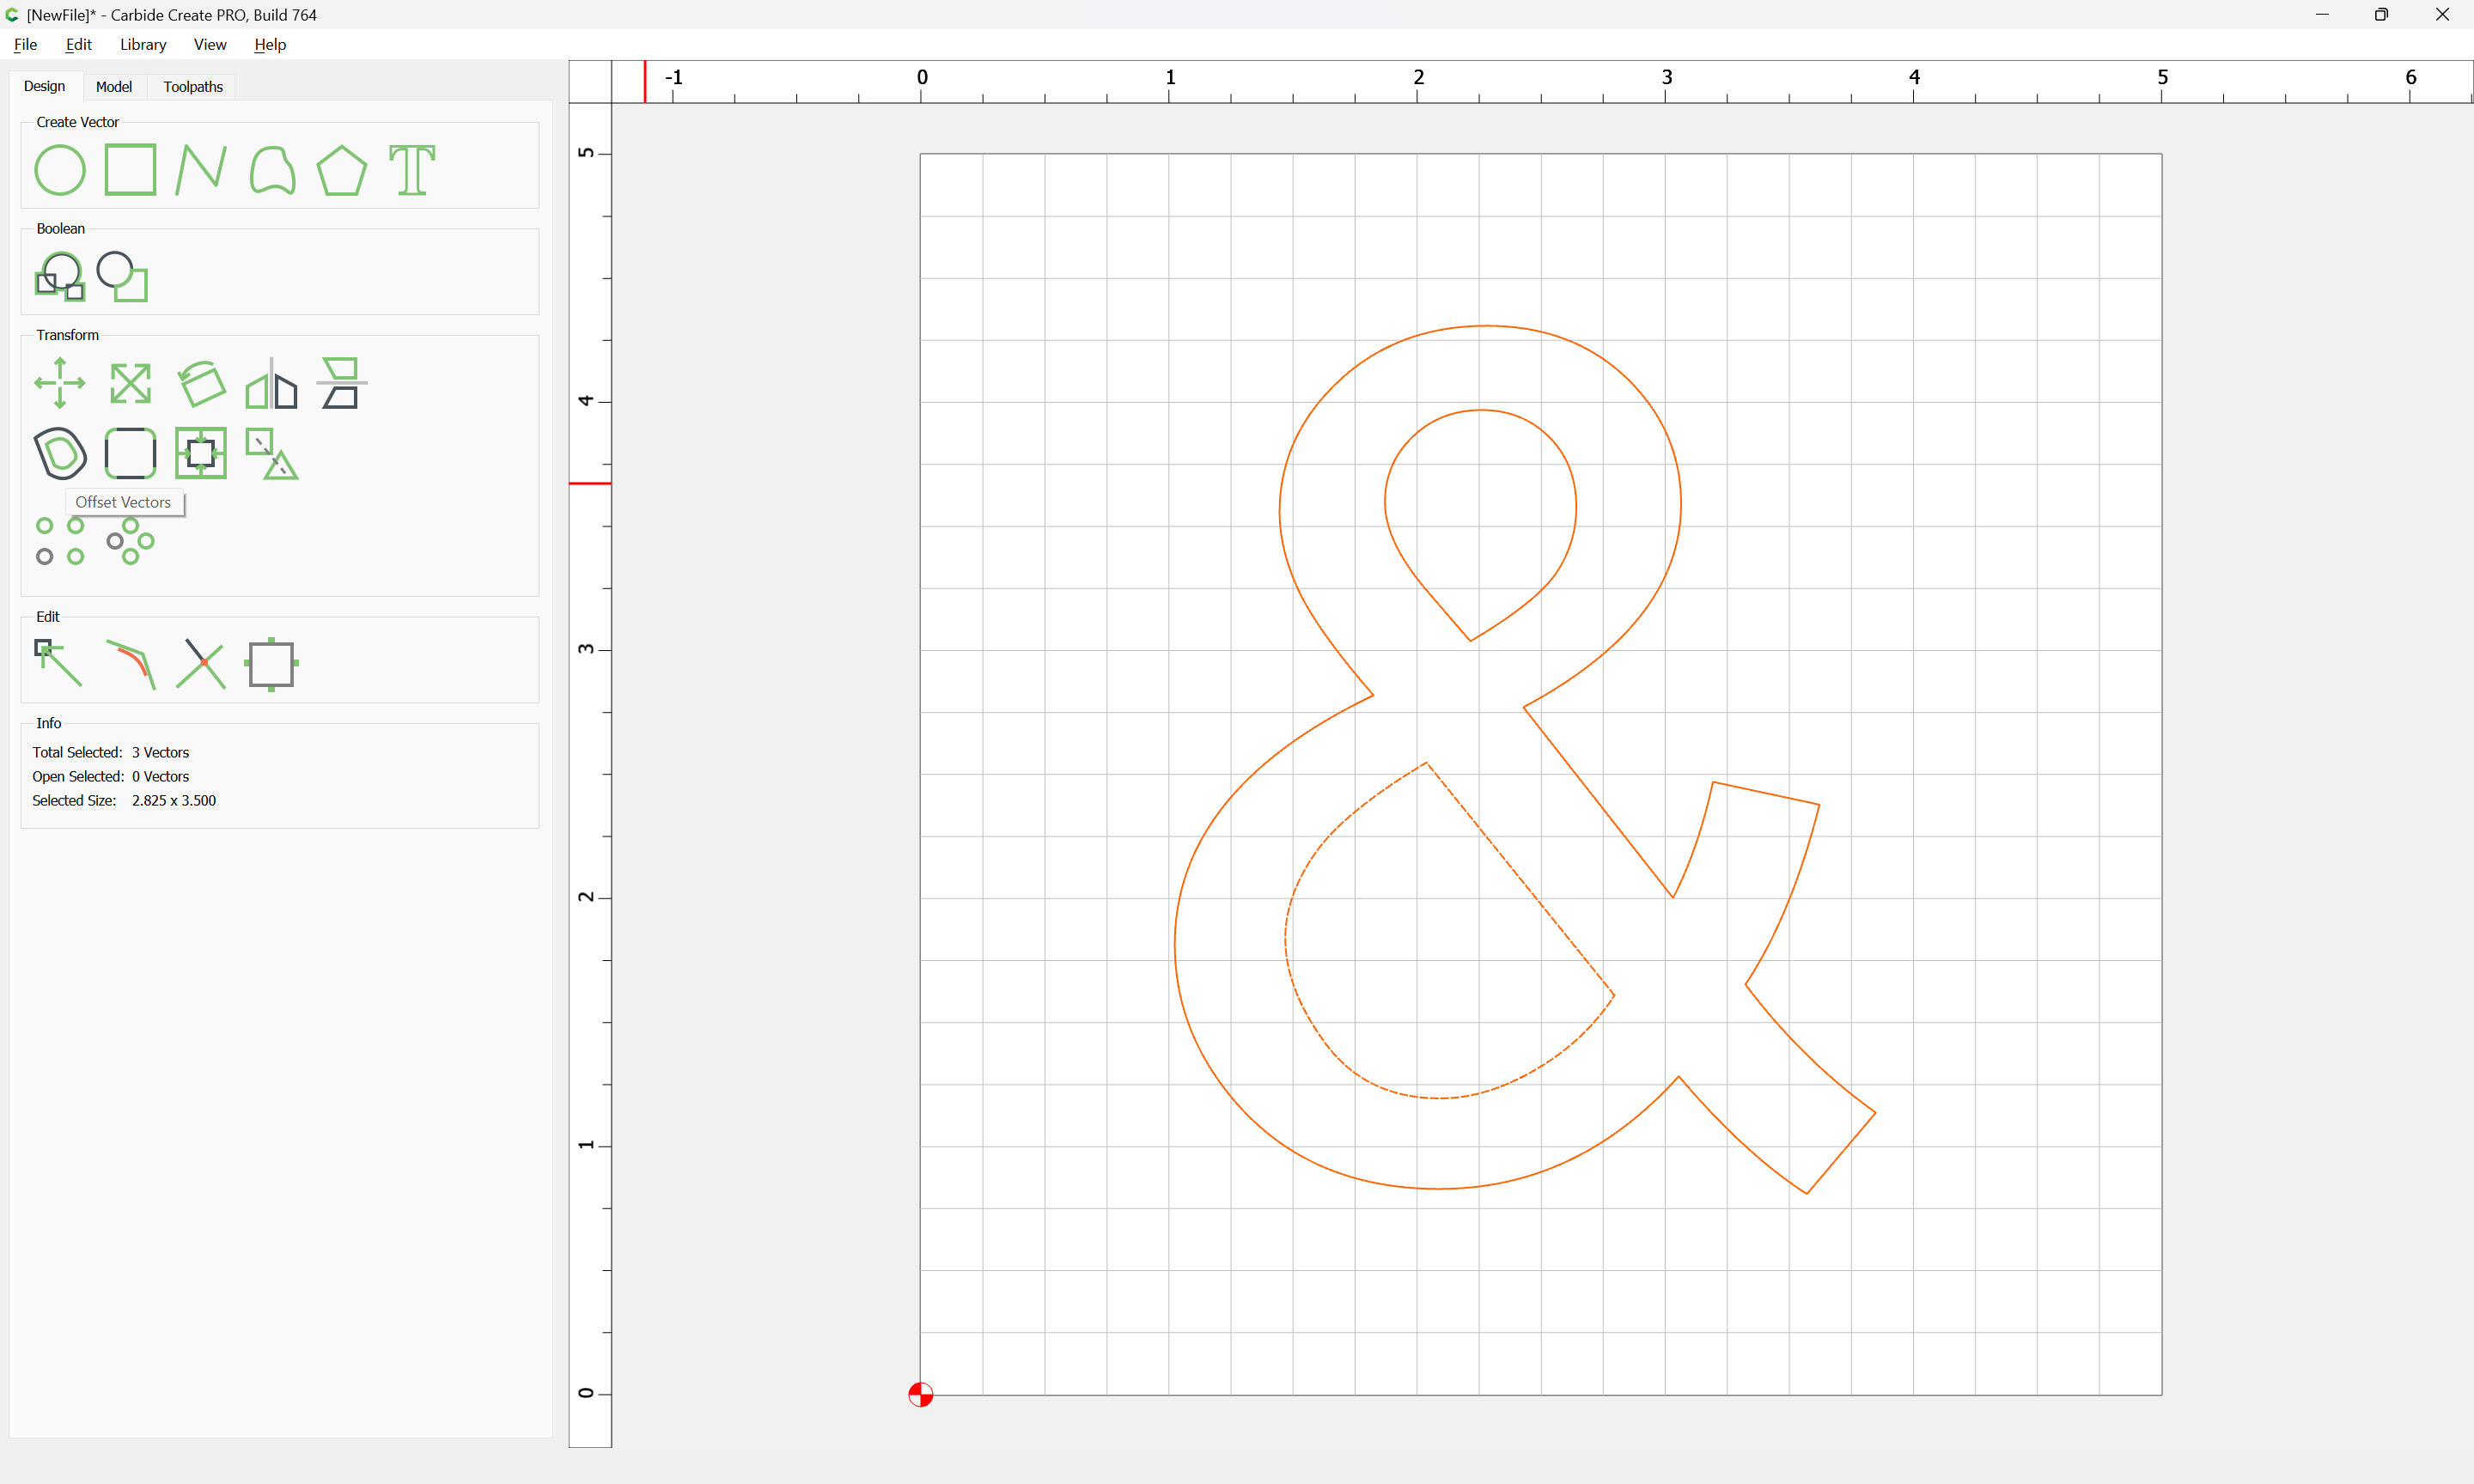
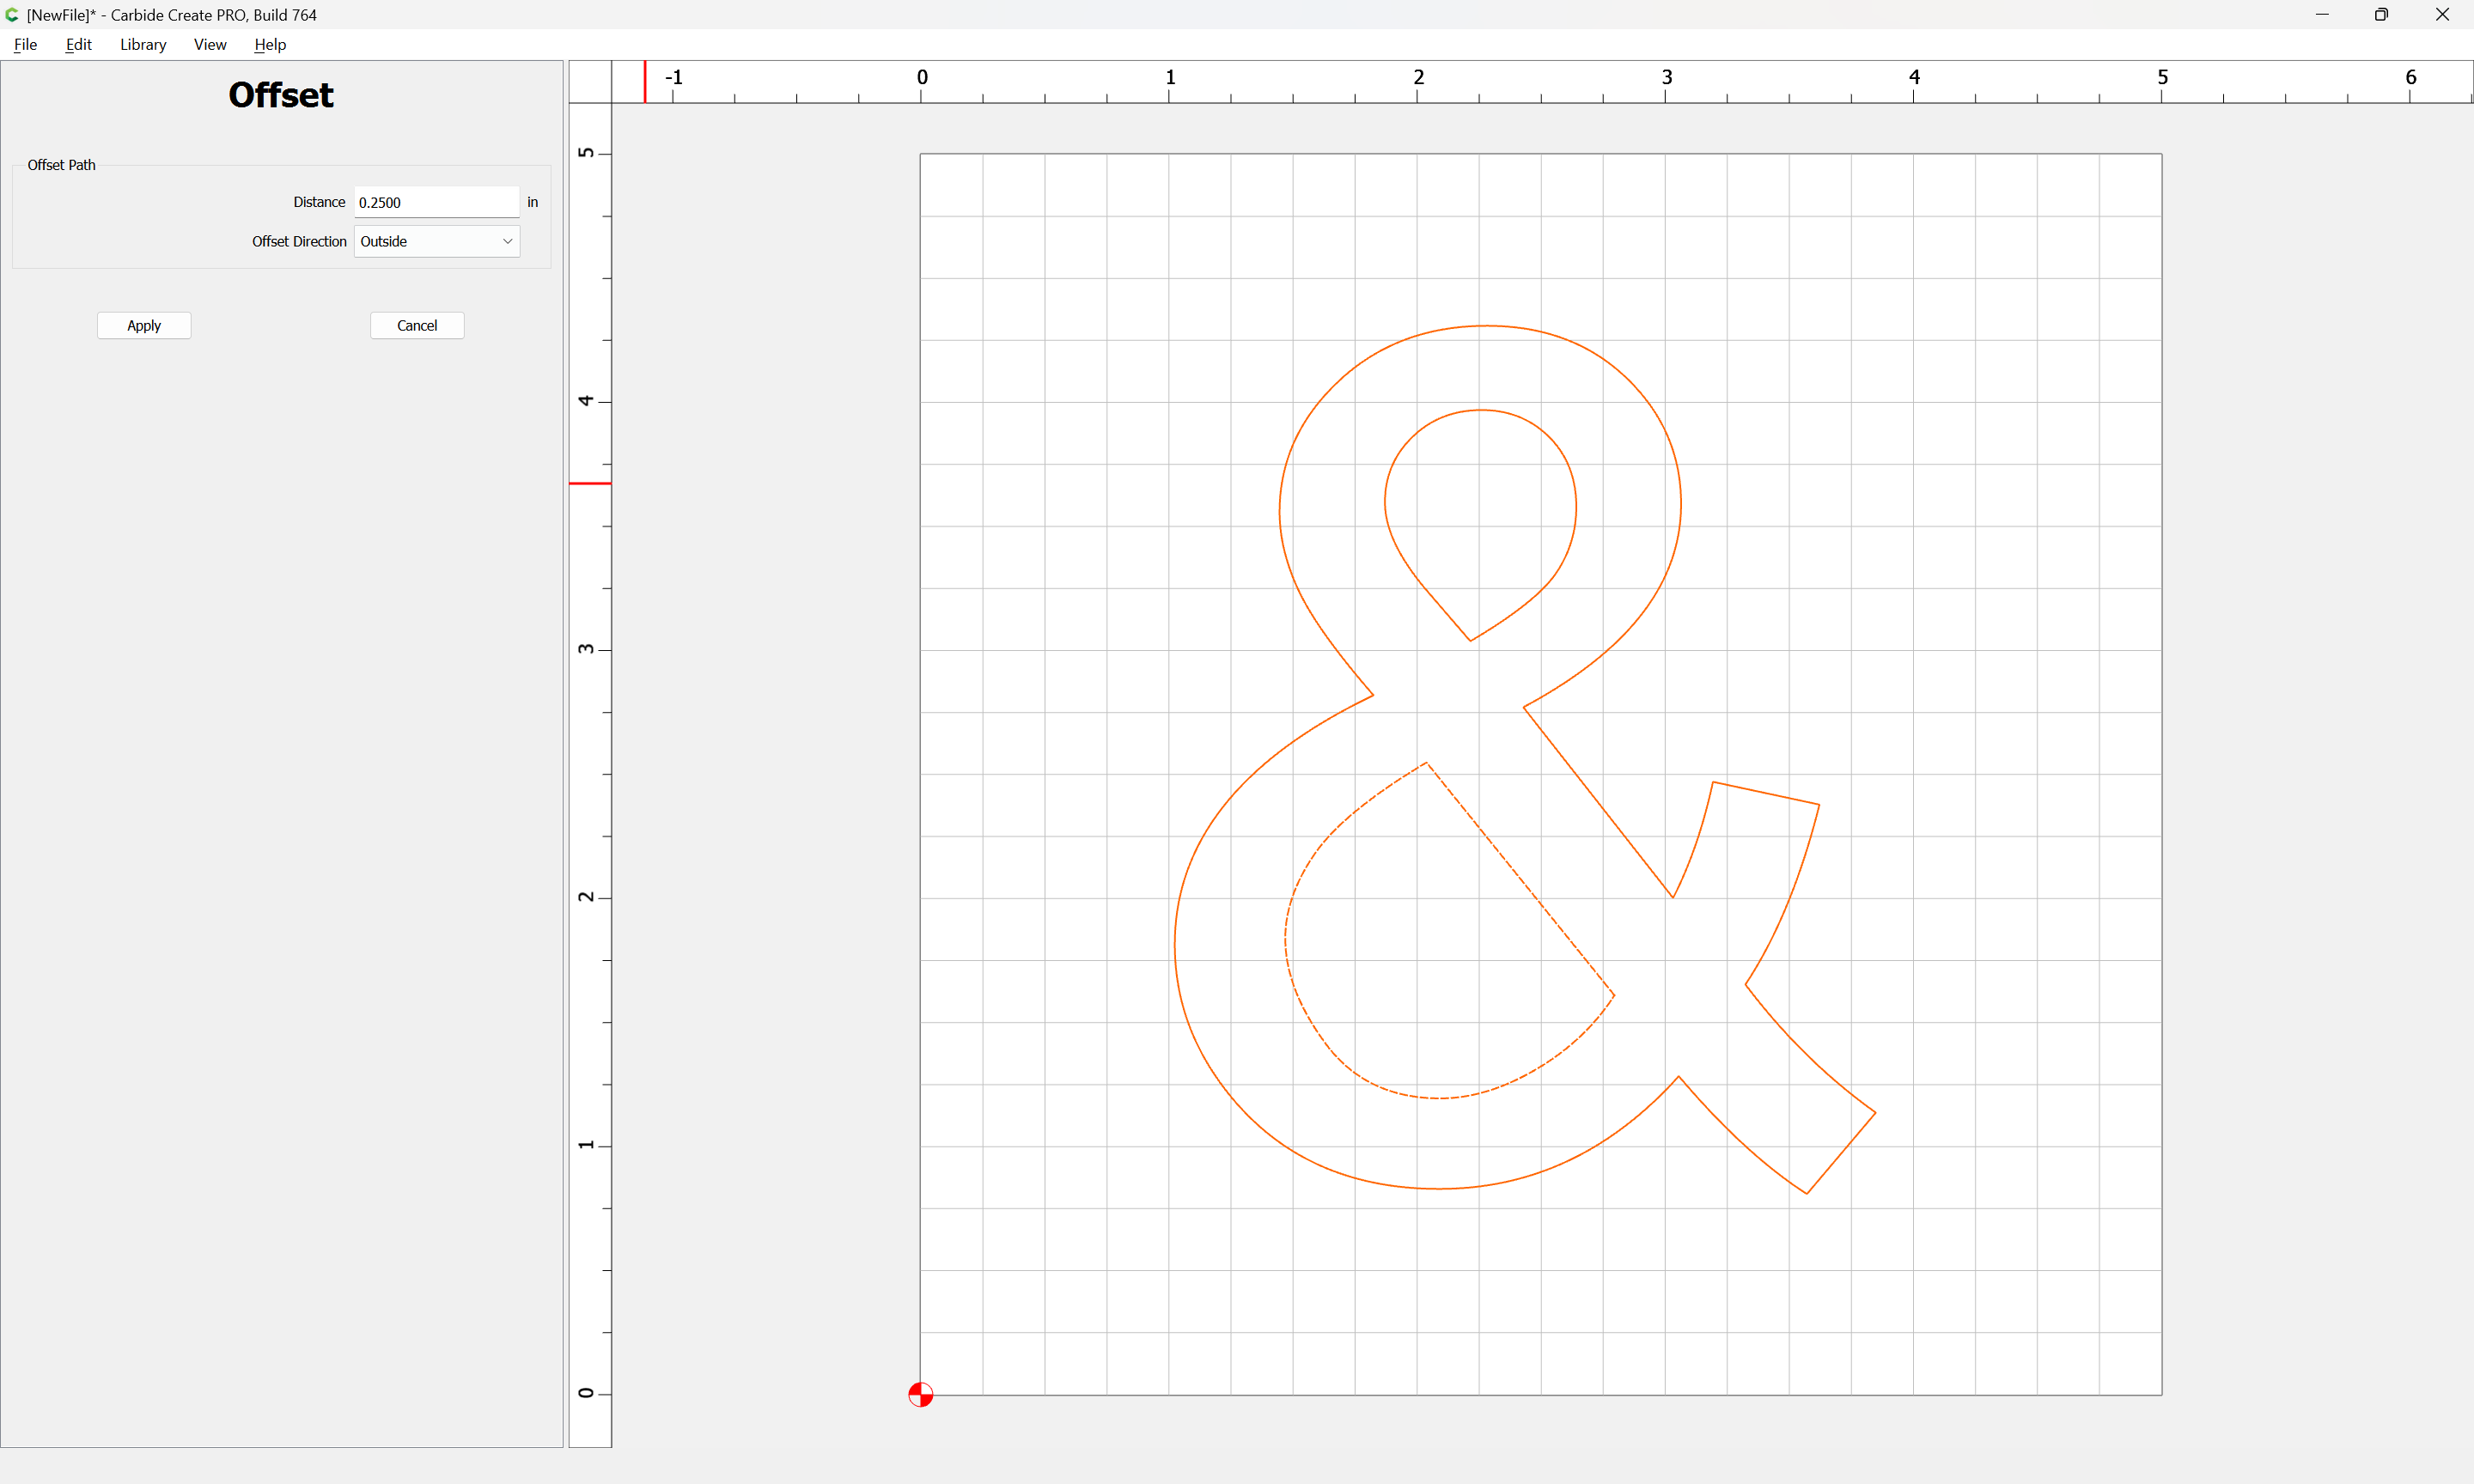
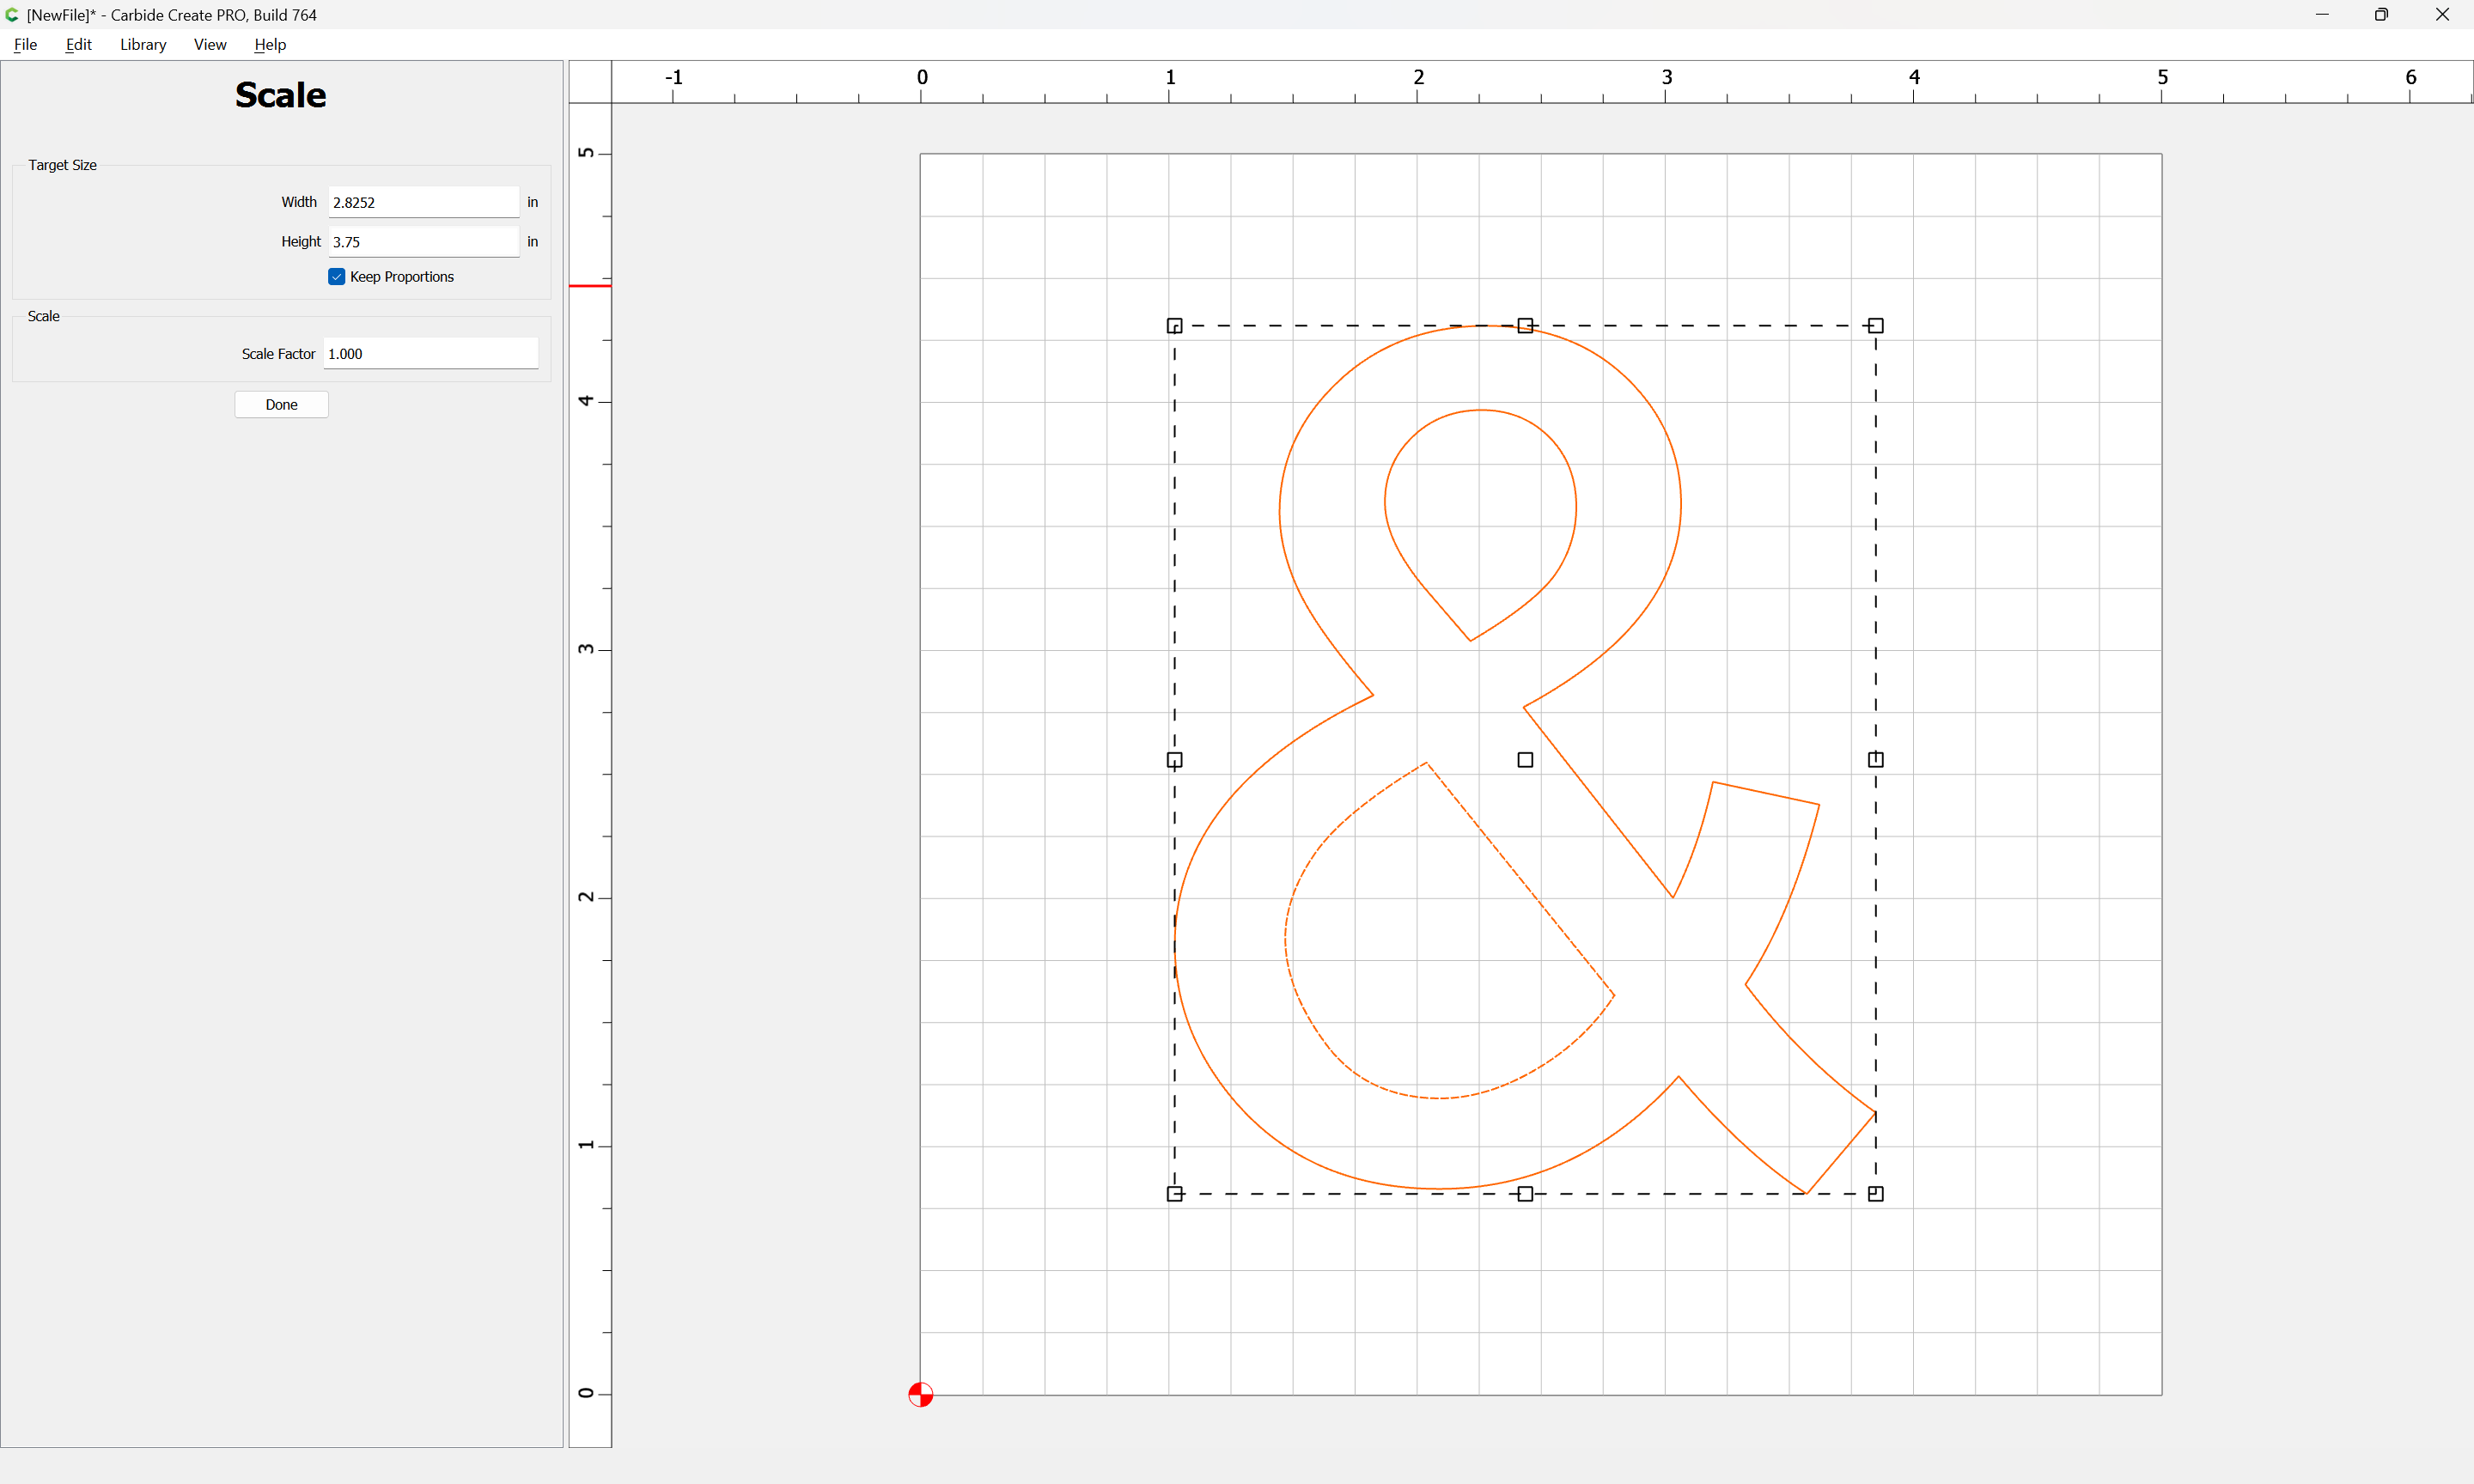
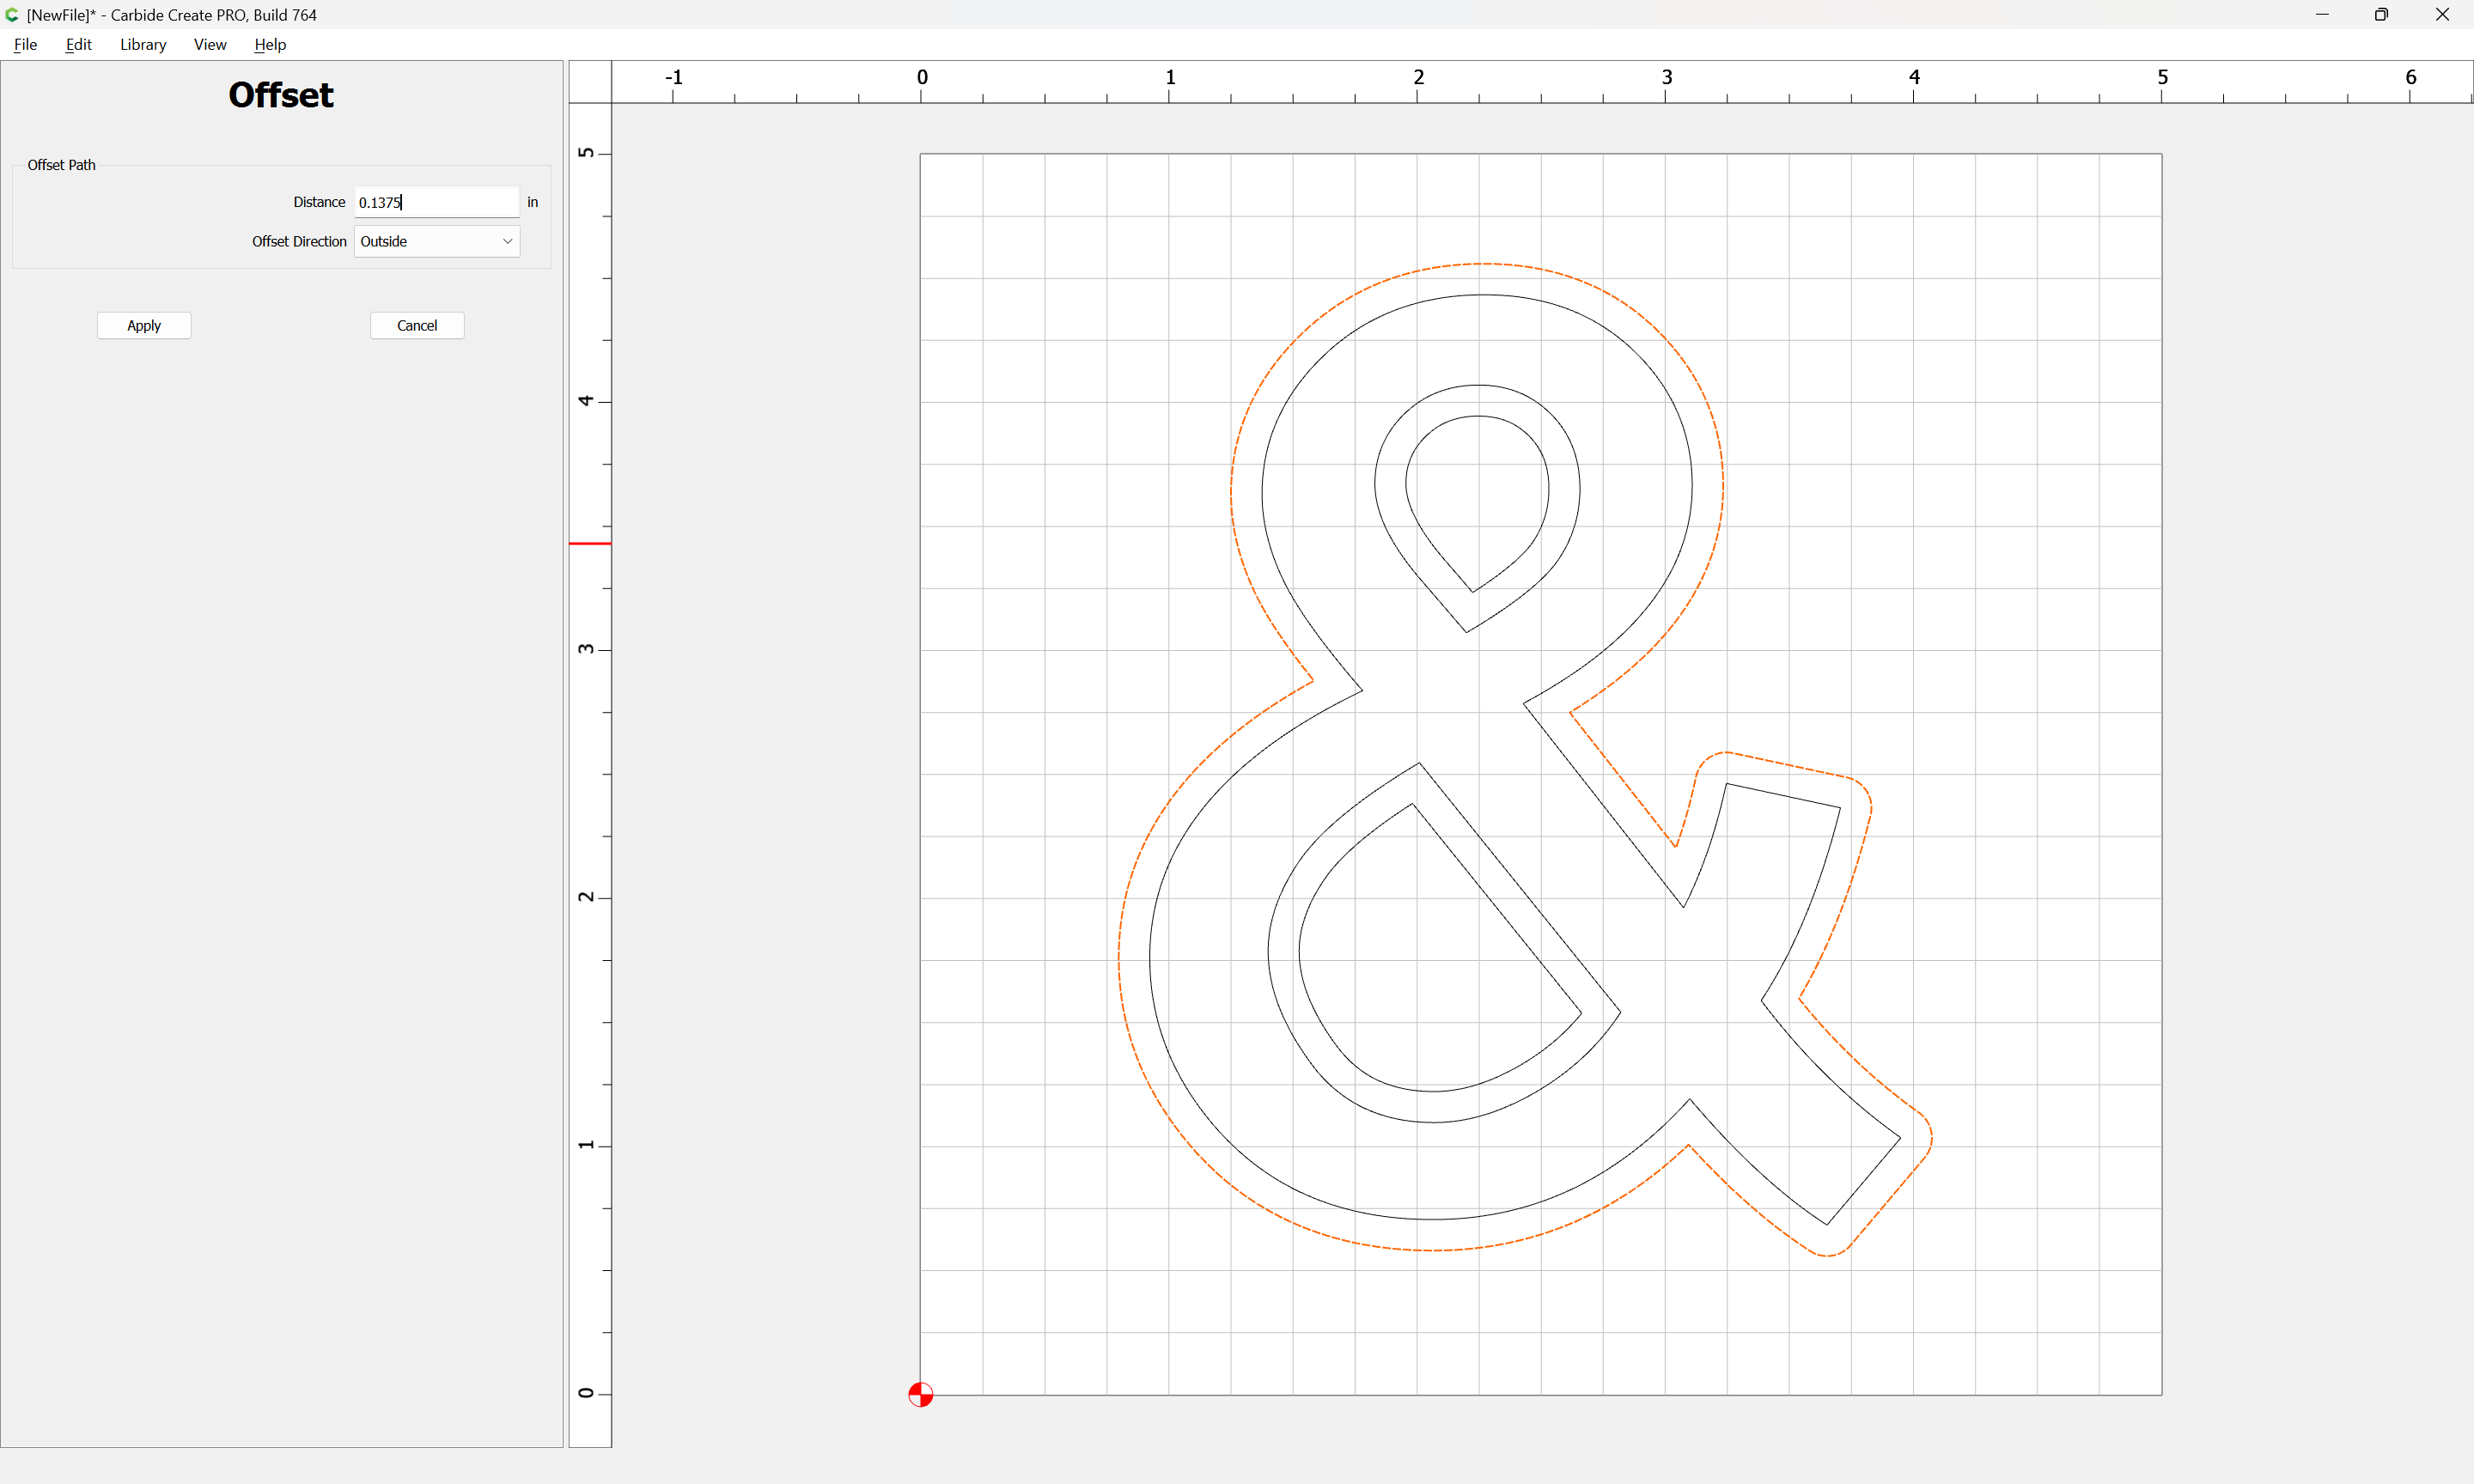
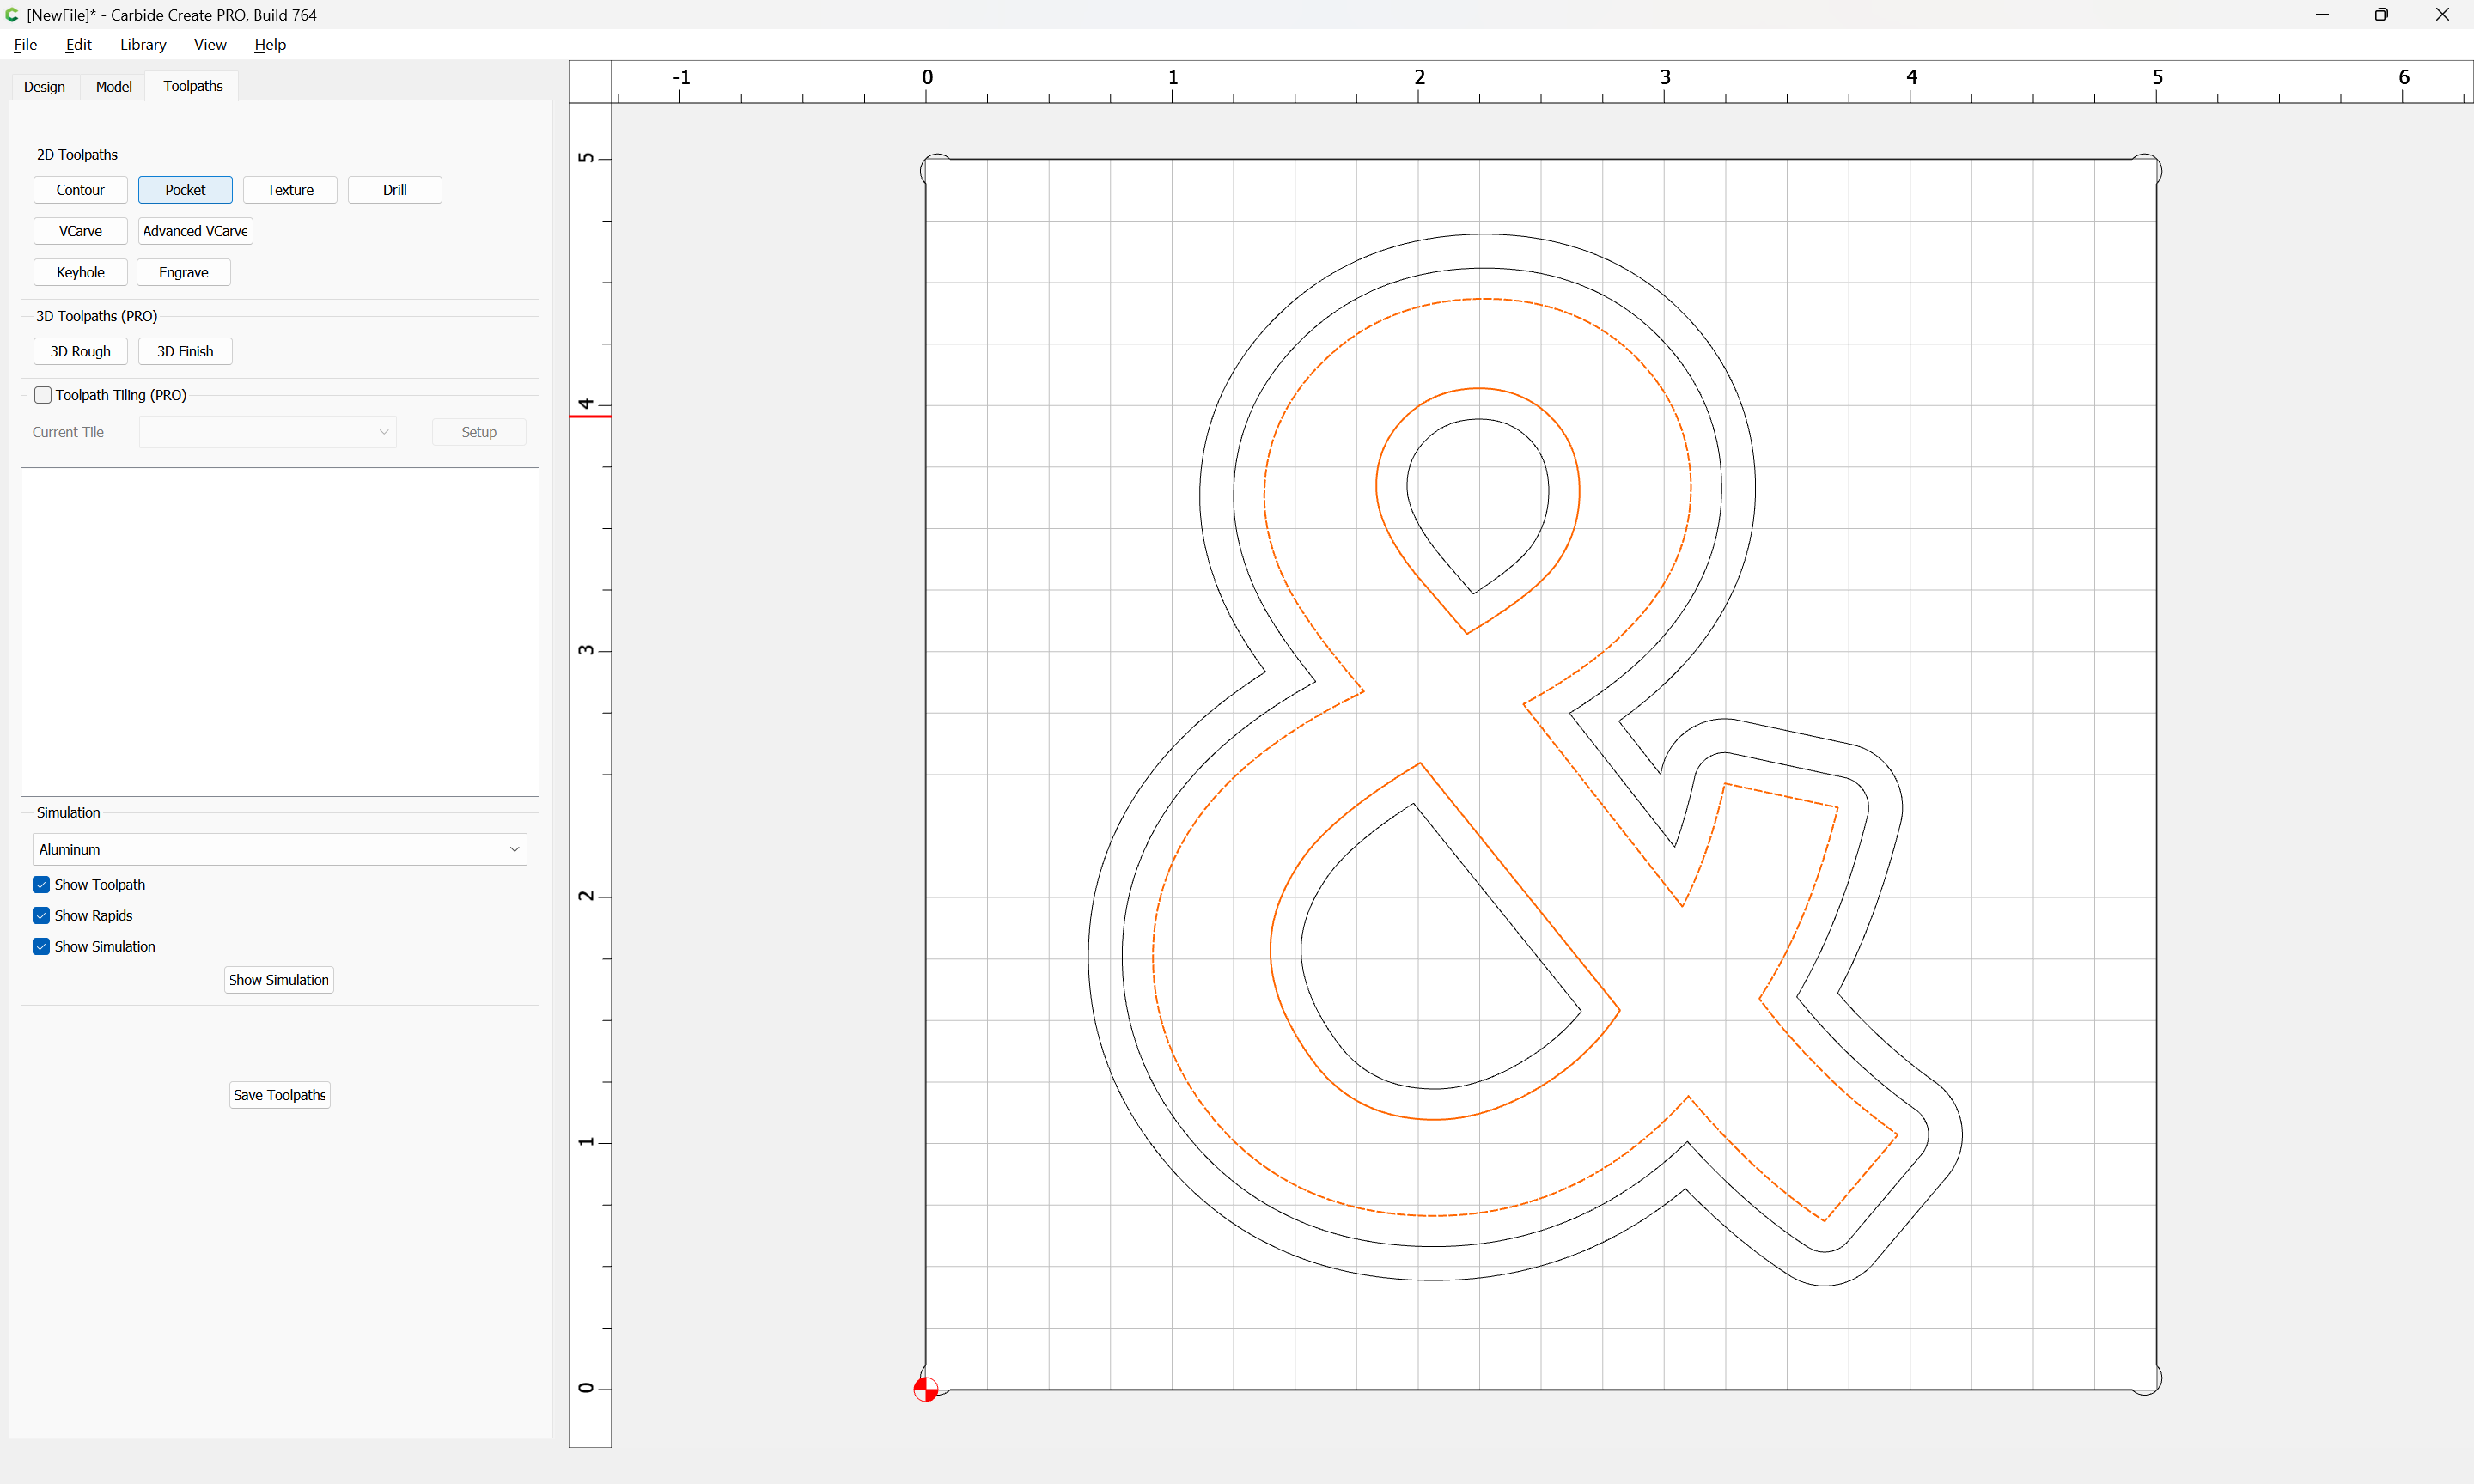
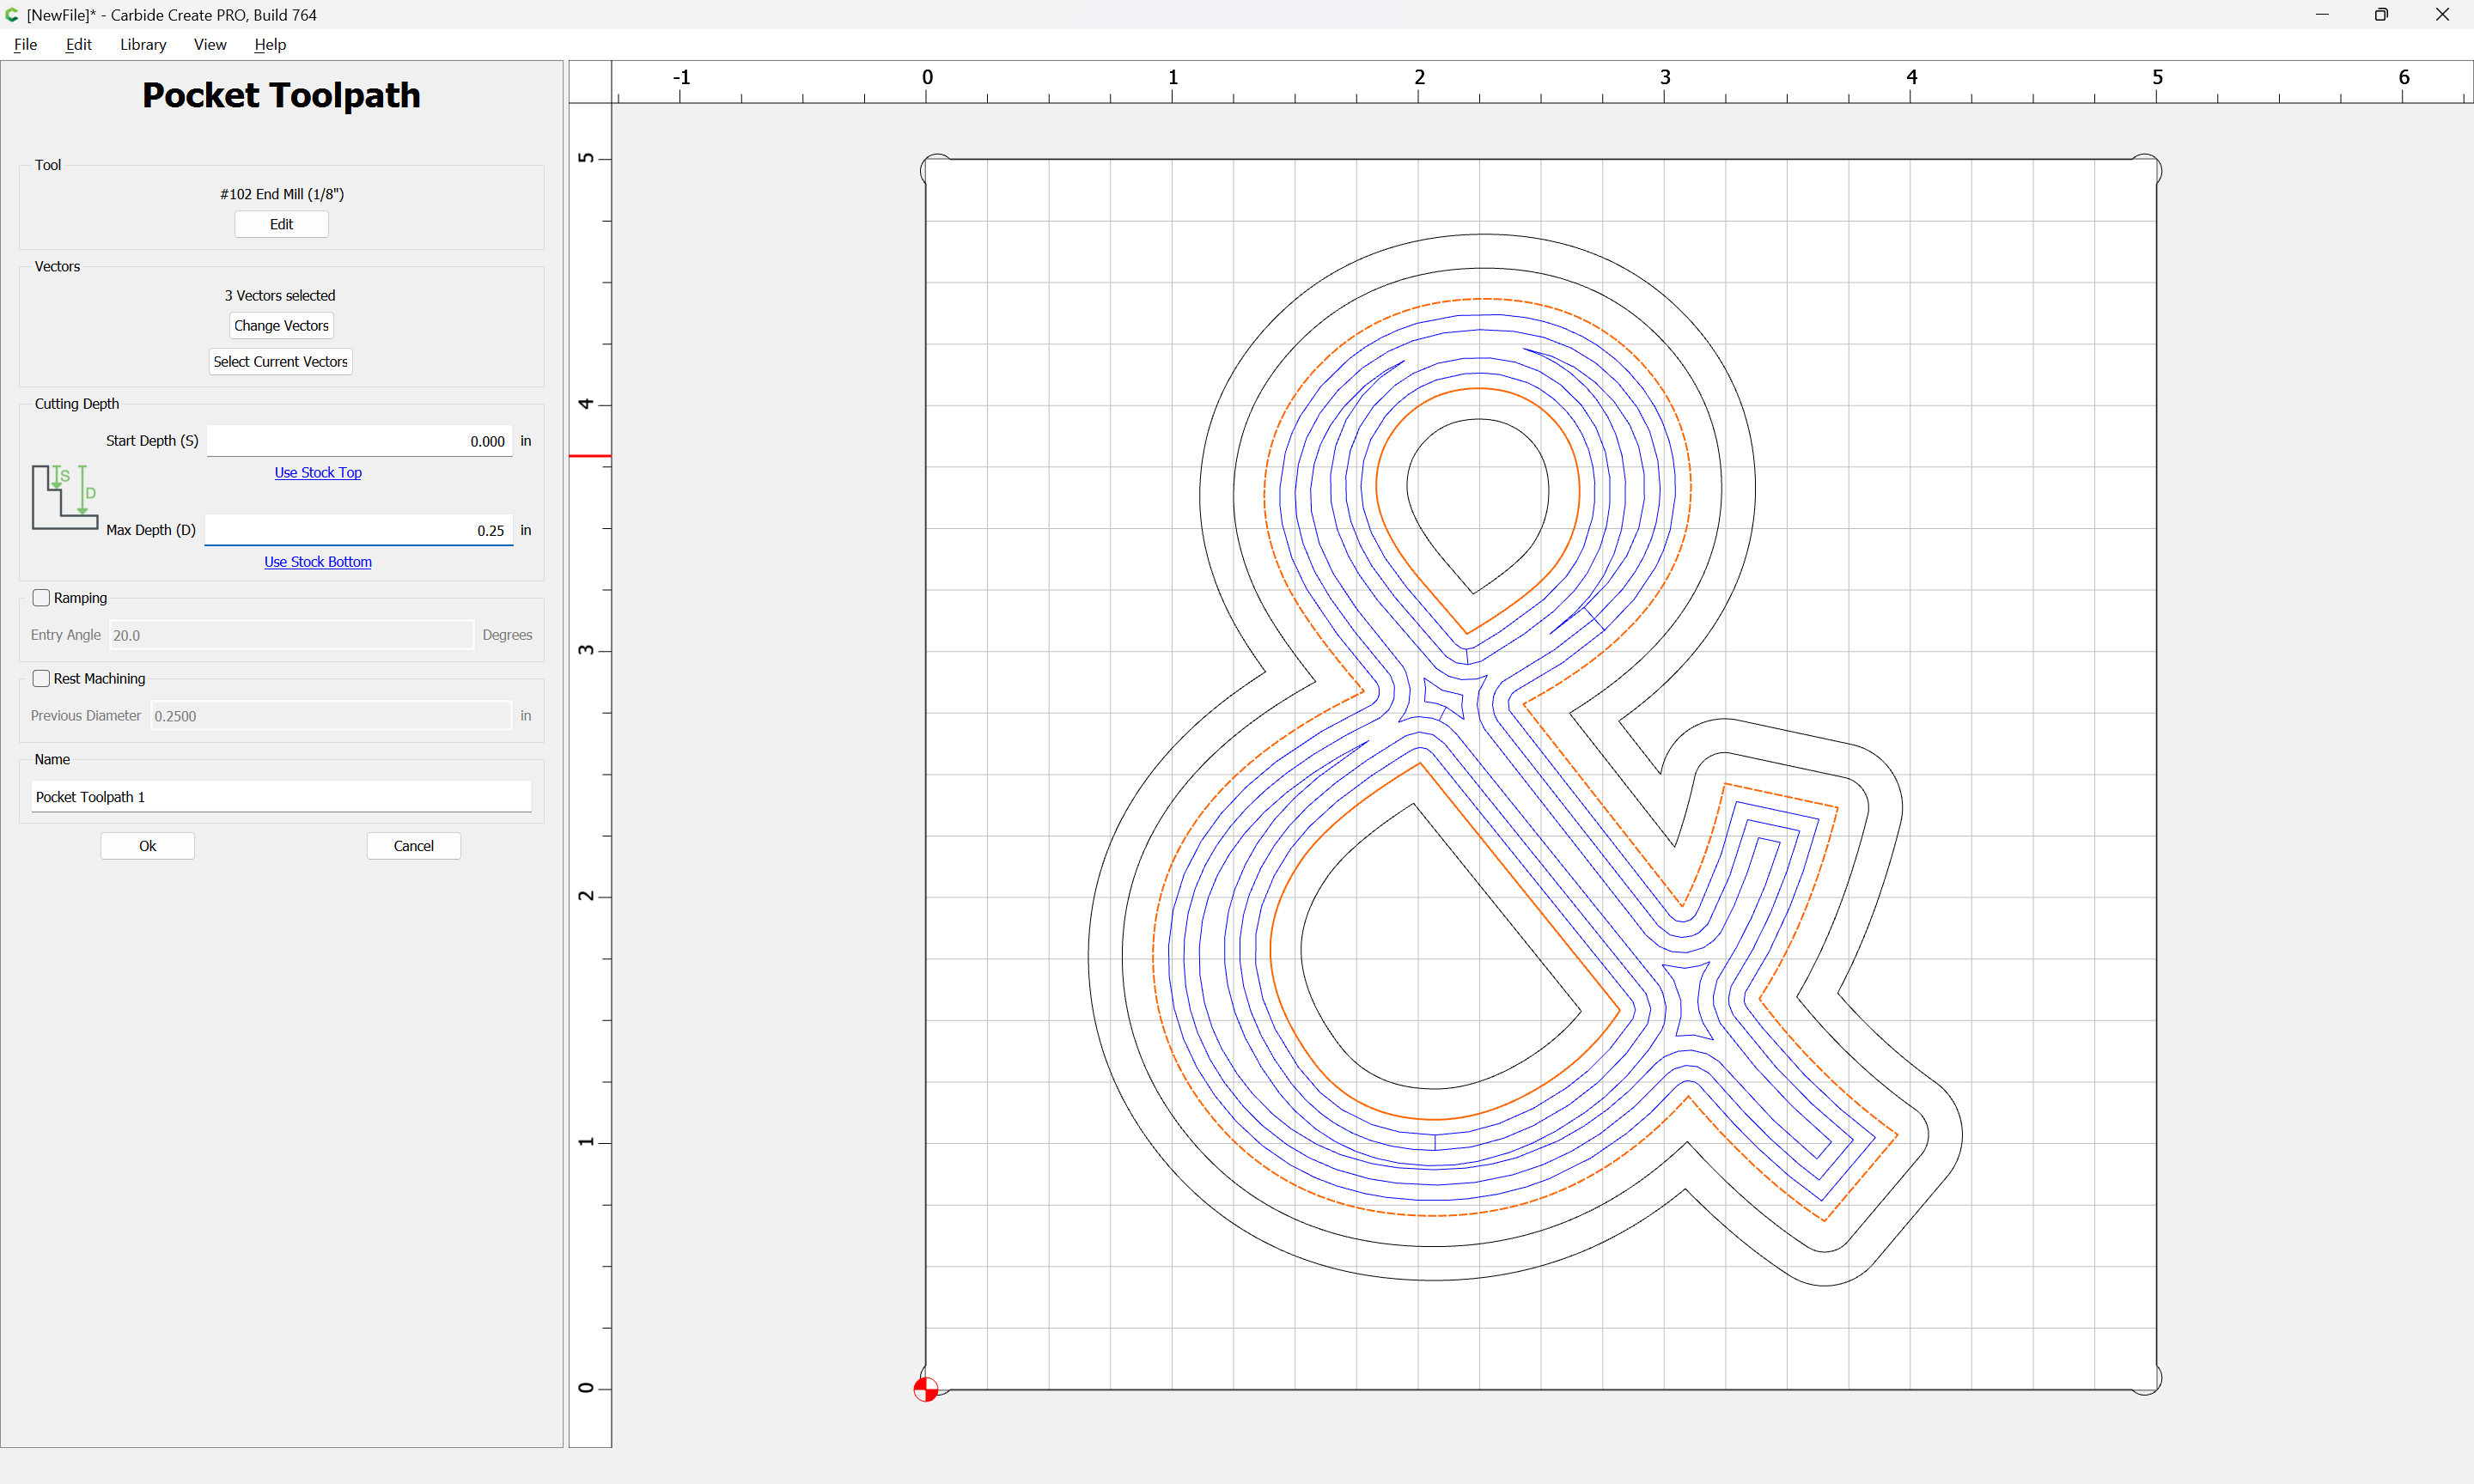
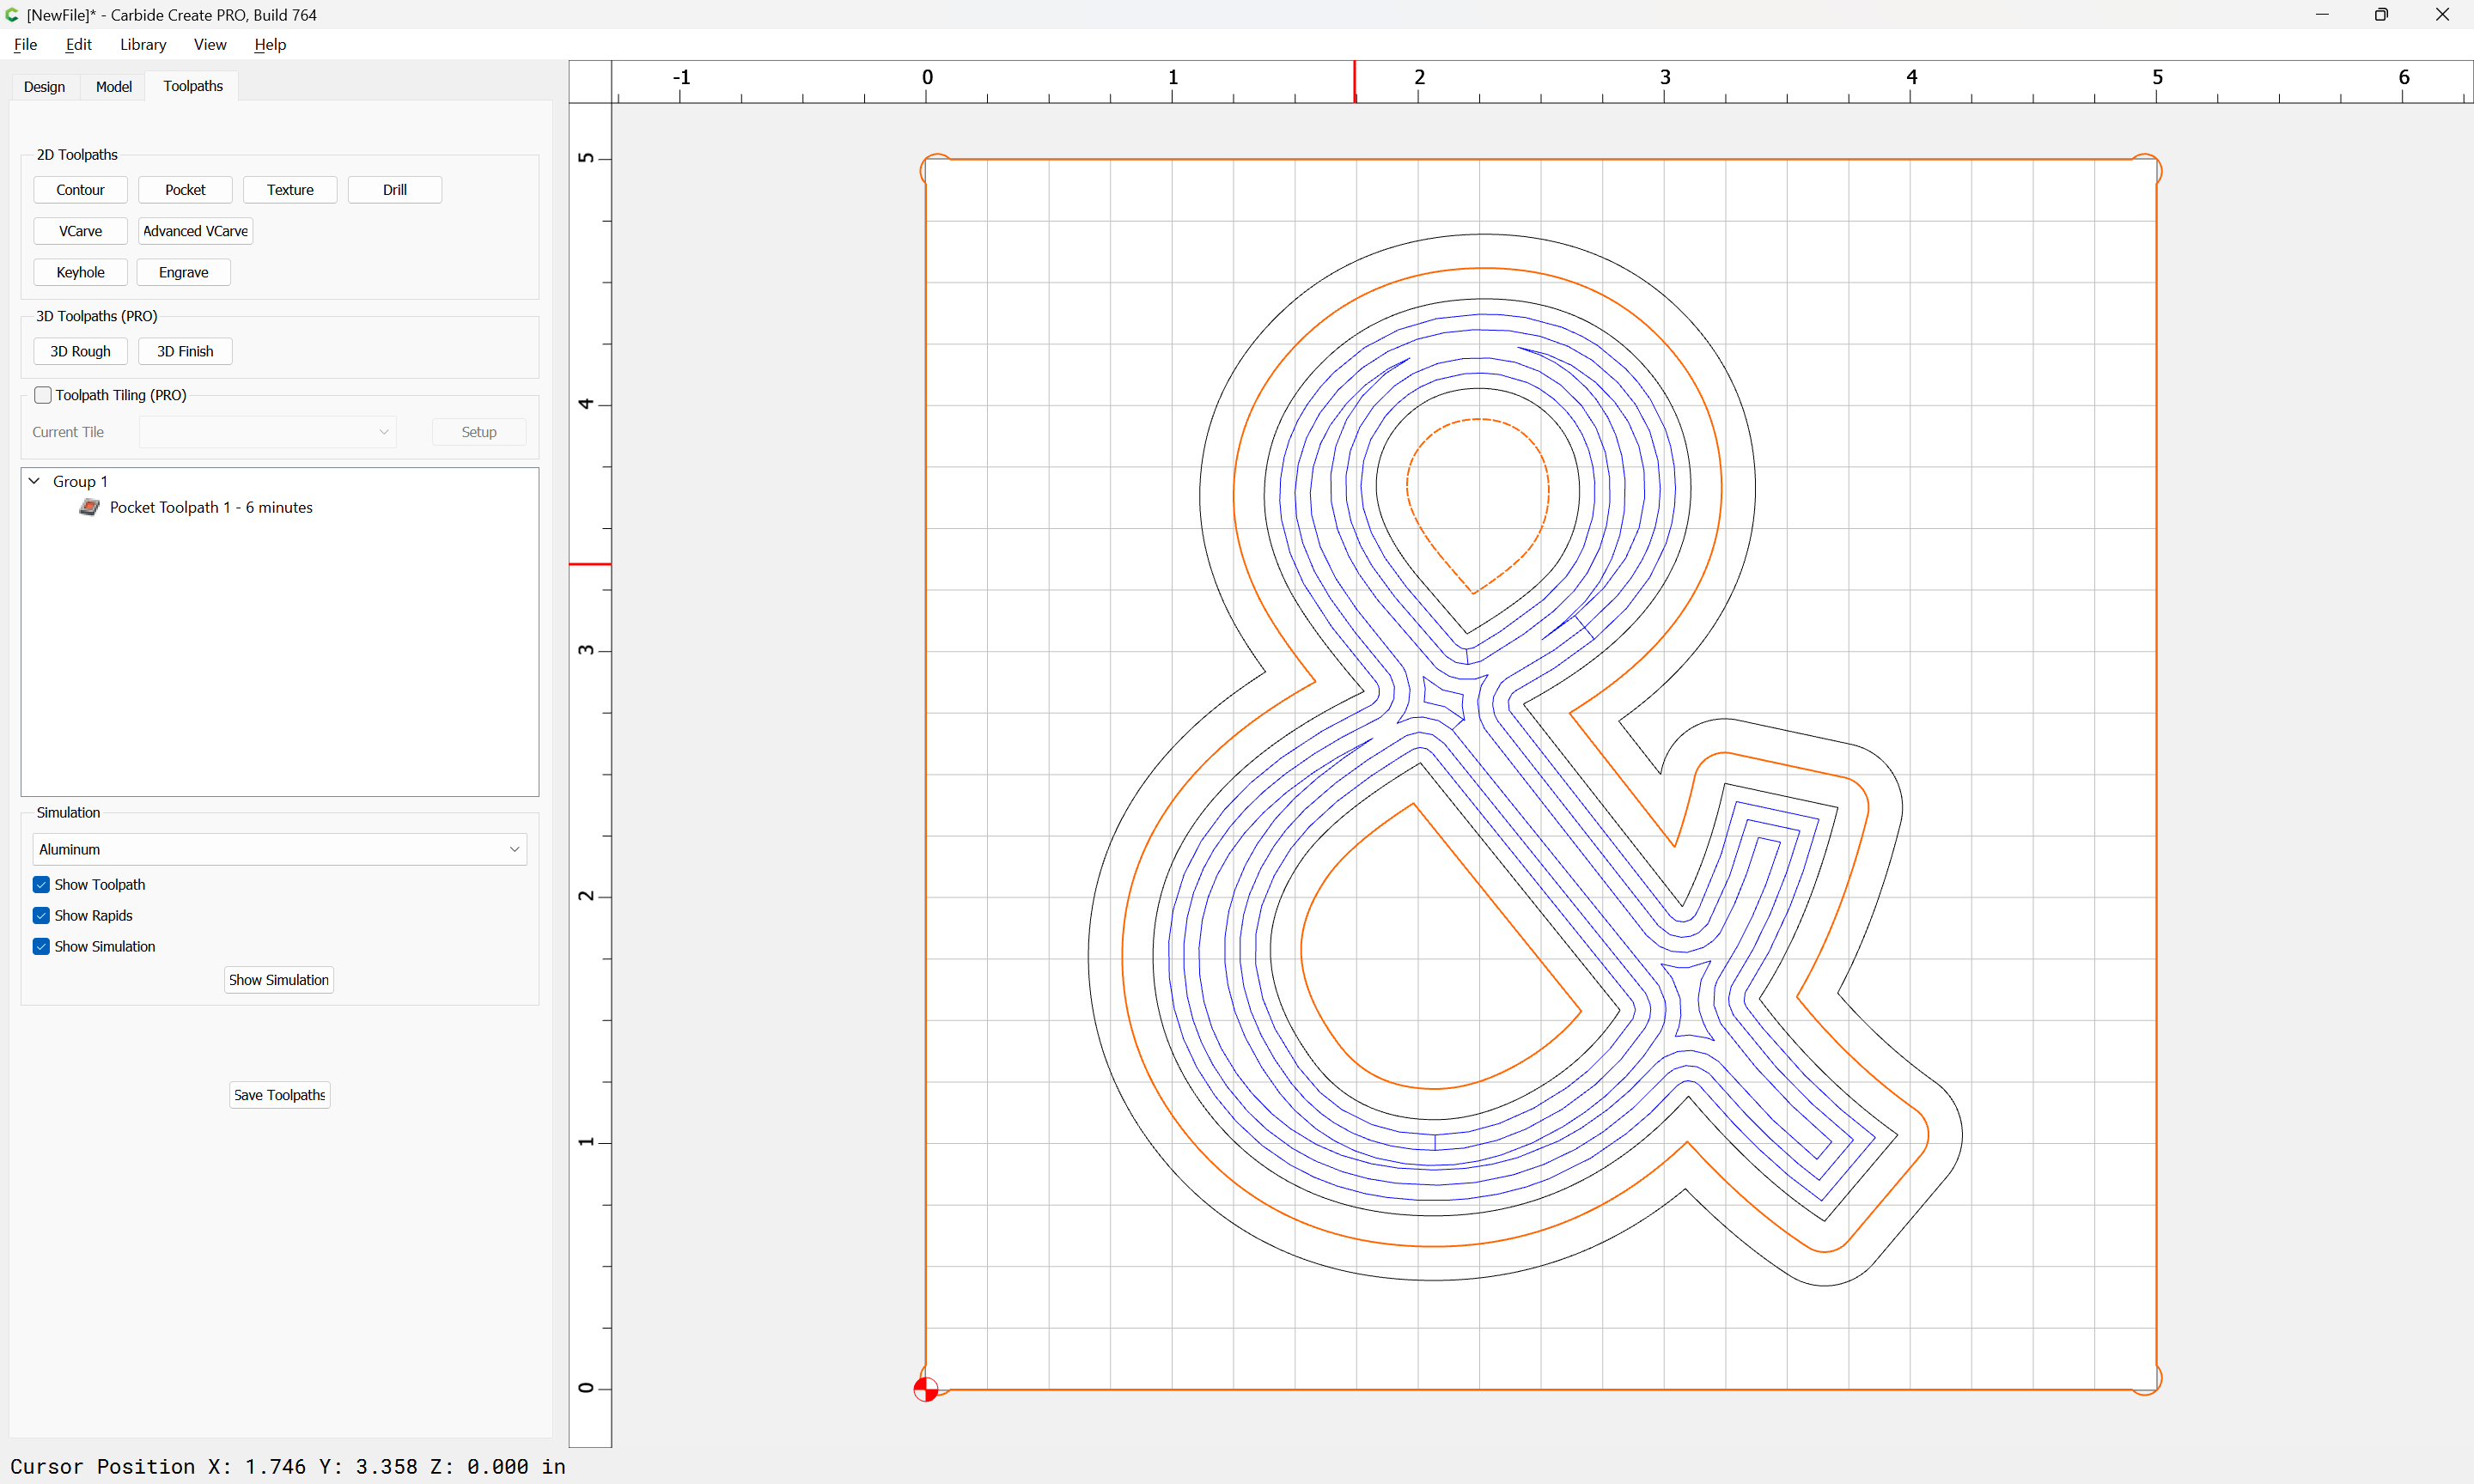
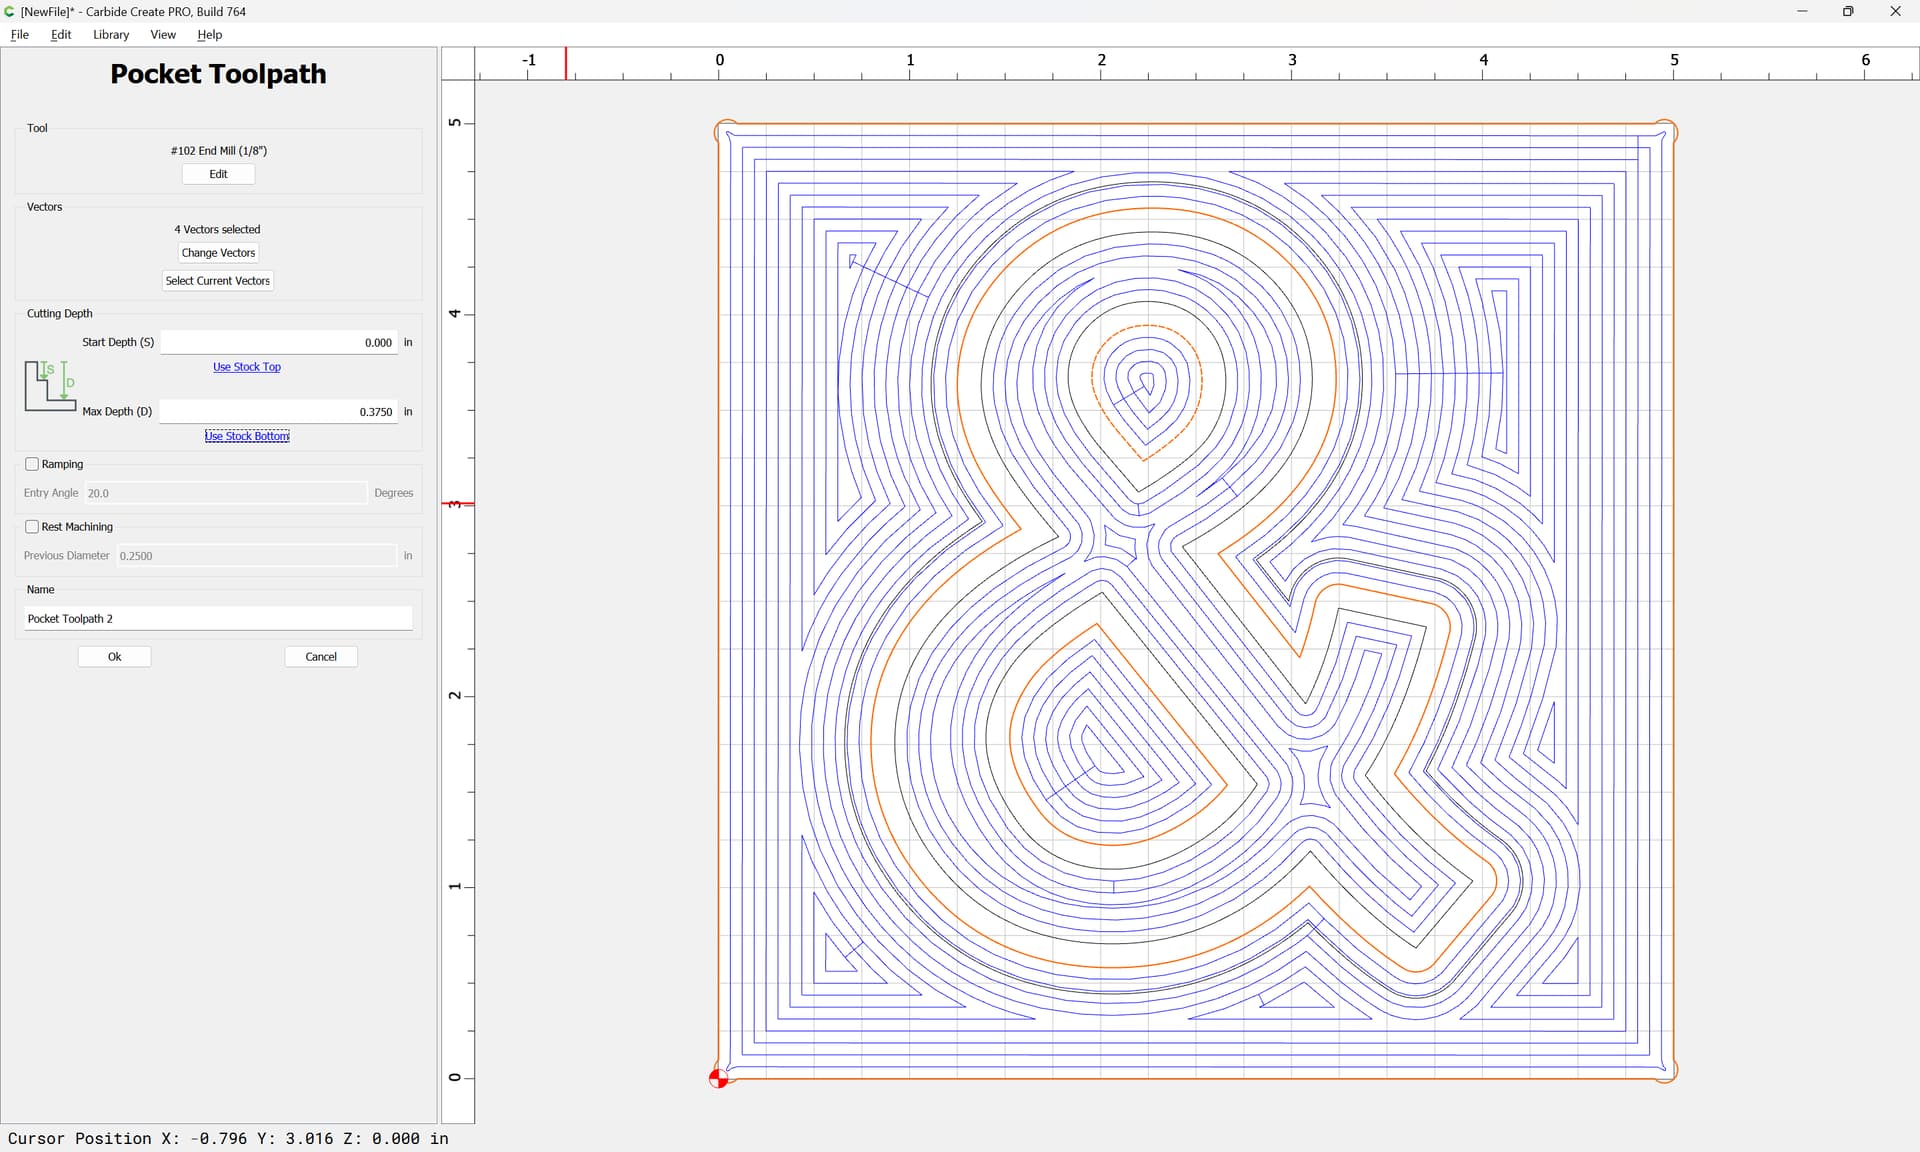
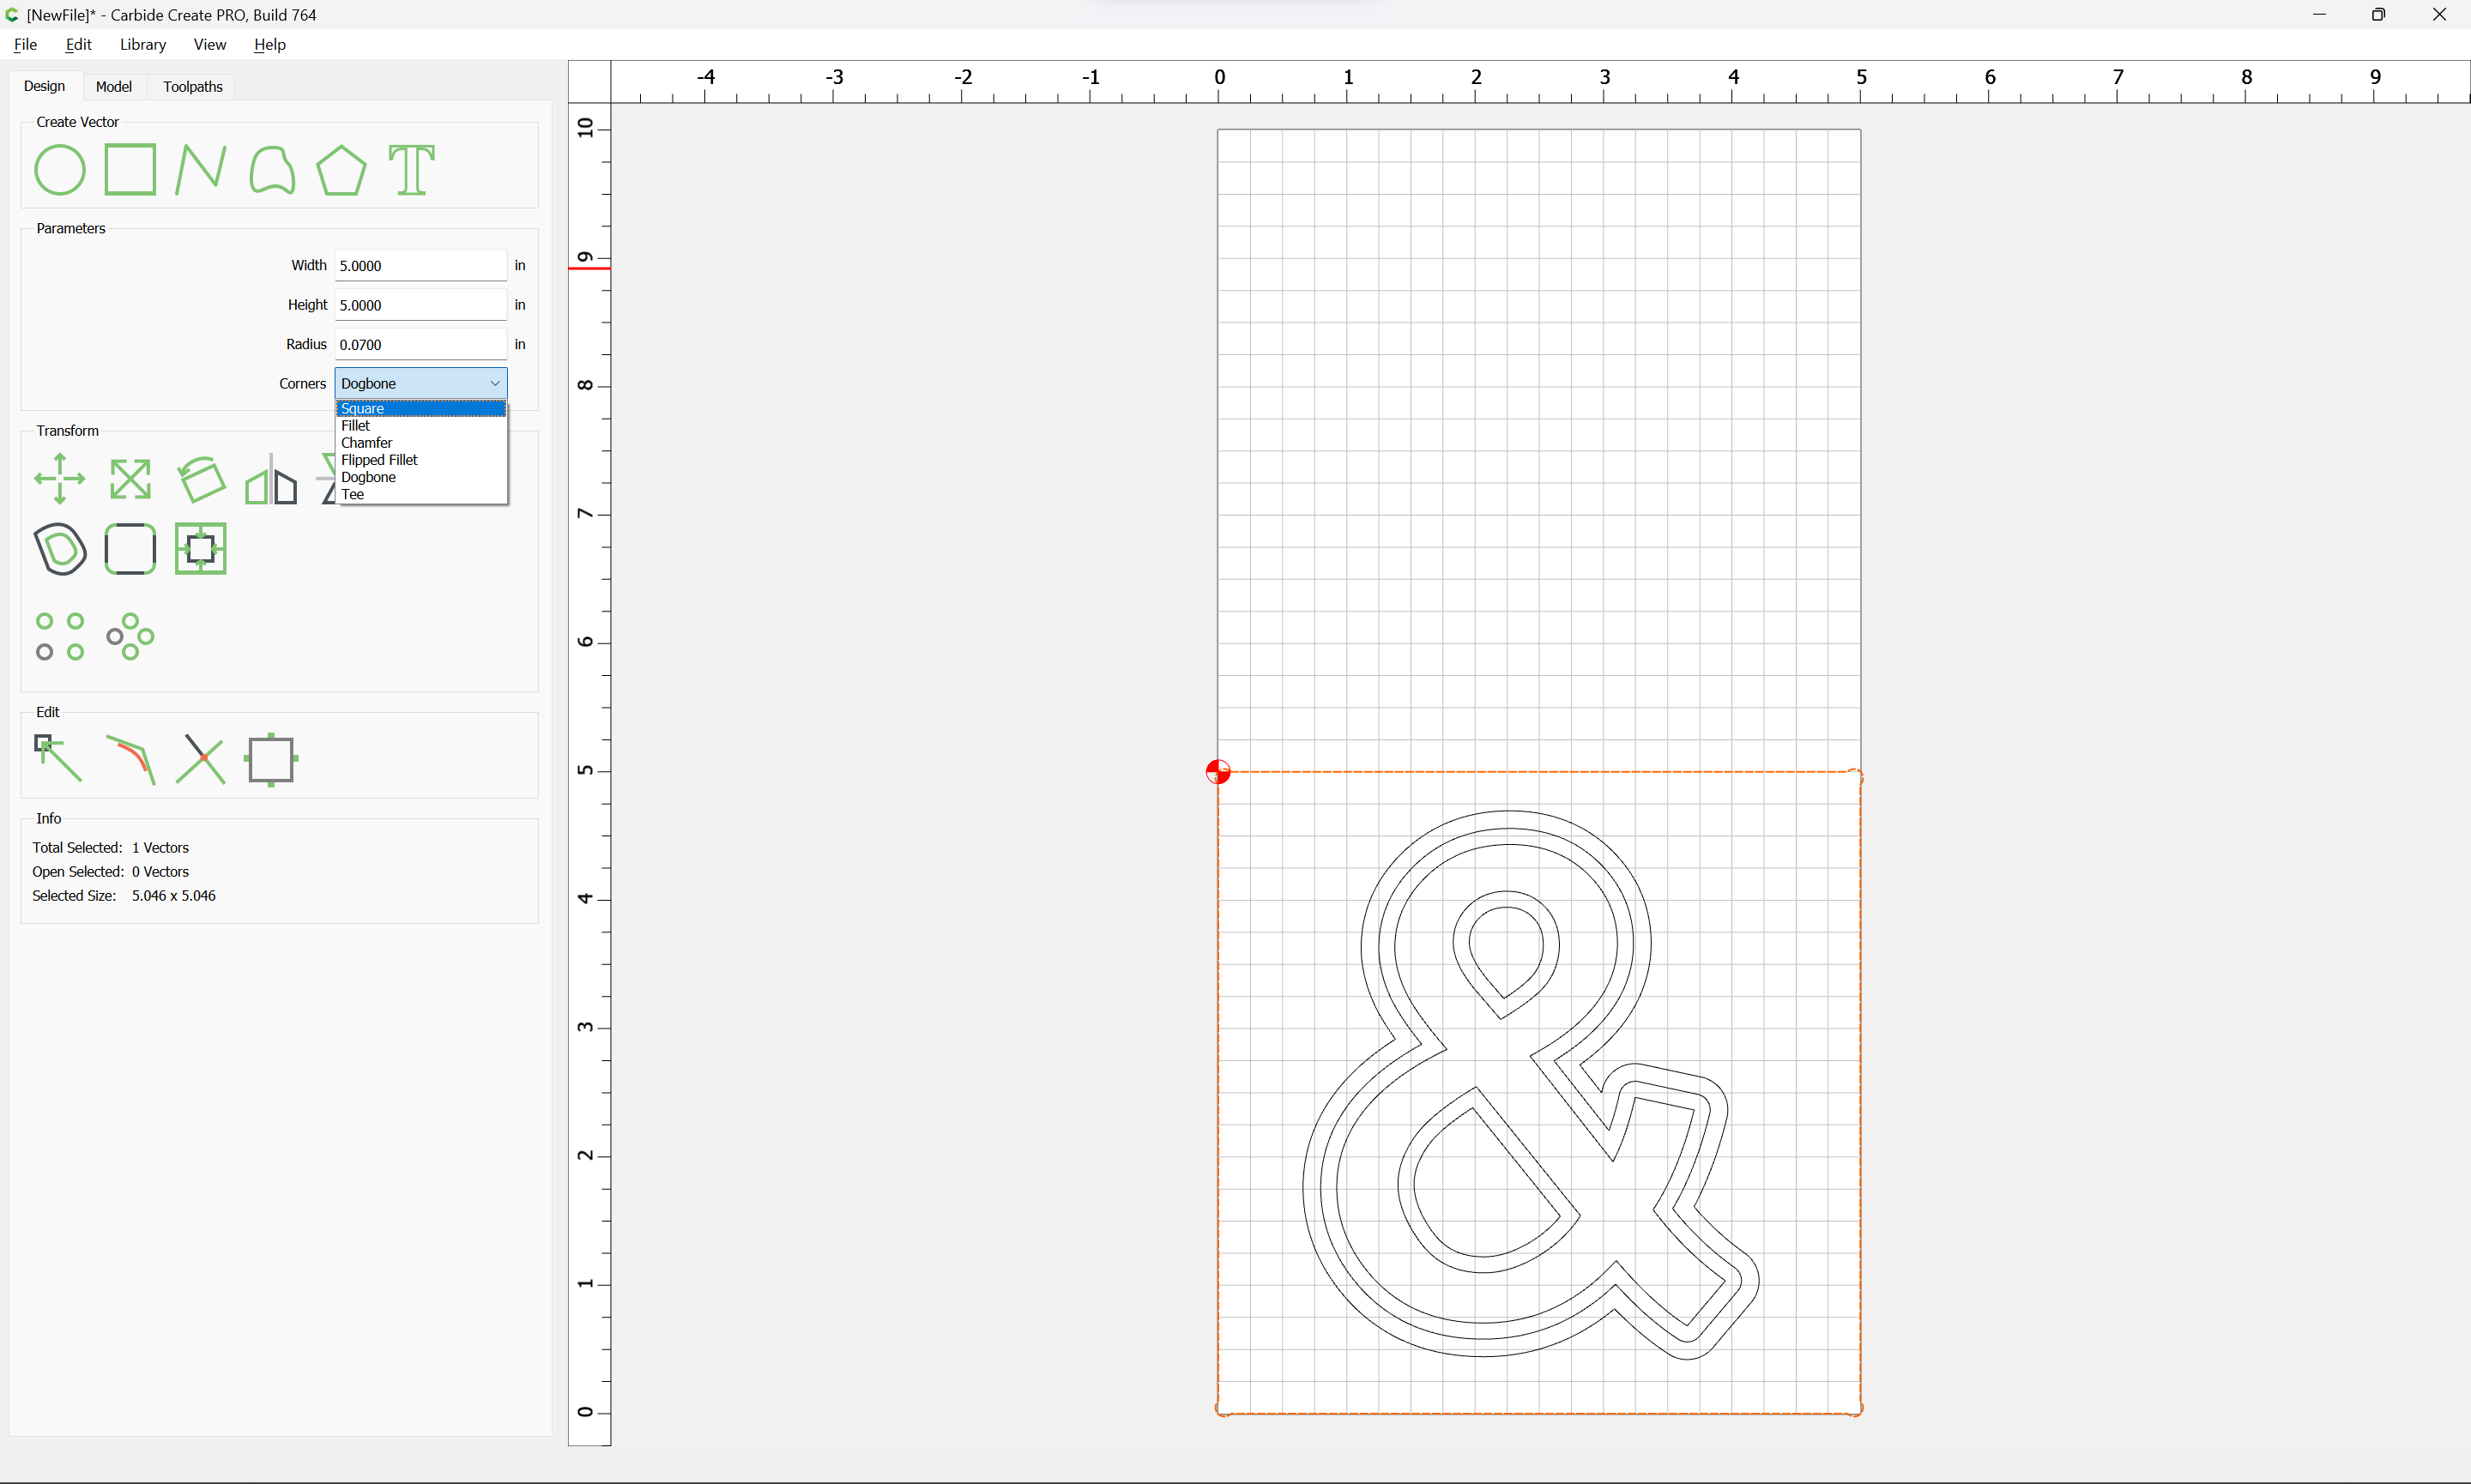
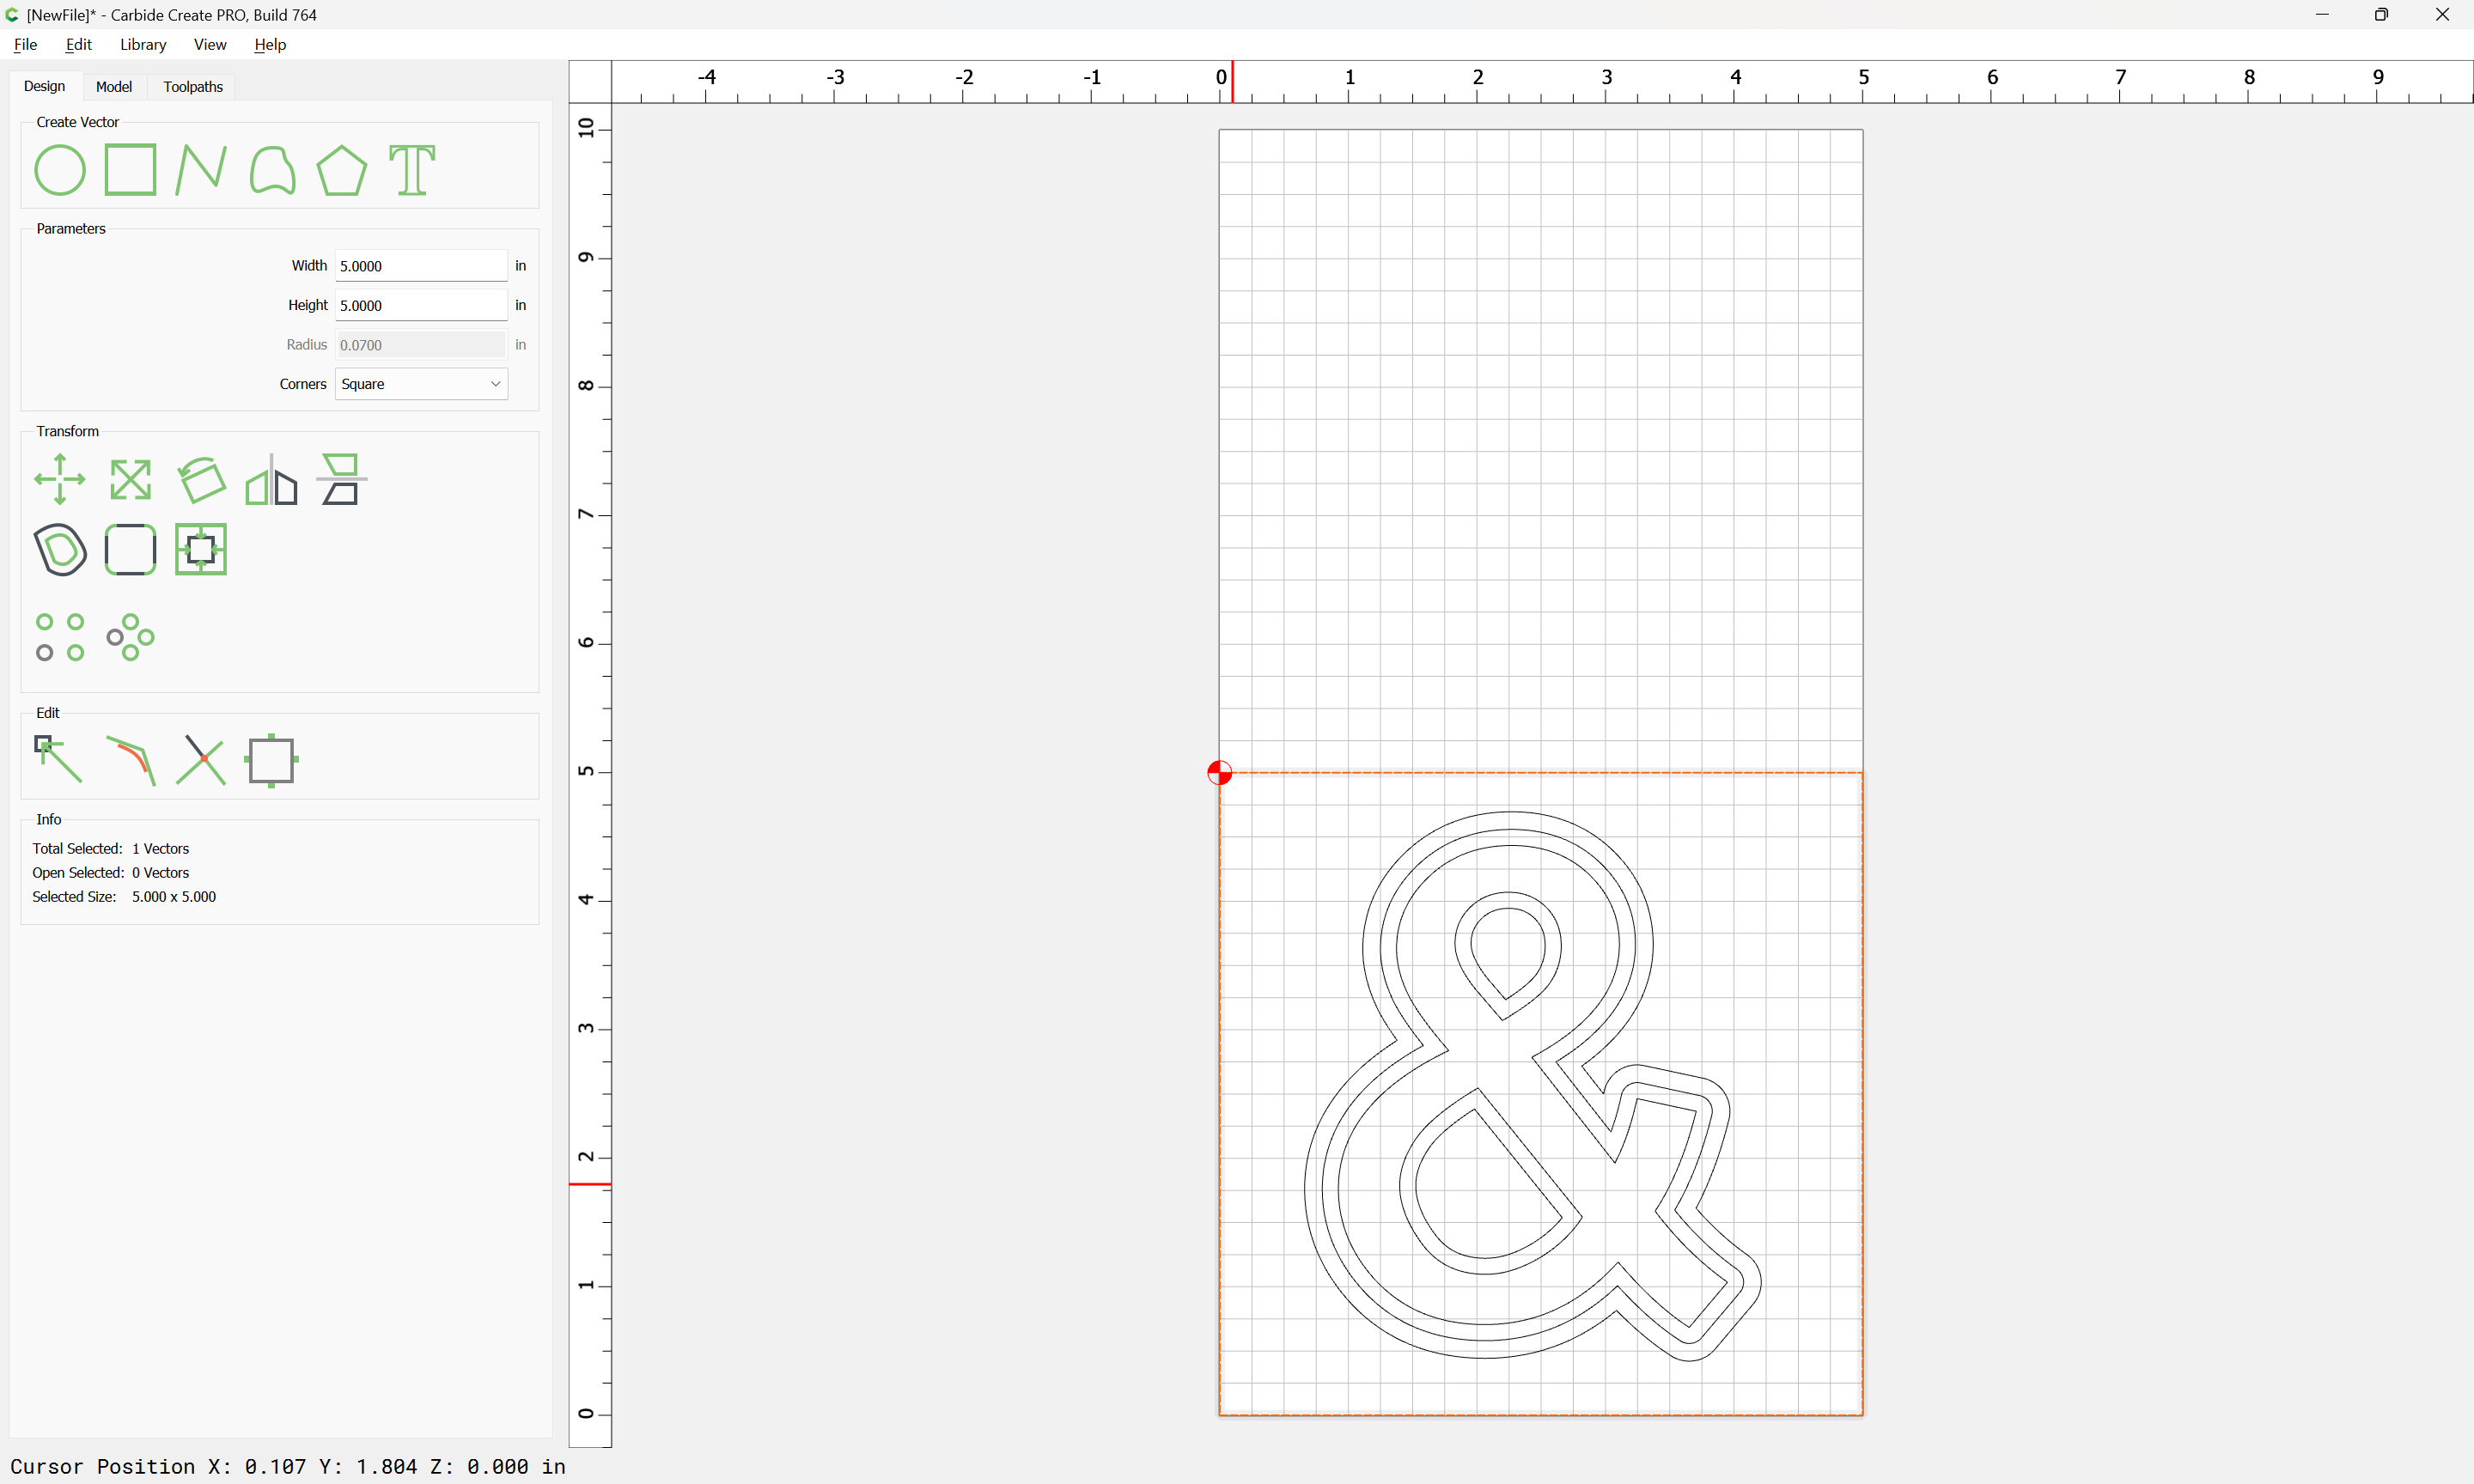
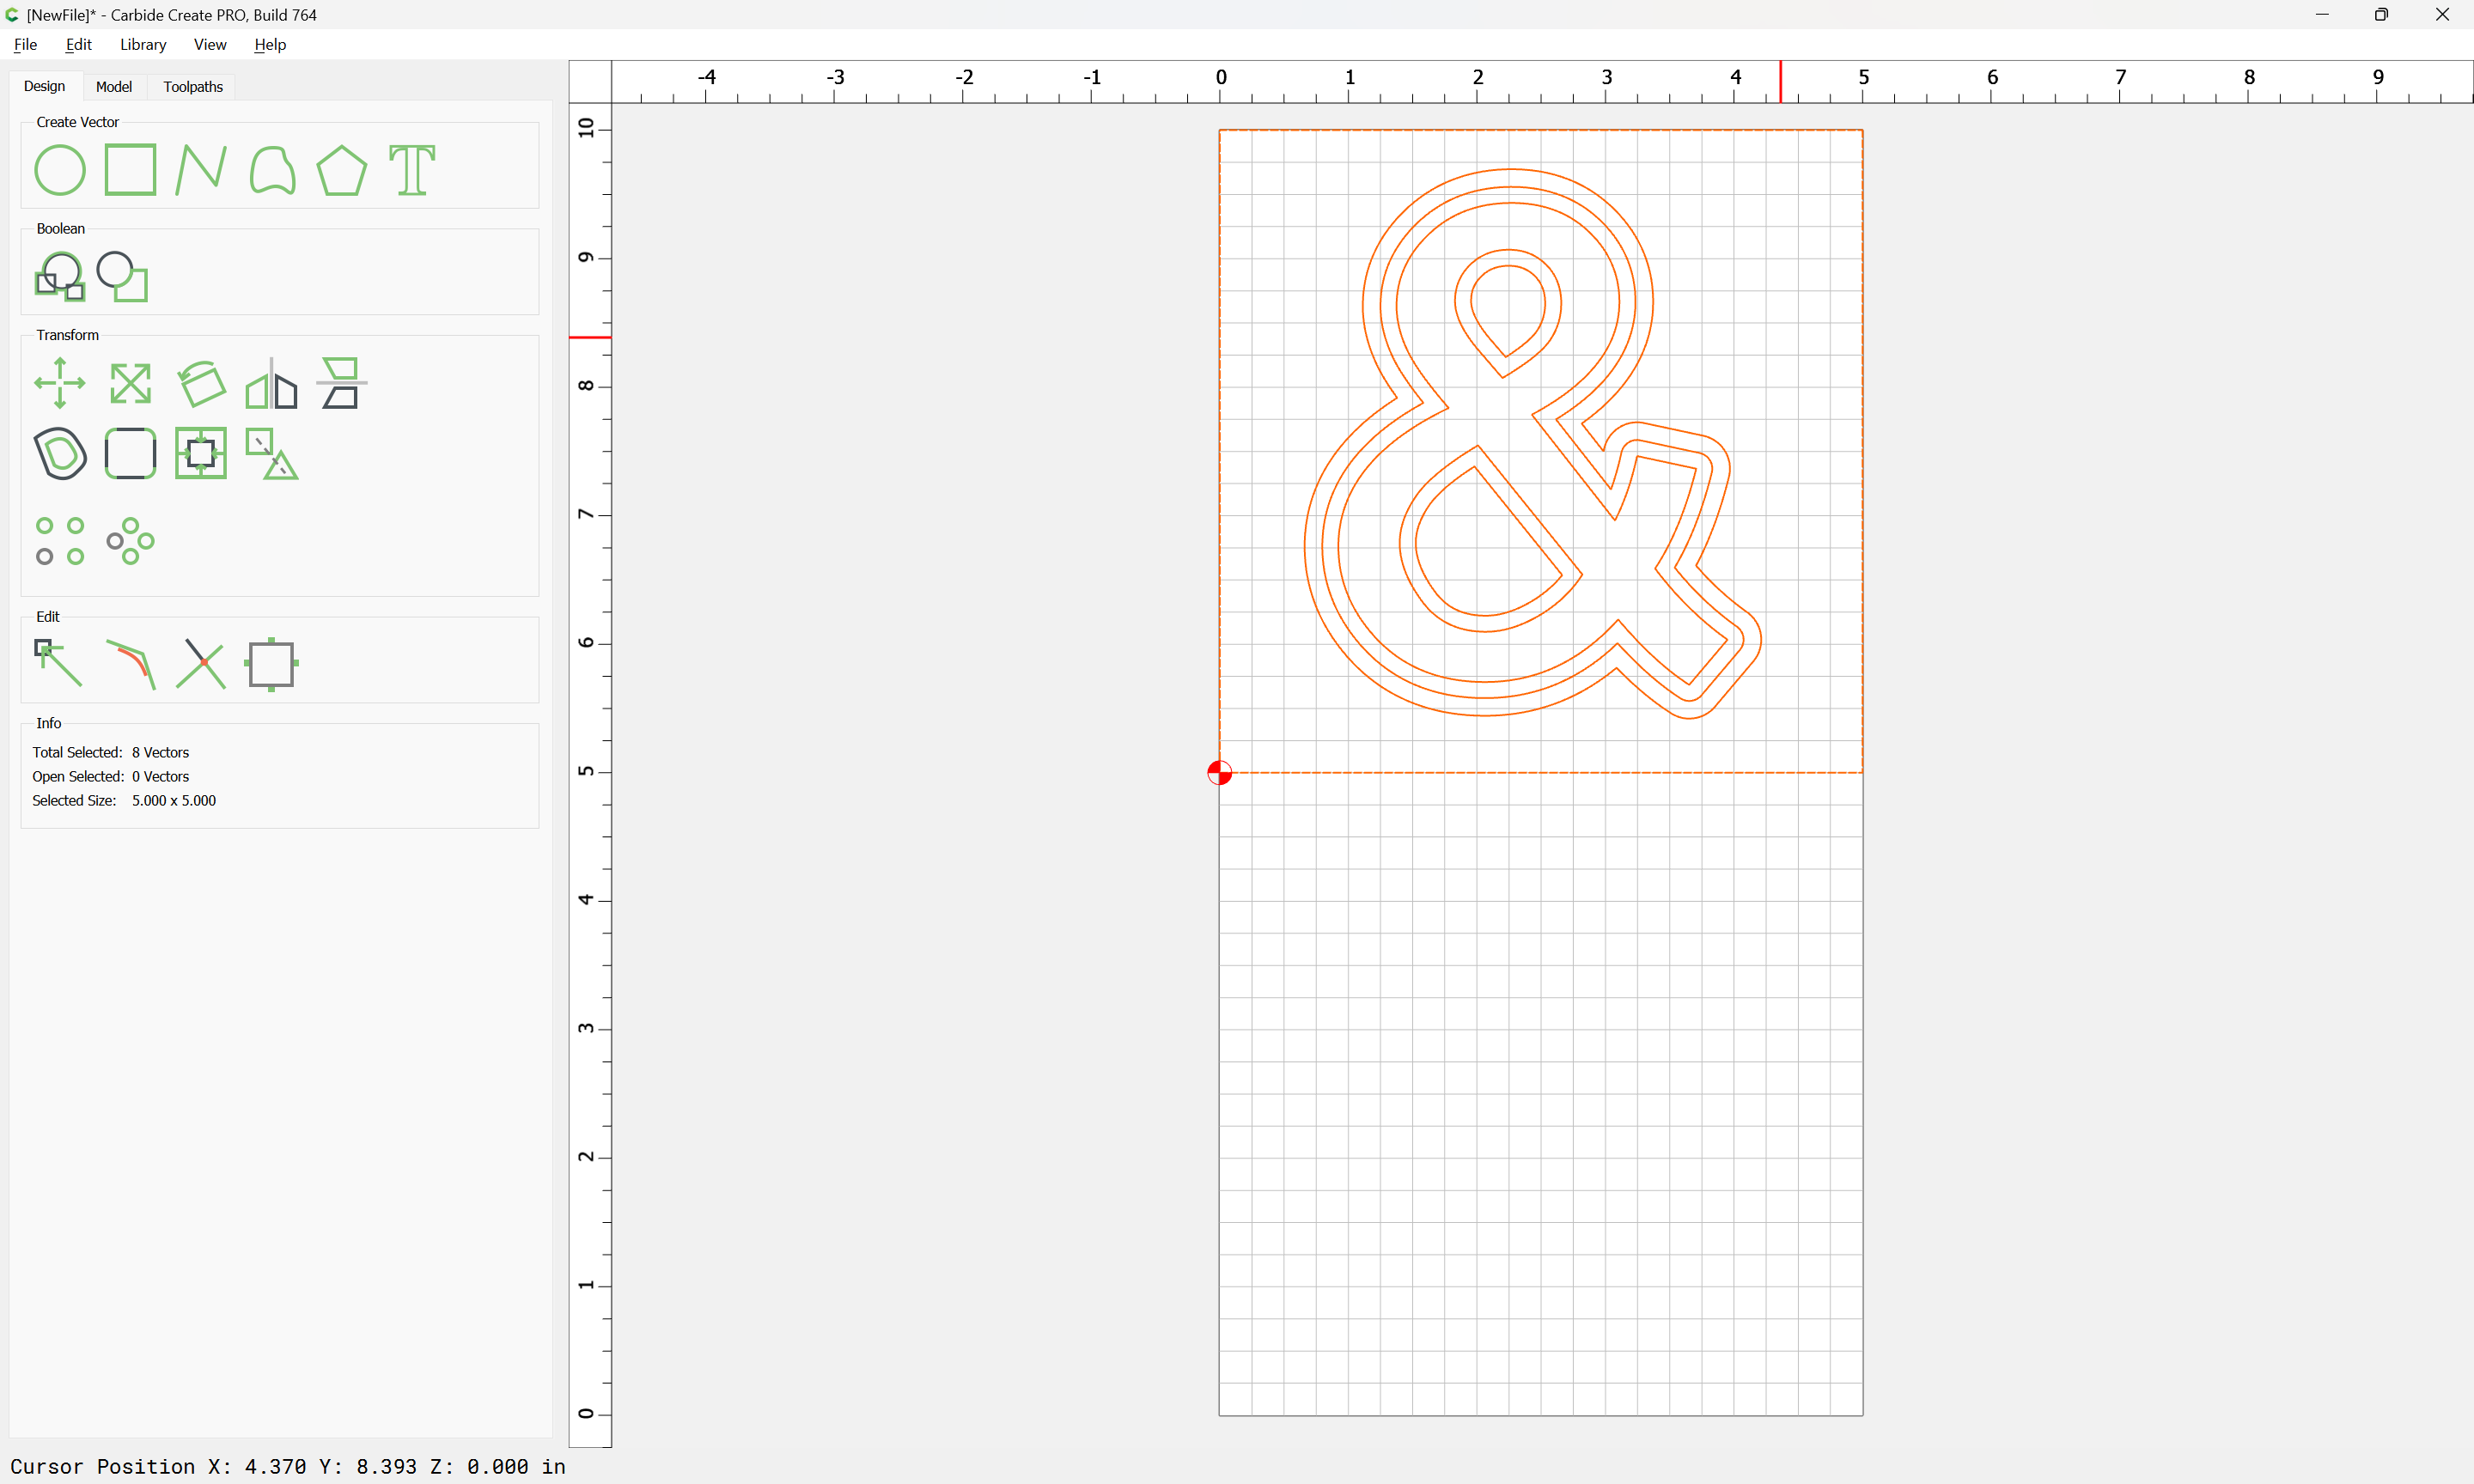
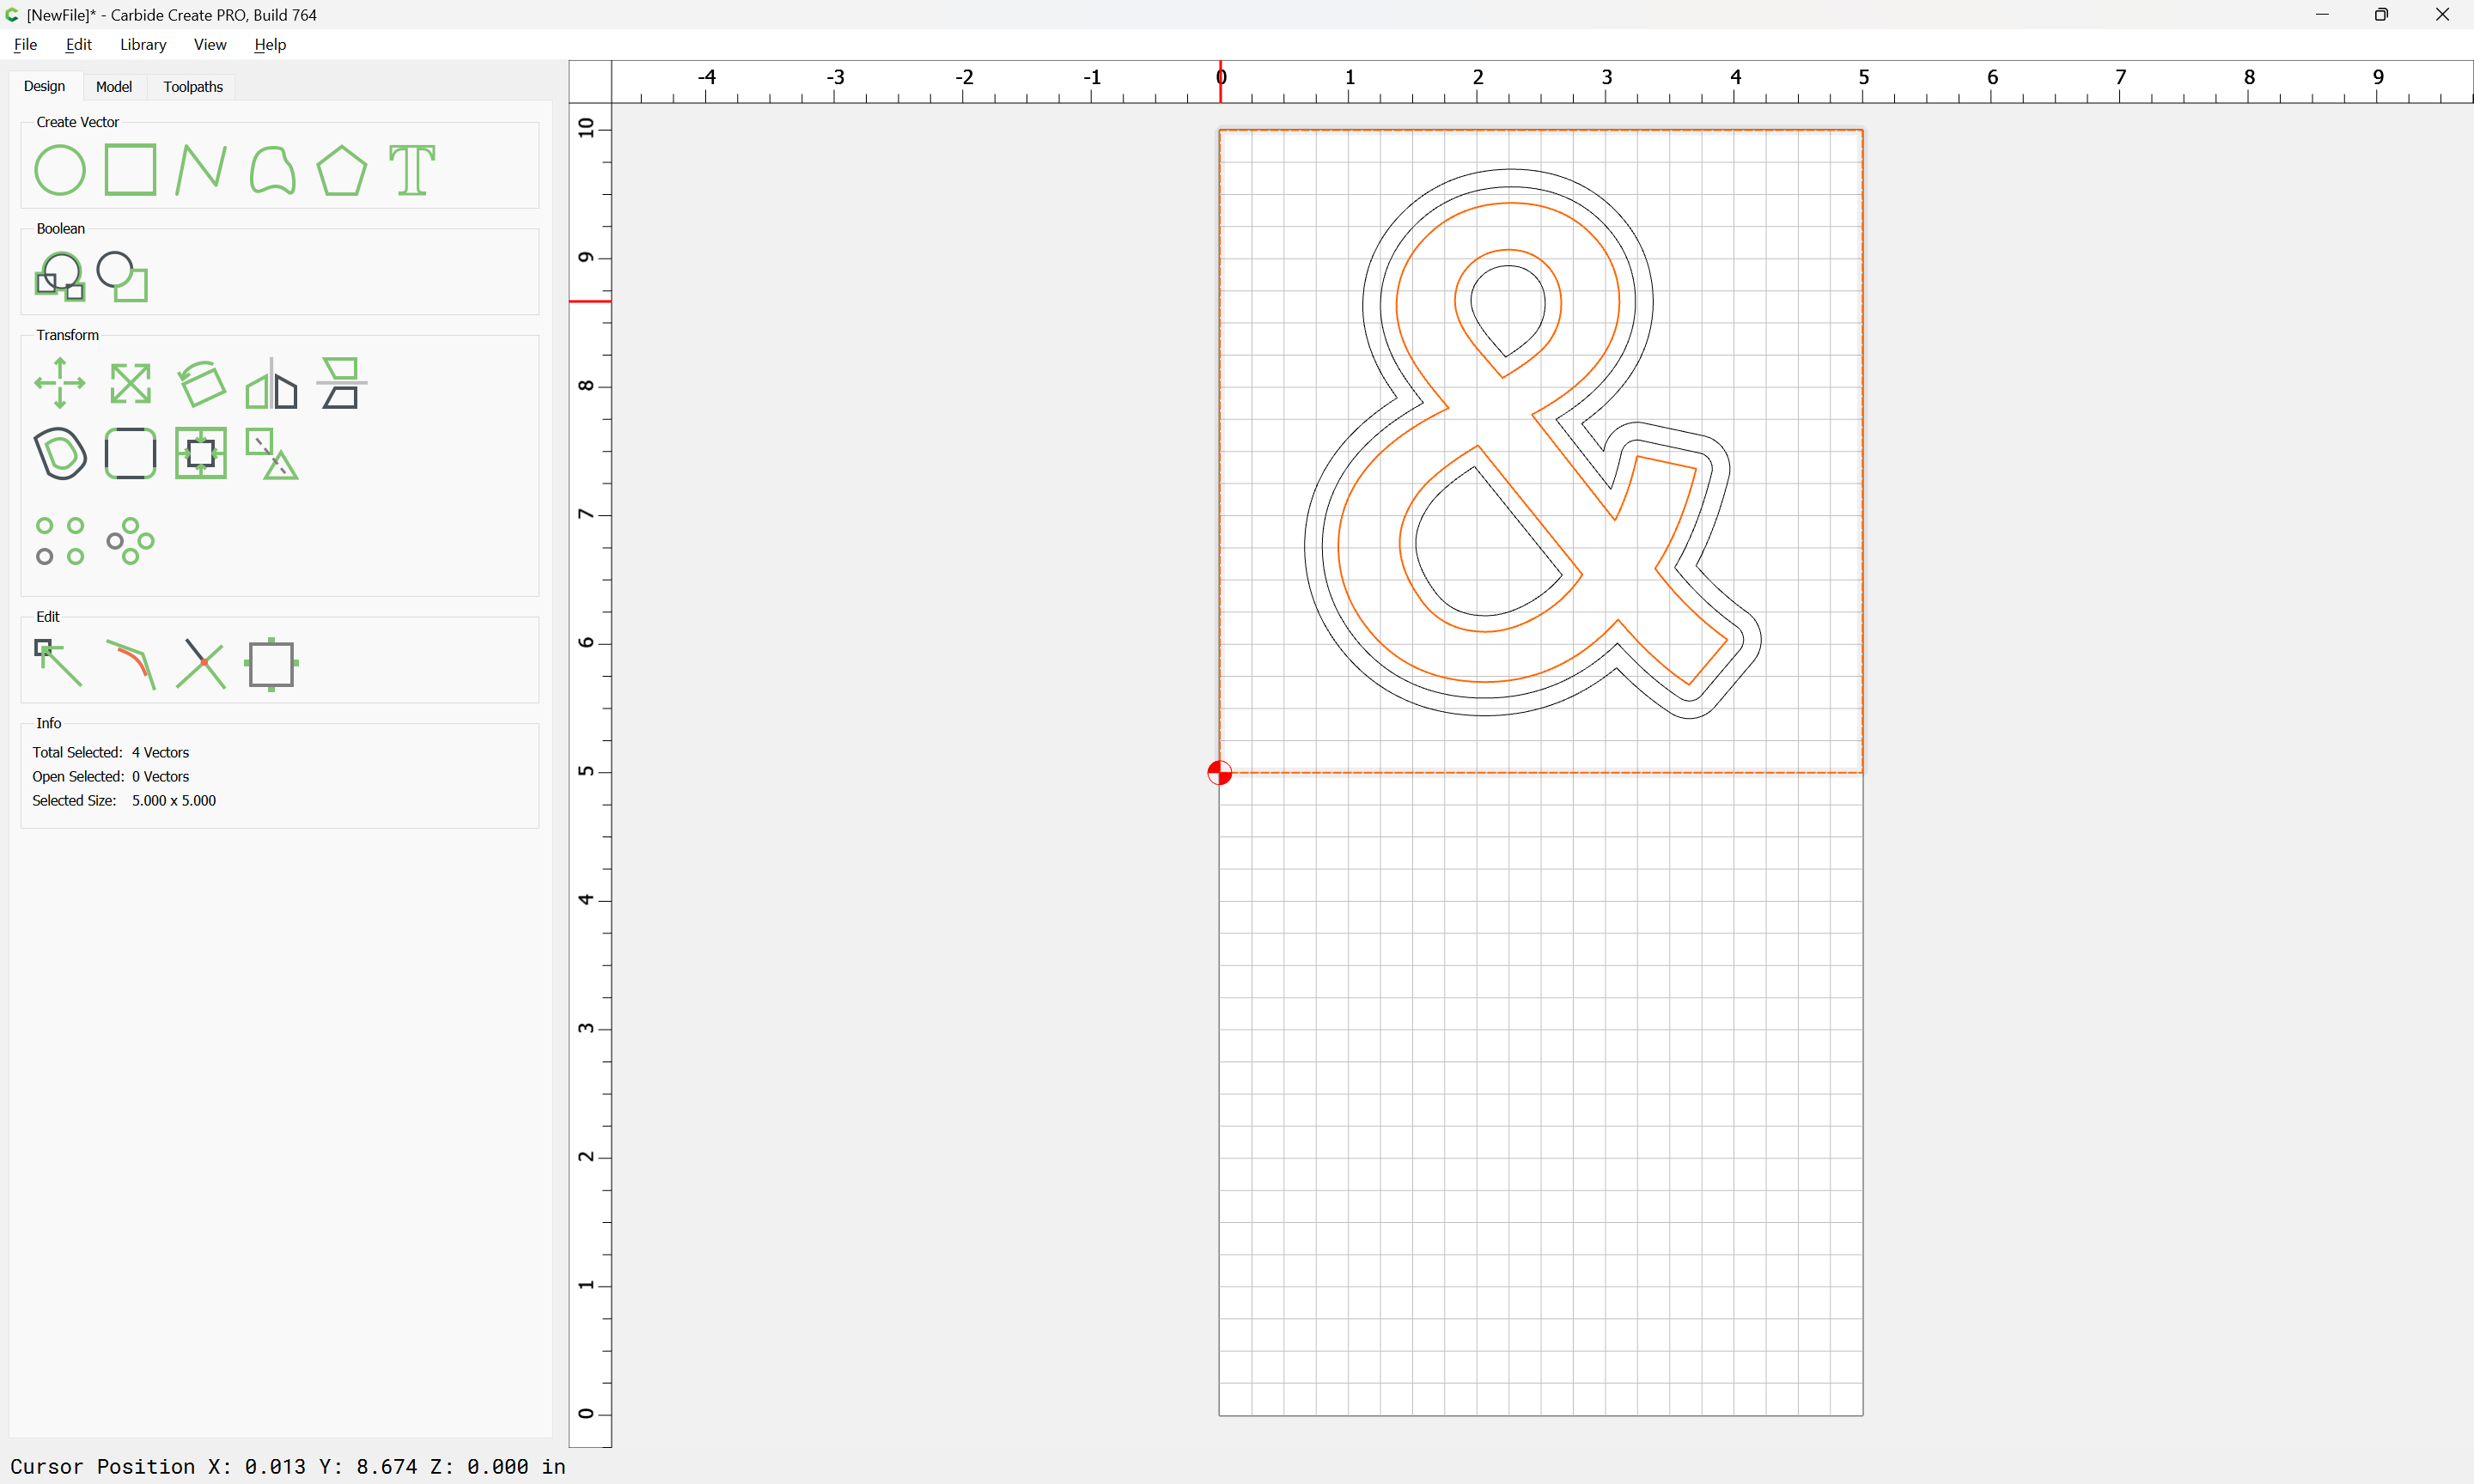
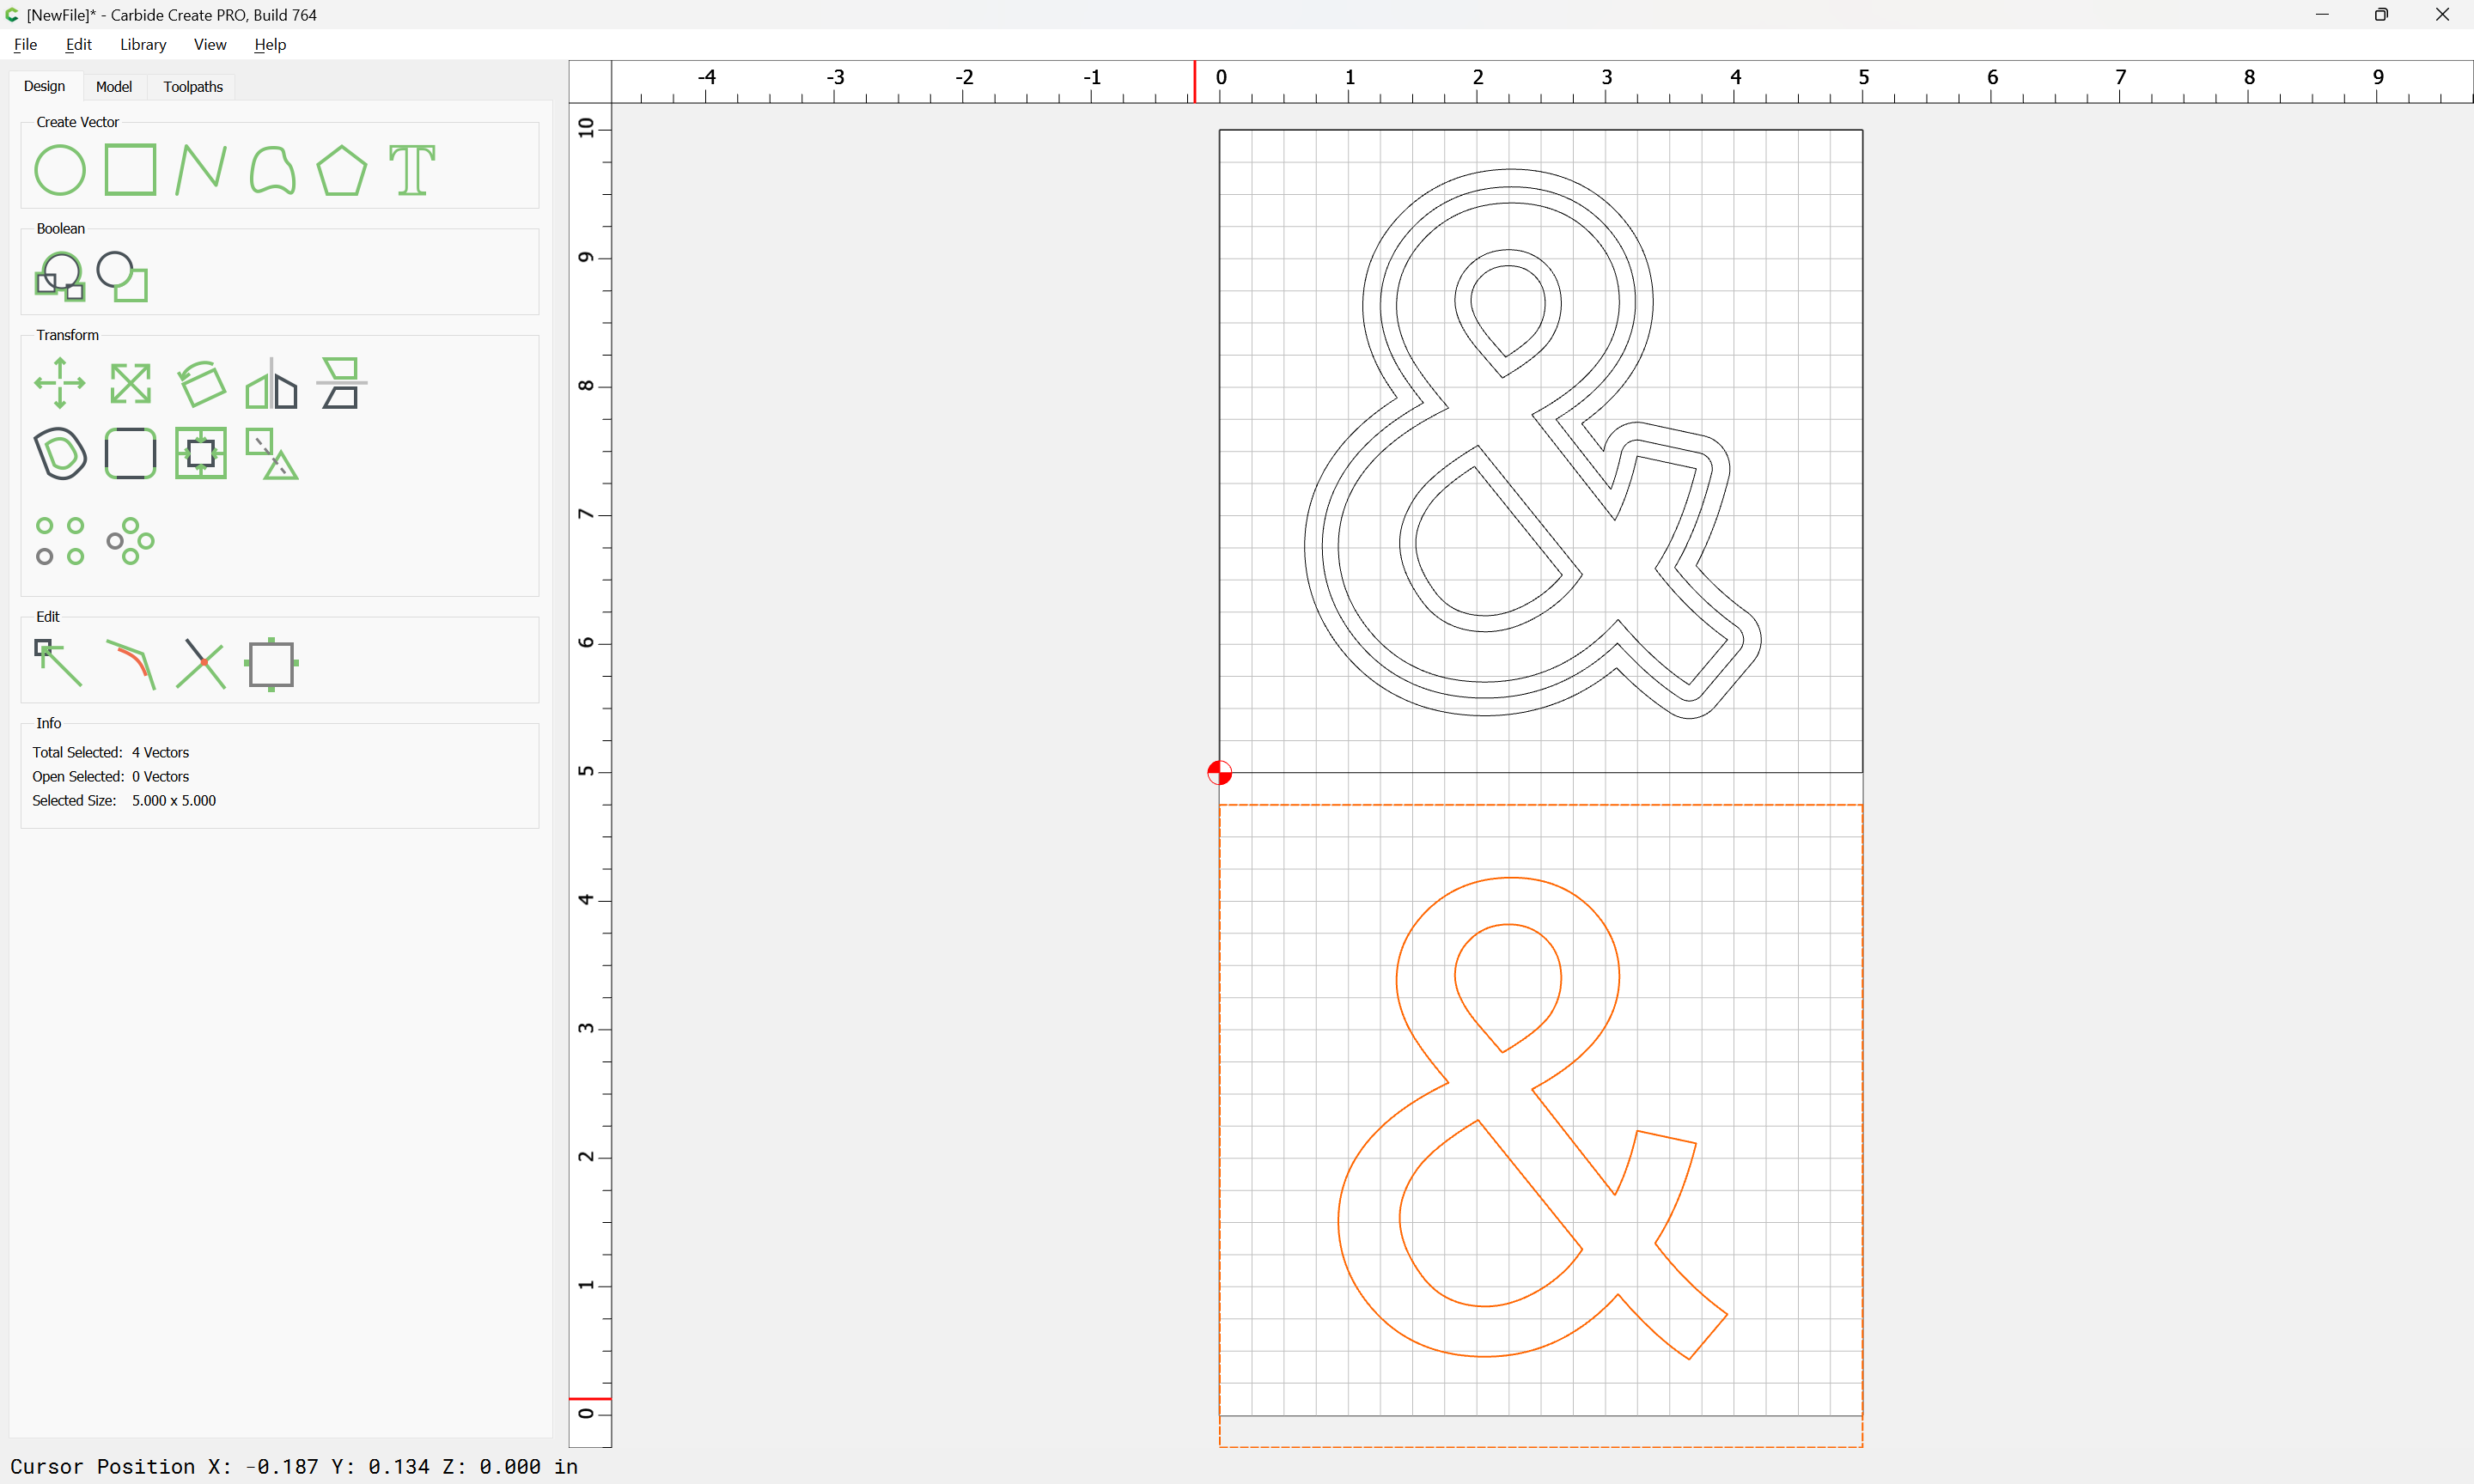
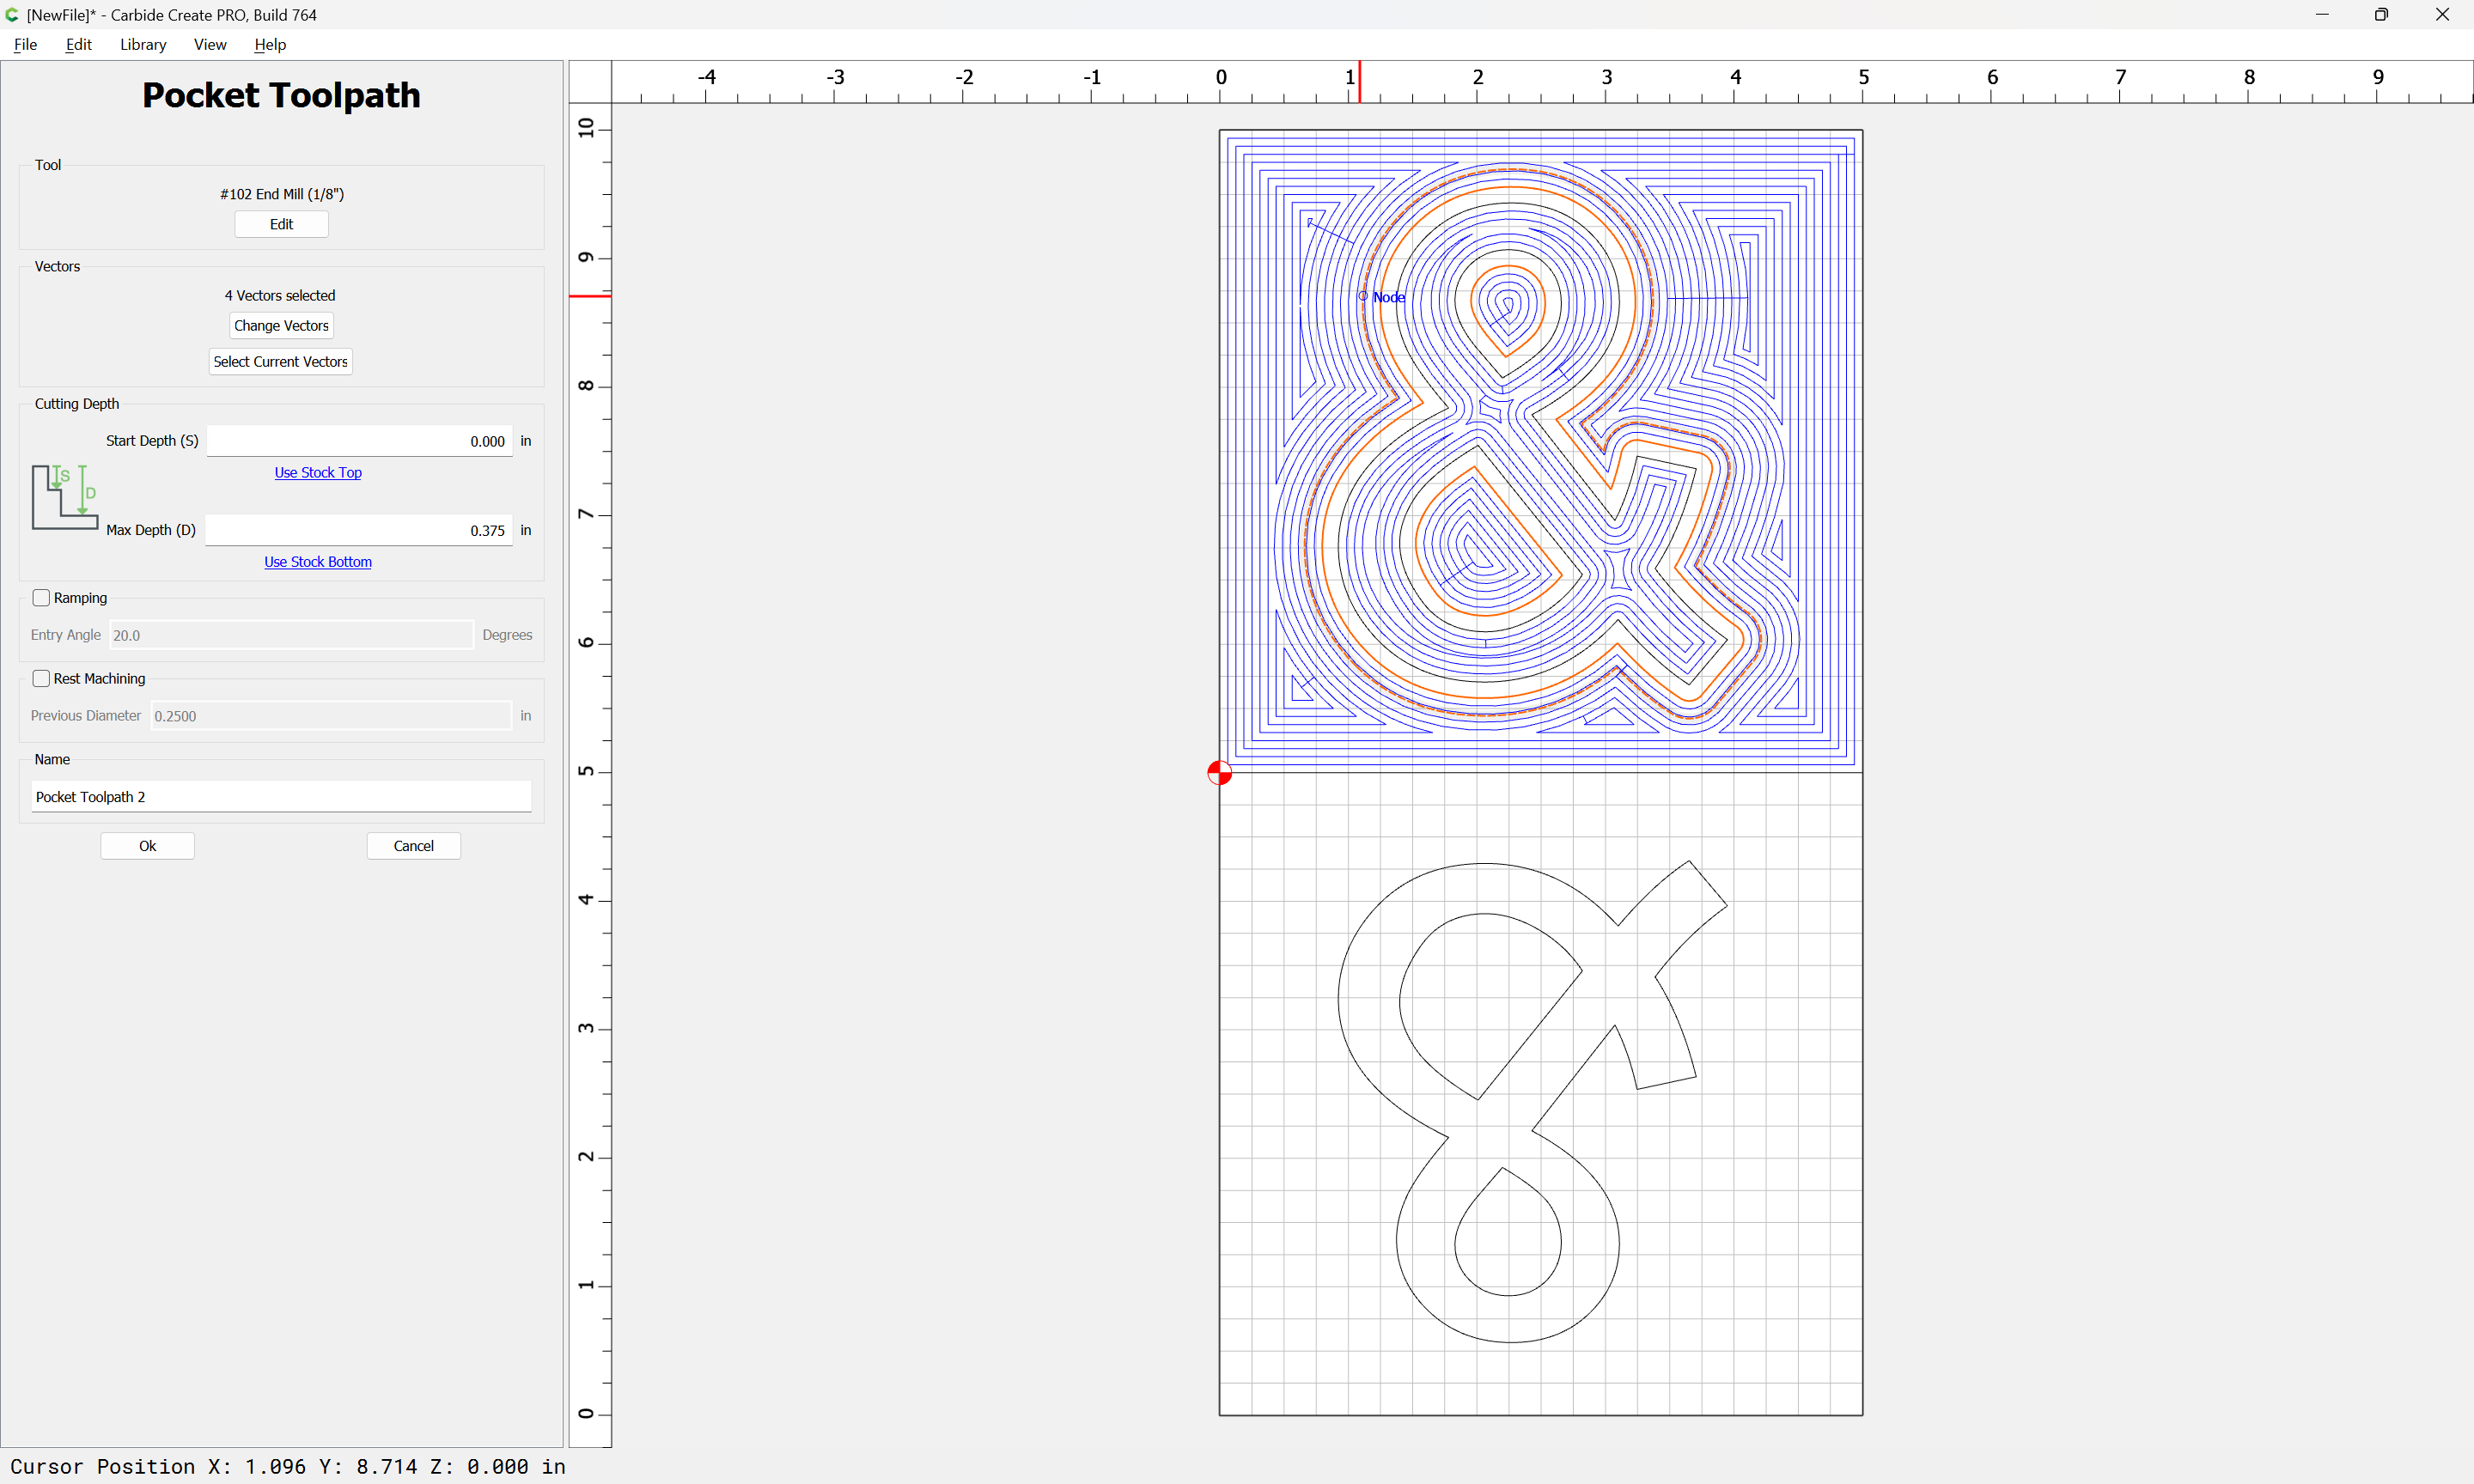
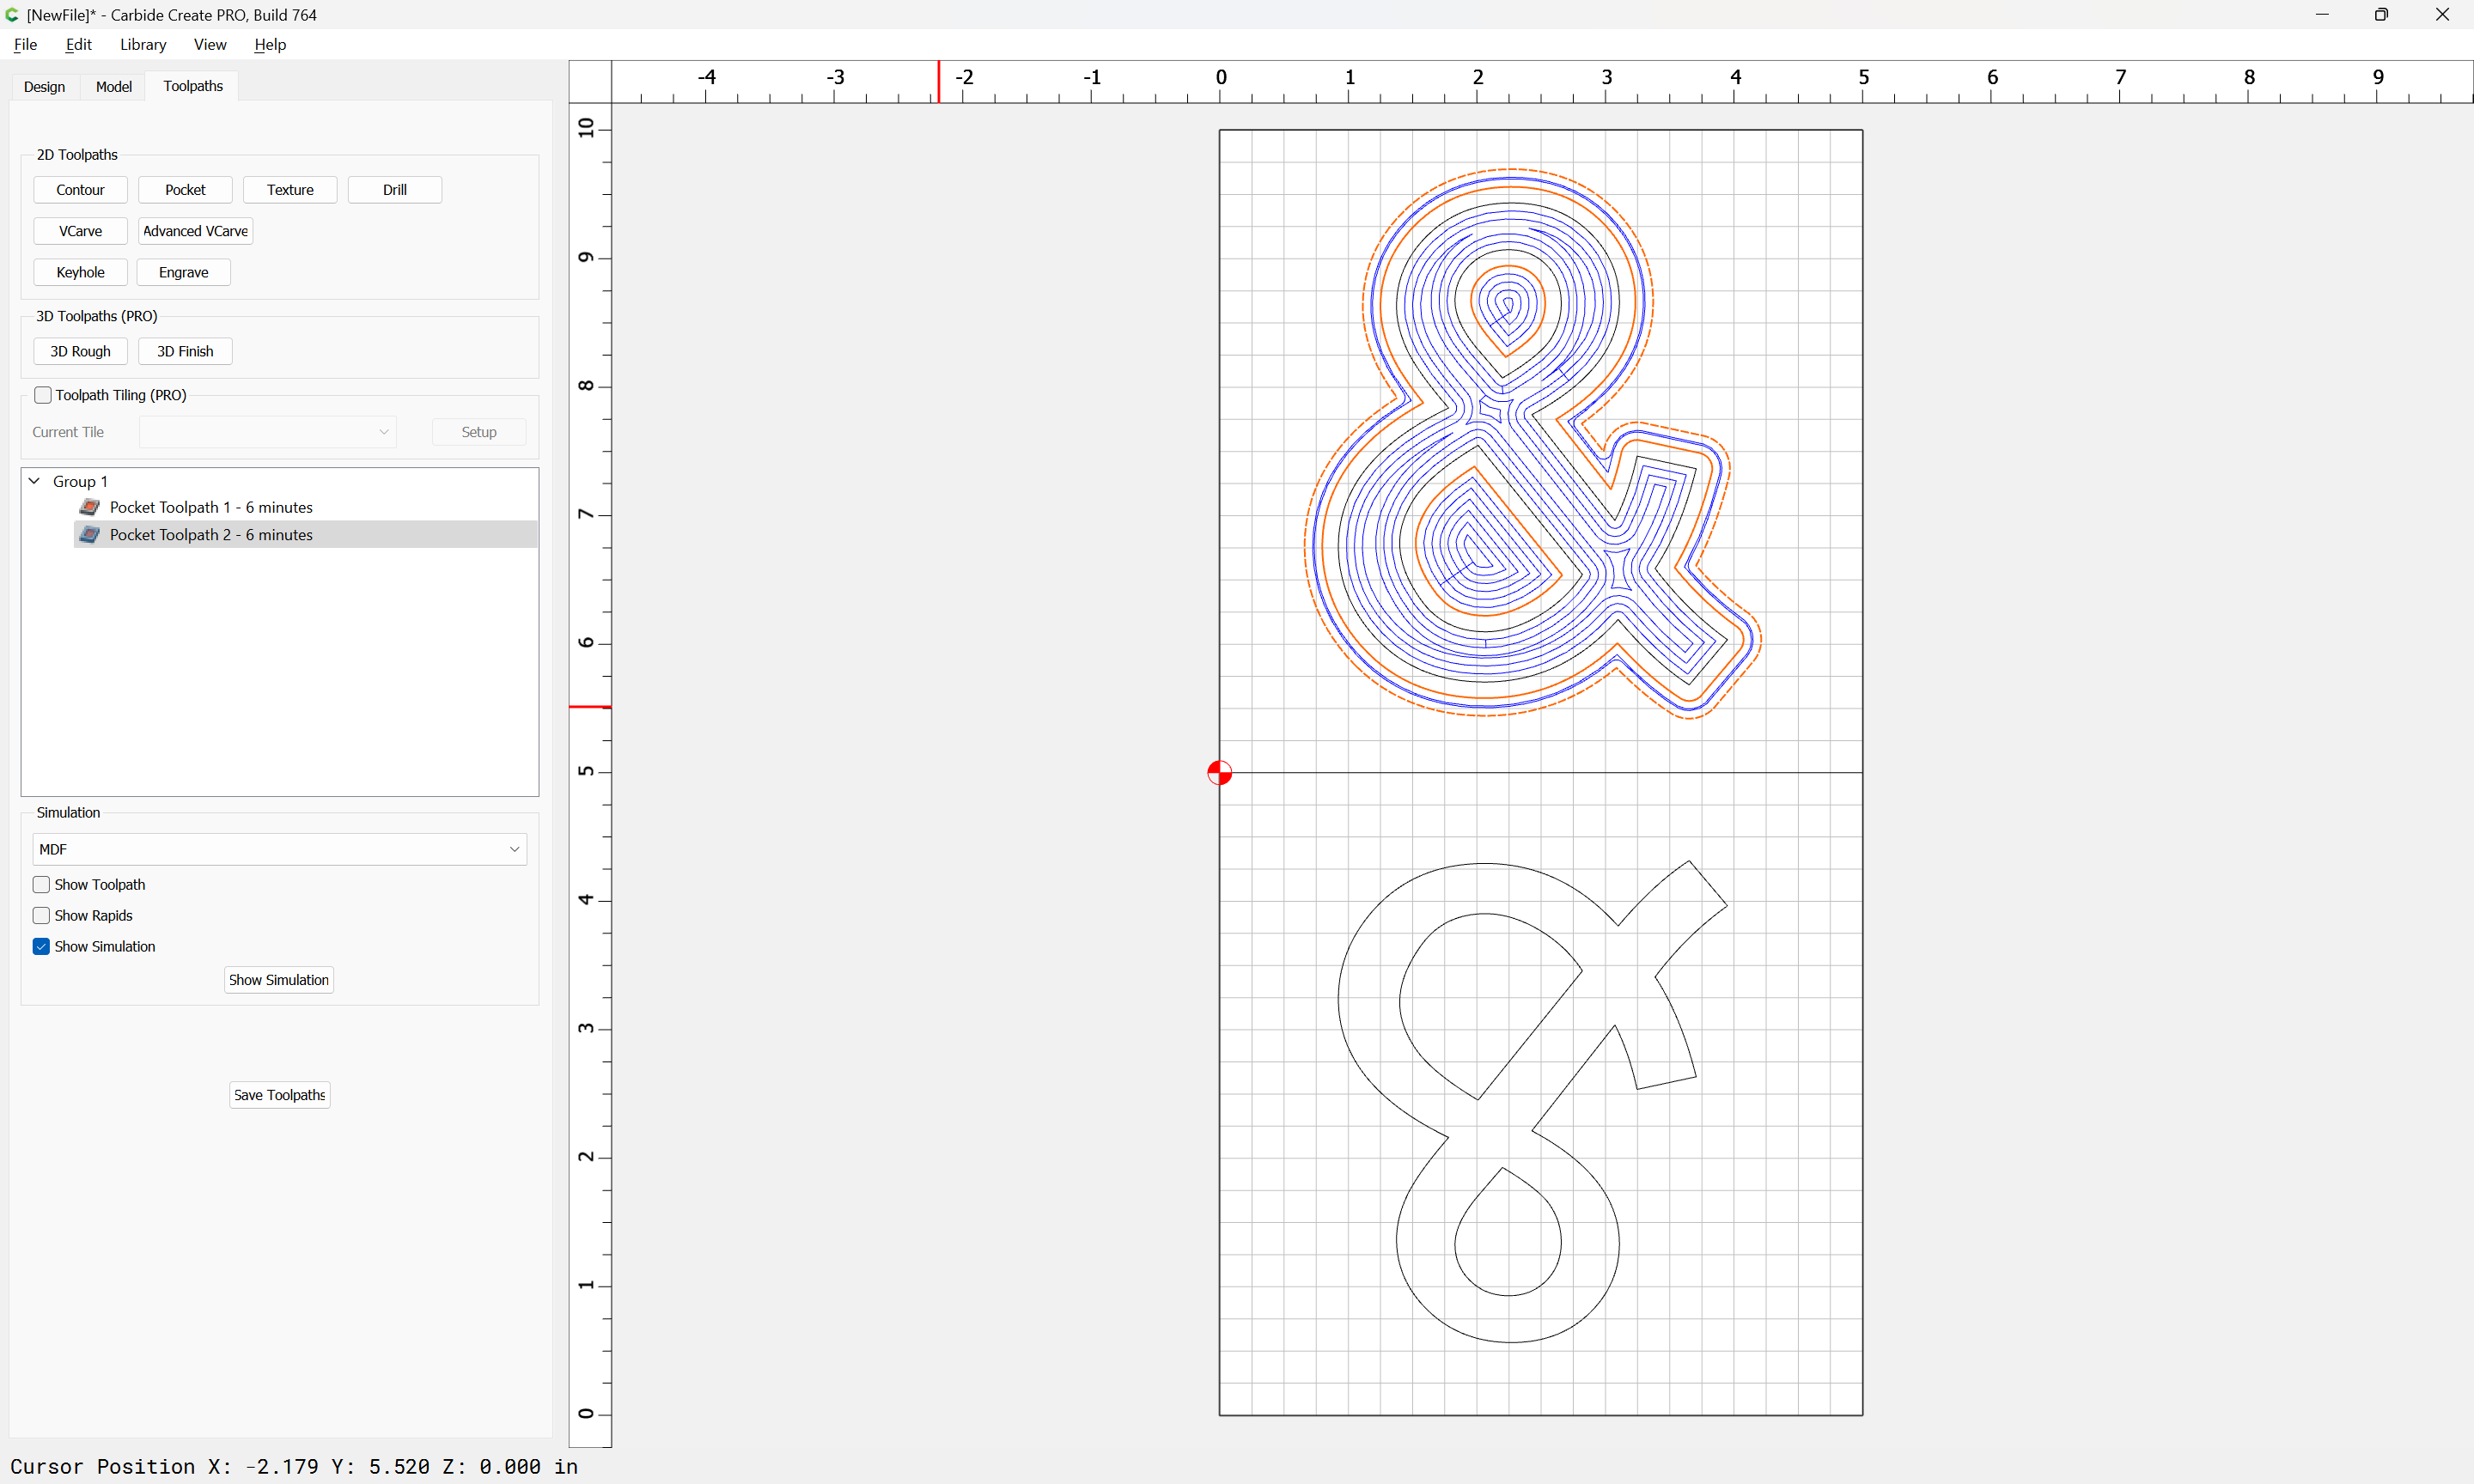
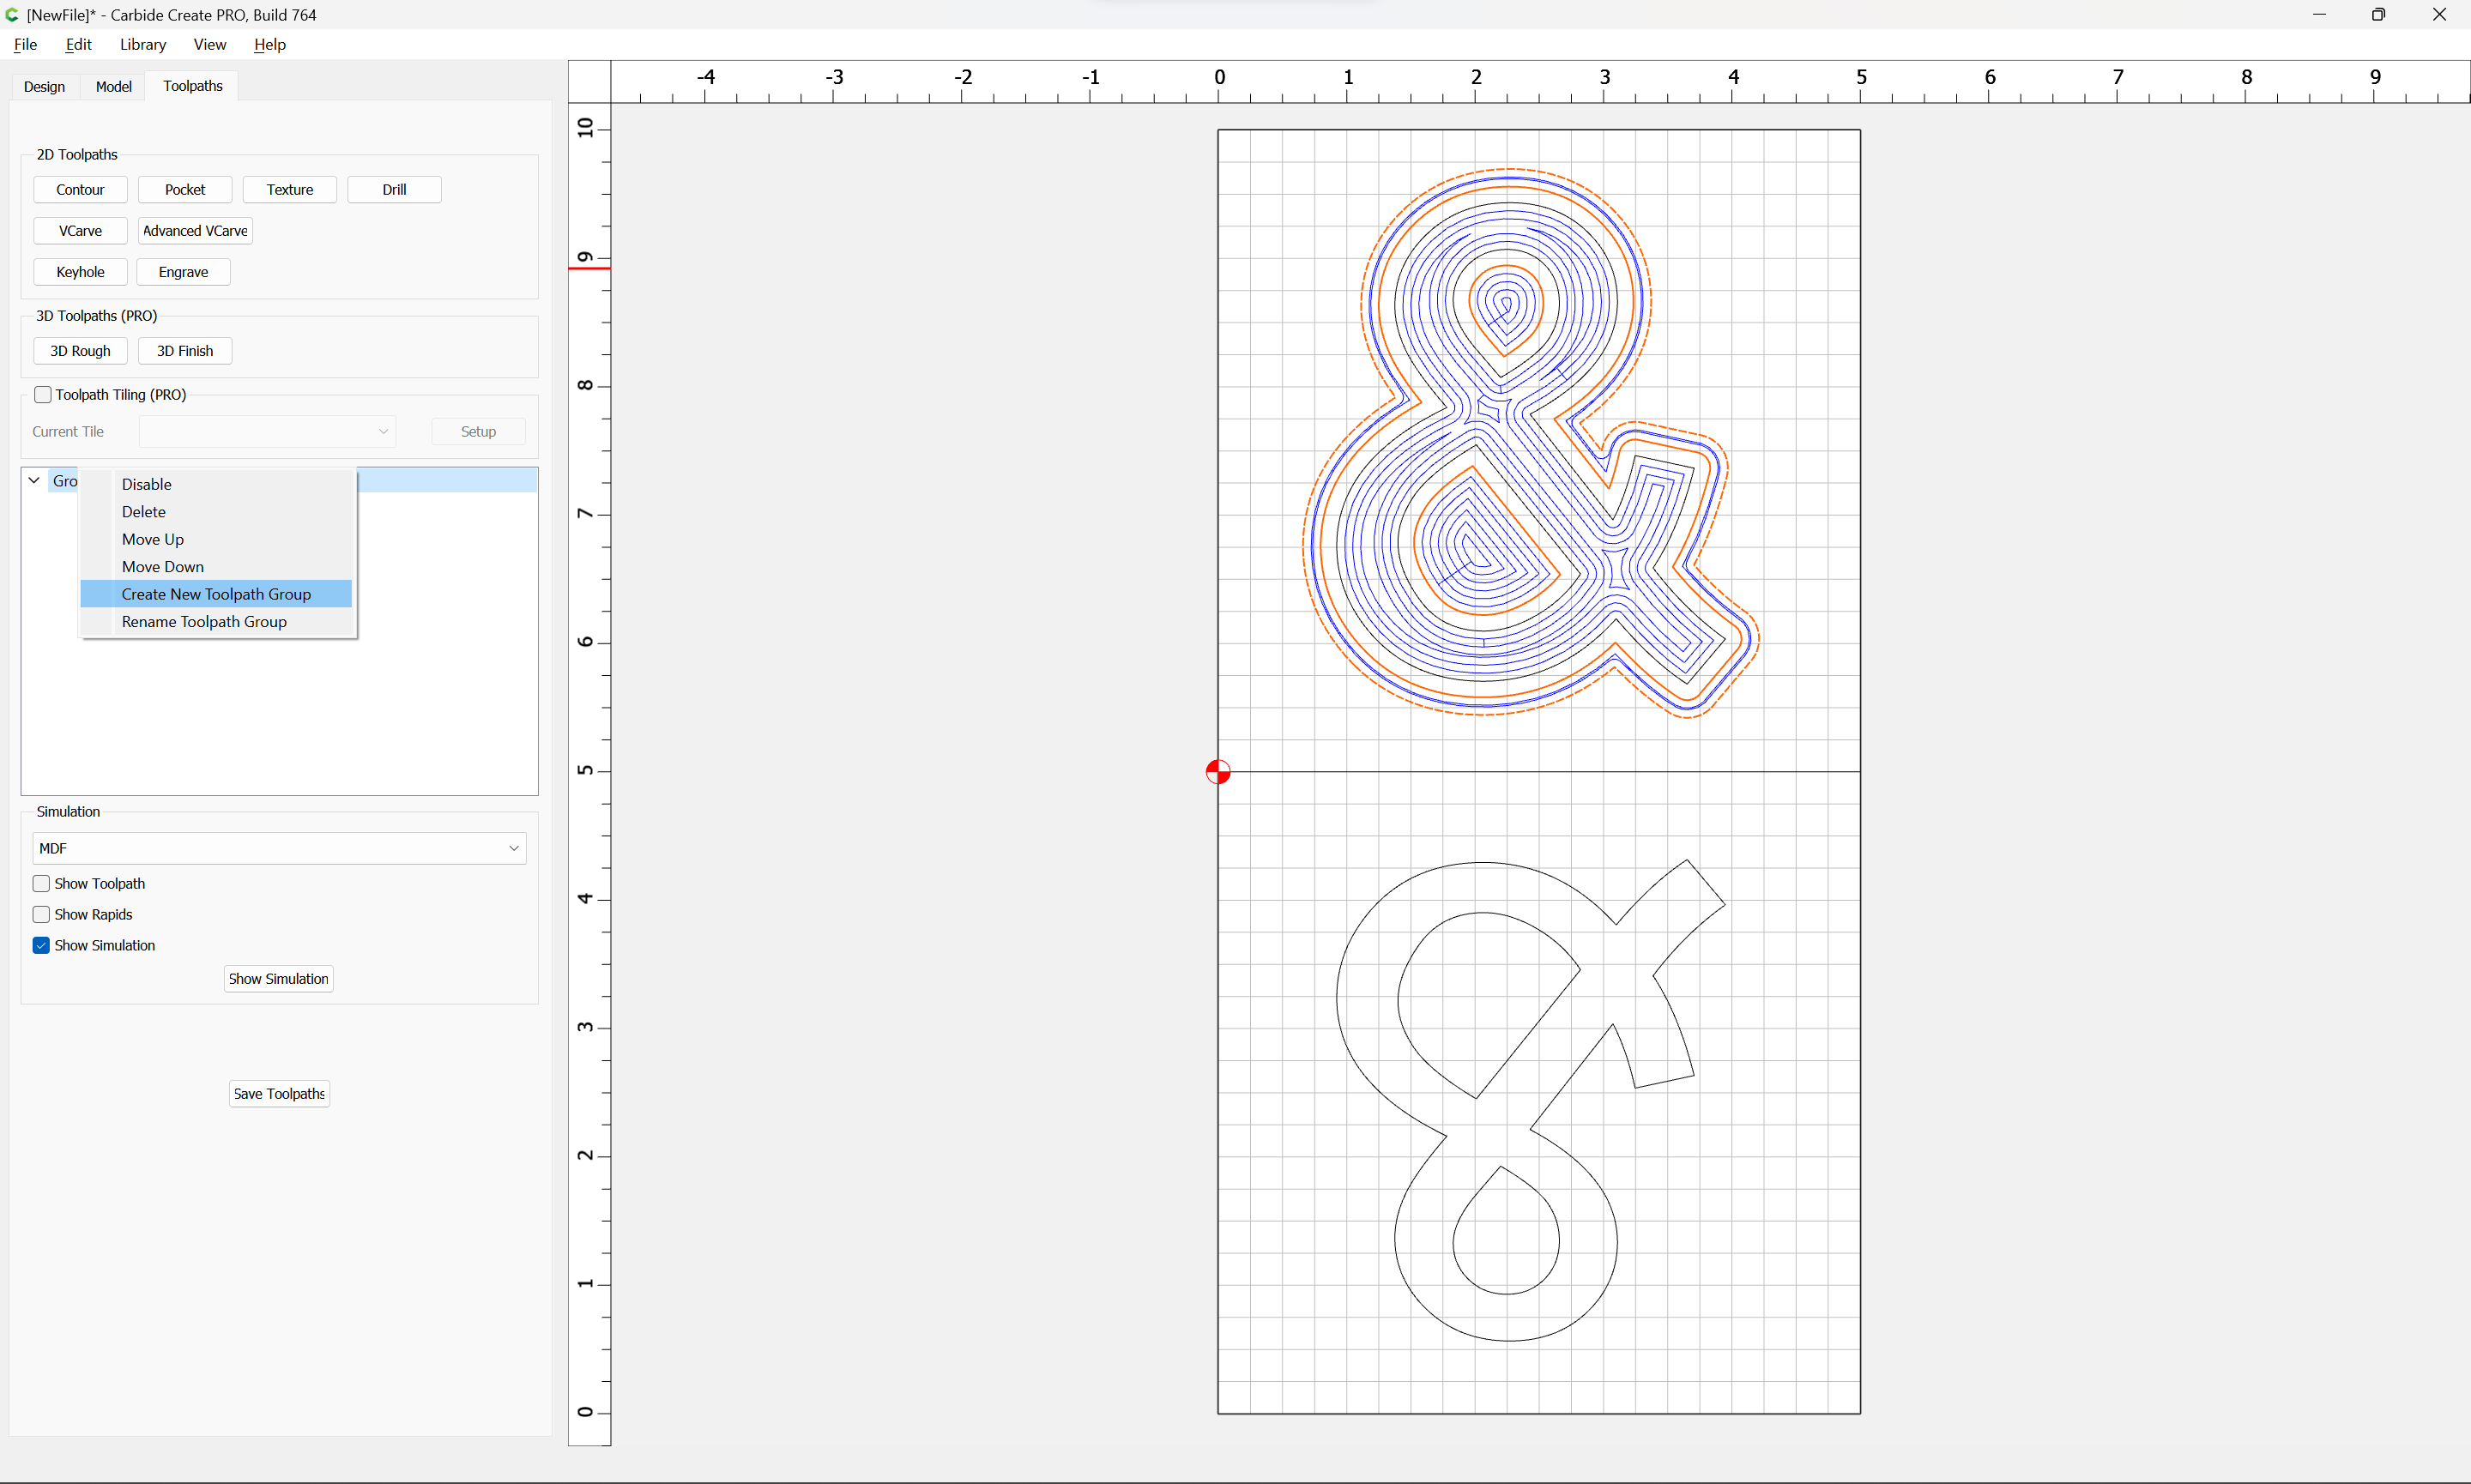
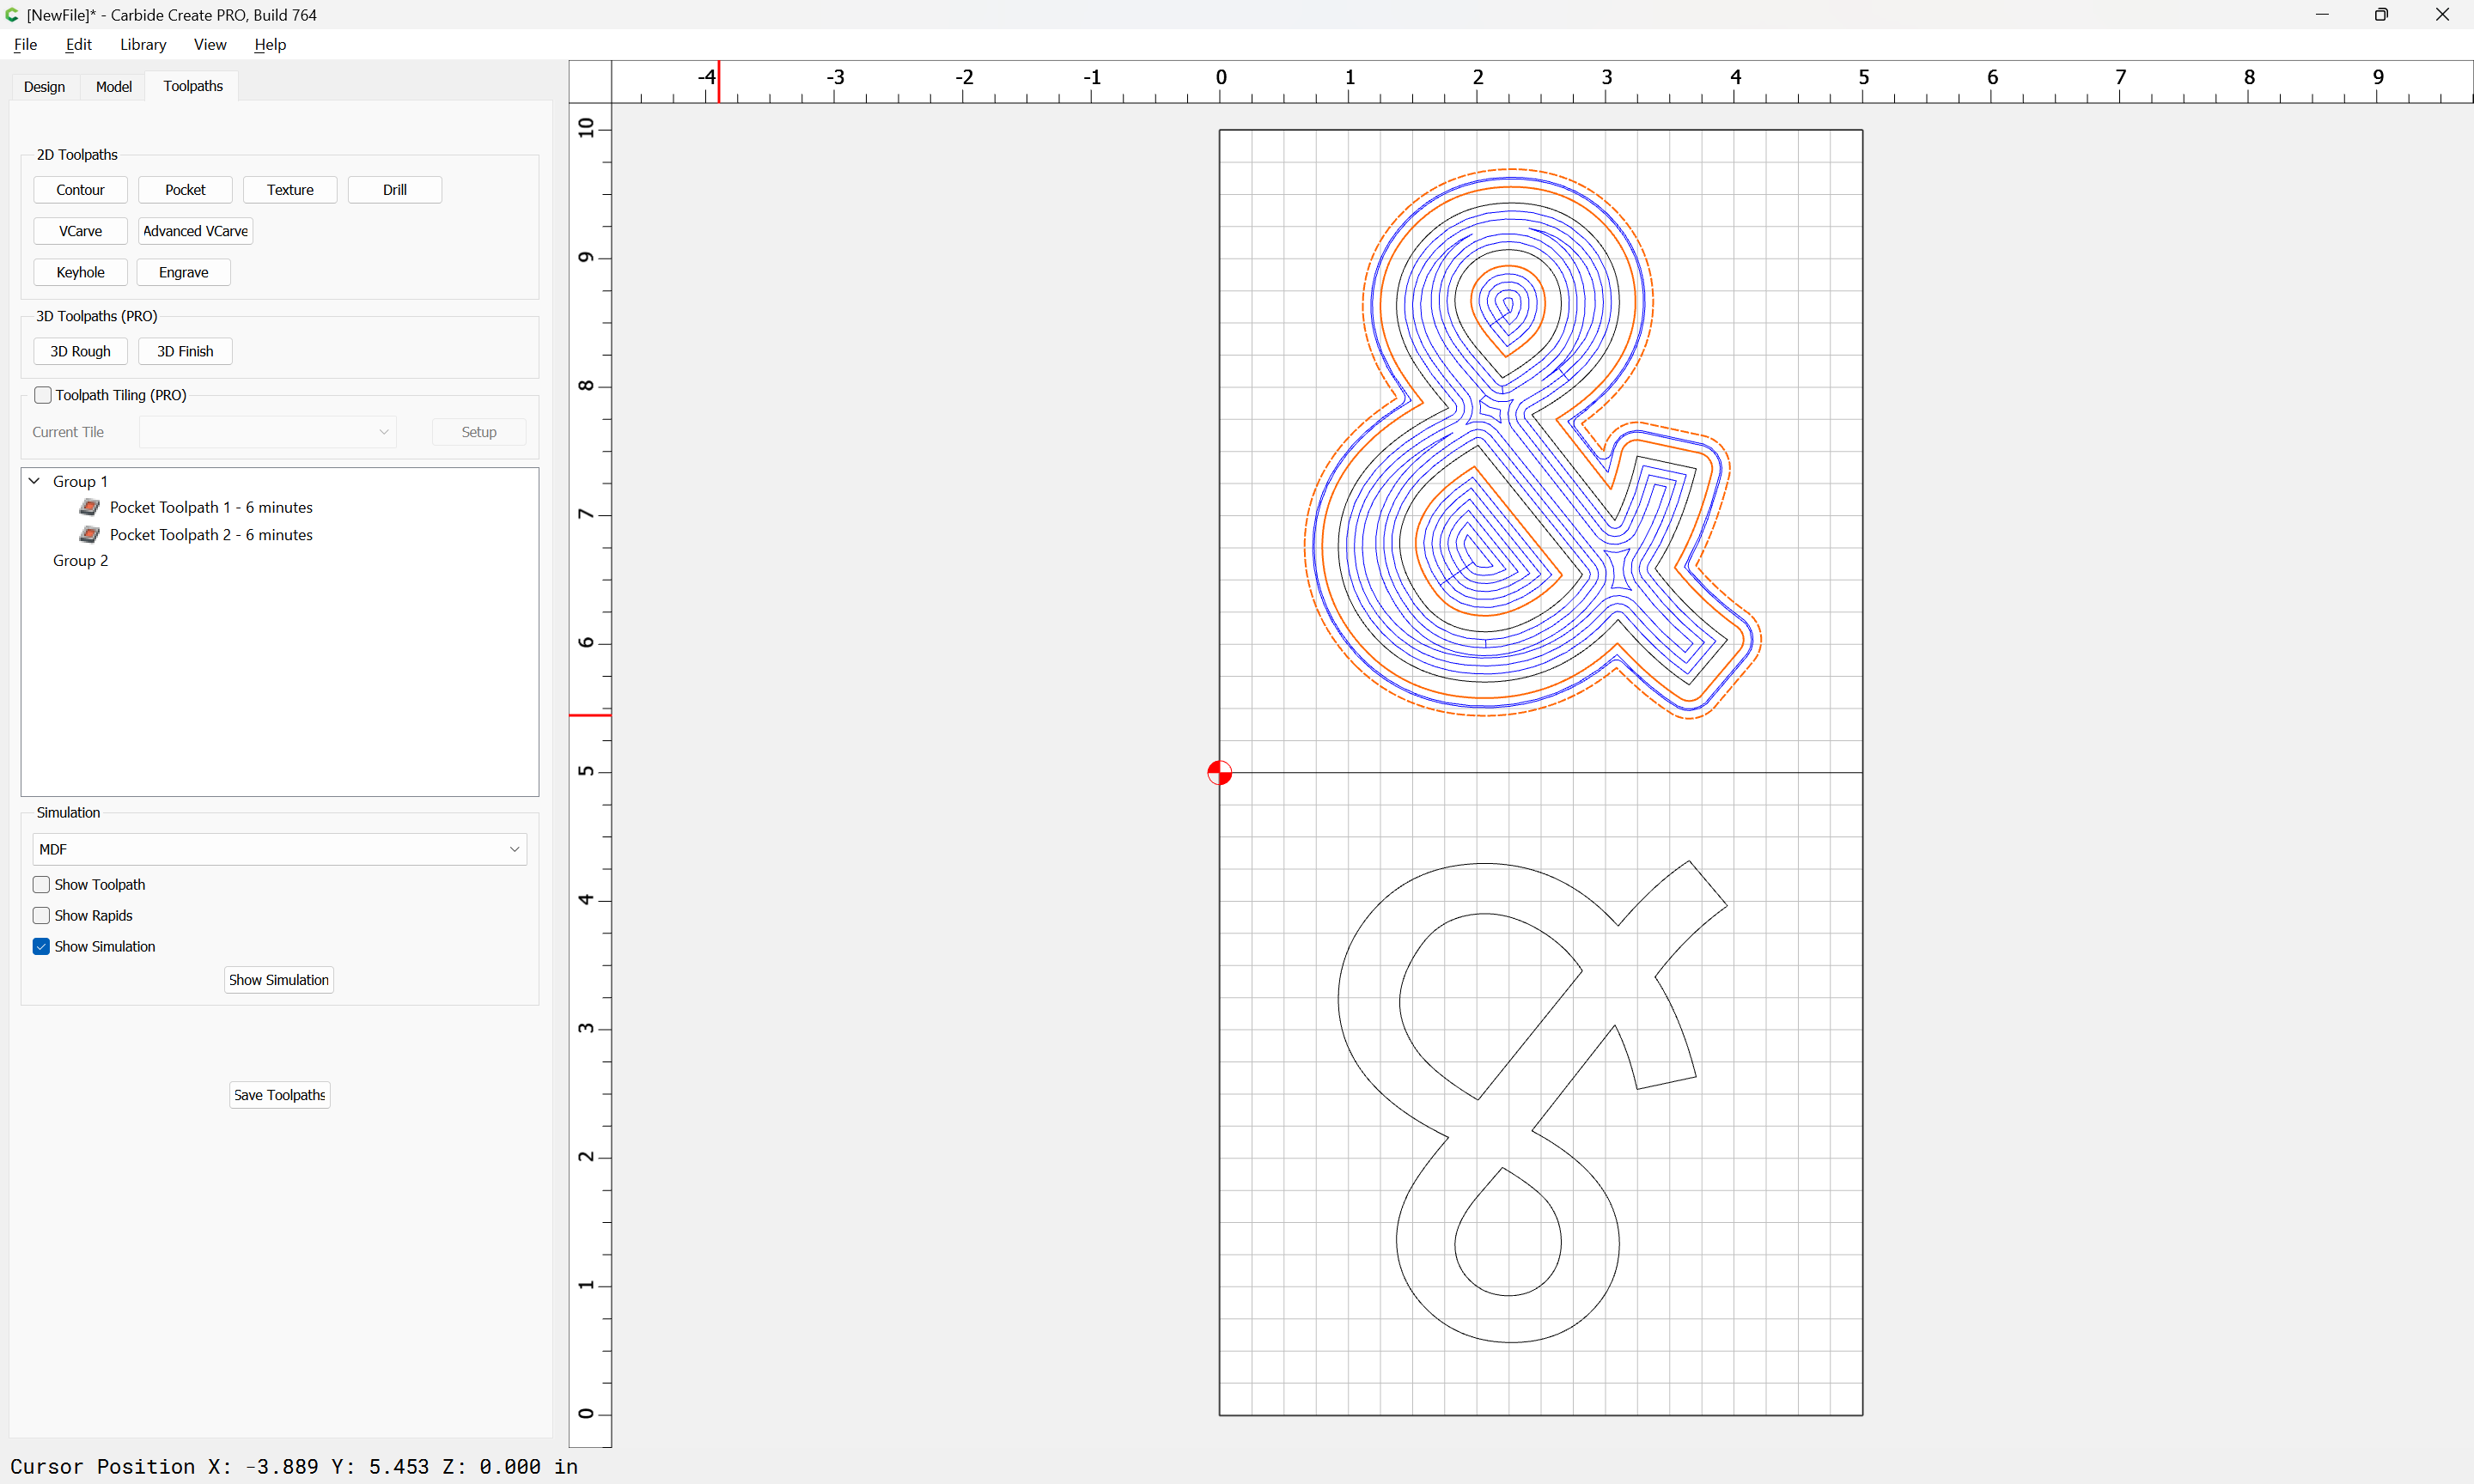
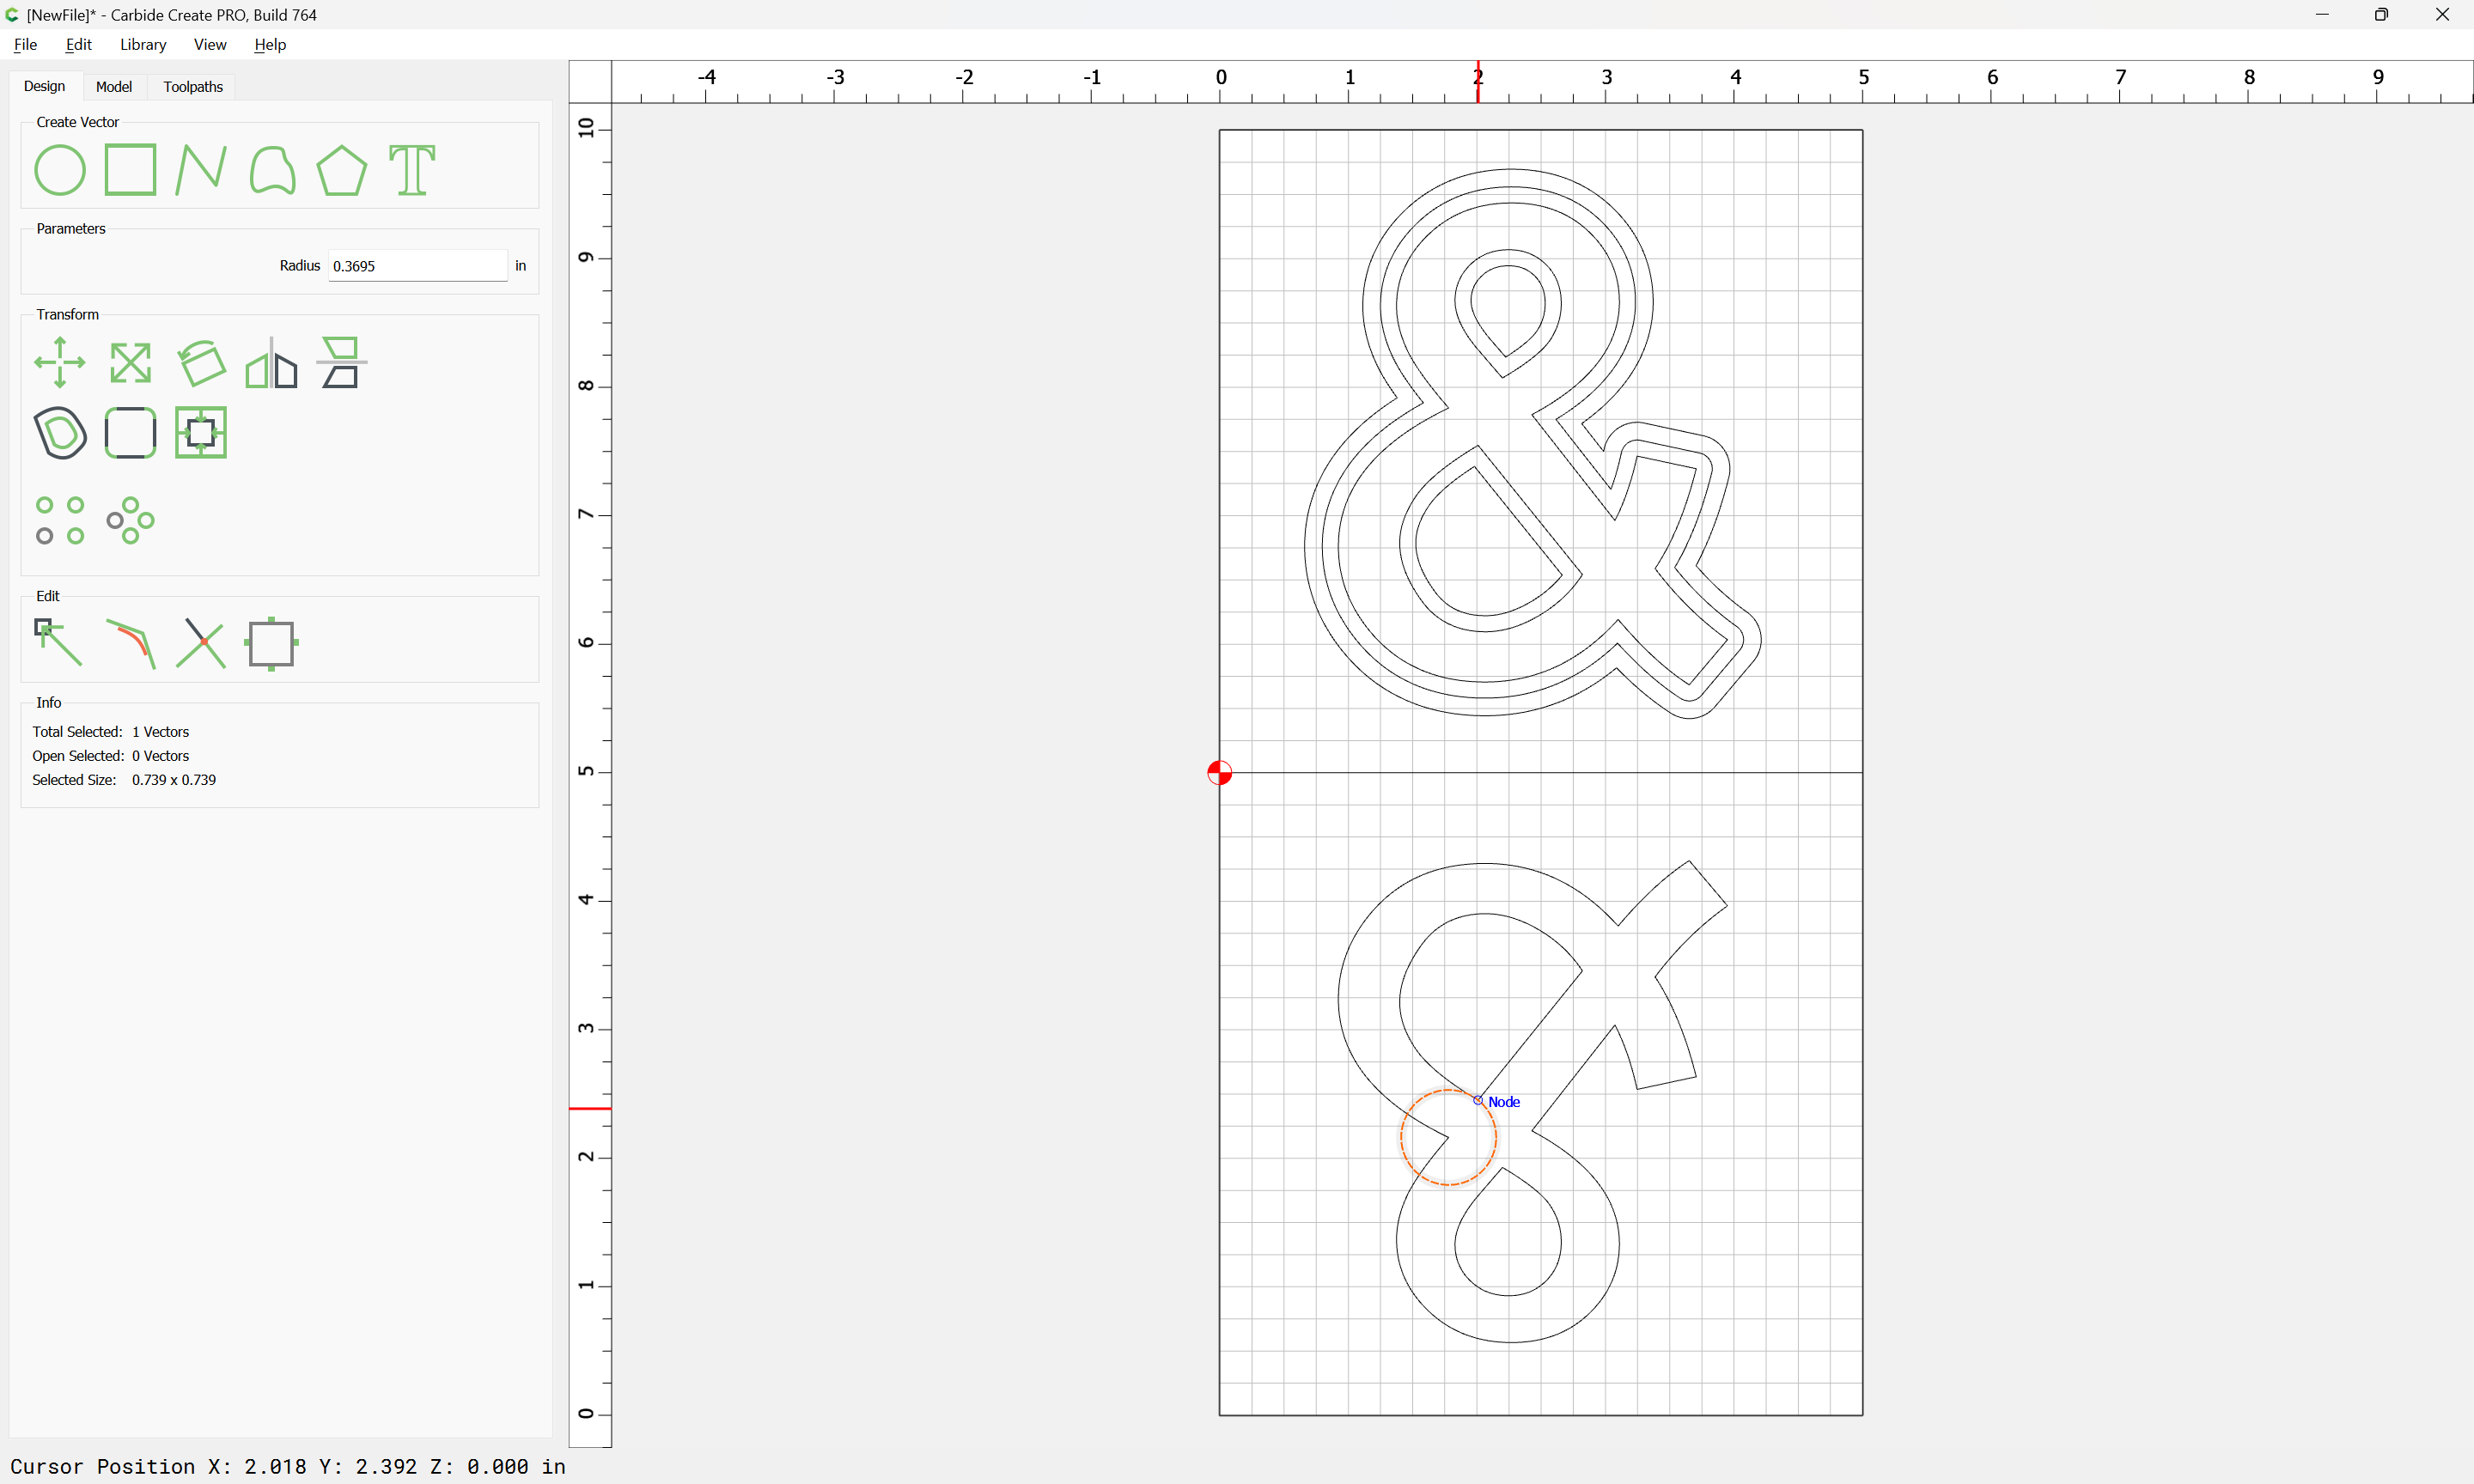
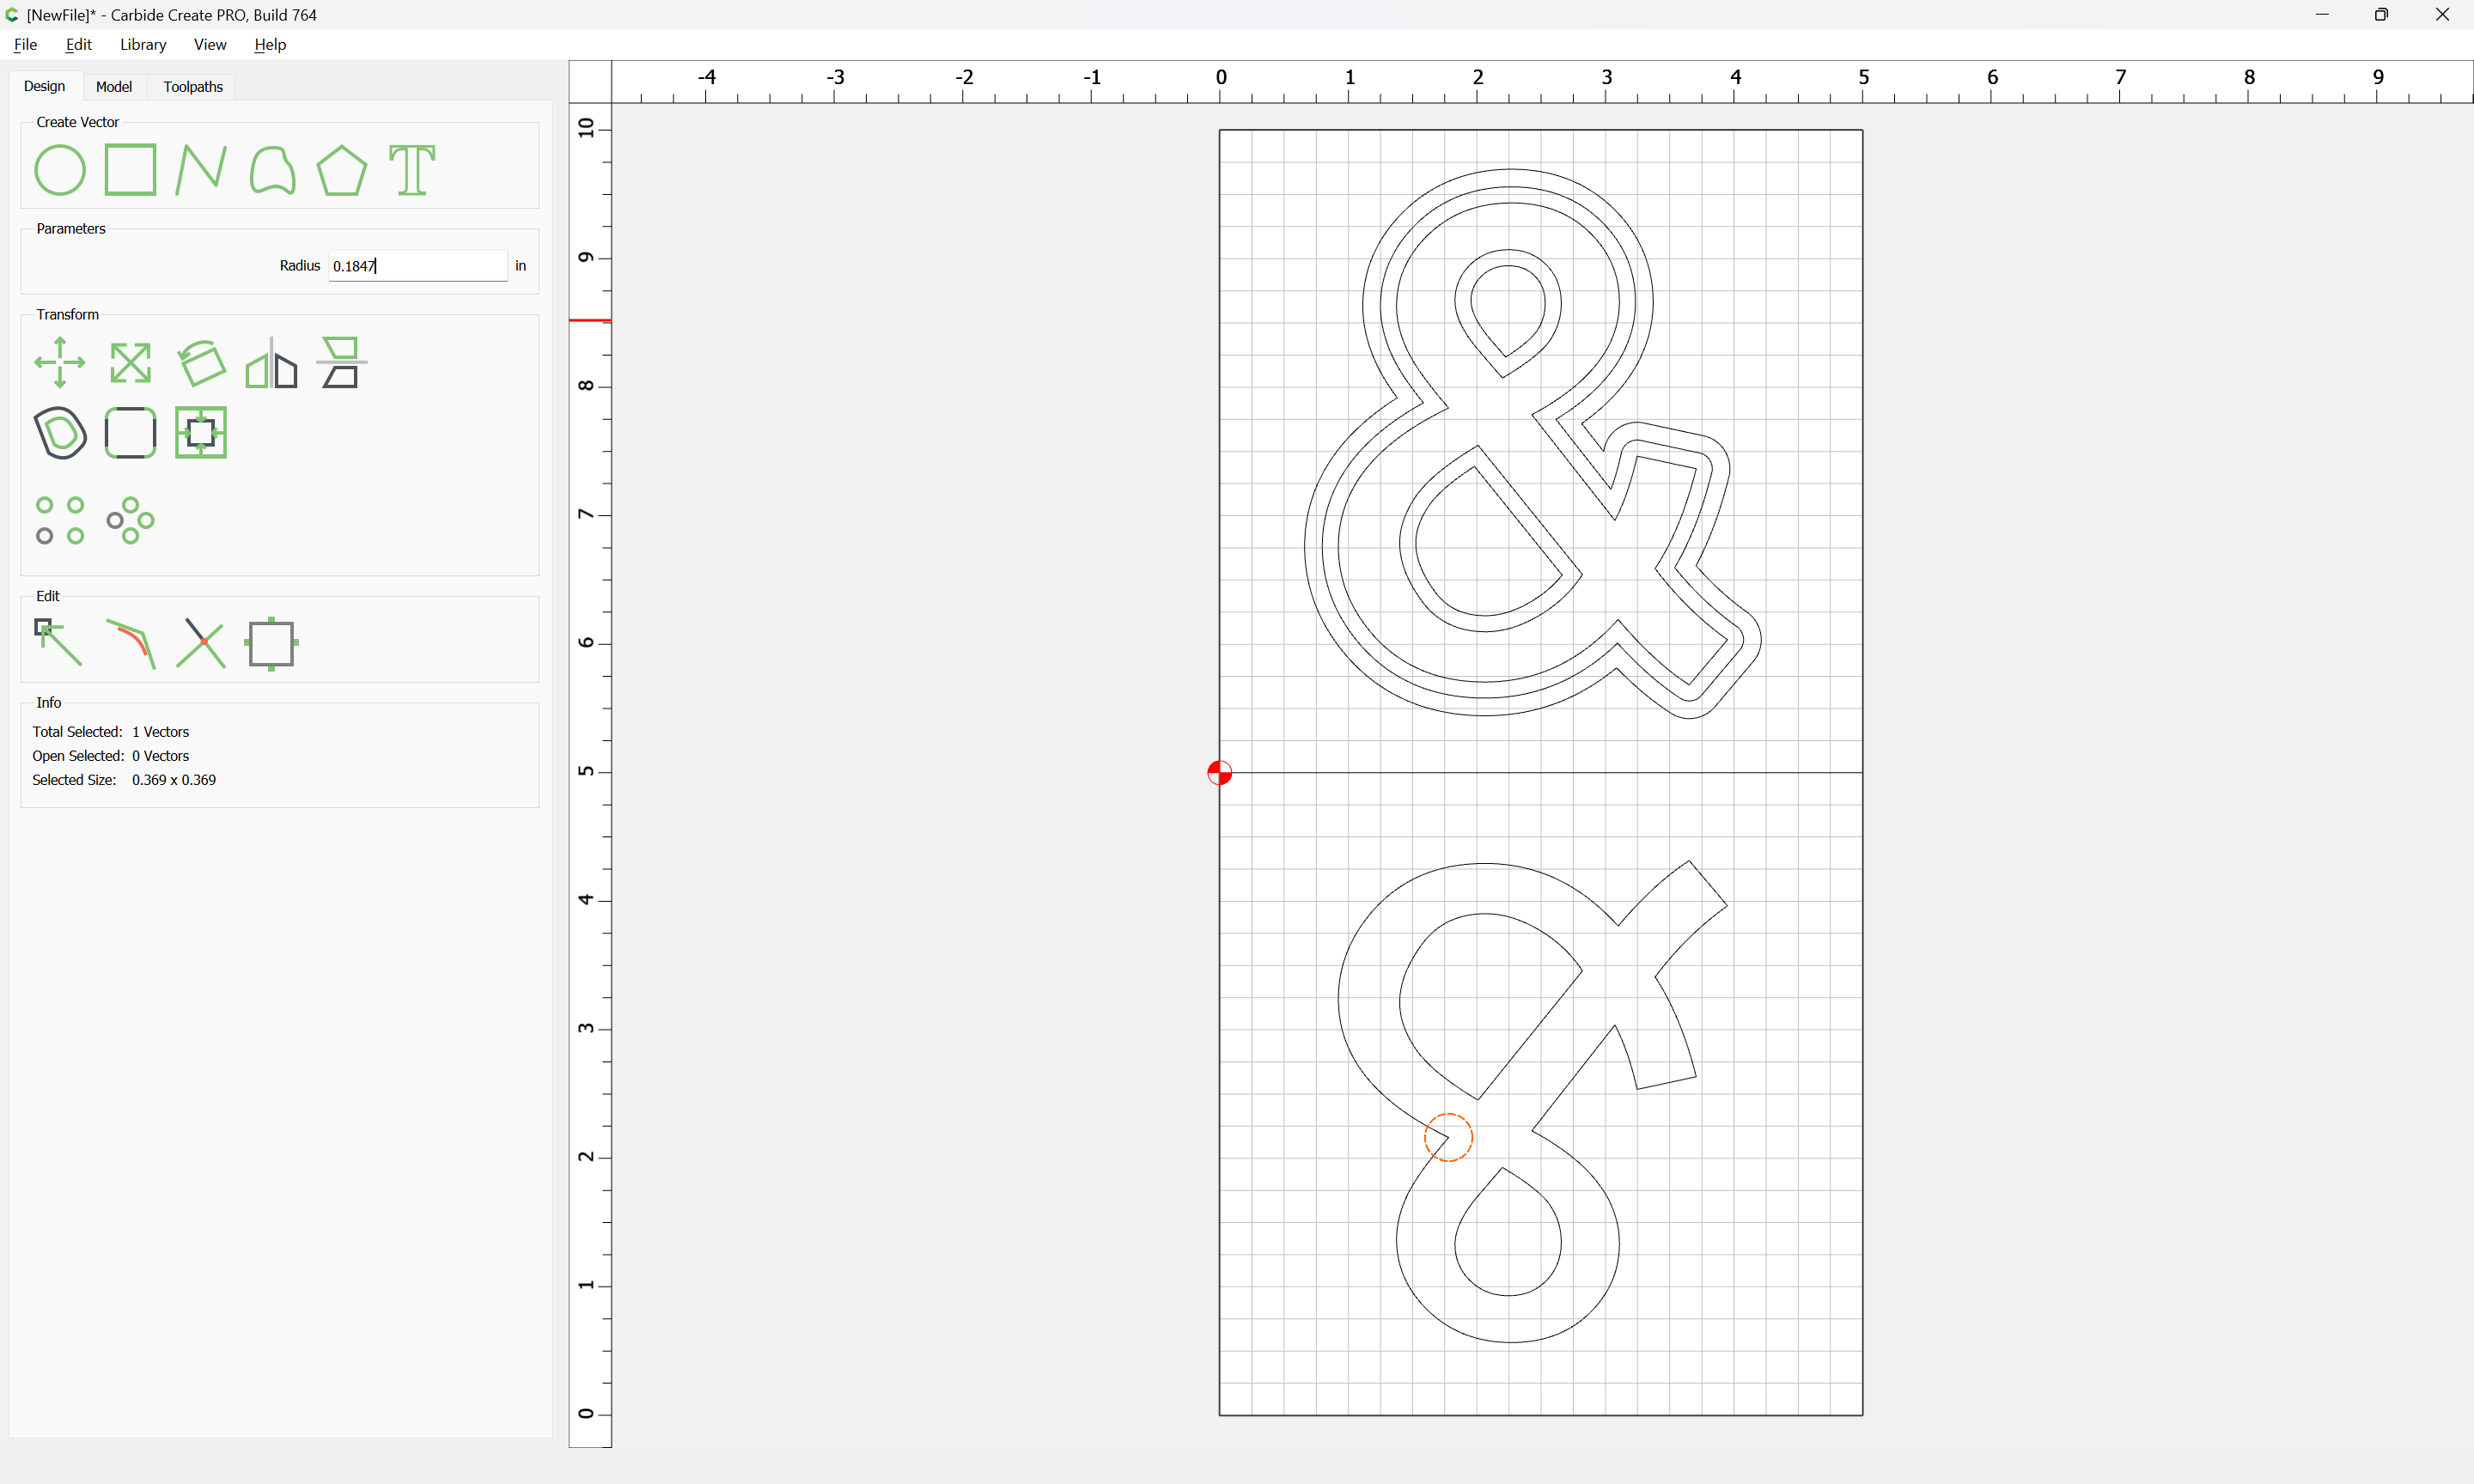
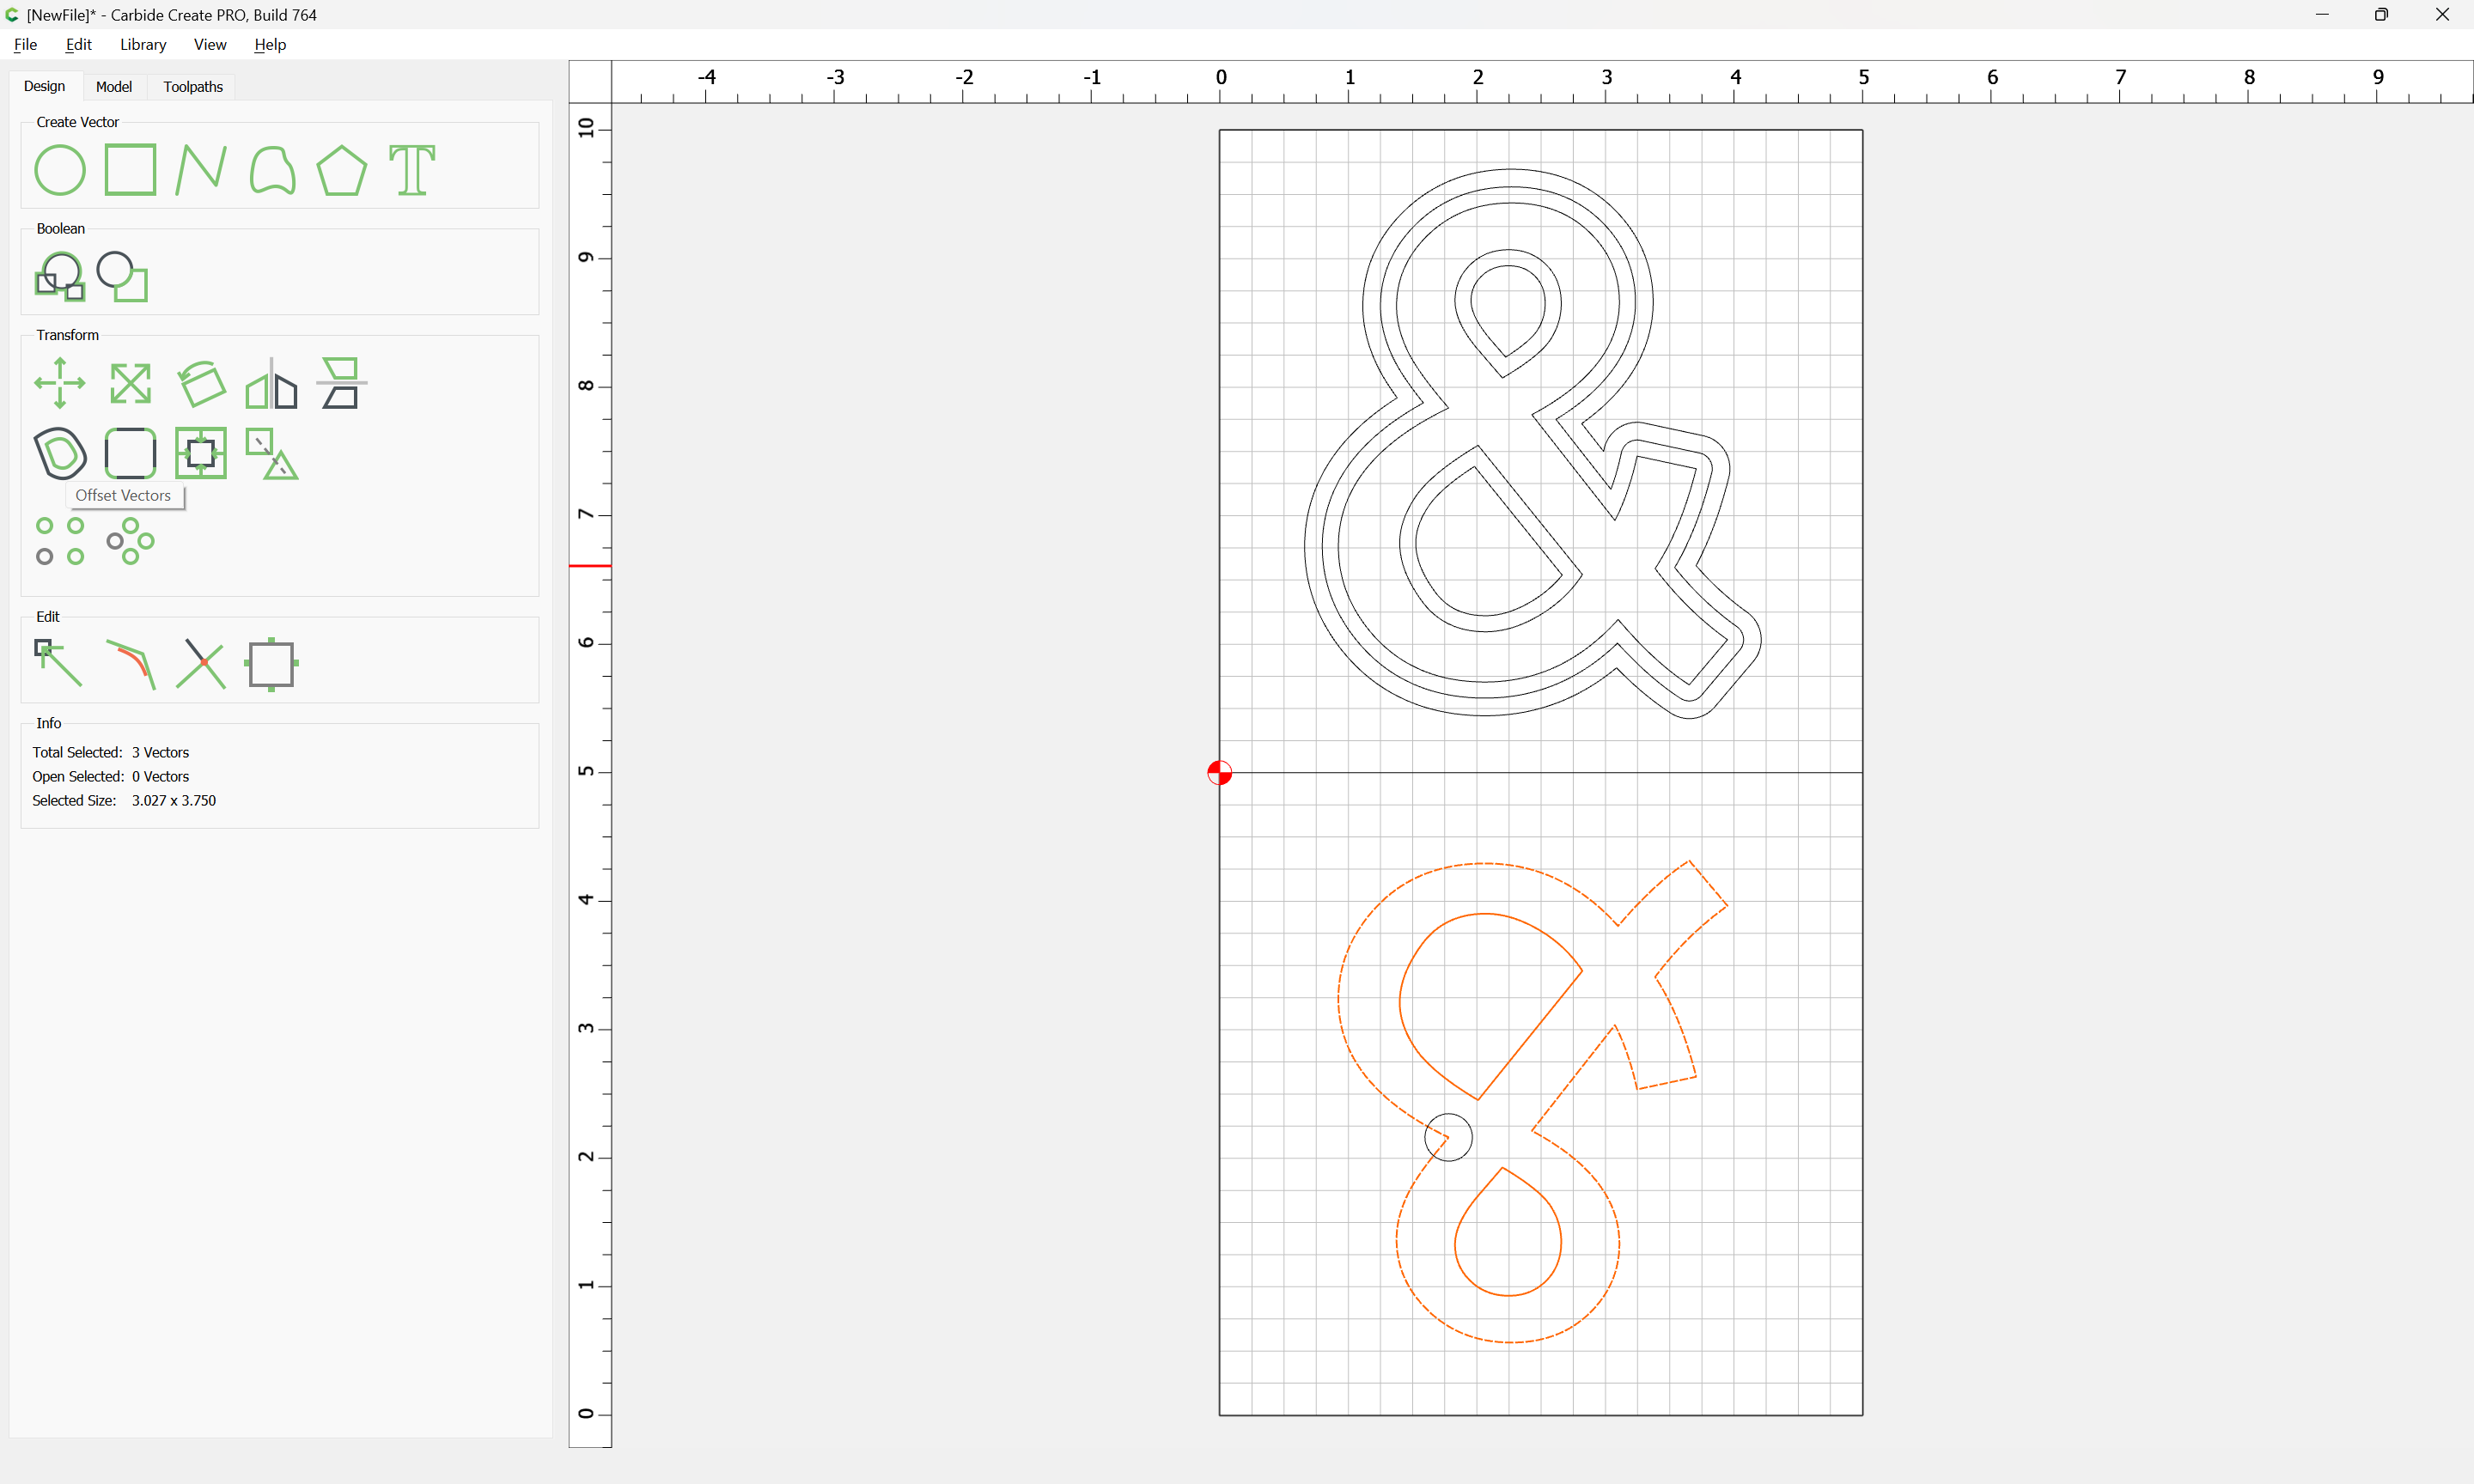
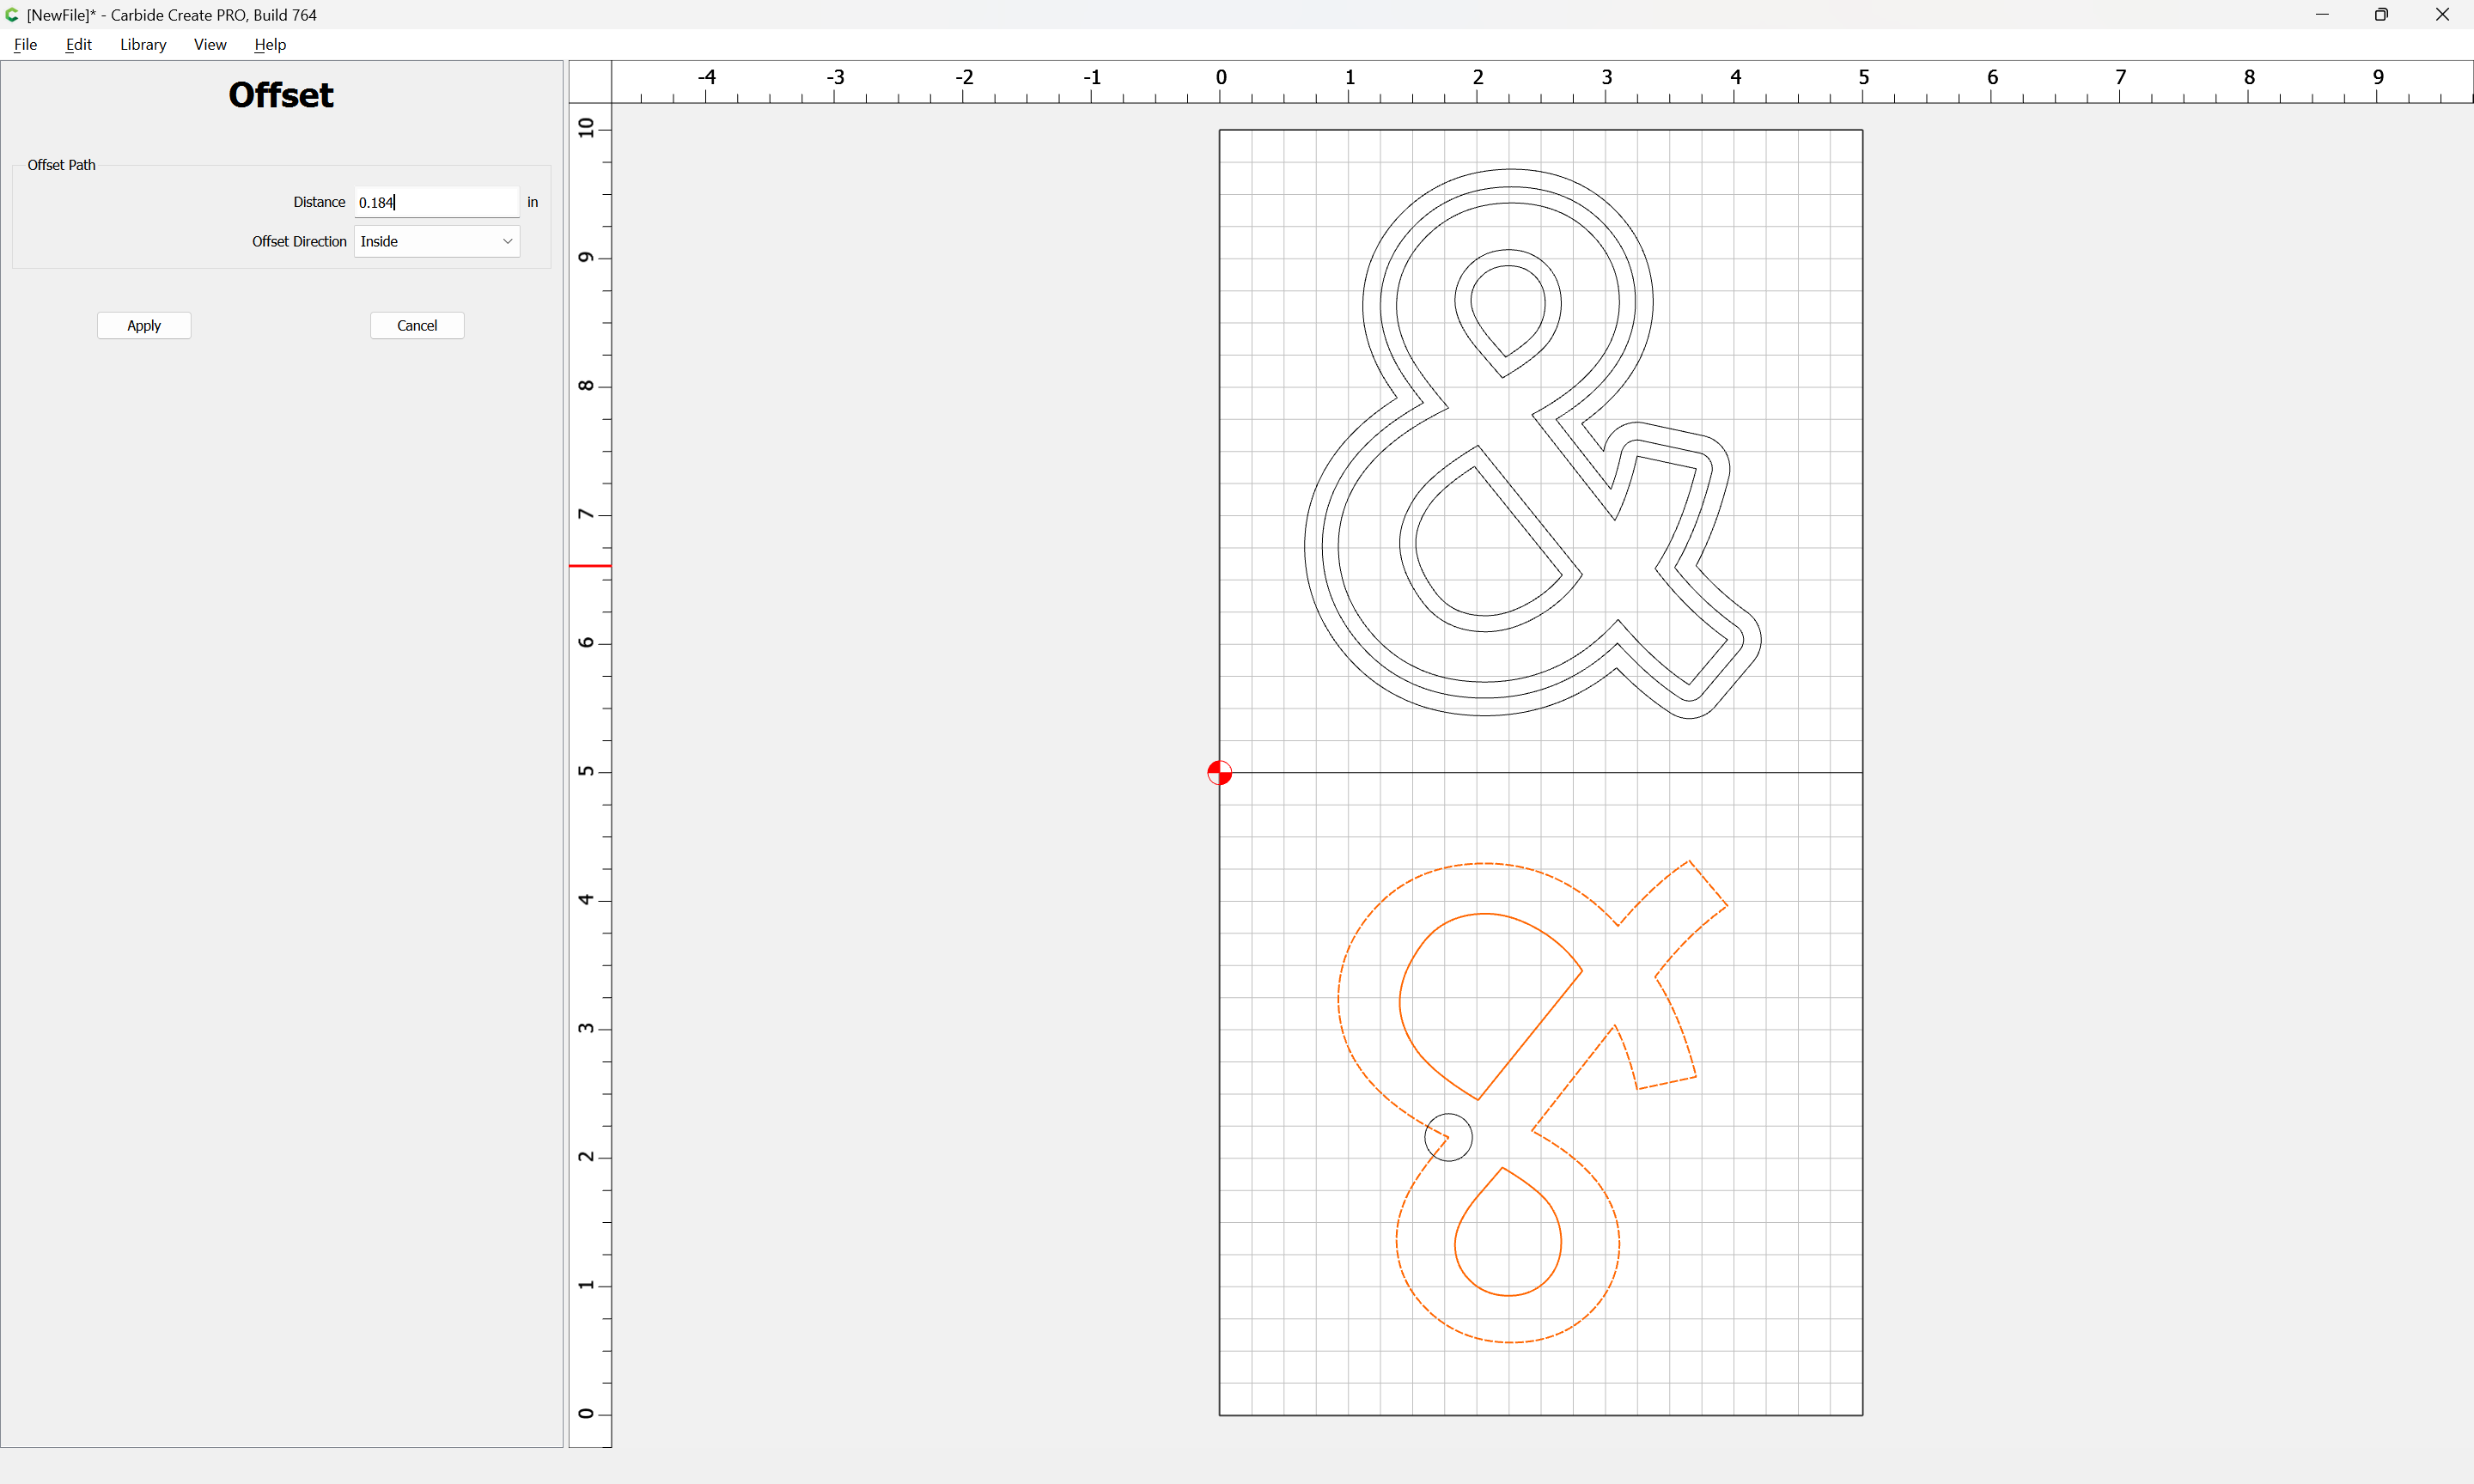
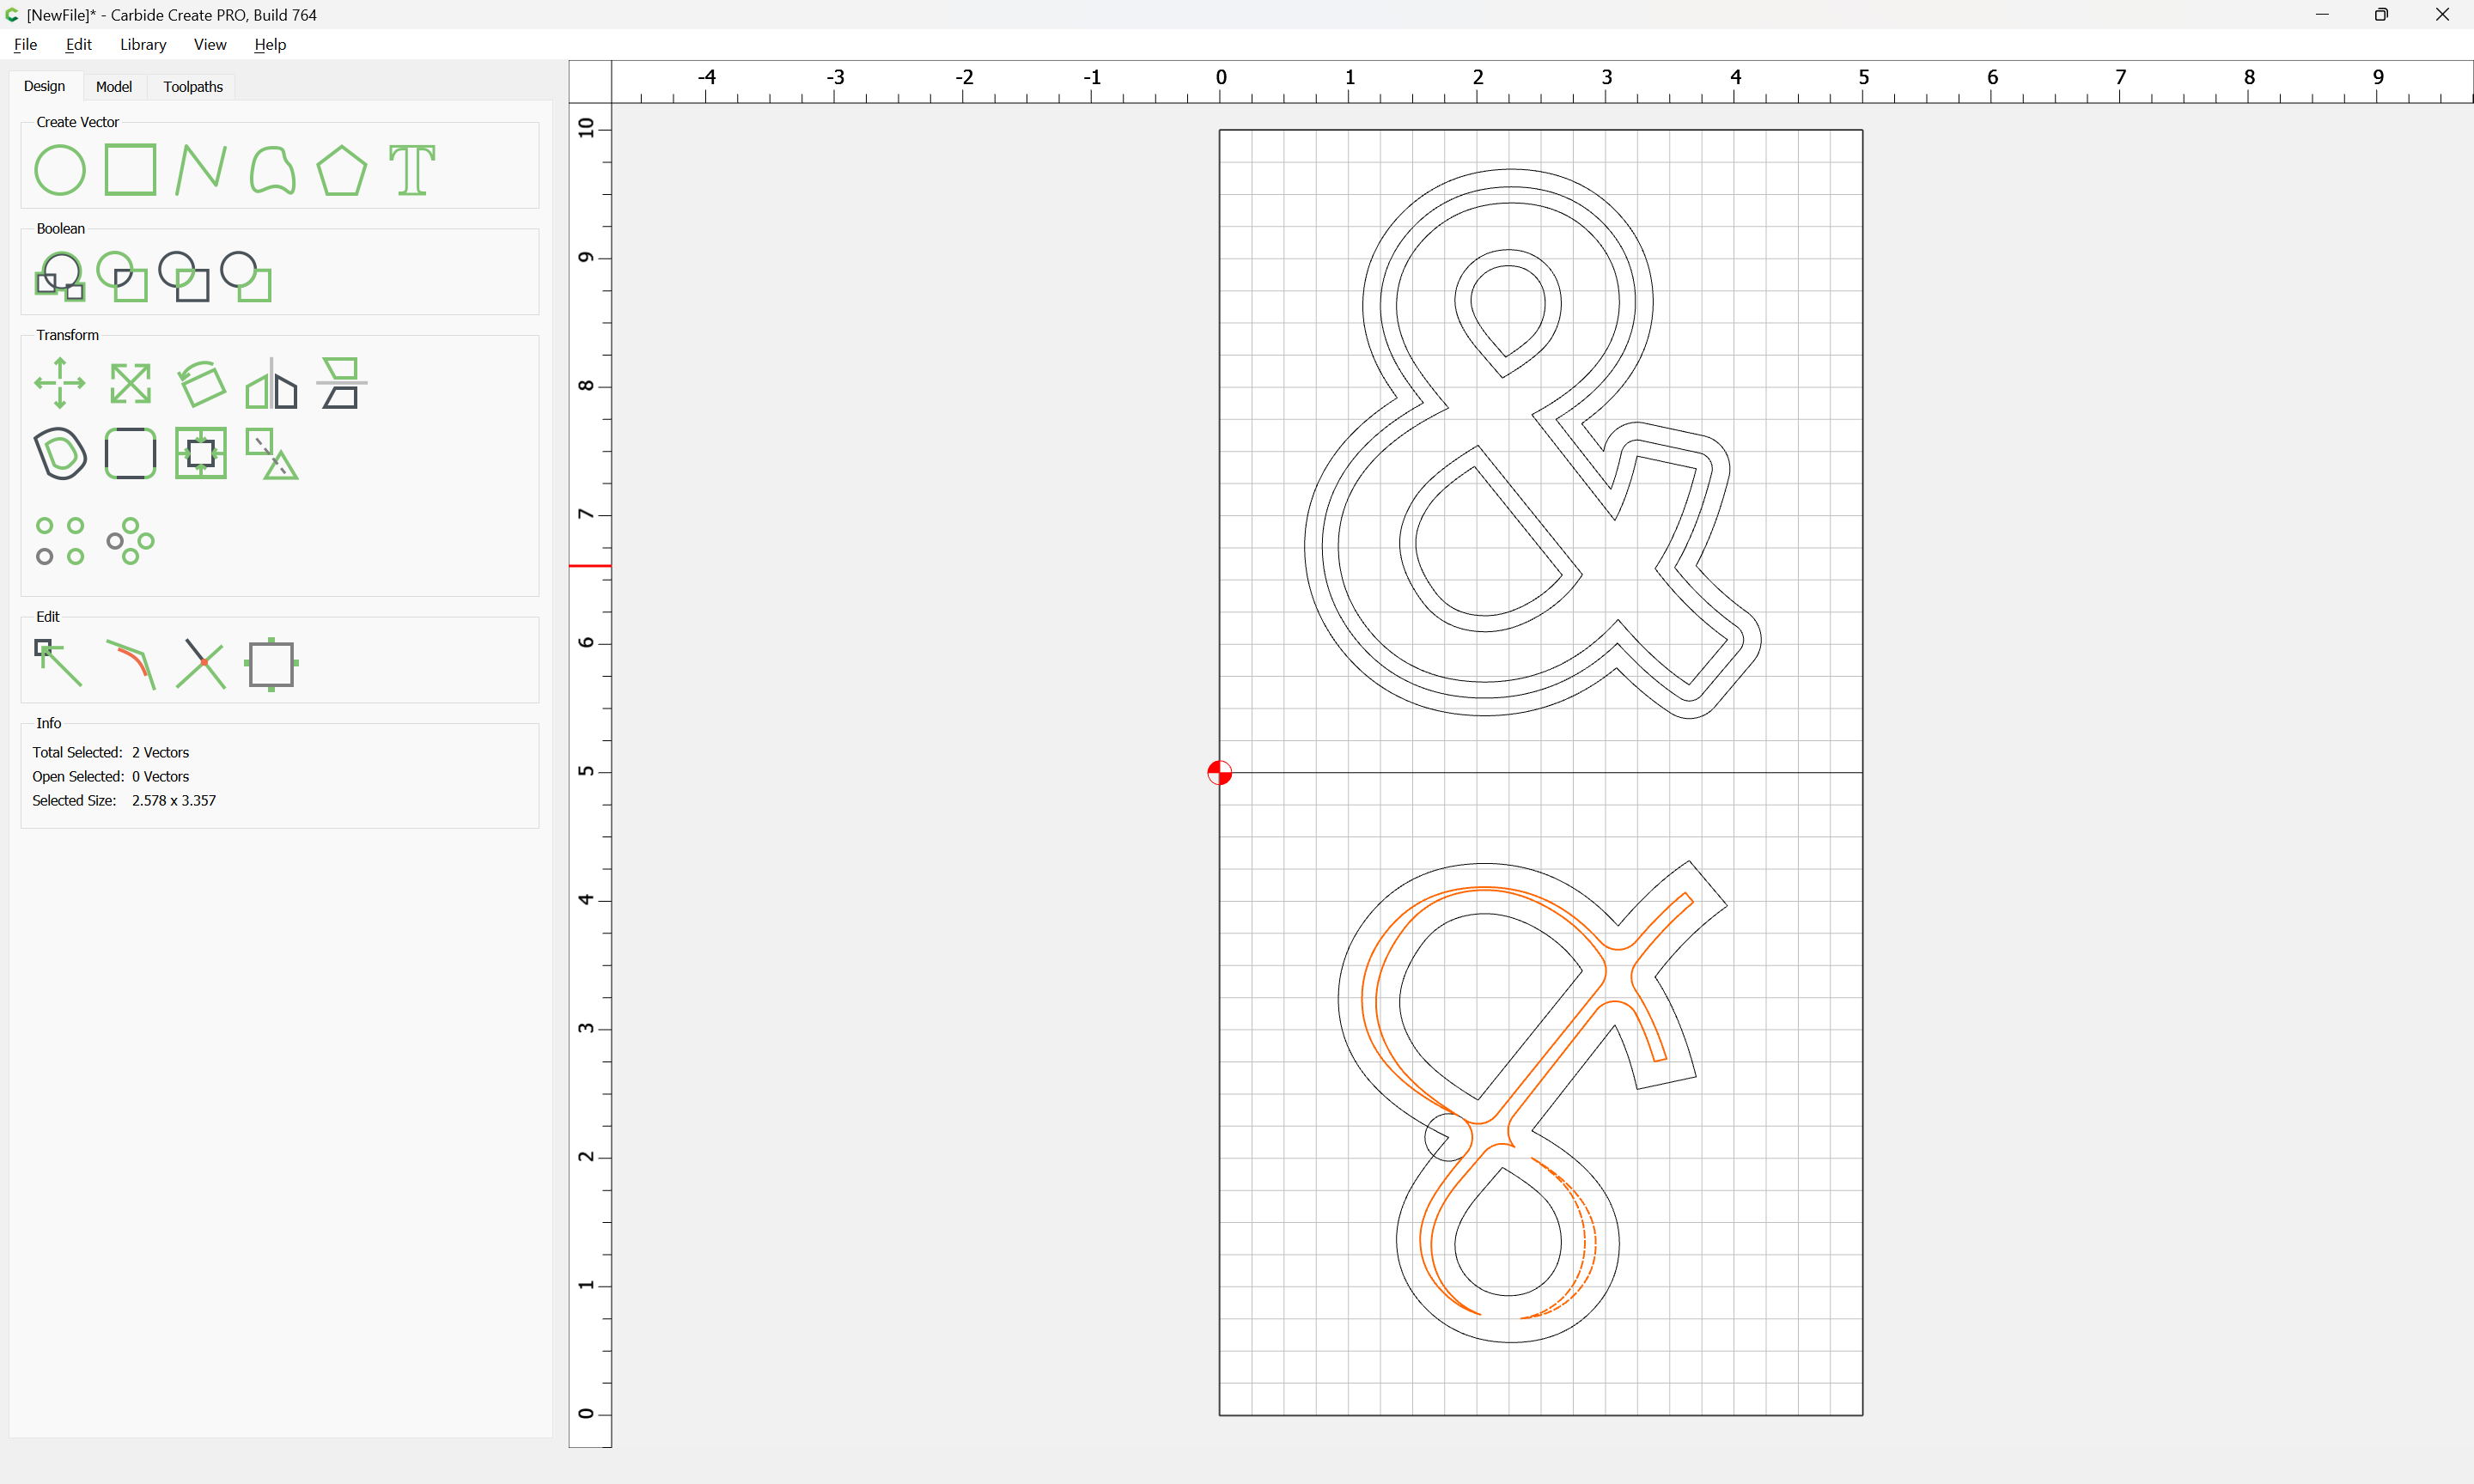
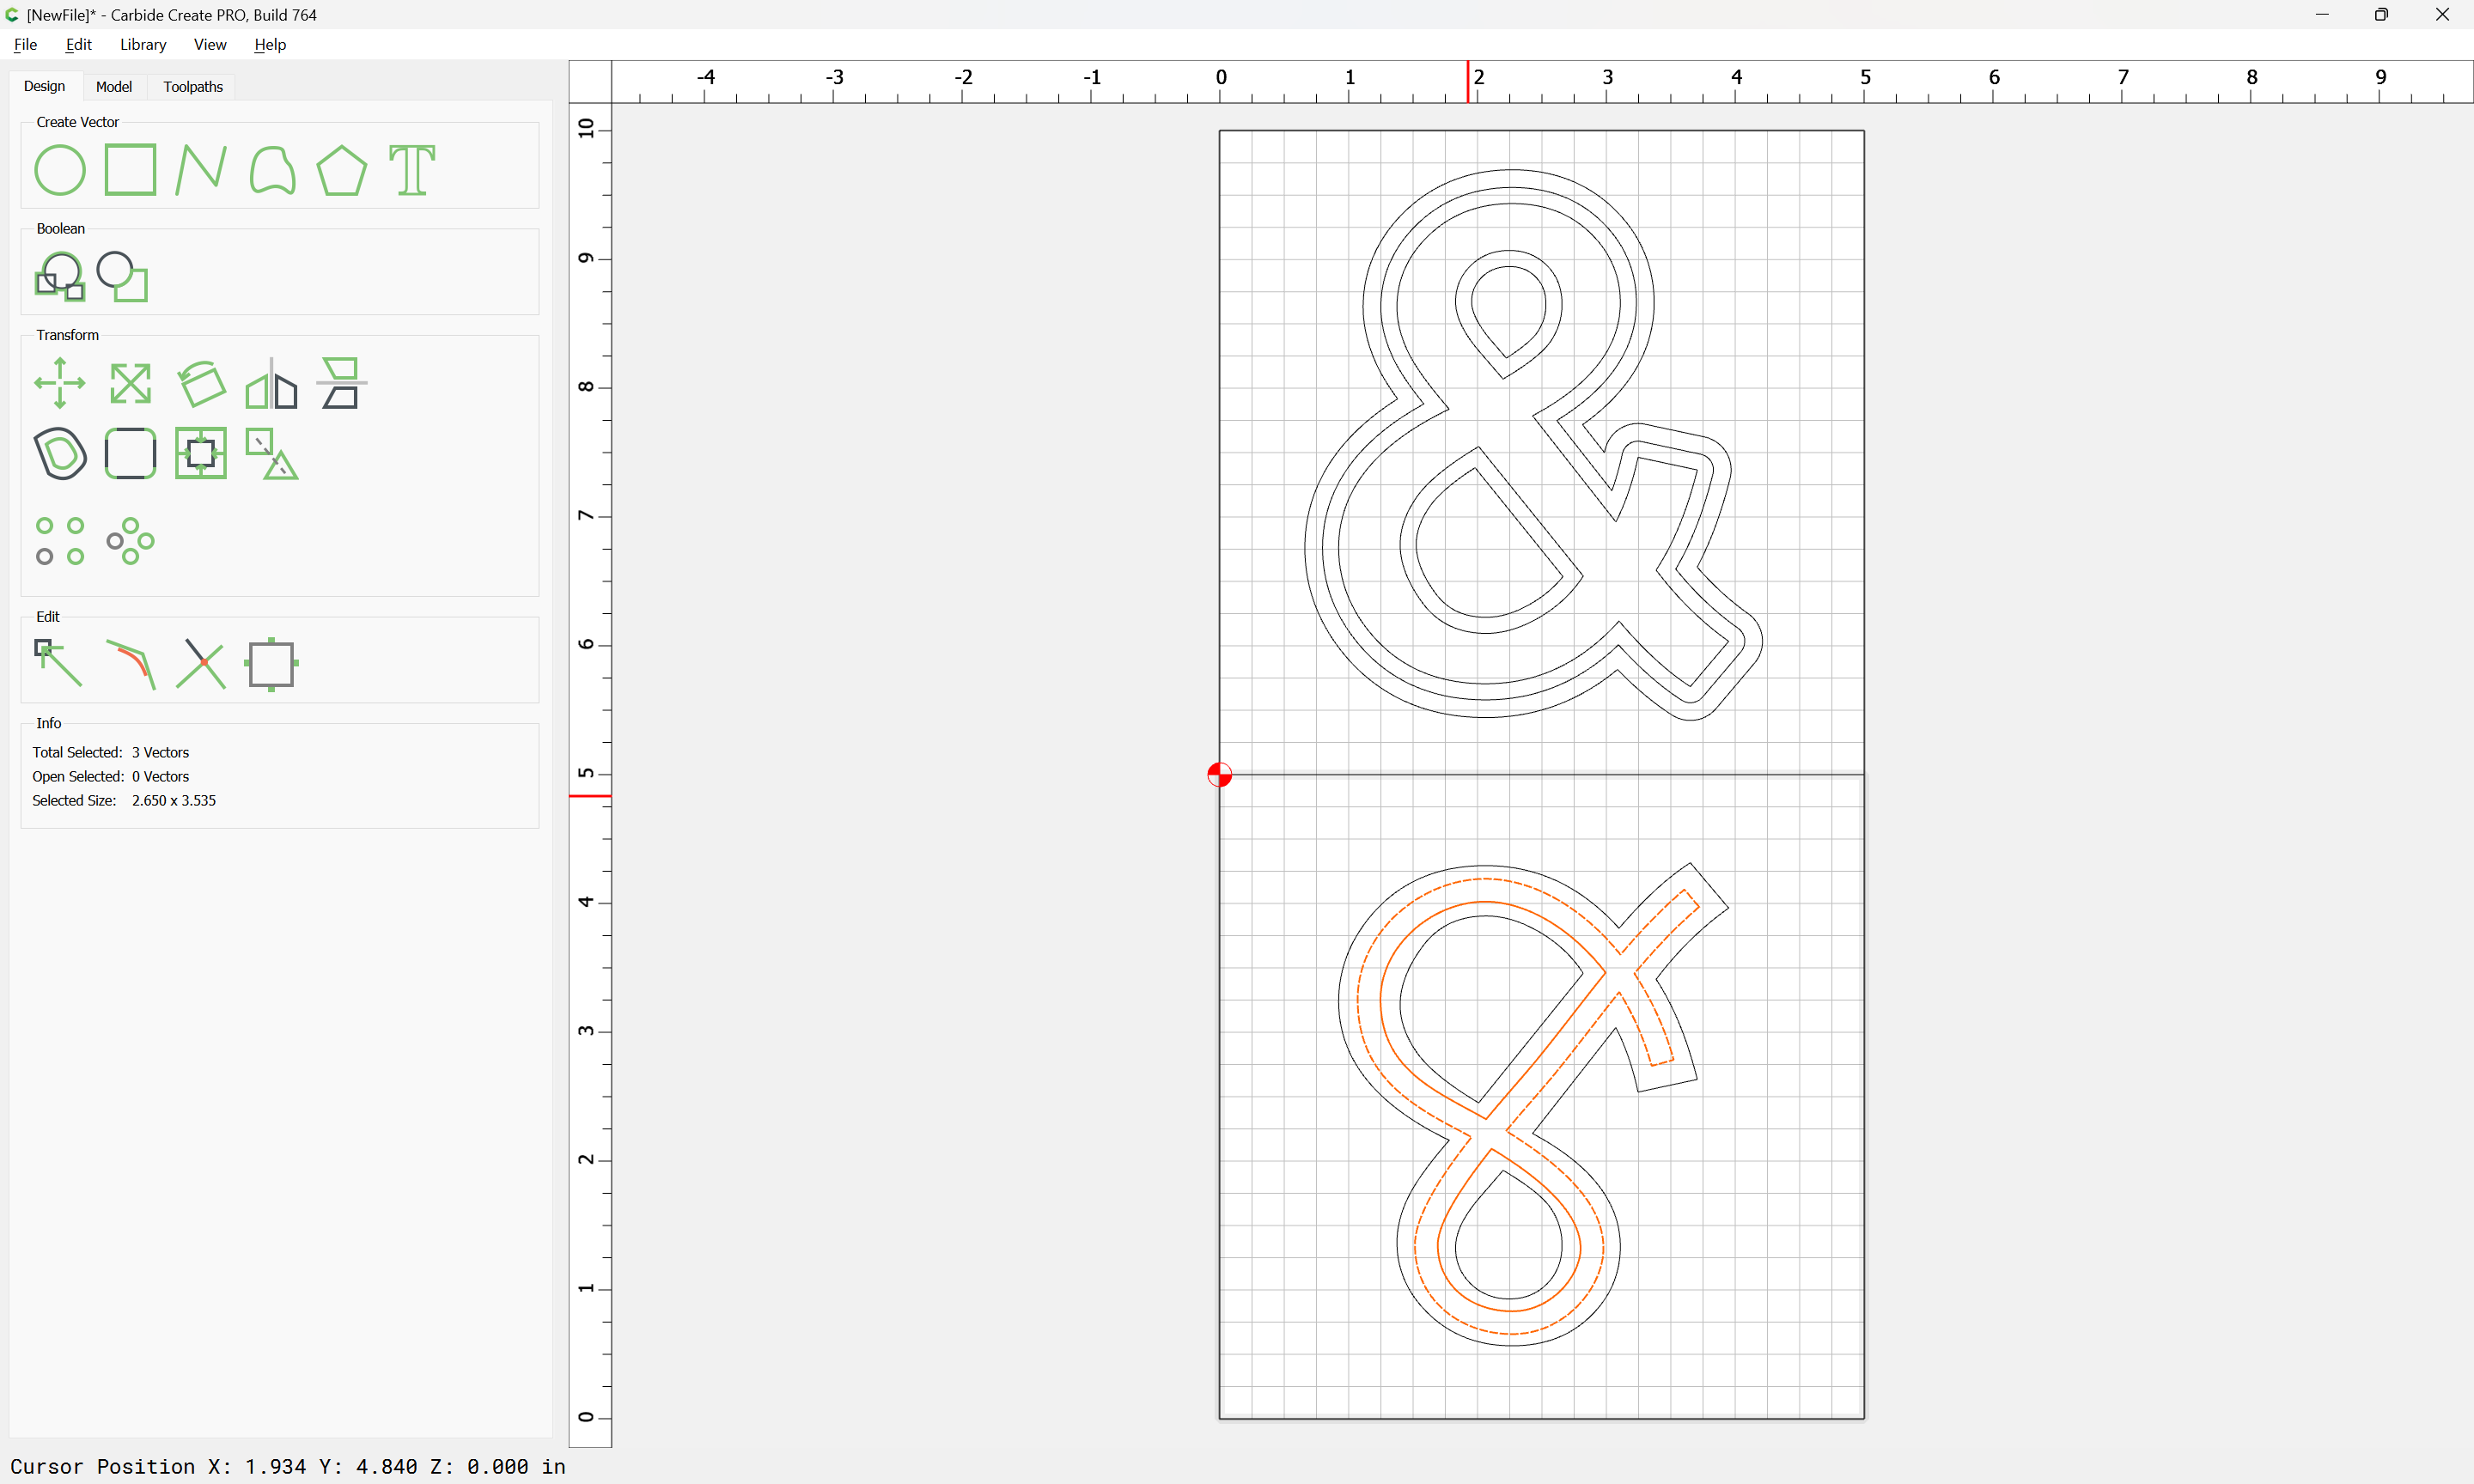
I have figured out how to add my text in Carbide Create but when I try to do an offset vector inside I am struggling. Is adding a offset vector the way to go to achieve this channel or is there another way?

Additionally, I am concerned about my process. If I cut out my lettering then need to flip the same letter cut out over to add a channel with my router how would I go about this to line it up properly so the channel is in the center of the letter? Hope that makes sense!

Thank you in advance for any guidance you may have!

Set the text at the desired size:

But note that the 4" size setting in the Text tool is based on the Em square of the font (the underlying design space which was used to create it) not the cap height (which is a separate value), so it will be necessary to Convert to Curves:

and scale up by a bit less than is necessary to get to the desired dimension (assuming that one wants the outermost dimension to be 4"):

We then Offset Vectors:

to the Outside by the desired dimension (0.25" as a first try):

which seems a bit much — back up, increase size and try 0.125"

Scale to 3.75"

Offset to 0.125"

and while we’re here, since we’re cutting this out, offset the outermost geometry by endmill diameter plus 10% — we’ll assume a 1/8" endmill so:

Apply

For a better preview, we will also draw in a rectangle the size of the Stock and add dog bones:

At a guess for Stock thickness we will use 0.375":

So we select the letter itself:

and go to Toolpaths and cut as a pocket:

We then select the surrounding geometry:

and cut as a pocket to remove the balance of the material (as a preview):

Hang on for the Flip operation.

For the flip, we go to Job Setup:

and double the height and set the origin to Center Left.

Then, we move the current geometry up to the top half — this will allow cutting it as it is currently defined, w/ Lower Left as the effective origin:

Note that the move is easiest if the Dogbones are reverted to Square:

Then we copy the letter and the surrounding geometry:

and duplicate it, removing the Toolpath links:

Done

and move it into position:

and Mirror it Vertically:

Note that this means that each half has the same origin point when the stock is flipped.

In toolpaths we edit the last Pocket Toolpath to associate it w/ the surrounding geometry:

Note that it will be necessary to use workholding which will hold things in place, or to add tabs and decrease the depth by tab height and add an outside Contour toolpath to cut things out.

and we add a new Group:

We go back to the design tab and determine how much we can inset the geometry of the letter:

by drawing a circle at the narrowest region, then dividing its radius by 2:

and we try insetting by that distance:

which is a bit too much (didn’t get the narrowest region right)

Repeat and iterate until we arrive at:

which by placing a series of circles along, should work as a guide to creating the channel.

Alternately, export to a 3rd party tool:

and re-draw there as a single path, adjusting until one arrives at:

which one may then expand into a matching outline:

and re-export/import and align and tidy up to arrive at:

which may be cut as a channel in the back:

Note that it will be necessary to adjust all toolpath depths to match your stock and the other toolpaths.

Attached as a v7 file.

Ampersand_channel.c2d (176 KB)

This topic was automatically closed after 30 days. New replies are no longer allowed.