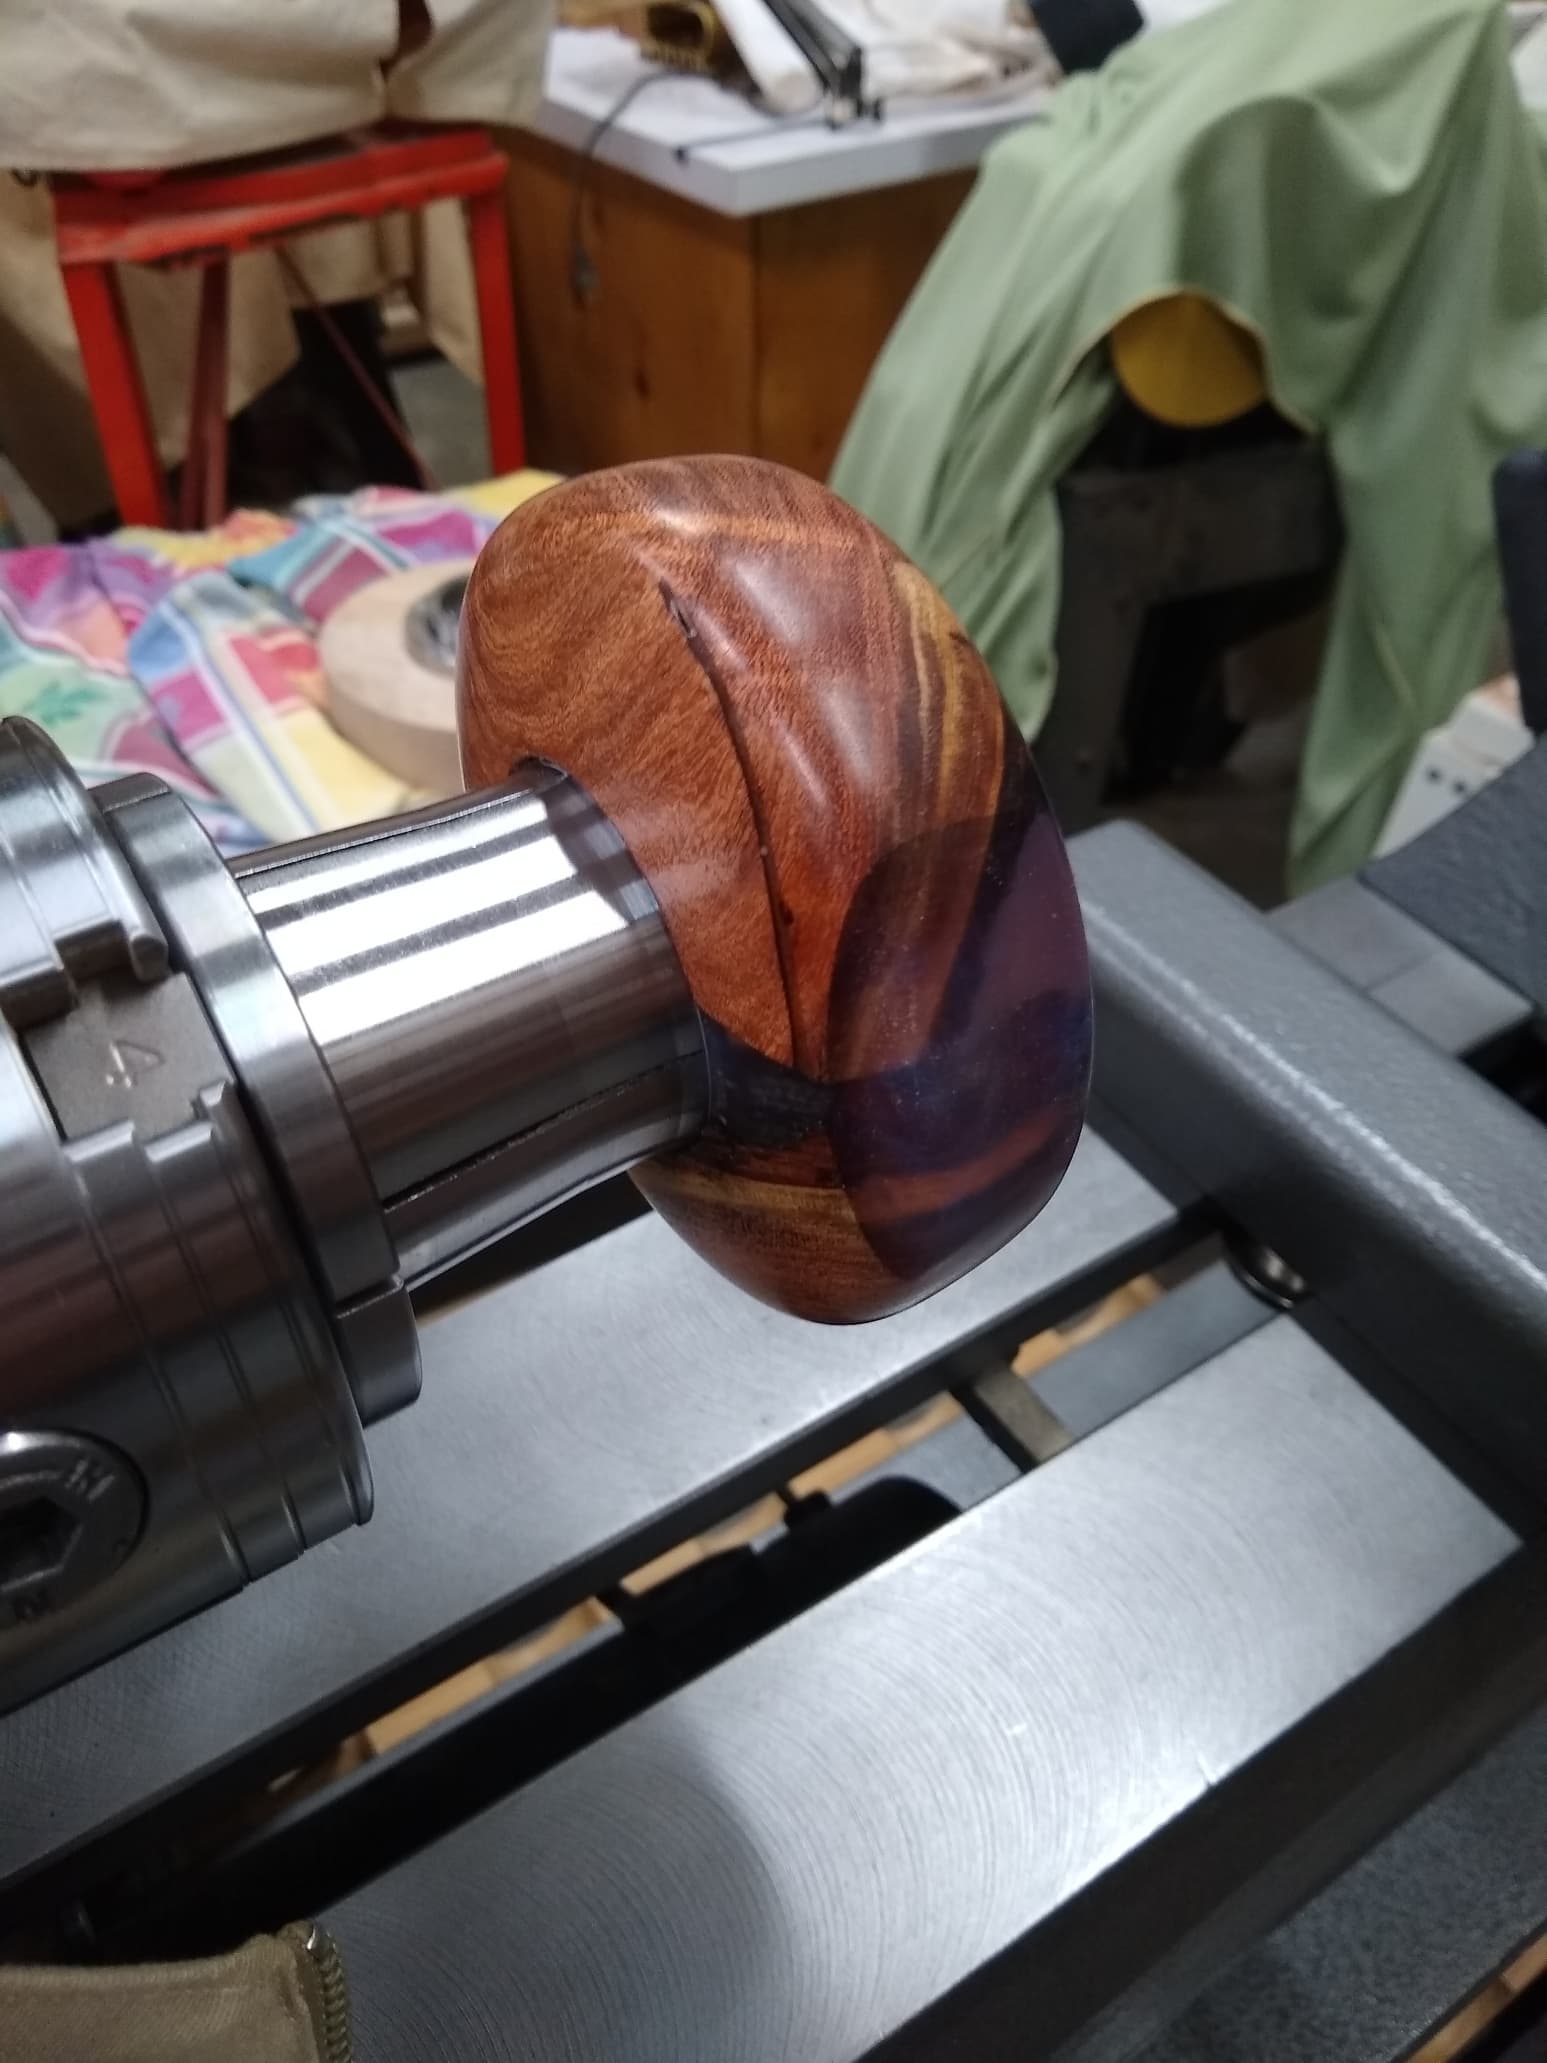
I am still waiting until tonight to sand down the mirror frame and the river table. This afternoon I moved the Jet 1221 VS lathe outside and cut the votive candle holder. It looks pretty good as is but I will wet sand it tonight. I sanded dry to 600 grit and used Yorkshire Grit Medium and Fine.
Depending on a lot of variables I will concentrate on the mirror frame to have that ready for Thanksgiving. The top needs more work and I will try to get it finished in time but it is a self imposed deadline and may slip. Fun Fun Fun
The cutting of the votive reminded me how much I hate cutting epoxy. The shards of epoxy go everywhere and make a mess of everything and sticks to everything from static. Yuck!!! The finished product looks good and I will press on.
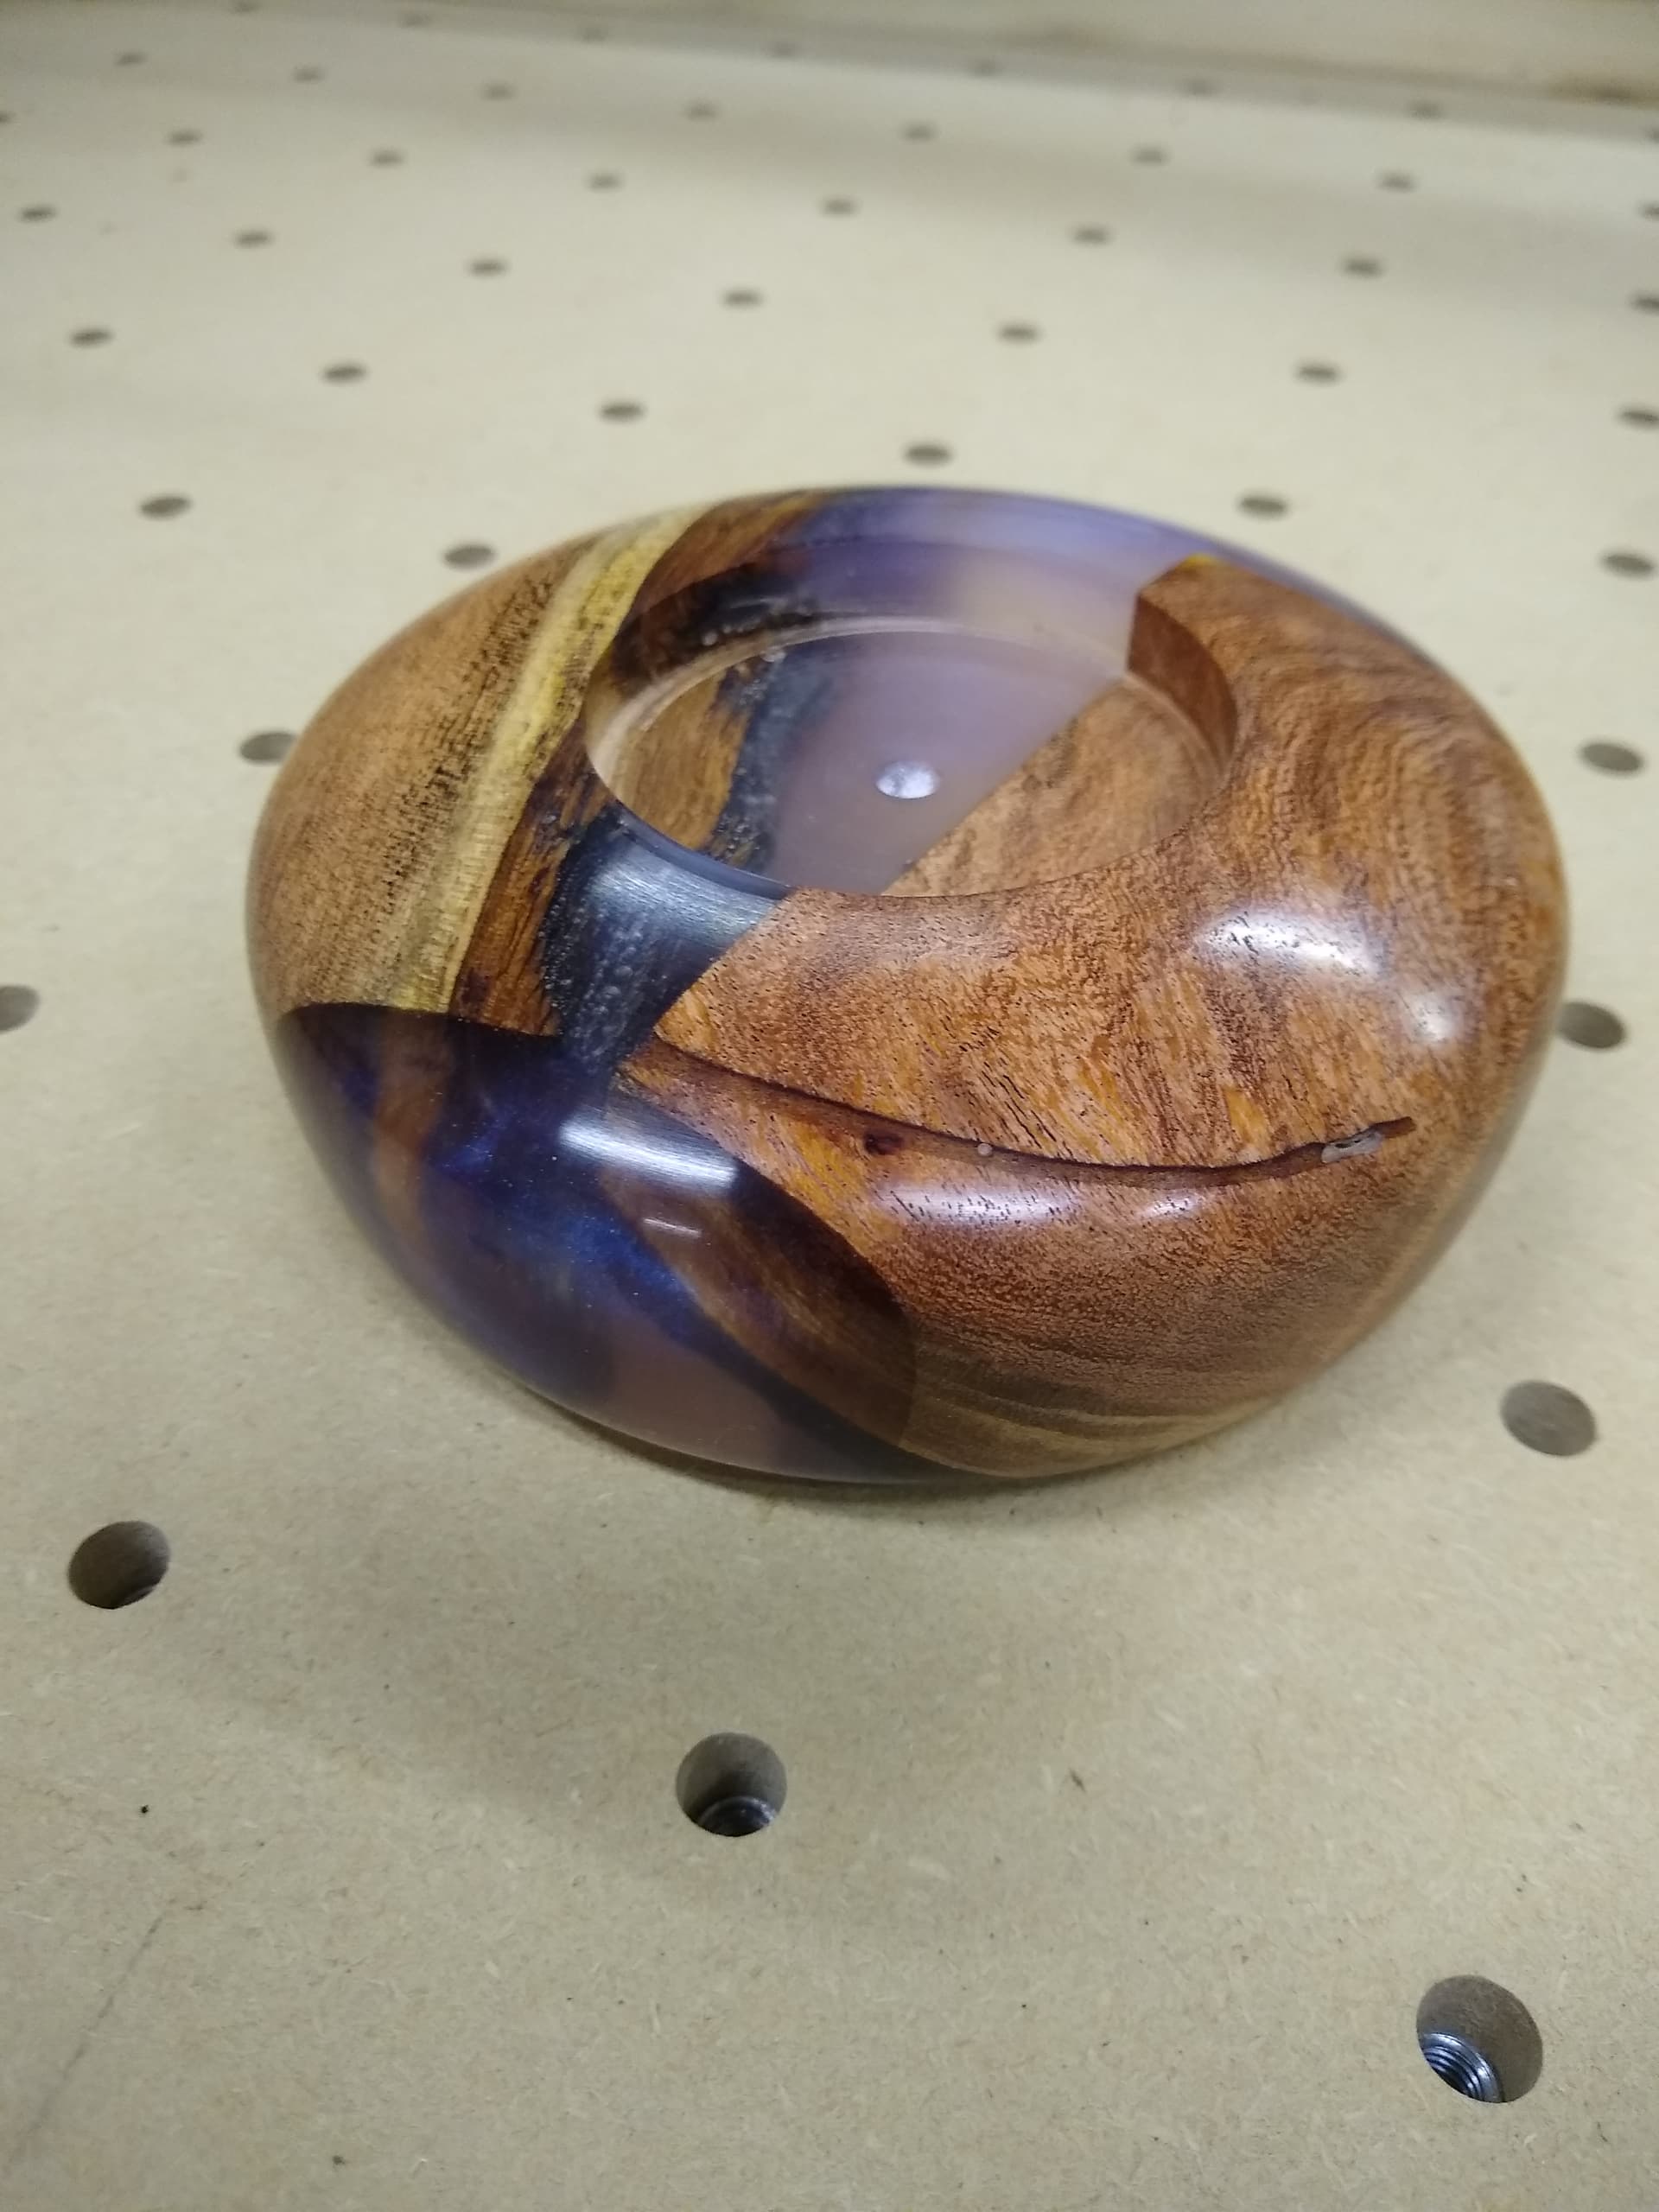
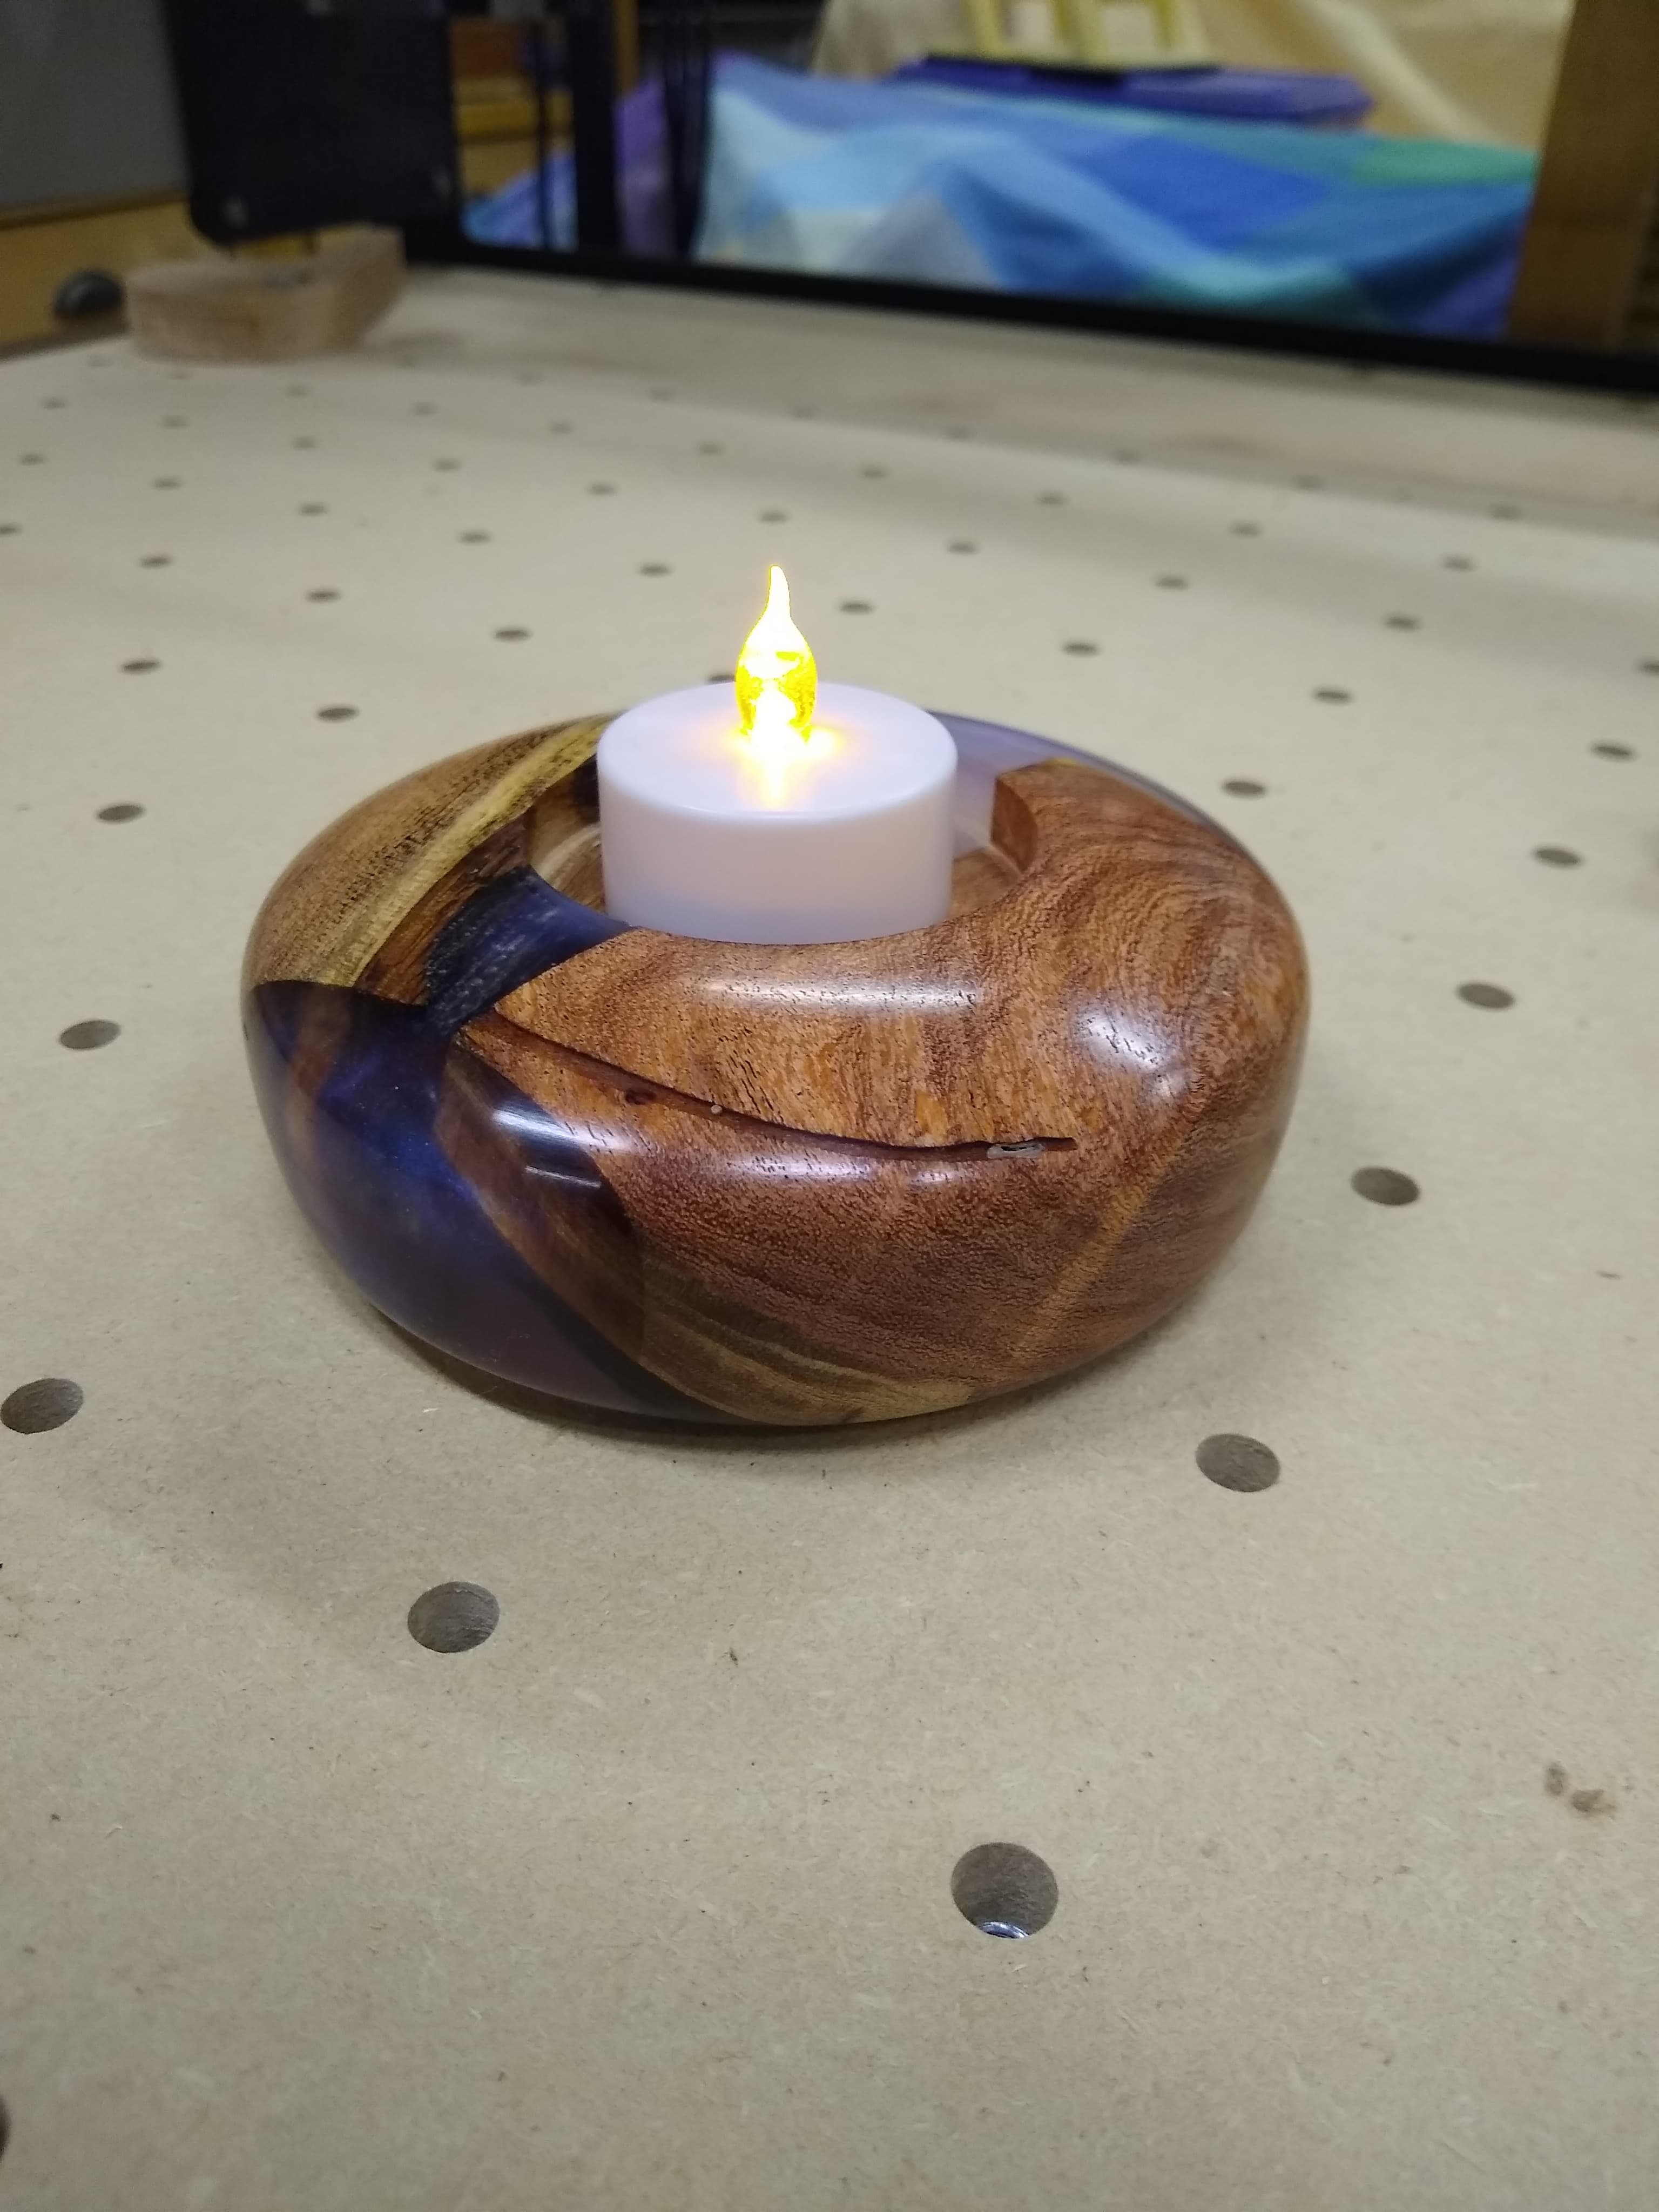
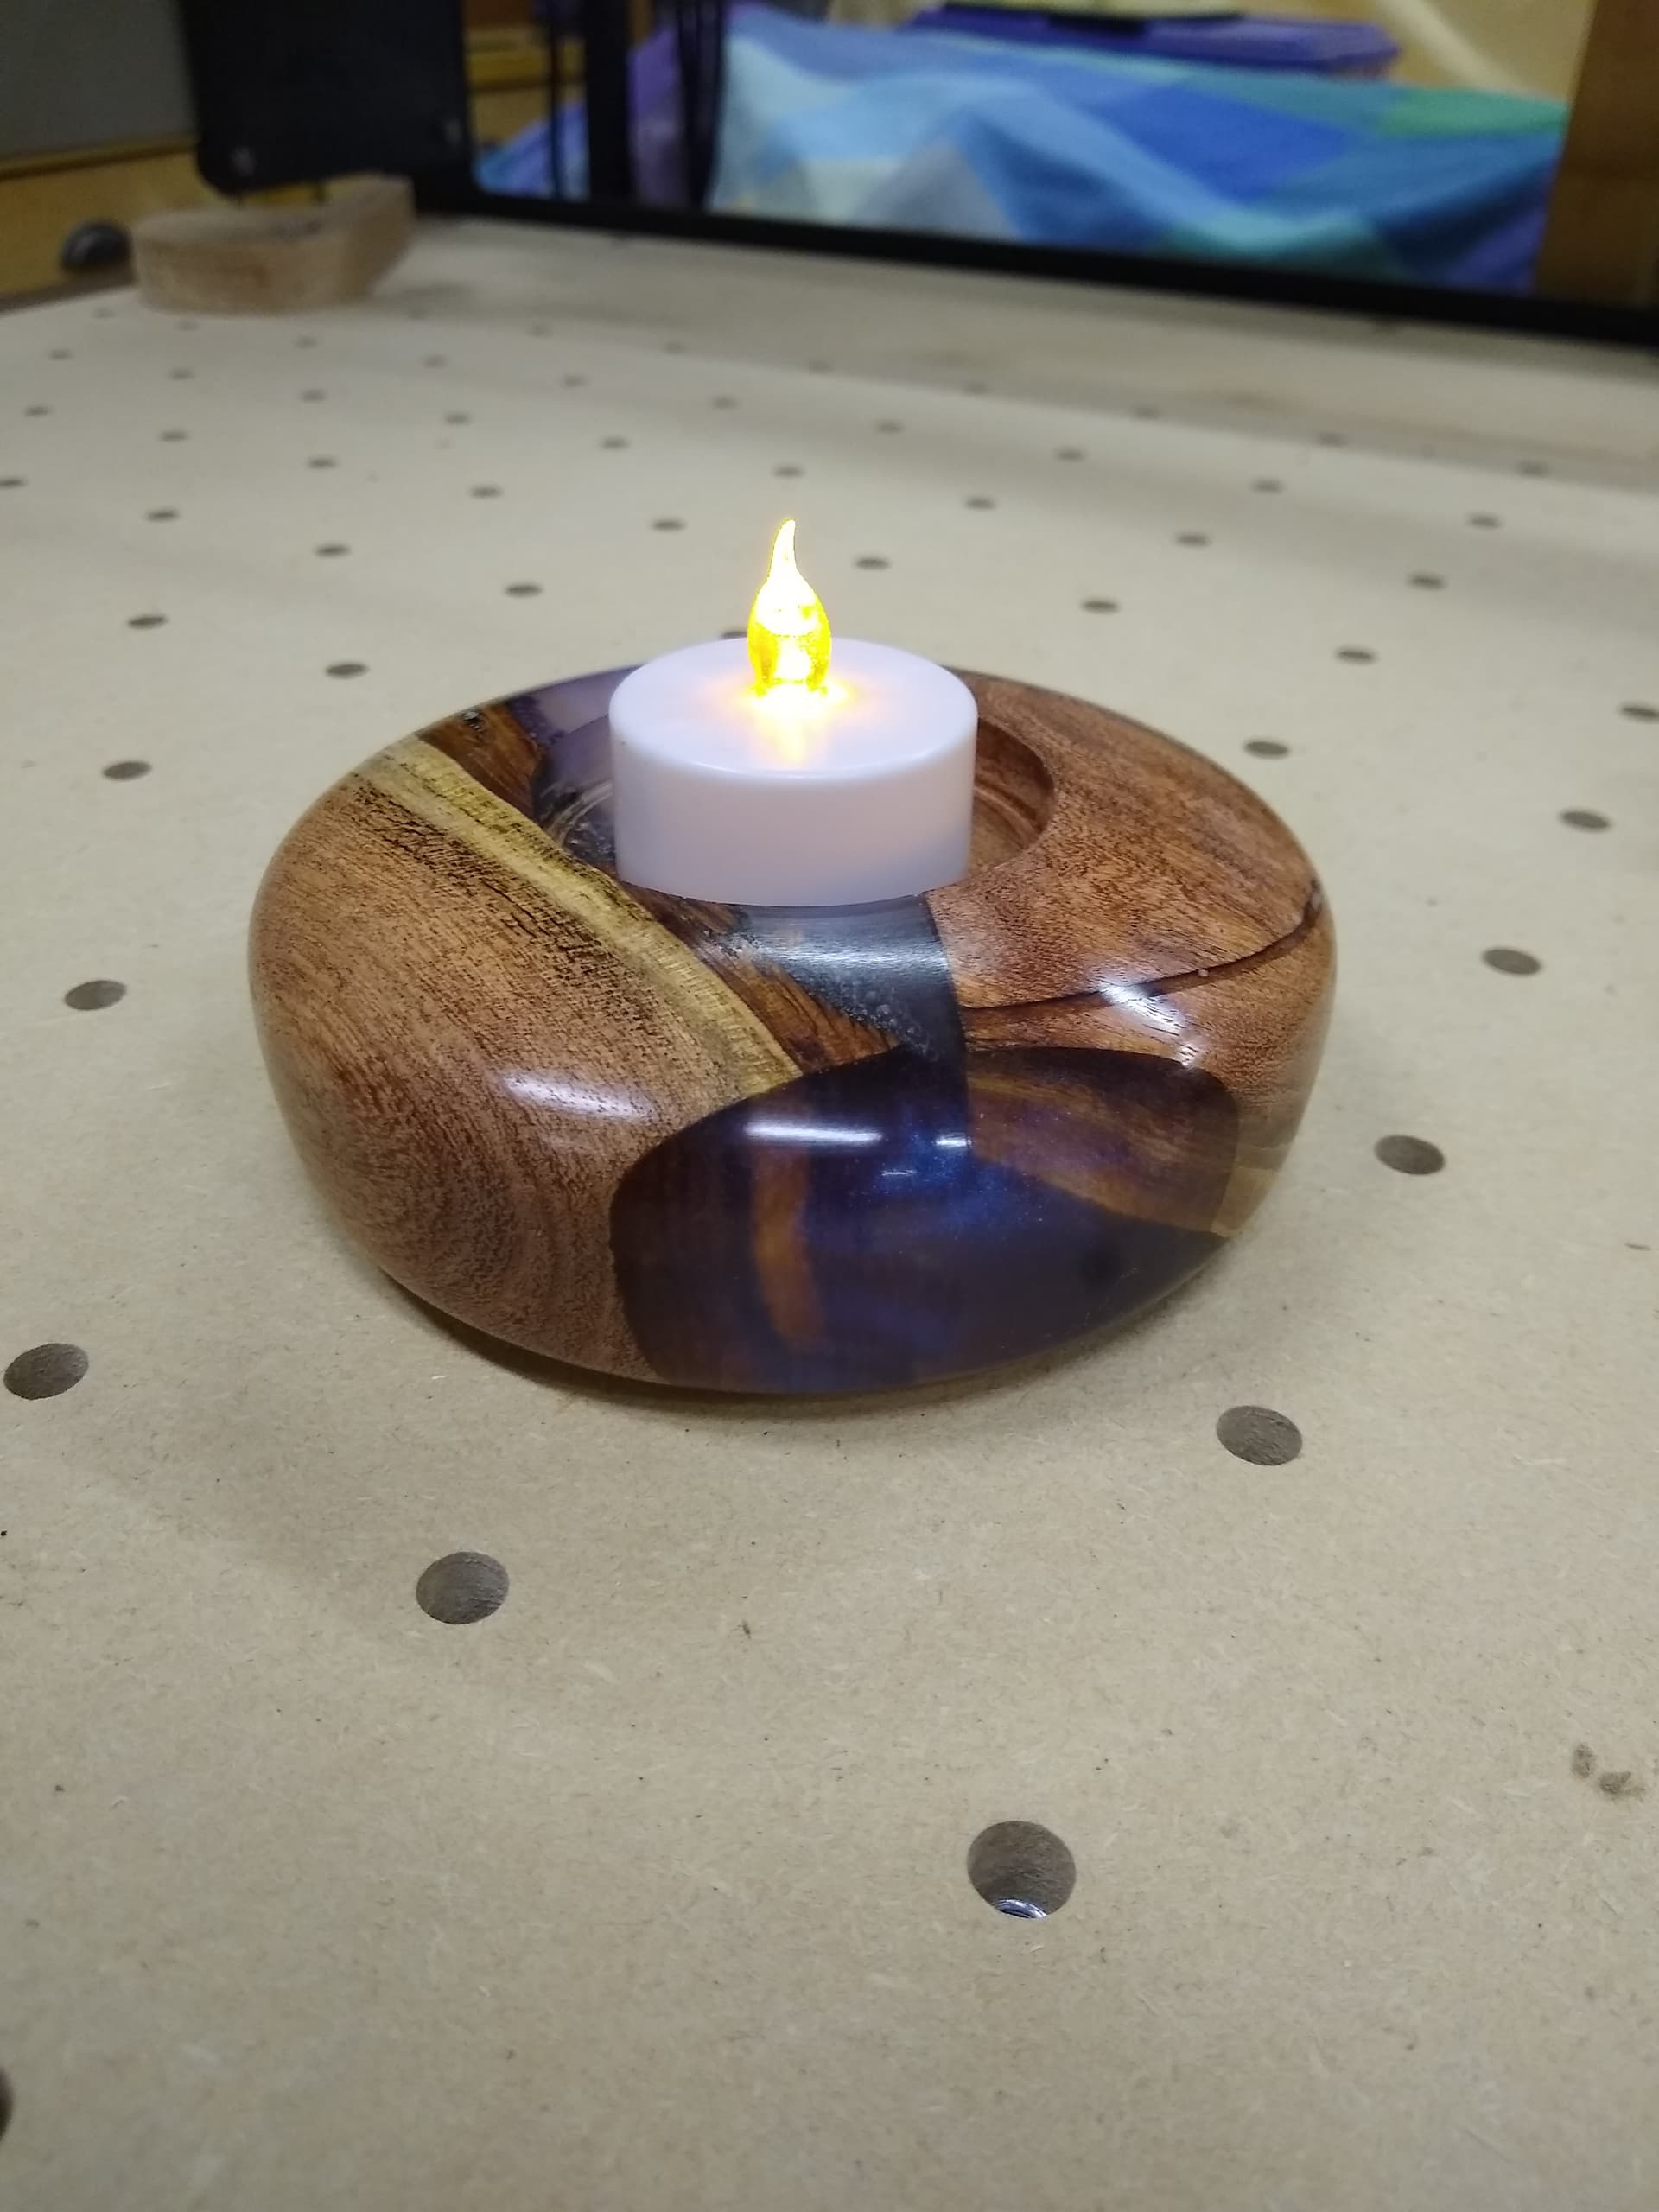
So my votive candle is finished. Looks good for my first attempt at epoxy and wood turning. Wet sanded to 1000 grit and used Yorkshire black and white sanding grit with a final coat of Johnsons Paste Wax.
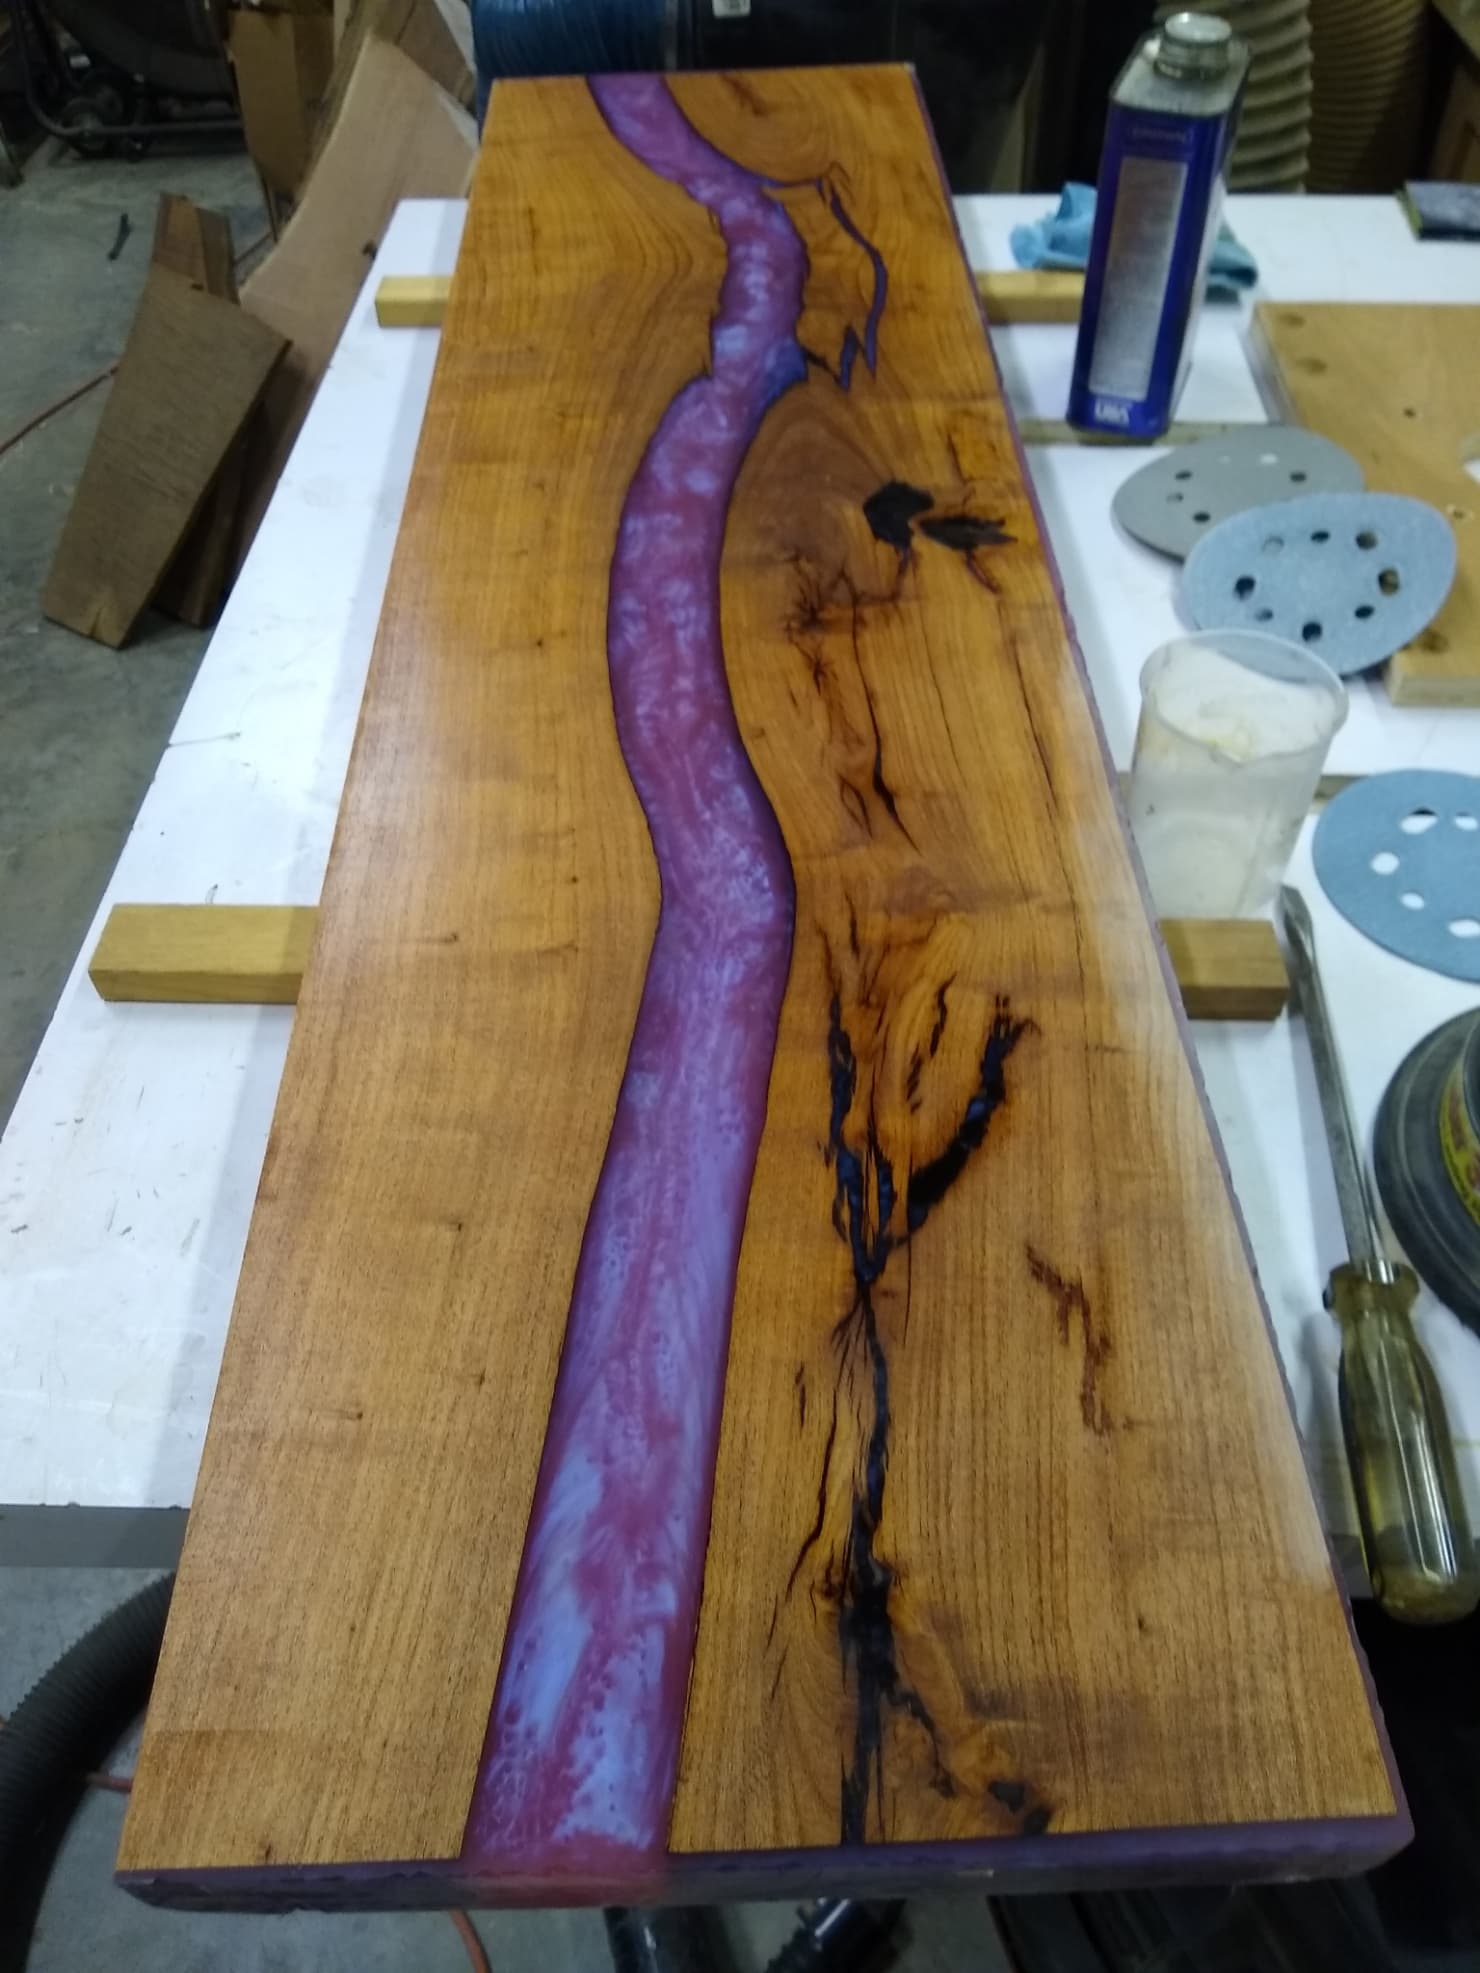
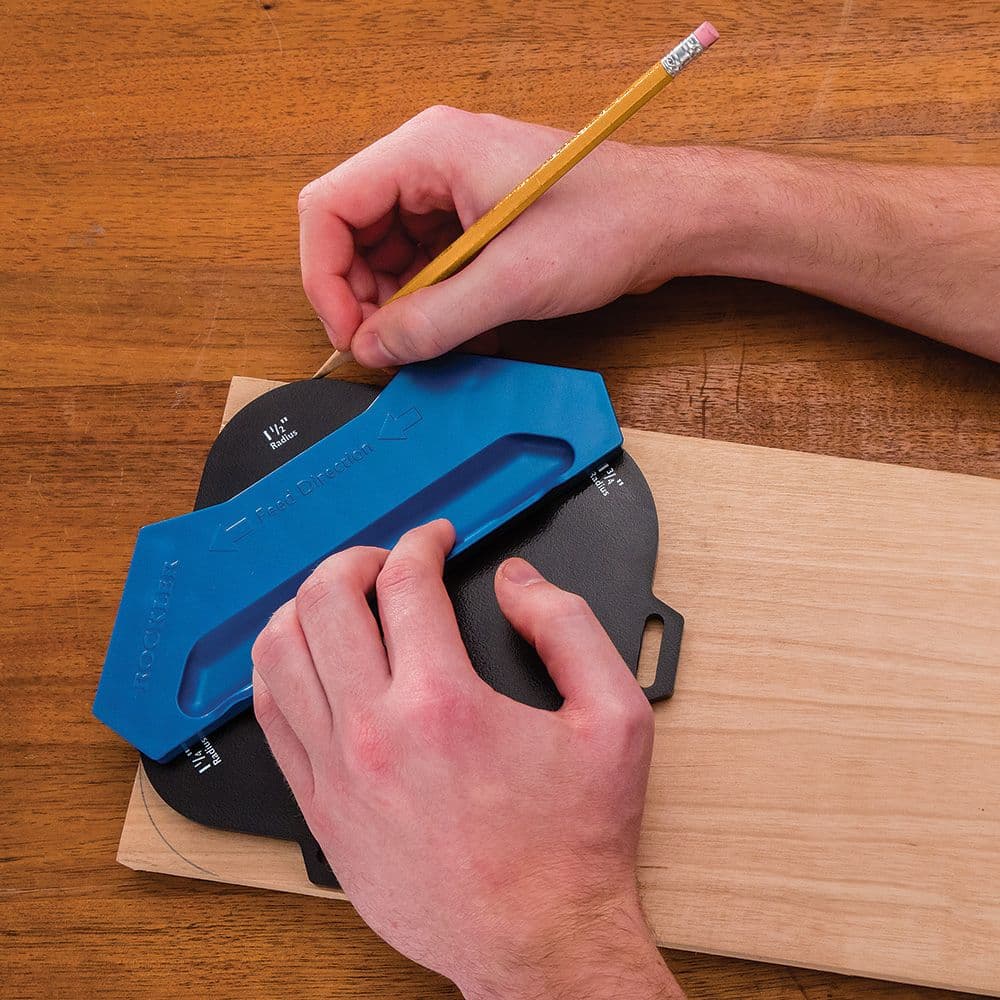
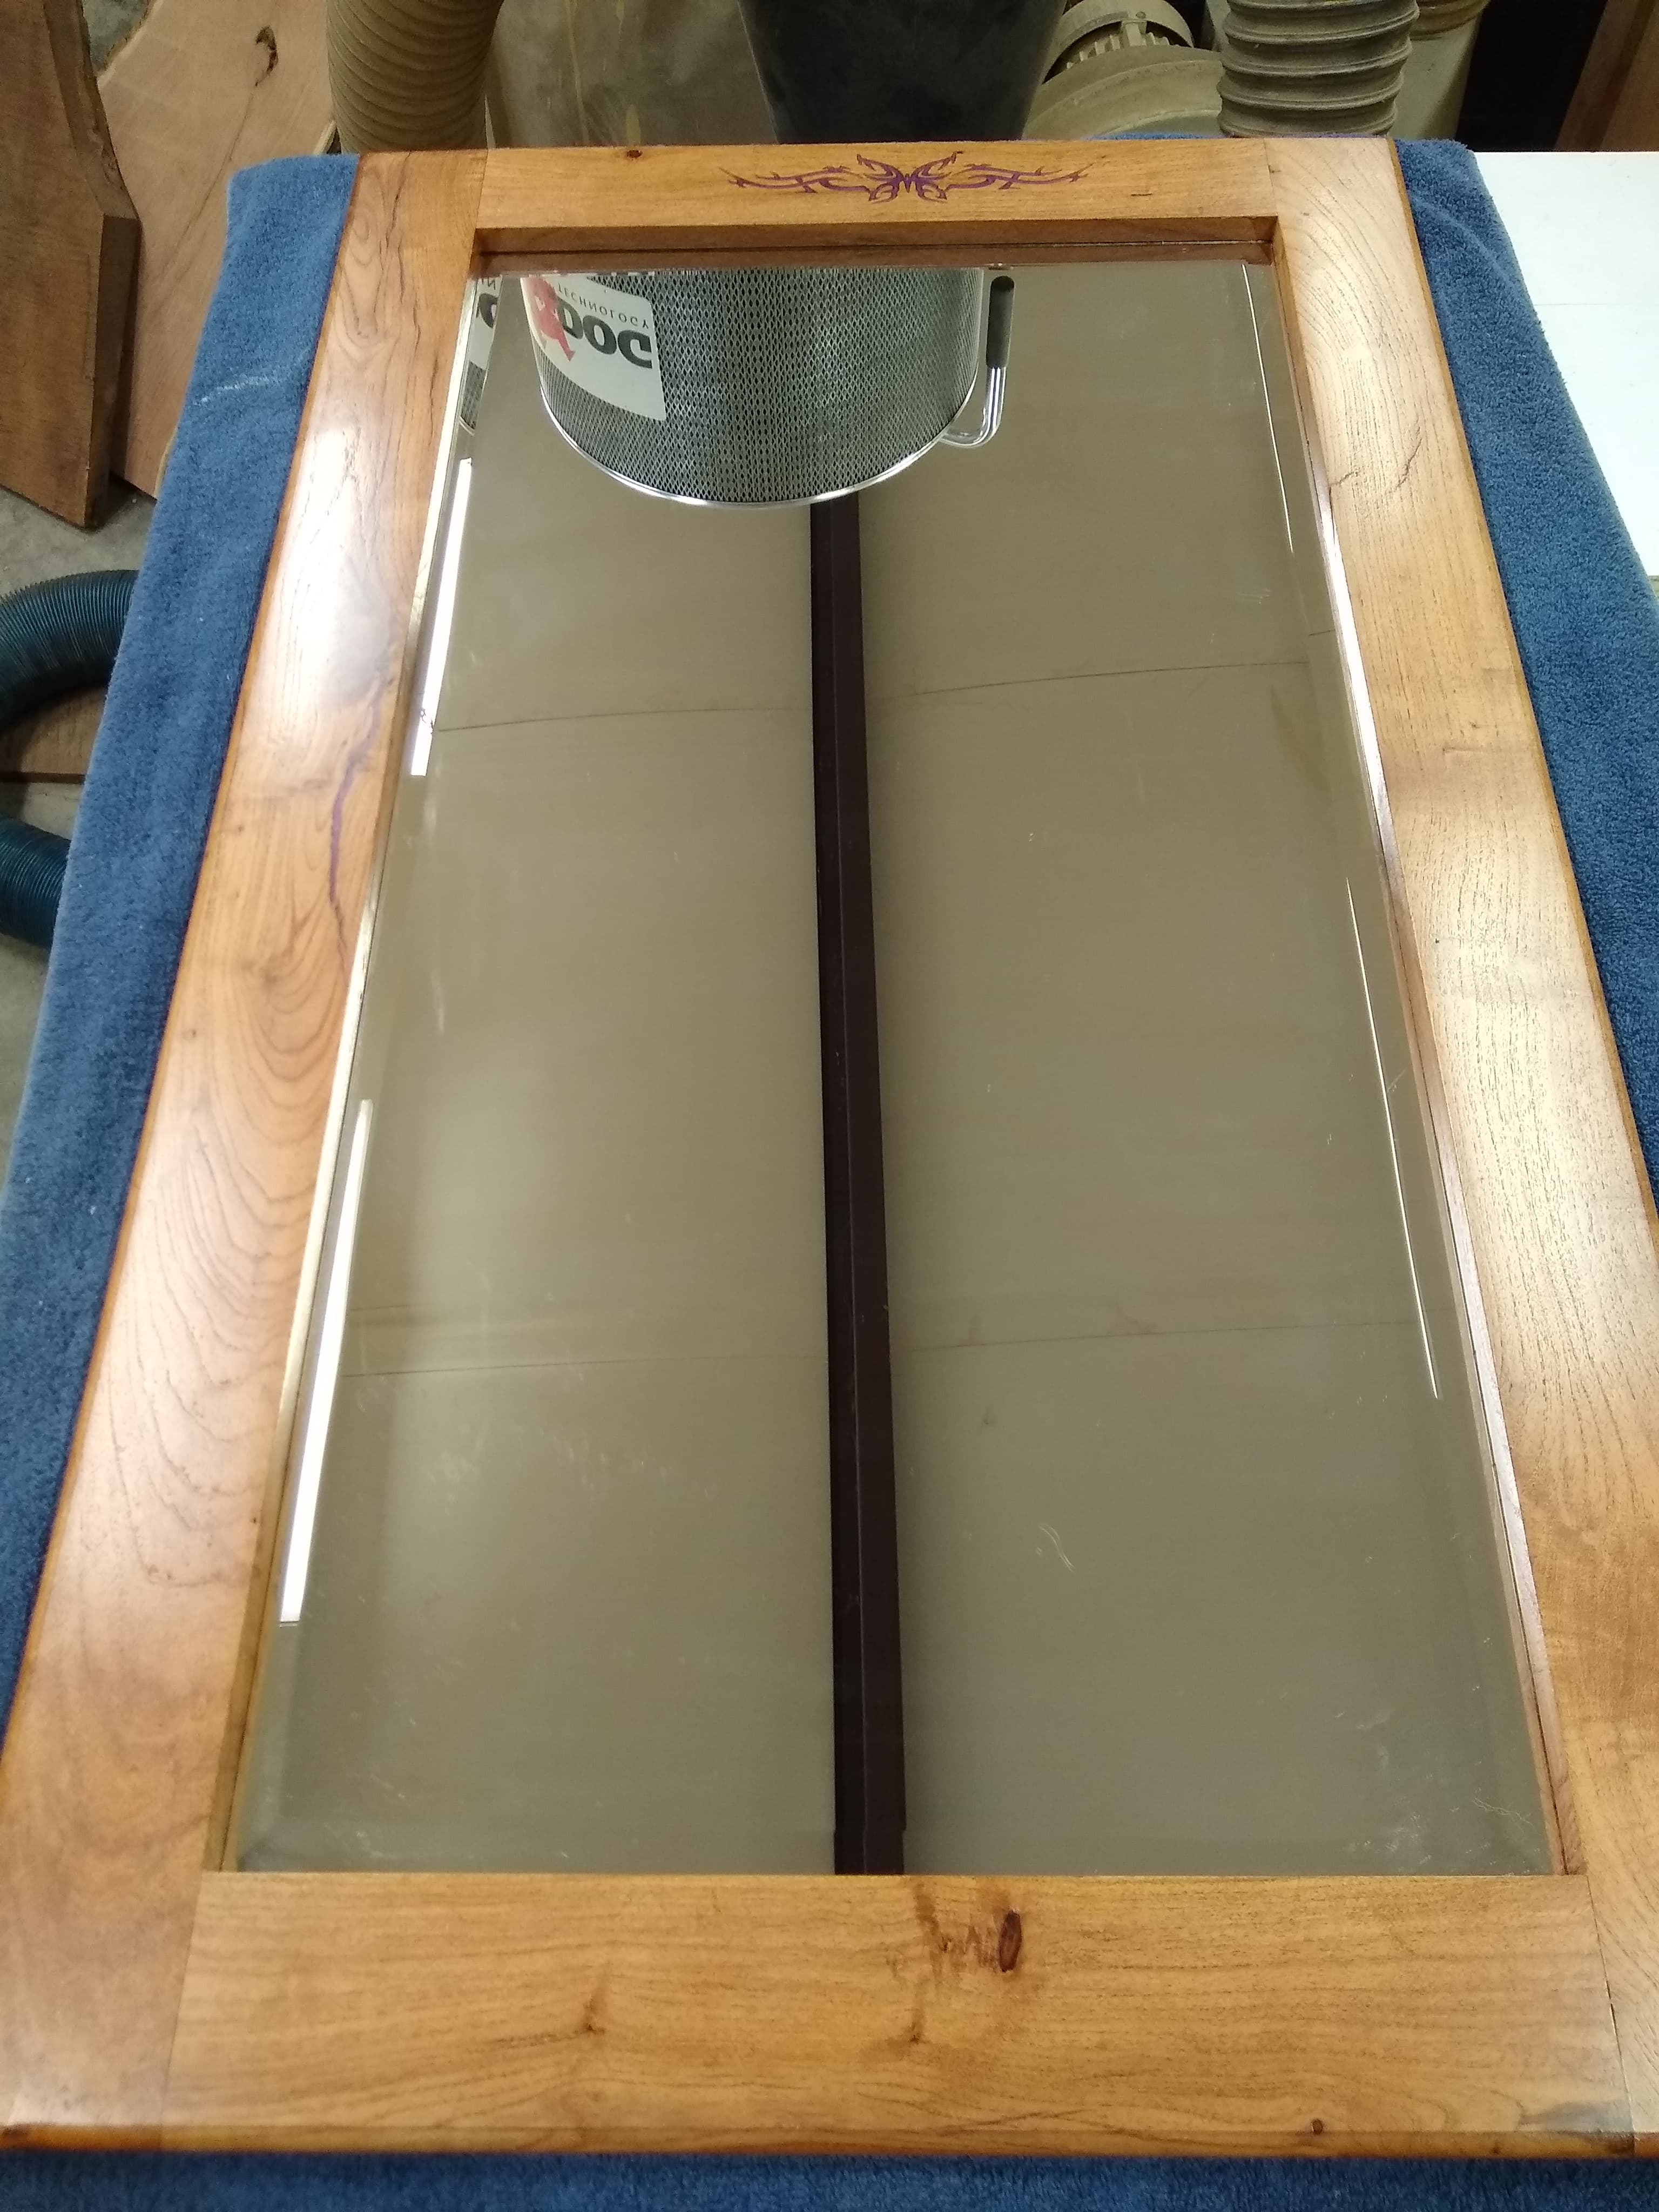
I got the MAS Table Top epoxy on some cracks sanded off the table top and the mirror frame. Started with 80, 120, 220, 320 grit. Cleaned it with mineral spirits. My Dewalt 5" random orbit sander is not too good at dust collection so I hooked up a Rockler adapter to the sander because I was tired of the fine mist of epoxy dust all over the table top. Worked pretty well.
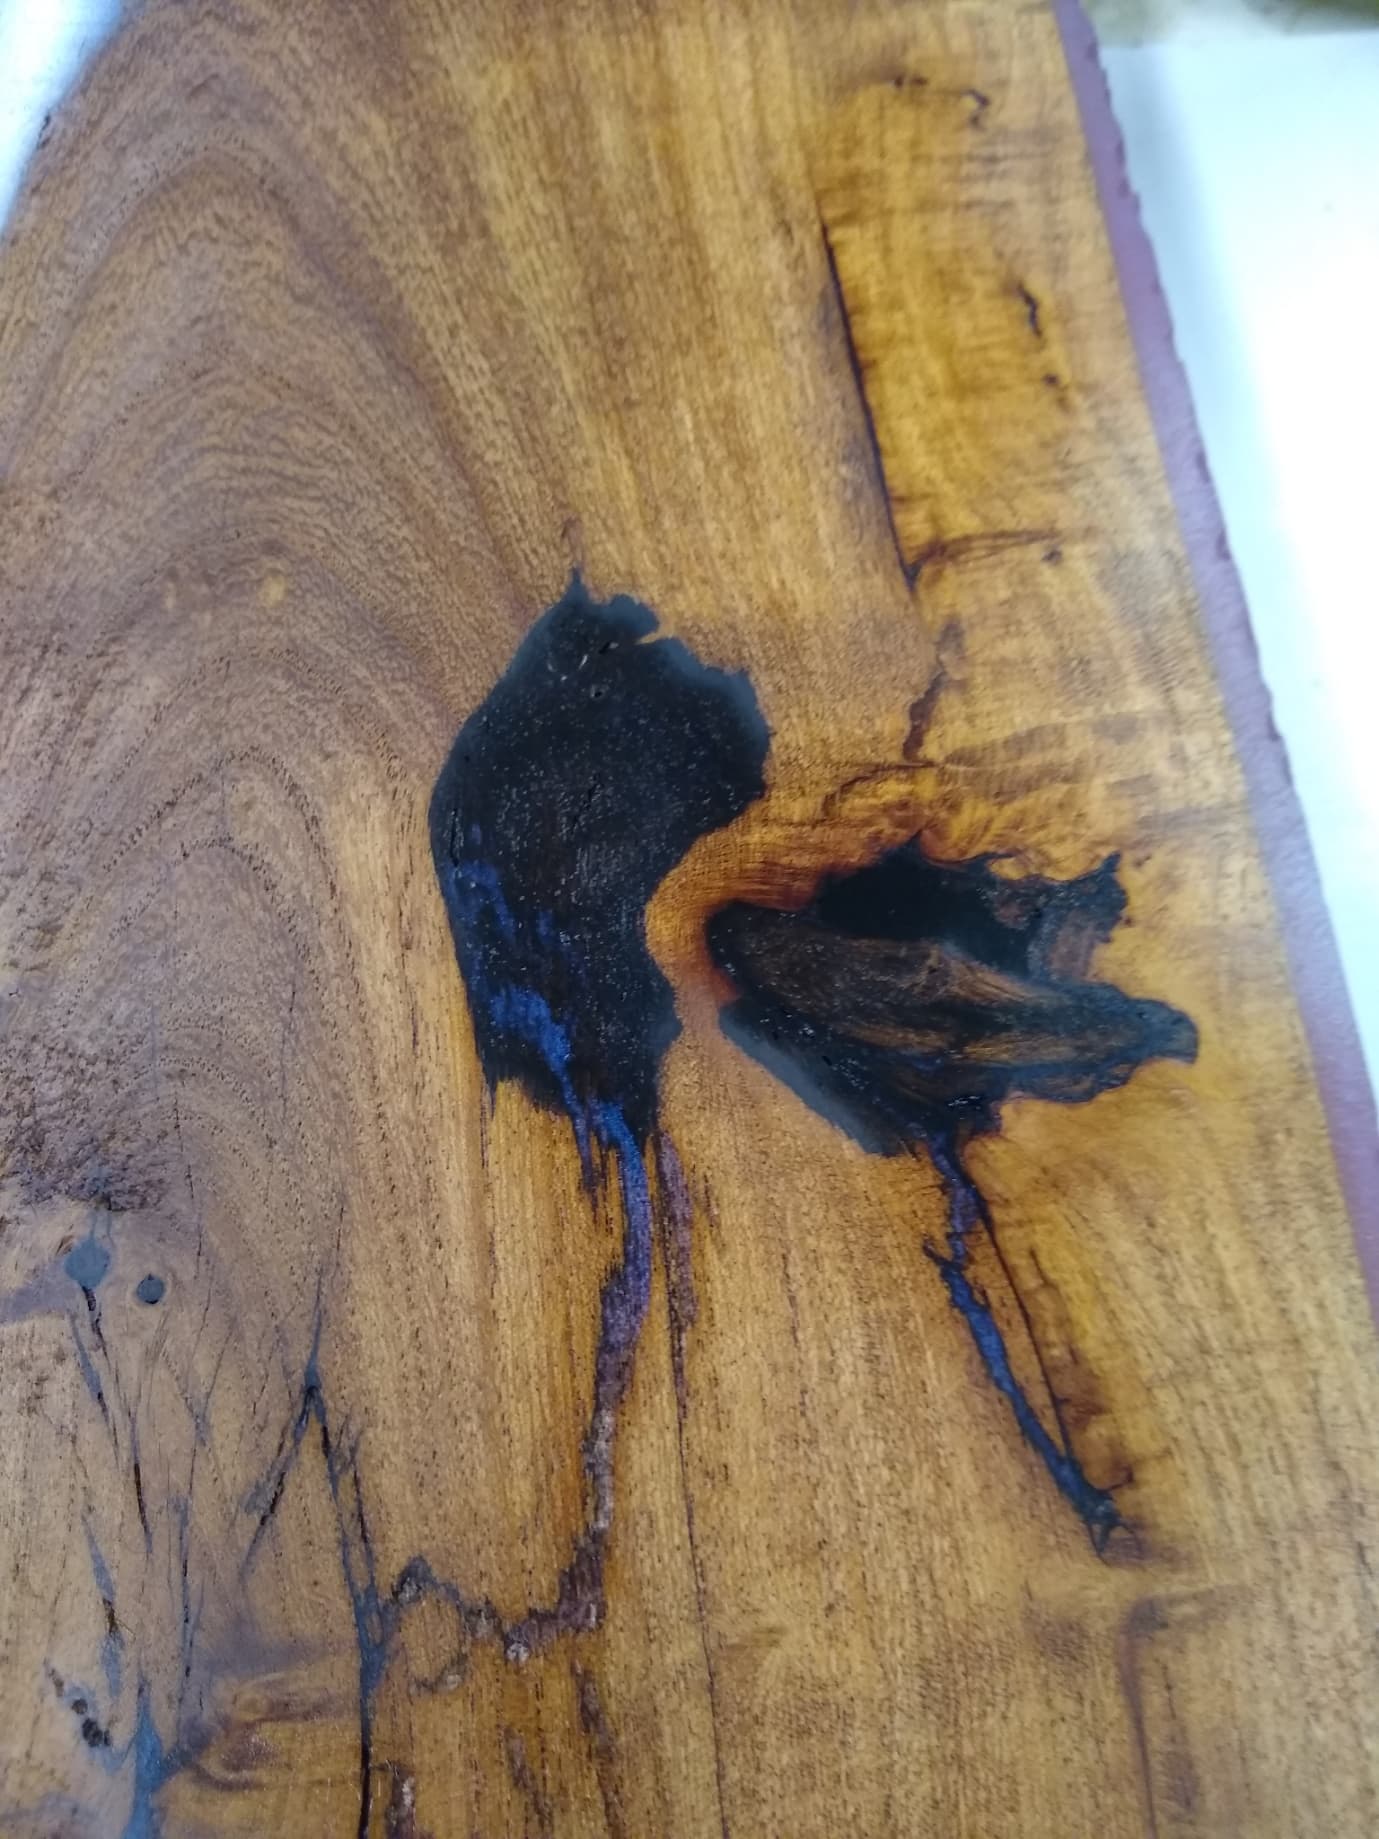
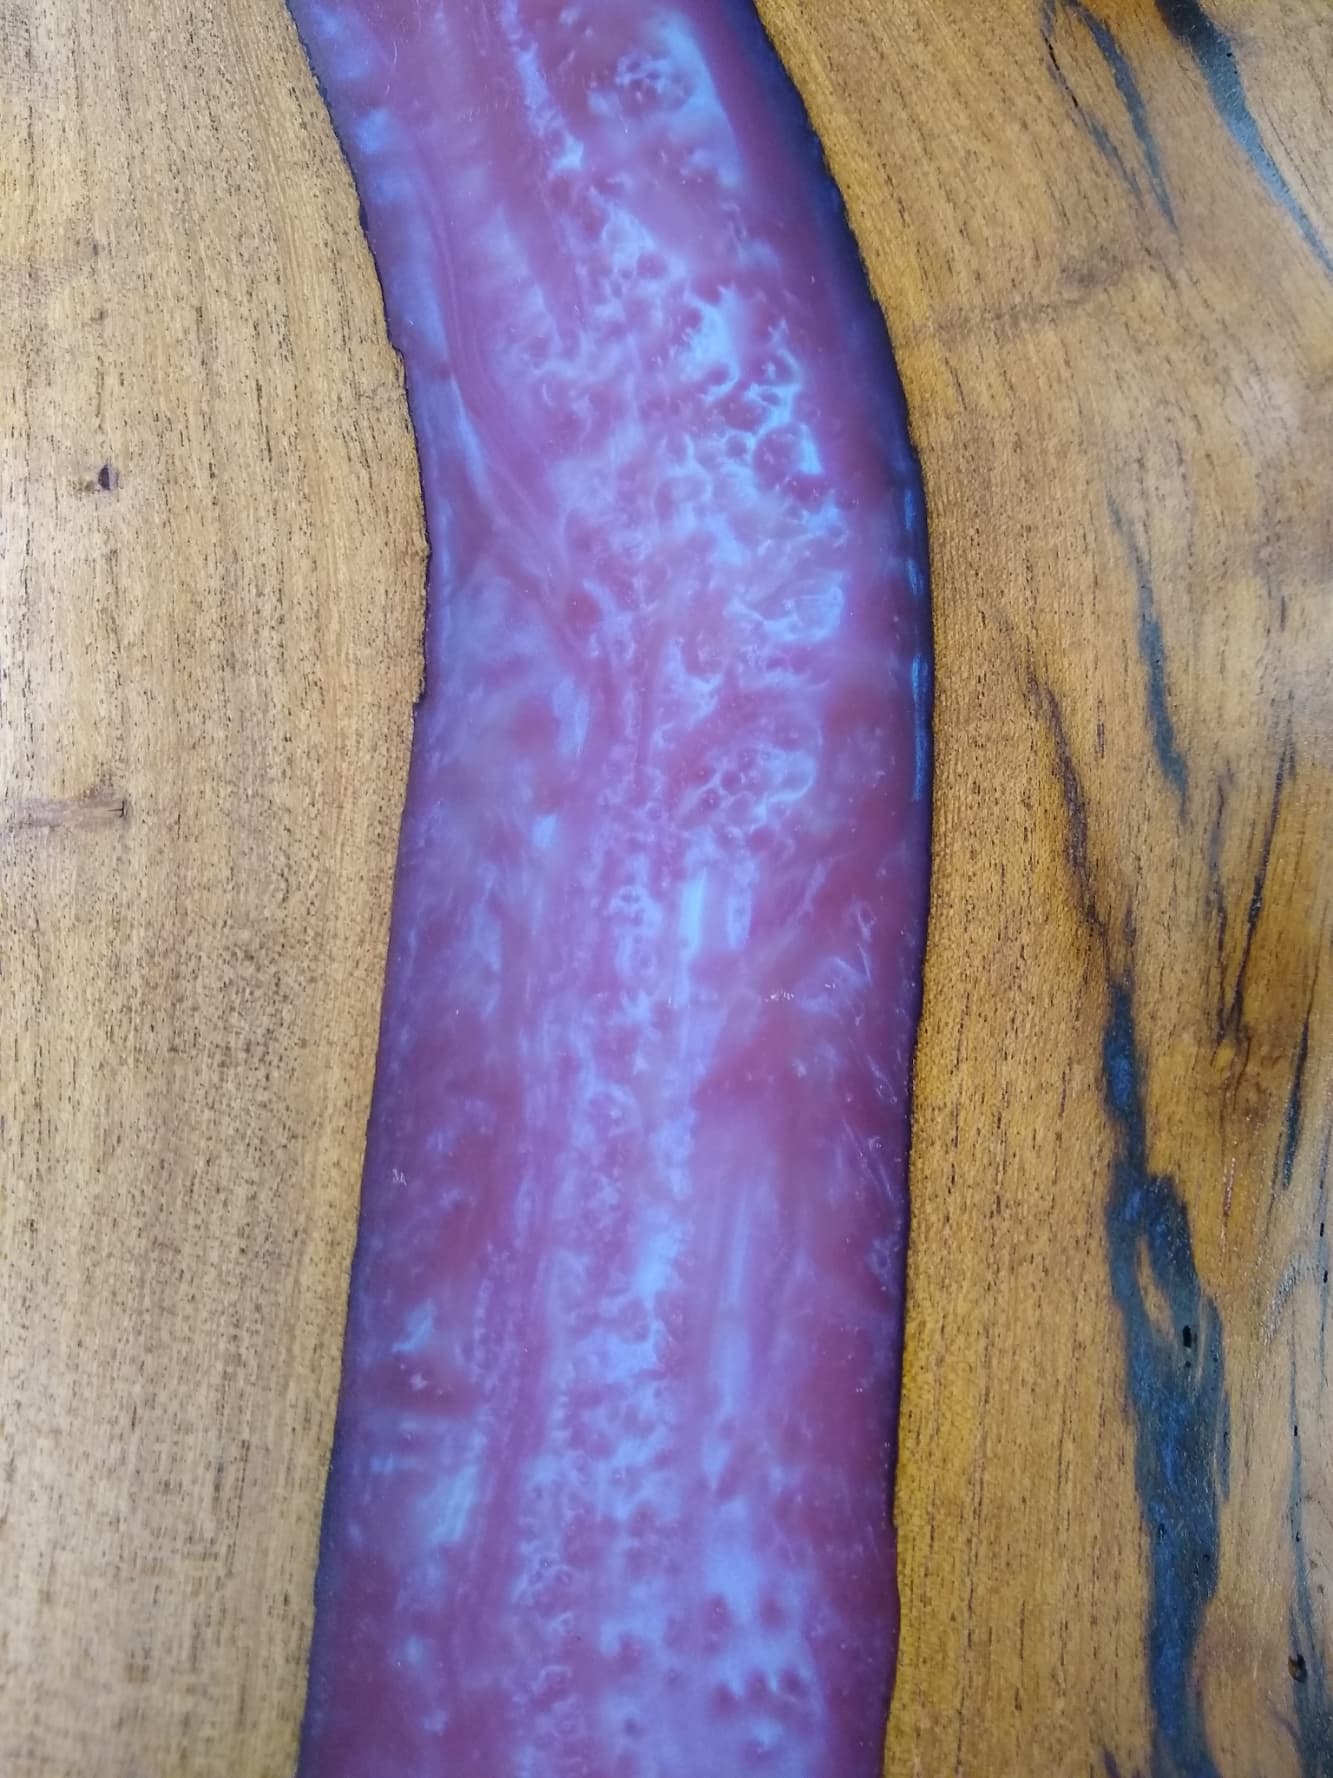
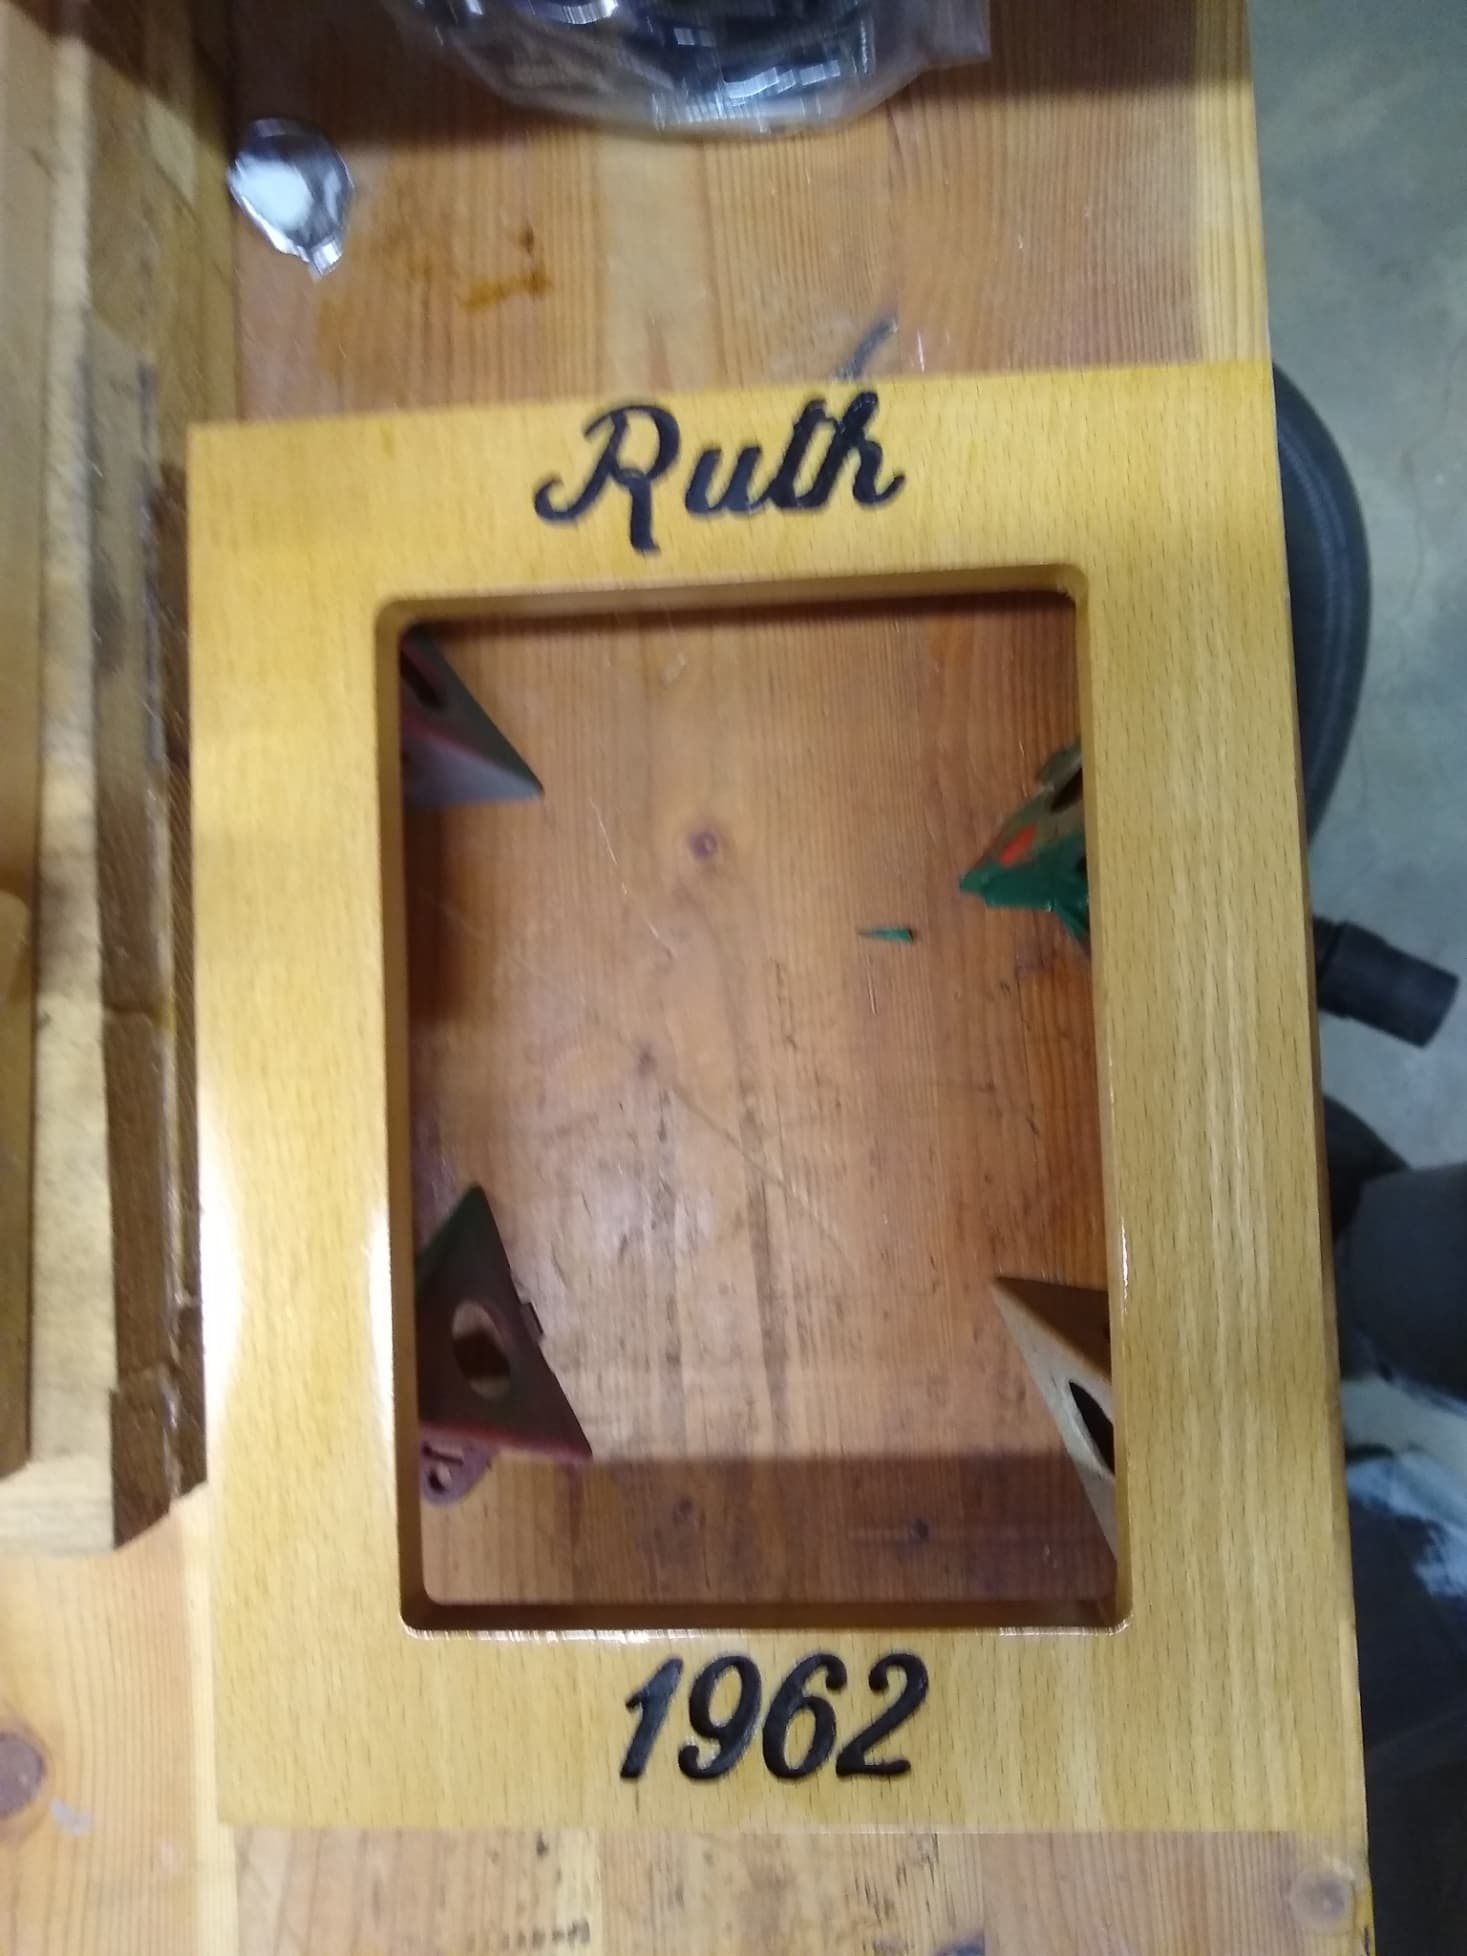
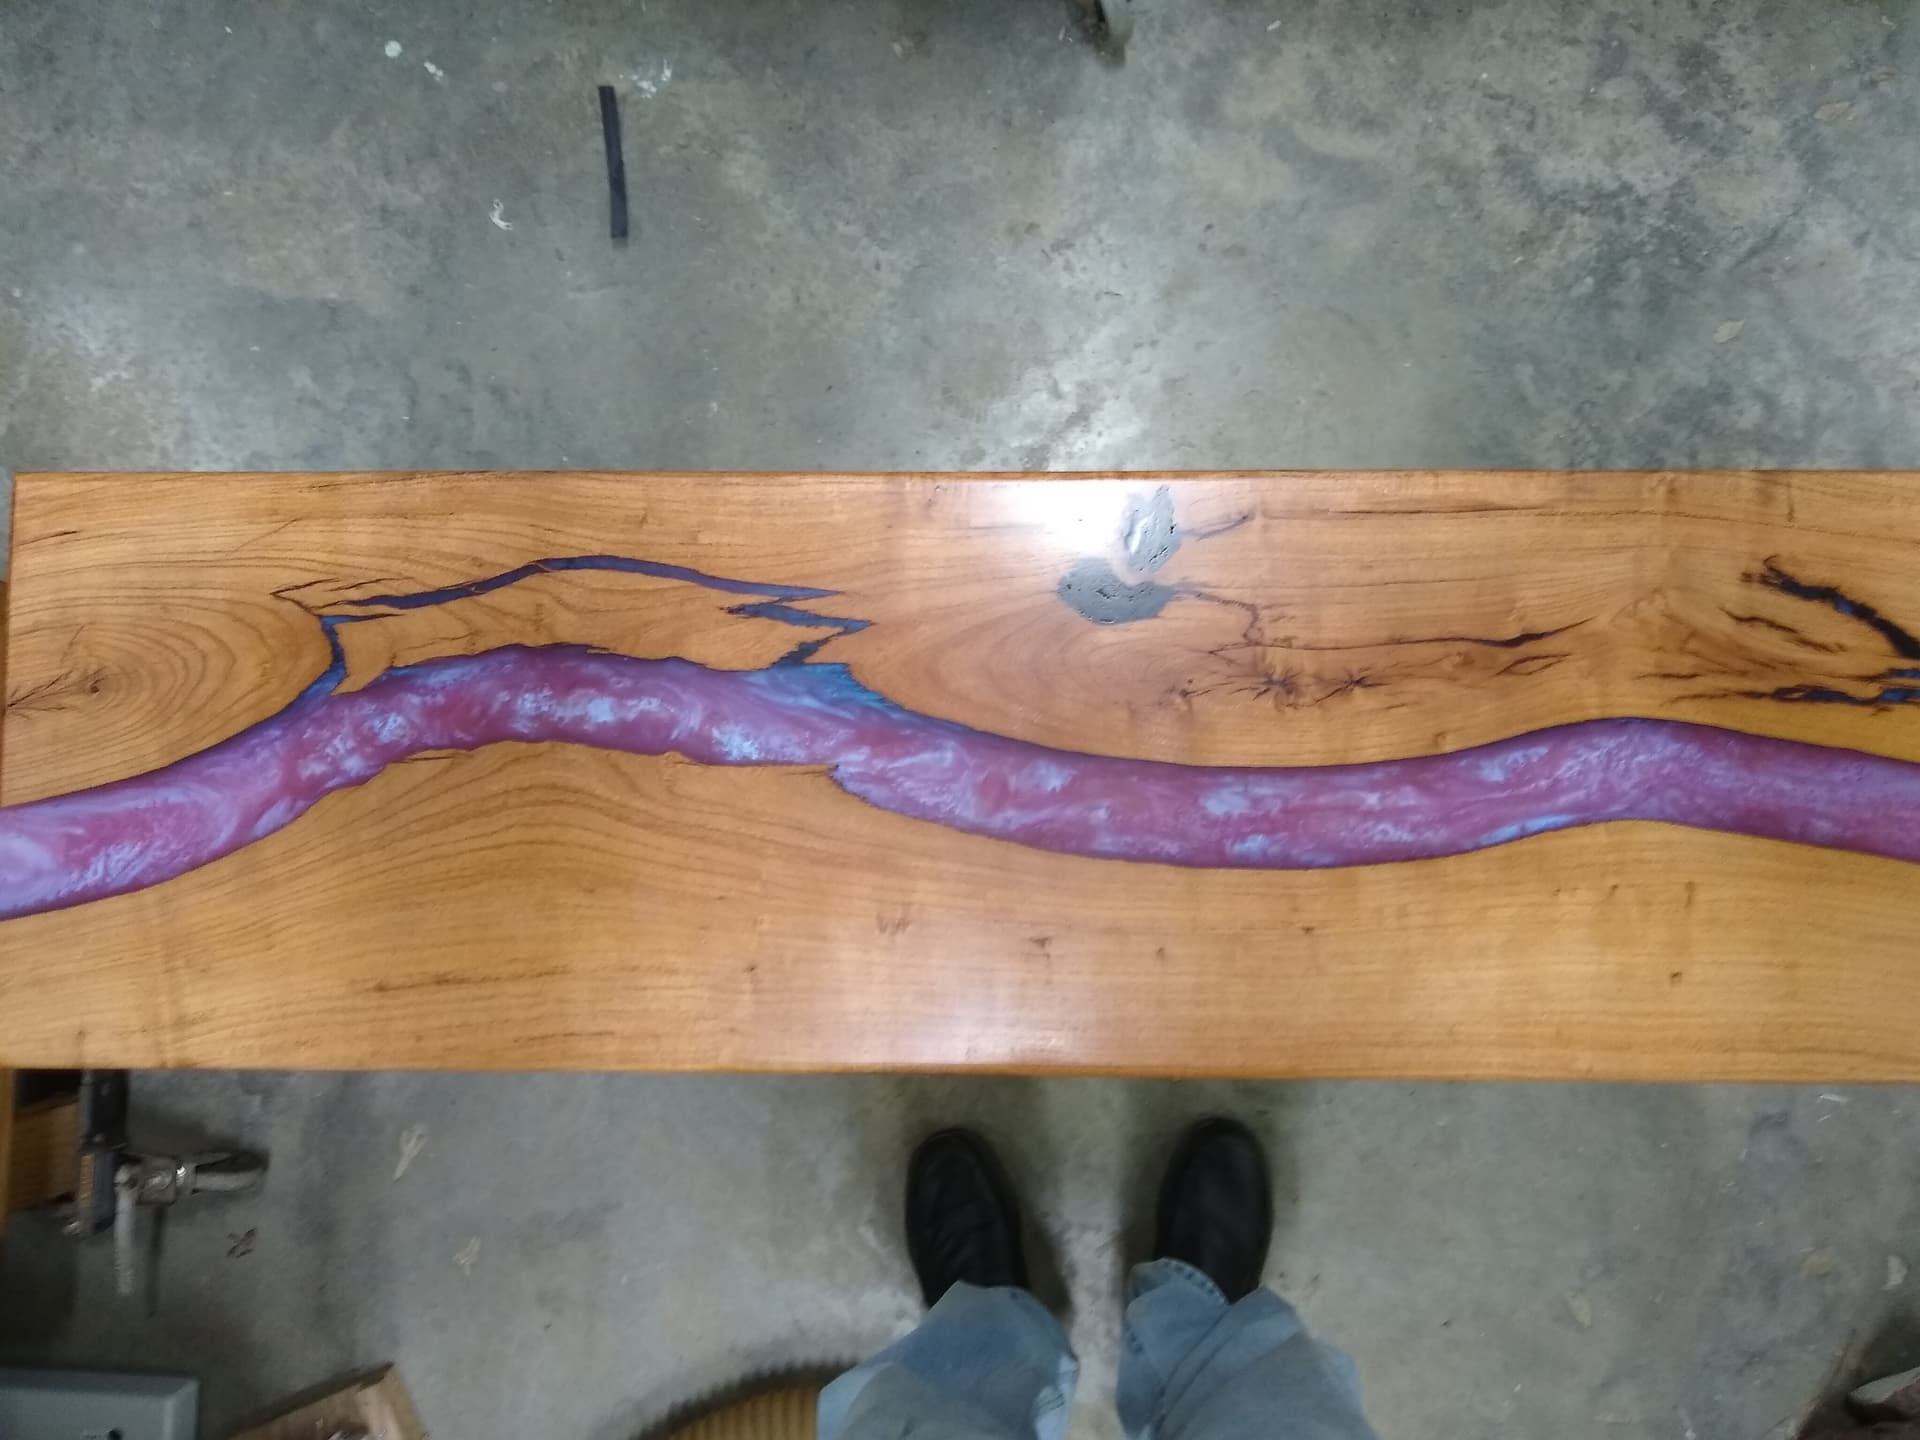
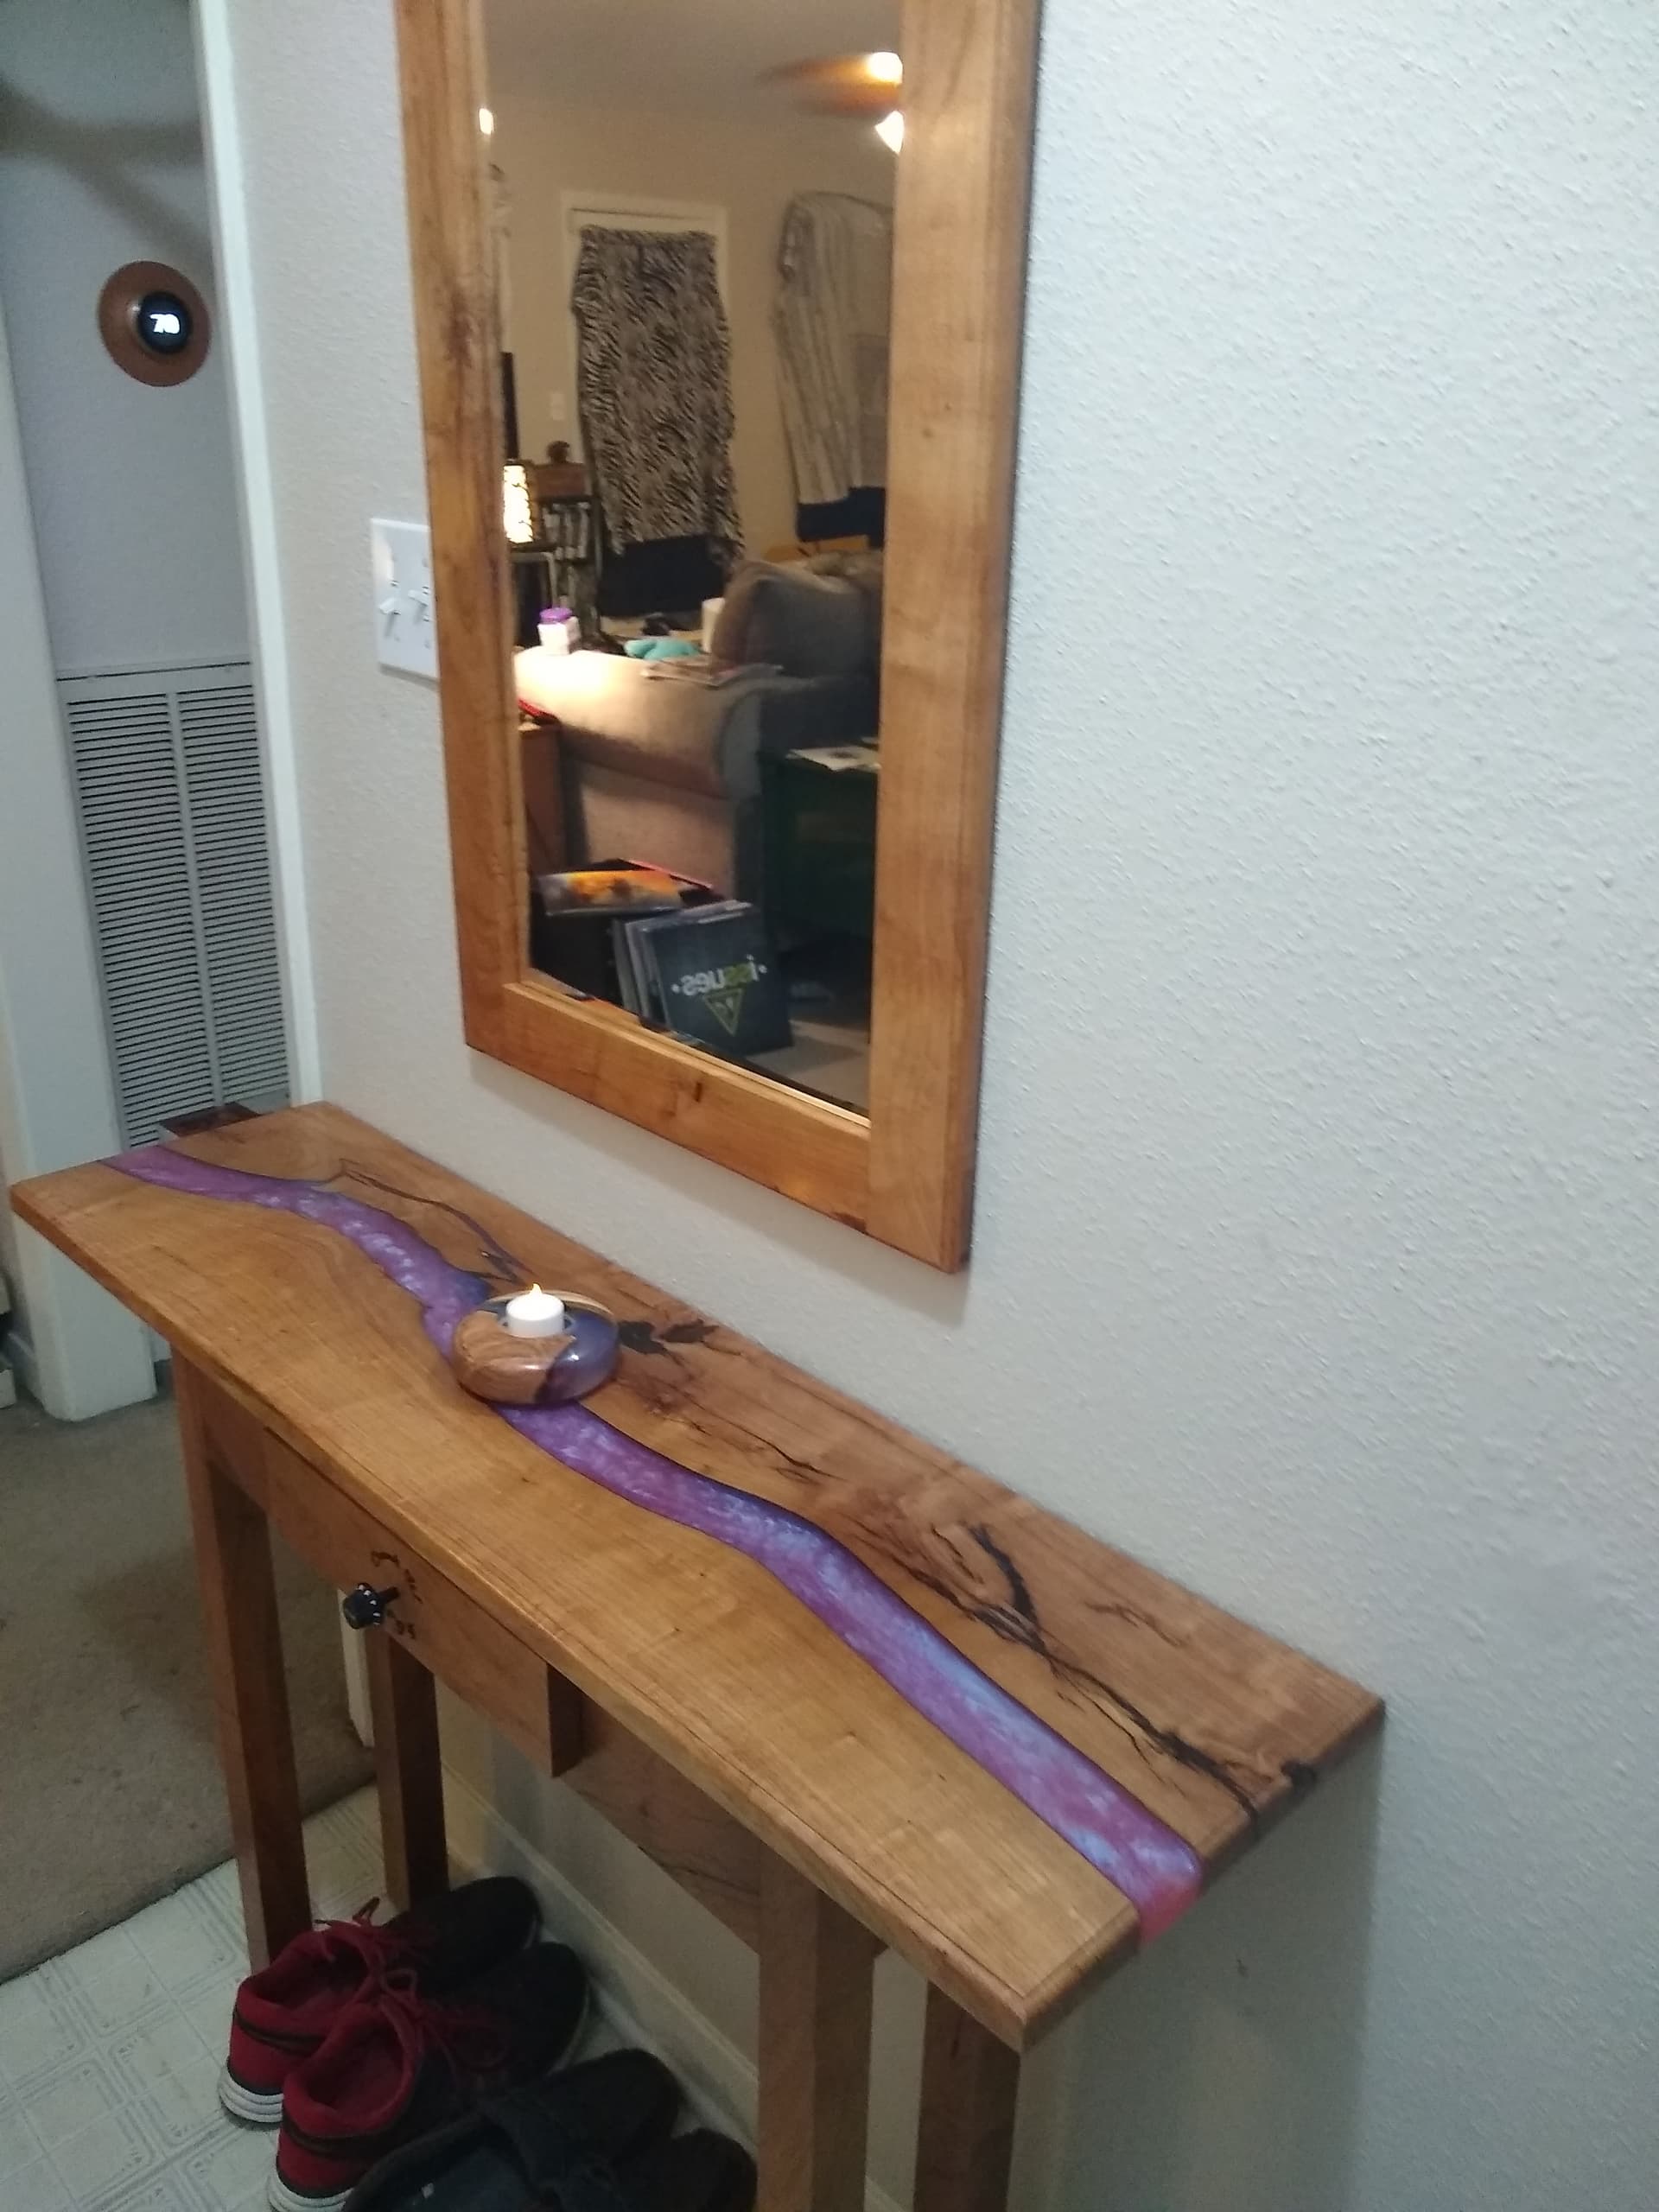
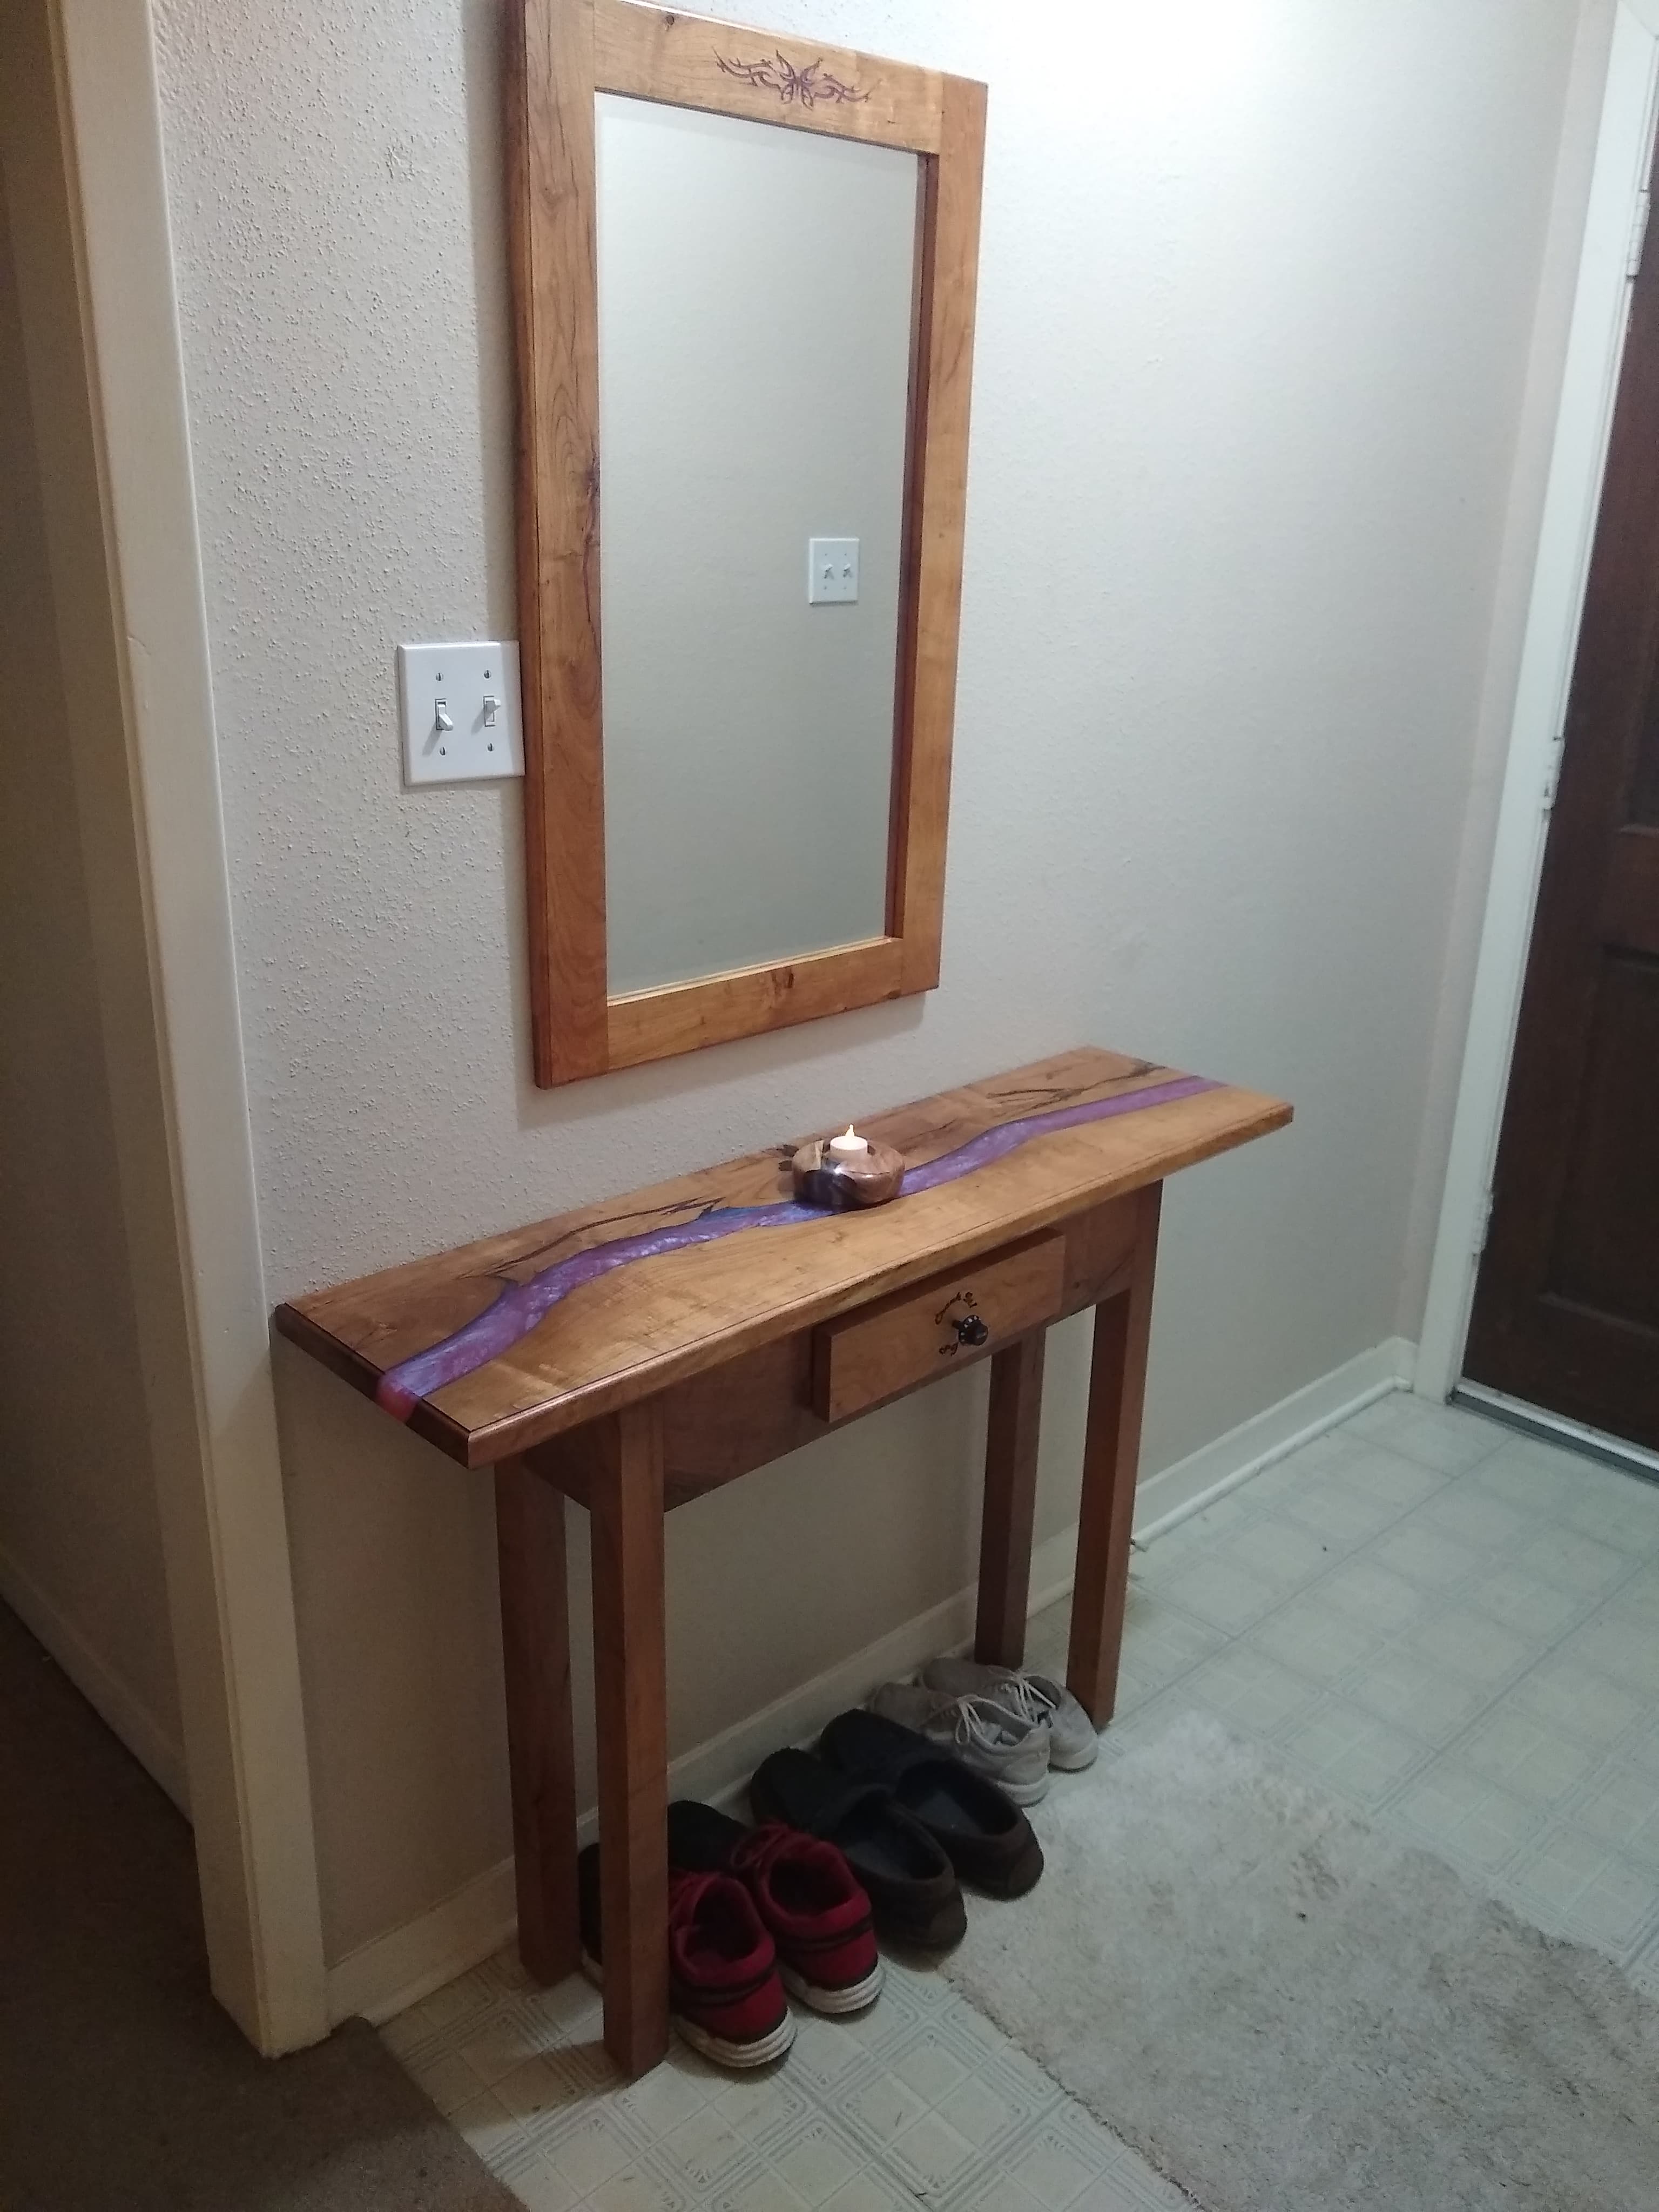
The original epoxy was colored with a red/blue colorant. The holes in the top and mirror frame were filled with MAS Table Top Epoxy colored with Transtint Medium Brown. I like the contrast in the two colors and they look like the dark water in the small pools around a real river.
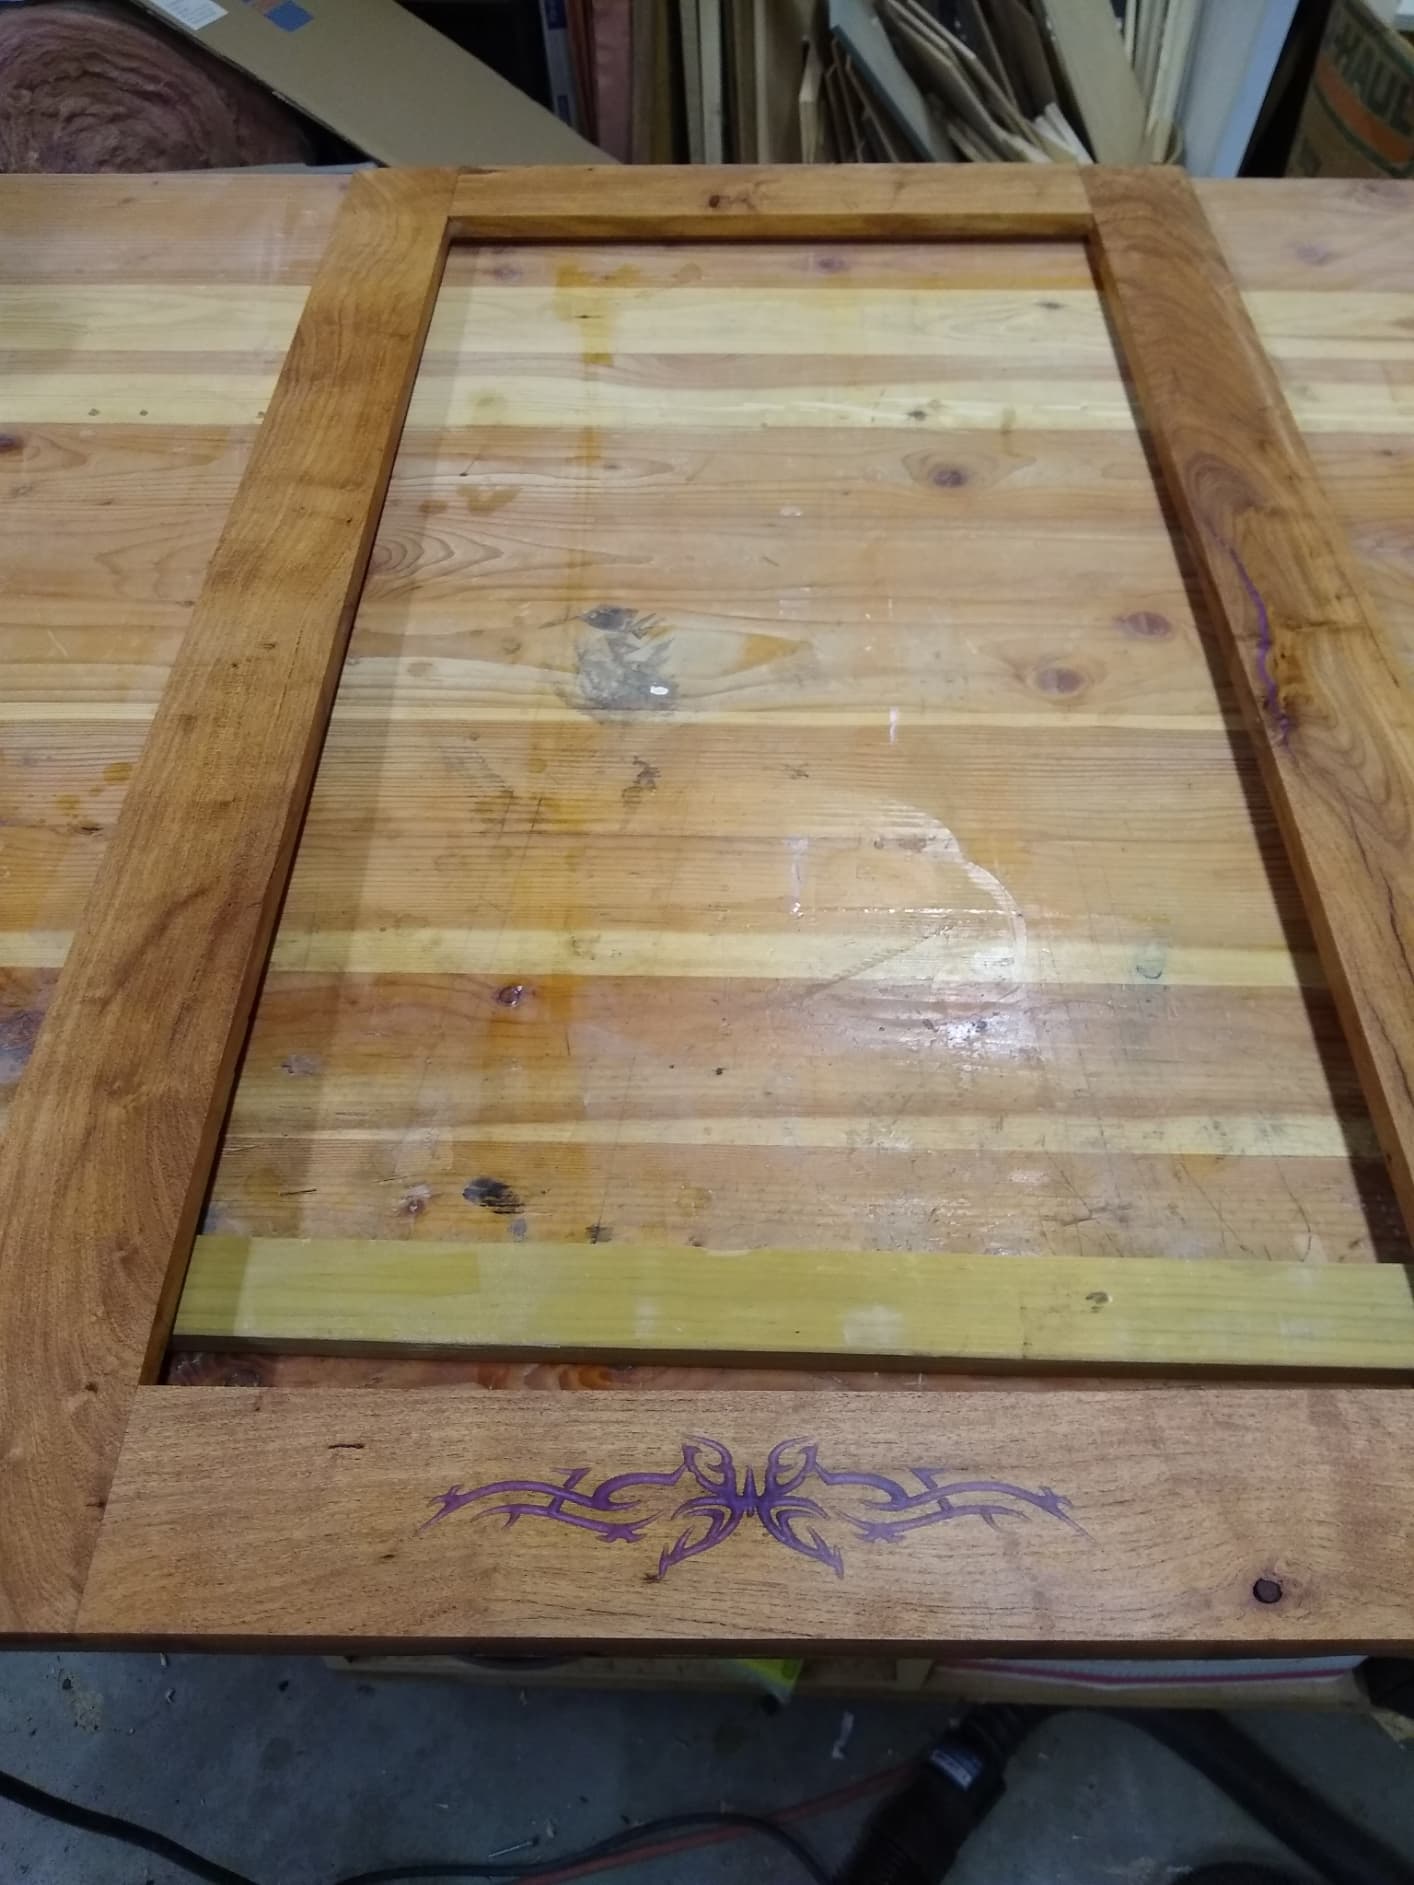
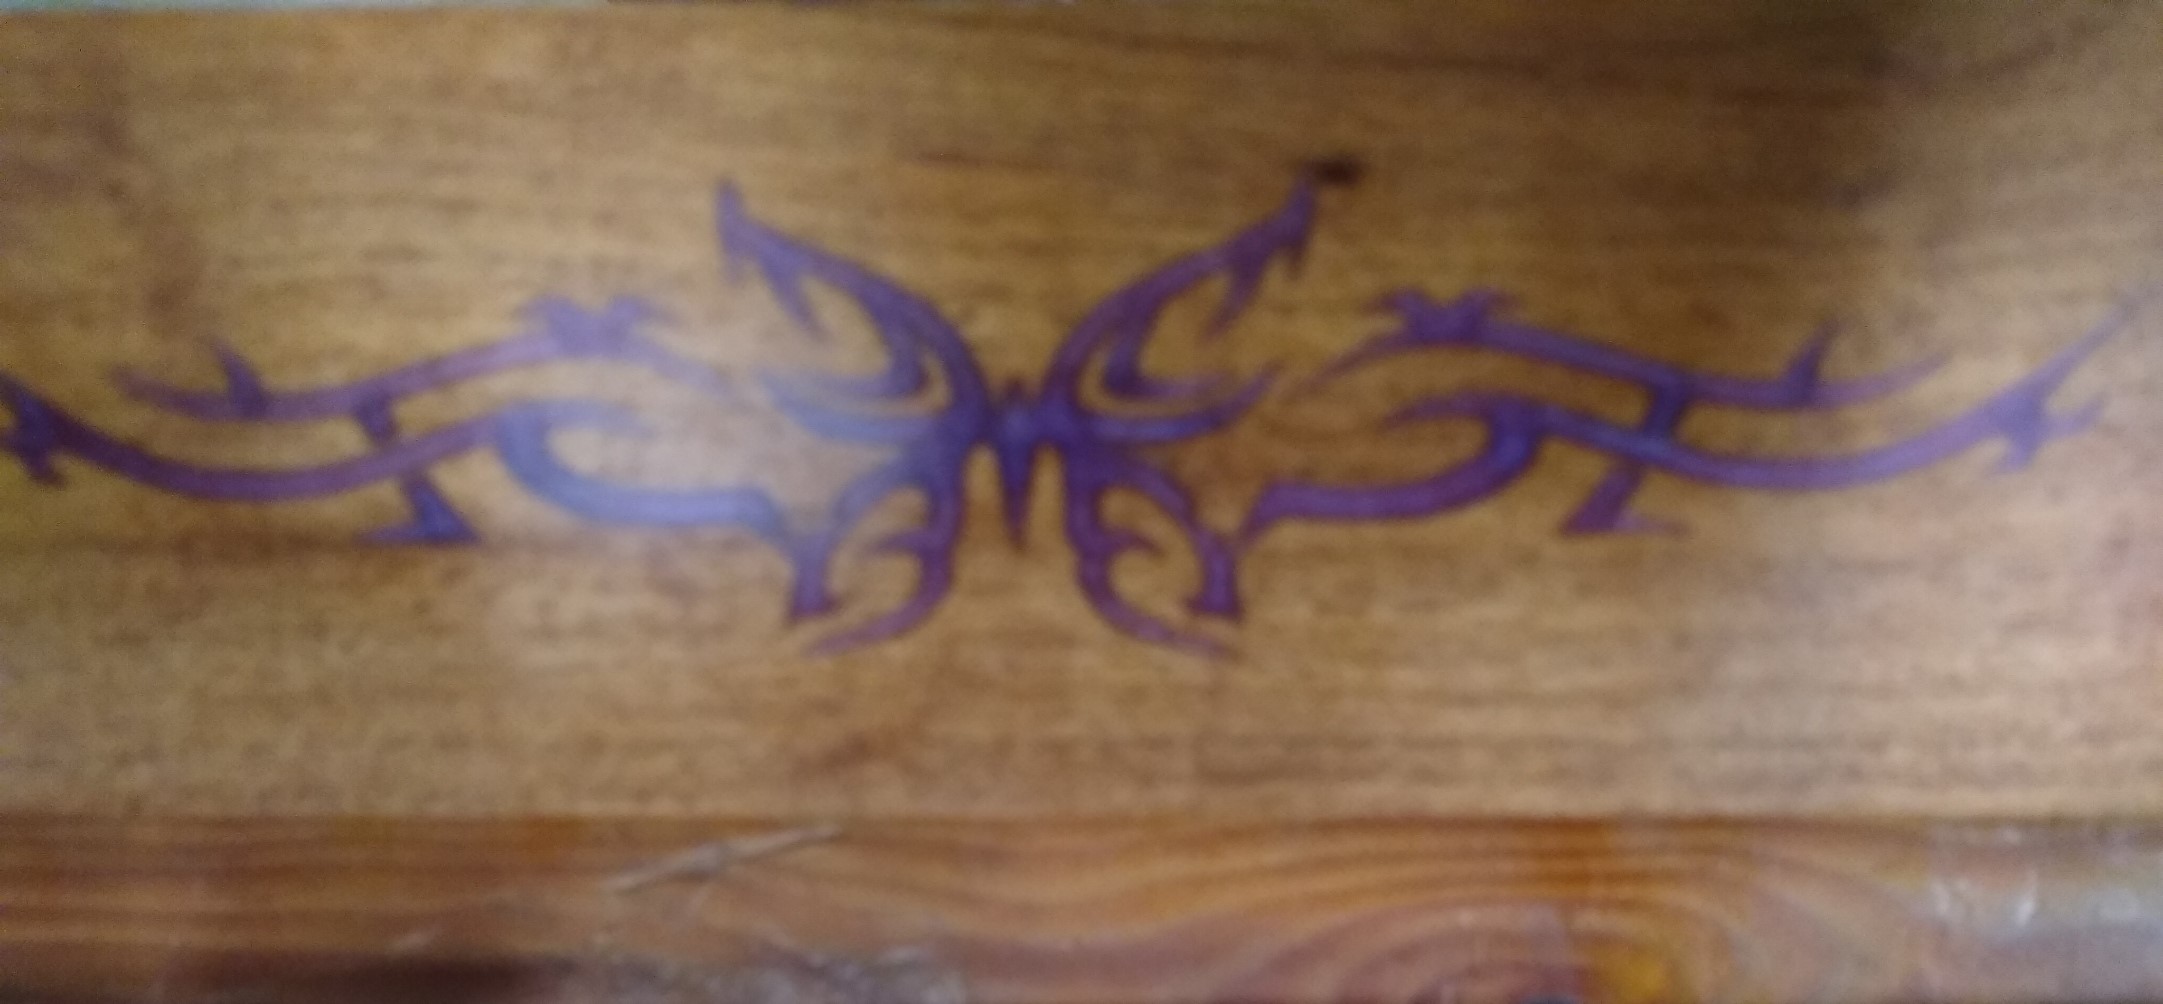
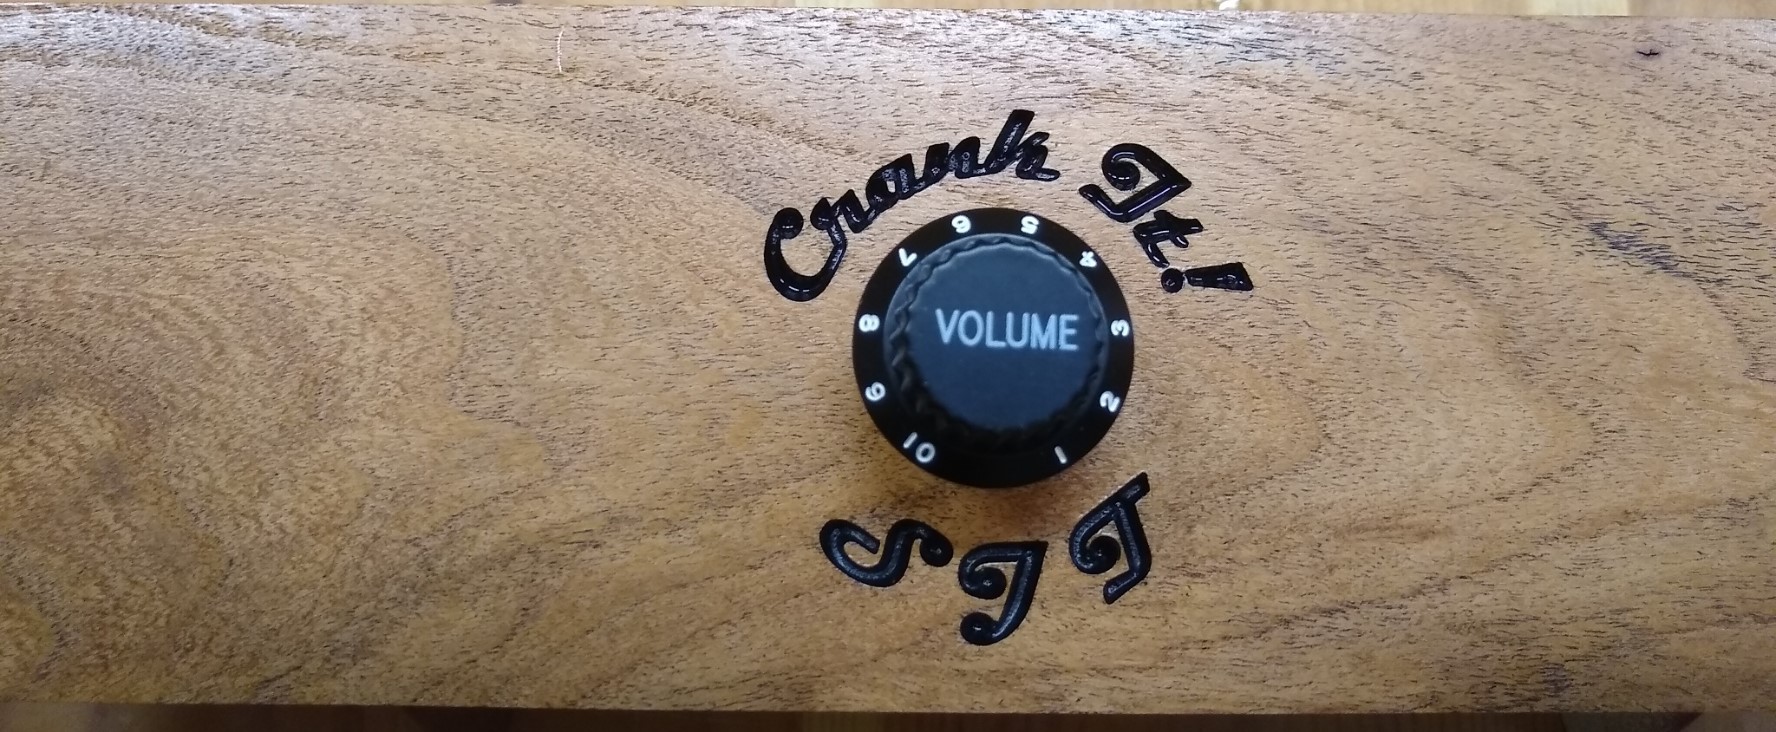
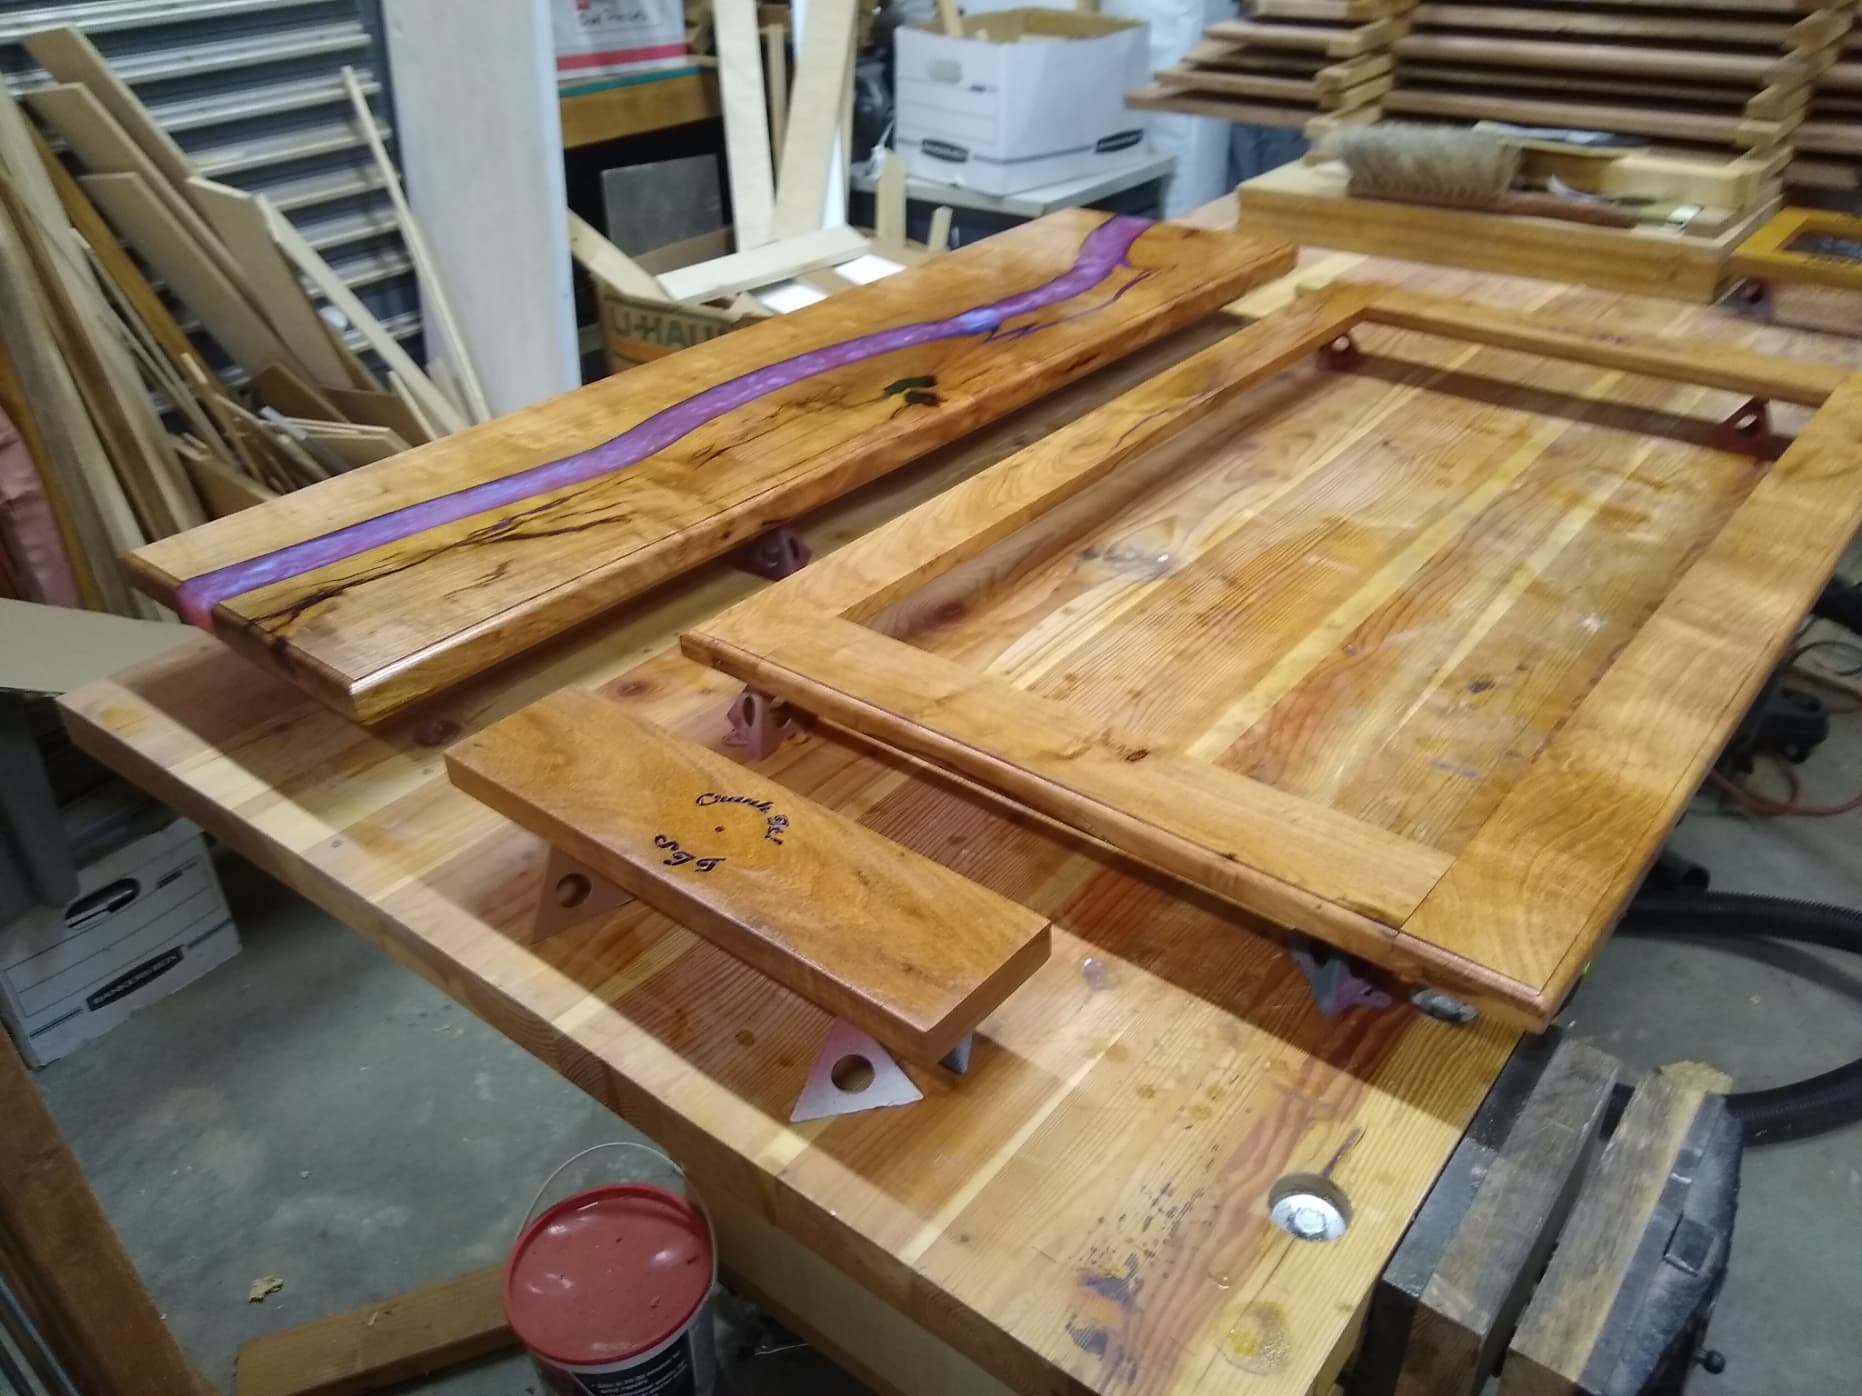
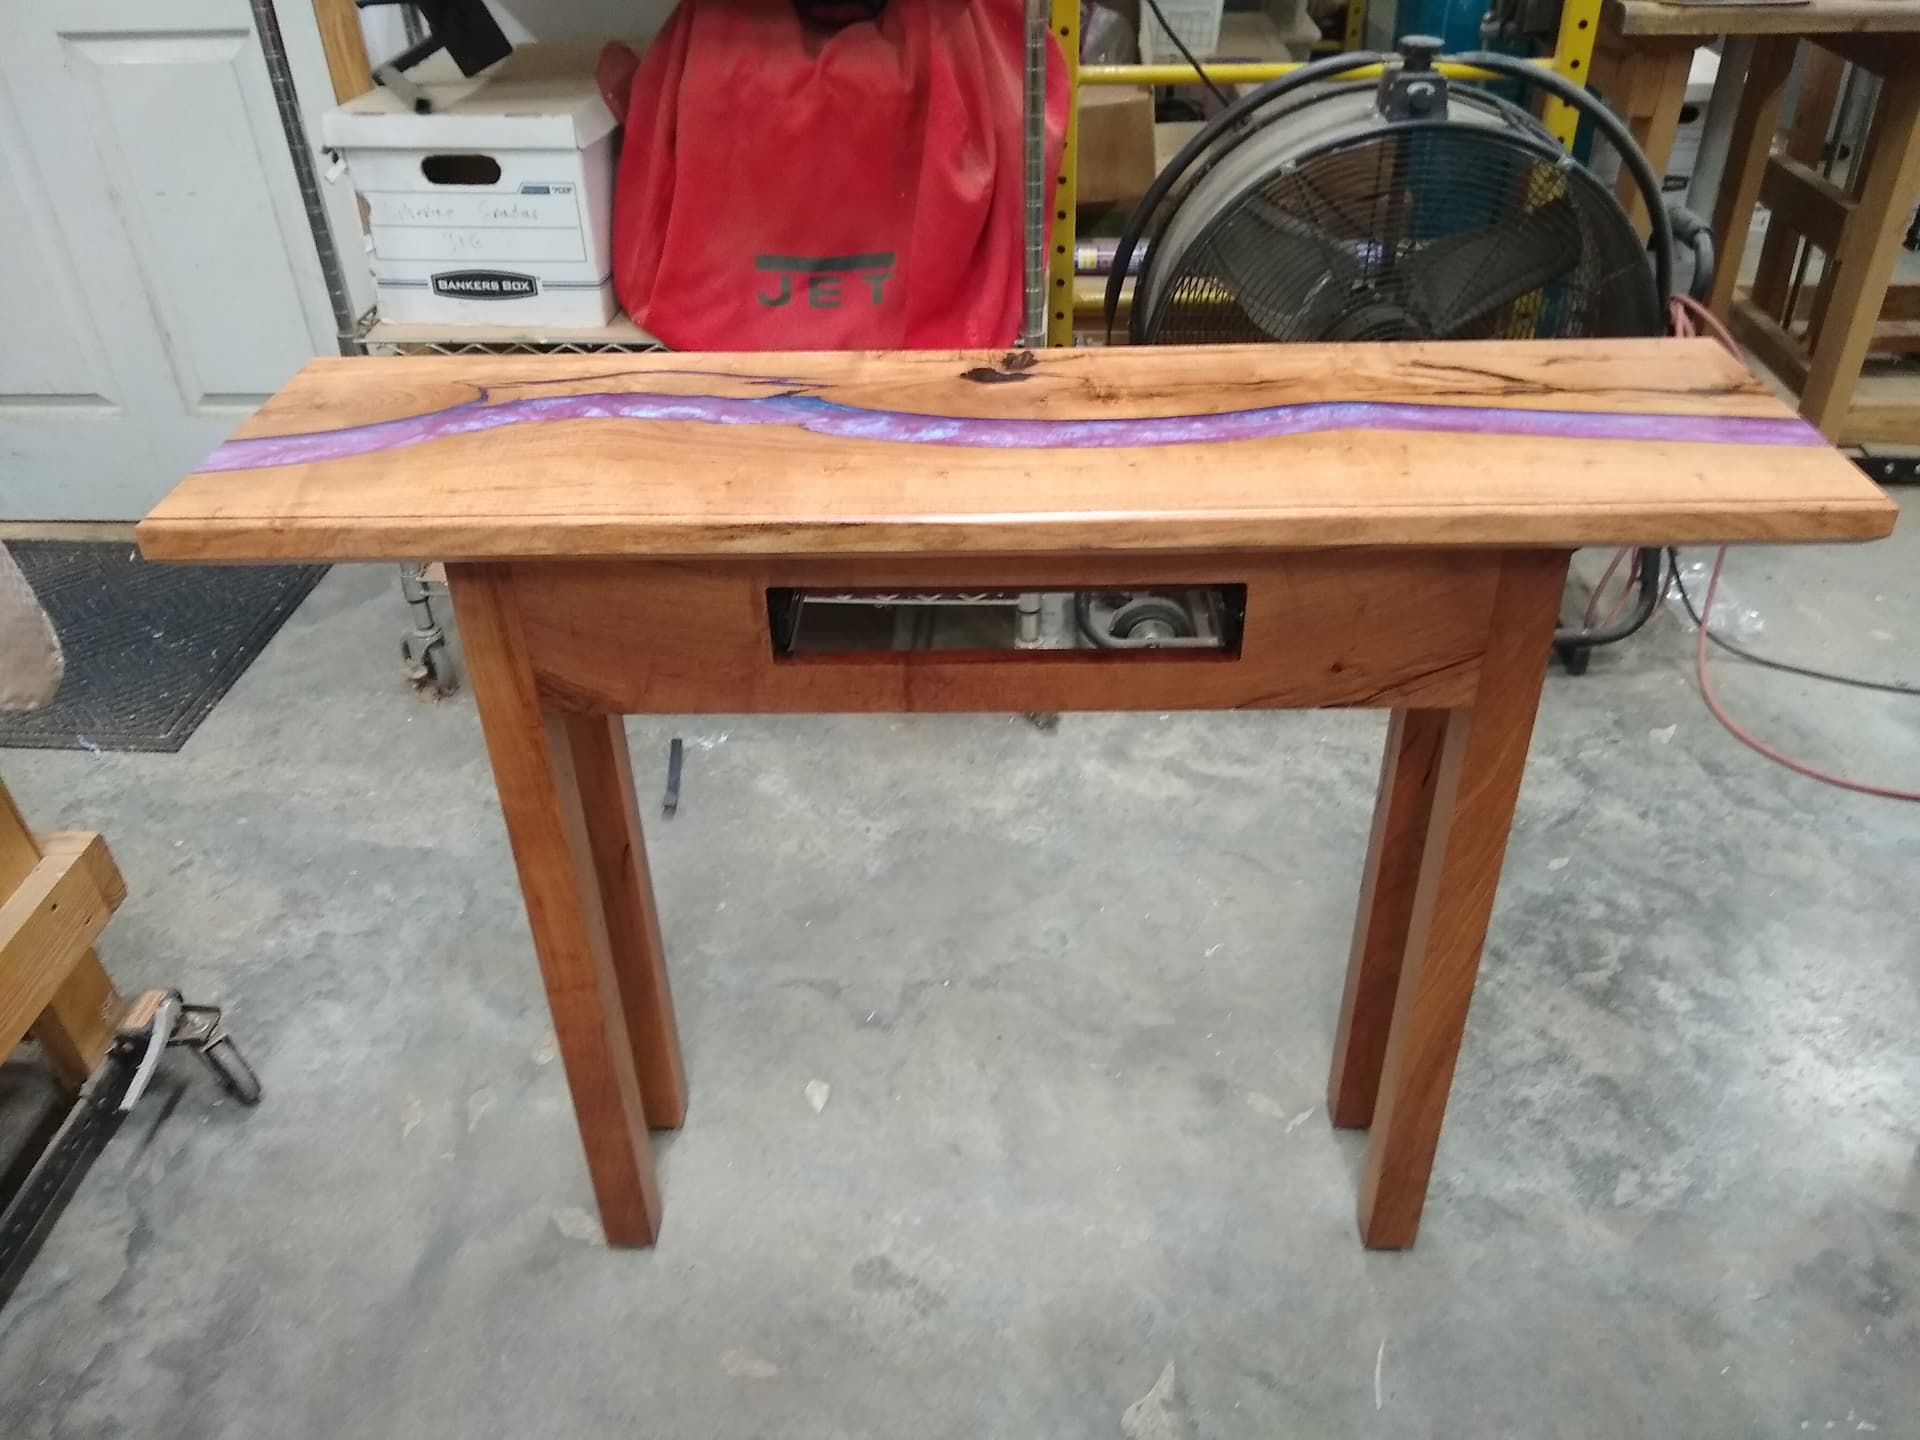
Getting close to the finish line. This is the drawer front for the table. I found the Volume Knob at Hobby Lobby and vcarved “Crank It” and my grandson’s initials using the text on a curve tool.
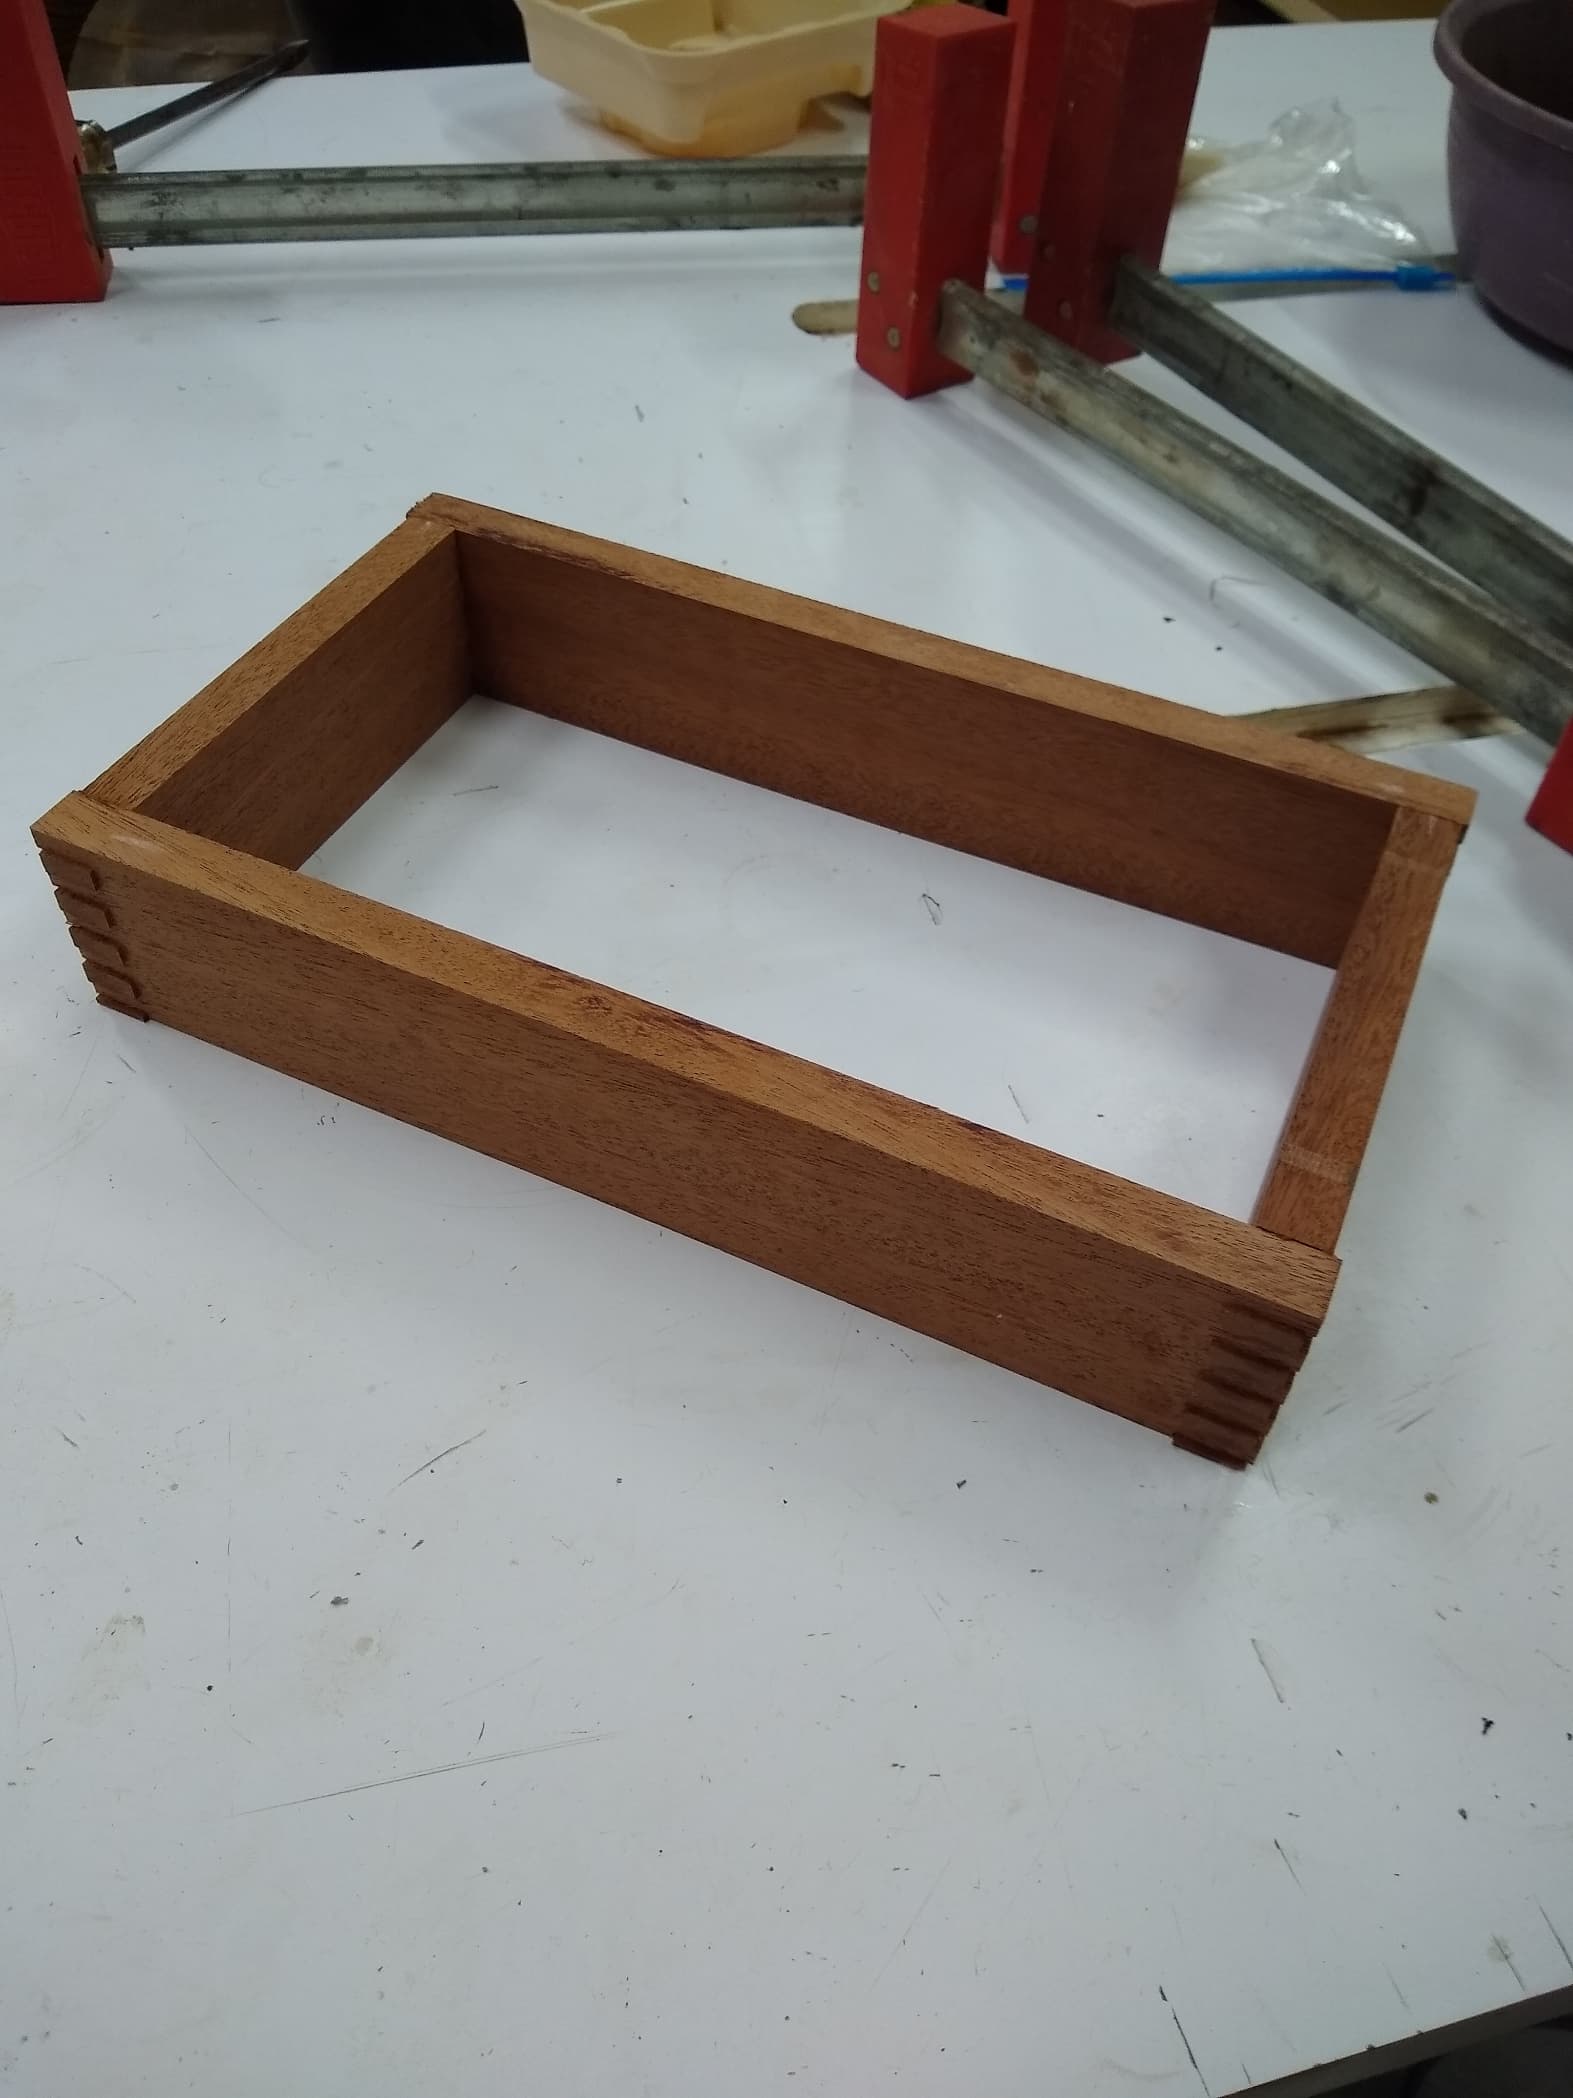
I have changed the way I make drawers. I used to make captured bottoms and that takes up 1/2" of space in the bottom. Now I rabbet out the bottom of the drawer by 1/2" and put a piece of plywood with screws in the bottom. This makes it easier to put the drawer liner in and then screw it on. Plus if it ever needs replacing you can unscrew the bottom and replace the lining. It also gives back 1/4". Now that might not seem like a lot but this drawer is only 2.5" deep. Along with rabbeting out the bottom I also have a router jig that I can put on the corner of the plywood to match the circle in the corner that the rabbeting bit leaves.
The picture for this frame came from my Aunt that passed away and her daughter gave me my sister’s graduation picture in her B&W cap and gown. Yea I know we are both old.