Check my Epoxy Math

I am making an epoxy river table. Could folks that deal with epoxy help check my math please

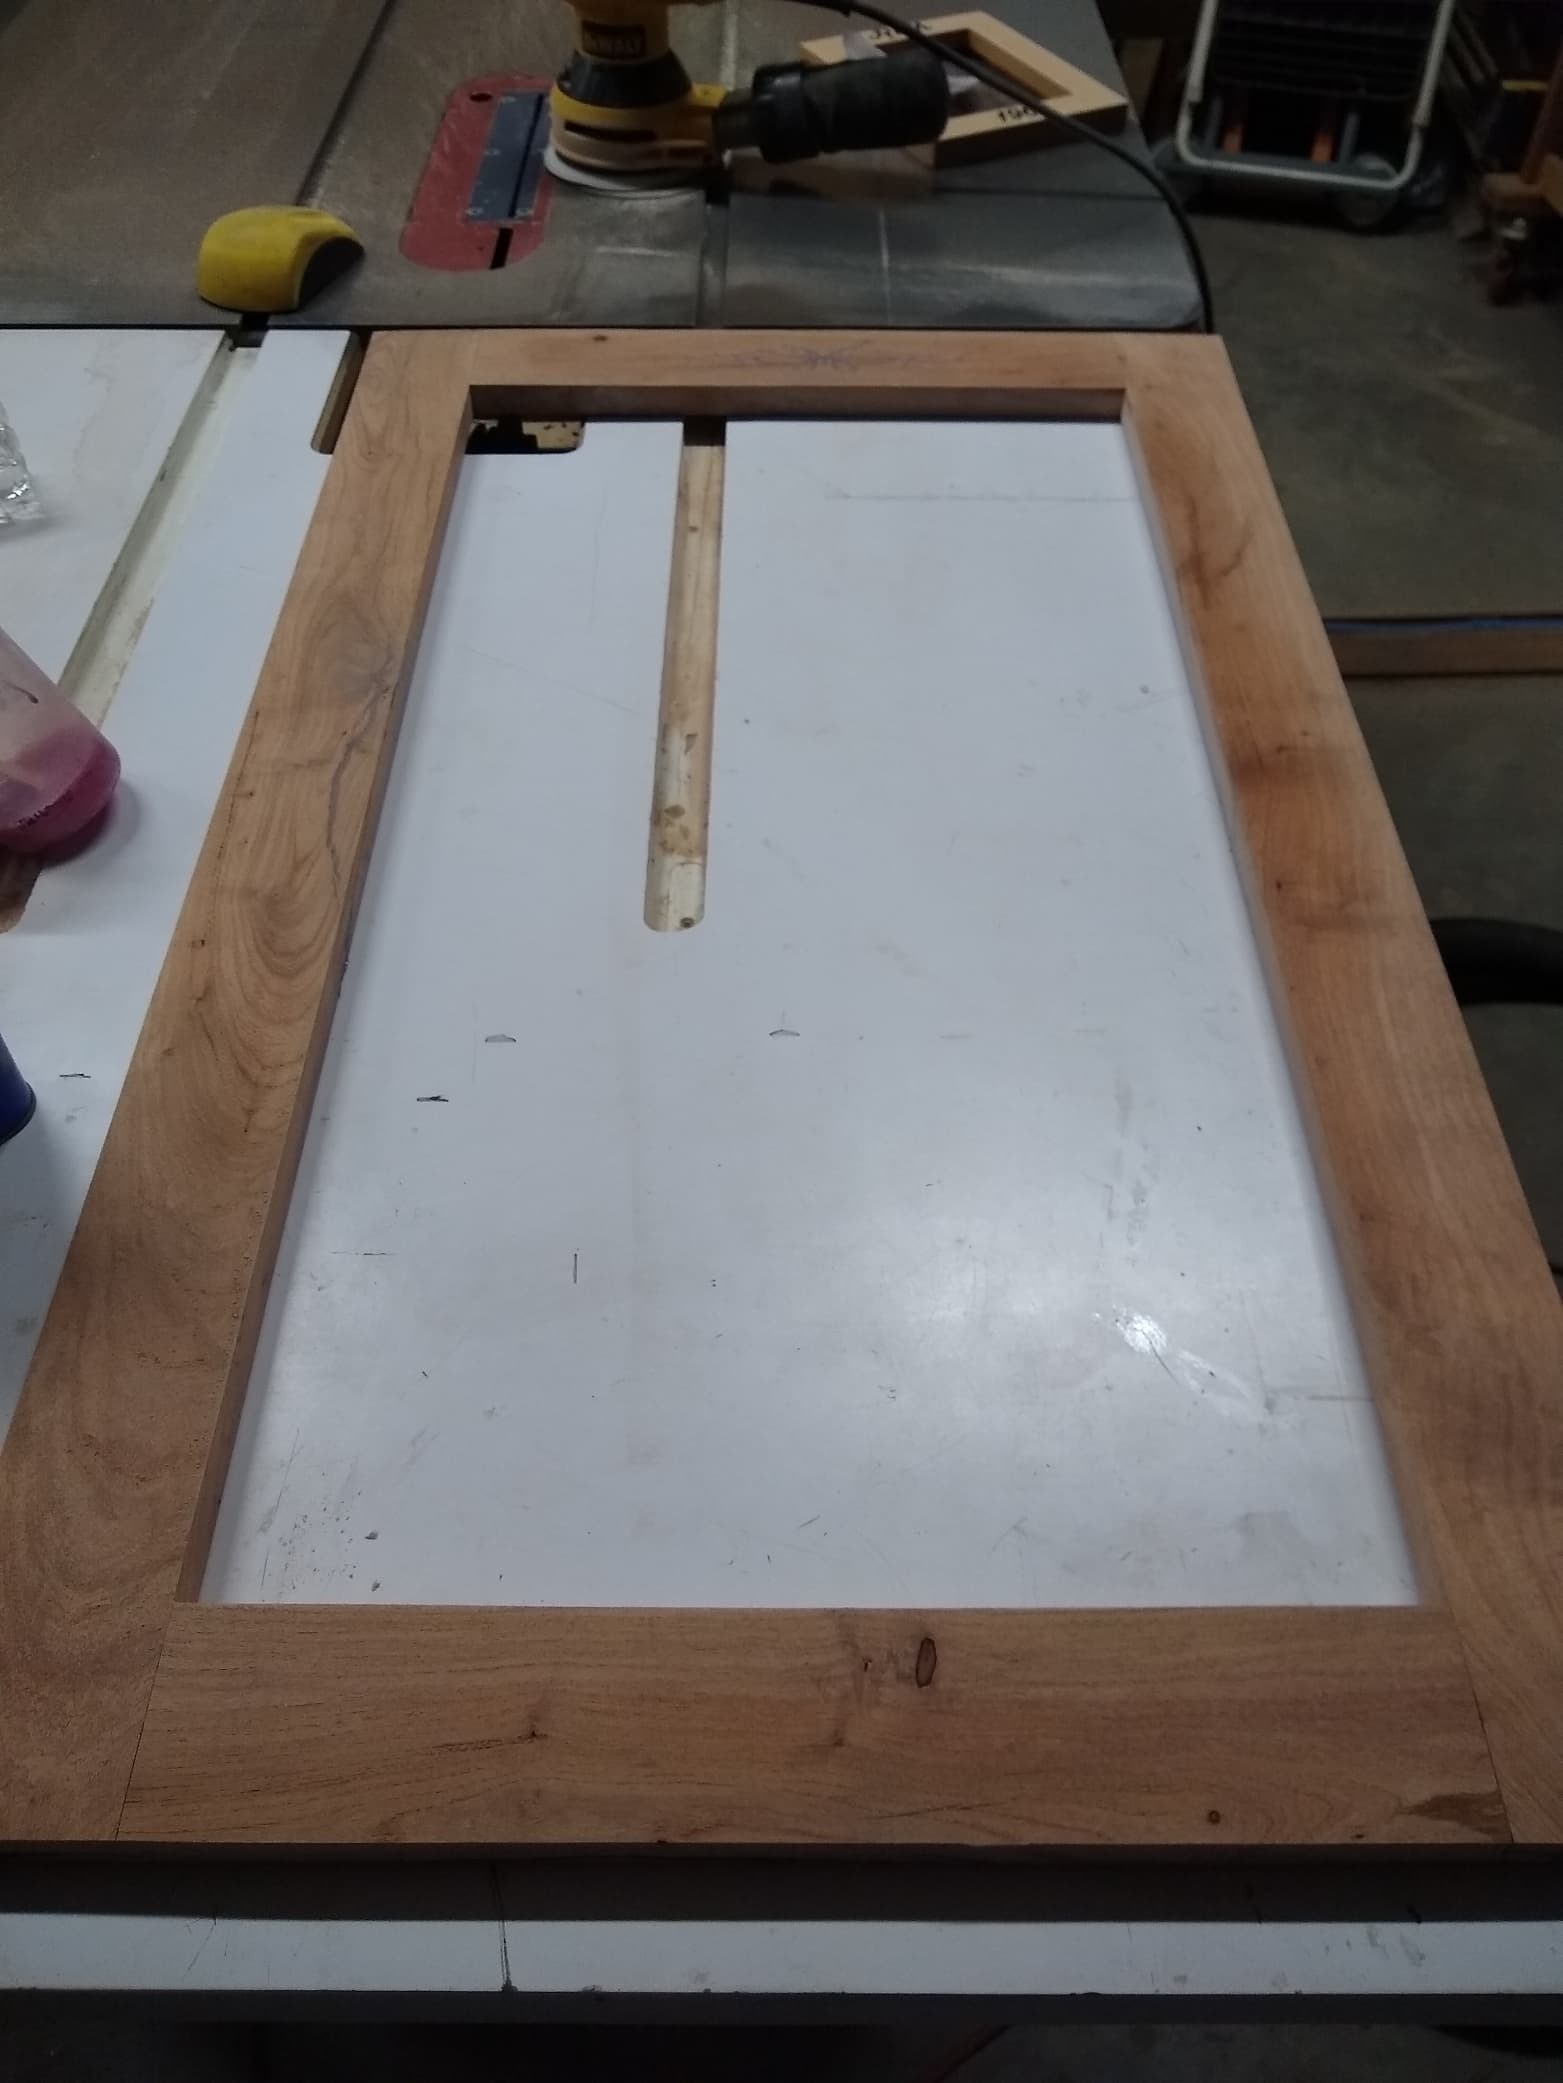
River table epoxy path 2.75" (Average width) X 45" (long) X 2 Inches thick=247.5 Cubic Inches

Epoxy 4 Quarts (resin) and 2 Quarts (Hardner)=6 Quarts

6 Quarts =192 oz

248 Cubic in=137.42 oz

Since the Epoxy =192 oz and the estimated space is 138 oz do you think the 1.5 gal of epoxy is enough to fill the space?

The internet converters were used for the calculations.

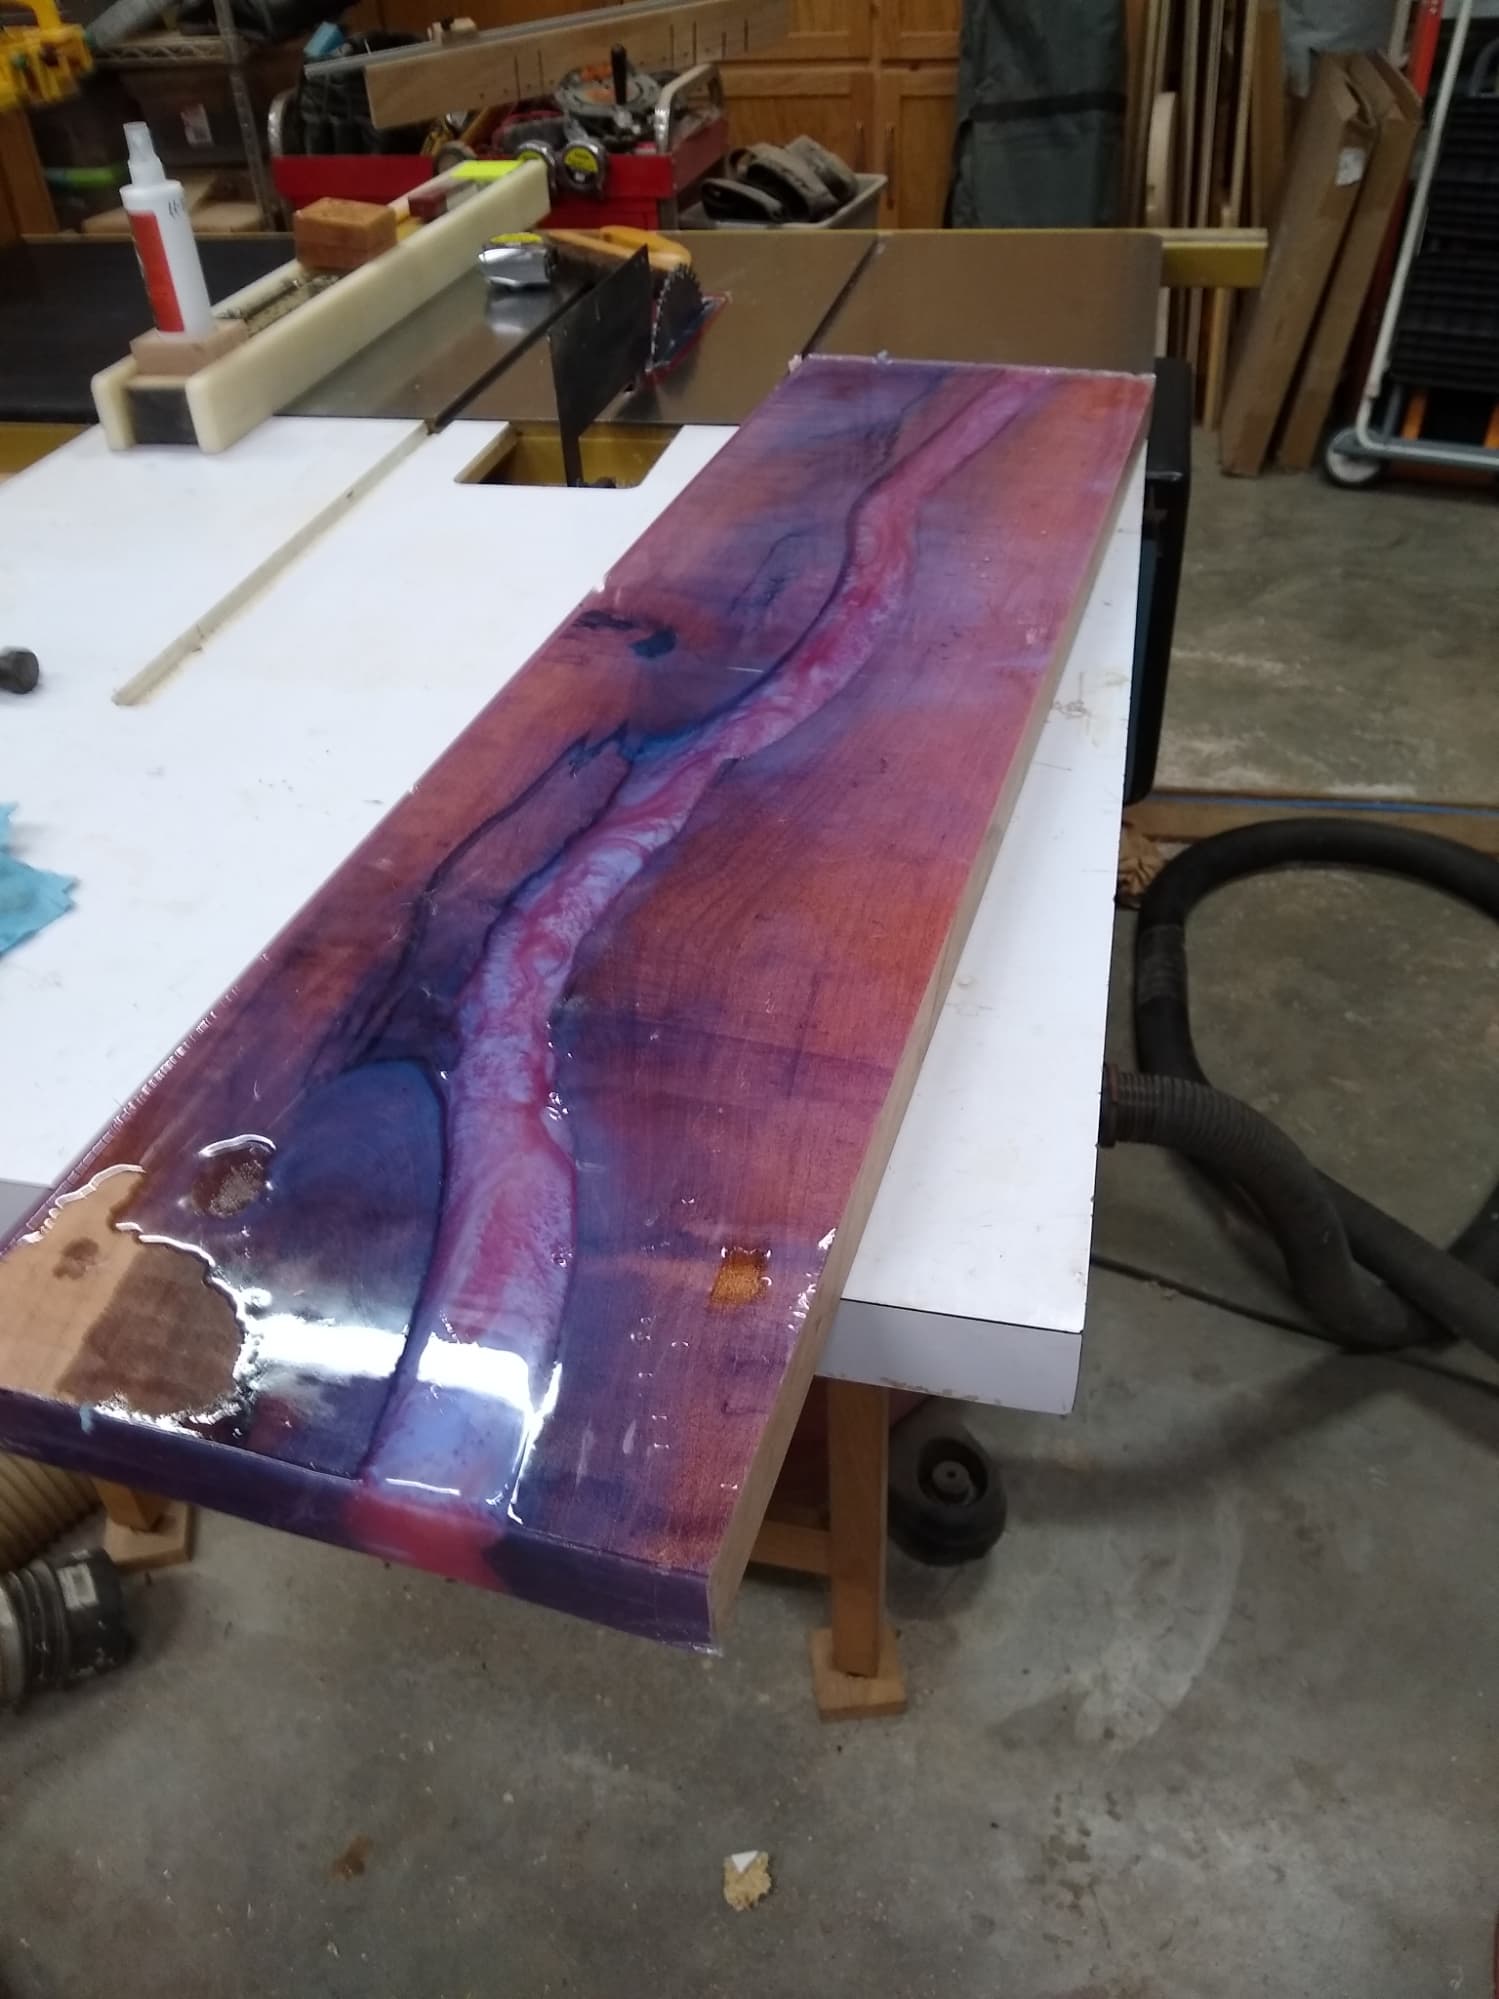
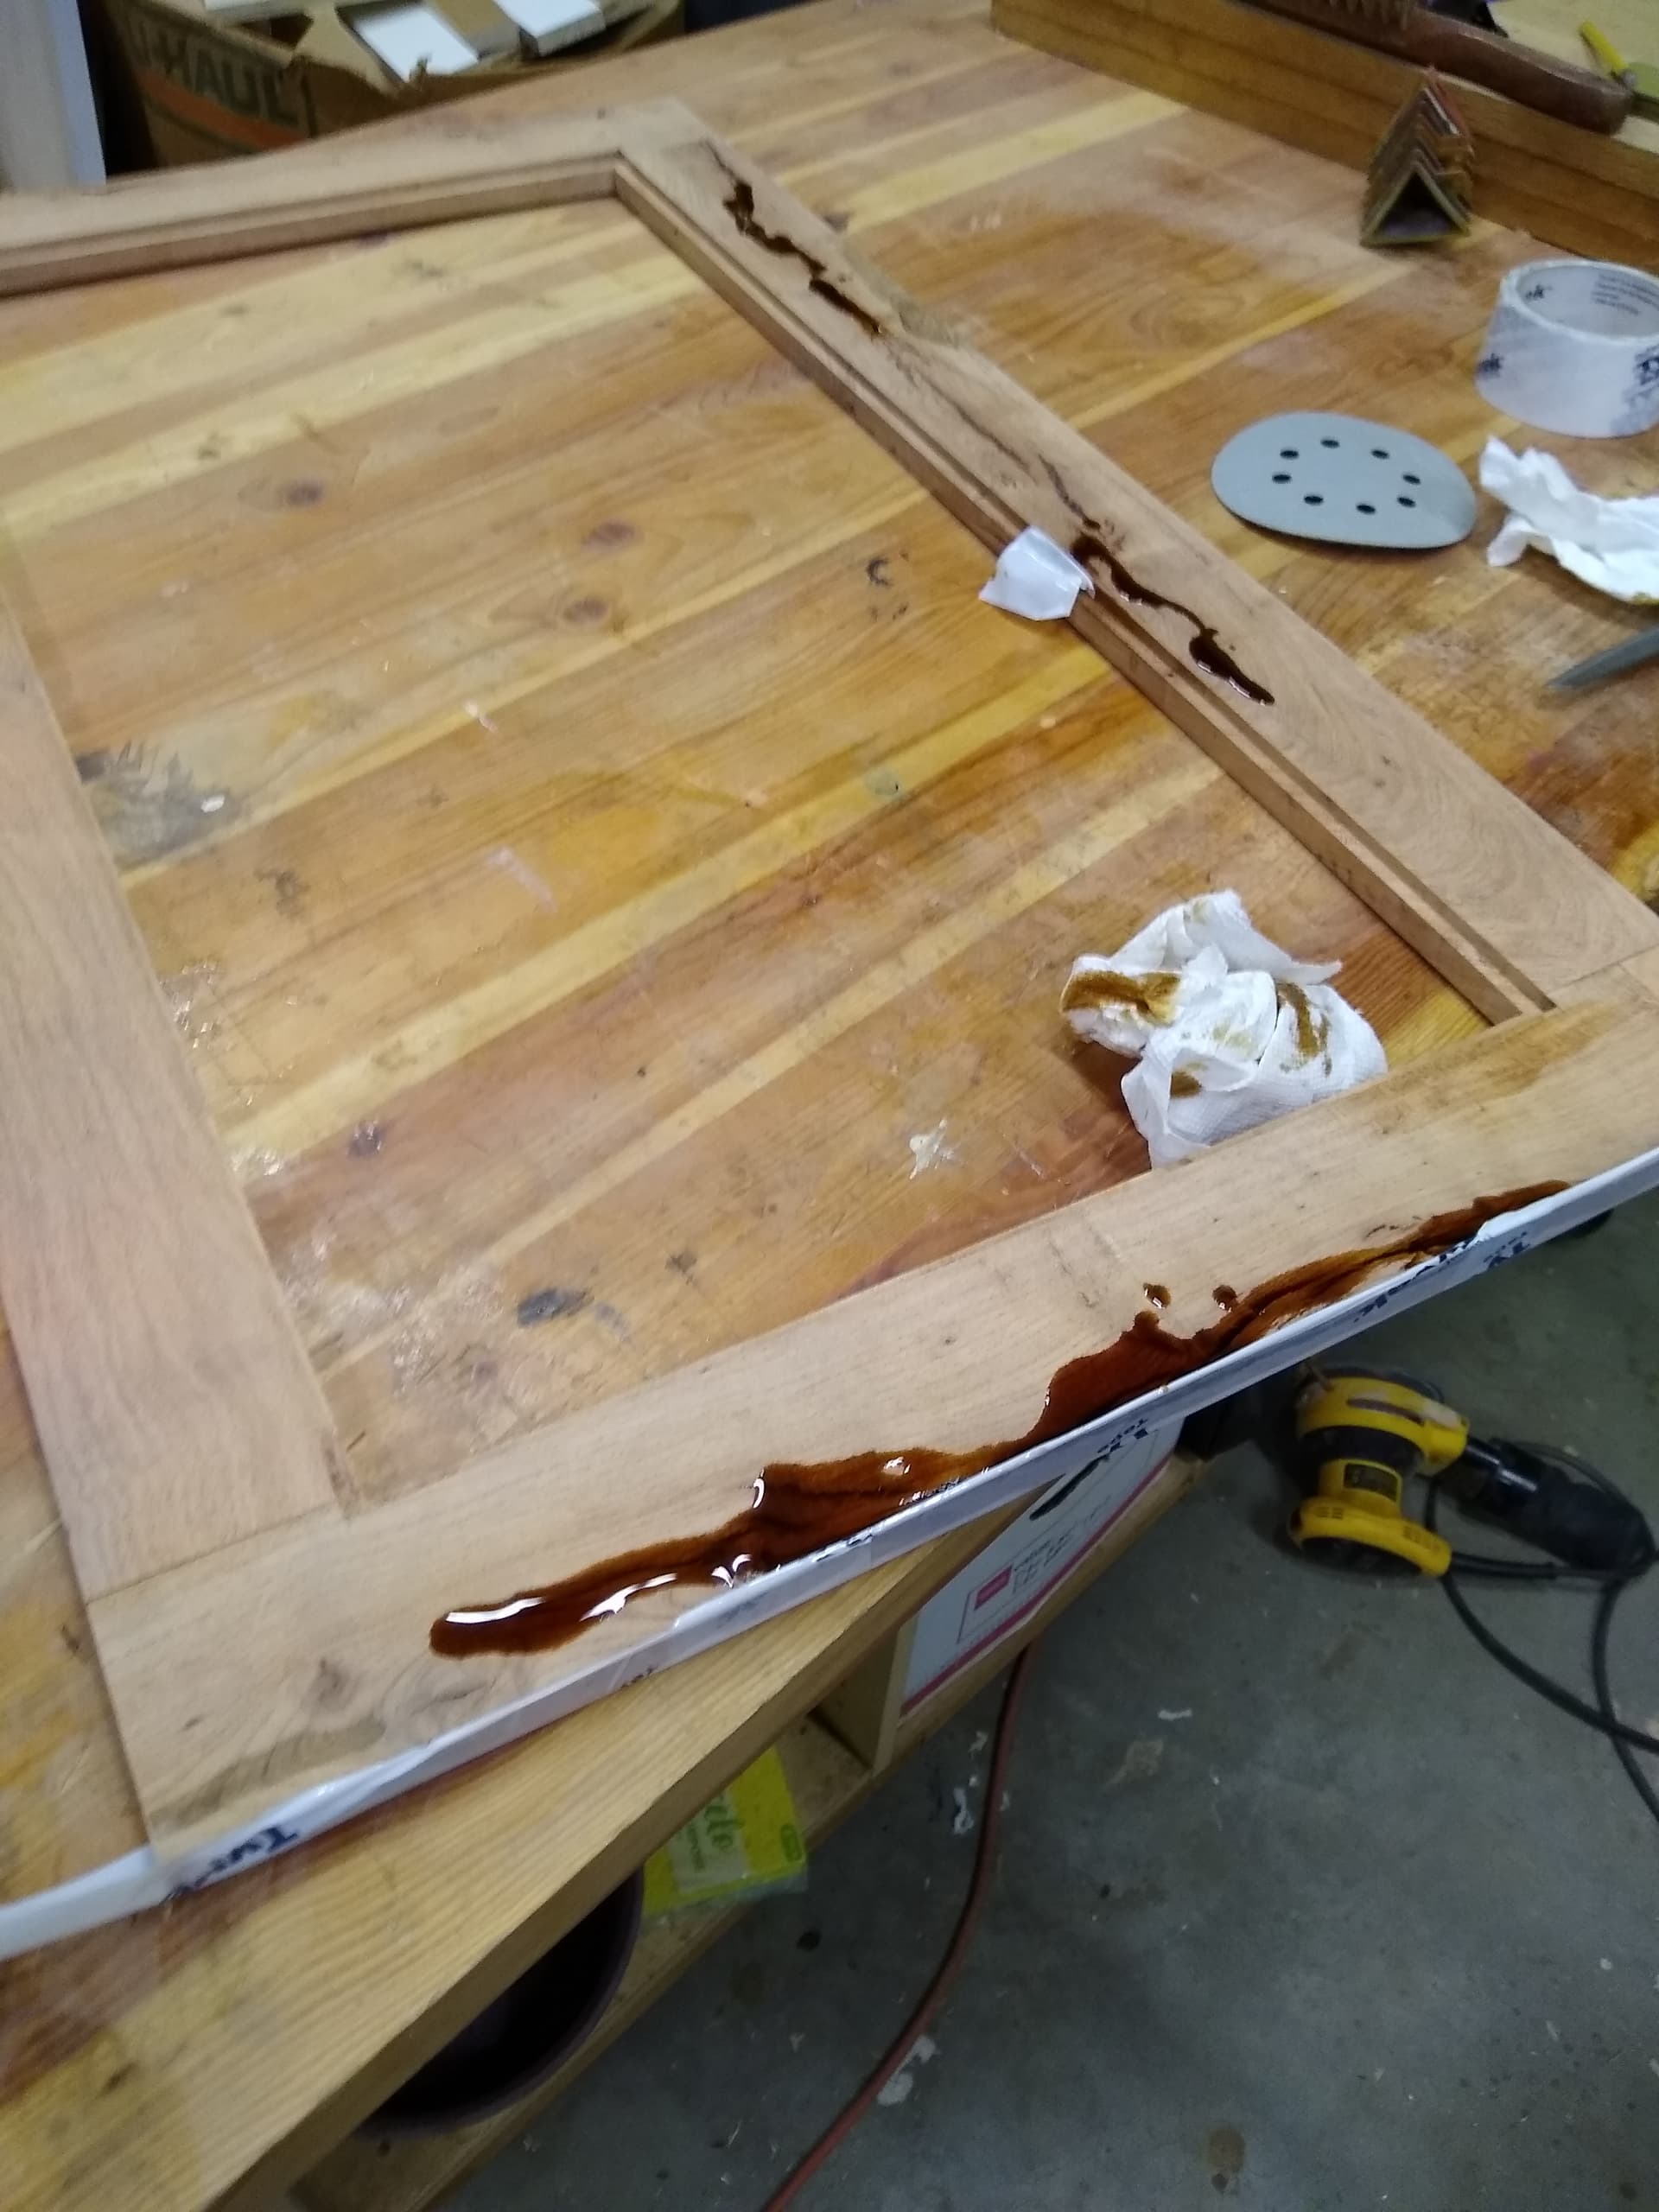
What do you think. This is my first big pour of epoxy. I am using Magic Resin which is rated for 2" pour. There will be colorant used which will not add much to the oz.

The advise I got about colorant is as follows:

1/16 Teaspoon for Translucent to Light Color per liter of epoxy

1/4 Teaspoon for medium color per liter of epoxy

1/2 Teaspoon for Opaque color per liter of epoxy

I want Opaque so there is 5.67 Liter for the 6 quarts so 3 teaspoons for 6 liter.

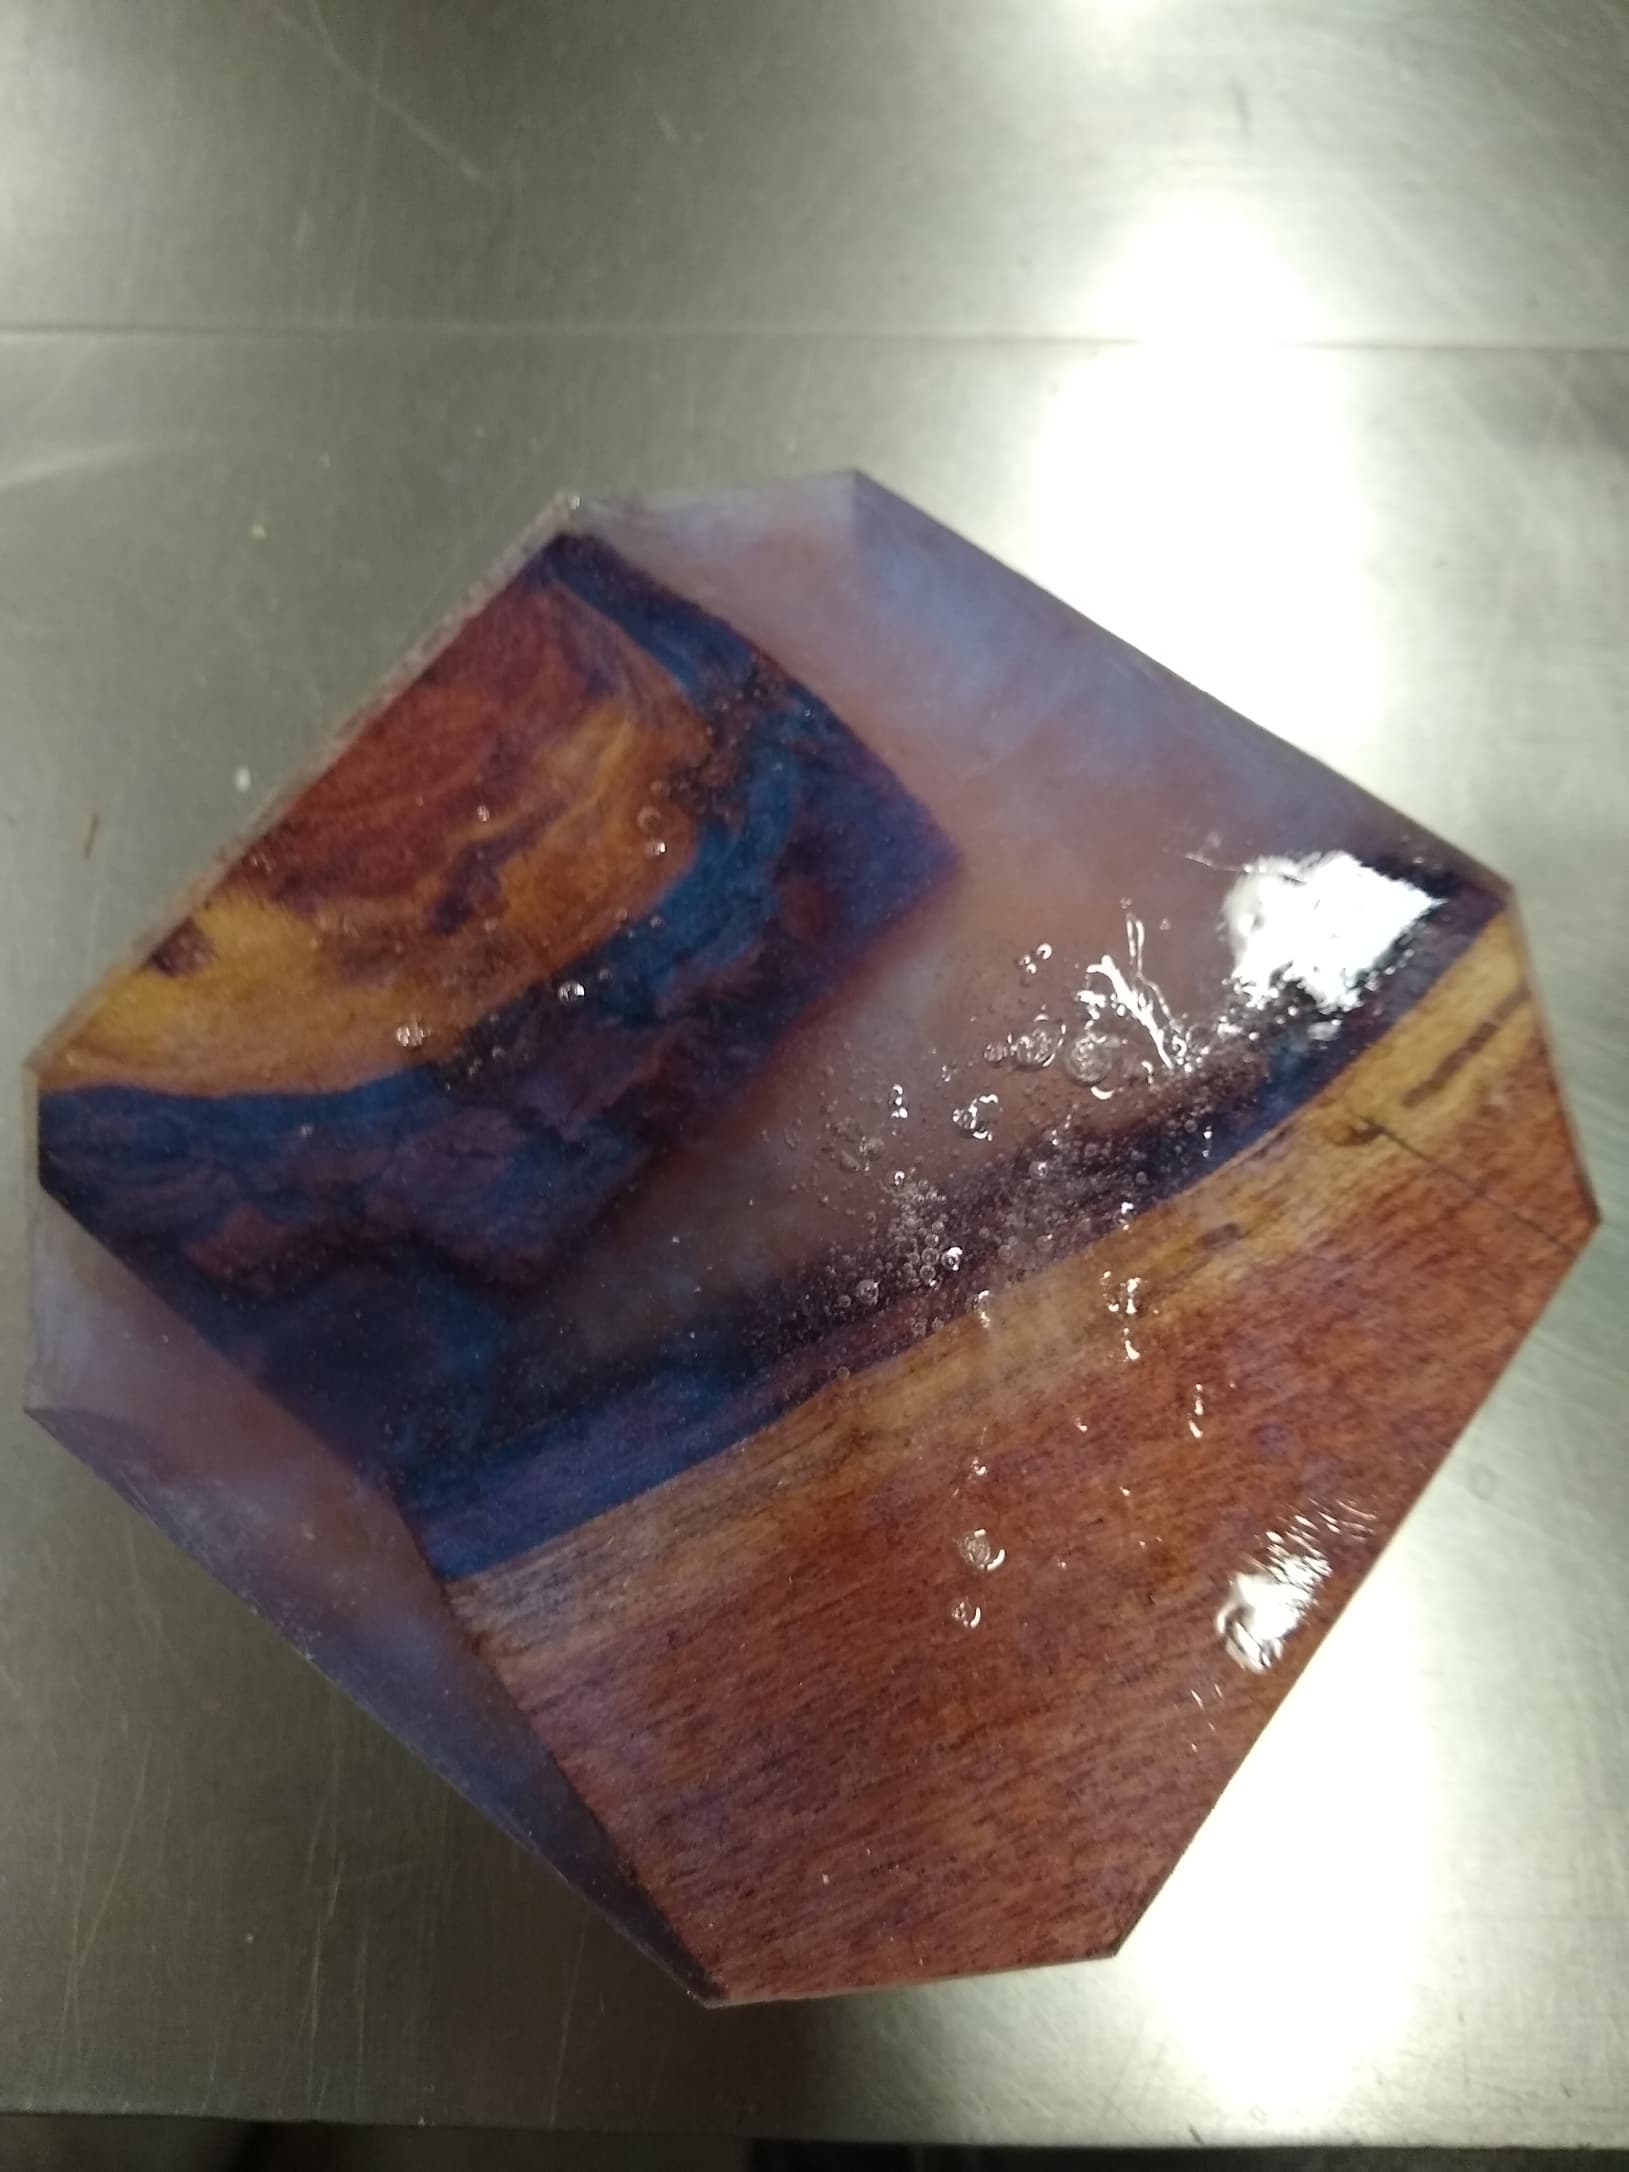
What is your opinion of opaque coloration of epoxy?

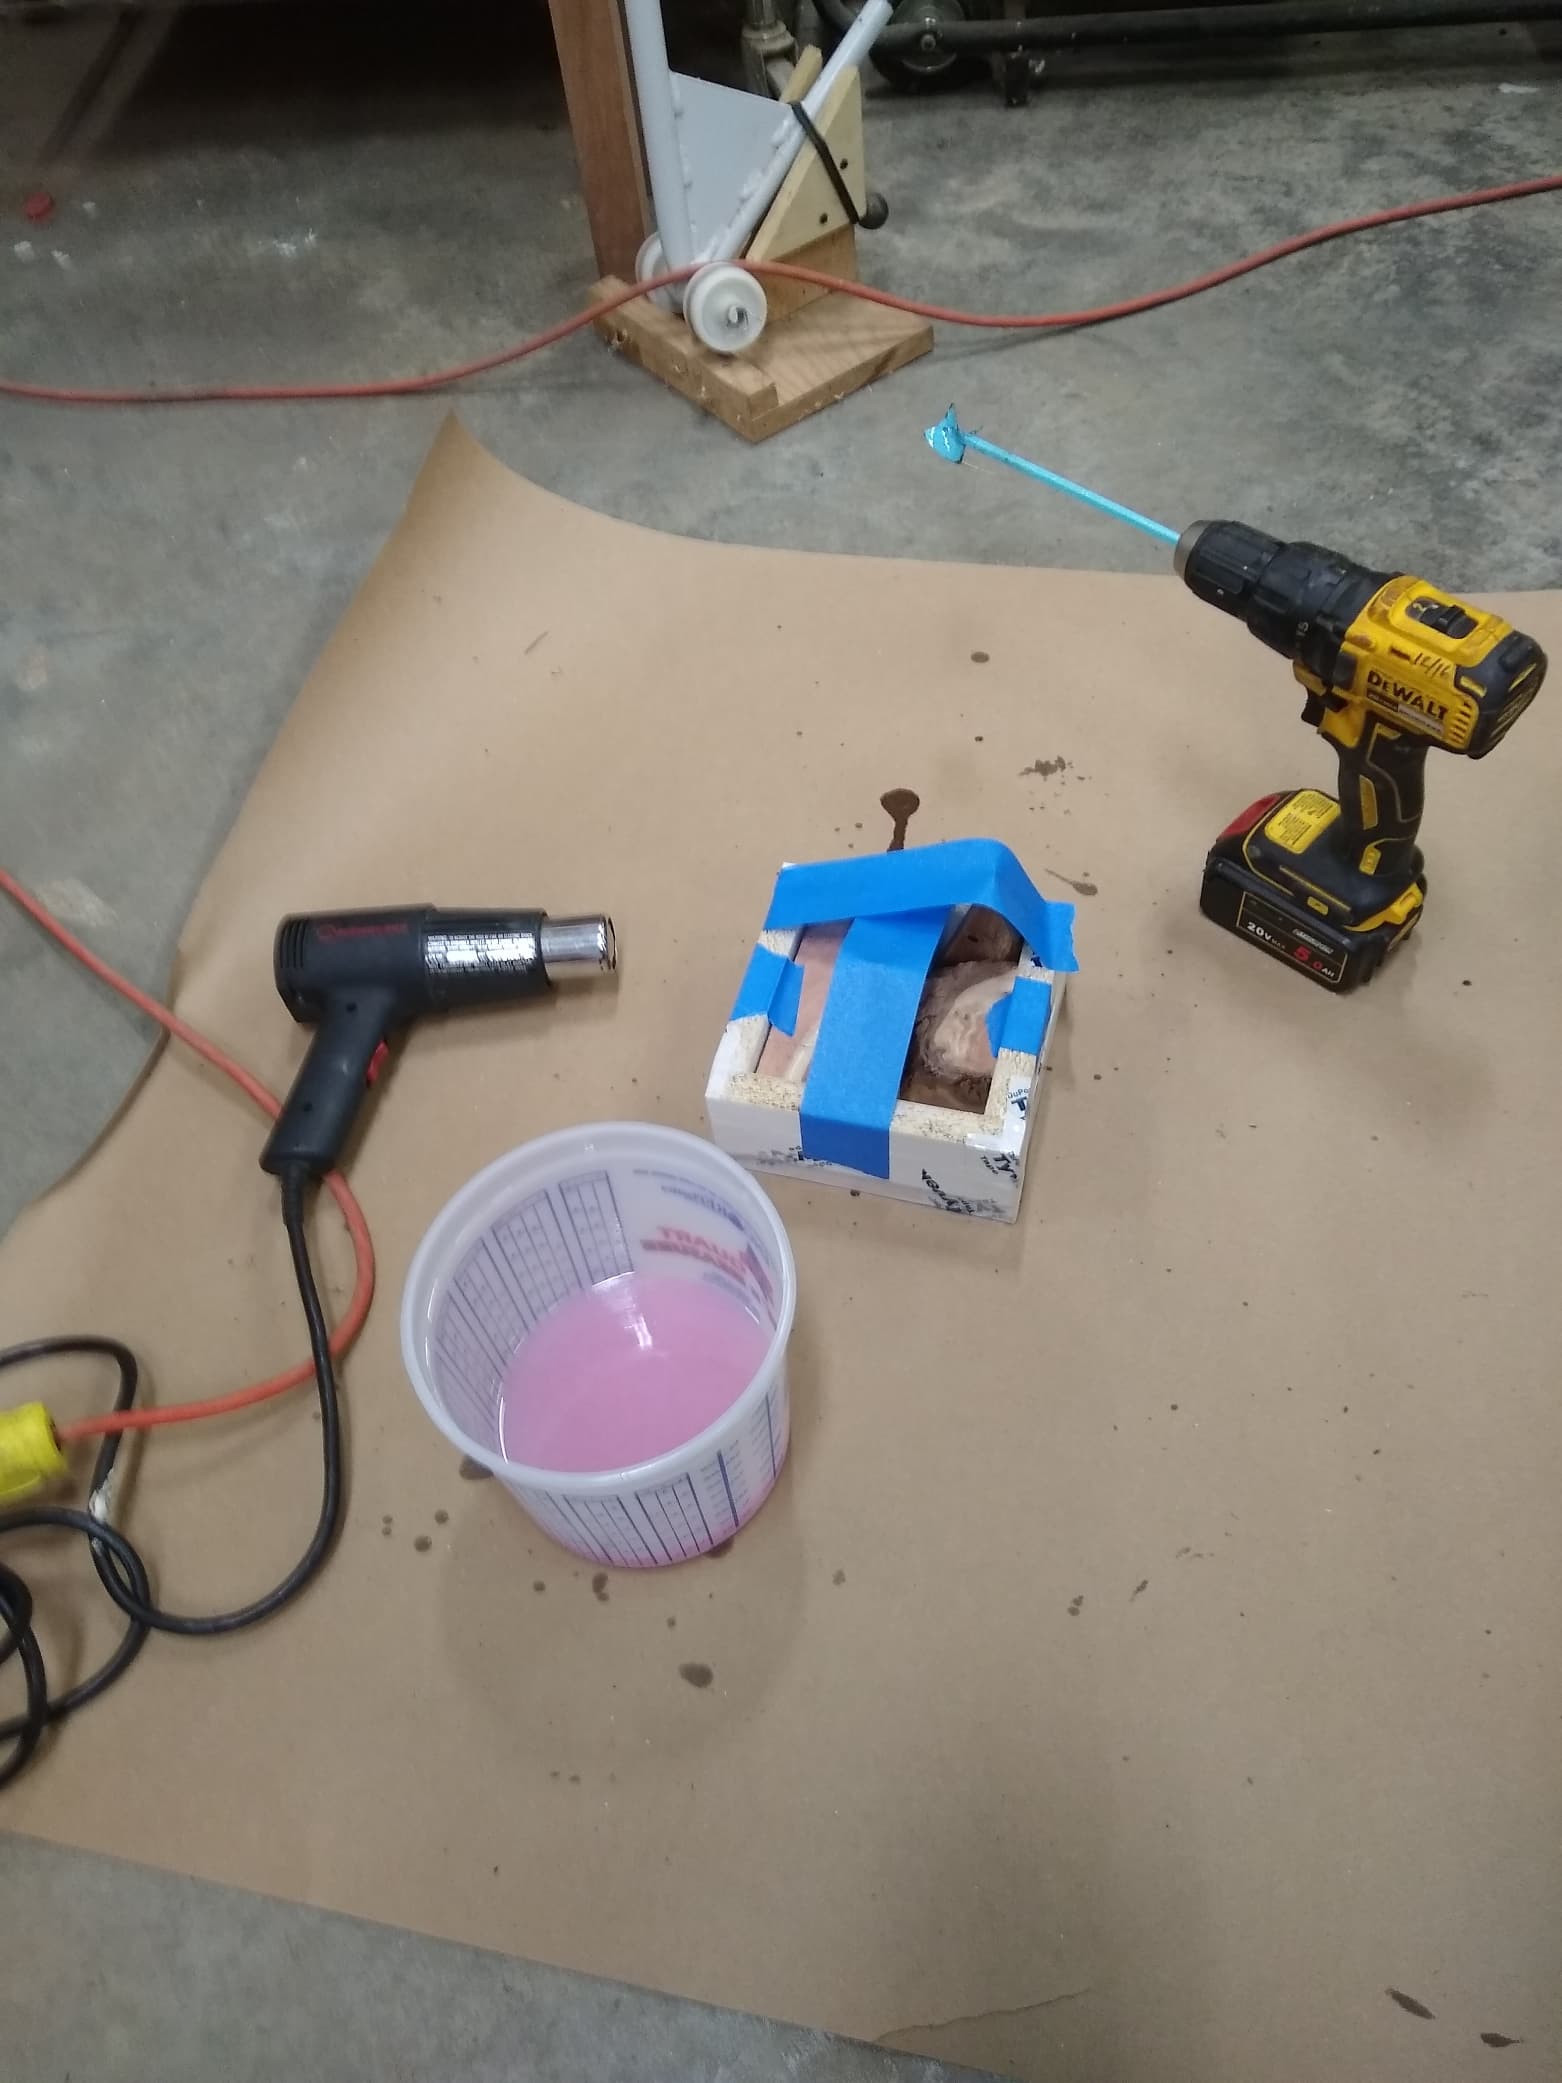
The colorant is Jacquard Pearl Ex so the bottle holds .5 oz so 3 teaspoons=.5 oz, I have two bottles should I use the single bottle or add more from the second bottle.

image

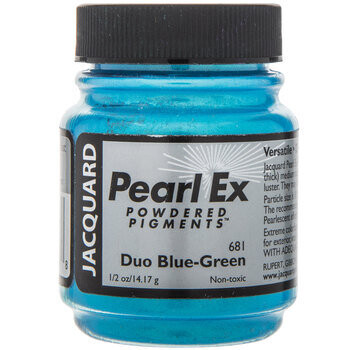
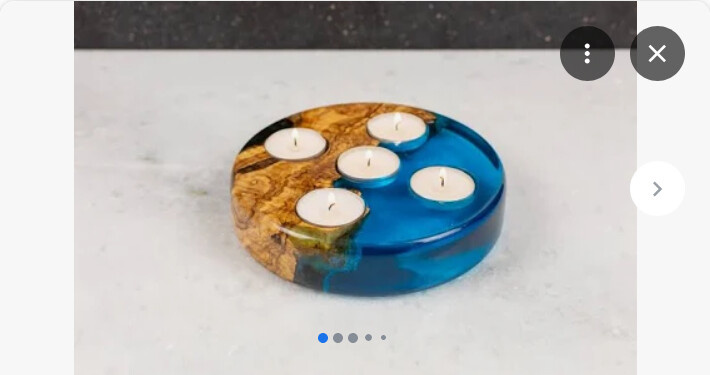
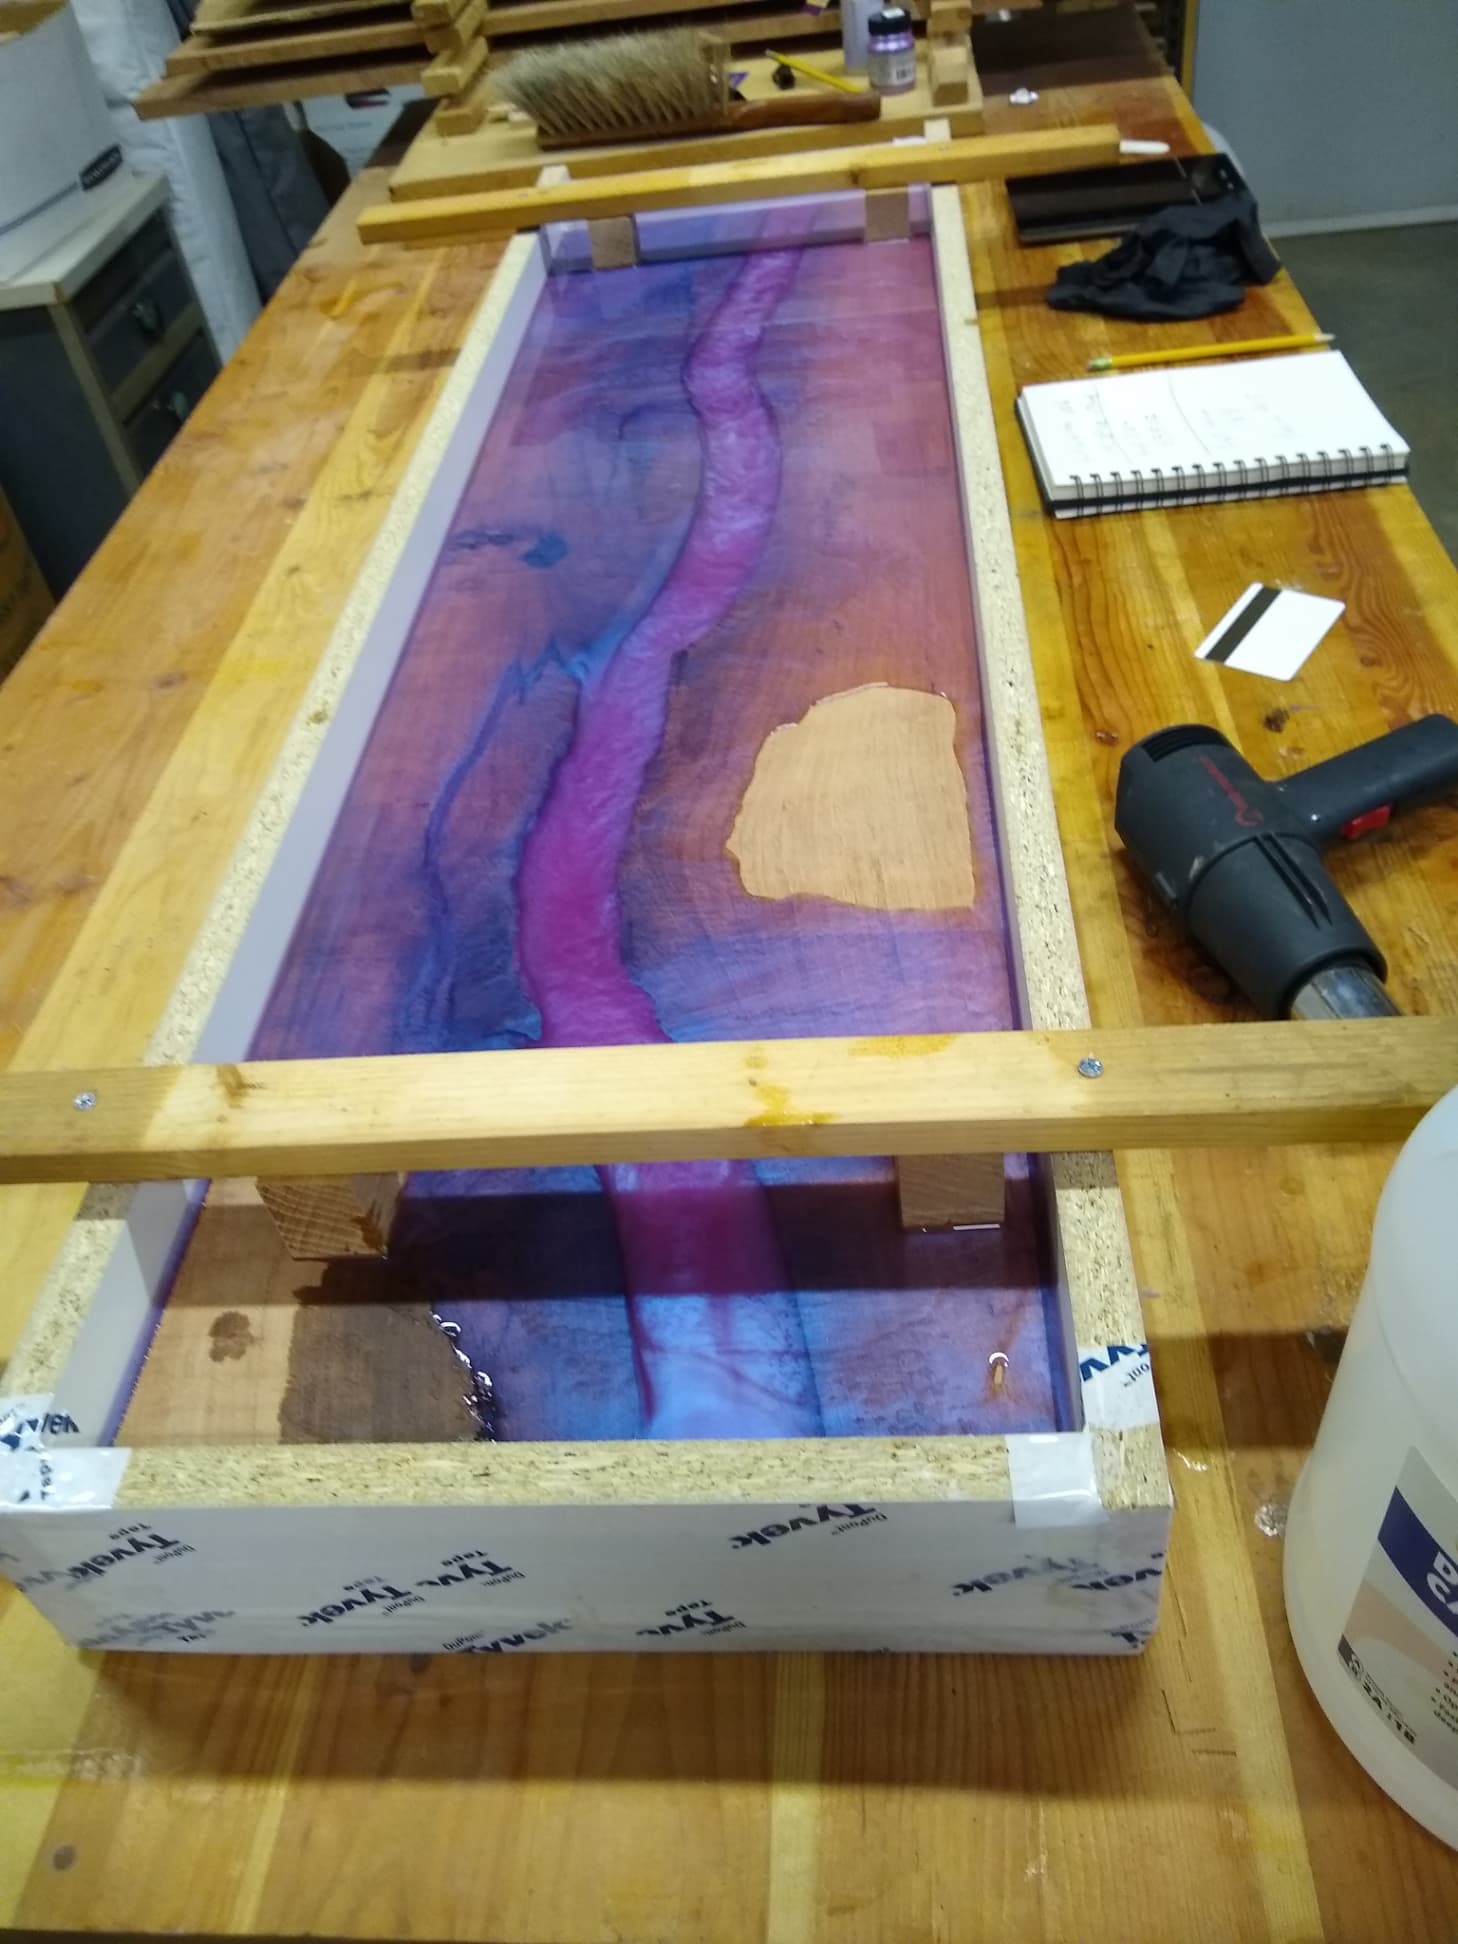
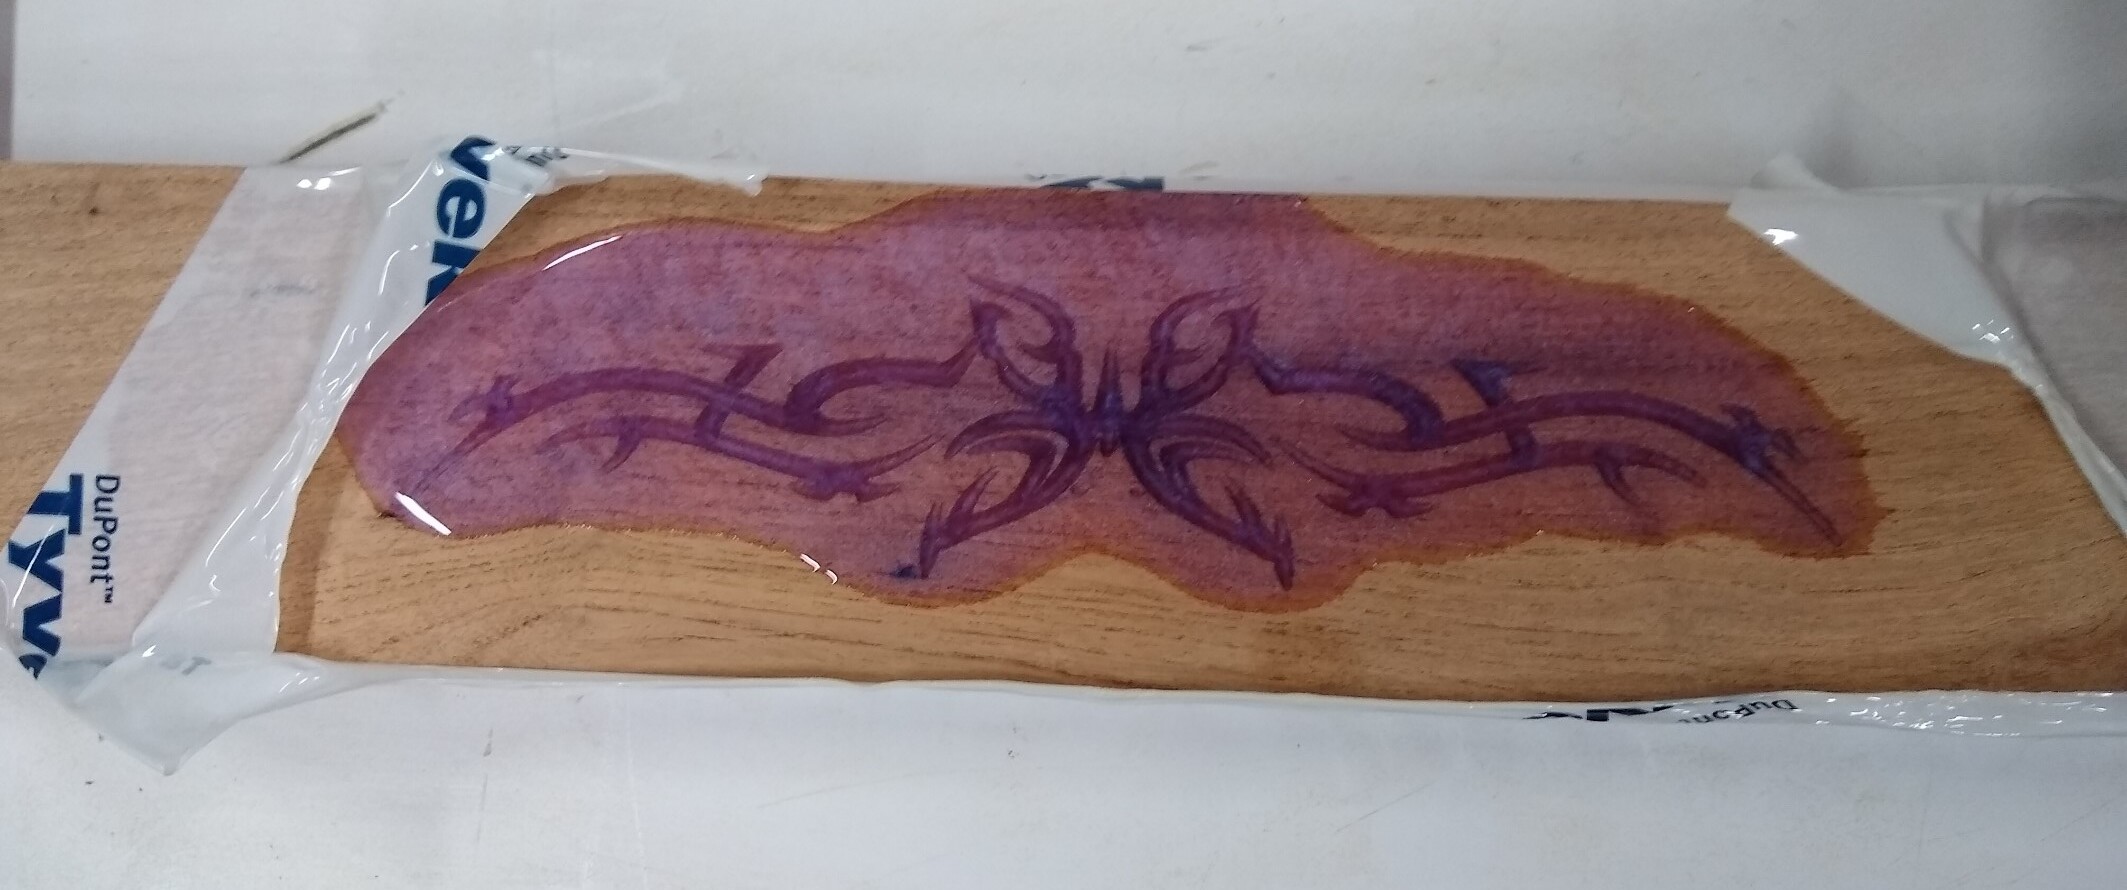
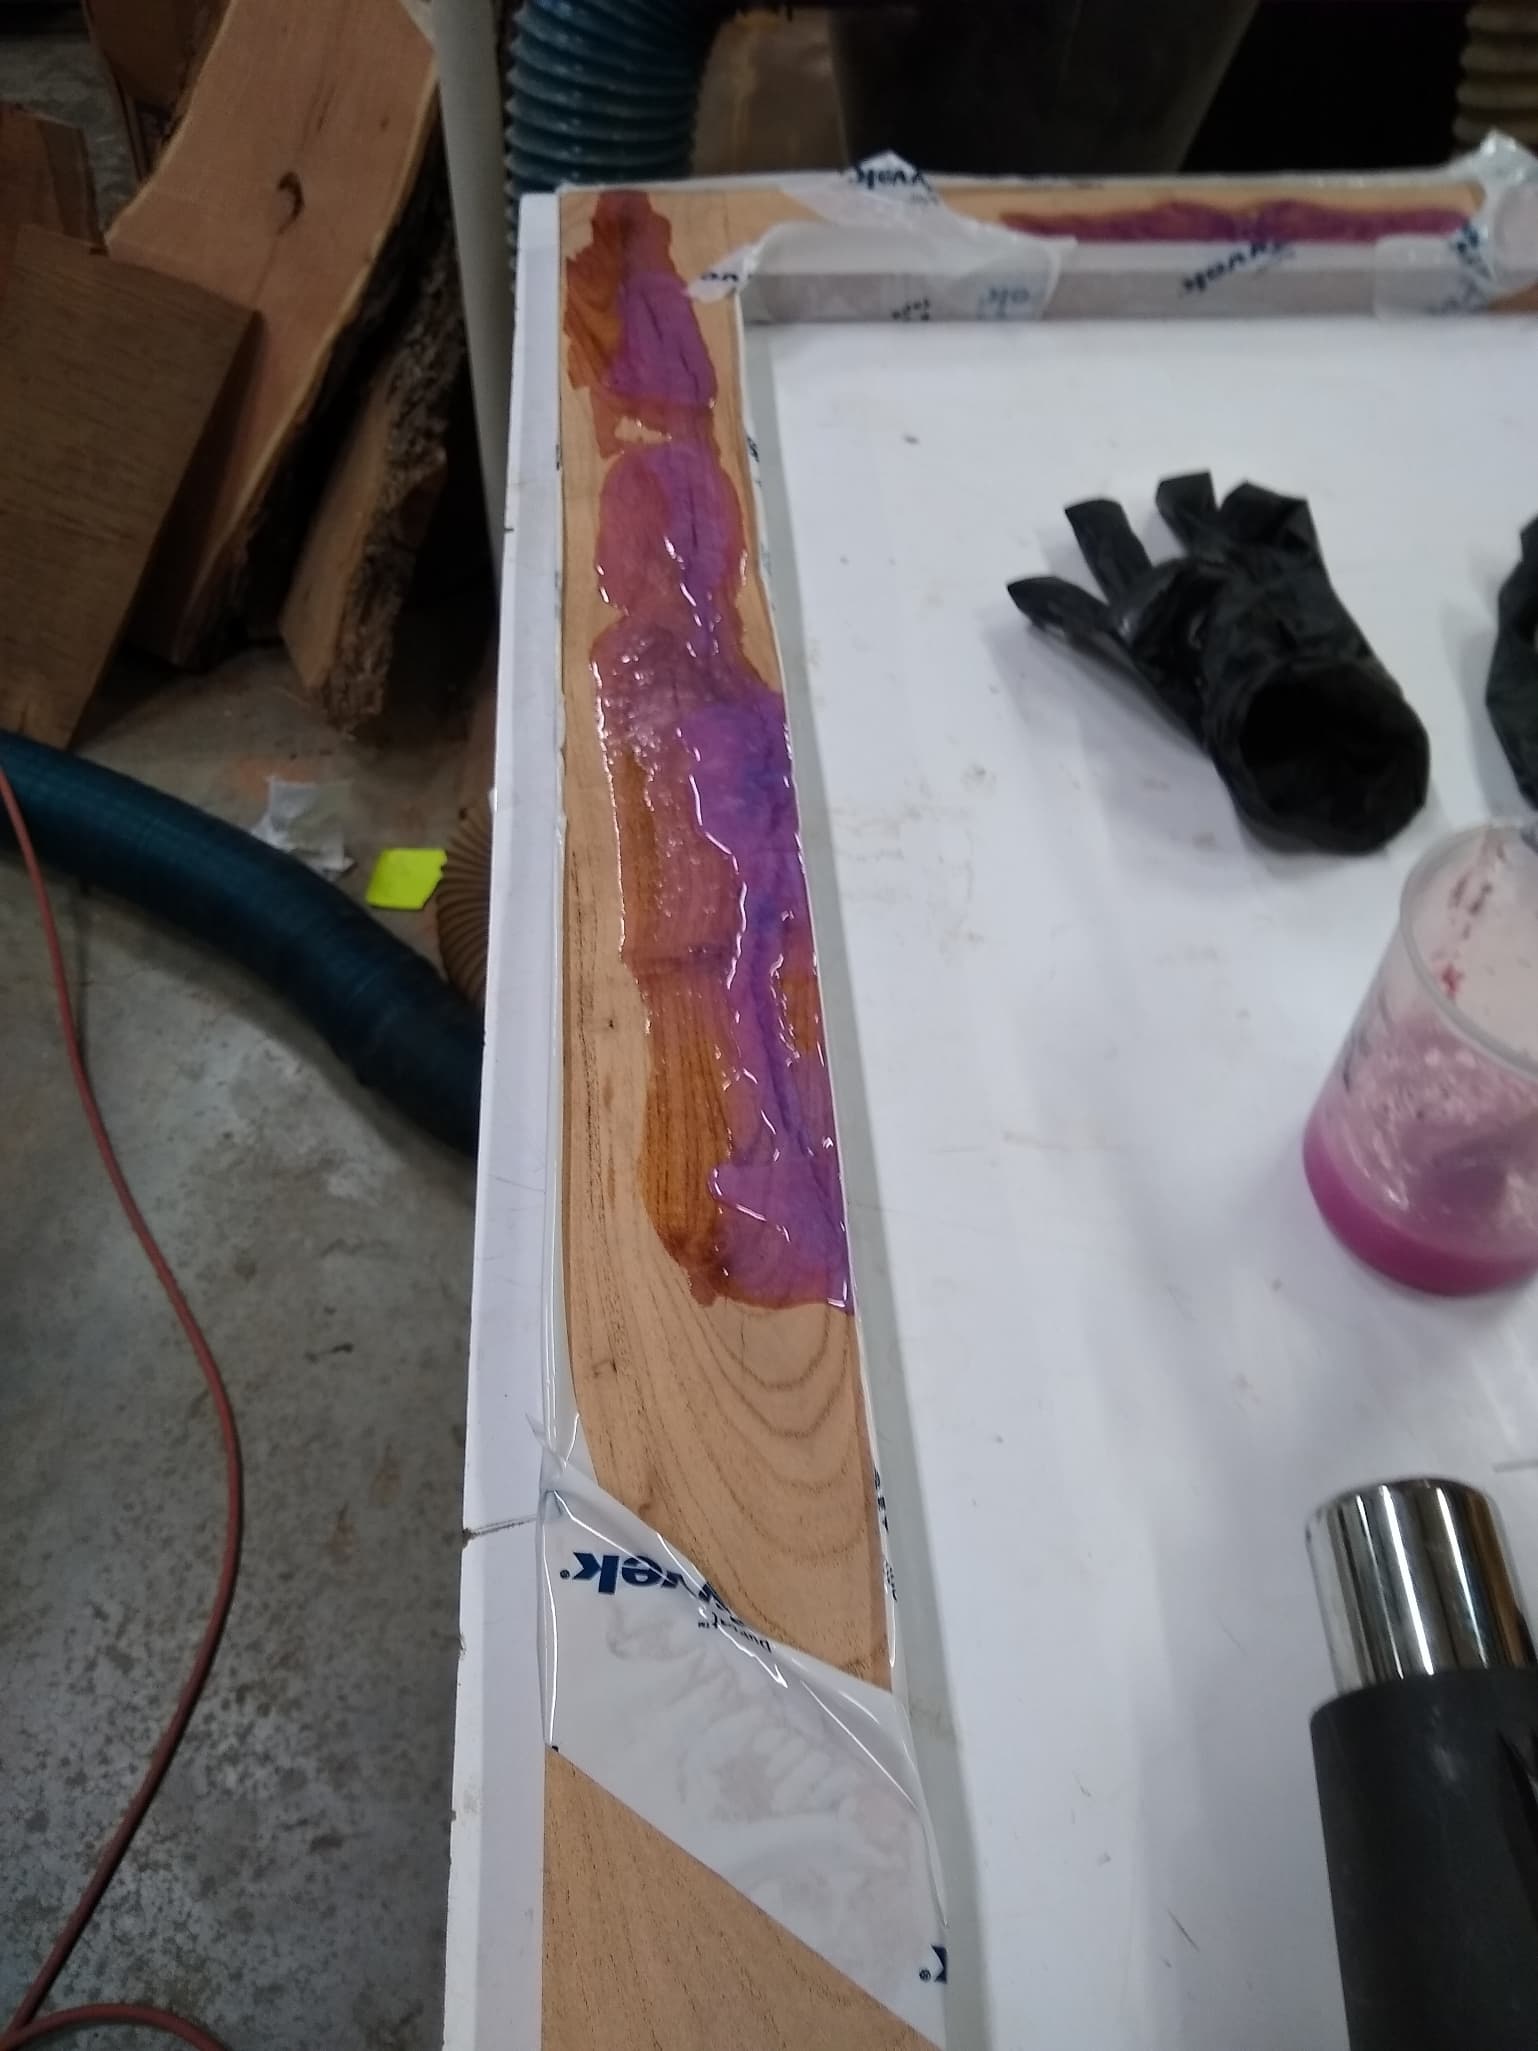
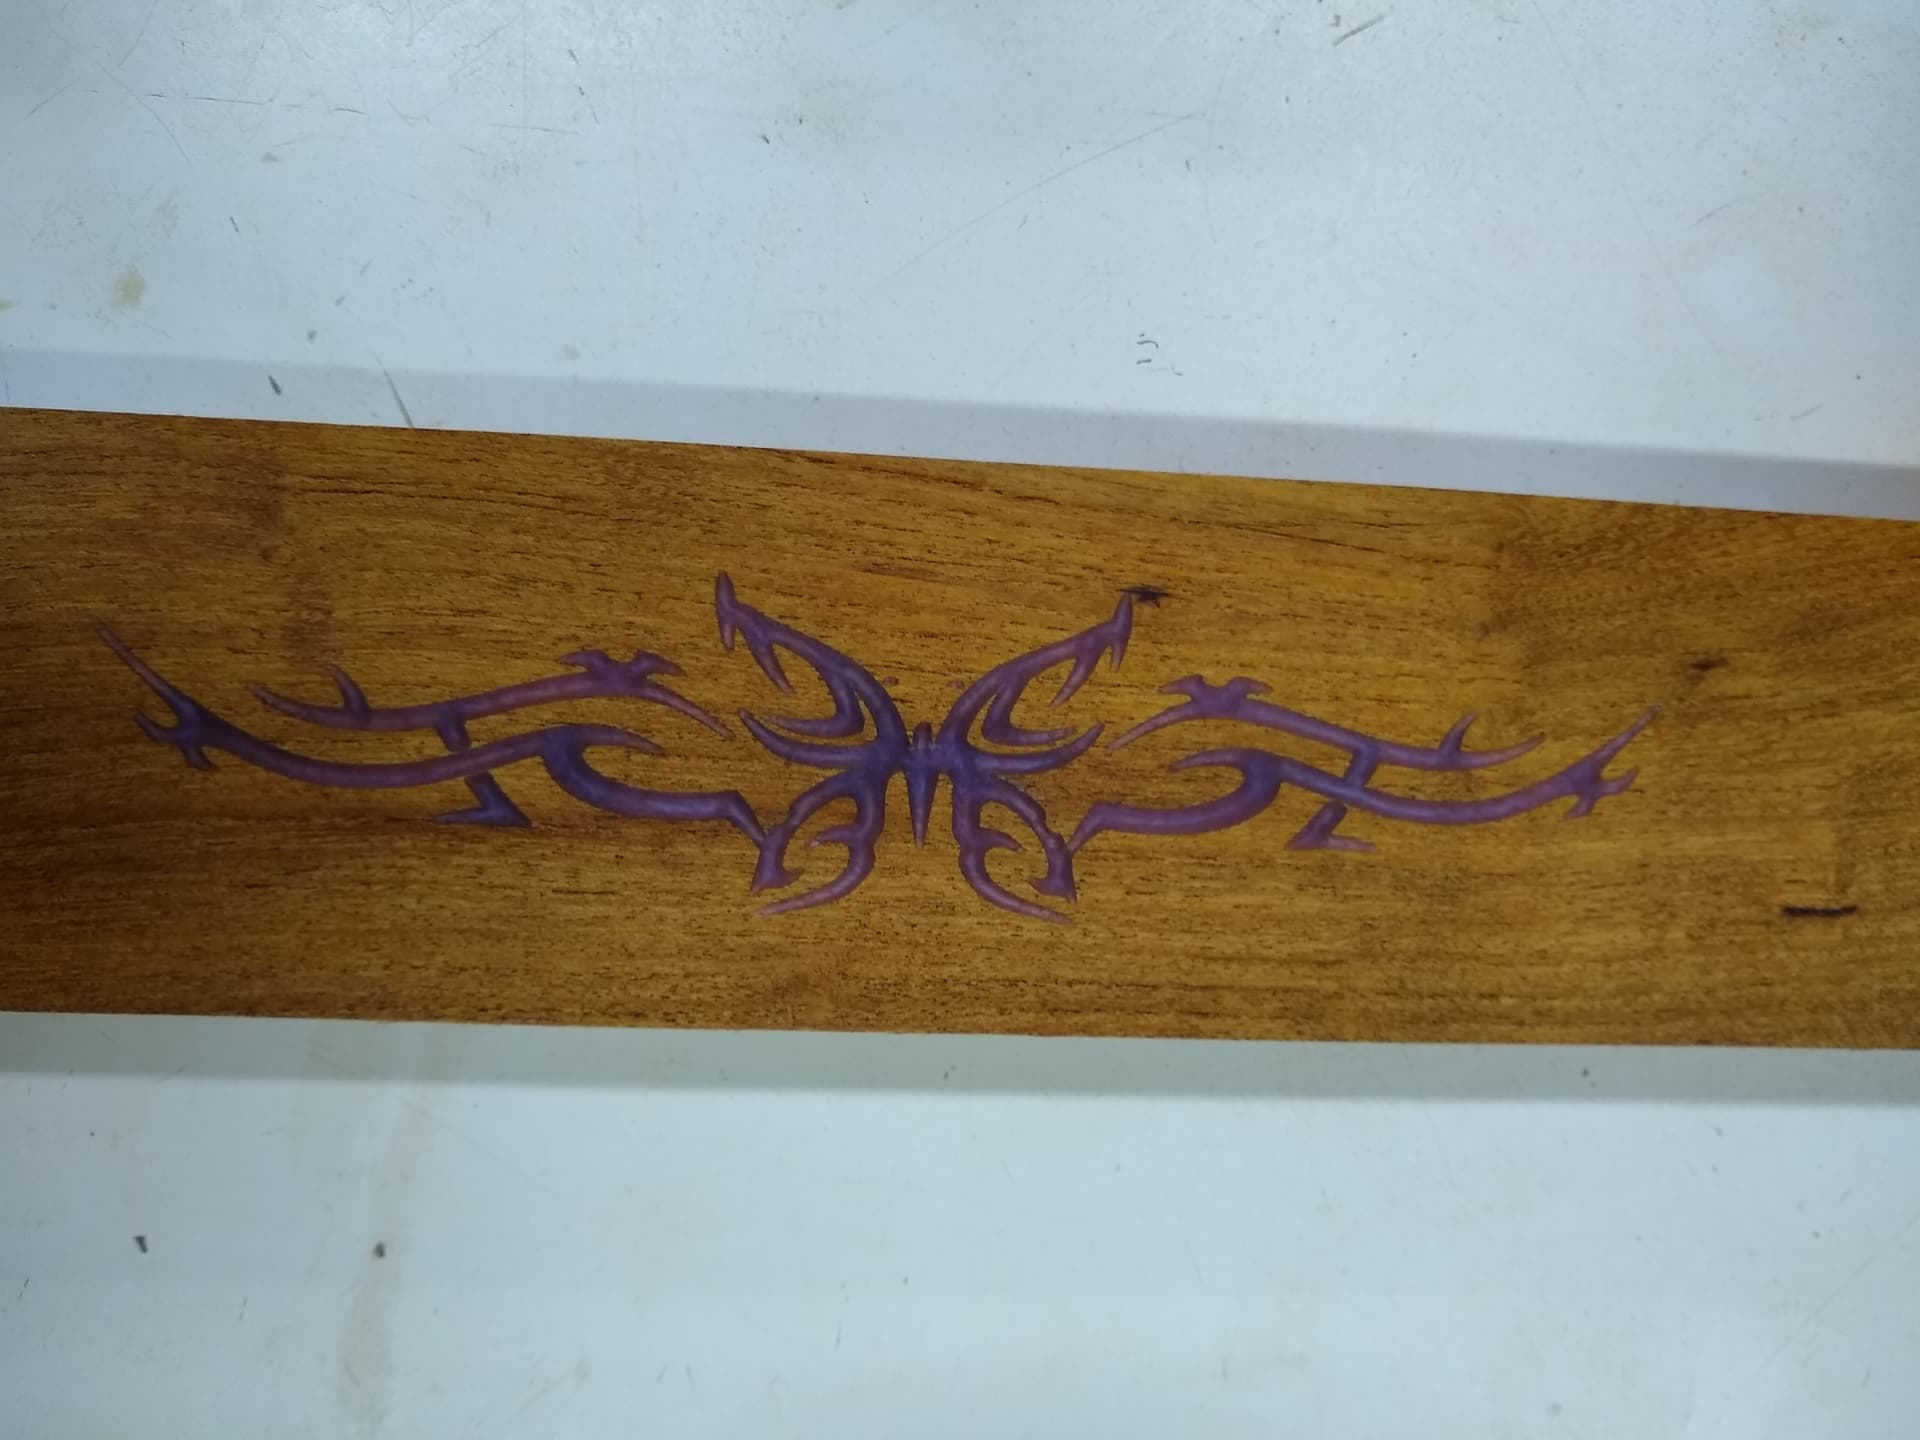
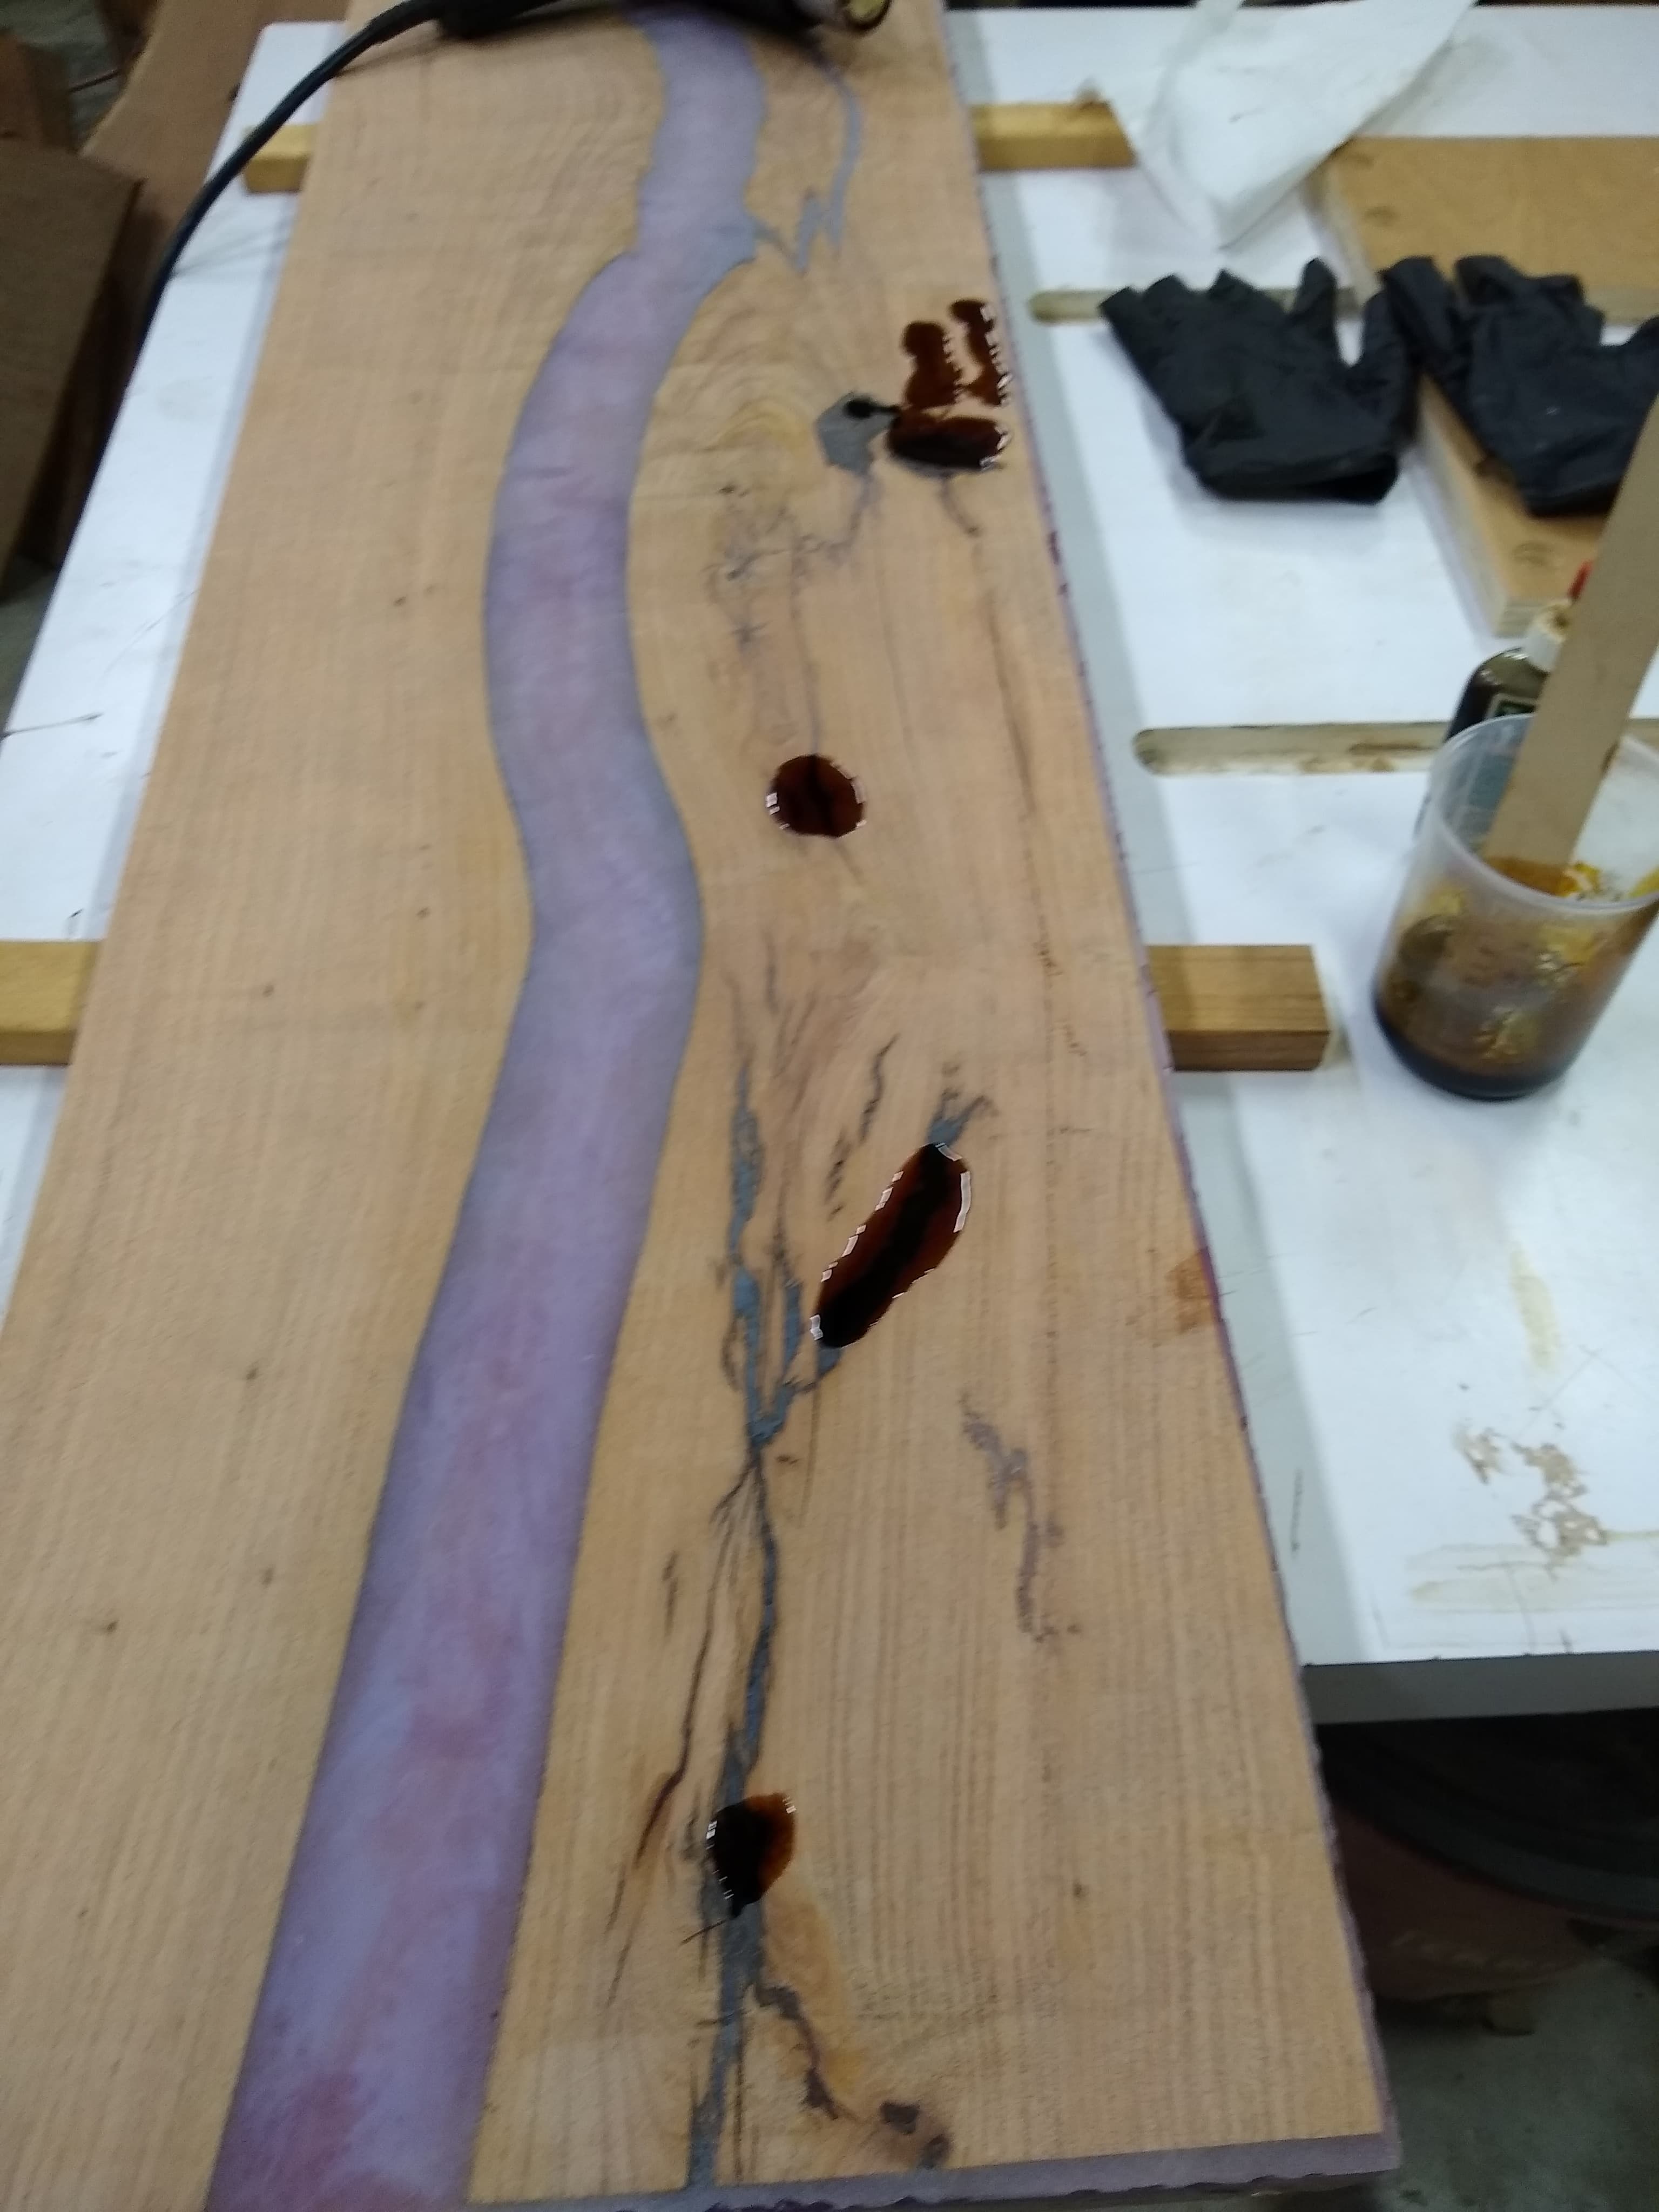
This is not the color I will be using it is Duo Red-Blue (Purple)

I will mix the epoxy in a 5 gallon bucket and have the proper mixing paddles to mix the epoxy and the colorant. The epoxy cure time is 2 days for no tack, 3 days for full cure. I will leave it for a week before surfacing the piece.

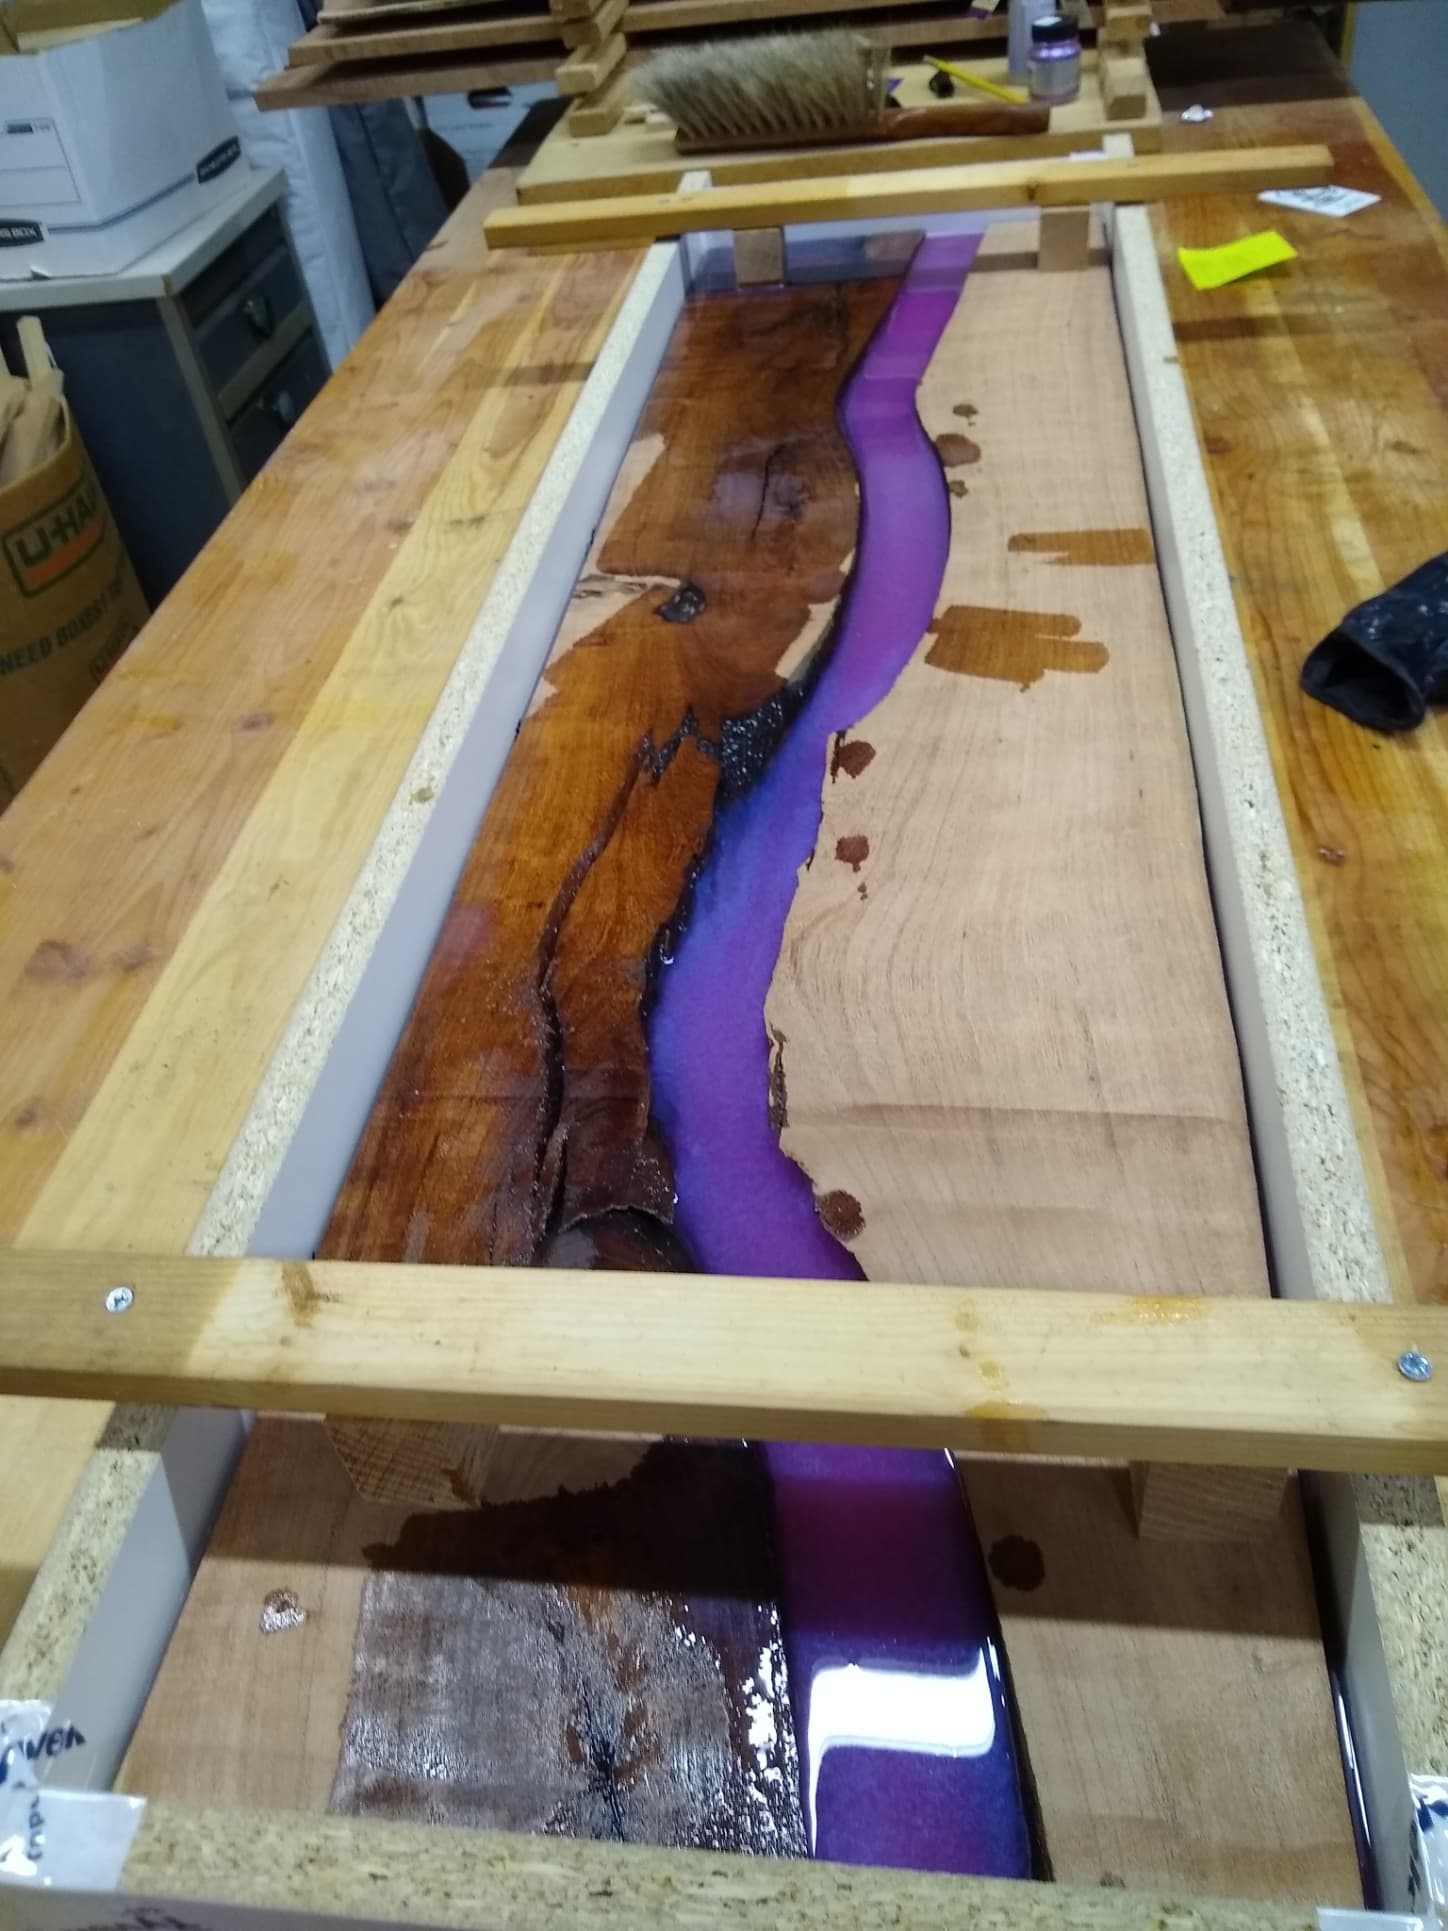
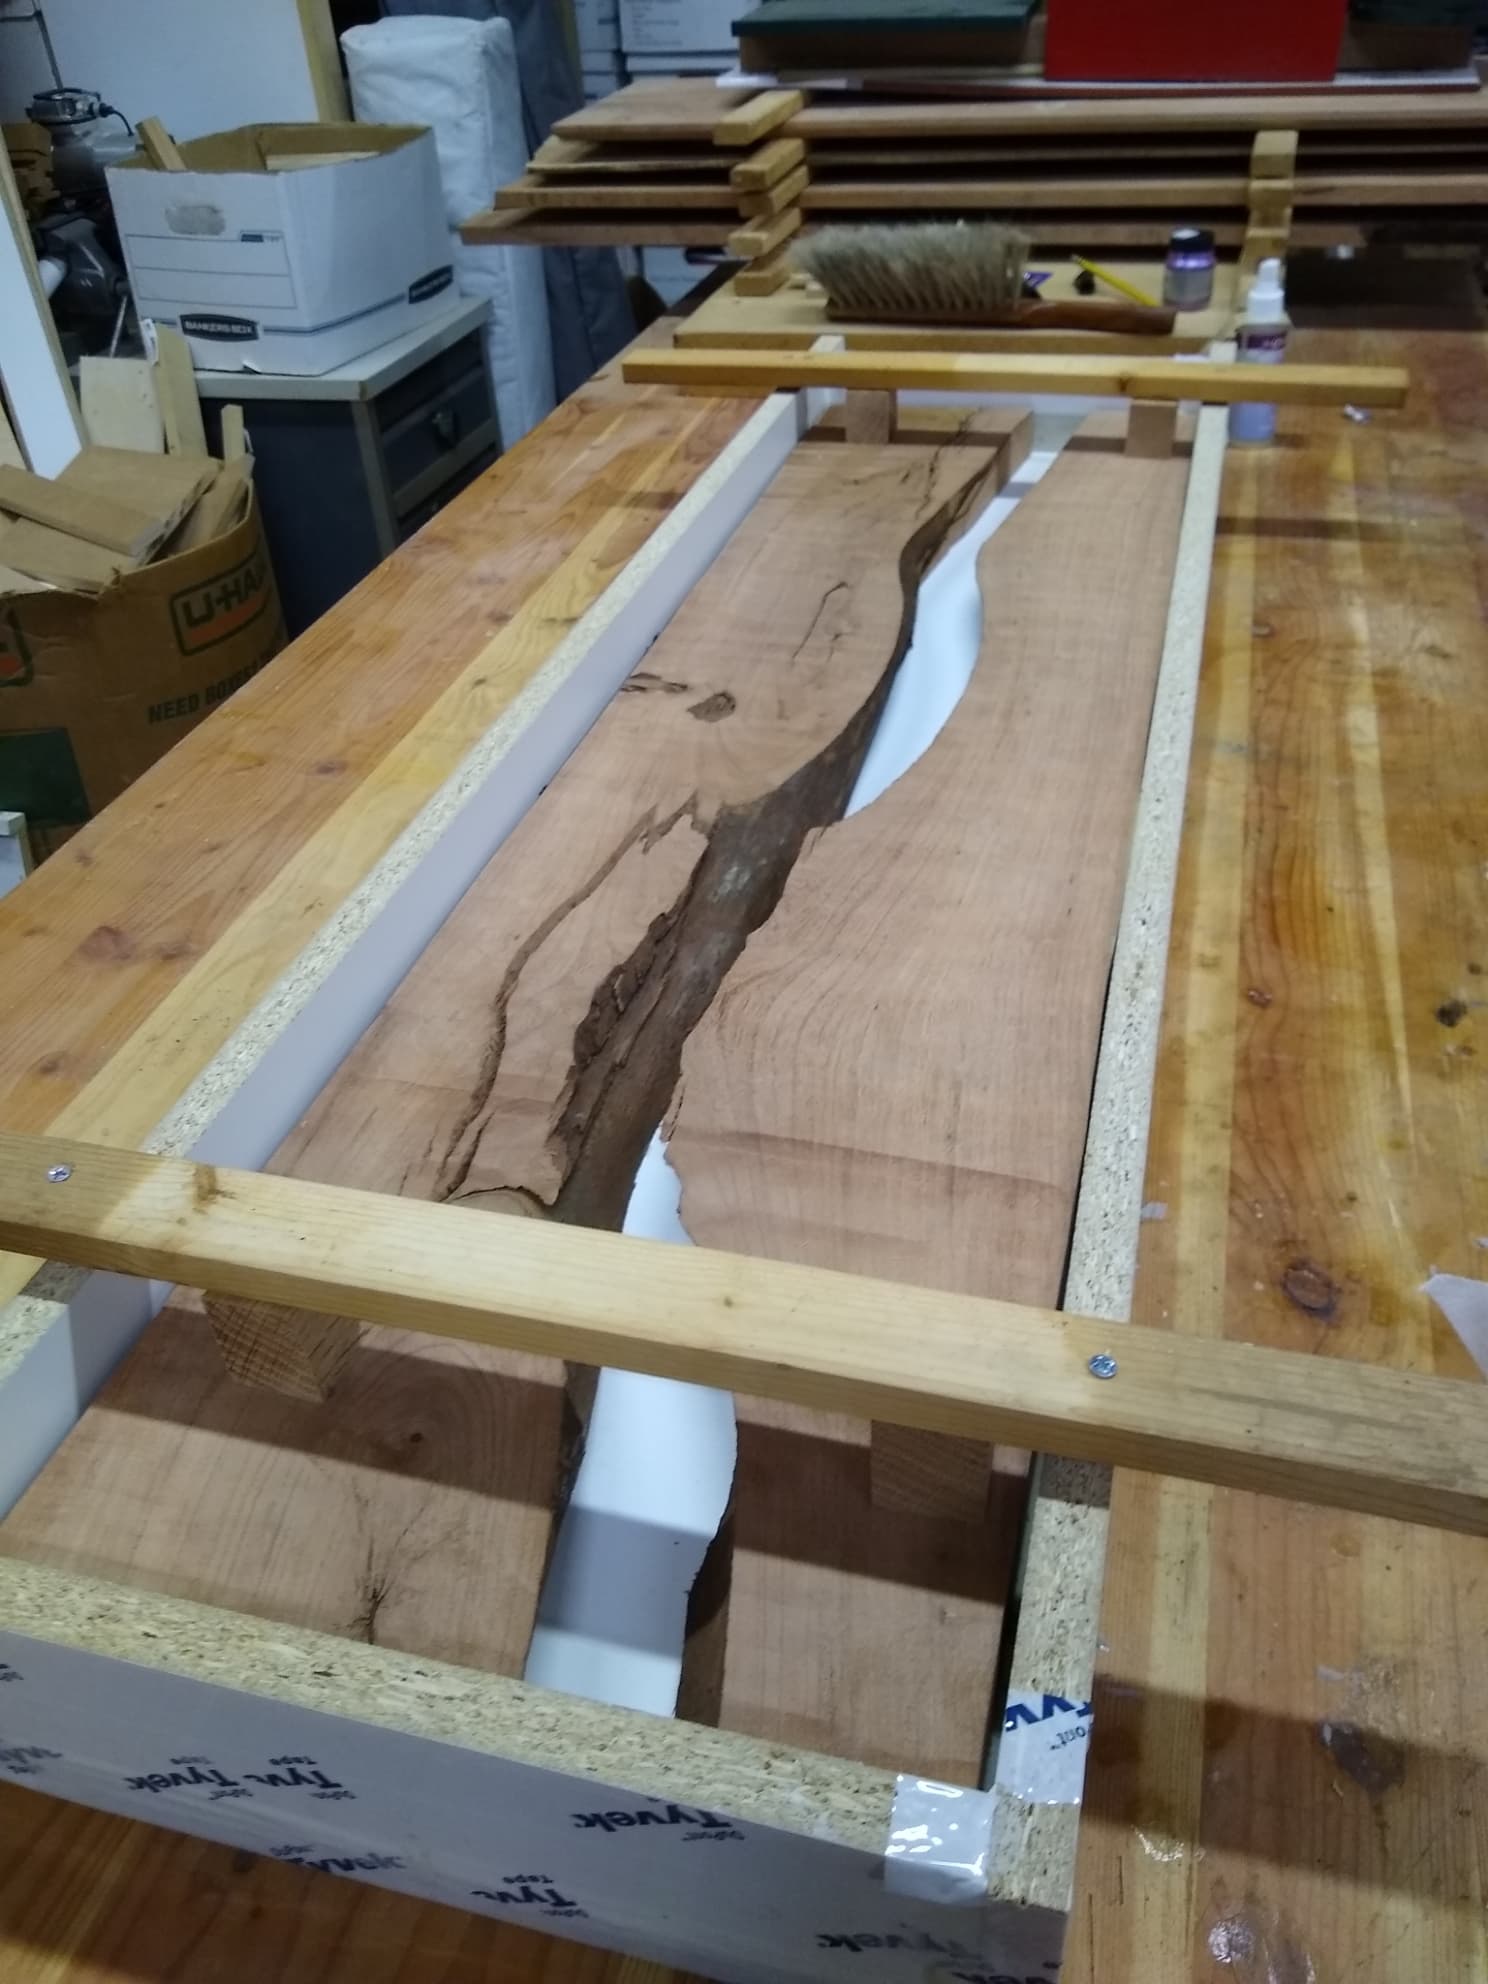
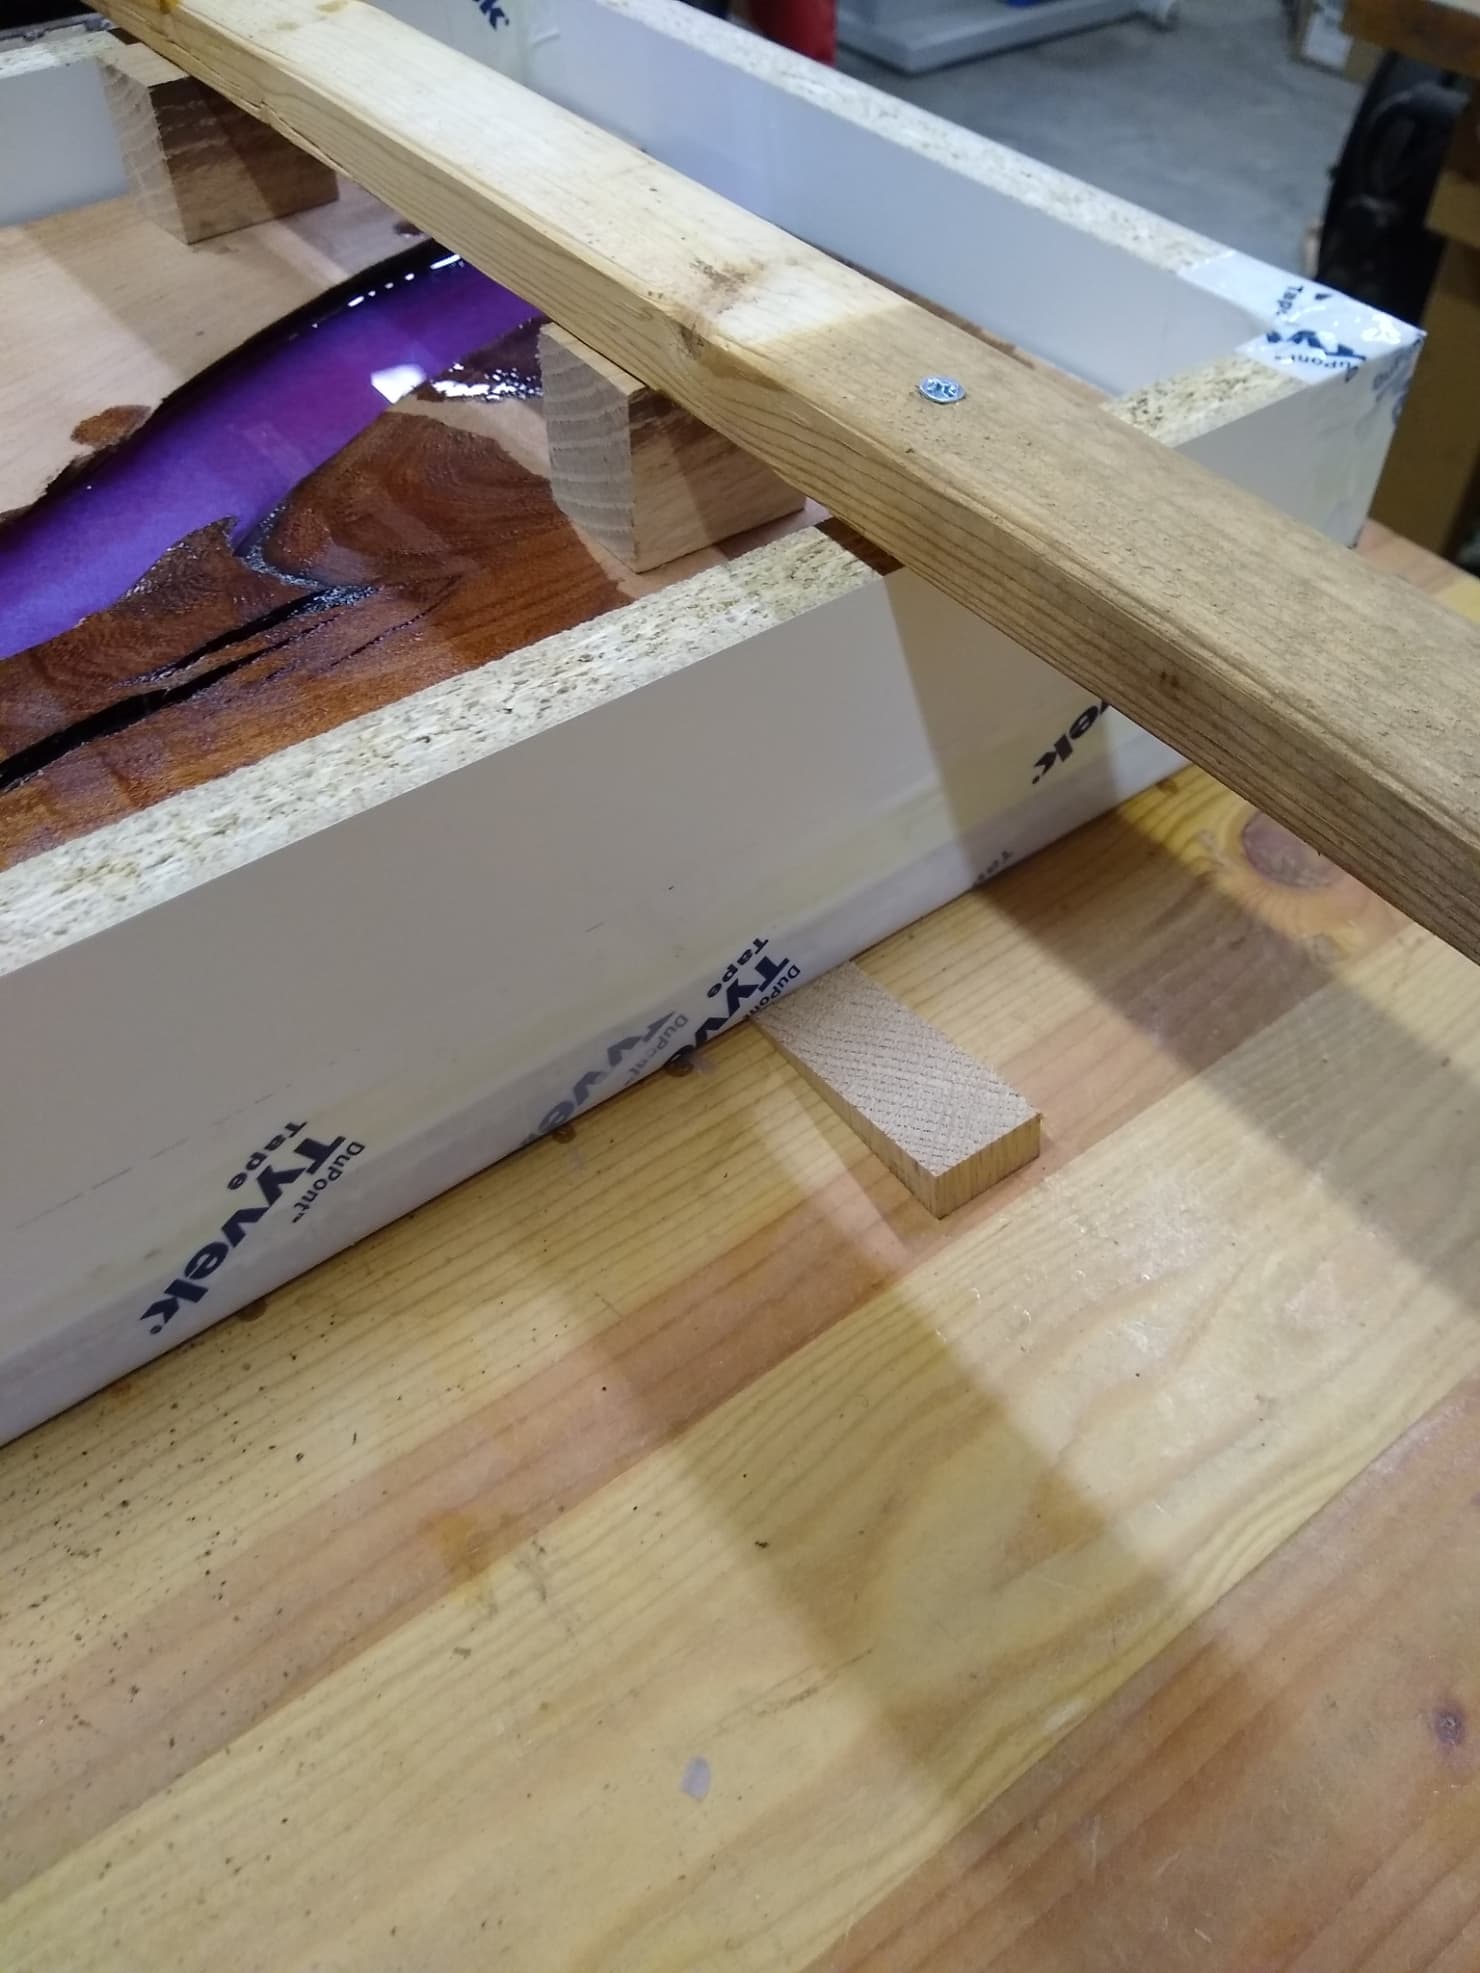
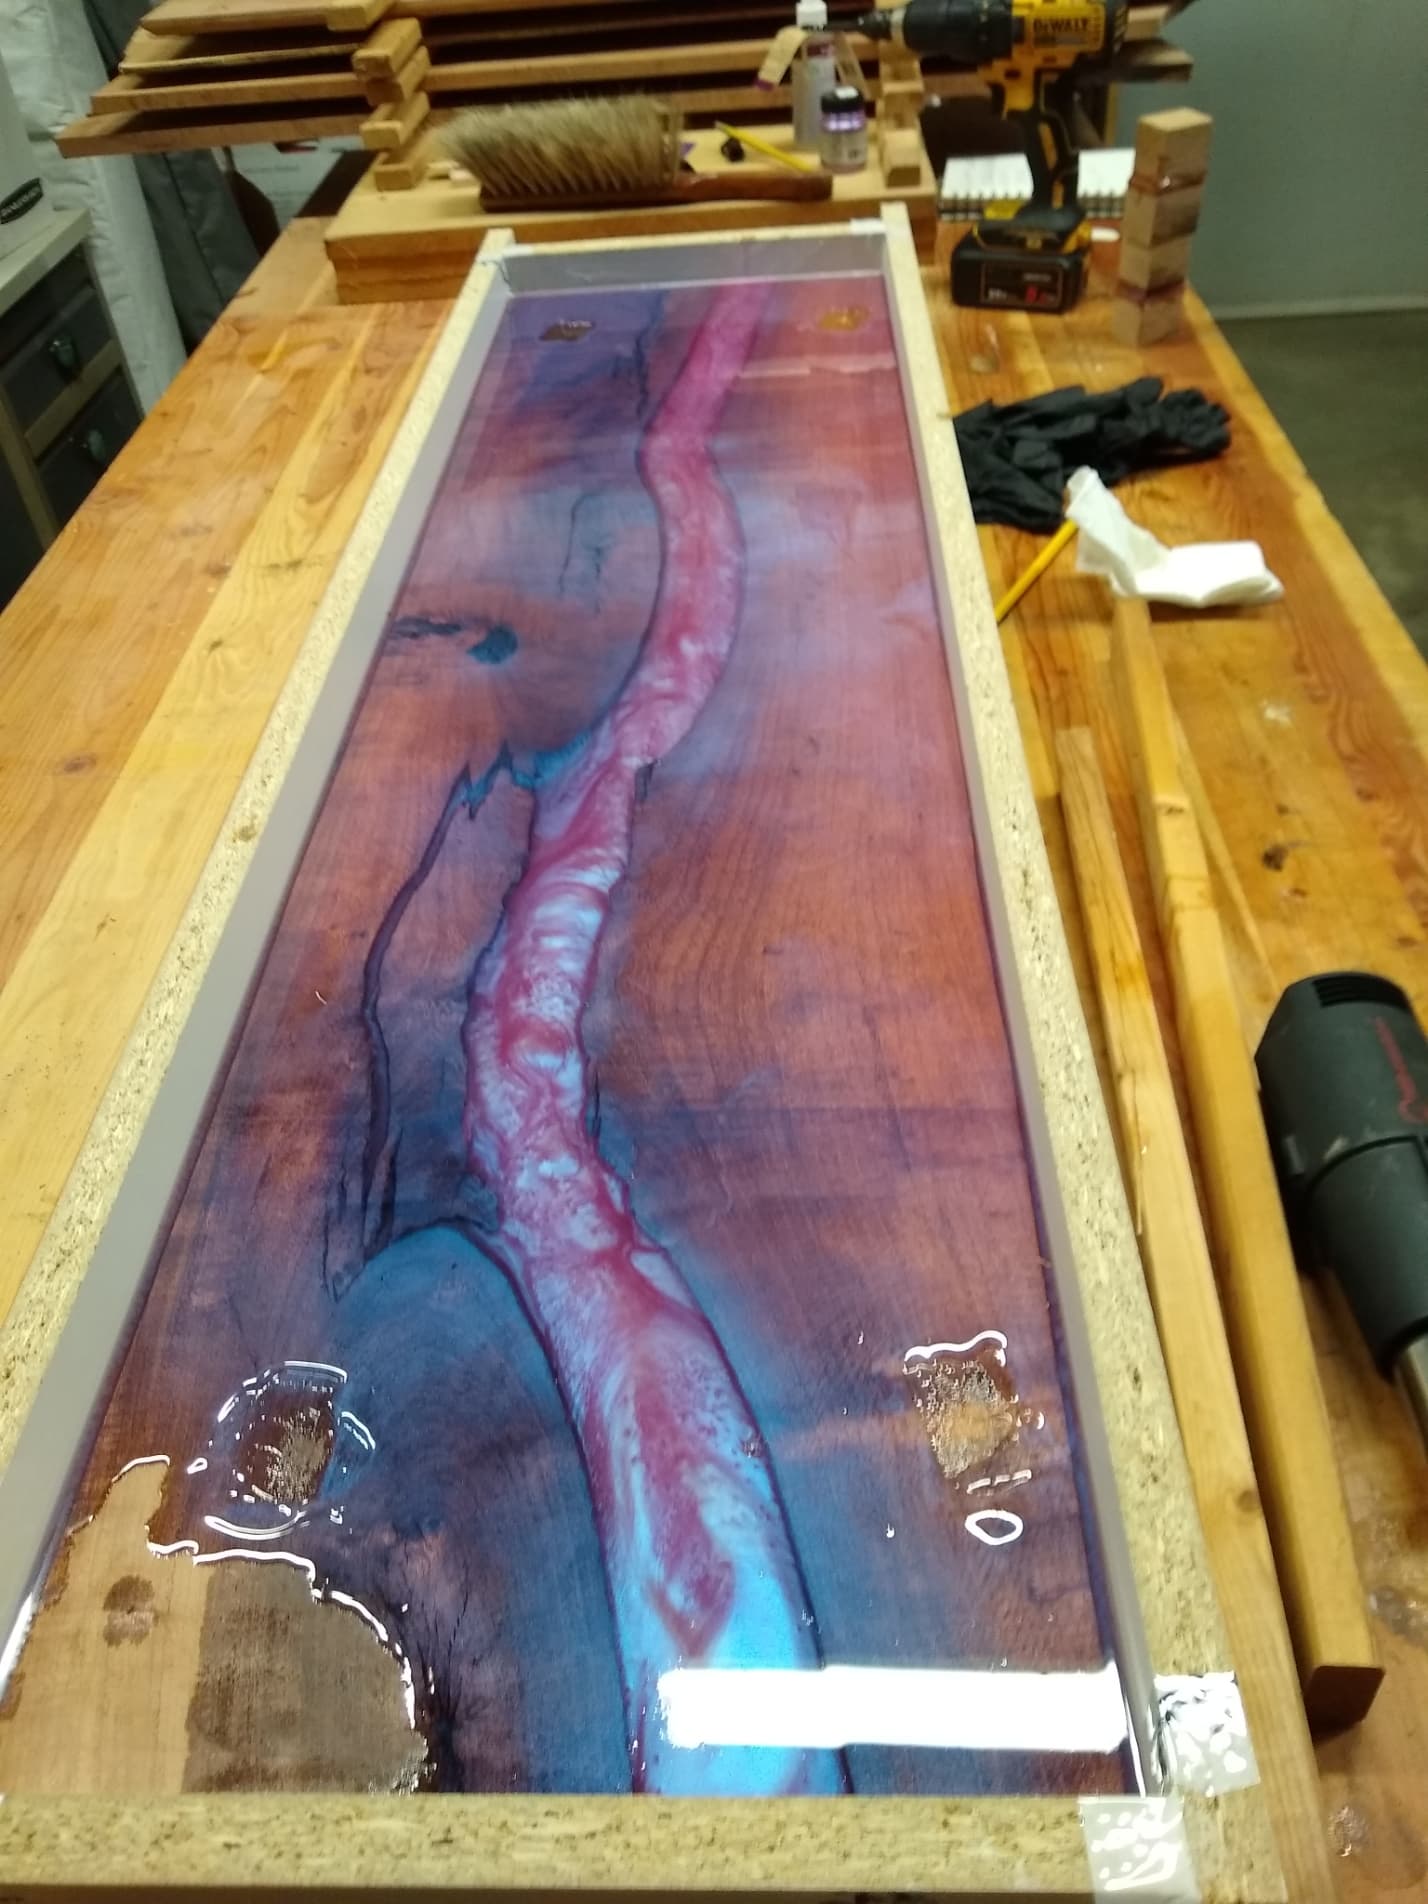
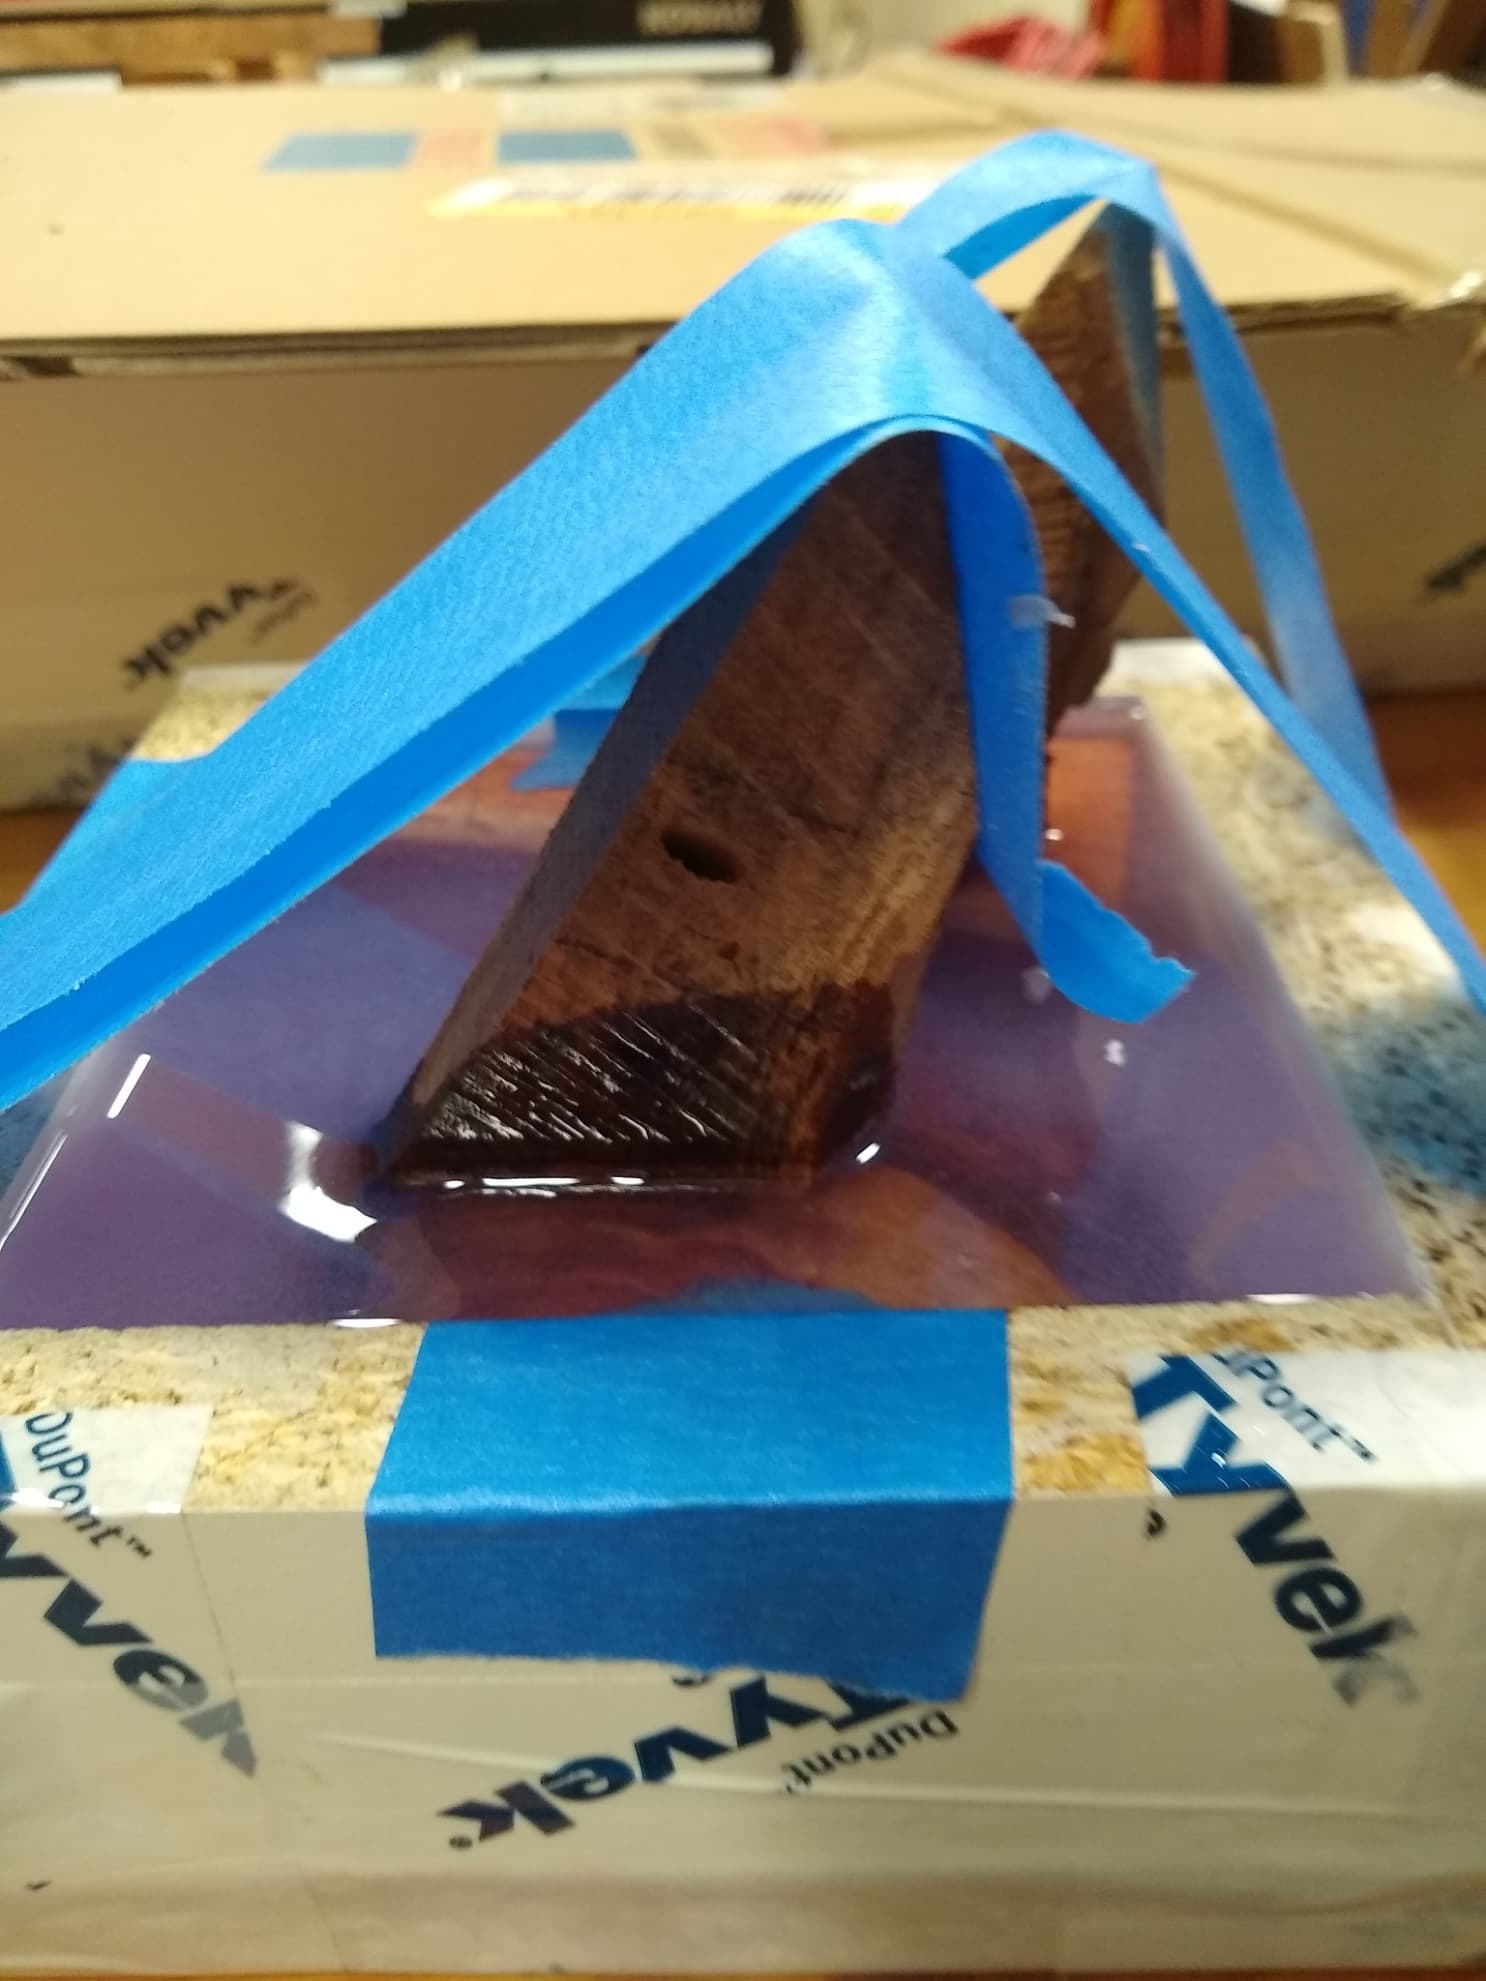
Here is the piece to be filled.

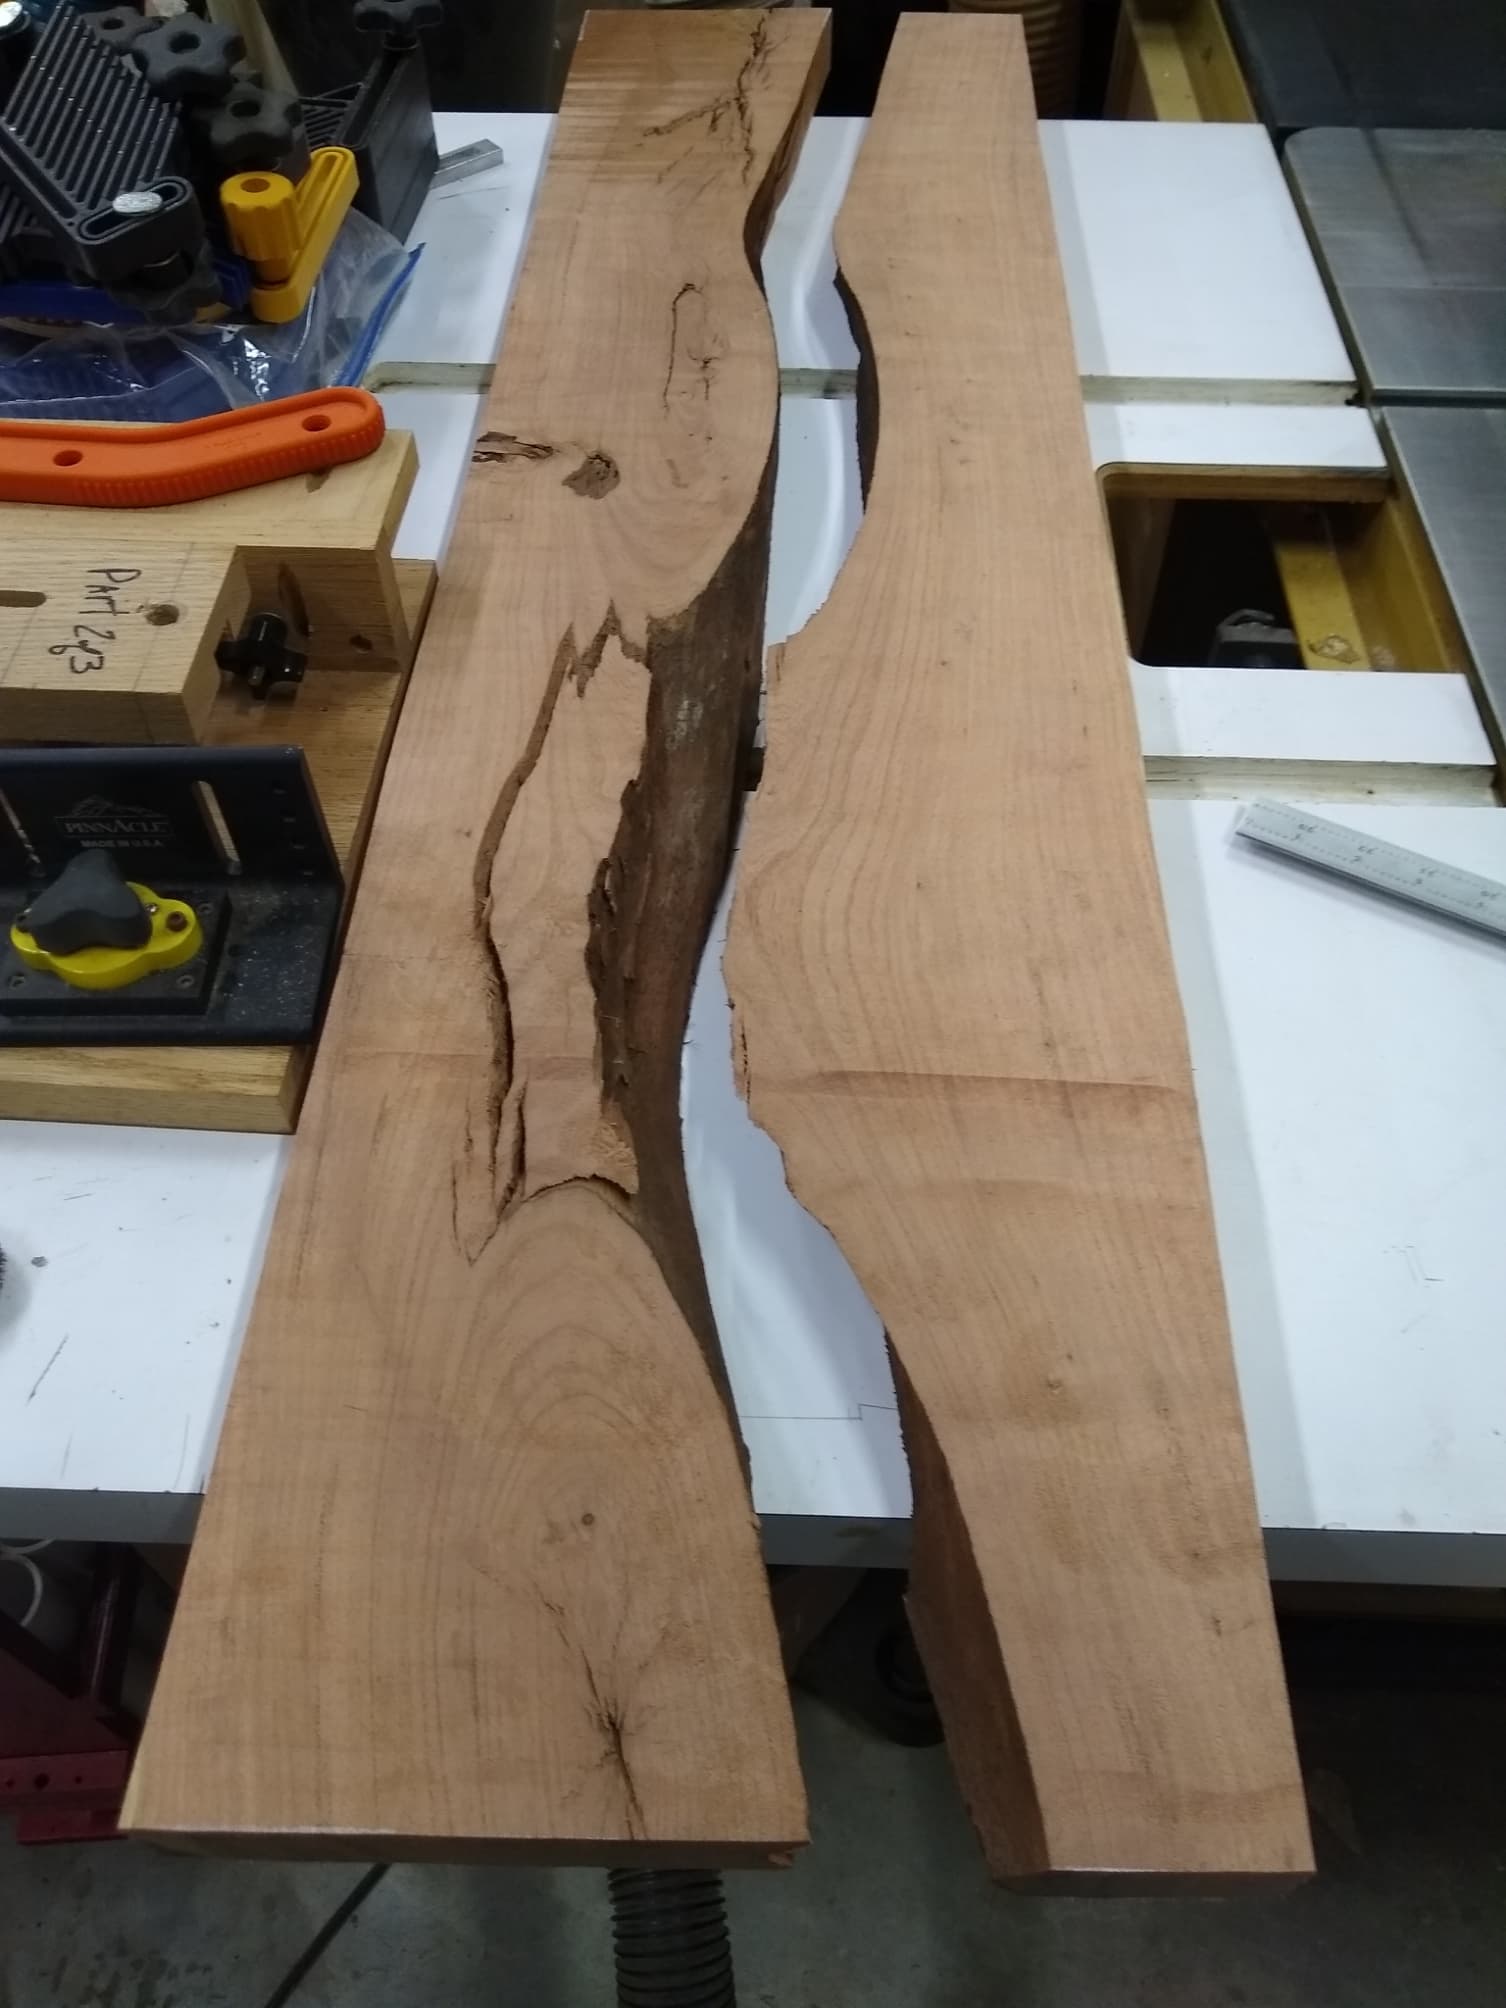
The piece is 45 inches long and will be about 12 inches wide (finished). The channel averages about 2.75 inches and is 2 inches deep.

6 Likes

Could you fill the area partly with a filler material, so that you can use less epoxy? Your coloration would have to be opaque, and the filler heavy enough to sink in epoxy.

@gdon_2003 - I like to mix at least 15% more than I think I’ll need, so with the amount you’re planning, you should be in good shape.
For this depth, do you have a slow cure epoxy? A lot of heat can build up with a 2" depth and 3" width. I prefer to do two pours using 1/2 the volume for each and poured 3-4 hours apart depending on the temperature of your shop. You’ll want the first pour tacky, should be able to leave a fingerprint, but not cured much more than that, other wise you might be able to see the two separate pours.
Two advantages doing 2 pours, less heat and trapped bubbles are less likely. It’s OK, and I would encourage, brushing the epoxy up the edges for sealing too.
This is going to be beautiful knowing your quality of work!

2 Likes

What I have done once is pour sand to fill the space where epoxy will go, then pour that sand into a cup to measure the “volume”. This worked as a reasonable check.

5 Likes

Mike,

Thanks for the advise. I was a little worried about the heat. I have mixed up table top epoxy that can not be more than .25" and the cup gets very hot. I once put it in a plastic solo cup and the cup started to change shape. The Magic Resin says you can do a full 2 inches with their product. I have a scale to measure the product so it would be easy to mix up two batches by weight. The ratio is 2:1.

Tomorrow I will build the mold and get it leveled on the bench and seal it up with Tyvek tape and silicone caulk in preparation for the pour.

I have watched videos where people secure the wood down with various methods. This is mesquite and quite heavy. I was thinking about putting Tyvek tape on the clamp head and clamping on both sides to keep the wood from floating as a precaution.

Additionally I am going to make a few small molds with some wood in them to use in case of the excess epoxy wont go to waste. I will turn them in to votive candle holders for Christmas presents.

I have used epoxy in the past but never at this scale so I think I am prepared. I will find out when the epoxy hits the fan if it starts leaking out the mold. The mold is a 4x8 sheet of melamine that I will cut and form up the mold. The melamine already cut the edge of my finger unloading it because the factory left a razor sharp edge on the melamine. Since it has bloodied me I hope it will be smooth sailing from here.

1 Like

Magic resin is 2:1 by volume. By weight it’s 100:45, at least on the batch I have.
I prefer to measure by weight since it’s so much more accurate than liquid measures.

1 Like

Also, to reduce the chance of bubbles coming out of the wood, you should consider a seal coat first. Use a cheap brush, go over the wood surfaces, and let harden until thick enough bubbles won;t go through it.

1 Like

Yes I am going to seal up the wood in the valley. The tree had this tremendous crack in it and I pried it apart and used a brass wheel to clean up the loose debris and spider webs. Since I am going to mix the epoxy opaque I did not take it all the way down to clear wood but all the trash is gone. I have extensively used epoxy for smaller projects so I am aware that air can come out of the wood itself. I will check it every 10 minutes and have a heat gun to help get the air bubbles out. Magic Resin advertises that the bubbles come out easily but when mixing you are introducing air so you will get bubbles. Maybe they have their formulation made so the air bubbles come up easier than some other brand. Nothing worse than craters on the surface of the epoxy. I believe the Magic Resin is very thin so I will not be able to overfill. I just cannot find any information about if the Magic Resin shrinks some during drying. There are a few other cracks that I will fill and if I have enough I will fill over the top of the wood so if it shrinks I will still have enough after surfacing to get a nice even top.

Thanks for the advise. Please send anymore advise you have. This is already $125.00 worth of epoxy and another $15-20.00 worth of pigment. So I dont want to have a $150.00 dollar mistake. The top is 2 inches thick and I can remove up to .5" combined on both sides if required. I want the top to be at least 1.5" thick.

I hope to have enough epoxy left over to make something like this. We will see.

2 Likes

Guy,
If you are at all worried about leaks, mix maybe 10%, apply that to the edges and let it settle to the bottom of the mold and then WAIT. Seriously, a leaking mold will do nothing but ruin your day and you will find that the extra time it takes to make sure you have none, is time well spent! You don’t need to ask me how I know, because you already do :wink:

Love the “extra molds” which is typically what I do too. It’s expensive material, not to mention your time.

Having said all that, the mesquite is really going to look great with this treatment and I for one am really looking forward to seeing your result :slight_smile:

2 Likes

Got my first pour completed. There were very few air bubbles even though I used a drill mounted mixing paddle. So far so good. I set the phone timer to remind me to go and run the heat gun. The Magic Resin people said I could stir the epoxy to get the color that might settle to the bottom. The epoxy was very viscous and I did not feel much heat while mixing it in the 5 gal bucket. So far I mixed 1/2 gallon of resin and 1 quart of hardener and 1.5 teaspoons of colorant.

After pouring the resin in a measured container I wiped it out with paper towels. Then after measuring out in another container the hardener I wiped that out with paper towels. I put the paper towels in separate cans. When I got through pouring and cleaning up the mixing paddle I put those paper towels in a third can and put all 3 cans outside. Epoxy can get hot and I dont want to start a fire when I am not in the shop.

I used some blocks to hold down the wood so it would not float. I just ran a 1x2 and screwed it to the side of the mold.

I had to put one shim in to level the mold. My assembly bench is where I put the mold and it is pretty level by design.

Here are the epoxy soaked paper towels put outside where if they have problems it will a place they can burn without harming anything. However so far there does not seem to be much heat generated. Better to be safe than sorry. My dog is supervising the cans.

So I will check it every 15 minutes and use the heat gun and test it for viscosity and stir the color if needed.

Fun stuff.

6 Likes

So the second pour is done and now it is time to watch the paint dry. It will 5-7 days before I can surface the top and bottom.

I had some blocks in place to hold the wood down so it would not float up. I removed those this morning so I would not have to saw them off.

This morning the epoxy was a jelly consistently so it was time to remove the blocks.

My calculations on the amount was right on. I have a little epoxy left to make the votive candle holders. I will cut the molds out tonight and try to get them started either tonight or tomorrow.

I used Magic Resin 2" pour and the epoxy never got hot even in the mixing bucket. The air bubbles were almost non existent but I used the heat gun on it last night and again this morning. I like this epoxy but the cure time is 5-7 days. Tonight the epoxy is still quite soft but too hard to mix the colors anymore. The epoxy is like molasses on a cold morning right now. I placed a piece of cardboard spaced up over the mold to keep saw dust and dust off of it while still working in the shop.

2 Likes

So still waiting on the river table but got a mold made for one votive holder and got that poured tonight. I must be living right because both the river table and the votive mold I mixed the exact amount needed.

The pieces on top are just there to keep the inner pieces from floating.

In the morning I will remove the pieces on top because the epoxy will be jelly enough to hold the wood in place (I hope).

5 Likes

That looks great! Yeah, with the slow curing epoxies, there is so little catalyst that the exothermic reaction is very drawn out so you probably saw very little heat generated from the pour too.

1 Like

Along with the epoxy river table I am making a mirror to hang over the table. I just poured the MAS table top epoxy to fill some cracks in the mirror frame. Tomorrow I will flip it over and do the back. It is amazing how hot the MAS table top epoxy gets. I made too much and the cut that the excess is sitting in is quite hot. It has turned cold and it is about 60 degrees F in the shop. So I watched a MAS video and put my Part A in some hot water for about 15 minutes before mixing the epoxy. It seemed to work.

This is a vcarve at the top of the frame. The others are just cracks. I used the same colorant as the river table.

2 Likes

I got the mirror frame all sanded and with some mineral spirits here is what the vcarve looks like with MAS table top epoxy. I got the frame rabbeted out tonight for the mirror on the router table and used a chisel to clean up the corners. Sanded it to 120 and cleaned it with mineral spirits. I will sand to 220 and apply some wipe on poly with about 3 coats but first I will seal it up with dewaxed shellac. I have found that with epoxy inlay you dont need to polish it to 2000 grit. The finish will make it look good. Some turning projects like the votive candle you have to polish that up with Yorkshire grit and then wet sand to 2000 grit.

Here is the half lapped mirror frame after sanding with 80 grit to remove the epoxy over fill.

I thought the vcarve epoxy inlay came out very good. I am trying to finish this table in time for Thanksgiving at my grandson’s house. All the relatives will be there. Now on to making the mesquite coat hangers to put on each side of the mirror. I will again inlay some kind of vine theme around the coat hangers and fill with MAS Table Top epoxy. Getting close to finishing and I am tired of this project. I love making things but at some point you just want it finished, delivered and done!

6 Likes

Got my river table and votive candle out of the molds. Will surface the river table tomorrow. I went ahead and cut a 2" hole that the votive will sit in and will enable me to mount the votive in the lathe to turn it.

I removed 3 sides of the mold and cut the one side down on the table saw. After I get the slab flattened I will trim down the other side.

Votive candle holder

4 Likes

Hey Guy - I’ve done quite a lot of epoxy, as you already know, and one more thing to be aware of is that as it fully cures, it also shrinks. It’s been what, 7 or 8 days since your initial pour, correct? Might want to wait for your surfacing a few more day, up to two weeks total, so you don’t find the level of the epoxy dropping below that of the finished wood. You could always resurface if this does happen though.
Looking good!

3 Likes

The river portion of the table that I over poured shrunk. I went ahead and surfaced both sides and I will let it sit until tomorrow before starting sanding. So if it shrinks more I will let it set more. I am trying to get it ready for Thanksgiving. The weather has been against me so it was a nice clear day at about 55 degrees outside so I got it slabbed. The trimming of one side made a mess in my shop on the table saw with the little shards of epoxy and the slabbing made a mess as well and the static was making the epoxy chips stick to everything. I wear a mask when cutting the epoxy.

I saw a youtube video the other night about a lady that was making jewelry castings and got quite sick from the fumes. She has stopped doing that for a while. So I have enjoyed this table but I dont think I will be making a lot more of these. I also need to cut down the votive candle on the lathe. I have that 12 inch lathe on wheels and usually roll it outside to cut that.

Guy,
This project looks great! I love the idea of filling inlays with resin as well. Did you find any issues with chipping out on the surface when facing it or did you sand those down?

You mentioned wearing a mask while cutting the epoxy and that is a great bit to remind people that this stuff can be much more harmful that our normal wood dust. It is also very important to wear a proper mask during the mixing and pouring. I spent many years in fiberglass production and unfortunately saw many go down due to illness from not wearing the right masks. A normal dust mask does nothing when epoxy is wet and off gassing. Typically you need a OV (organic vapor) style filter during this stage and can be found in both masks or respirator filters.

The table top I slabbed with my Veritas slabbing kit. The mirror frame I samded 60/80 grit and 120. No chip out on either. I posted about Veritas jig you can search that if interested. I added some mire epoxy last night on back of mirror frame last night and a couple of spots on table top. Will harden enough by tonight to sand off


6 Likes