I help a friend doing odd jobs and splitting wood. There is no payment involved because I get to come and go as I please. He cuts down trees as part of the “enterprise” activities.
Last week he showed me a 8 foot long section of a cherry tree with a small end of 26".
“Do you want this” he asked, “Oh yeah !” He is getting it cut at a local sawmill.
I asked for 8/4 sections and whatever else can be derived. The heart is a bit of a mess, but we will see.
If this is freshly cut wood then with 8/4 it will take up to 2 years to air dry. You can get it kiln dried but air dried wood behaves much better. Cherry is a beautiful wood and machines well but does tend to burn easily as @WillAdams indicated. Also as he indicated over time ti turns a darker brown when exposed to UV light. One reason cherry burns so easily is it is full of pitch and you can find little pockets in the wood.
If air drying be sure to sticker the wood and tie it down with strapping to help keep it from warping. There are several sealers available to help the ends from drying too quickly and cracking.
Not as good as the waxed based sealers just some latex paint will work if you dont have anything else. Just paint it on the end grain to help slow down moisture loss and help prevent checking.
I like down cut bits but there are some limitations. Deep slots that are the width of the bit are problematic because the saw dust is packed down (down cut) and can cause your bit to over heat re-cutting the sawdust over and over.
No bit reduces the fuzzies to zero but down cut bits make a smoother top edge over up cut bits. The down cut bits does reduce it and a light sanding usually removed the remaining fuzzies.
The reason for the fuzzies is the wood fibers are unsupported. It is similar to petting a cat. If you pet from head to tail the hair lays down well but if you pet the cat from tail to head the fur gets all messed up. This is similar to the wood fibers. Going with the grain it sticks together better where cutting against the grain tends to get messy. Unfortunately cutting on the CNC you cannot always cut with the grain so you have to mitigate the effects with a few strategies.
One thing is to put a mask on top of the wood like Oramask or adhesive shelf paper. Another way is to put dewaxed shellac over the wood and that helps stiffen up the wood fibers for cutting but can be sanded away after machining. The shellac is a good sealer and works with water or oil based finishes. Shellac is a traditional finish and works well for objects that will not get a lot of wear and tear.
In the end there will always be some fuzzies and you just have to deal with it by sanding. Wood is a natural product and can be unpredictable.
The tree was standing dead. This was the third cut up the tree ( length wise ).
On north side there are some mushrooms started and there is deterioration inboard about 1-1/2" max for about 120 degree around.
It will be stickered and sealed with AnchorSeal.
I have not tried the Shellac approach, but will be soon.
Thank you !
Shellac is a product produced from India. Shellac is the by product of the Lac bug excretions. It is collected and heated and refined. It is then dried and produced into flakes. The flake color is dependent on what the bugs ate. After the excretions are refined and dried it is packaged and sold.
Shellac is defined by the cut. So a 1 pound cut is one pound of shellac flakes dissolved in 1 gallon of denatured alcohol. Generally a 2 pound cut is used but that depends on what you want. You do not not need to produce a whole gallon of shellac but the proportion must be maintained. When the flakes are dissolved in the aclohol wax is released and floats up to the top. Normally you skim off the wax.
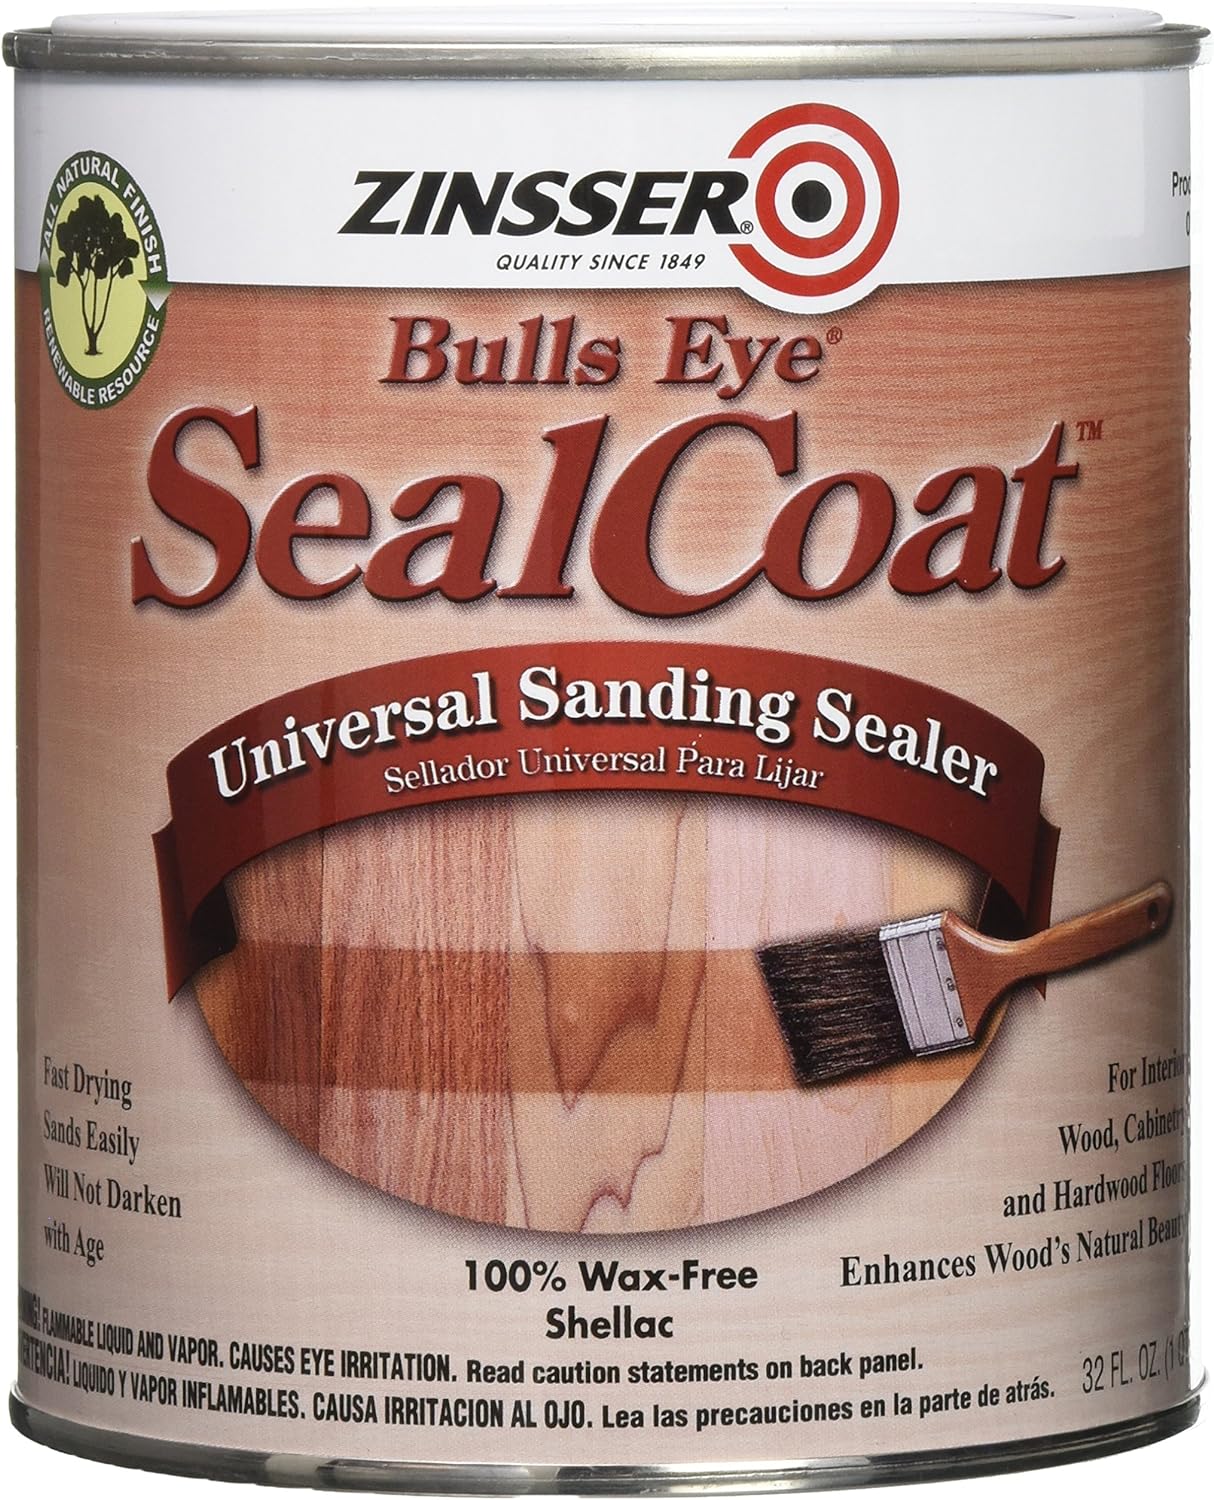
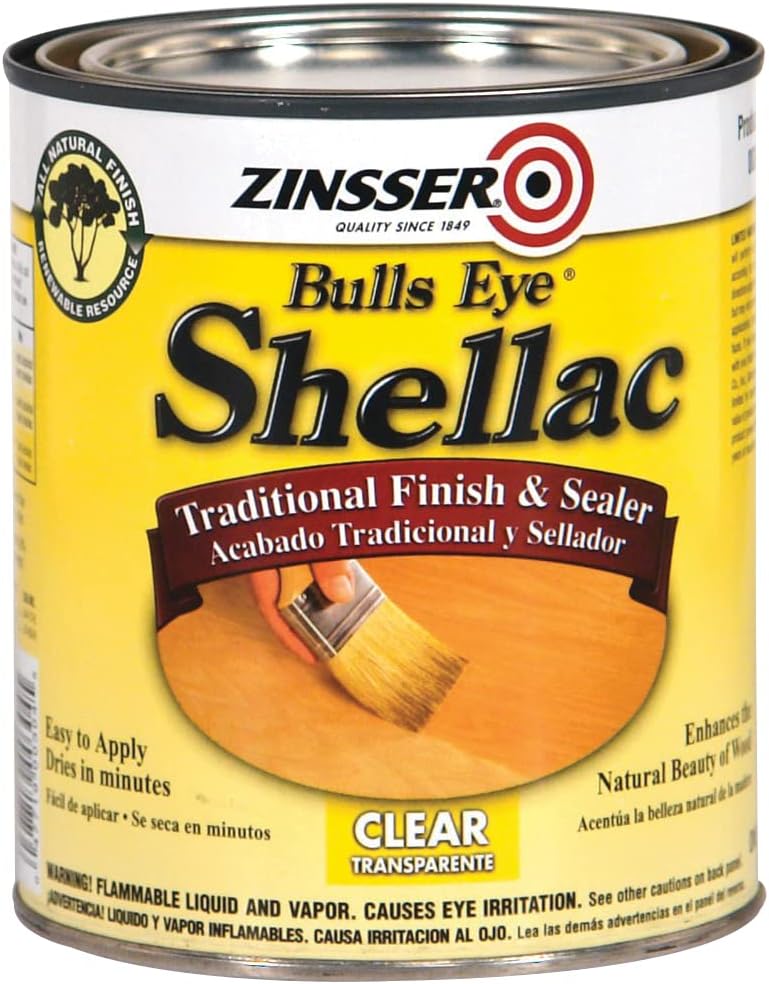
So you can buy shellac flakes and make your own or you can buy Zinsser Universal Sanding Sealer. Zinsser also makes a traditional finish of shellac but that may have wax in it that could interfere with a top coat of polyurethane, lacquer or water based finish. So stick with the Universal sanding sealer to avoid problems with top coats.
Using a sanding sealer usually need 1-2 less top coats of a film top coat. The sealer helps keep the top coats from soaking into the wood and taking more top coats to get a smooth even surface. Plus the sanding sealer helps harden up the surface during machining and also helps if you apply the sanding sealer on a vcarving you are going to paint to keep the paint from soaking into the wood fibers and giving you a halo effect around the painted letters/images.
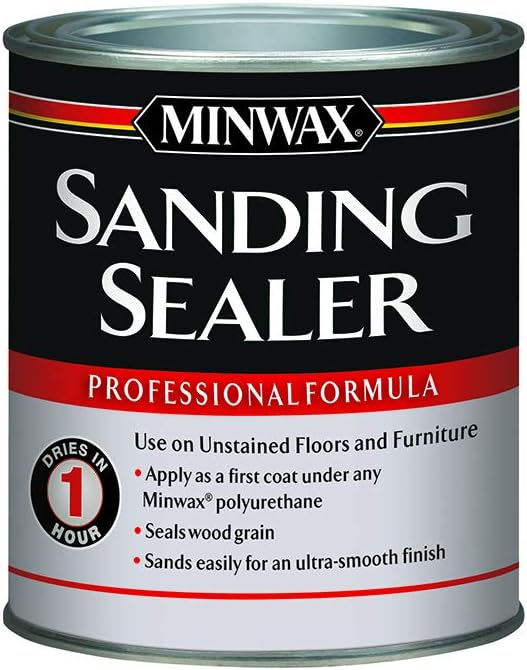
There are other sanding sealers and you would need to research their compatibility with top coats. I use lacquer sanding sealer on turning projects and cellouse sanding sealer on some projects that are going to get an oil finish.
The bottom line is the sealers help with several things effecting wood like the hardness and the ability to soak up finish and/or paint.
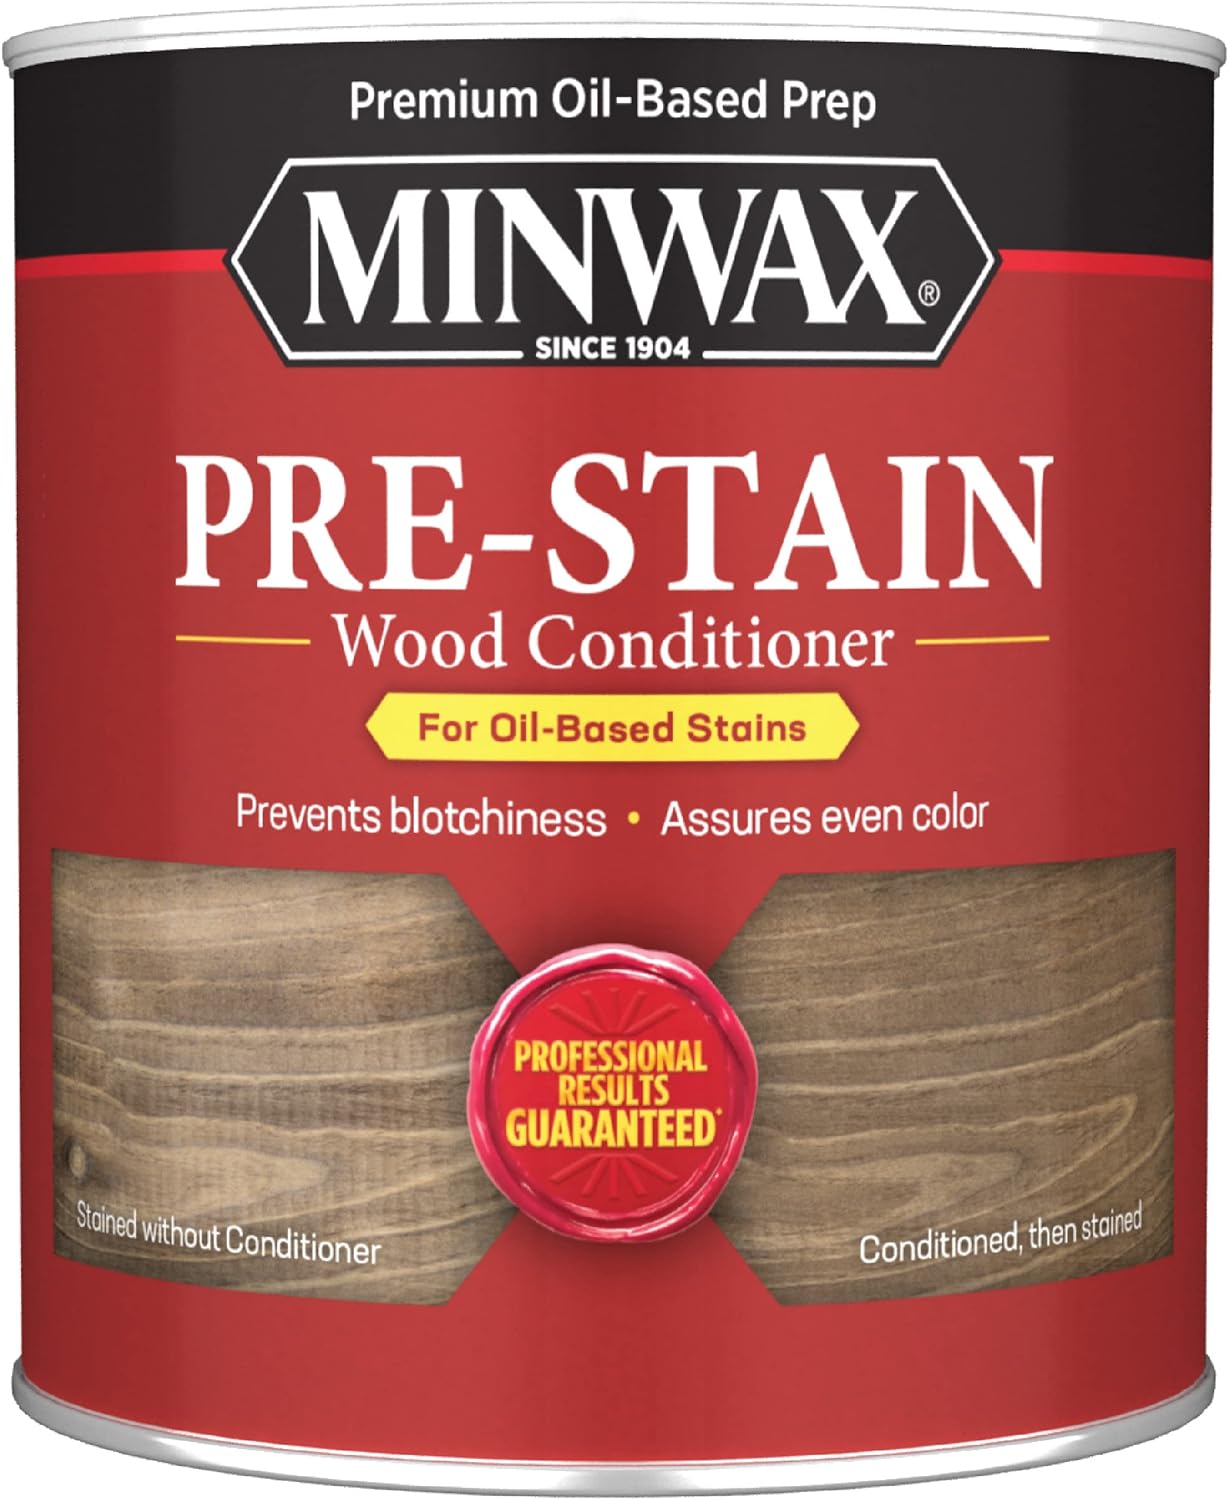
There are some other types of products like the Minwax Pre Stain but that is specifically for oil based top coats but hardens up soft woods so your stain does not blotch but also helps harden up the surface for machining.