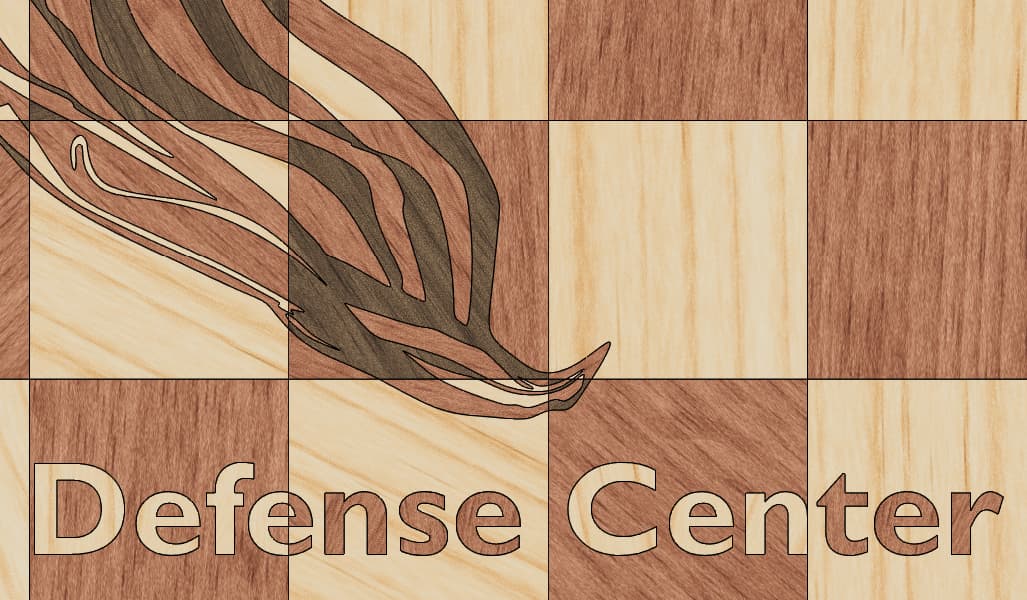
Spent a good portion of tonight working through designing a chess board for a good friend. The plan is to do veneer inlays on the top of the board, and the box will have a bunch of customized engraving.
I’ve been going back and forth on color schemes, and struggeling with wood choices.
I landed on Birdseye Maple and Walnut, with Ziricote as the black highlights.
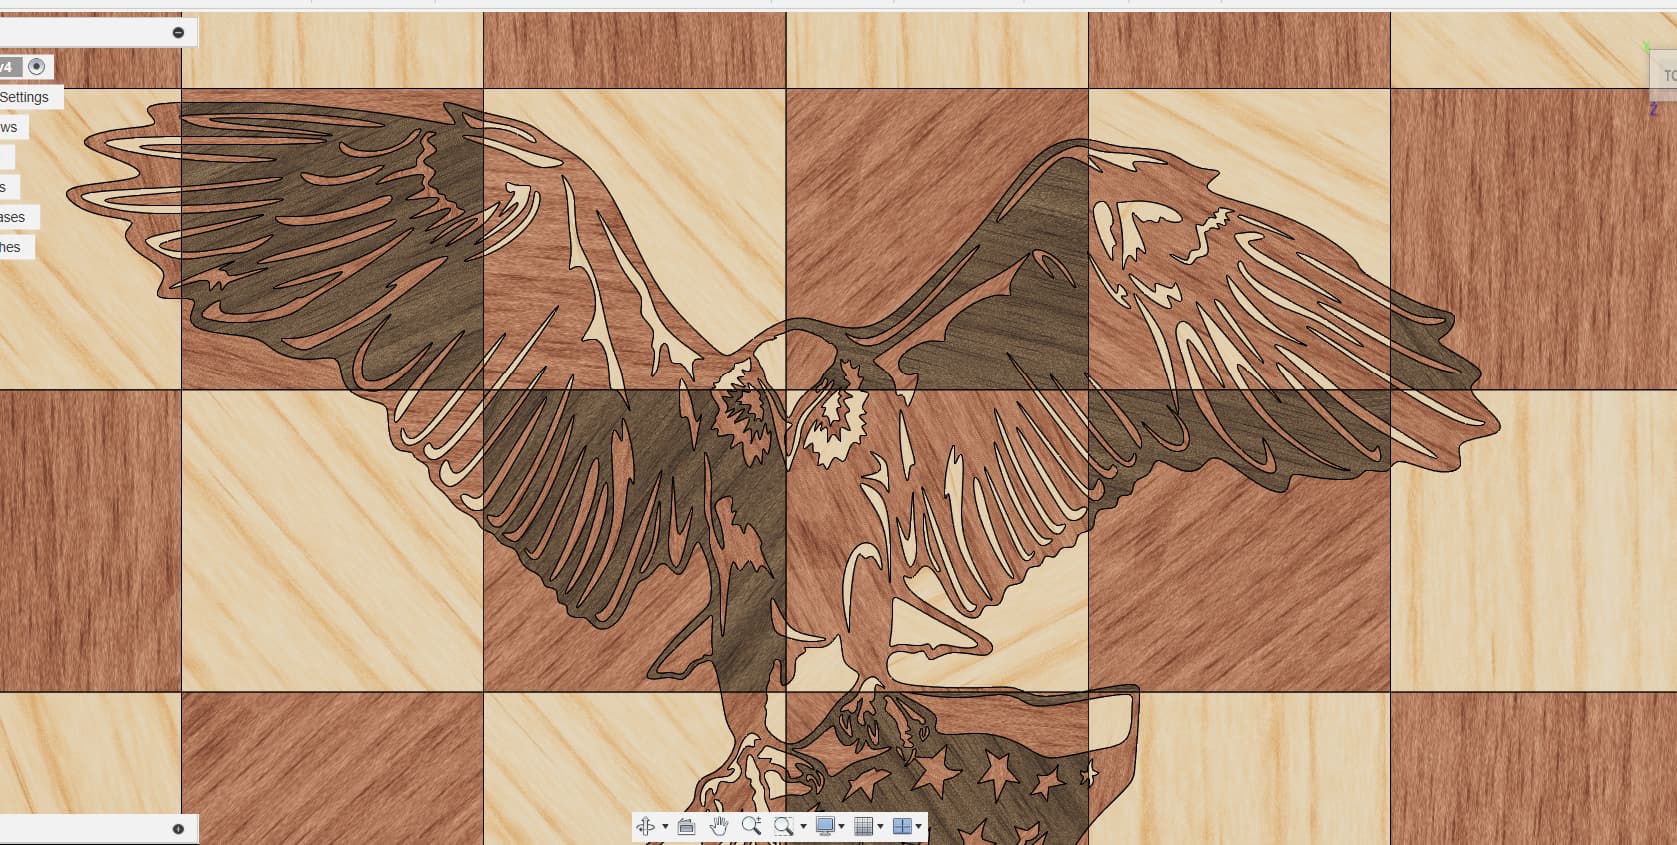
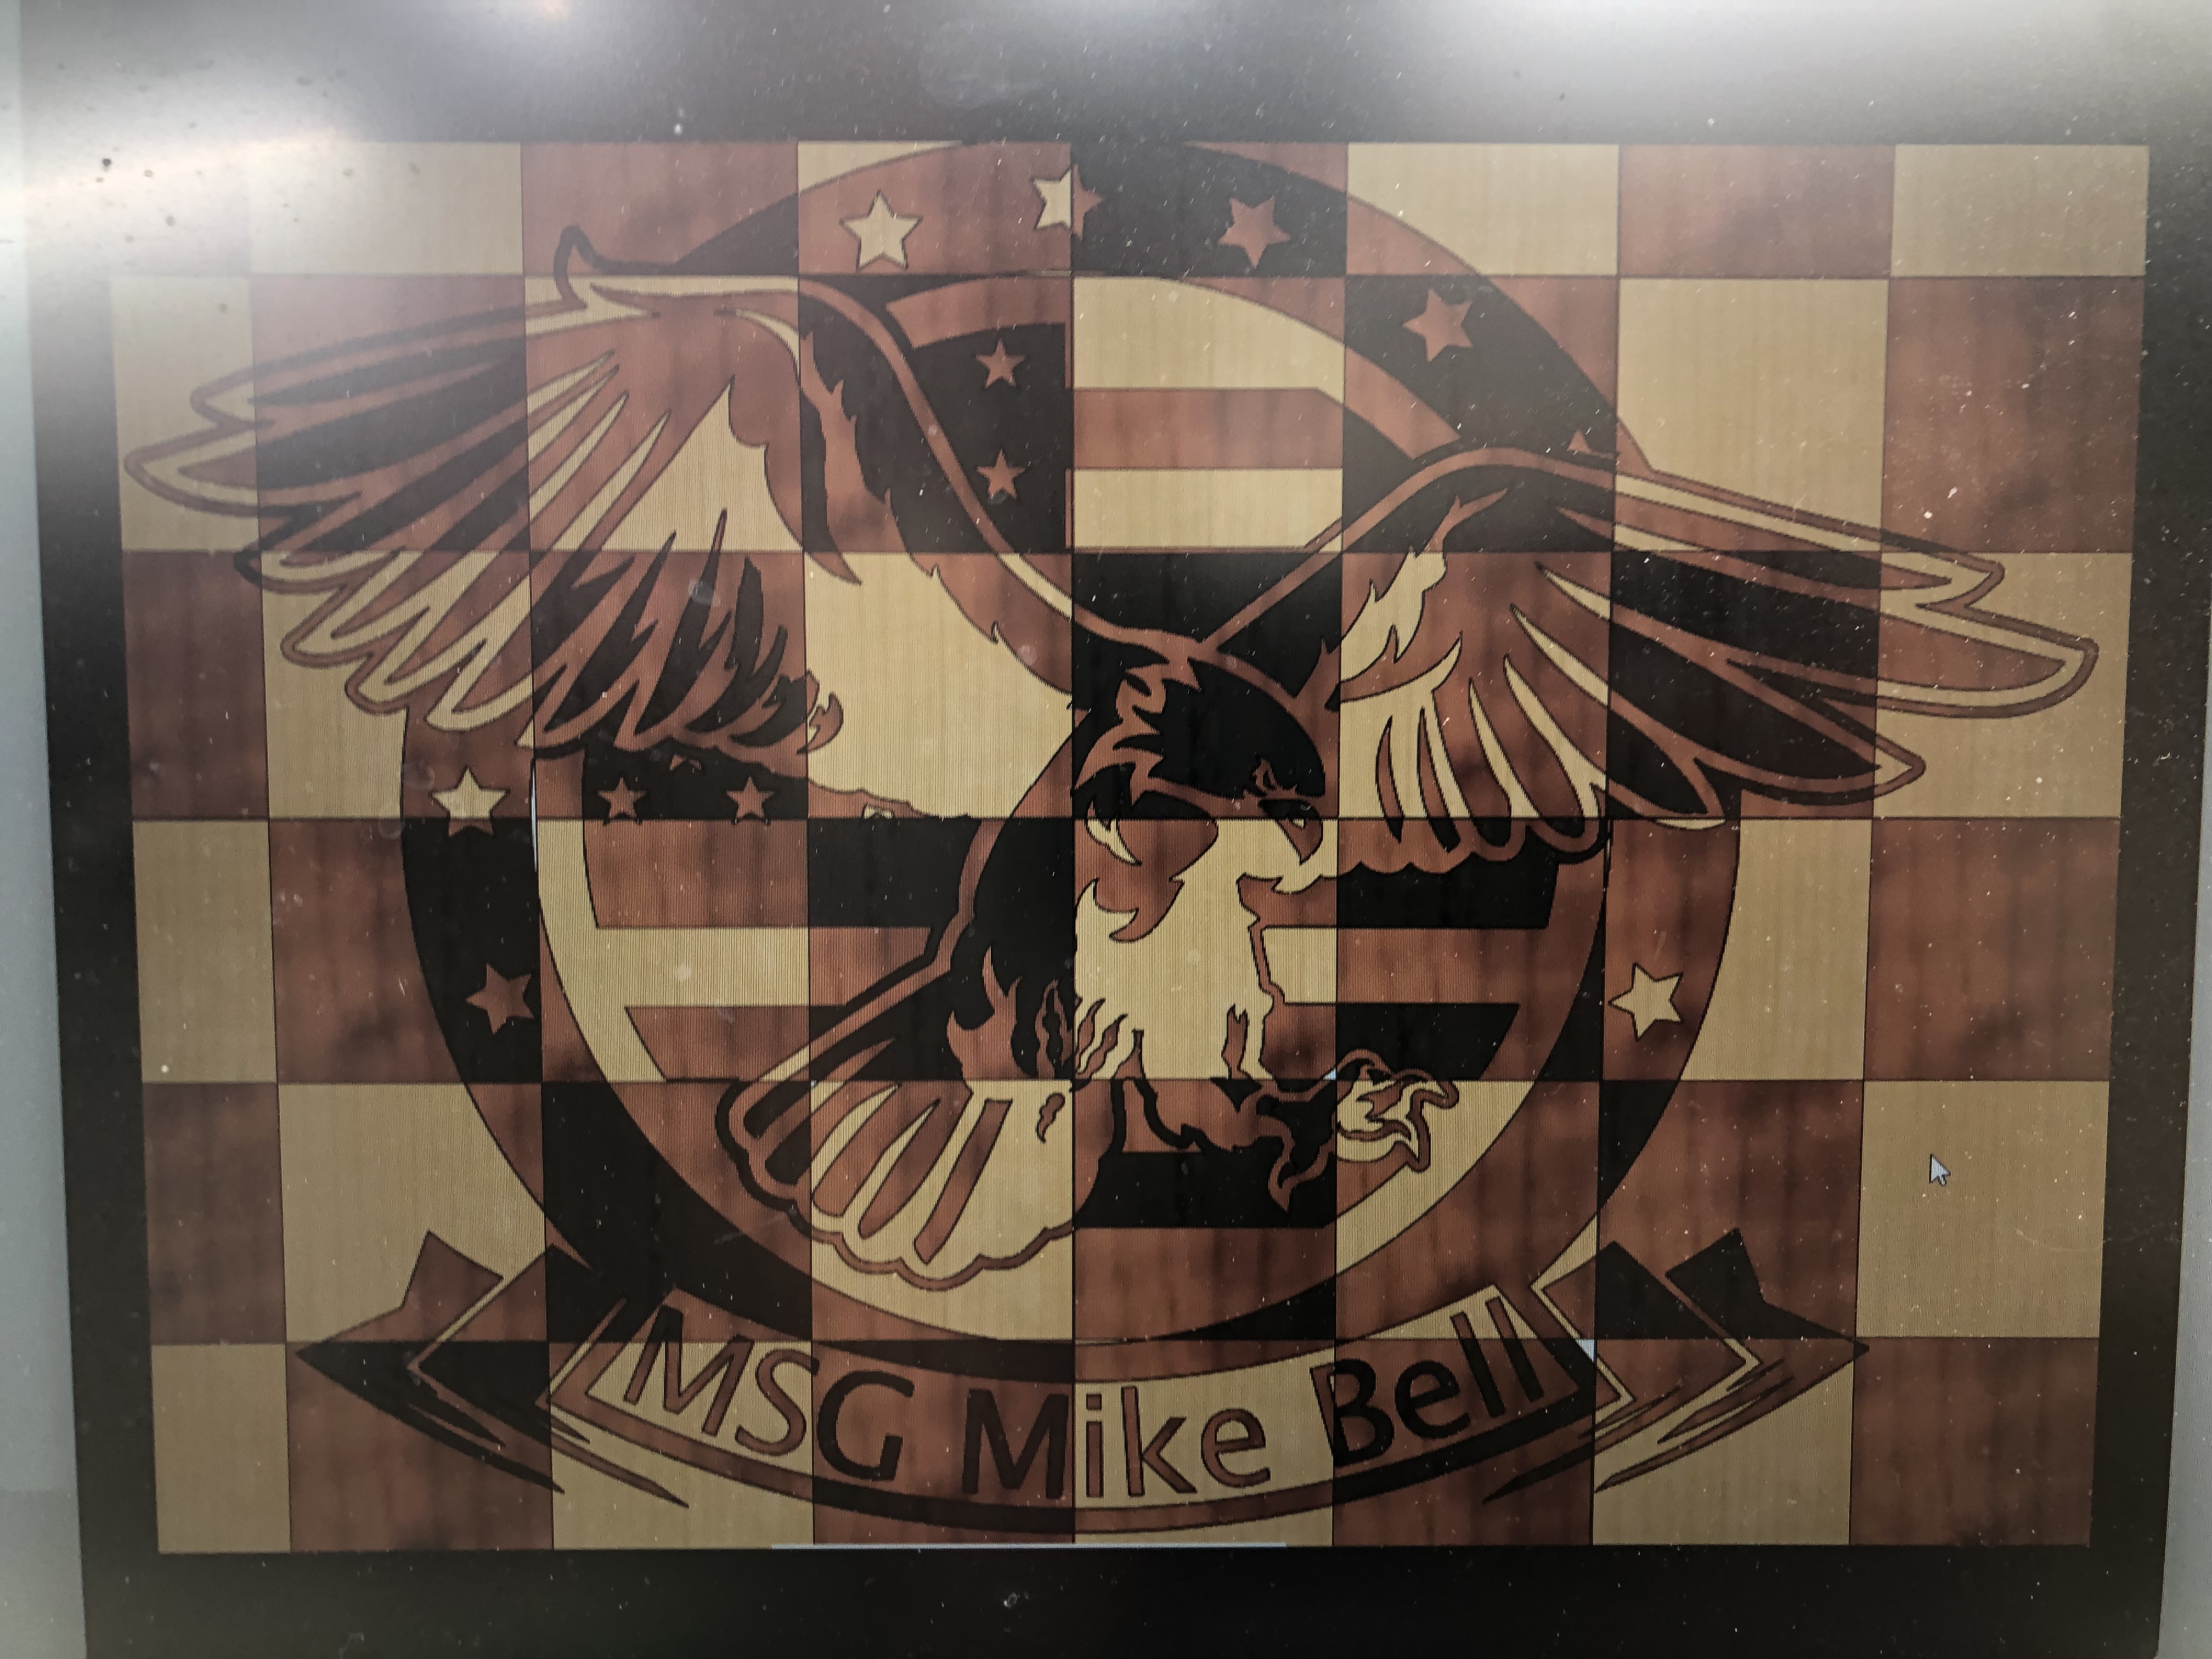
The render right now is maple and cherry with walnut for the black lines. I’m really likeing the colors, but just having a hard time visualizing the end result on this one. I stared at it way to long!
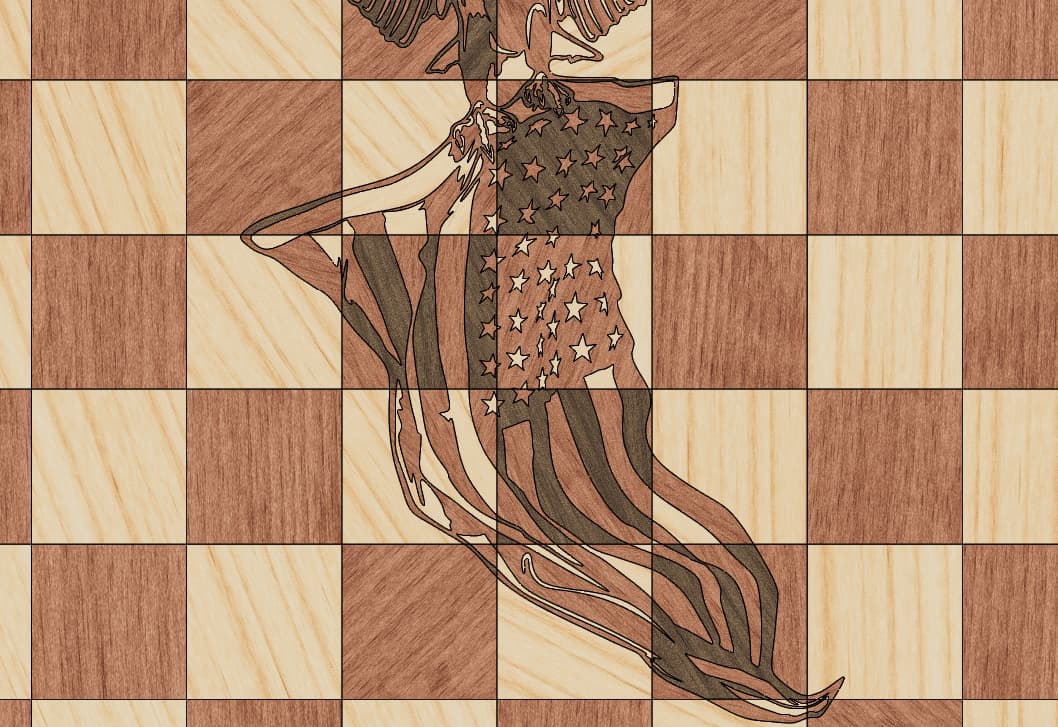
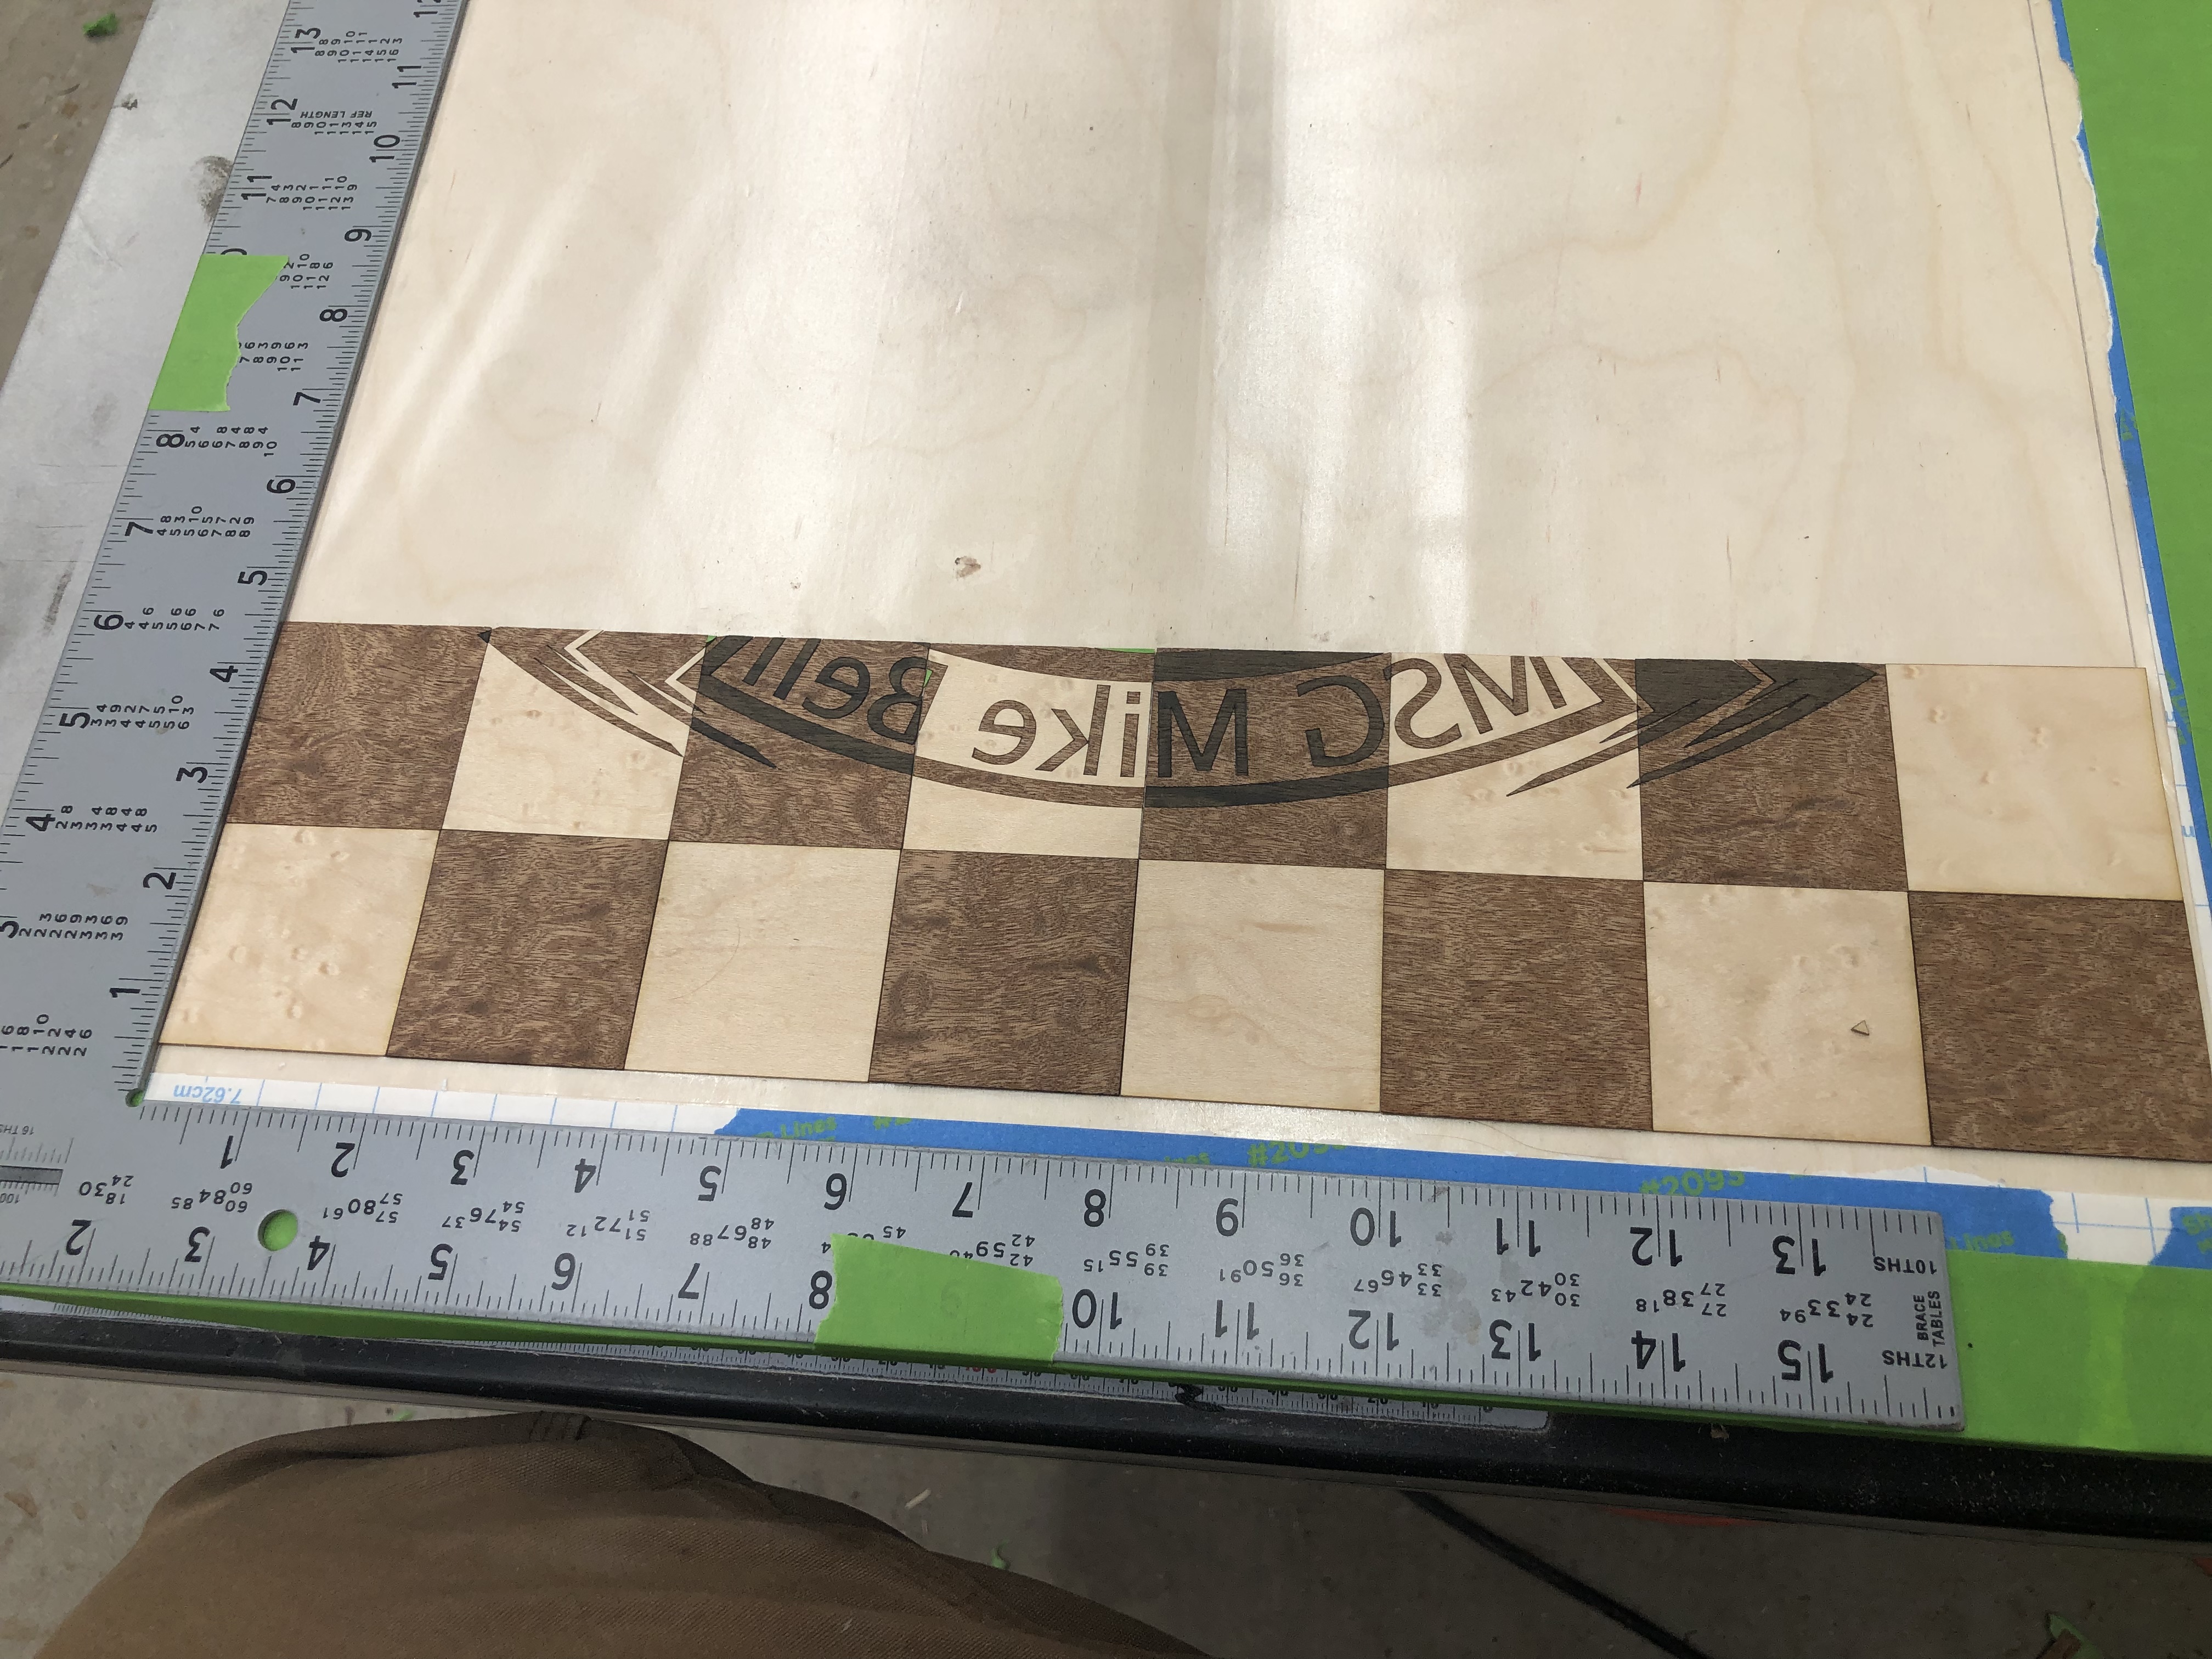
Any suggestions on what would look good and pop? The eagle with the flag with the reverse pattern is only going to work right with the right color of wood grain.
Plan is to start this tomorrow into Saturday, so I have tomorrow afternoon to make a decision
I think the contrast in those pictures is fantastic!! The eagle & flag really stand out nicely, and the squares are still easy enough to see to play. As long as your walnut & ziricote have similar differences in darkness it should look really nice. I really like how you adjusted the angle of the grain around the marquetry
The only consideration I might entertain is using a 4th wood species for the darker areas in the maple squares. Right now you have Cherry with Walnut, and Maple with Cherry.
You could get a more accurate rendering by making your own textures with picture of the actual wood being used. You may have to apply a finish to part of the wood, or some scraps.
As a wall hanger or table topper, fantastic, but have you asked a chess player if they want to play chess on this busy chess board? Or does that really matter?
Incredible looking. Intimidating.
If you are open to ideas for this (not that it isnt great now)…
-is the board going to be flat or is it going to be thicker in height like a box? If thicker, what about putting your writting inlays on the side. The face is pretty busy. Maybe your symbol will pop more alone.
-Sometimes i feel like words upside down can be a bit much, i undestand why, what if the words were on the left and right instead of the top and bottom. Facing inwards so its legable for both players.
-would a boarder around the 64 squares be a possibility and have a vcarve with script for a little elegance in your text
-what about a boarder that is slopped towards the player and do your inlay in that boarder. That would be legable from a distance.
However you do it, im excited to see the final outcome!
I have made a few chess/checker boards. I have made marketry pieces but I cut 2" strips of alternating colors. Glue them together and cross cut them into 2 inch strips. Then glue them onto plywood for stability.
@Tod1d I ended up going through all my veneer and picked out what I thought would be a good combination. It’s nerve racking!
Color combinations are going to be Birdseye Maple and quilted Kispo, with ziricote for the darker lines.
@CrookedWoodTex yeah, he plays a lot so hopefully he can see it. One the sides, I’m going to inlay the birdseye maple lettering and numbers for each square.
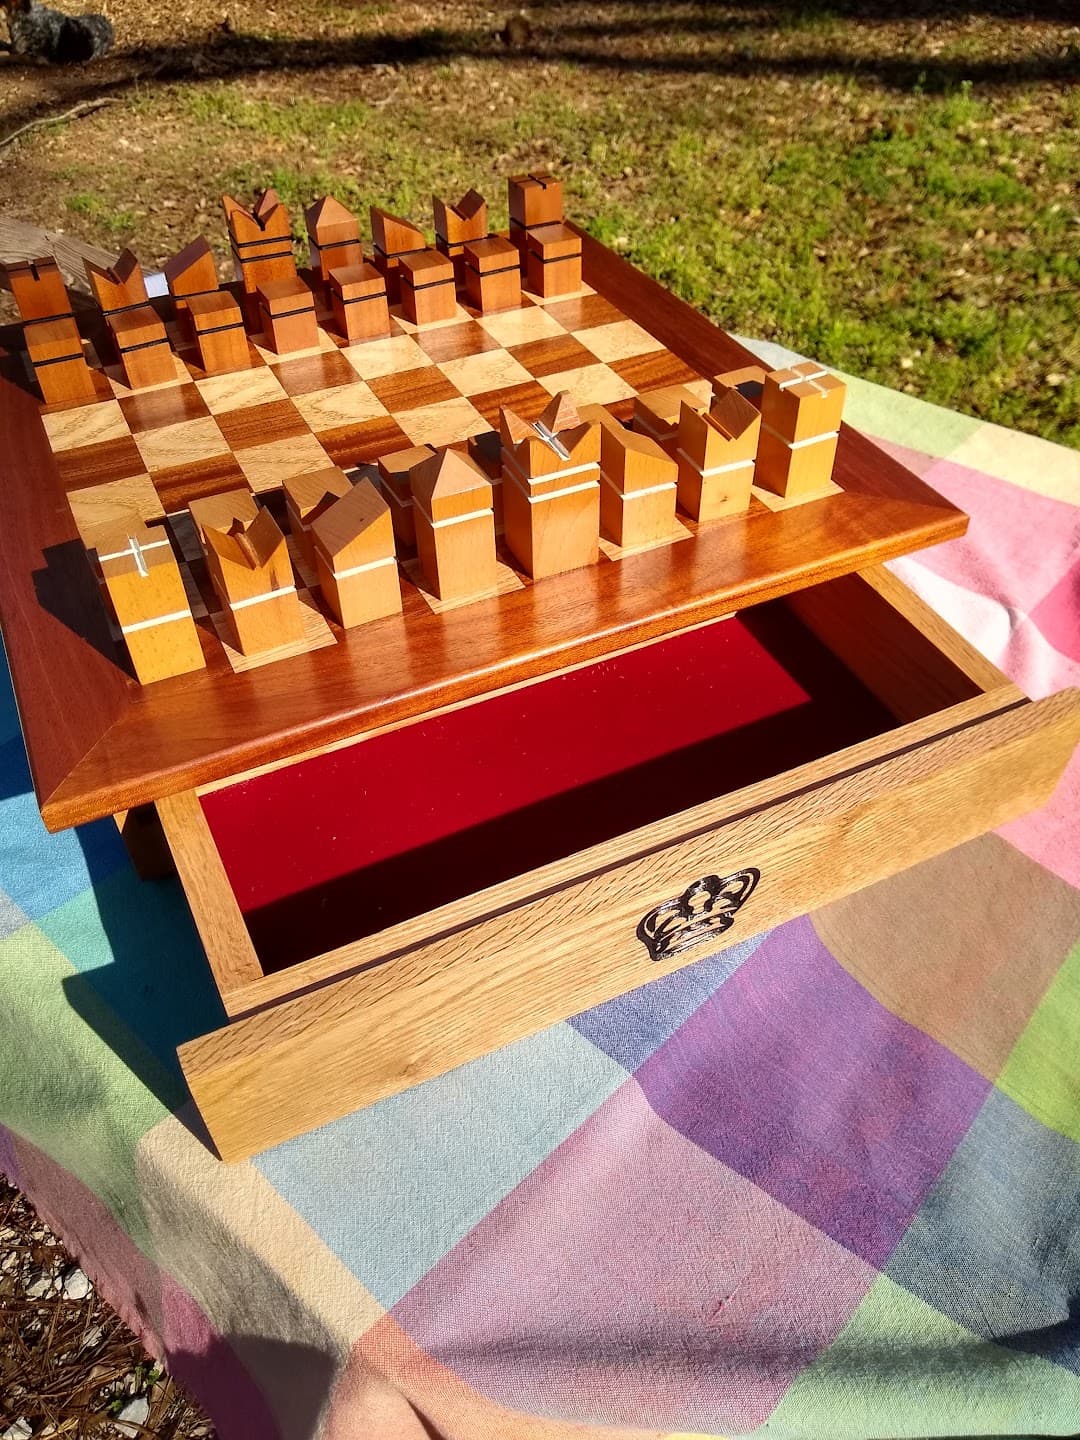
@Varty5 I’m going to do a flat box, and your are 100% right, I’m going to move the letters onto the sides of the box. I’m planning right now to do a sliding mitre for the top, as the chess board portion will slide open exposing the chess pieces. But yeah, looking at the drawing this morning and it’s just too busy on top.
Should turn out pretty good, but counted the number of veneer cuts and it’s up into the 300 piece range. That can be super painful!
I think I agree with the comments about putting the words on a border, although I don’t feel very strongly either way.
Does your figured maple look good on its end grain, or is that not the plan? That was my only concern but I feel silly saying it to you. You’re one of the guys I’d be asking for aesthetic advice from…
@MarkE thats what makes this forum so great of a place to share ideas, I learn something every time I log in. It’s nice to have such a great community of makers sharing ideas.
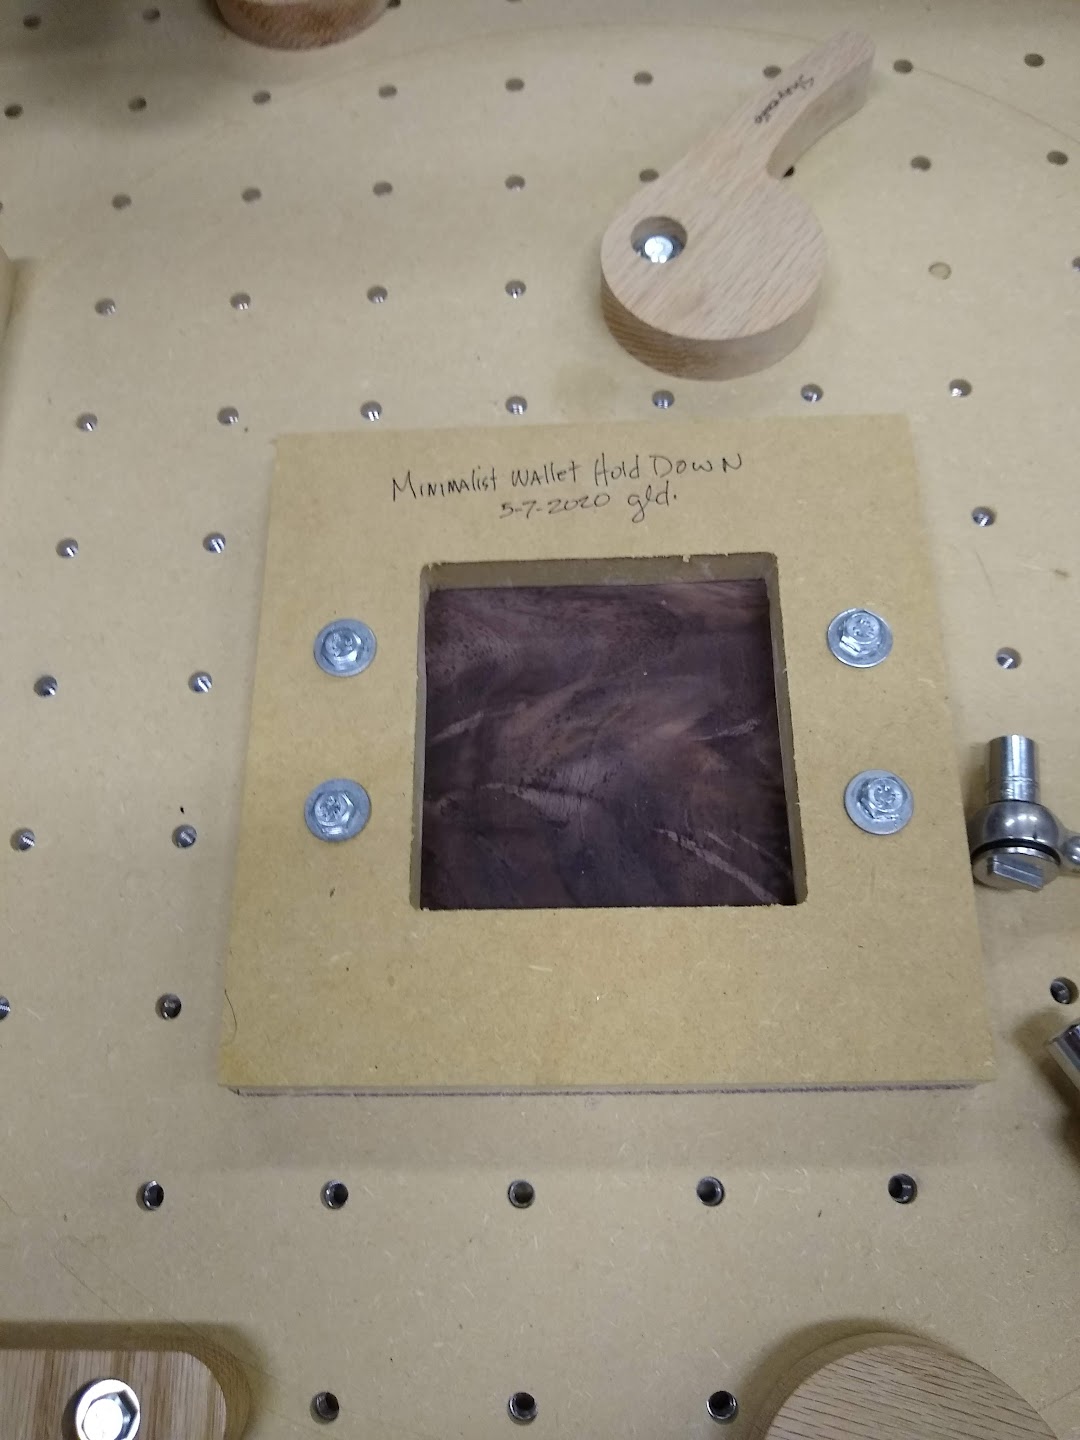
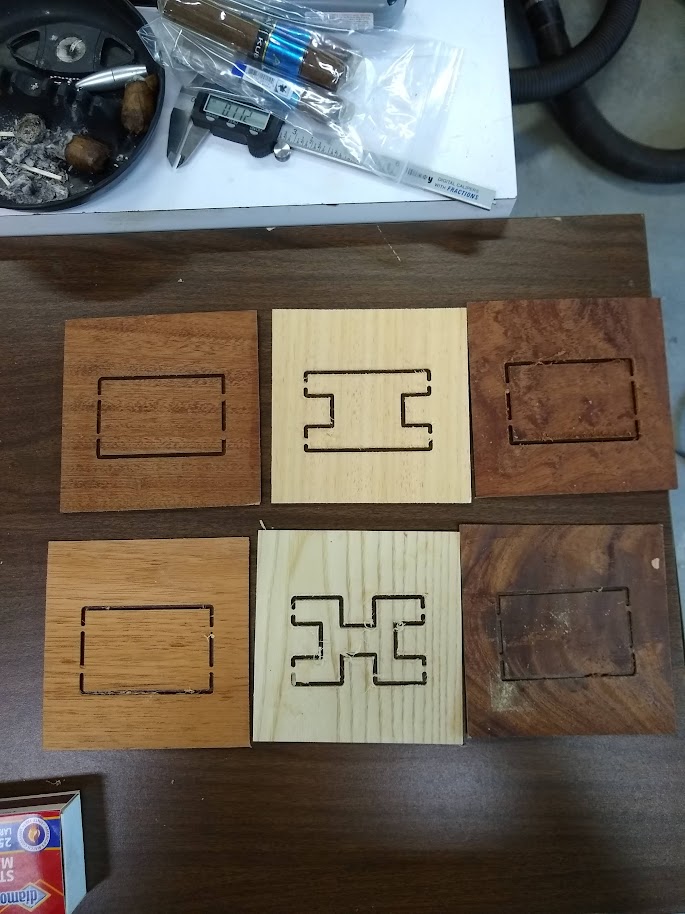
The veneer started out much bigger so I made a jig to hold the veneer while I cut it on the table saw. Then I used the above jig to hold the veneer flat to the spoilboard while I cut it out. Of course the bigger your veneer the more likely for it to pucker so if possible keep it small.
Here is the jig I used to trim the veneer down to manageable sizes.
The cutting jig is a variation on a jig I used for cutting half rings square for segmented turning. The bar across the right is clamped down to the base board. There is a runner on the bottom. You assemble the jig and run it through the table saw blade to create a zero clearance cutting guide. Then just clamp the veneer down and cut it in to manageable pieces. The jig was made out an old spoilboard that had been replaced. I hate to throw good stuff away.
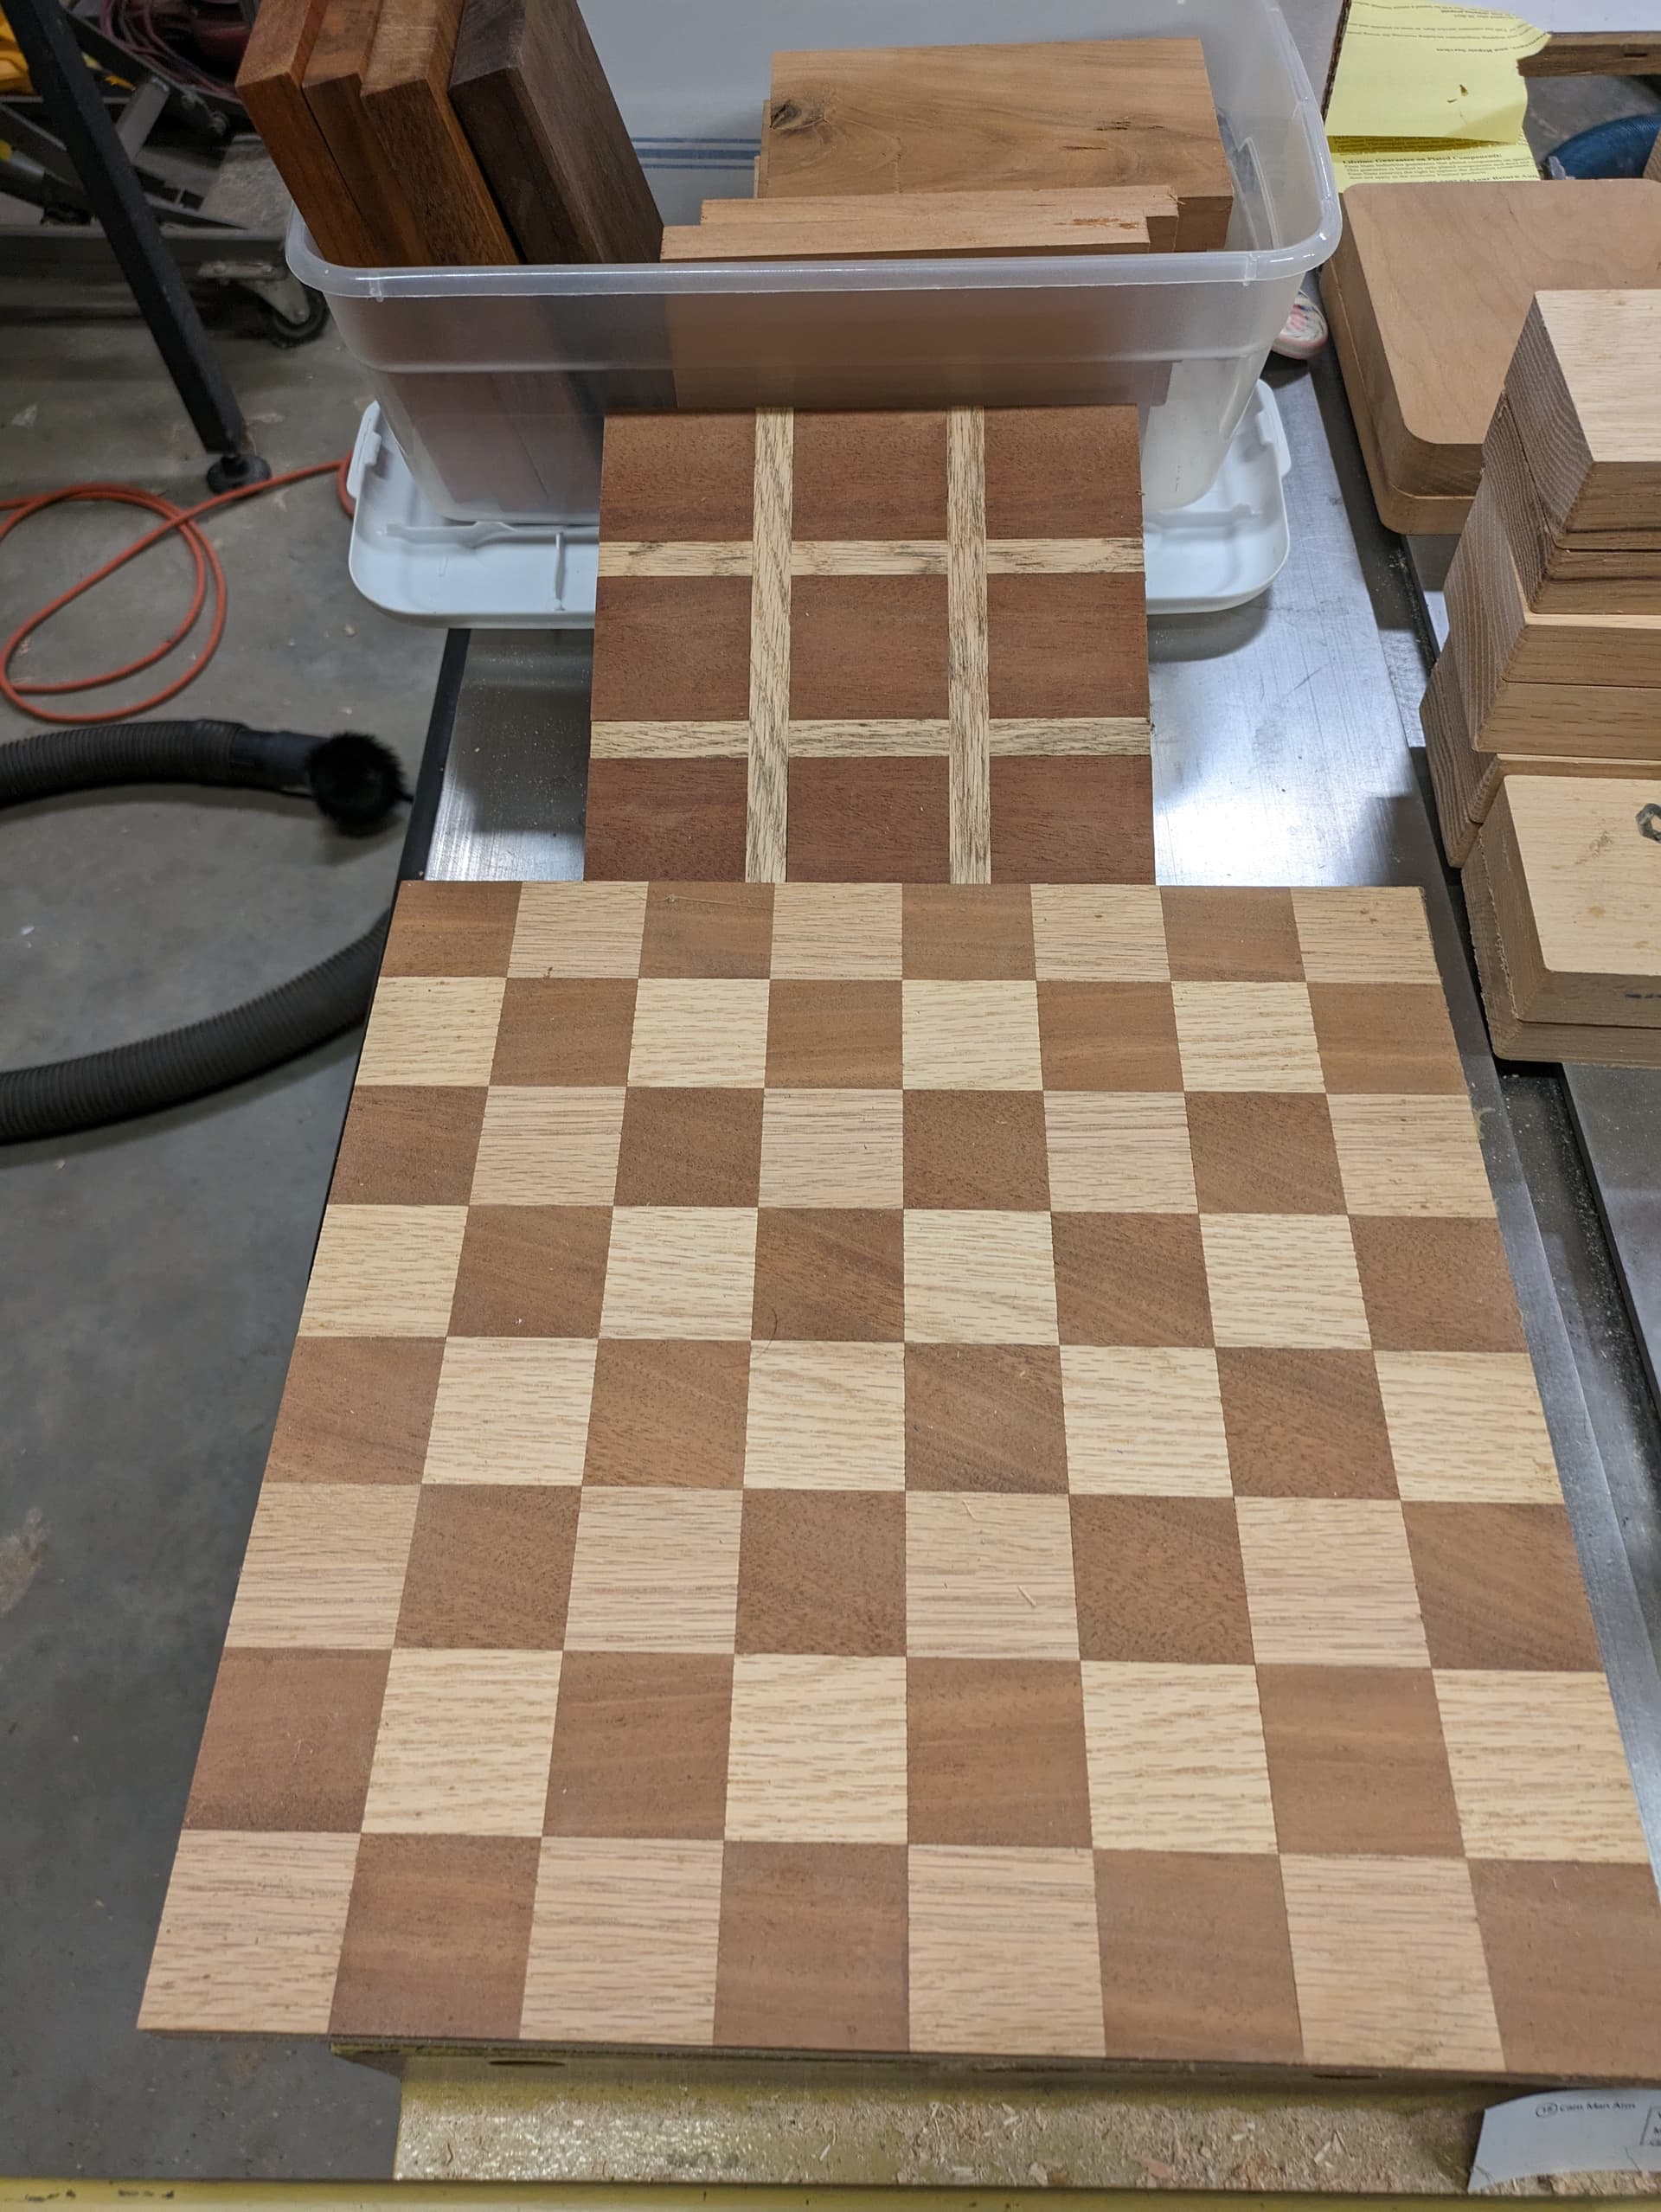
Finally got into the garage. I ended up changing the design, but kept the Ziricote, Birdseye Maple and Quilted Kaspo. Super happy with the grain on these veneers.