I have CC Pro 757 on my main PC, and I downloaded the latest Version of CC for my shop PC.
The Latest Version of CC has a new inlay mode, which I used for the inlay. Unfortunately, the file was not saved on the Shop machine.
From Memory: The female side was DOC at .25
The Inlay was: DOC. .20 with a .125 Glue Gap.
The inlay fit was loose. I think I made the DOC on the Male side too shallow and the Glue gap to low.
Any suggestions? I showed the “messed up” project to my wife, and now she loves it, so completing the project is a must.
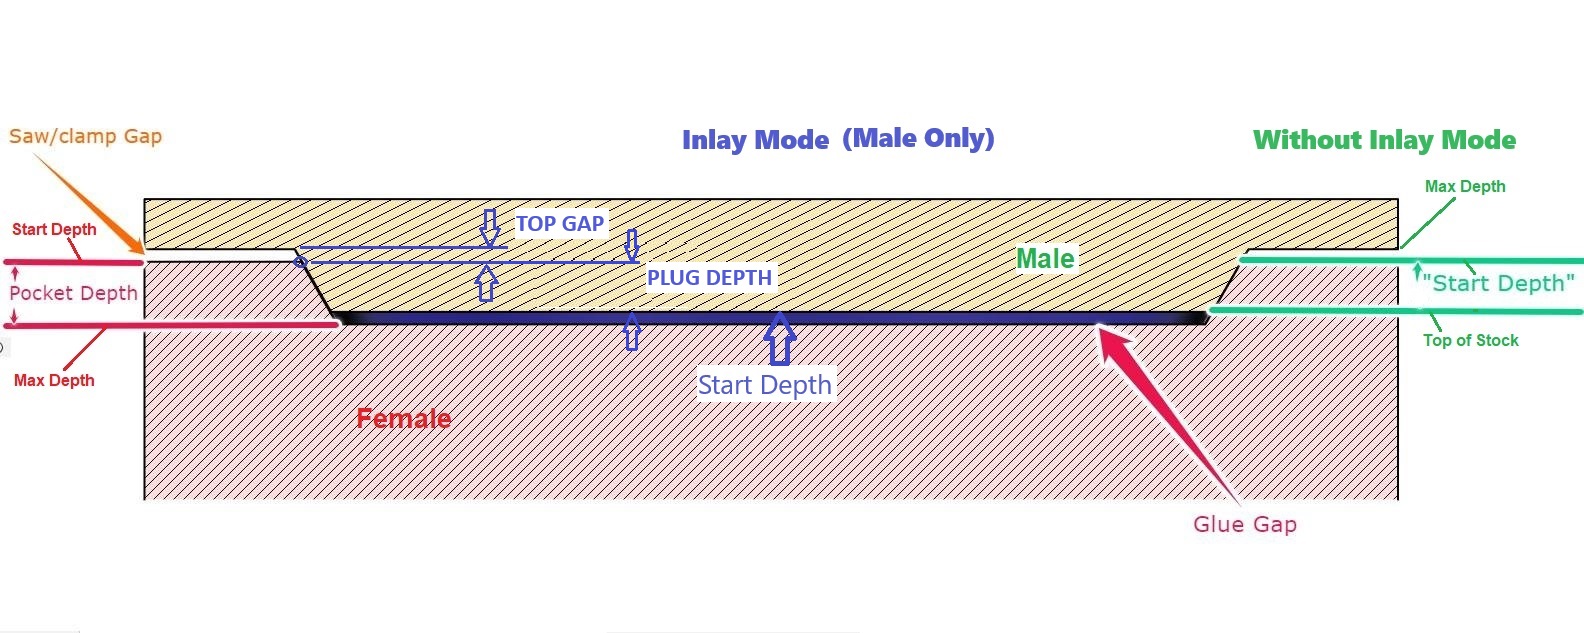
In the file you have both set to Start: 0.0 Max: 0.120
This shouldn’t technically fit at all. The male should sit above the female.
You control the depth with the start depth if you’re not using the inlay mode.
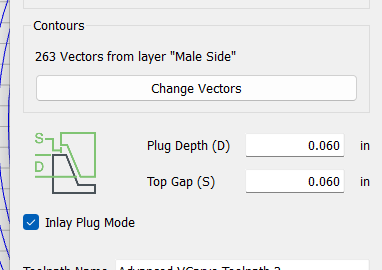
With the inlay mode you control the depth with the “Top Gap” setting.
If you can, cut the female first, then cut the male bigger than what you think you need.
i.e. set the start depth smaller or the Top gap larger than what you want.
Fit the loose female to the male still on the machine, measure the results & adjust accordingly.
When assembled, the Top Gap is at the top (Which is the bottom as the male is being machined upside down), and the Glue Gap is at the bottom. Glue gap is the female depth minus the plug depth. Top Gap you can actually enter for the male in the Inlay Mode.
Tod thanks you for the reply.
I think I understand. I will try again, but this time with MDF so I don’t waste another $130.00 ouch.
Thanks for taking a look.
Can you adjust the file so that it will work, and post it? I want to see how you suggest I run the toolpaths. I have yet to complete one successful inlay…
Then fit the female & measure the gap. You’re shooting for something like a plug depth of 0.100
So if the actual gap after this program measures 0.040", you want 0.020", a difference of 0.020"
So change the plug depth to 0.080" and the top gap to 0.040" and recut it.
Good idea to practice in MDF, but the adjustment/fudge factor may be a little different in hardwood, so still start with too much material & work your way down. You can always remove more, you can’t add material back.
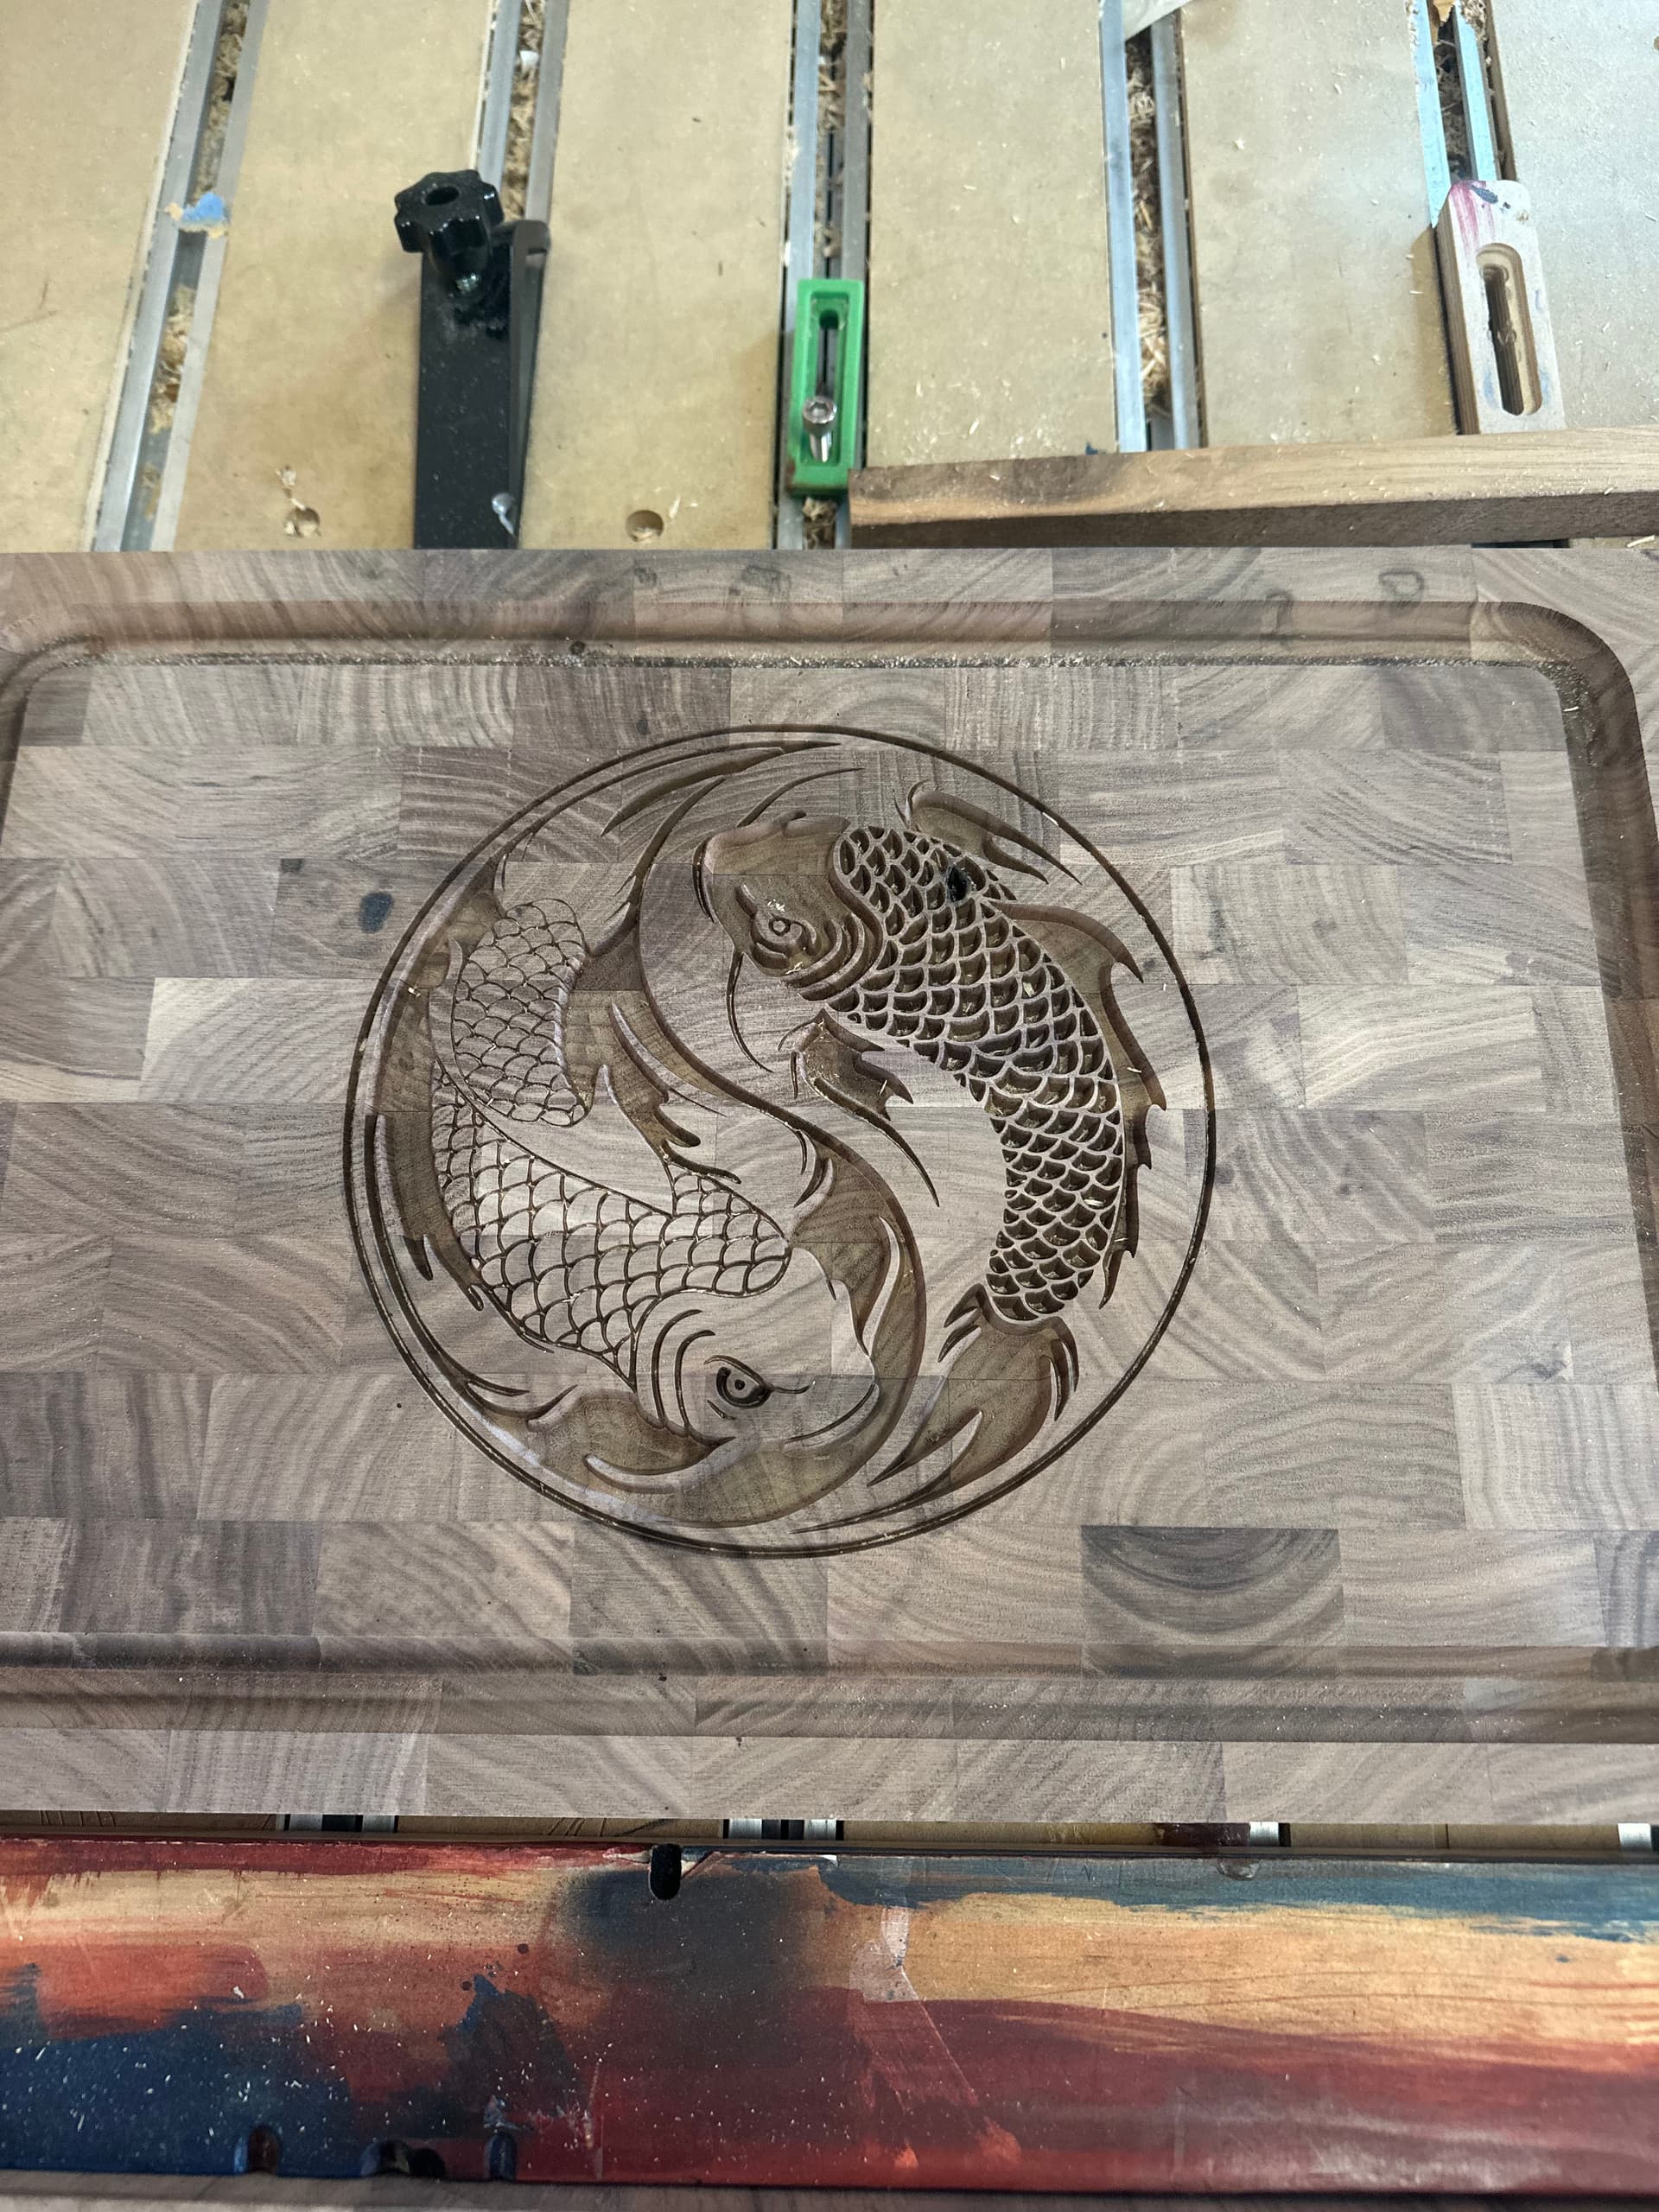
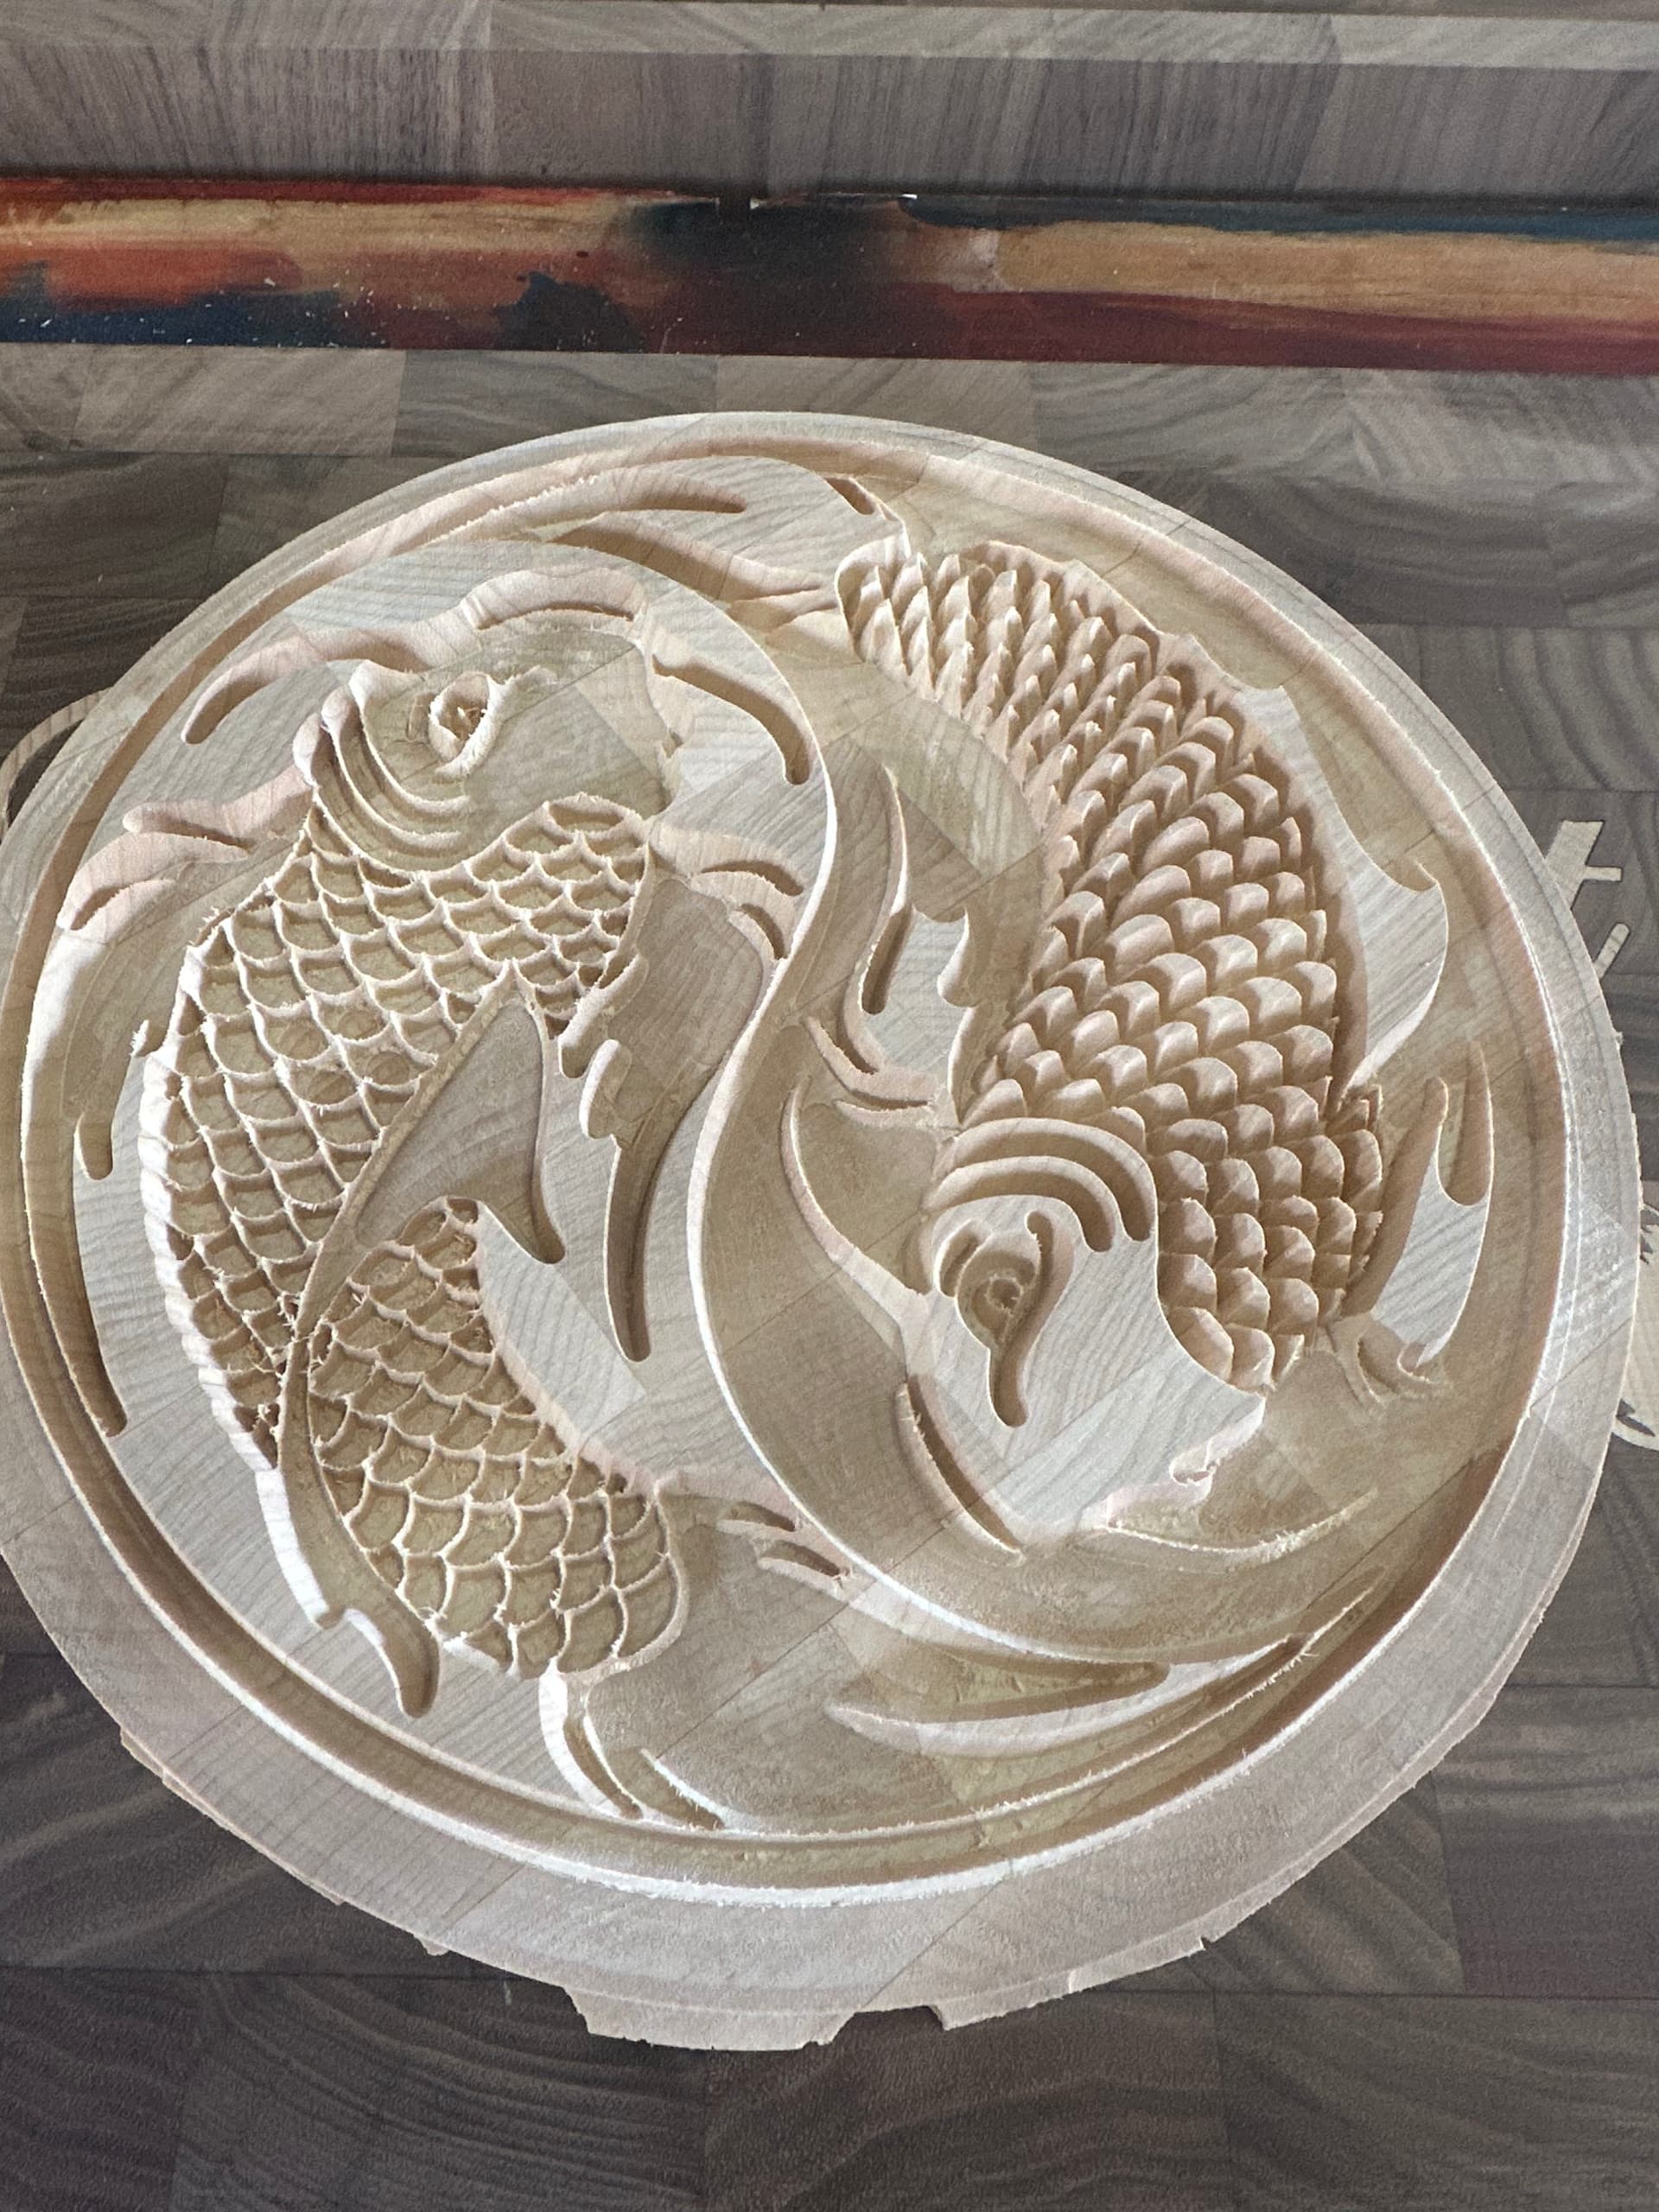
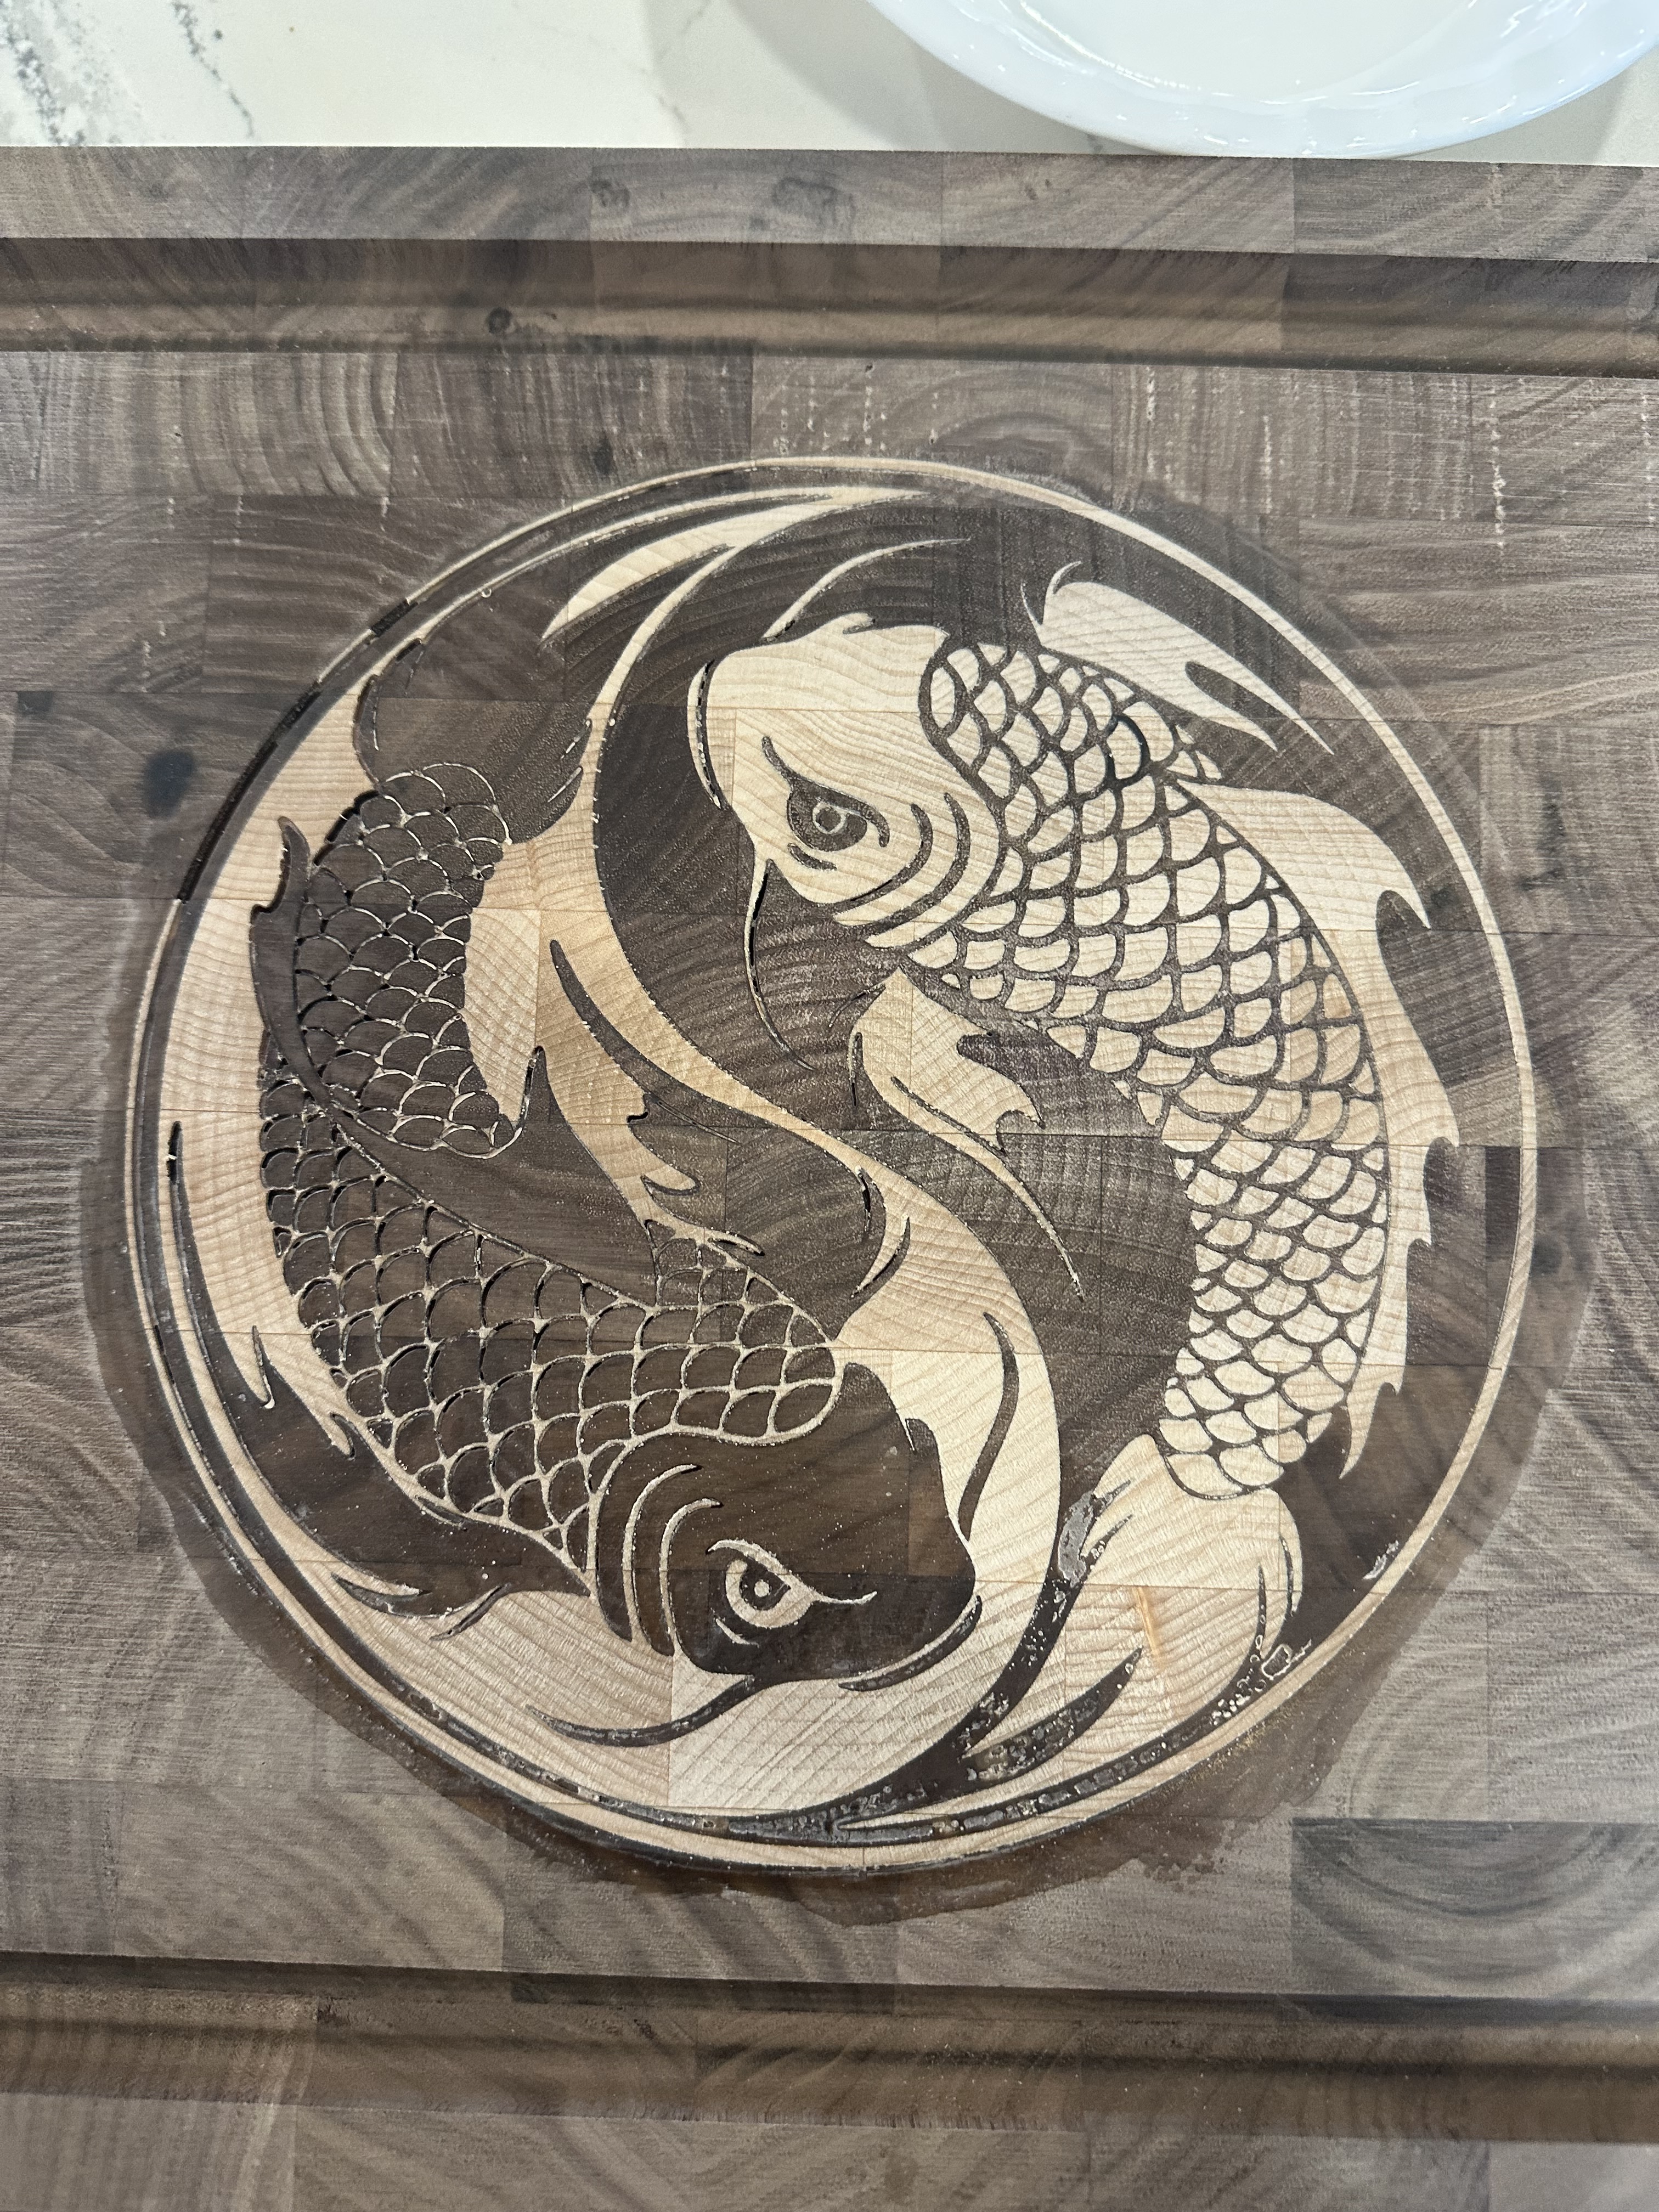
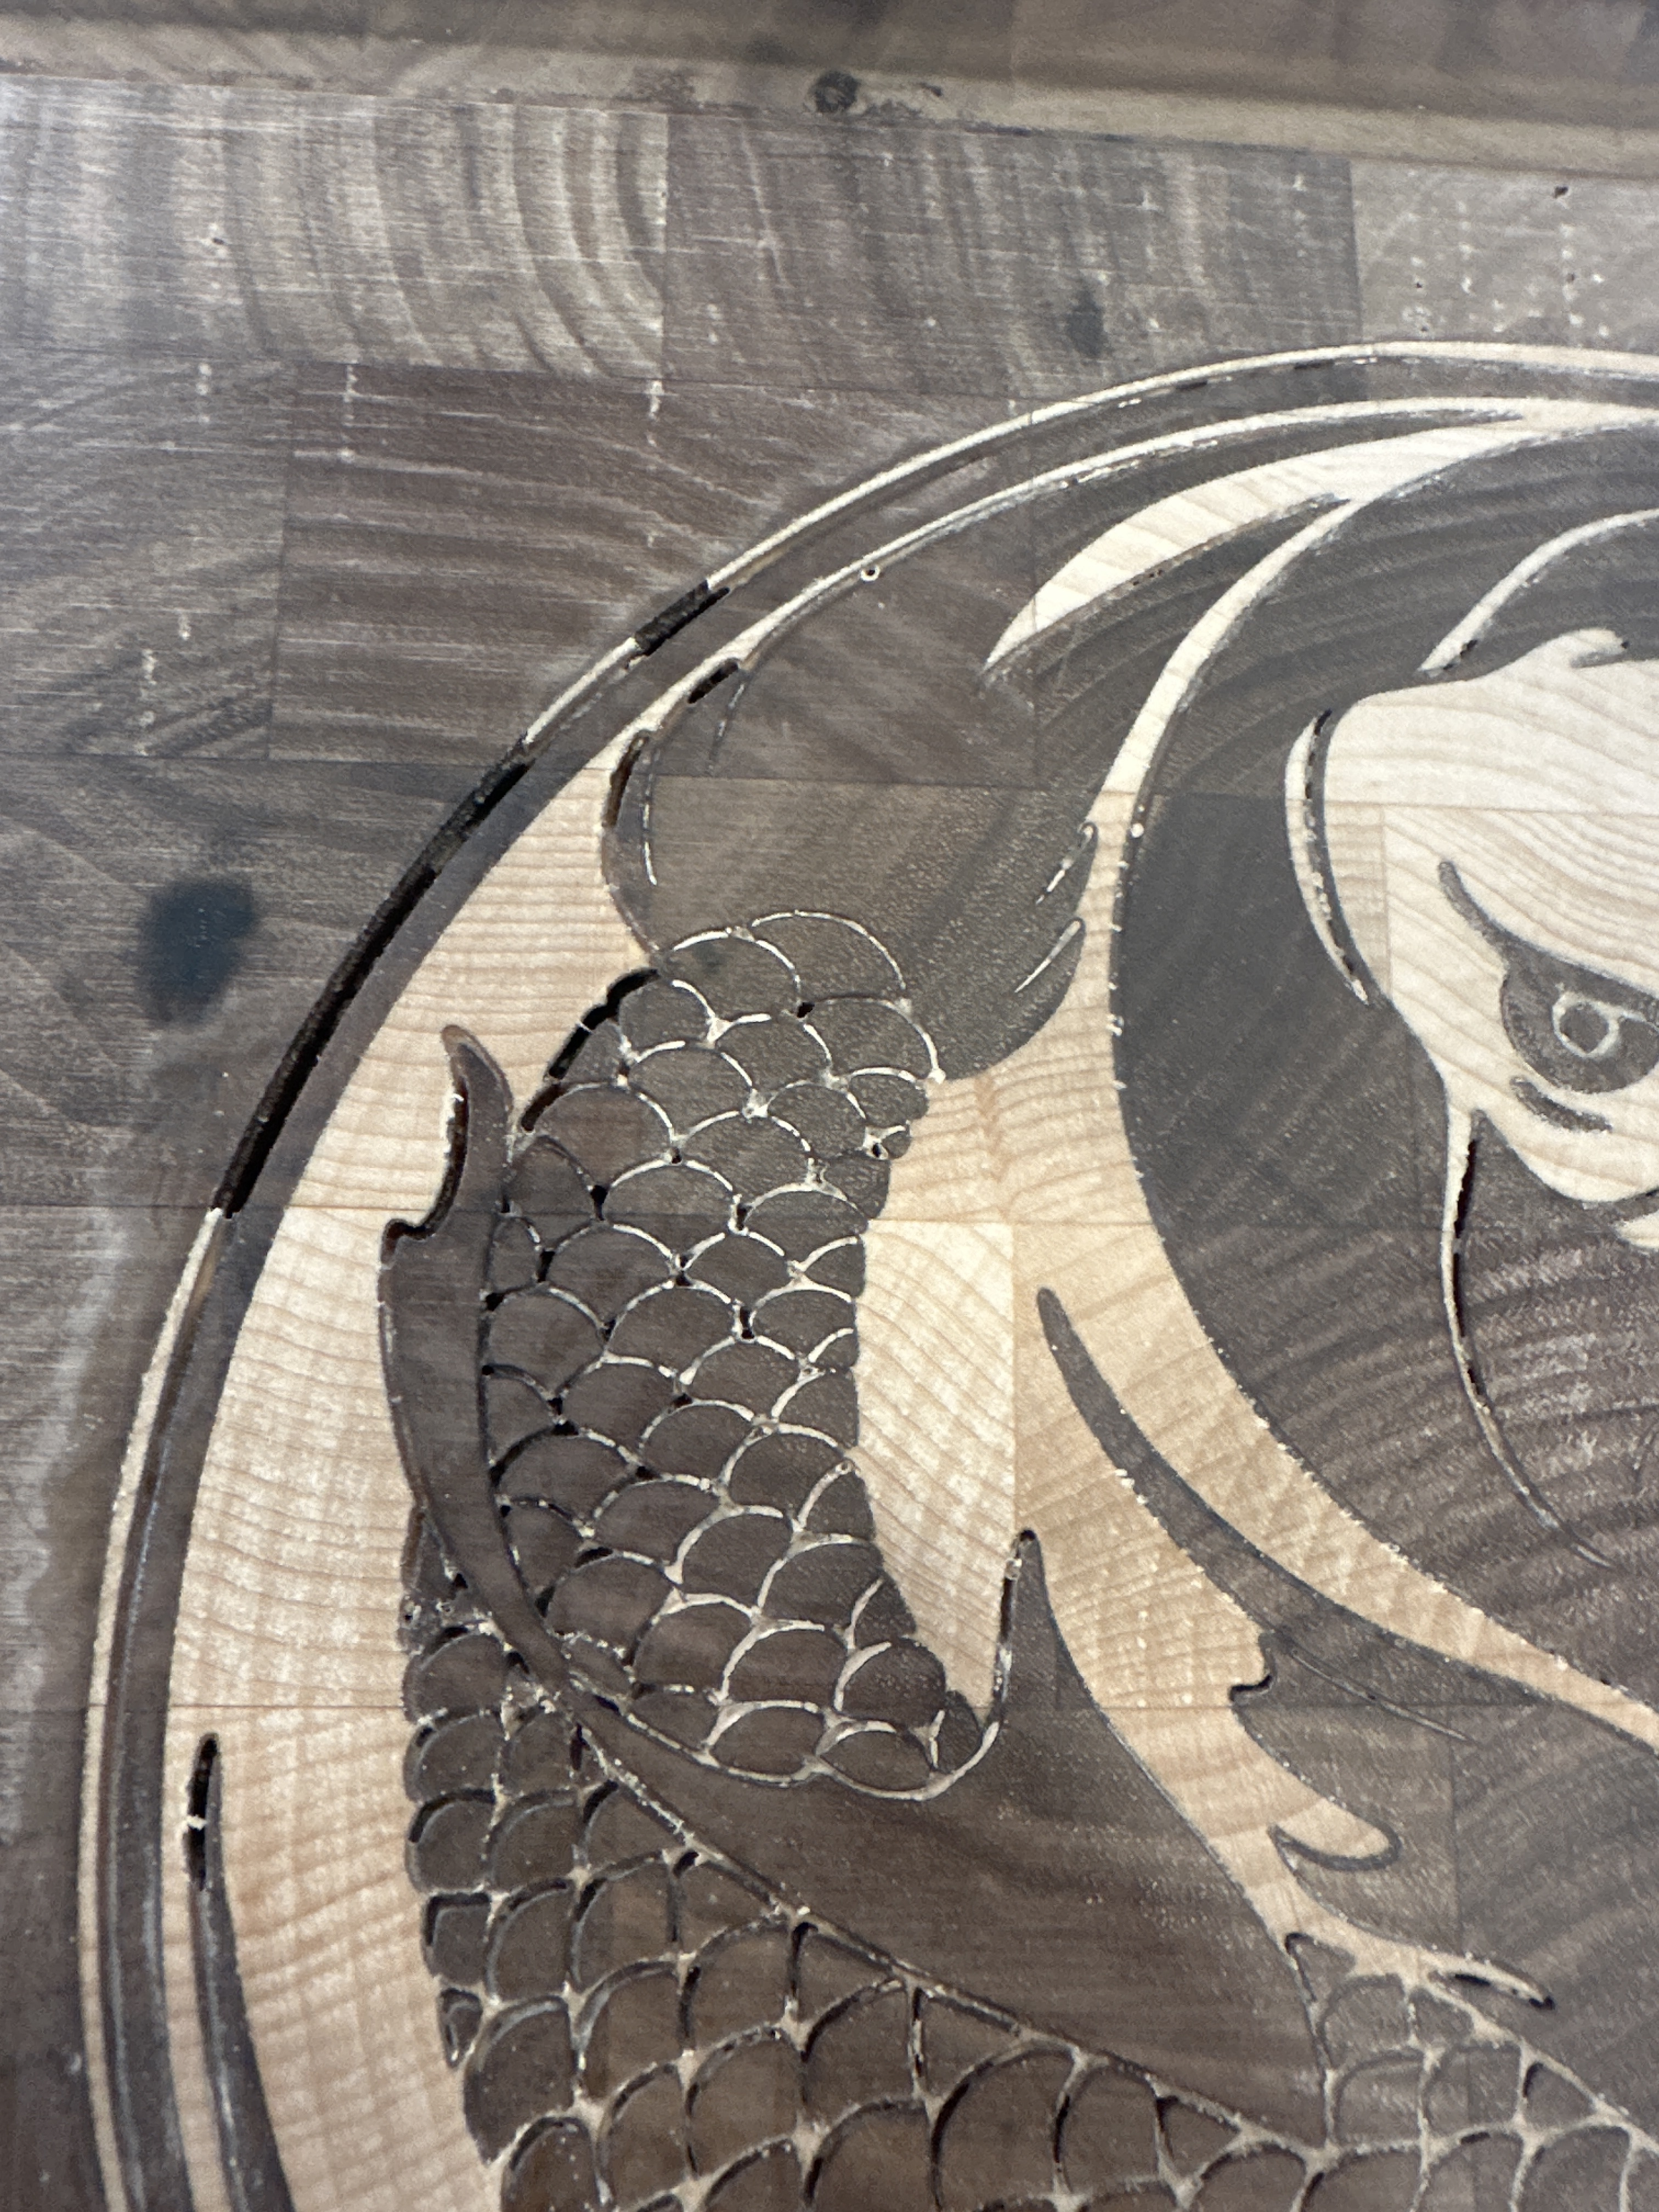
It turned out pretty darn good. I need to improve the press I used, as the Middle looks like it didn’t get enough pressure. Some tear out on the fine details of the horns.
Yes, there is enough glue. I knew immediately when I pulled it out of the clamping system I used that it was not right.
The spot where the scales didn’t stay was raised. Before I faced it off, I used my calipers to measure the height of the plug. The “good” side was .25", and the “bad” side was .458" above the female side.
I will have to wait for the parts for the new inlay clamping system to arrive before I can try it again.
I also need to tram my machine and resurface the wasteboard. With such fine details, I need to ensure I am as close to 100% true and square as possible.
That makes sense, especially when you show the numbers above. You can also just make some cauls to put across the the two pieces and clamp as many as you want across it. One does need to use clamps with enough clamping force, most of the smaller clamps wont cut it.