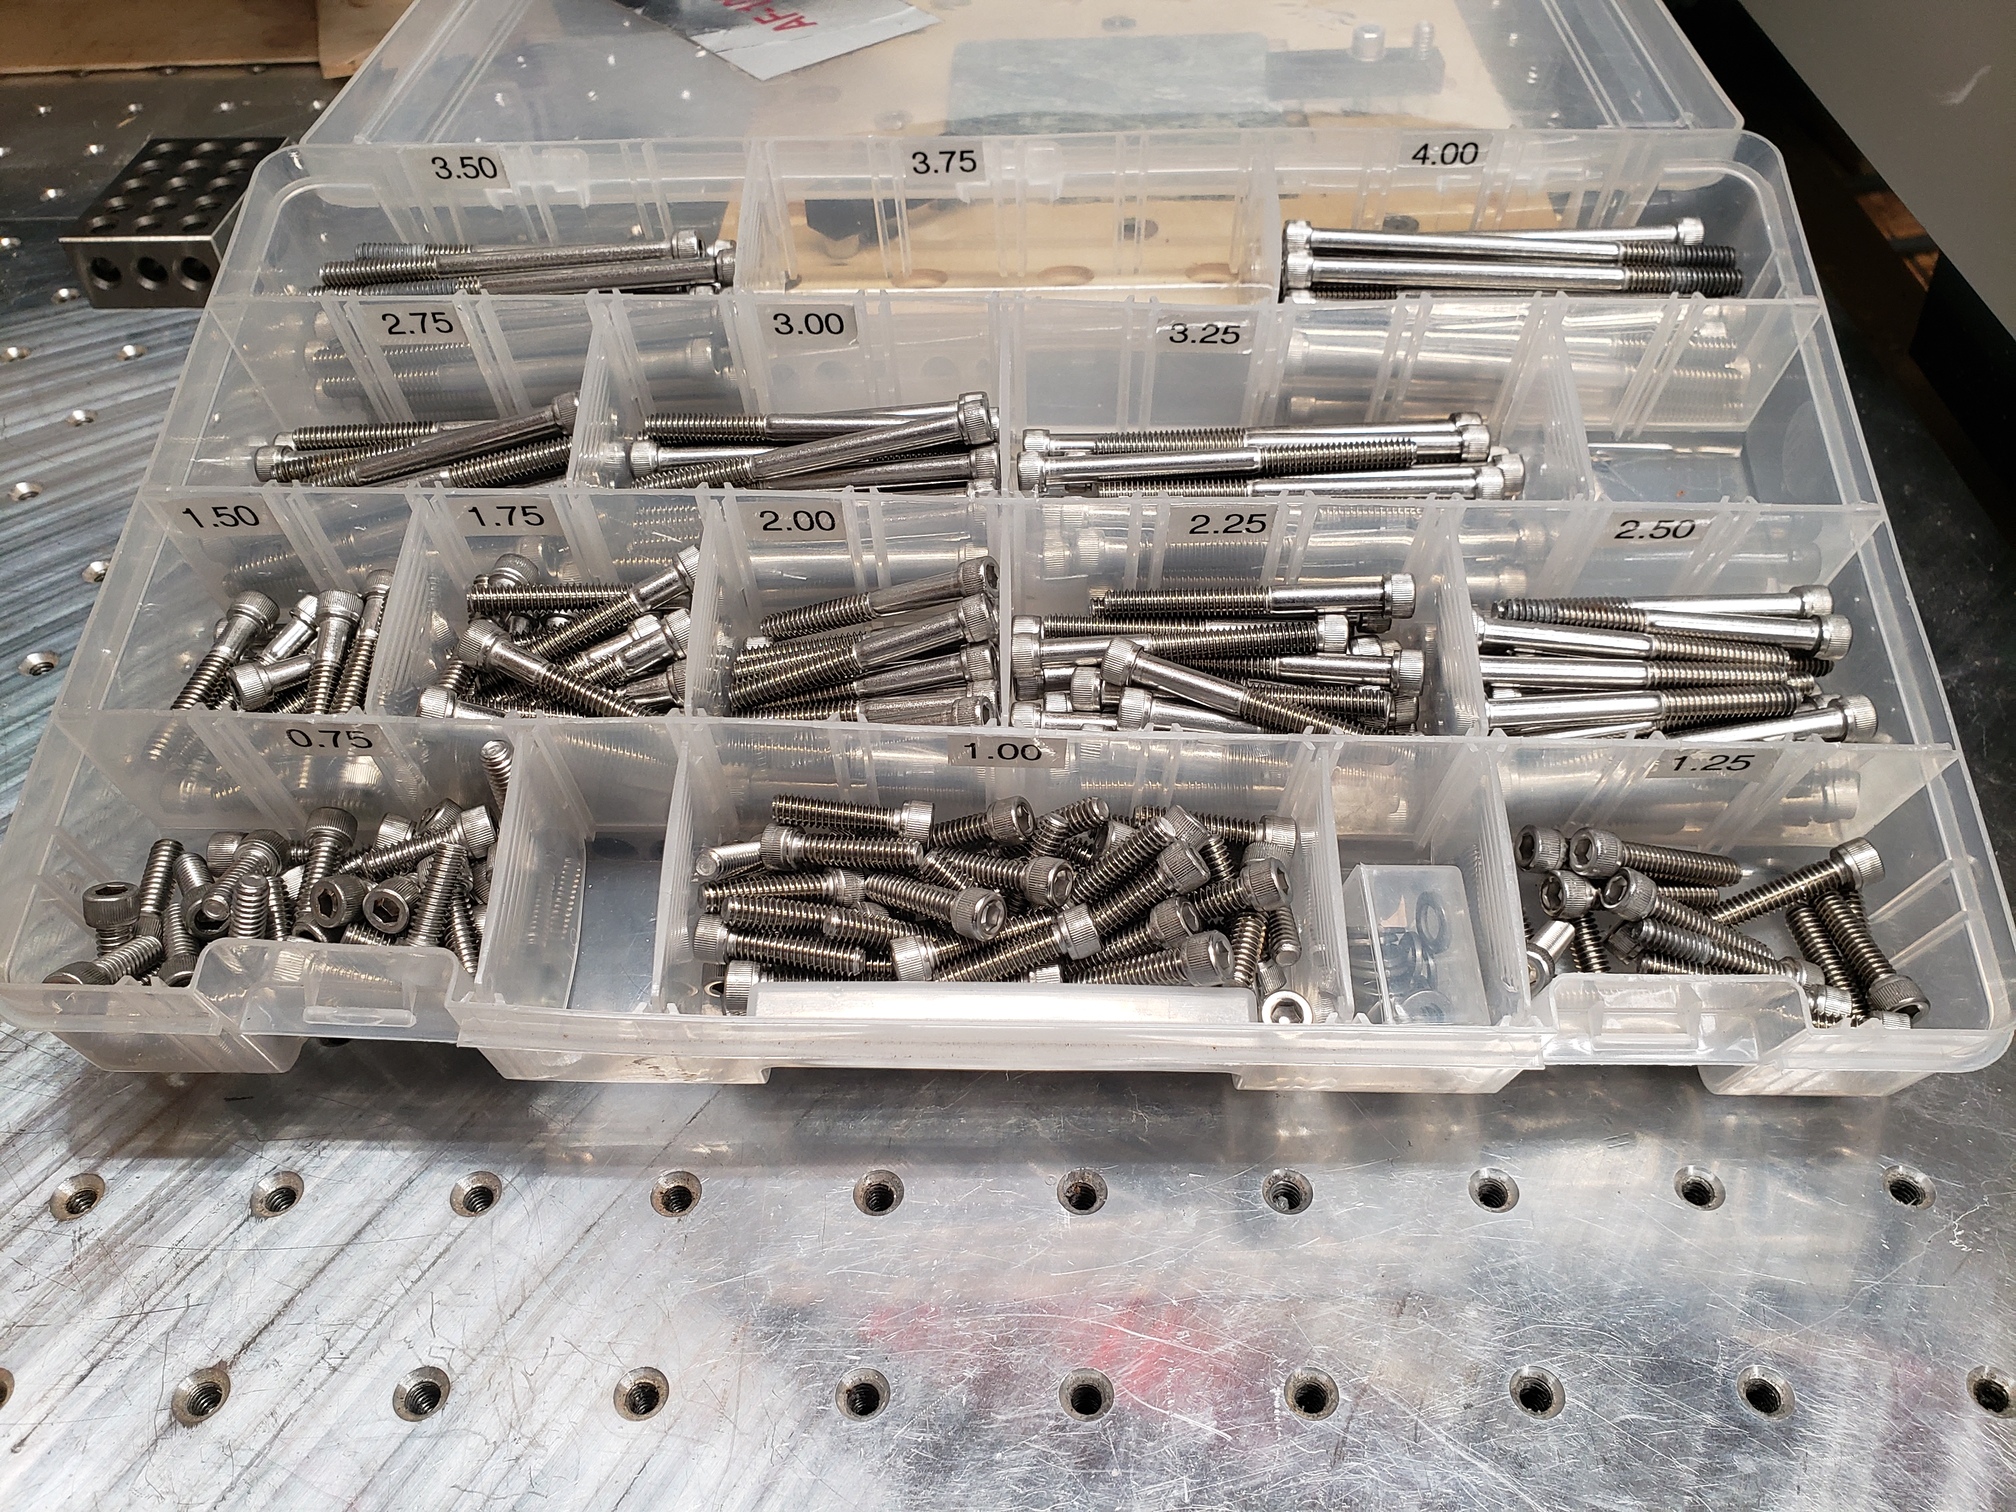
I have been using Incra Build-It clamps for a few years, but they are really designed for T-slot use, not threaded hole use. I actually threw away the threaded rod and large knurled nut that came with it, and I use socket head cap screws to keep the height as low as possible. I have the Ohio Diesel Parts threaded aluminum bed with 1/4-20 threaded holes at 1.5" hole spacing.
So I have had to get creative when clamping things for engraving where I am engraving right up to the edge of the item (specifically, 4" x4" marble tiles and 12" x 12" granite floor tiles). I had to angle the clamps so that only a corner of the clamp is actually on the part I am clamping, because if I put the entire clamp end on the part, it would protrude too far onto the part and interfere with the engraving or cutting. There is no adjustment like slotted clamps. You have to have a slot somewhere - whether on the clamp or on the machine bed. I had neither with the Incra camps.
I have made jigs for holding the 4" x 4" marble tiles, but the Incra clamps were just too big to use, so I designed and 3D printed some clamps, but they were too flexible. The tiles liked to move ever so slightly when the diamond bit was cutting. Nothing terrible, but just enough to be noticeable.
So, not too long before the Gator Tooth Clamp was announced, I found what I thought was the perfect source for inexpensive (and much smaller) 1/4-20 fastener sized clamps. ThorLabs. ThorLabs has just about everything for optics, optomechanics, lasers, etc. . .
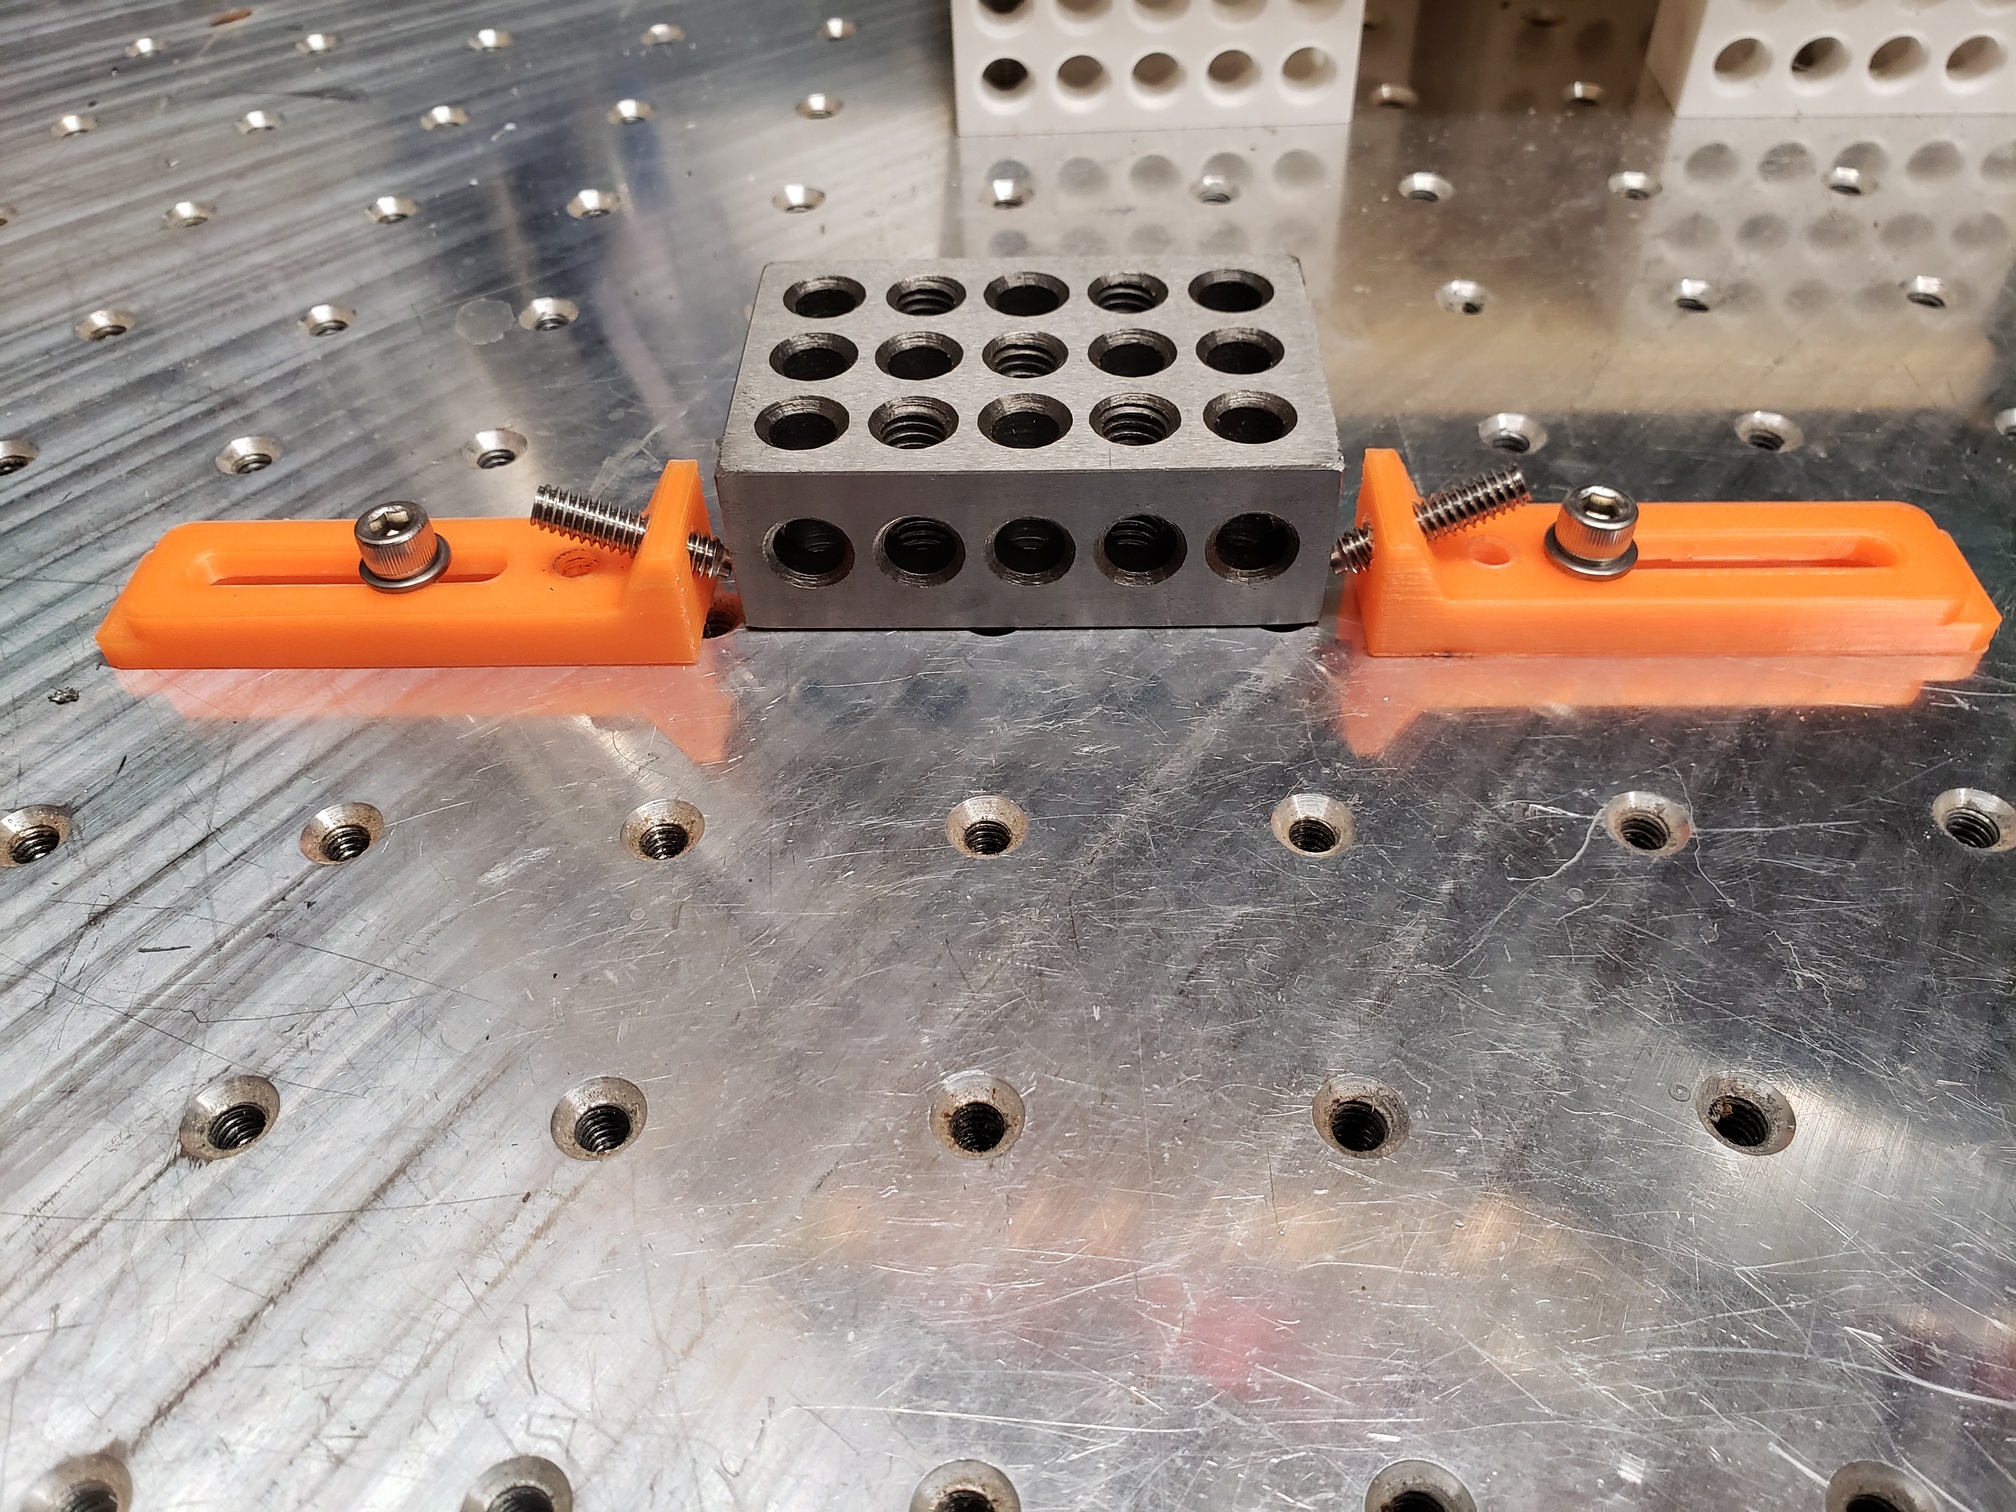
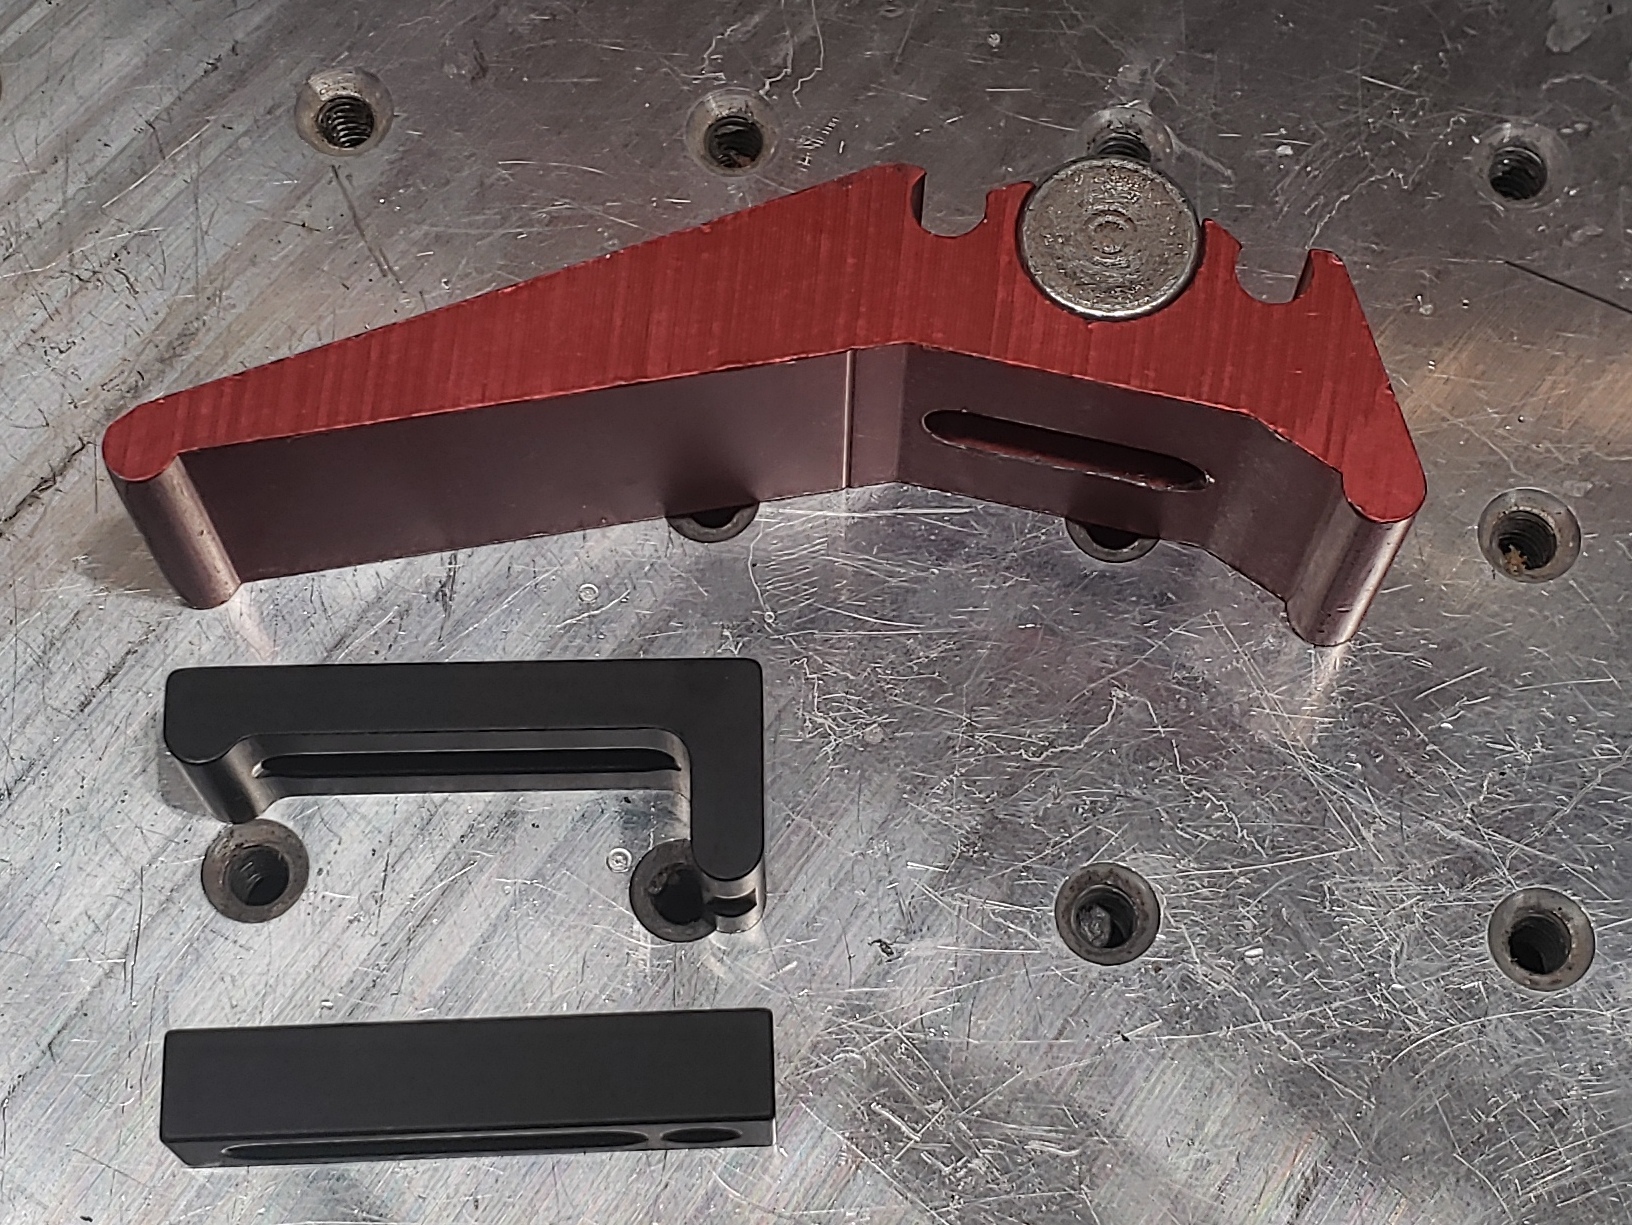
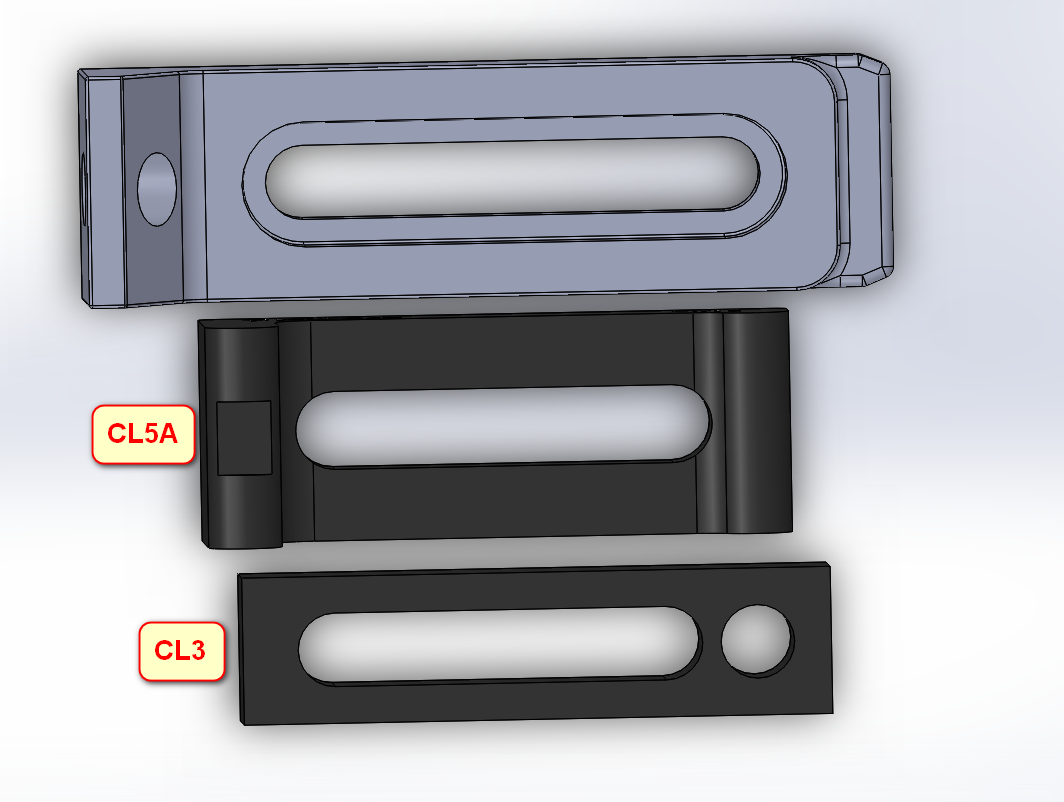
And they have clamps in 1/4-20 and M6-1 sizes. So, I picked up ten each of the CL5A and ten each of the CL3 to see how they fare. They are definitely smaller than the Incra clamps, and they are both slotted, so I now have adjustment in my clamps for the first time! Here’s a pic of the three clamps next to each other.
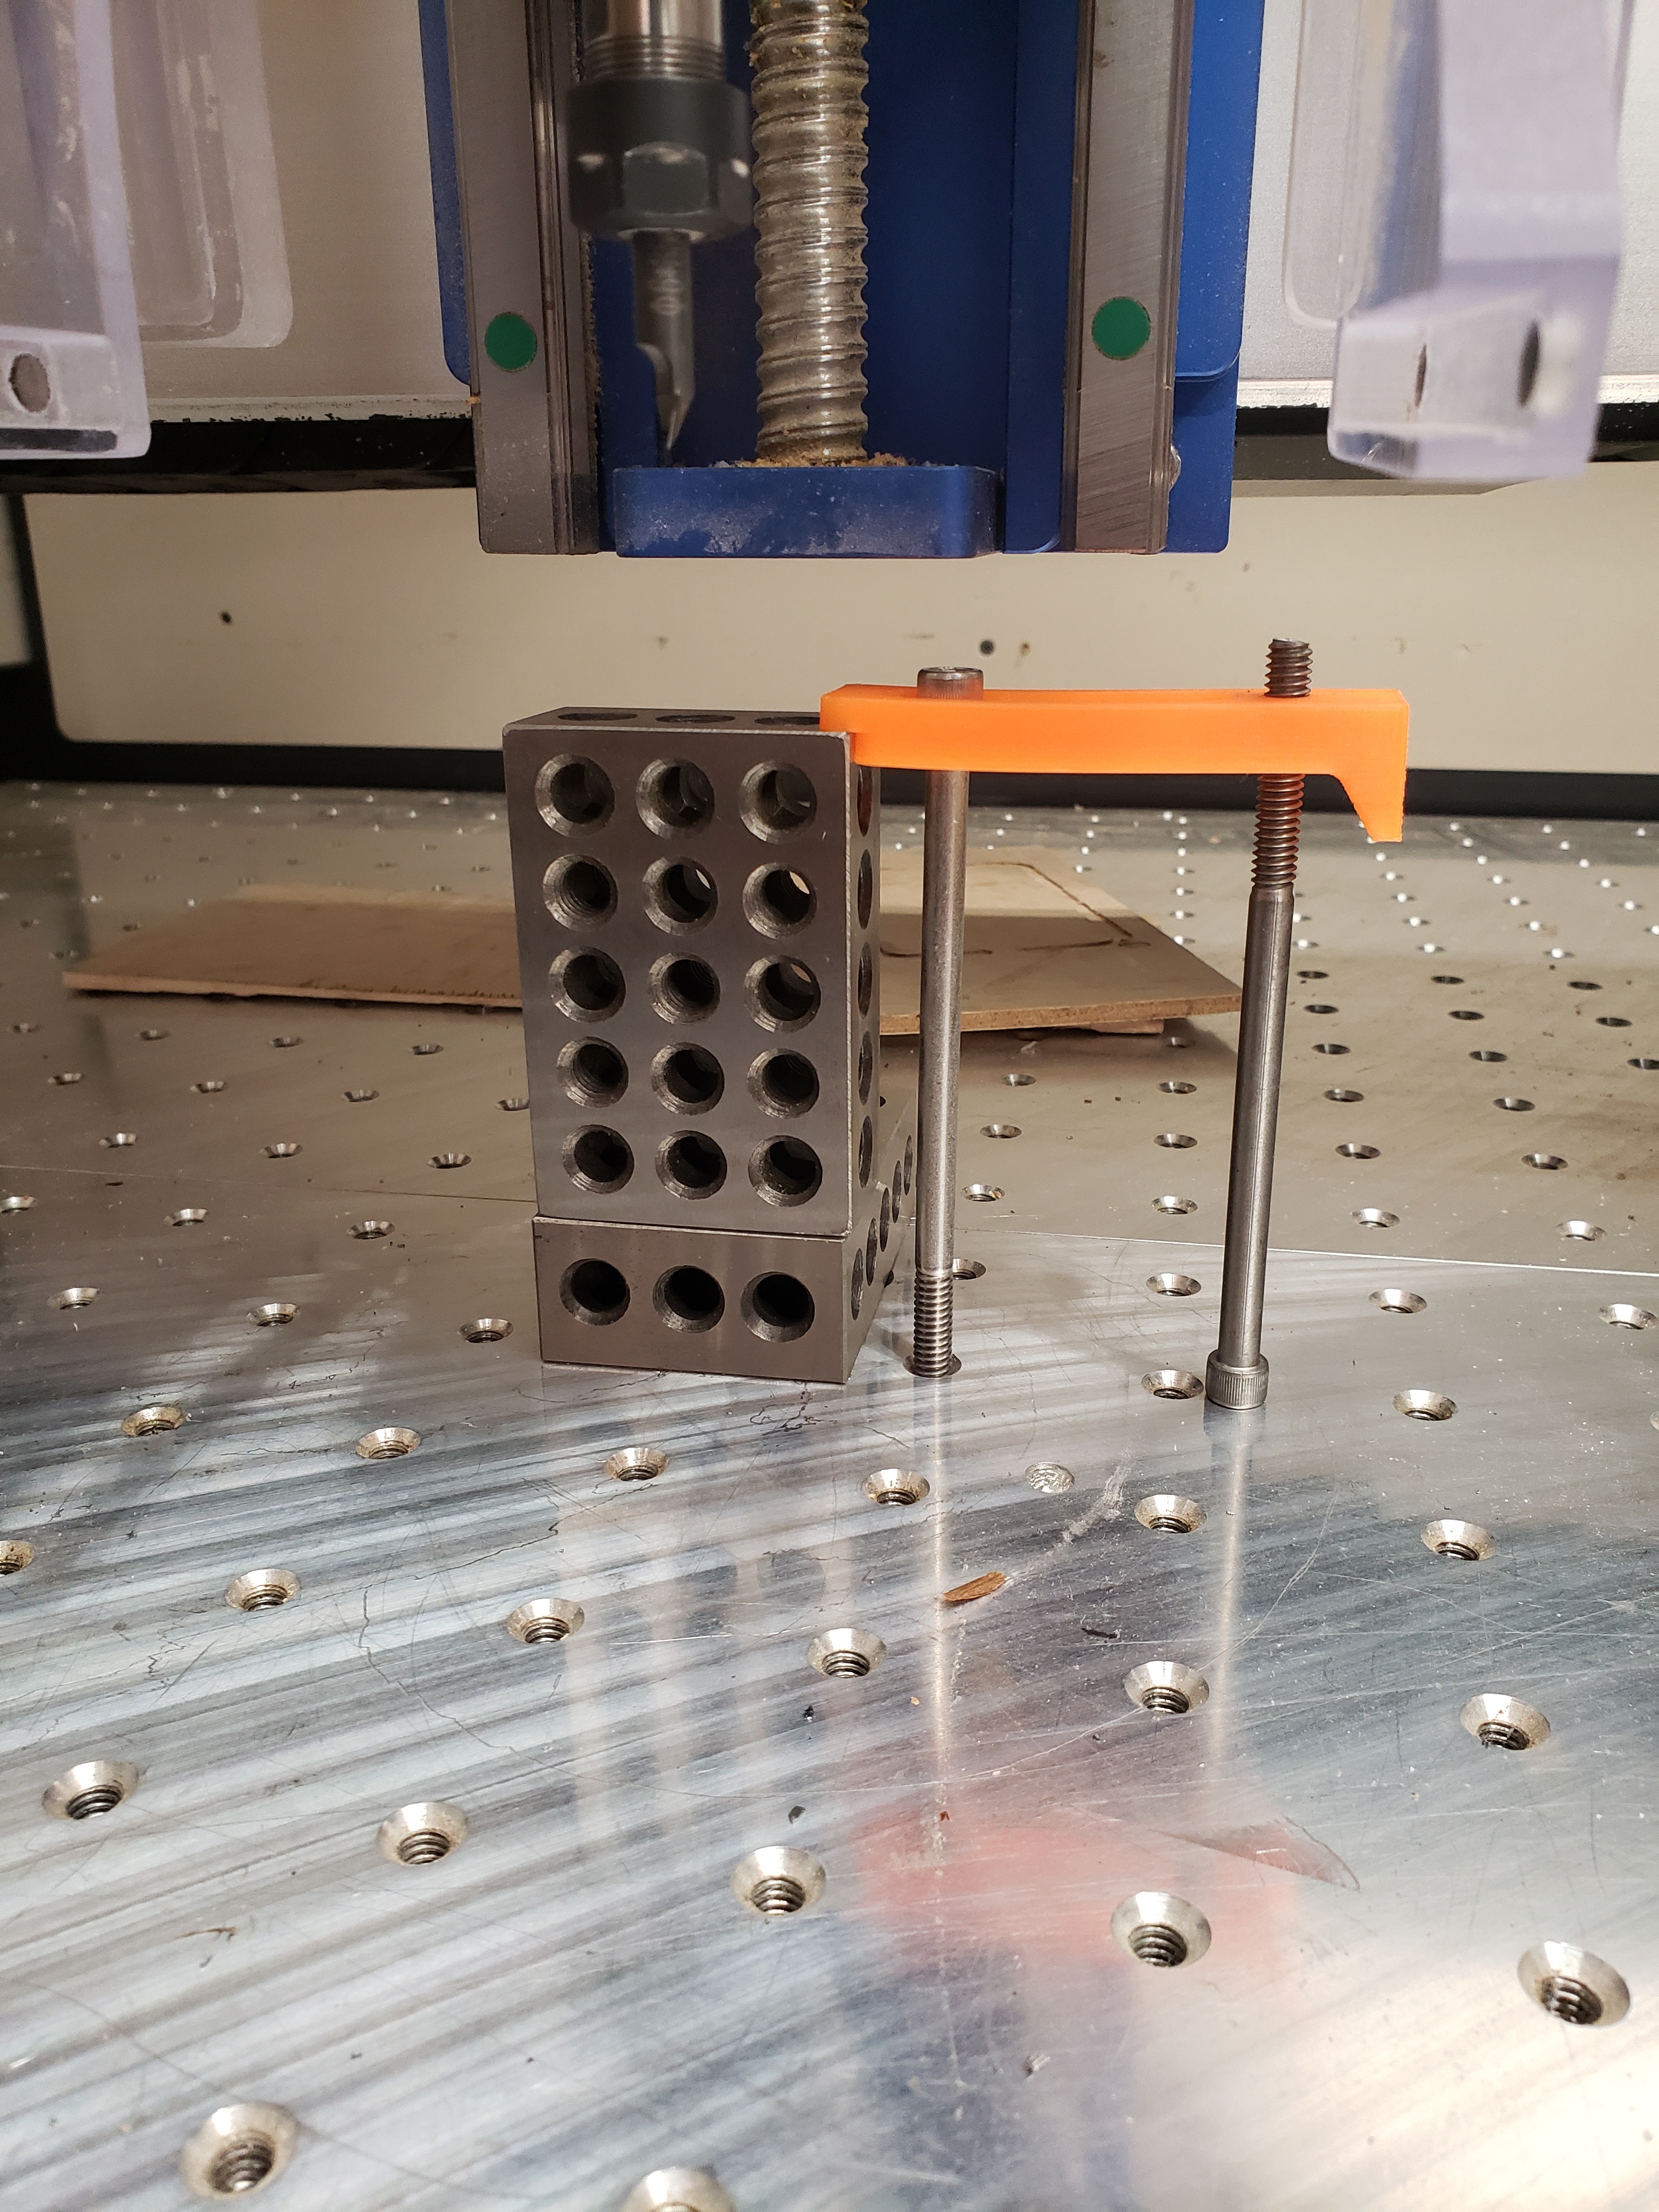
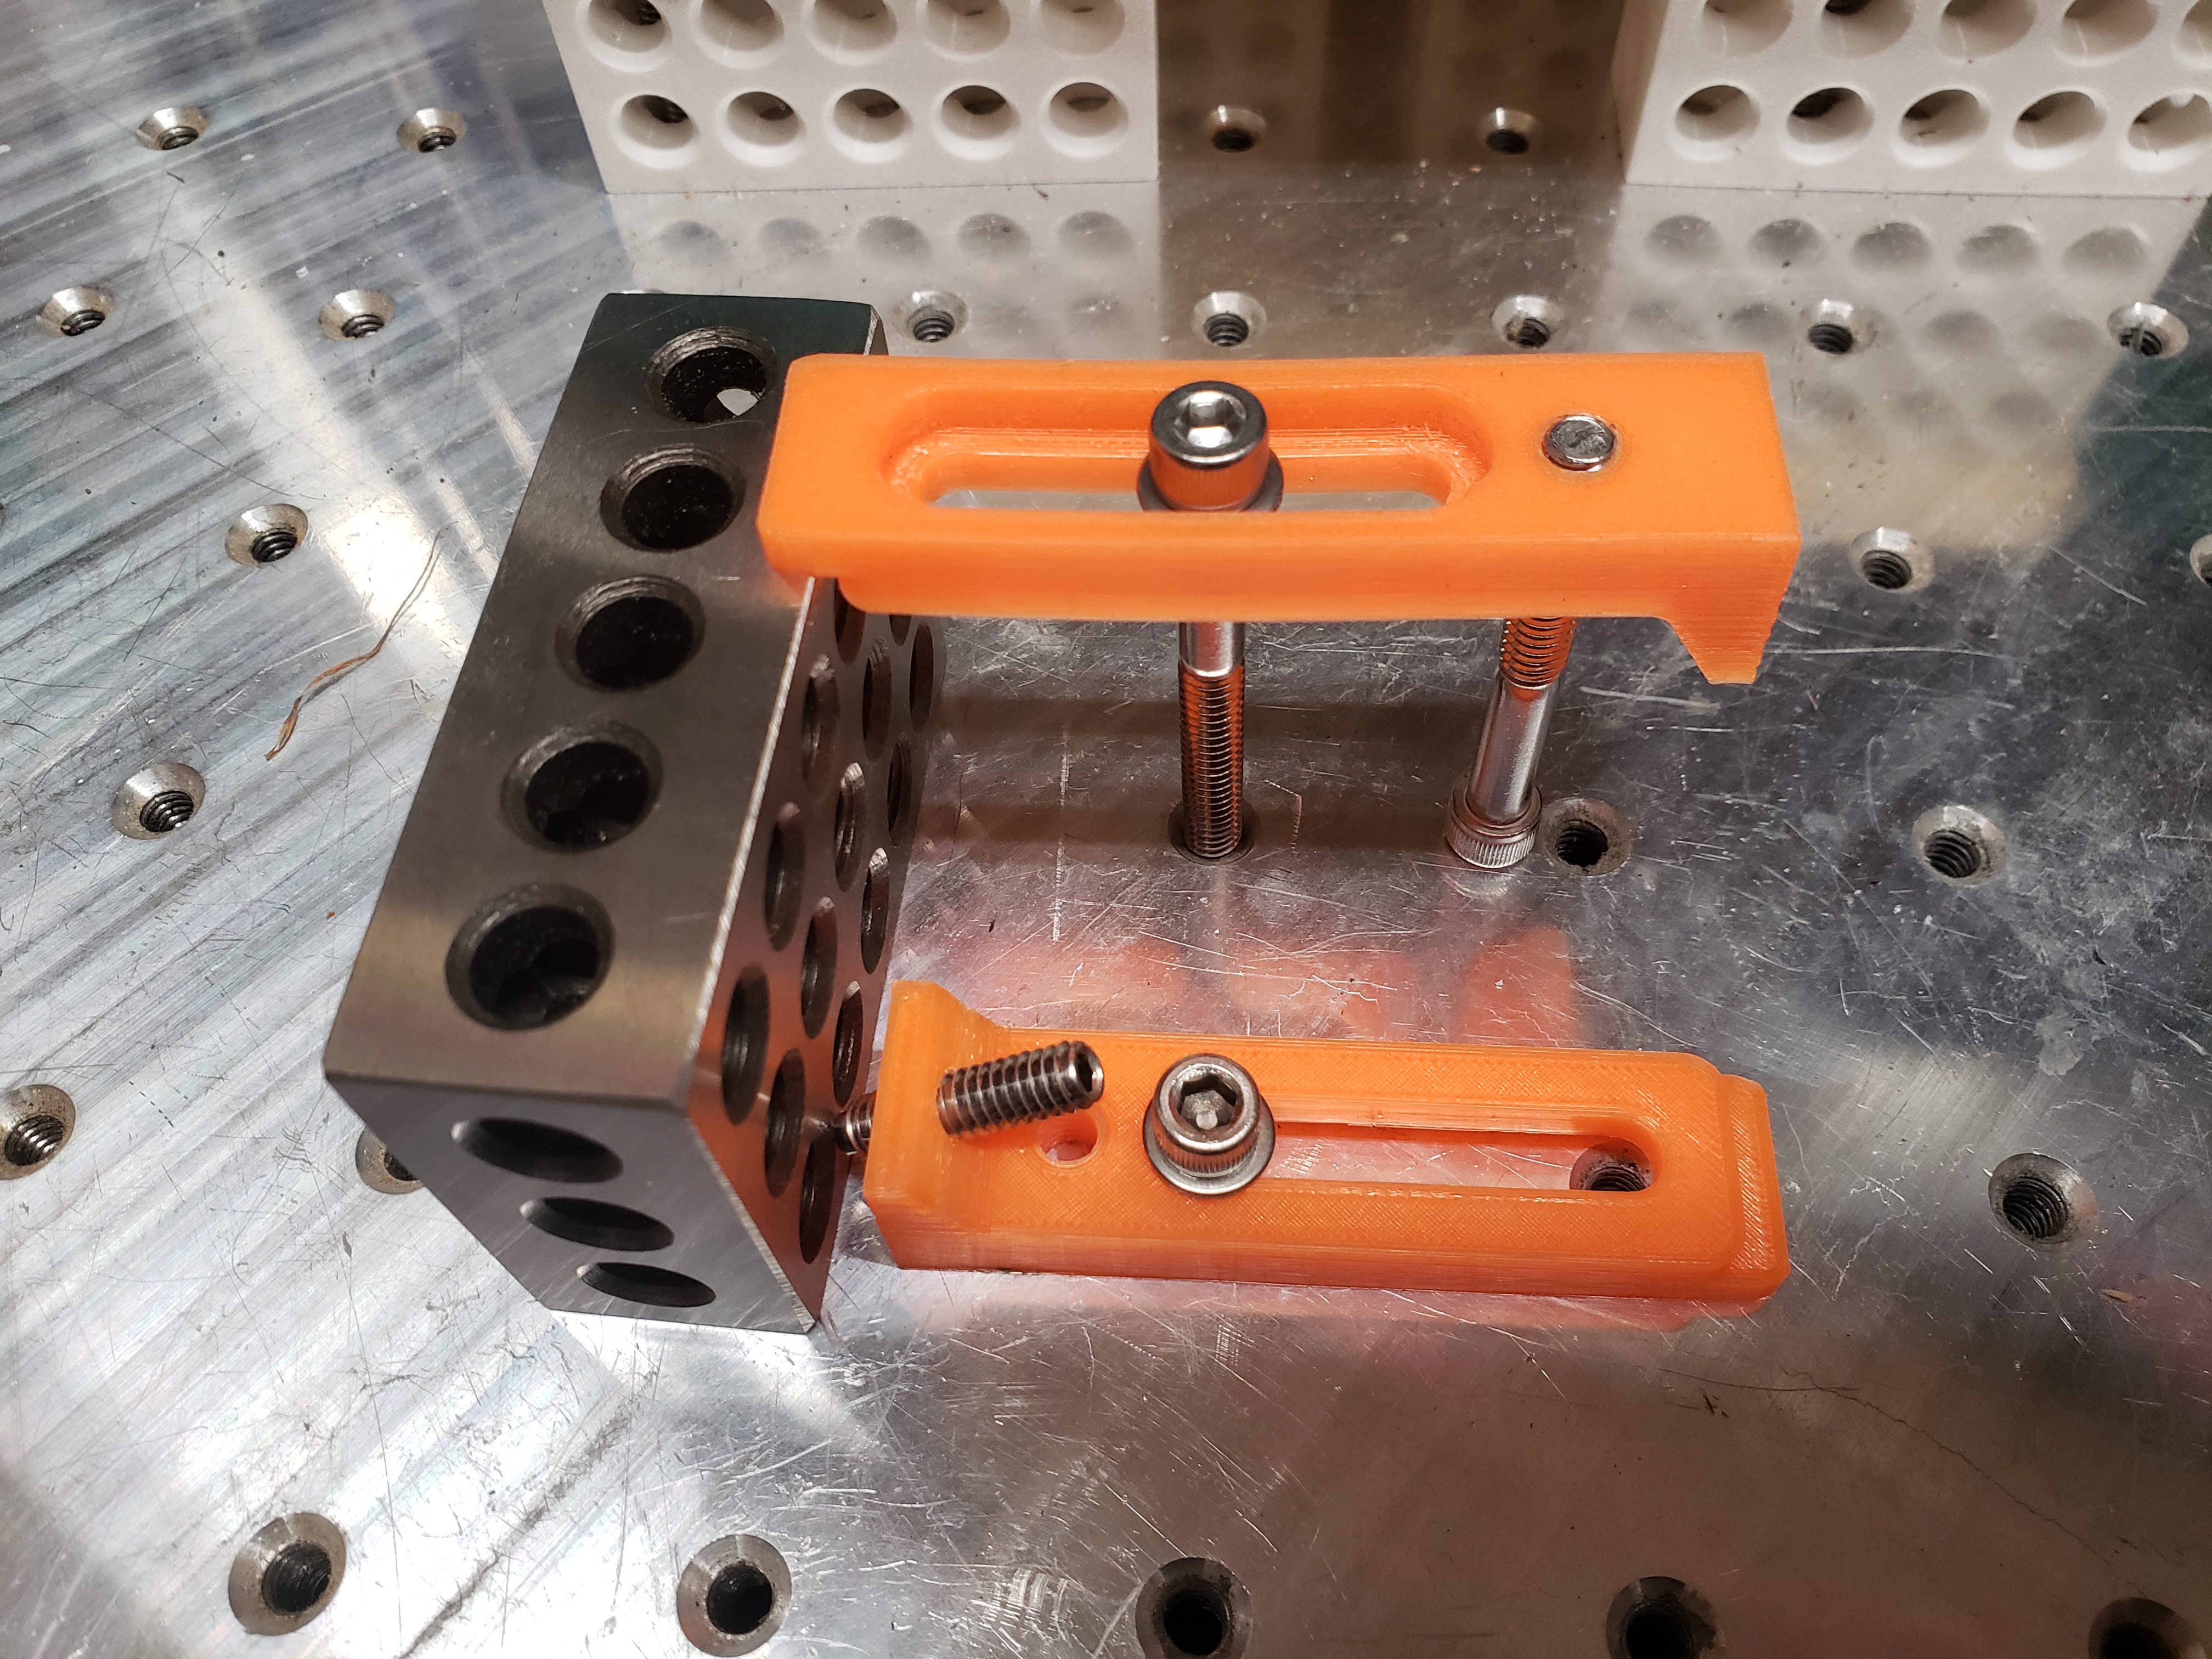
One of the things that interested me in the CL3 is the ability to use a second screw to infinitely adjust the clamp height to clamp at any height. I can now clamp Items up to 3.75" high, and with longer SHCS I could probably squeeze that to 4.00"

Also, I wanted to see how these clamps compared to the Gator Tooth Clamp, and thanks to someone giving me the dimensions, I was able to approximately model the Gator Tooth Clamp and put it next to the models of the ThorLabs clamps.


So, now on to the last part - I think the Gator Tooth Clamp is an awesome clamp based on what I have seen of it (and I have not bought any yet) but from playing with the CL3 and the ability to clamp very tall things without needing an additional block to support the back of the clamp, I think that adding a threaded hole to the Gator Tooth Clamp for a fastener like the CL3 and putting the screw head channel on the other side of the clamp would make it the ultimate clamp.
By adding just 0.375" to the length of the Gator Tooth Clamp, (Making an Ultimate Gator Tooth Clamp! Muwahahaha!) you could add a 1/4-20 / M6-1 threaded hole to put in another SHCS to allow you to now clamp from 0" up to whatever fits under your Z-azis.

Moving the relief slot for the screw head to the opposite side allows more clearance under the Z-axis. On the current side, the “foot” or whatever you want to call it already protrudes higher than the screw head does, so it would provide no additional relief there.

That’s all I have for today. I hope some of this helps someone.