The usual answer is to make your step over smaller. That can lead to long cutting times. You could run a finishing pass and then repeat it again. Again that takes time.
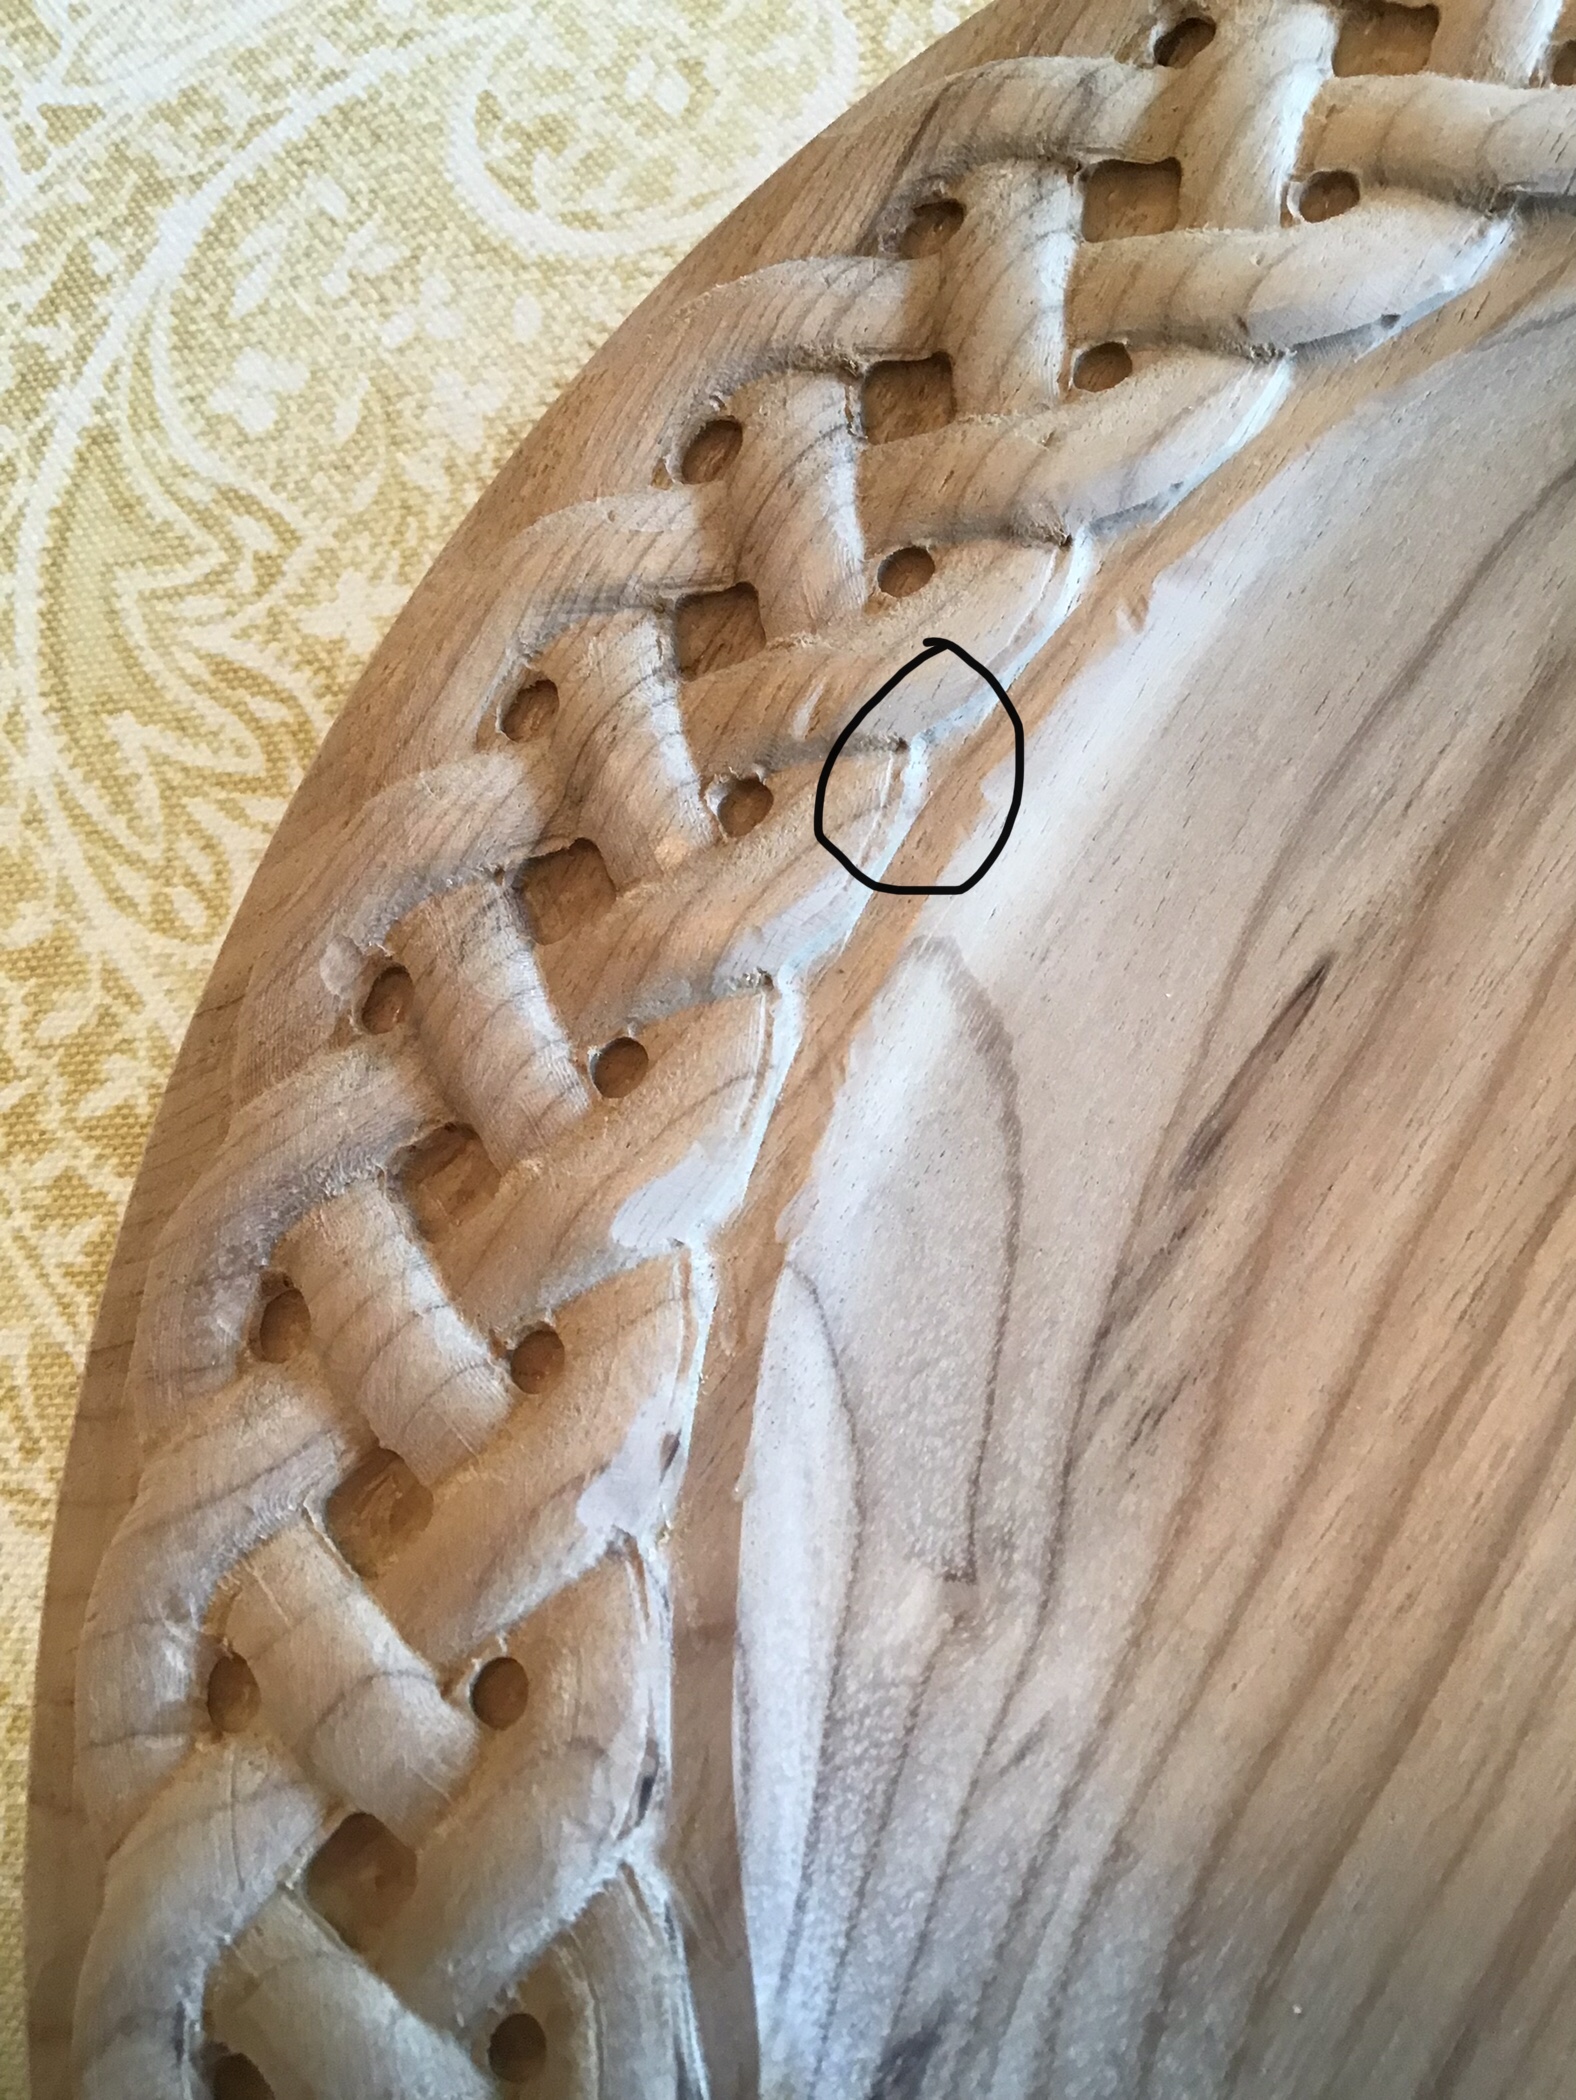
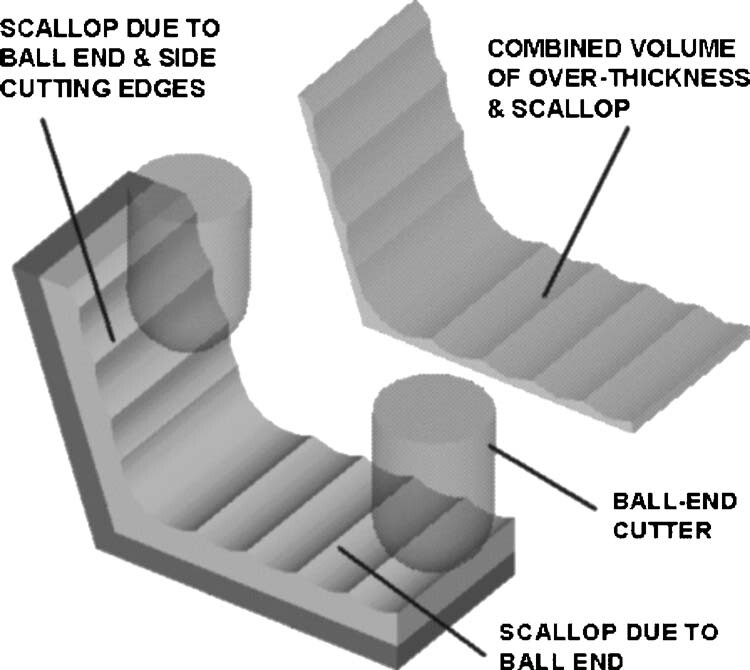
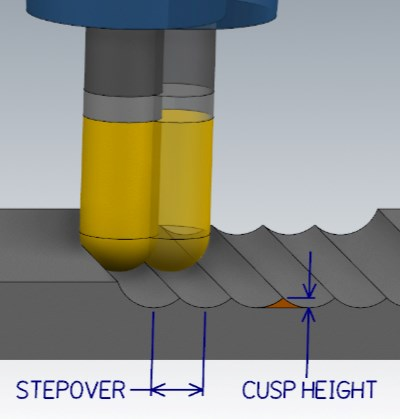
Maybe I’m missing your question here but when using ballnose and tapered bits which have a rounded nose you get what they call the cusp. The greater the stepover, the greater the cusp height so a lower stepover results in a smaller cusp. I’m thinking possibly when the bit (center point) touches that lower surface (the floor) the bit cannot get wall areas (height is the radius of your endmill) that are between 46 degree to 90 degree to the floor (perpendicular) because of the tooling geometry which leaves a scallop in the bottom corners. If you want finer detail you would likely need smaller tooling to remove more material resulting in more detail especially when the center of your bit touches a floor as in your case.
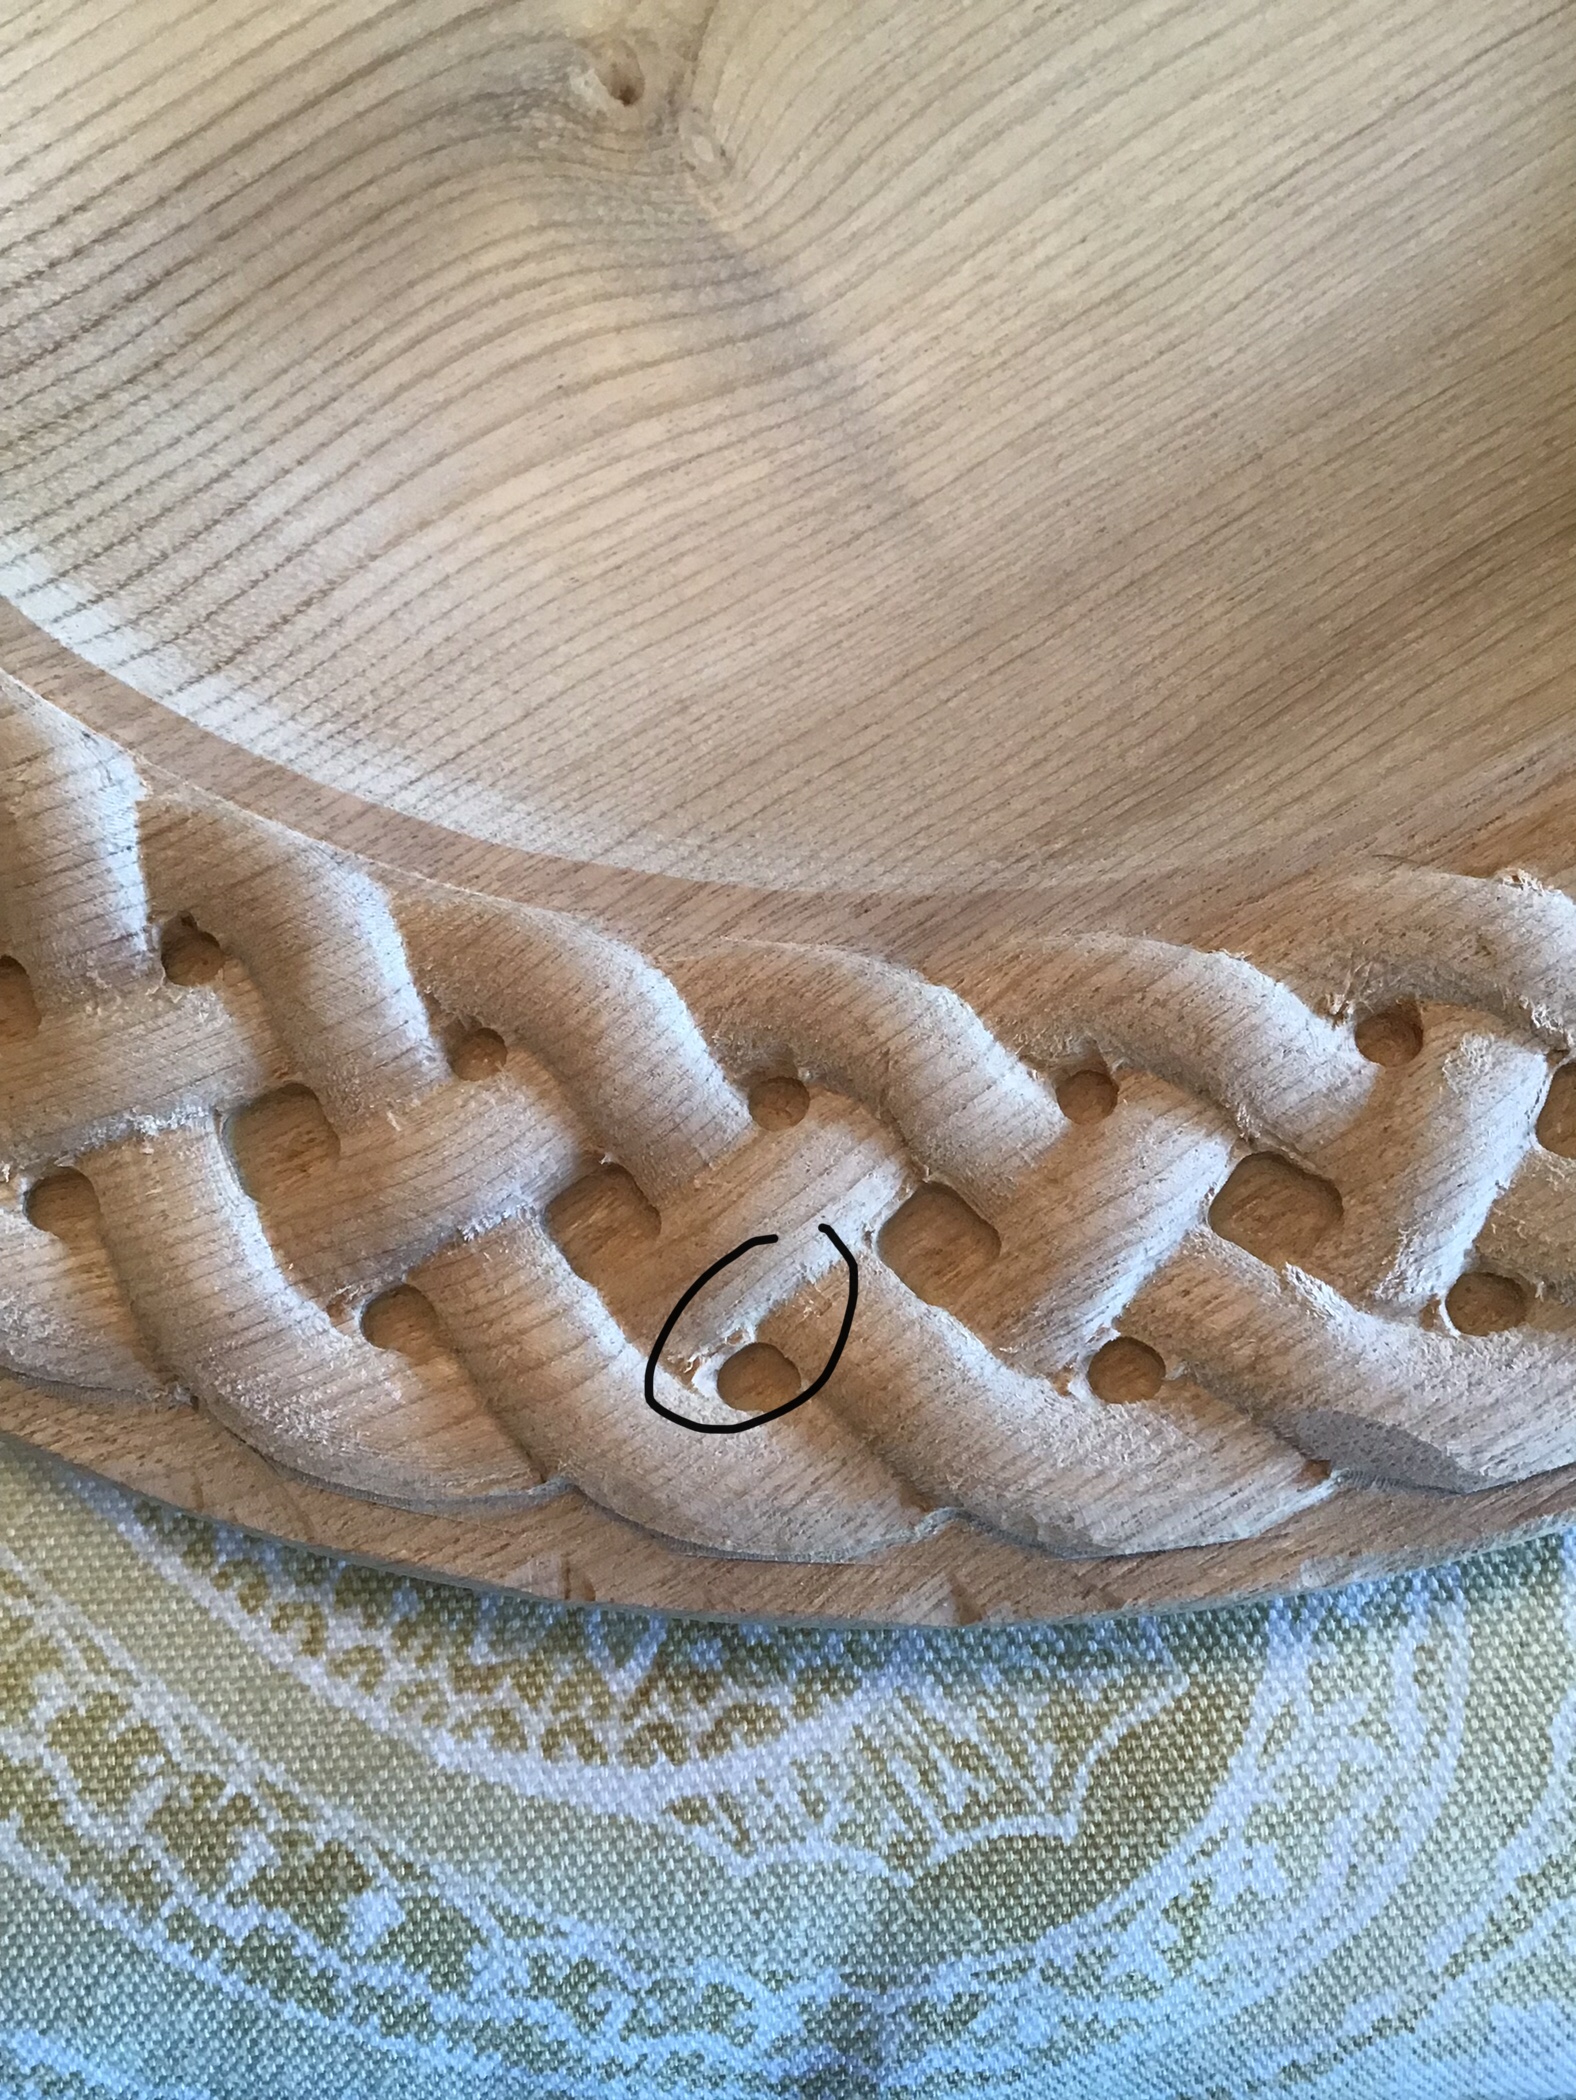
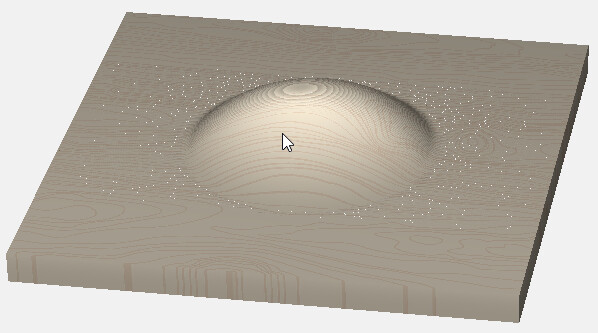
(EDIT: by any chance did you use a smaller diameter flat endmill for bulk material removal then your ballnose or tapered bit. Based on the result in your first picture the extra material left within the weave suggest this to me. Looks like a smaller flat tool went full depth so if your ballnose/tapered bit was same diameter or smaller and the bottom depth was the same I’d expect more material removal than what is shown in the images).
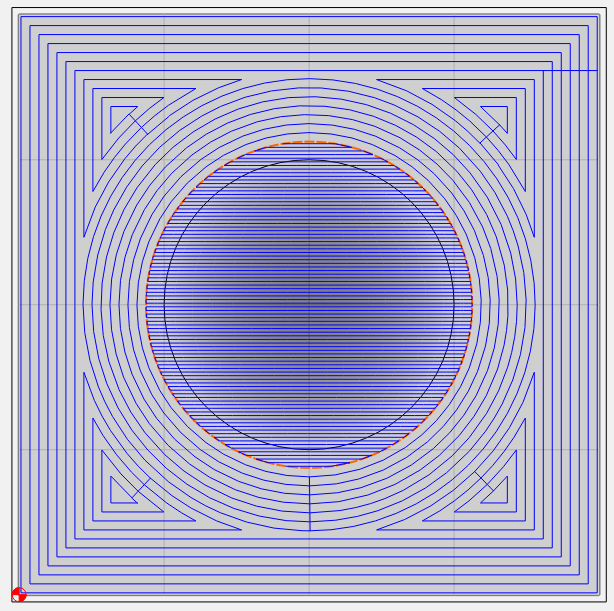
(EDIT2: also depending on your CAM software and the toolpath options you have could maybe be at play here. Some software may only allow stepover and stepdown adjustments, I use Fusion 360 and for this would use the parallel or scallop toolpath which basically uses only the stepover and runs the bit against the model surfaces and does not rely on stepdown (single pass)).
Appreciate this. I used an 1/8th inch bit for the holes in the first picture. Not sure why the clipart didn’t just add these areas to the clip and allow them to be cut with the tapered carving bit.
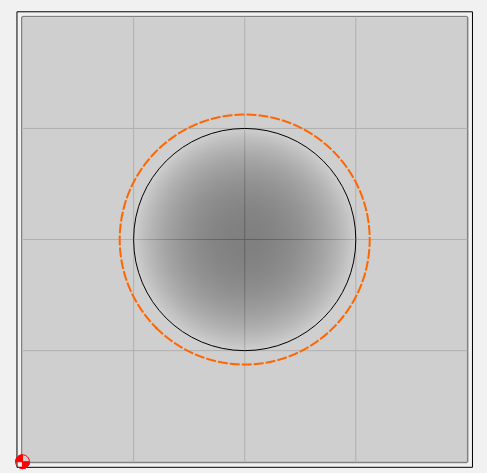
I will expand the boundaries and run a cleaning cut. Should I set the cleaning cut to cut on a different angle?