Good morning to all,
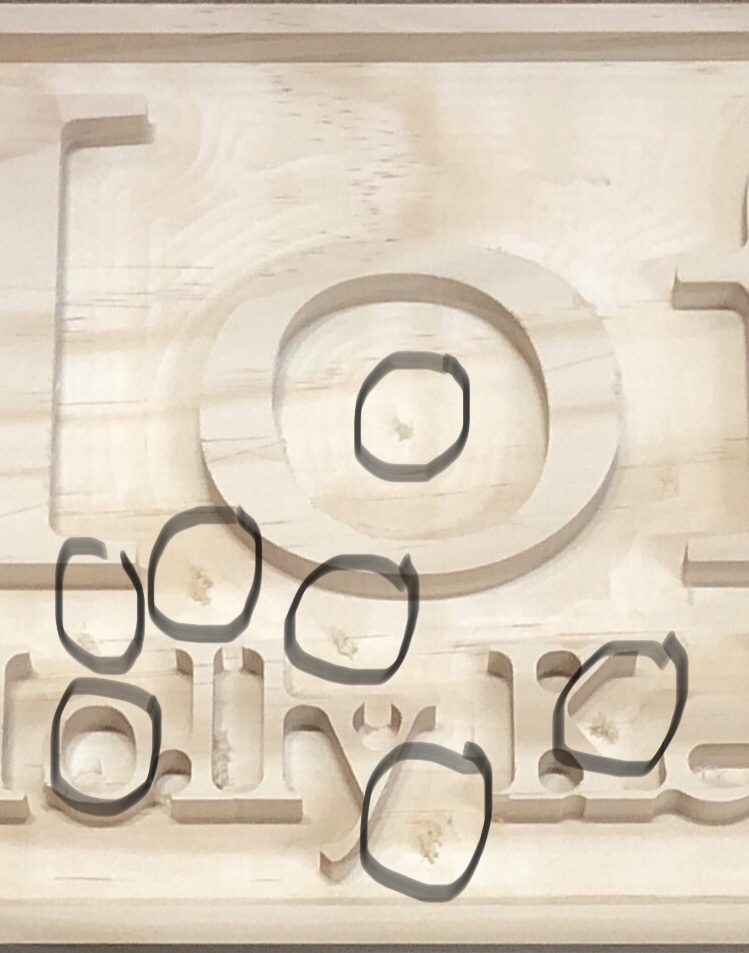
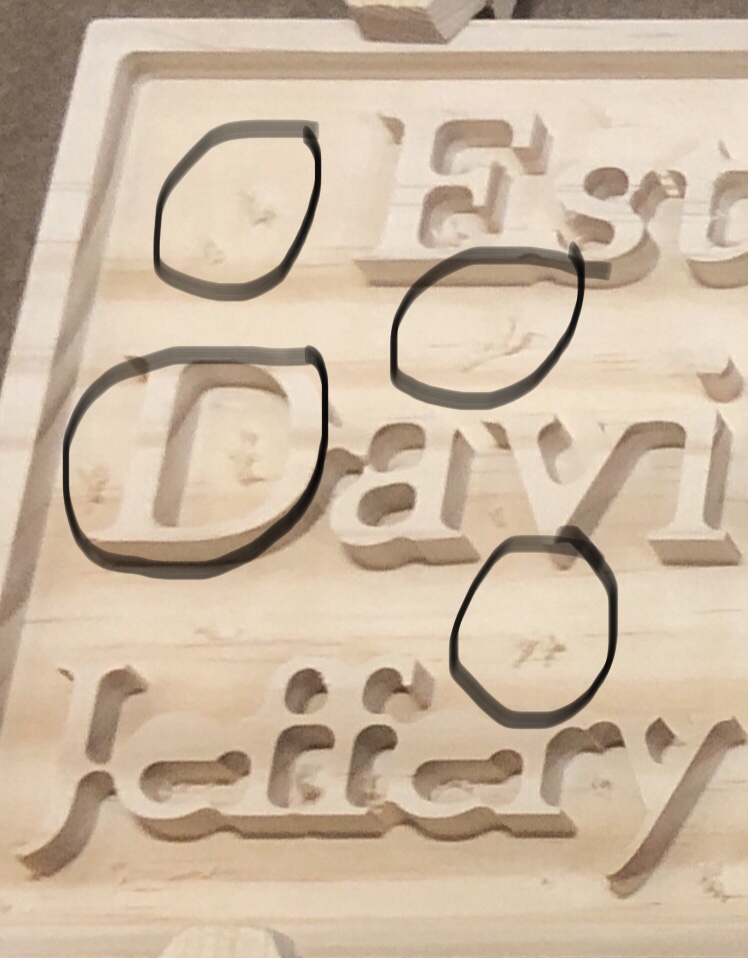
I am trying to get a cleaner finished product at the end of my machining. I end up with tool path marks, and left over fuzz. See pictures attached. I understand a certain amount of sanding may be necessary, but on busy pieces it’s not always easy. Is the answer in step over? I’ve leveled and squared everything and am going back to double check everything as I am also getting some sag in the center after machining a few pieces. Thanks for all your help.

Hi @Hof,
Using a smaller stepover can help indeed, but in this specific case I would probably run a second pass using the same geometry (the text) but with a depth of cut equal to the full depth of that pocket, to generate a single cleaning pass. Possibly with a slighlty different stepover so that the trajectory is not quite the same as during the roughing pass. The endmill will not cut much, but it will go over those spots and will do most of the clean-up for you. And of course you can do that finishing pass at a much, much higher feedrate since no cutting is happening, so it should not add a lot of cutting time.
Then there is the choice of the wood, some are stringy in nature and a different wood can be less susceptible to this tearout effect.
6 Likes
Thanks so much! Was trying to eliminate as much sanding as possible. You are right though, this select pine can be stringy. Need to find a source for good materials at a reasonable price. I’m looking into getting a saw mill as well, then I can just produce my own. Again thanks.
3 Likes
Some of the problem is the nature of wood grain direction. A different species might machine better like cherry. Regardless of species there will be manual cleanup.
3 Likes
Since all the problems seem to be at the bottom of the pocket/s; I would set ‘depth per pass’ such that the final pass is only a couple of thousandths. For example, if your pocket depth is 0.375" choose a ‘depth per pass’ of 0.124"; this will result in three passes of 0.124" and a final pass of 0.003". Sort of an automatic version of @Julien 's extra pass.
4 Likes
Not sure if this is necessarily your problem but looking at the location of the fuzz in your photos reminds me of some things I have experienced where when you are cutting out a pocket from the outside edge in towards the last little area in the centre. On most soft materials that last little bit because it has no support tends to bend over/flap/bend out of the way of the cutter and leaves little clumps similar to yours. If you cut from the centre out on an area the last pass is along the wall (in your case walls of the letters) and you tend not to get these little clumps as the material to be cut always has support.
Again - not sure that is your problem - but just a thought.
1 Like
So instead of selecting the letters first and then control shift the border, if I reverse that (border then letters) the tool path will cut in reverse direction?
Are those spots where the bit starts pocketing? Giving more tension to the Z-belt may also give you an improvement.
1 Like
I don’t think the order of selection will matter if it’s the same pocket. There is some known unusual behavior that can result in larger stepover distances near the center of pockets; you might try slight modification to your stepover distance and see the effect that has on the tool path near the centers where your problem seem to be the worst.
EDIT: or, it could just be the plunge locations!
2 Likes
Sorry - I suspect that is a Carbide Create question and I am sure that are others better qualified to answer as I am a Fusion360 CAD/CAM user. Anyone else?
This topic was automatically closed after 30 days. New replies are no longer allowed.