I’m new to this forum but joined because my son would like to make a chess board with epoxy inlays. He’s only 11 so this is a family project We recently became members of a makerspace and have taken a course on the CNC machine.
I saw a post on this forum from Brian @bdwest and he said he’d be willing to share his CNC design. I can’t figure out how to send a direct message.
Additionally, I am also wondering what kind of wood we should use so that the chess board won’t warp? My son has fallen in love with a purpleheart wood in our local woodshop, but I don’t know if we can simply purchase a board, cut it to size and plane it before going to the CNC step, or if that would warp.
I would really appreciate any advice, and I hope Brian will see this post
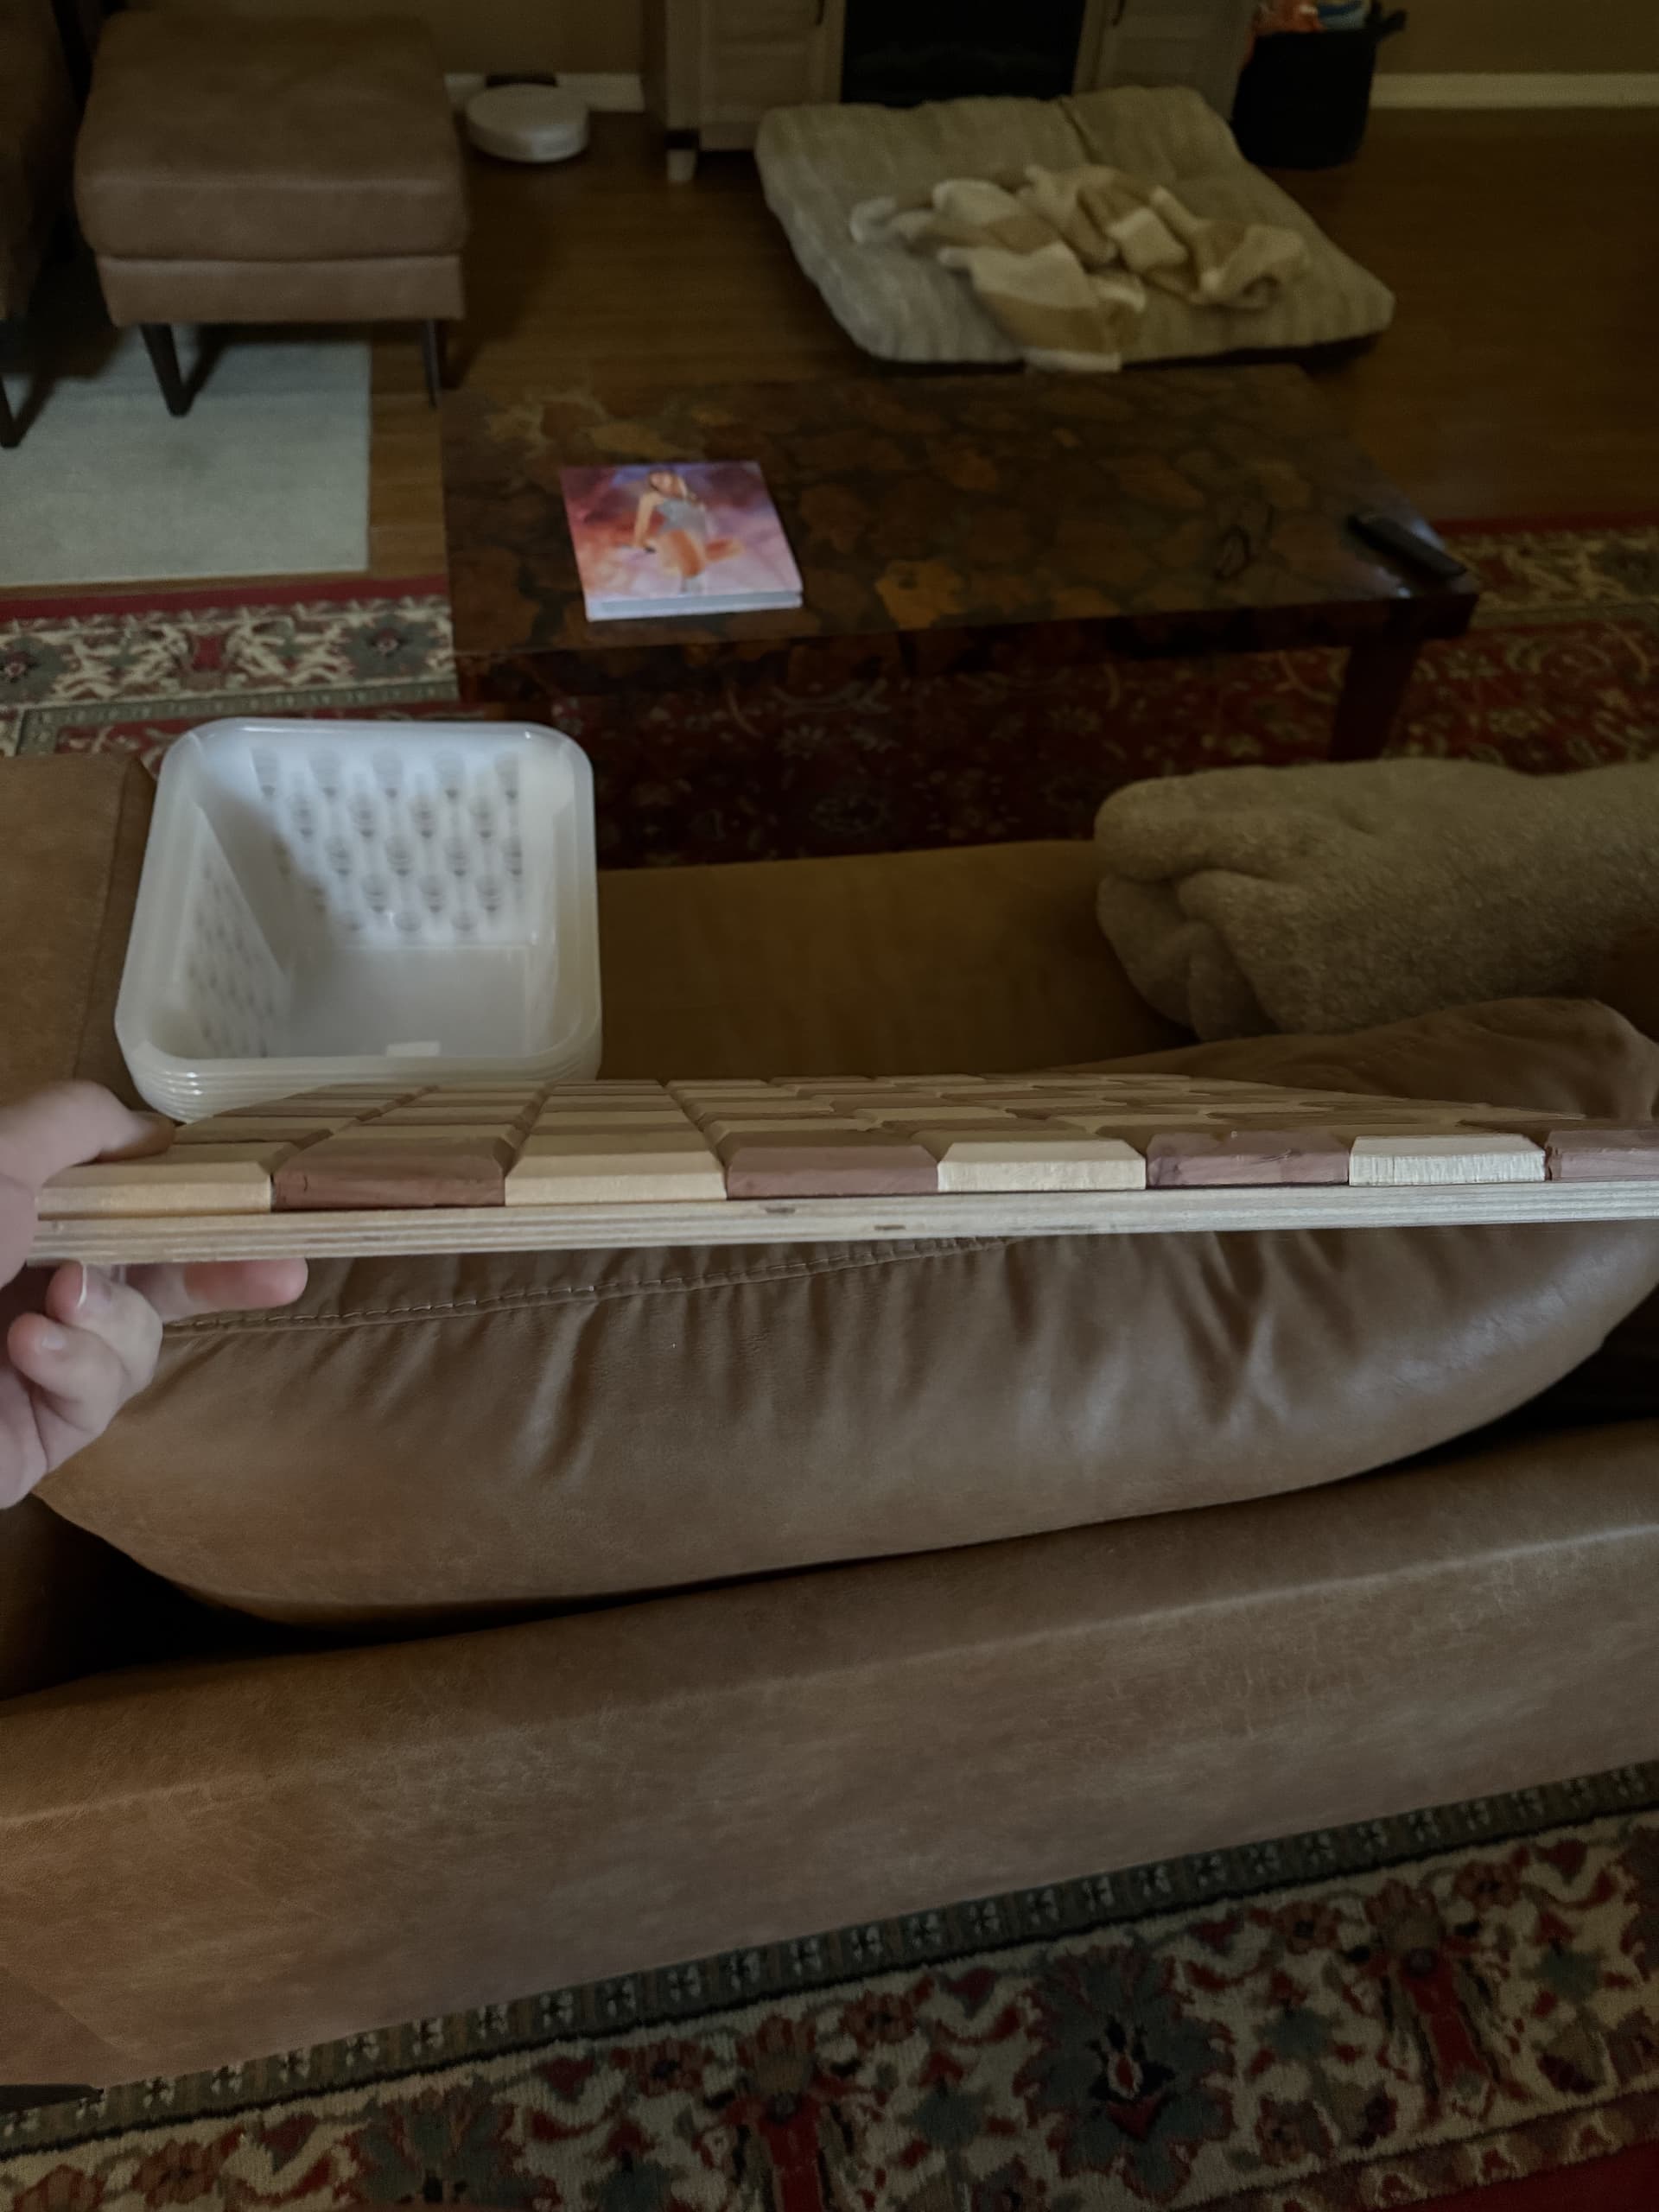
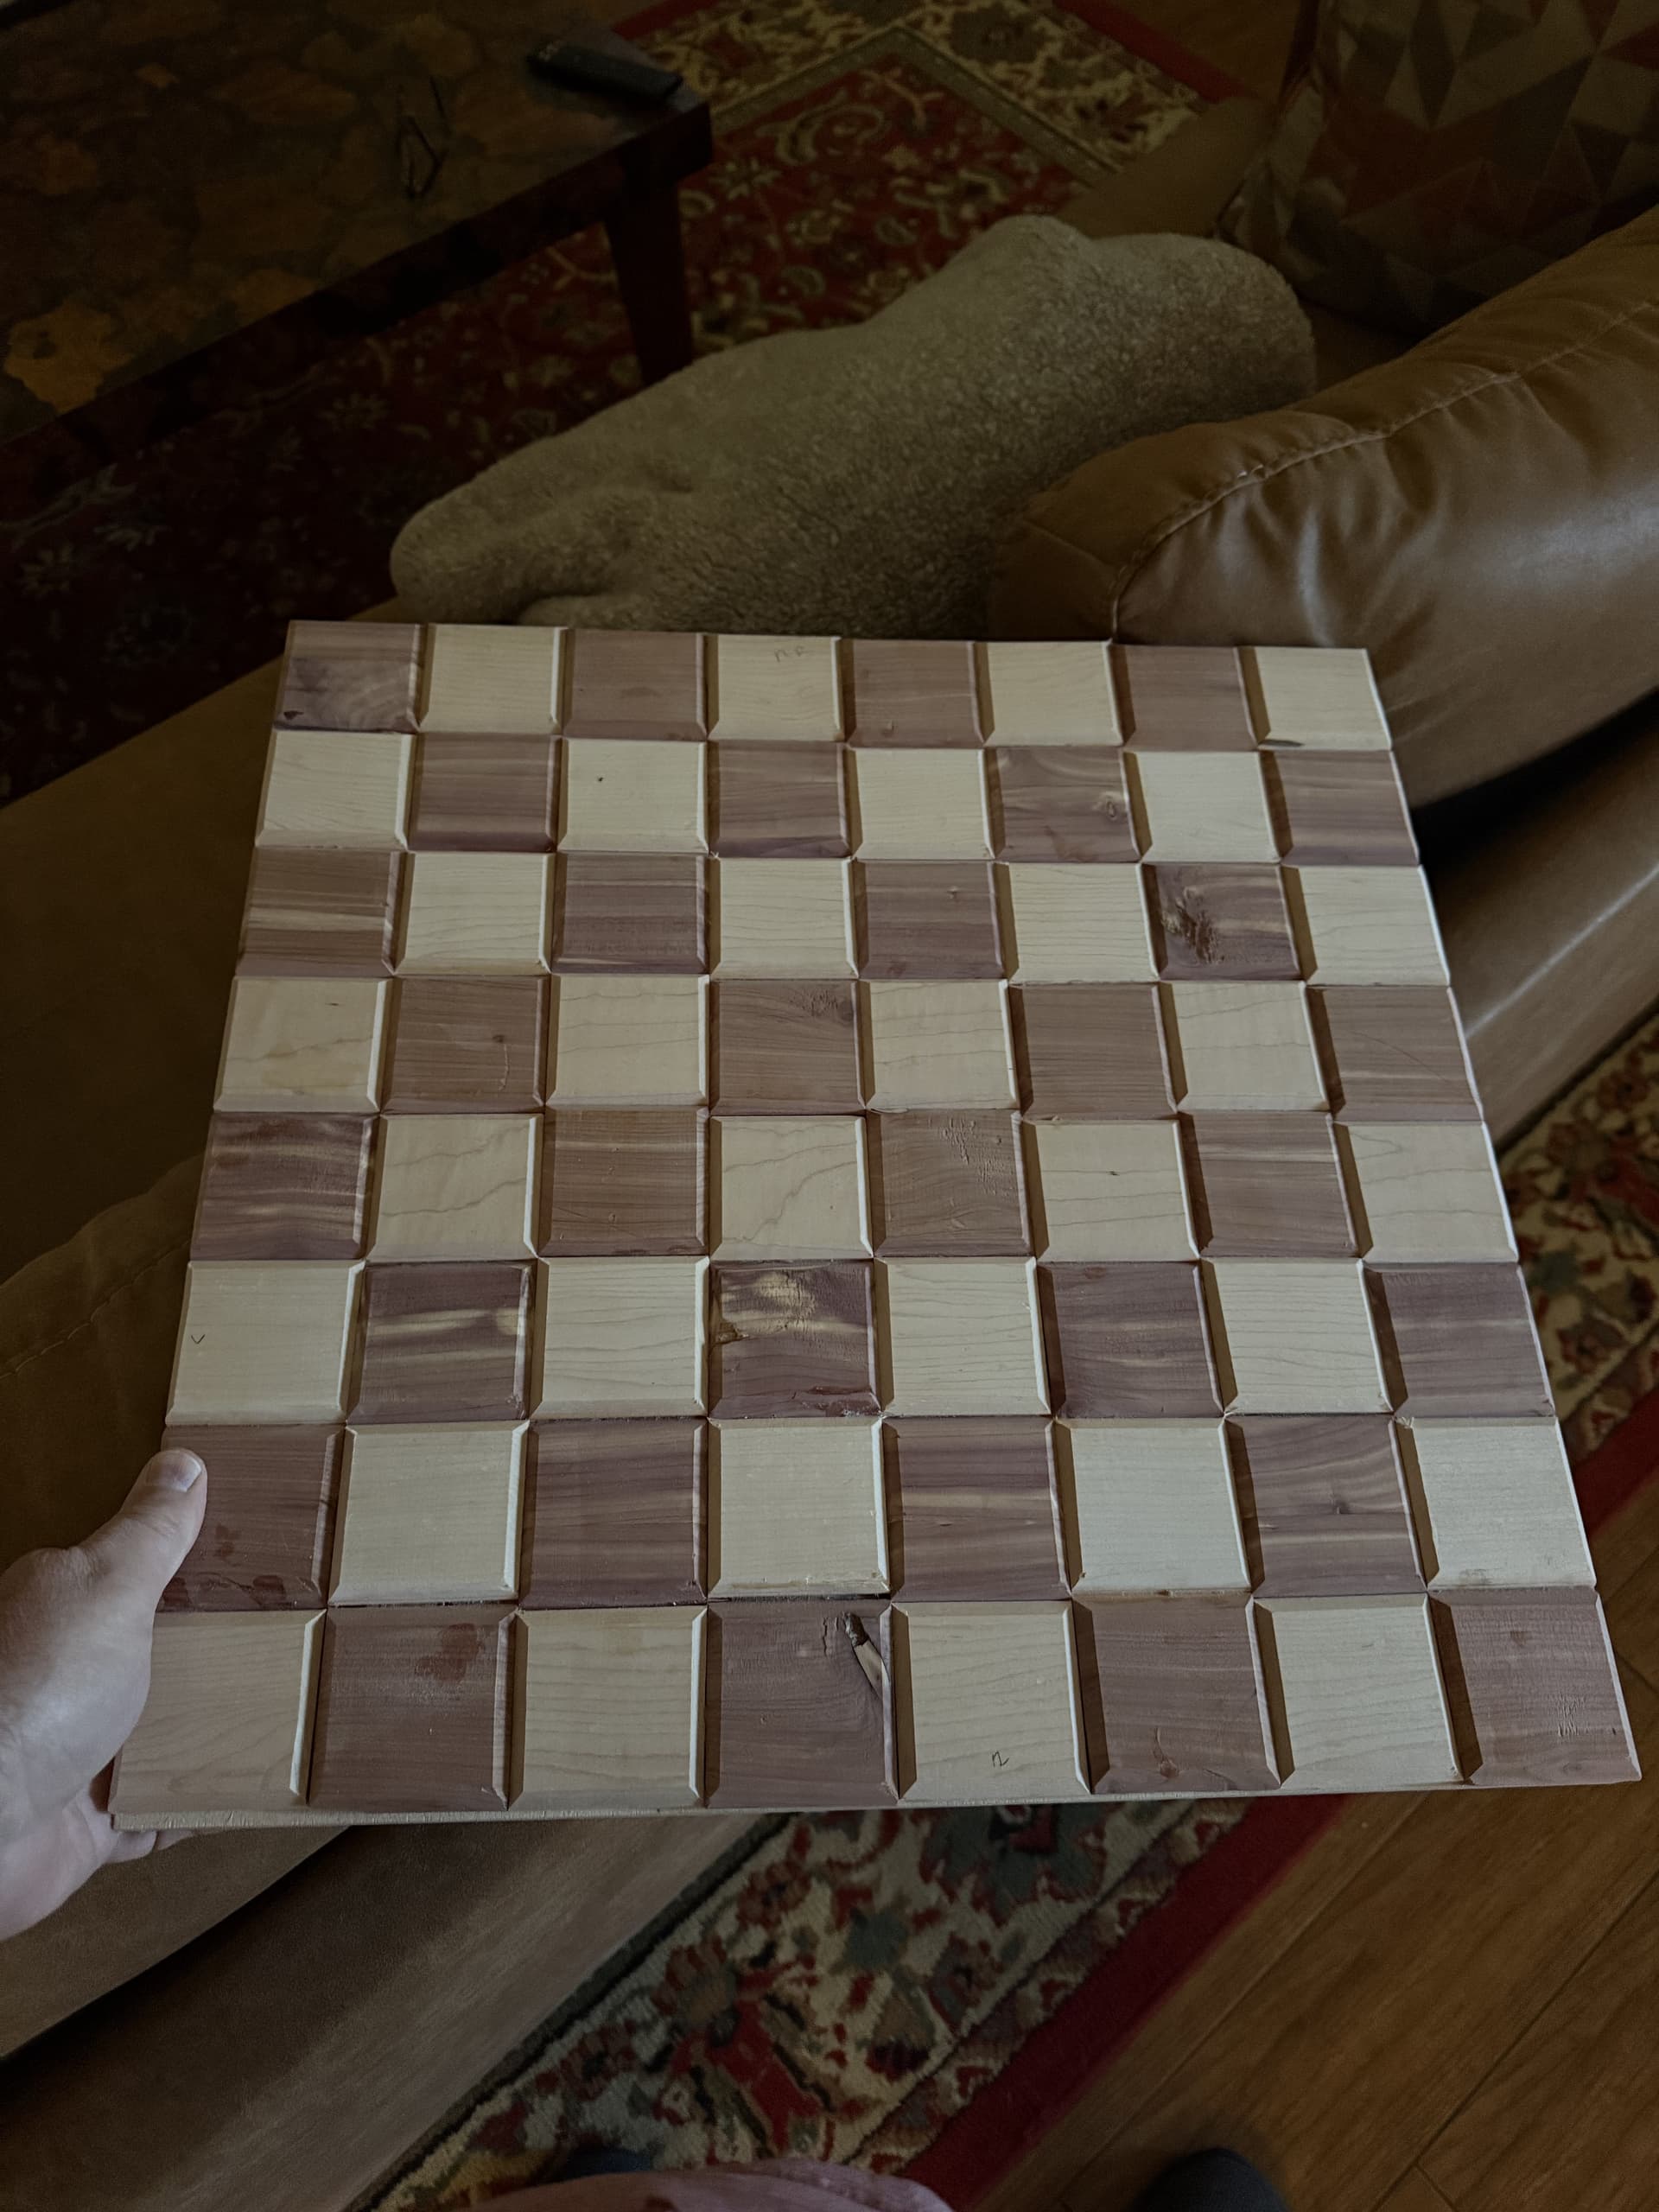
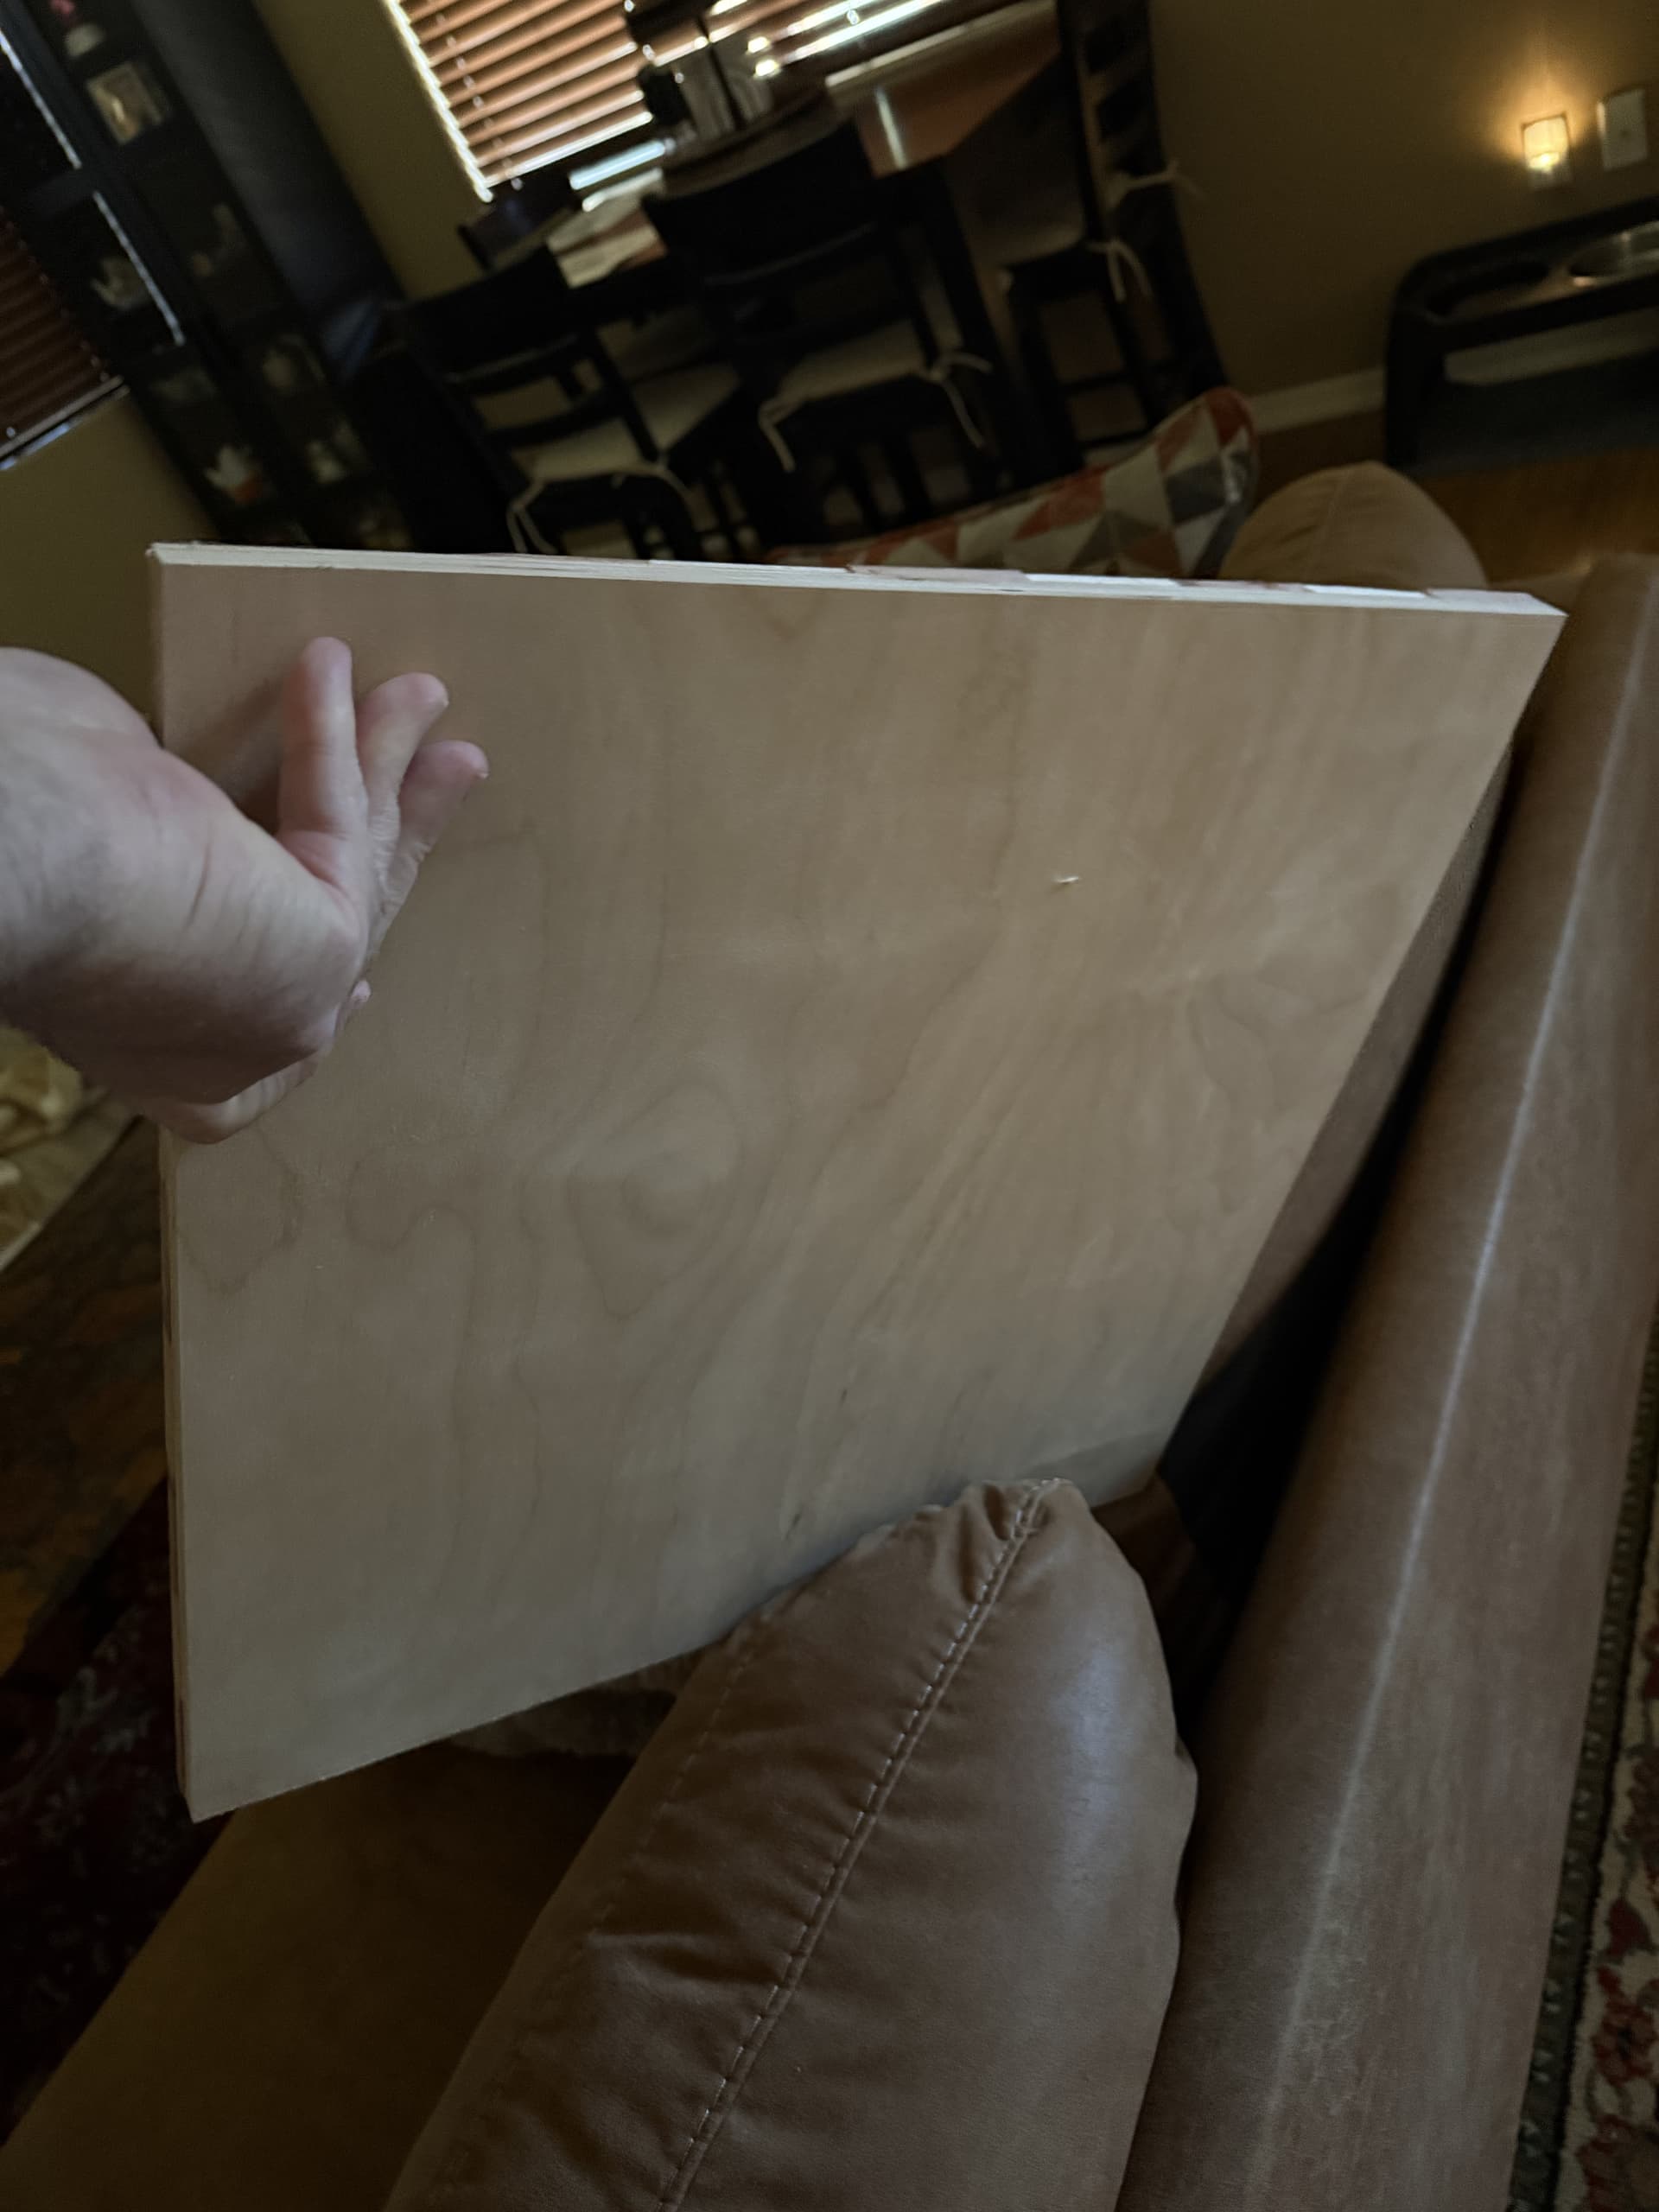
You can make it out of just about any type of wood you would like you use. I just recently built one (still in progress) from Maple and red ceder I didn’t use the CNC though wish I had now but I used a 1/2" baltic birch plywood back to keep it from warping. I haven’t had time fo finish it yet because of other projects. But the plan is to do a gold leaf inlay in the squares and epoxy but here what I’ve done so far.
I have a bunch of purple heart and have made a lot of projects. I would caution you that purple heart has given almost as many splinters as wenge. Purple heart has another bad property that on some pieces sap weeps out. So when picking purple heart in the store pick pieces that are purple and not ones with dark purple splotches. Even if you clean and/or plane off the surface resin it will come back and ruin the look of your project.
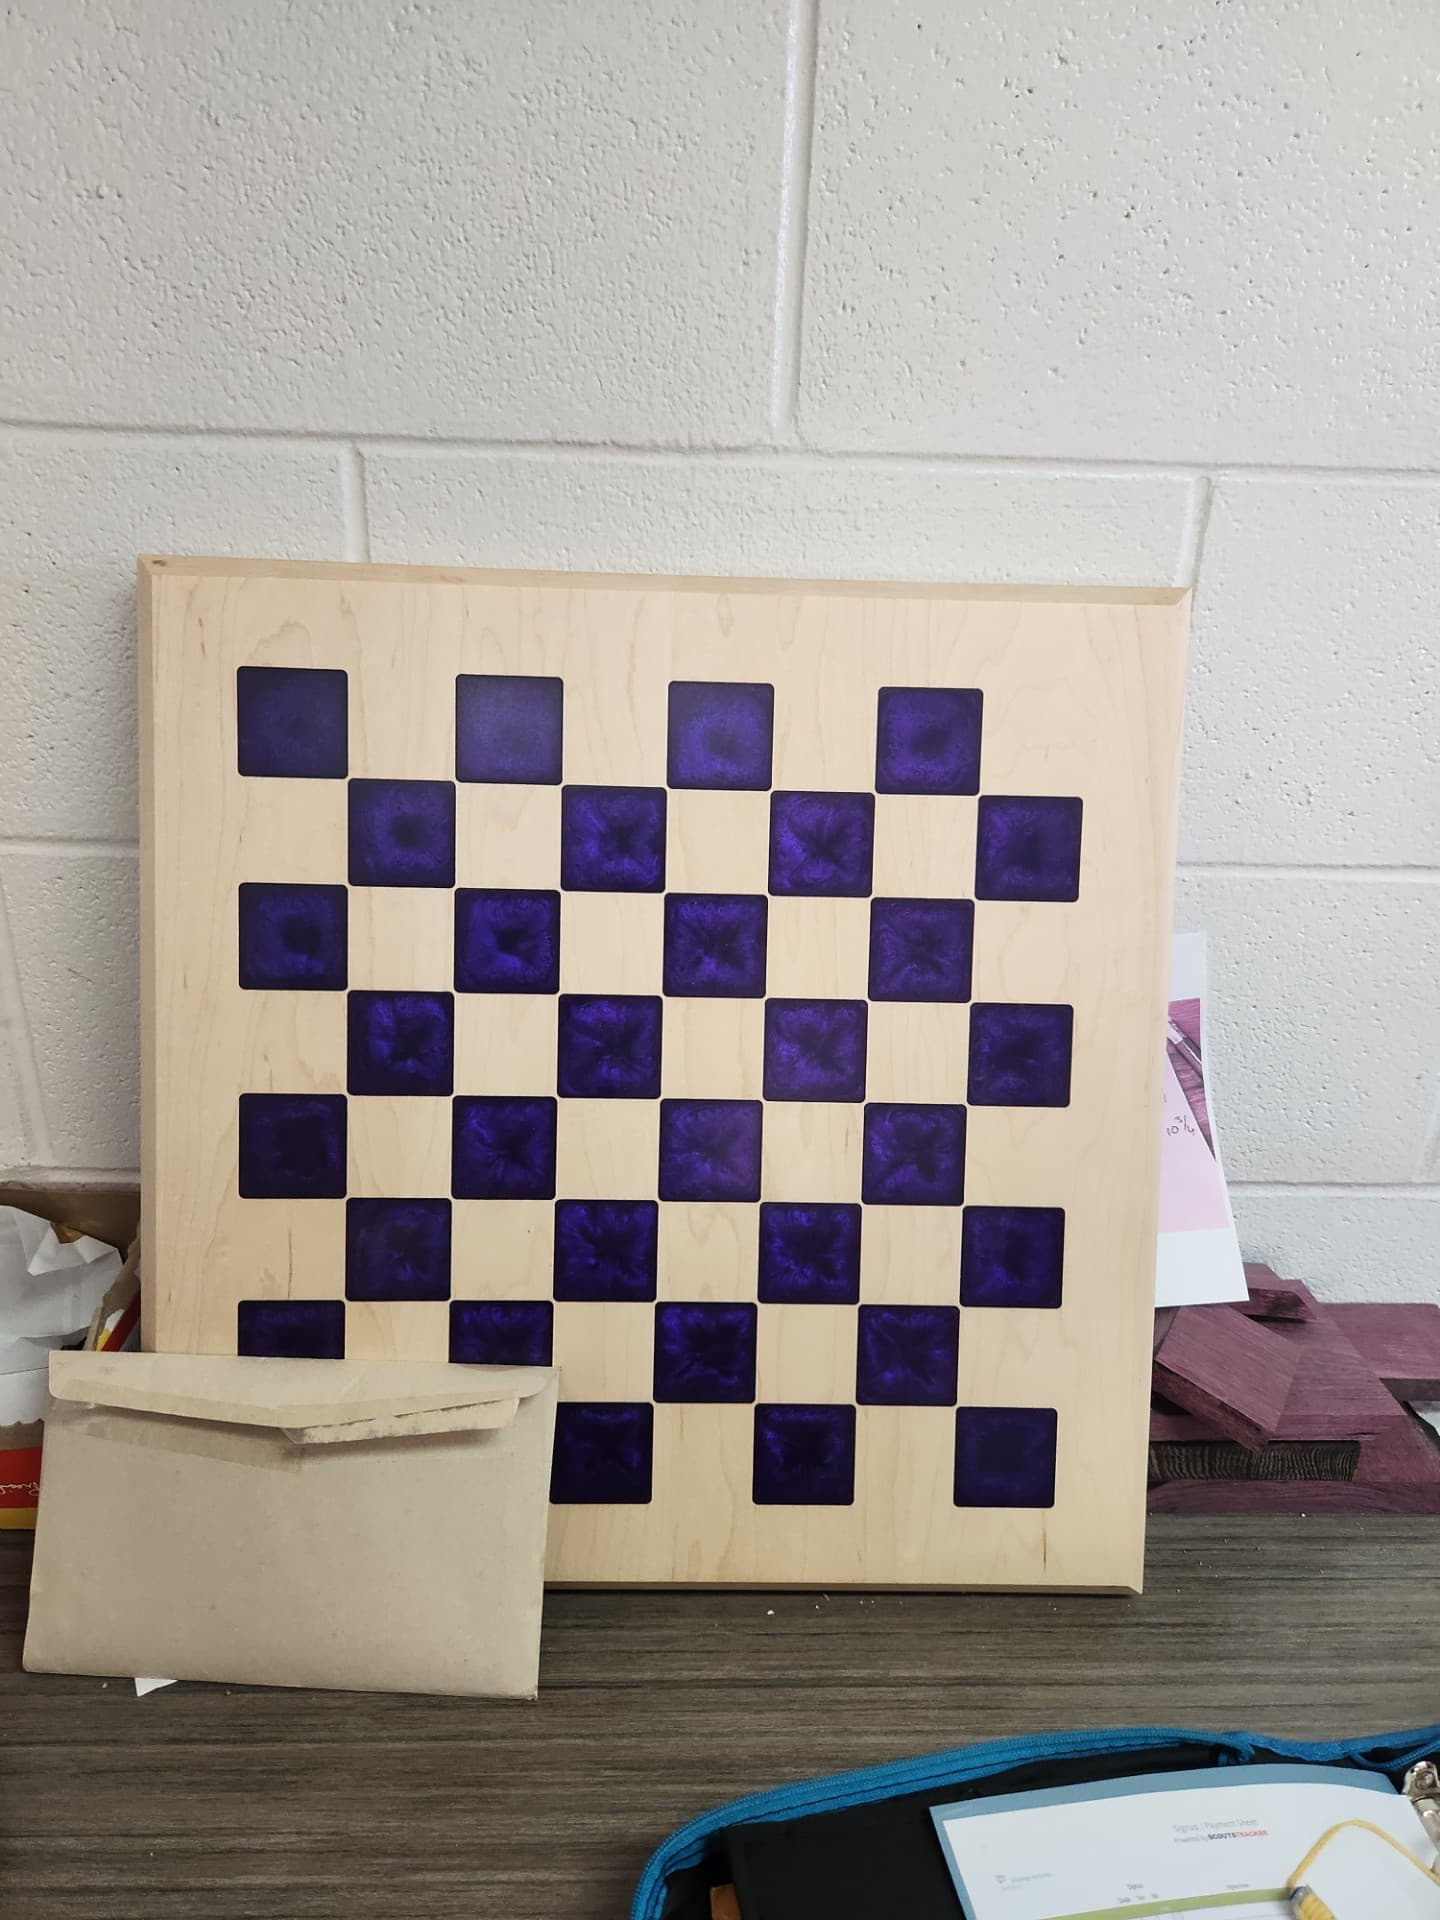
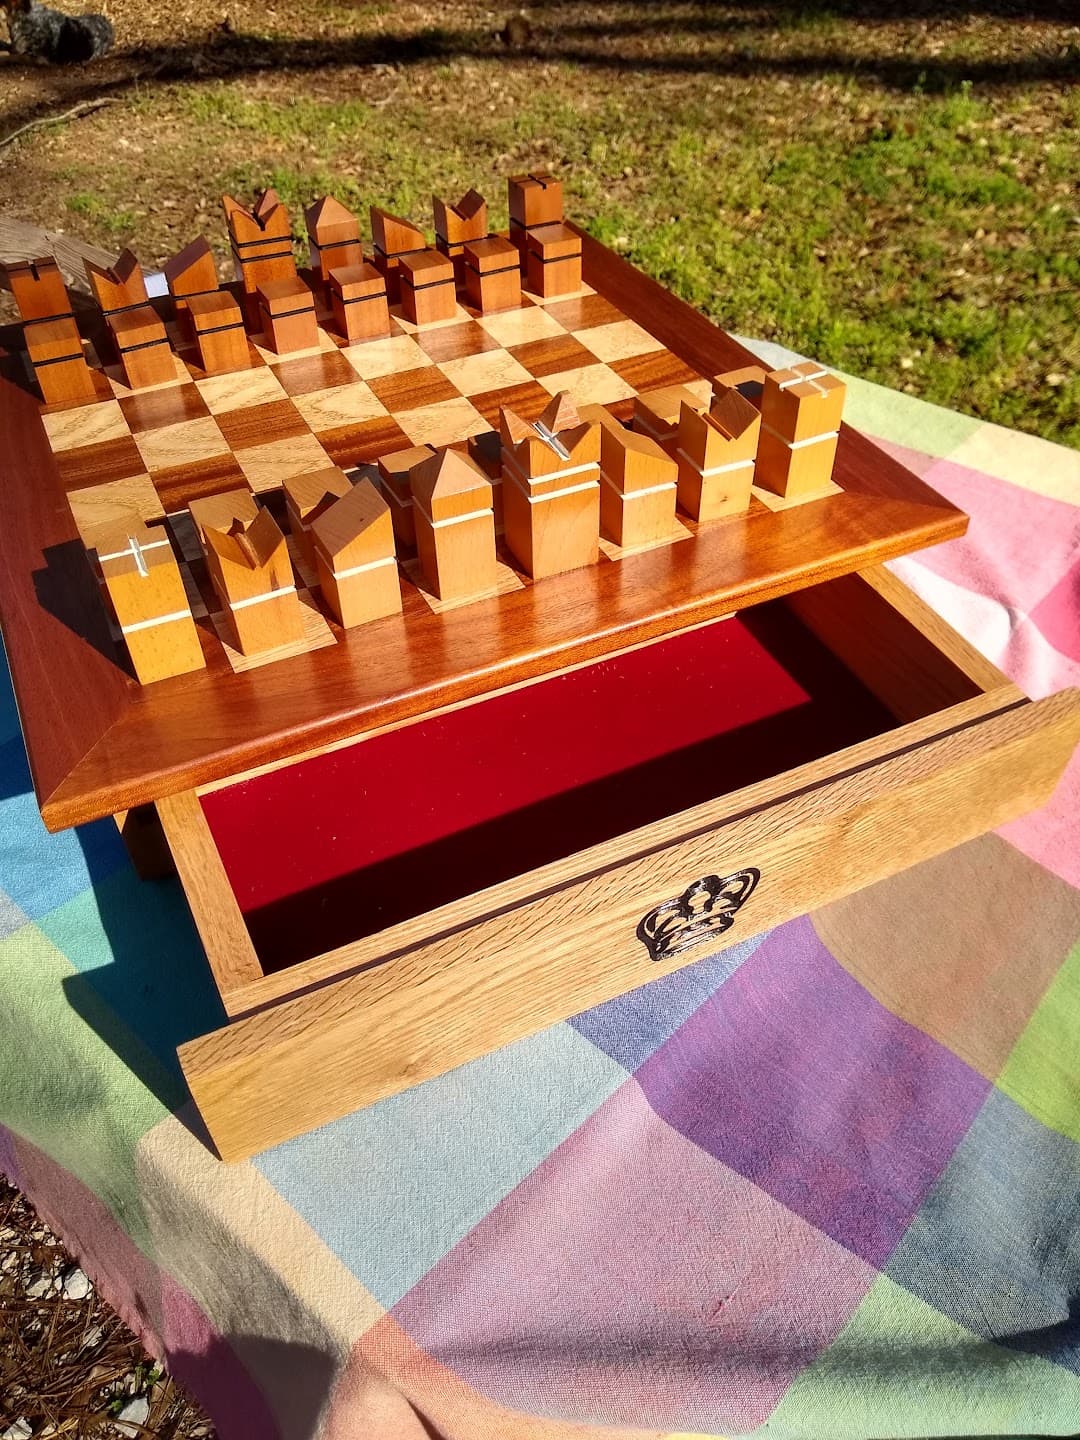
I have made chess boards and always use 1/2" plywood as the base in which to glue on my squares. That gives you a stable base for the chess board. My chess boards were cut into strips of contrasting wood 2" wide. I then glued up alternating strips of the contrasting wood. Then cut that at 90 degrees to give me the alternating strips and then glued those together and onto the plywood base. In your case cut your wood into the size squares you want and lay out a grid on your plywood base. Glue in your wood. Let it dry thoroughly. Then pour your epoxy. You should over pour the epoxy because as epoxy dries it tends to shrink. You dont want a sunken in square if you try to just fill to the top rim of the cavity. After thorough drying you can surface the chess board on the CNC or I prefer to run it through a drum sander. I would not recommend sending the chess board through a planner. The planner is quite violent and tear out your epoxy. Even a 5" RO sander starting with 60 grip sand paper will work to remove the over pour epoxy. Progress up through the grits until you get to about 400. The epoxy will look dull as dish water but once you apply a finish it will shine up. On my chess boards I then cut a border with 45 degree miters and glue that on the plywood/chess board. You would need some mechanical fastners like dowels/biscuits/loose tenons to keep the border attached permanenty. I would also recommend making a small base with drawers to keep your chessmen in.
Be sure to research the standard sizes of the squares to match the size of your chess pieces. I use 2" but I am not making tournament boards.
For official USCF and FIDE tournaments, chess squares typically measure between 2.25 and 2.375 inches (5.7 to 6.0 cm) per side.
Be sure to buy or make your chess pieces first to proportion the squares to your chess pieces.
One last piece of advise is about coloring your epoxy. A little dark color goes a long way but you want to just add colorant a little at a time until you get the color you want. If you over due dark colors the result can be almost black. So add a few drops at a time until it looks good to you.
There are lots of different epoxy types. I use table top epoxy which dries overnight and can be poured up to 1/4" thick. If you use the slow set epoxy it takes over a week to dry and if you have a leak anywhere it will be all over your bench. Plus the slow set colorants like mica powder tend to float to the bottom so the first day or so until the epoxy gets a jello like consistency you have to stir the squares to get your colorant back up to the top and visible.
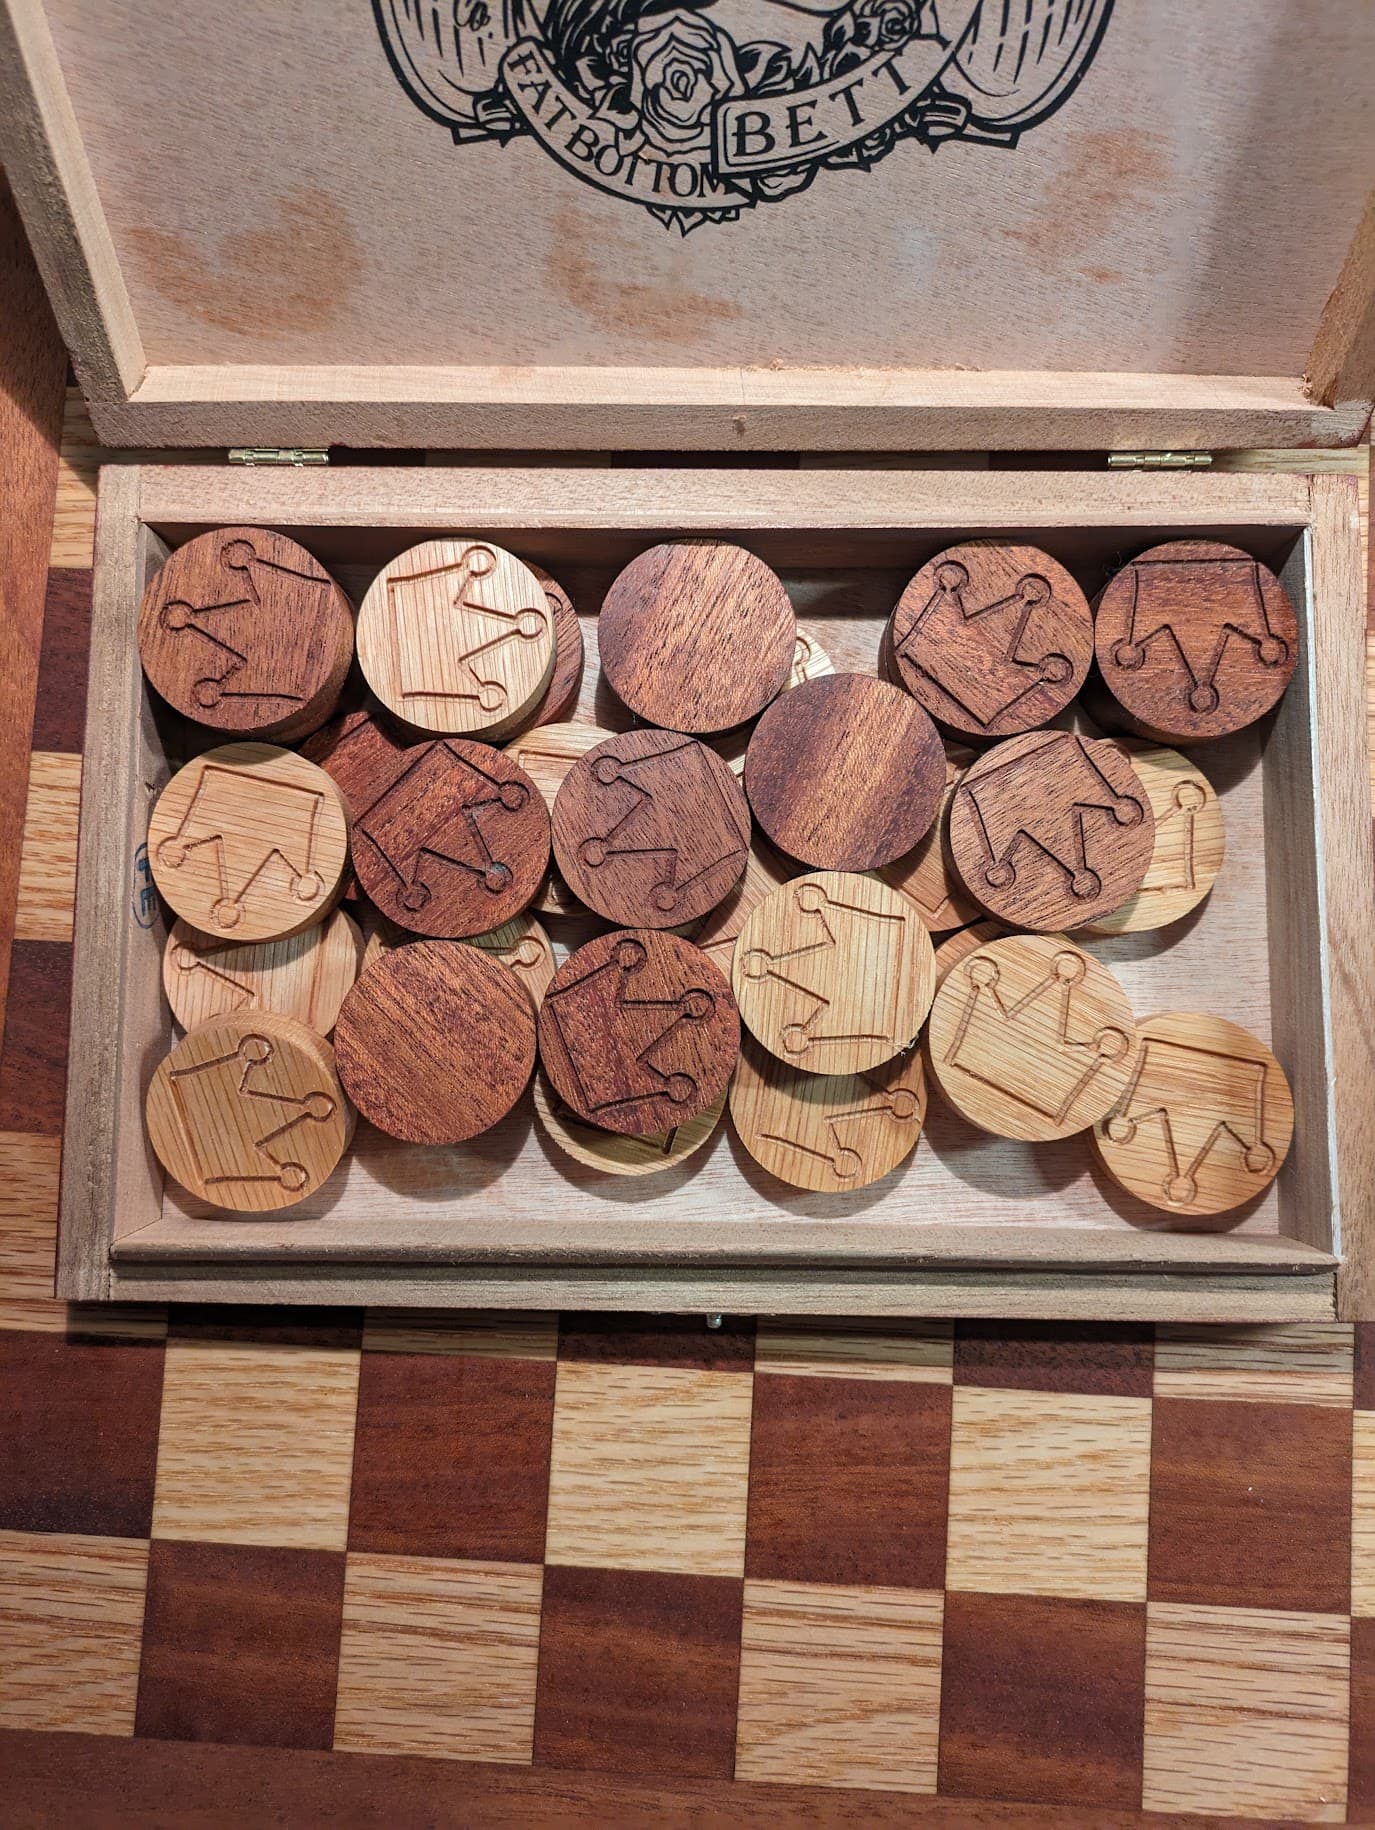
I would recommend you make some checkers to go along with your chess board. For younger children checkers is a lot more fun.
Purple Heart can be finicky when milling/cutting and be careful when handling due to splinters. Its brittle and edges can chip out depending on wood grain orientation.
Good luck and show us your project when you complete it!