I wonder if there has been any thought, put towards some kind of collision detect when the machine hits a hold down clamp.Our CNC at my work when we hit something we usually get a collision guard or a collision detect it doesn’t go Squirrley like this, a couple projects I’ve made have been ruined because of this I don’t deny that I am at fault for not paying attention to the clamp position, but I feel like this is something I could be prevented with a simple programming option.
Are you sure that this was from hitting a clamp and not the machine getting pulled off-course by cutting a slot as narrow as the tool’s diameter, but quite a bit deeper?
1 Like
I was sitting there when it happened. It definitely hit the clamp stuttered for a couple of seconds before I could stop the machine and then went Squirrelly. And even left a little mark on my sweetie. Which again is my fault I should’ve verified my clamped location, but you would think that it would detect a crash and maybe go up in the Z and give an alarm.
Clamps are always a problem. I suggest you use painters tape and super glue. This is an economical solution and you can never hit a clamp. Additionally I use a long L bracket to get my work piece squared up to the router. If I am going to cut close to the edge and hit my L bracket I remove the bracket after the glue has set.
I use regular 3M blue 2" wide painters tape and TiteBond Medium CA Glue. I have never had a failure.
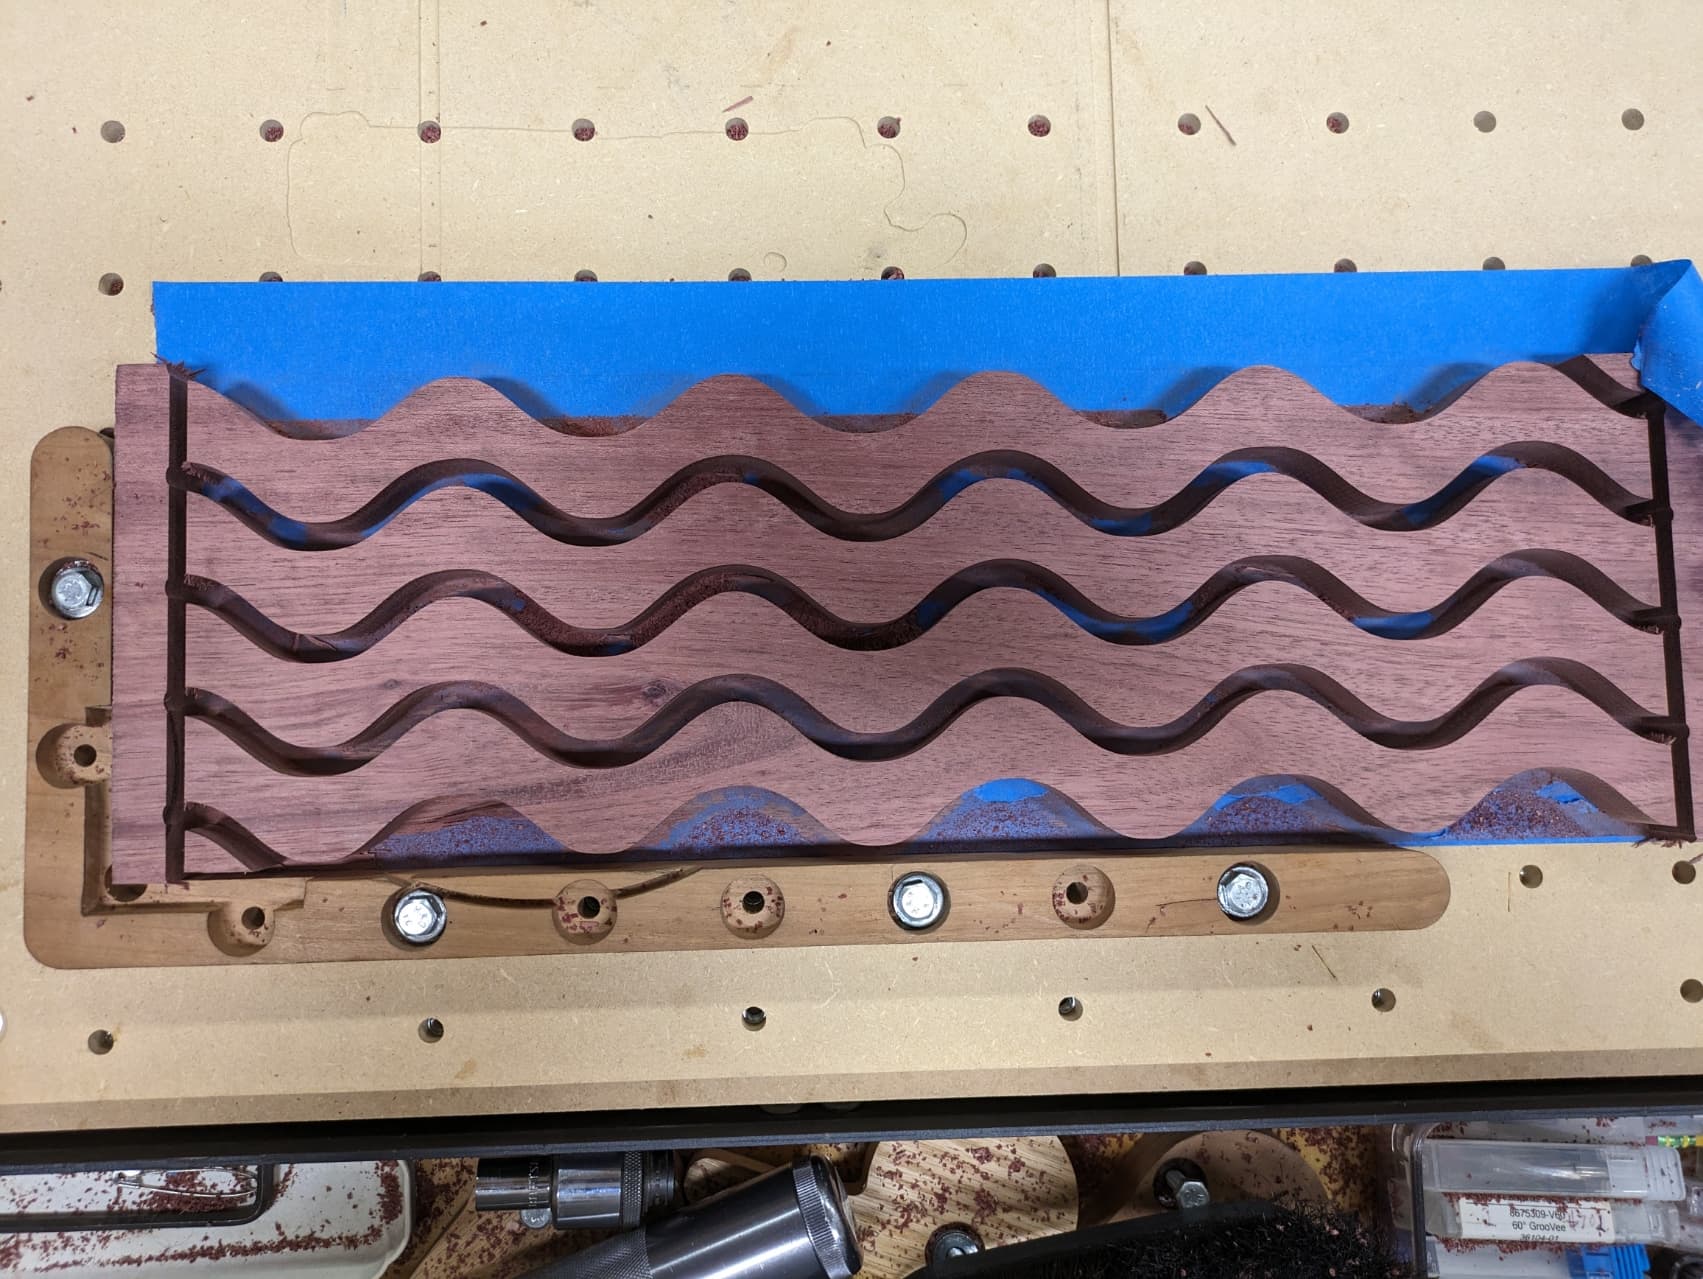
Here is an example of making some easels on my SO3 XXL using the CA and Painters Tape.
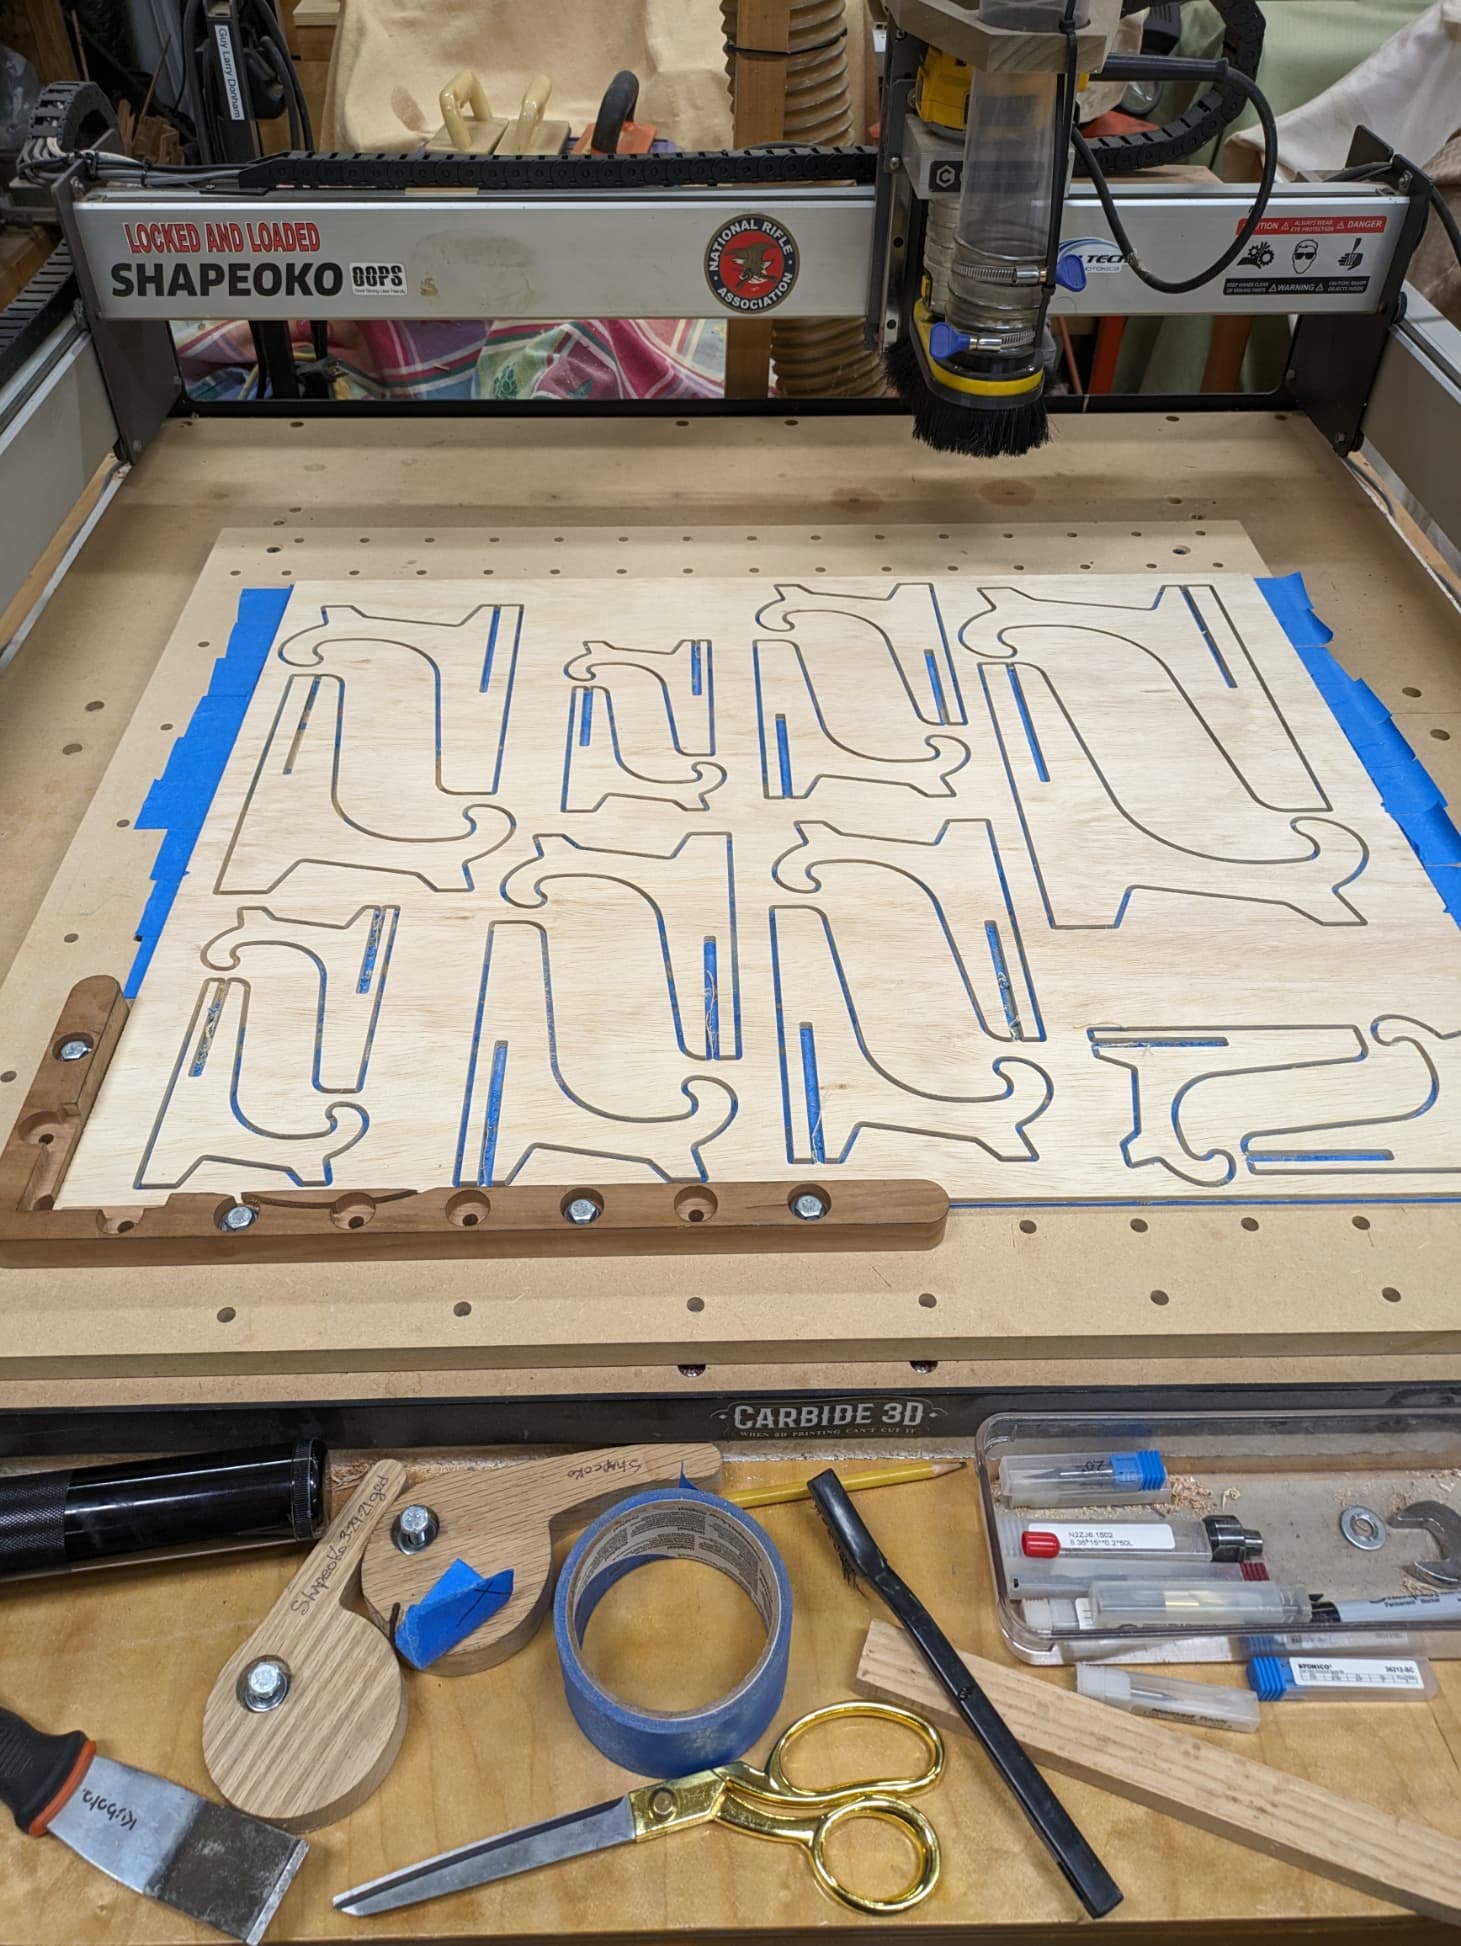
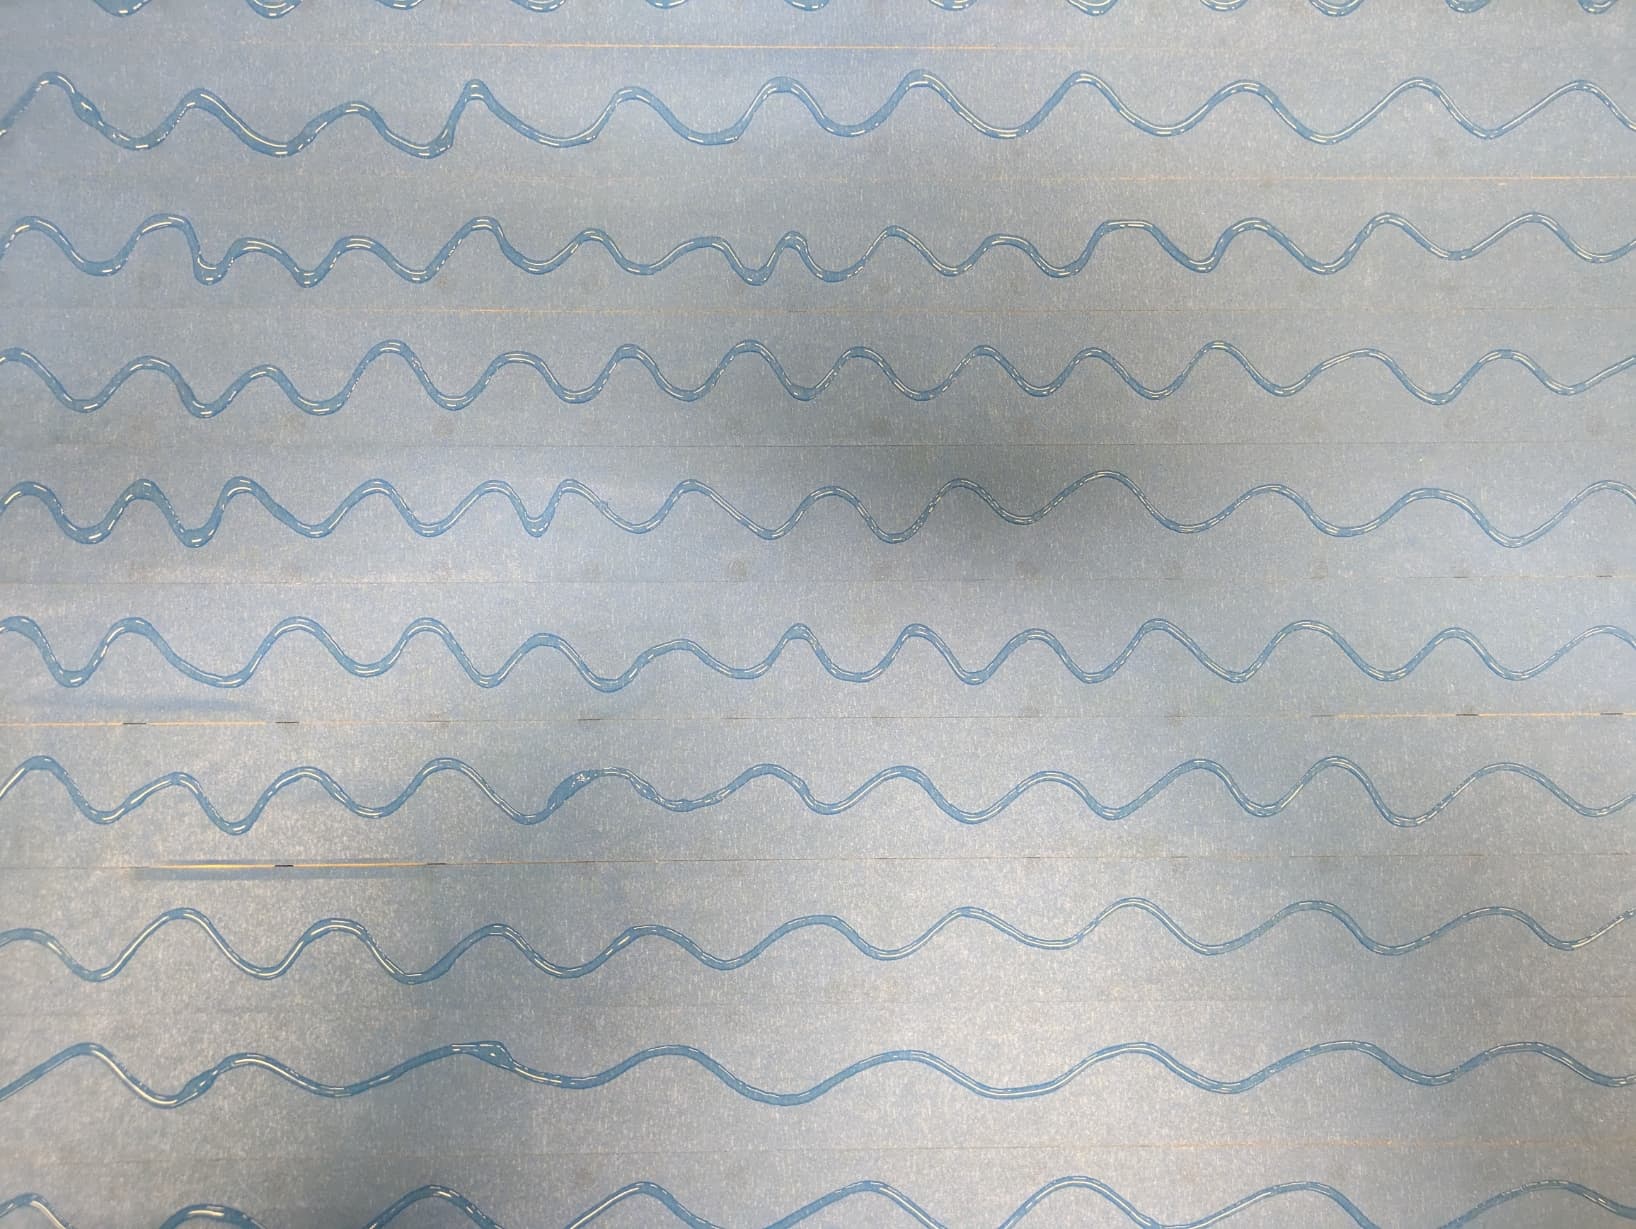
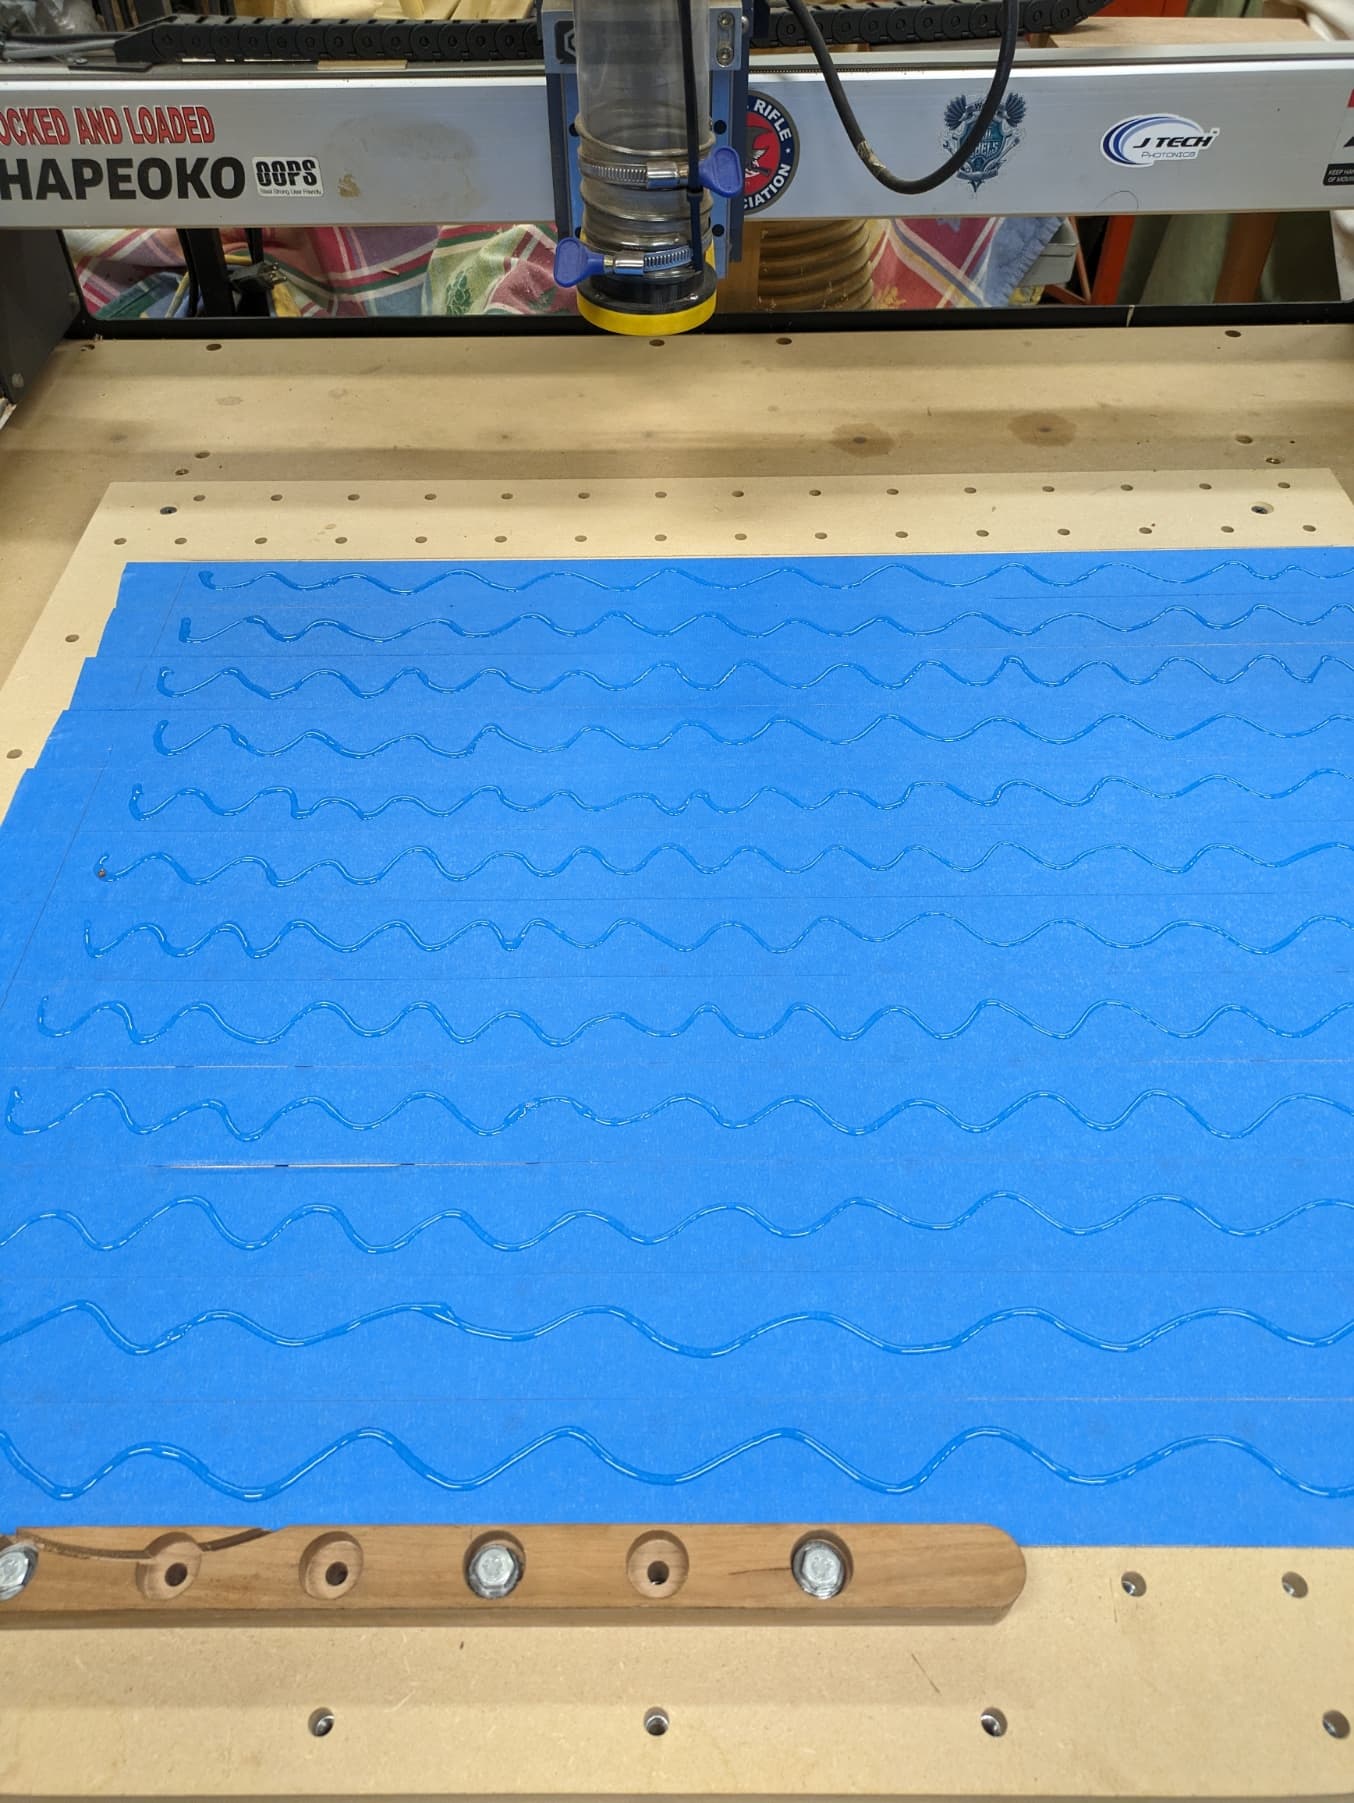
I lay down the painters tape across my Spoilboard. Before placing the tape I make a pencil mark around the perimeter to I know where to stop the tape. I make sure to try to butt the edges together without overlapping them. I make the spoilboard layer a little larger than the material so when it comes time to remove the project I have something to peel up to get a putty knife under. Then on the bottom of the project material I lay the tape out starting out from the bottom row (top if turned over 180 degrees) so my tape lines line up. I trim off the tape from the underside of the project even with the edges. I spread the super glue in an S pattern. Press the material down and you have a little wiggle room to get it properly lined up. Hold the material down for really big pieces a minute or so and let it set up for a few minutes while you get your zeros set, project loaded and a bit installed.
After the glue has set remove the L bracket if you might cut through it. If you are only doing a vcarve or something you will not cut through just leave the L bracket in place. It is the tape and CA that holds the project down but the L bracket helps make sure the project is square to the router.
Project material measurement is important but I use bottom of material in CC and get very little scaring of my spoilboard. I just X and Y as you usually would and then jog off to a clear space on the spoilboard and use your BitZero to Z zero on the spoilboard.
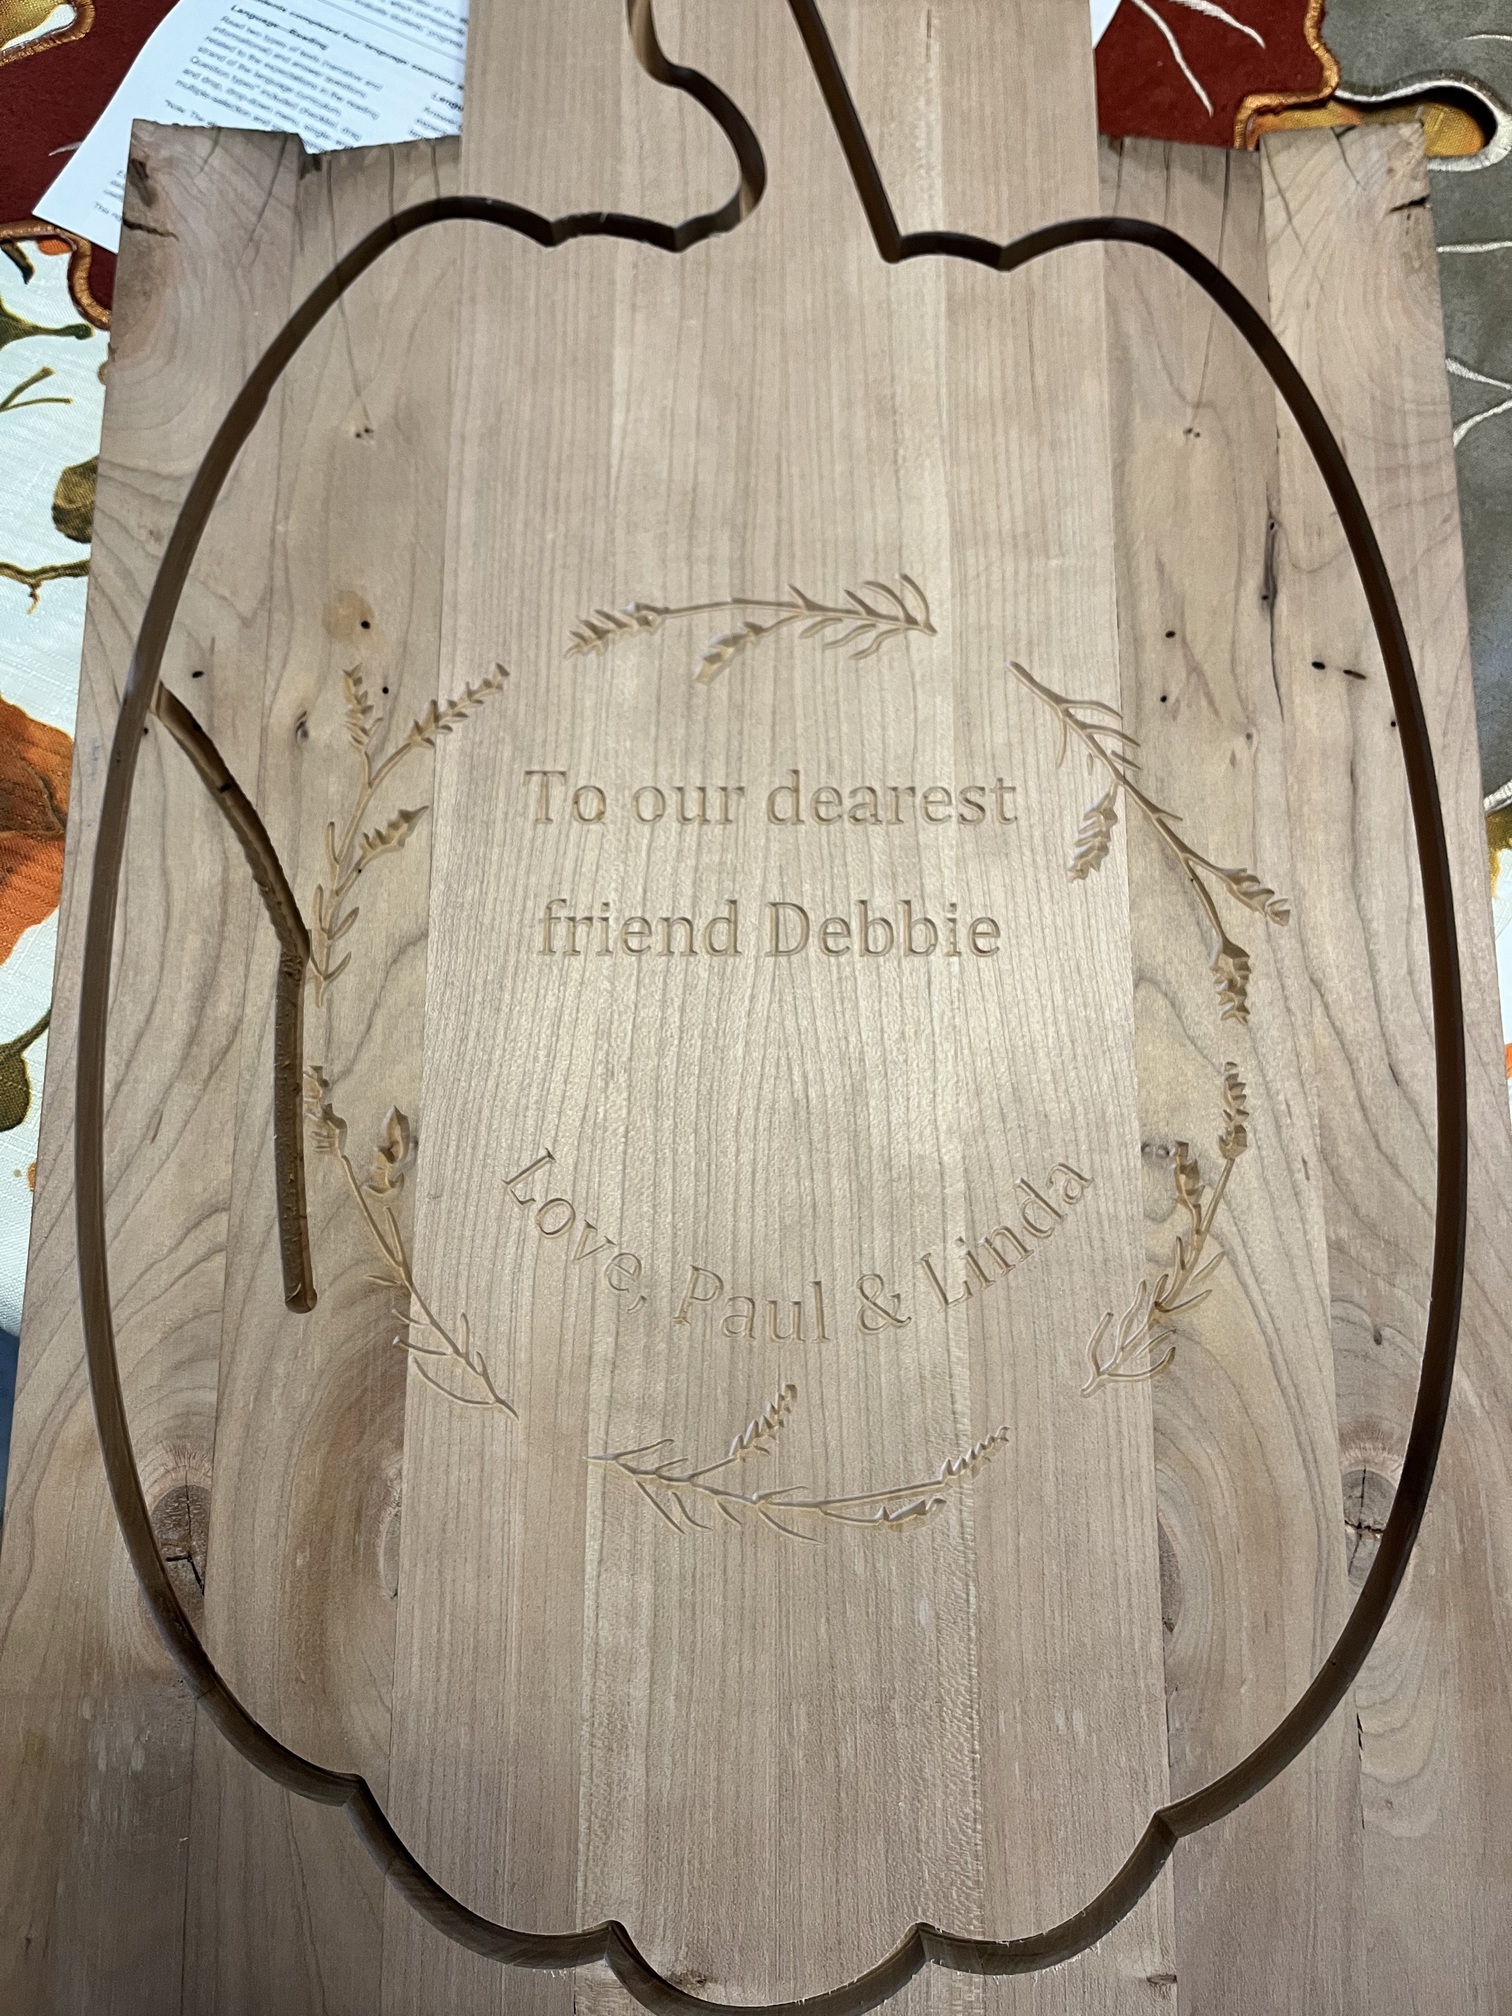
This project was 9" X 18"
1 Like
That’s some good tips, and I like the picture ![]() that’s a idea
that’s a idea ![]()
1 Like
Using a piece of 1" x 2" on the clamped edges can help prevent any damage to your clamps, router bits, the projects you’re working on, or the material you’re working.
It’s always good to have some backup strategies to minimize the potential for costly mistakes. Happy woodworking, and keep up the excellent work!
This topic was automatically closed after 30 days. New replies are no longer allowed.