I made couple of Halloween signs using the photo V-Carve toolpath in Vectric VCarve Pro. I combined four different pictures together for the carving.
The first was a smaller sign (12" wide 20" tall) as the prototype to see how the carving would look.
This is after the first sanding.
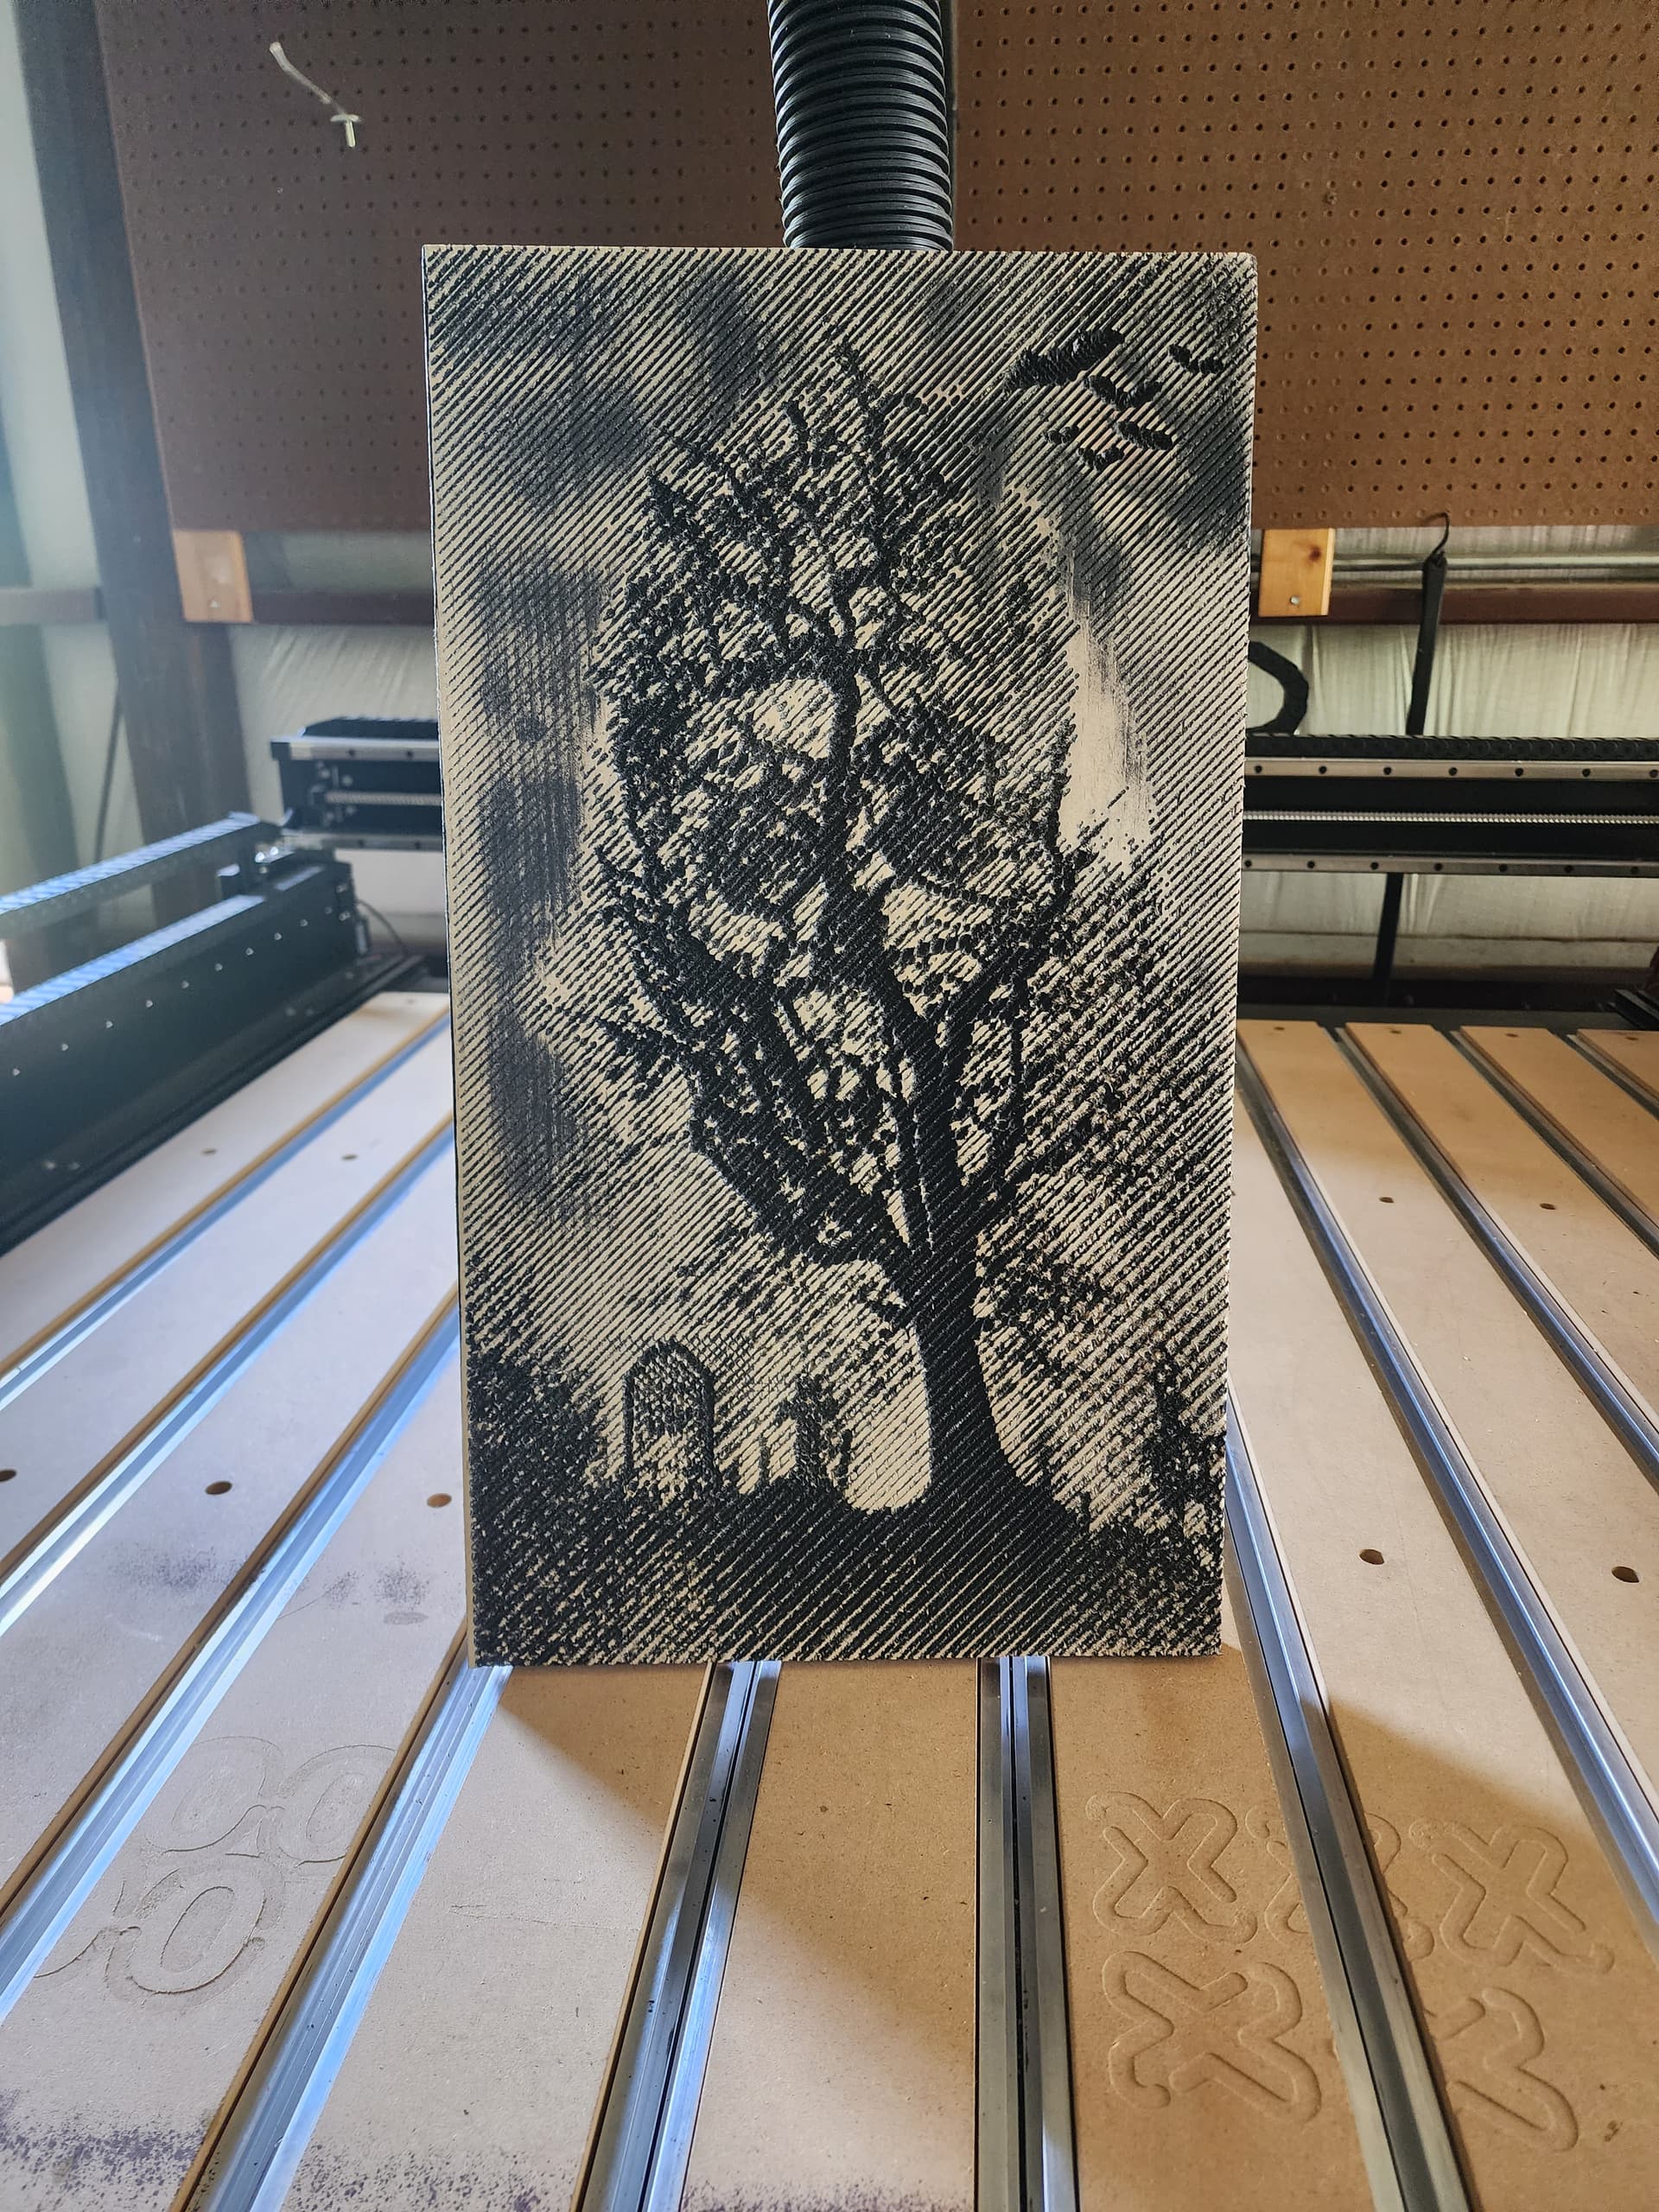
This is the final completed test.

Once I was happy with how this turned out I started on the main sign. This one is a 64" tall and 34" wide sign. I used three pine planks that I had in my inventory. I had originally planned to make it a 60"x32" so I could trim the ends and sides to keep it straight. However, once glued together everything lined up perfect (wonders never cease).
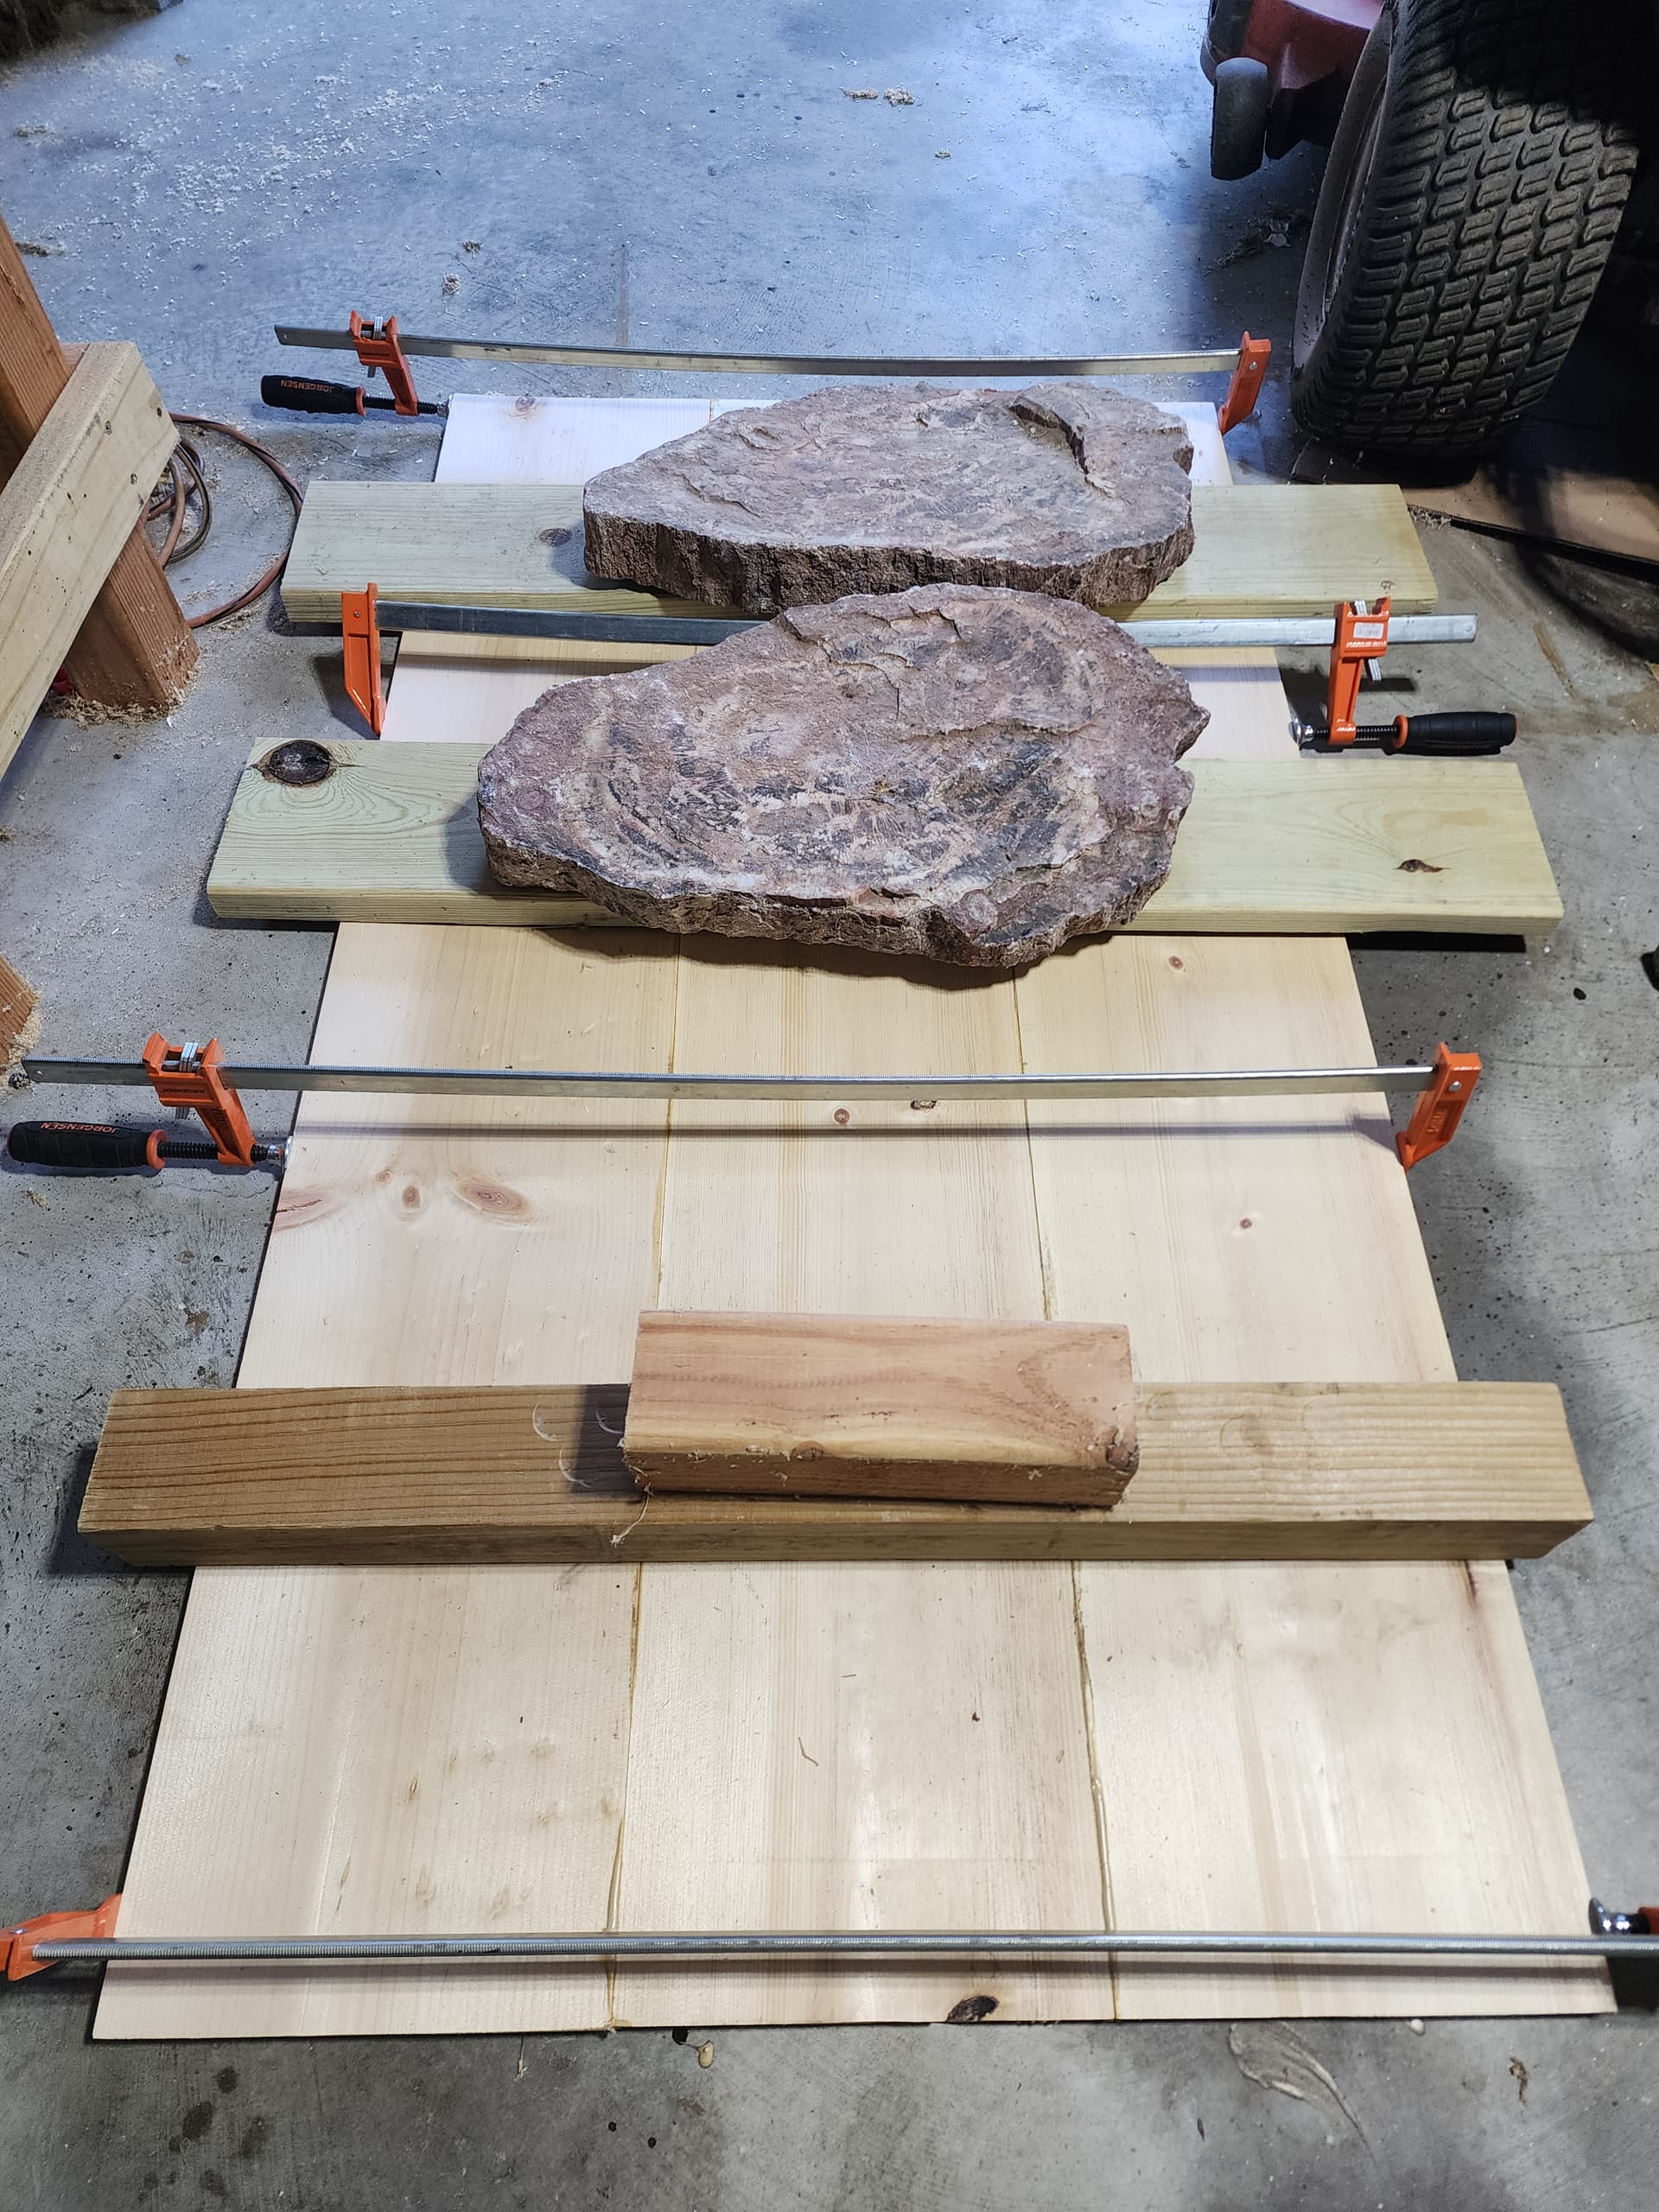
The glue job. After planning the boards to ensure they were all the same thickness, I used a couple of heavy pieces of petrified wood I bought a few years ago in Arizona’s Petrified Forest National Park to help hold down and keep everything level.
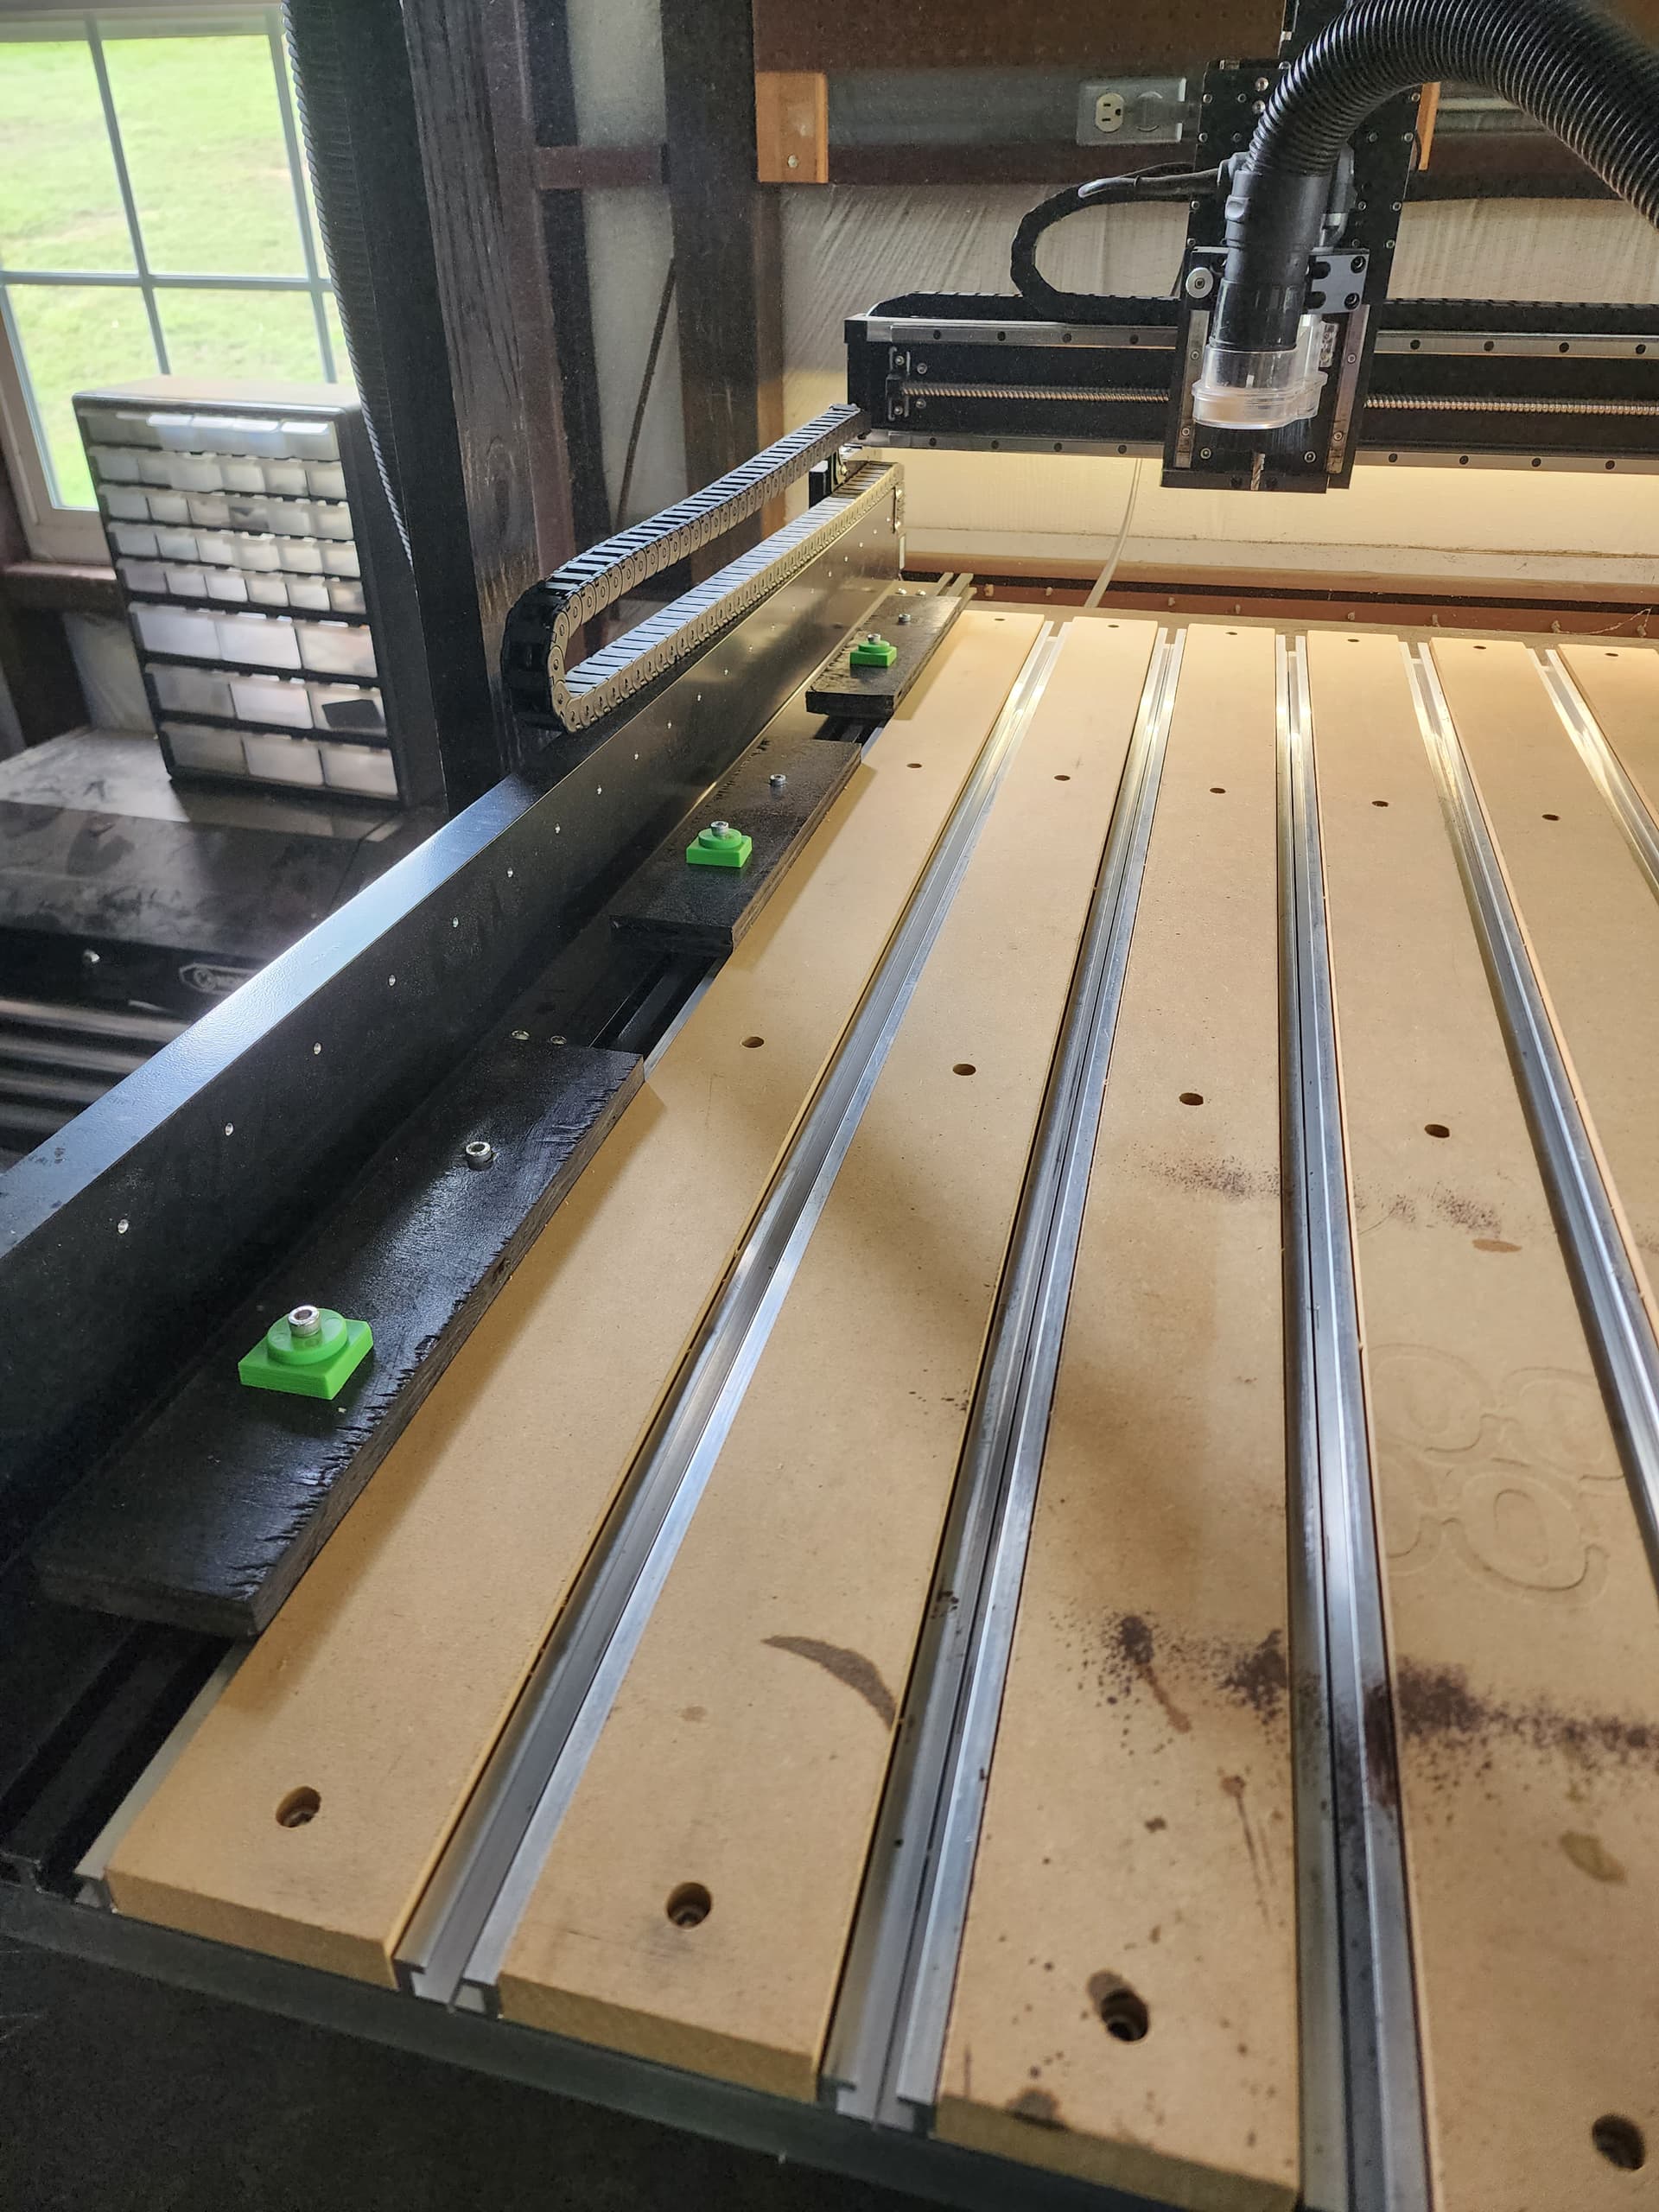
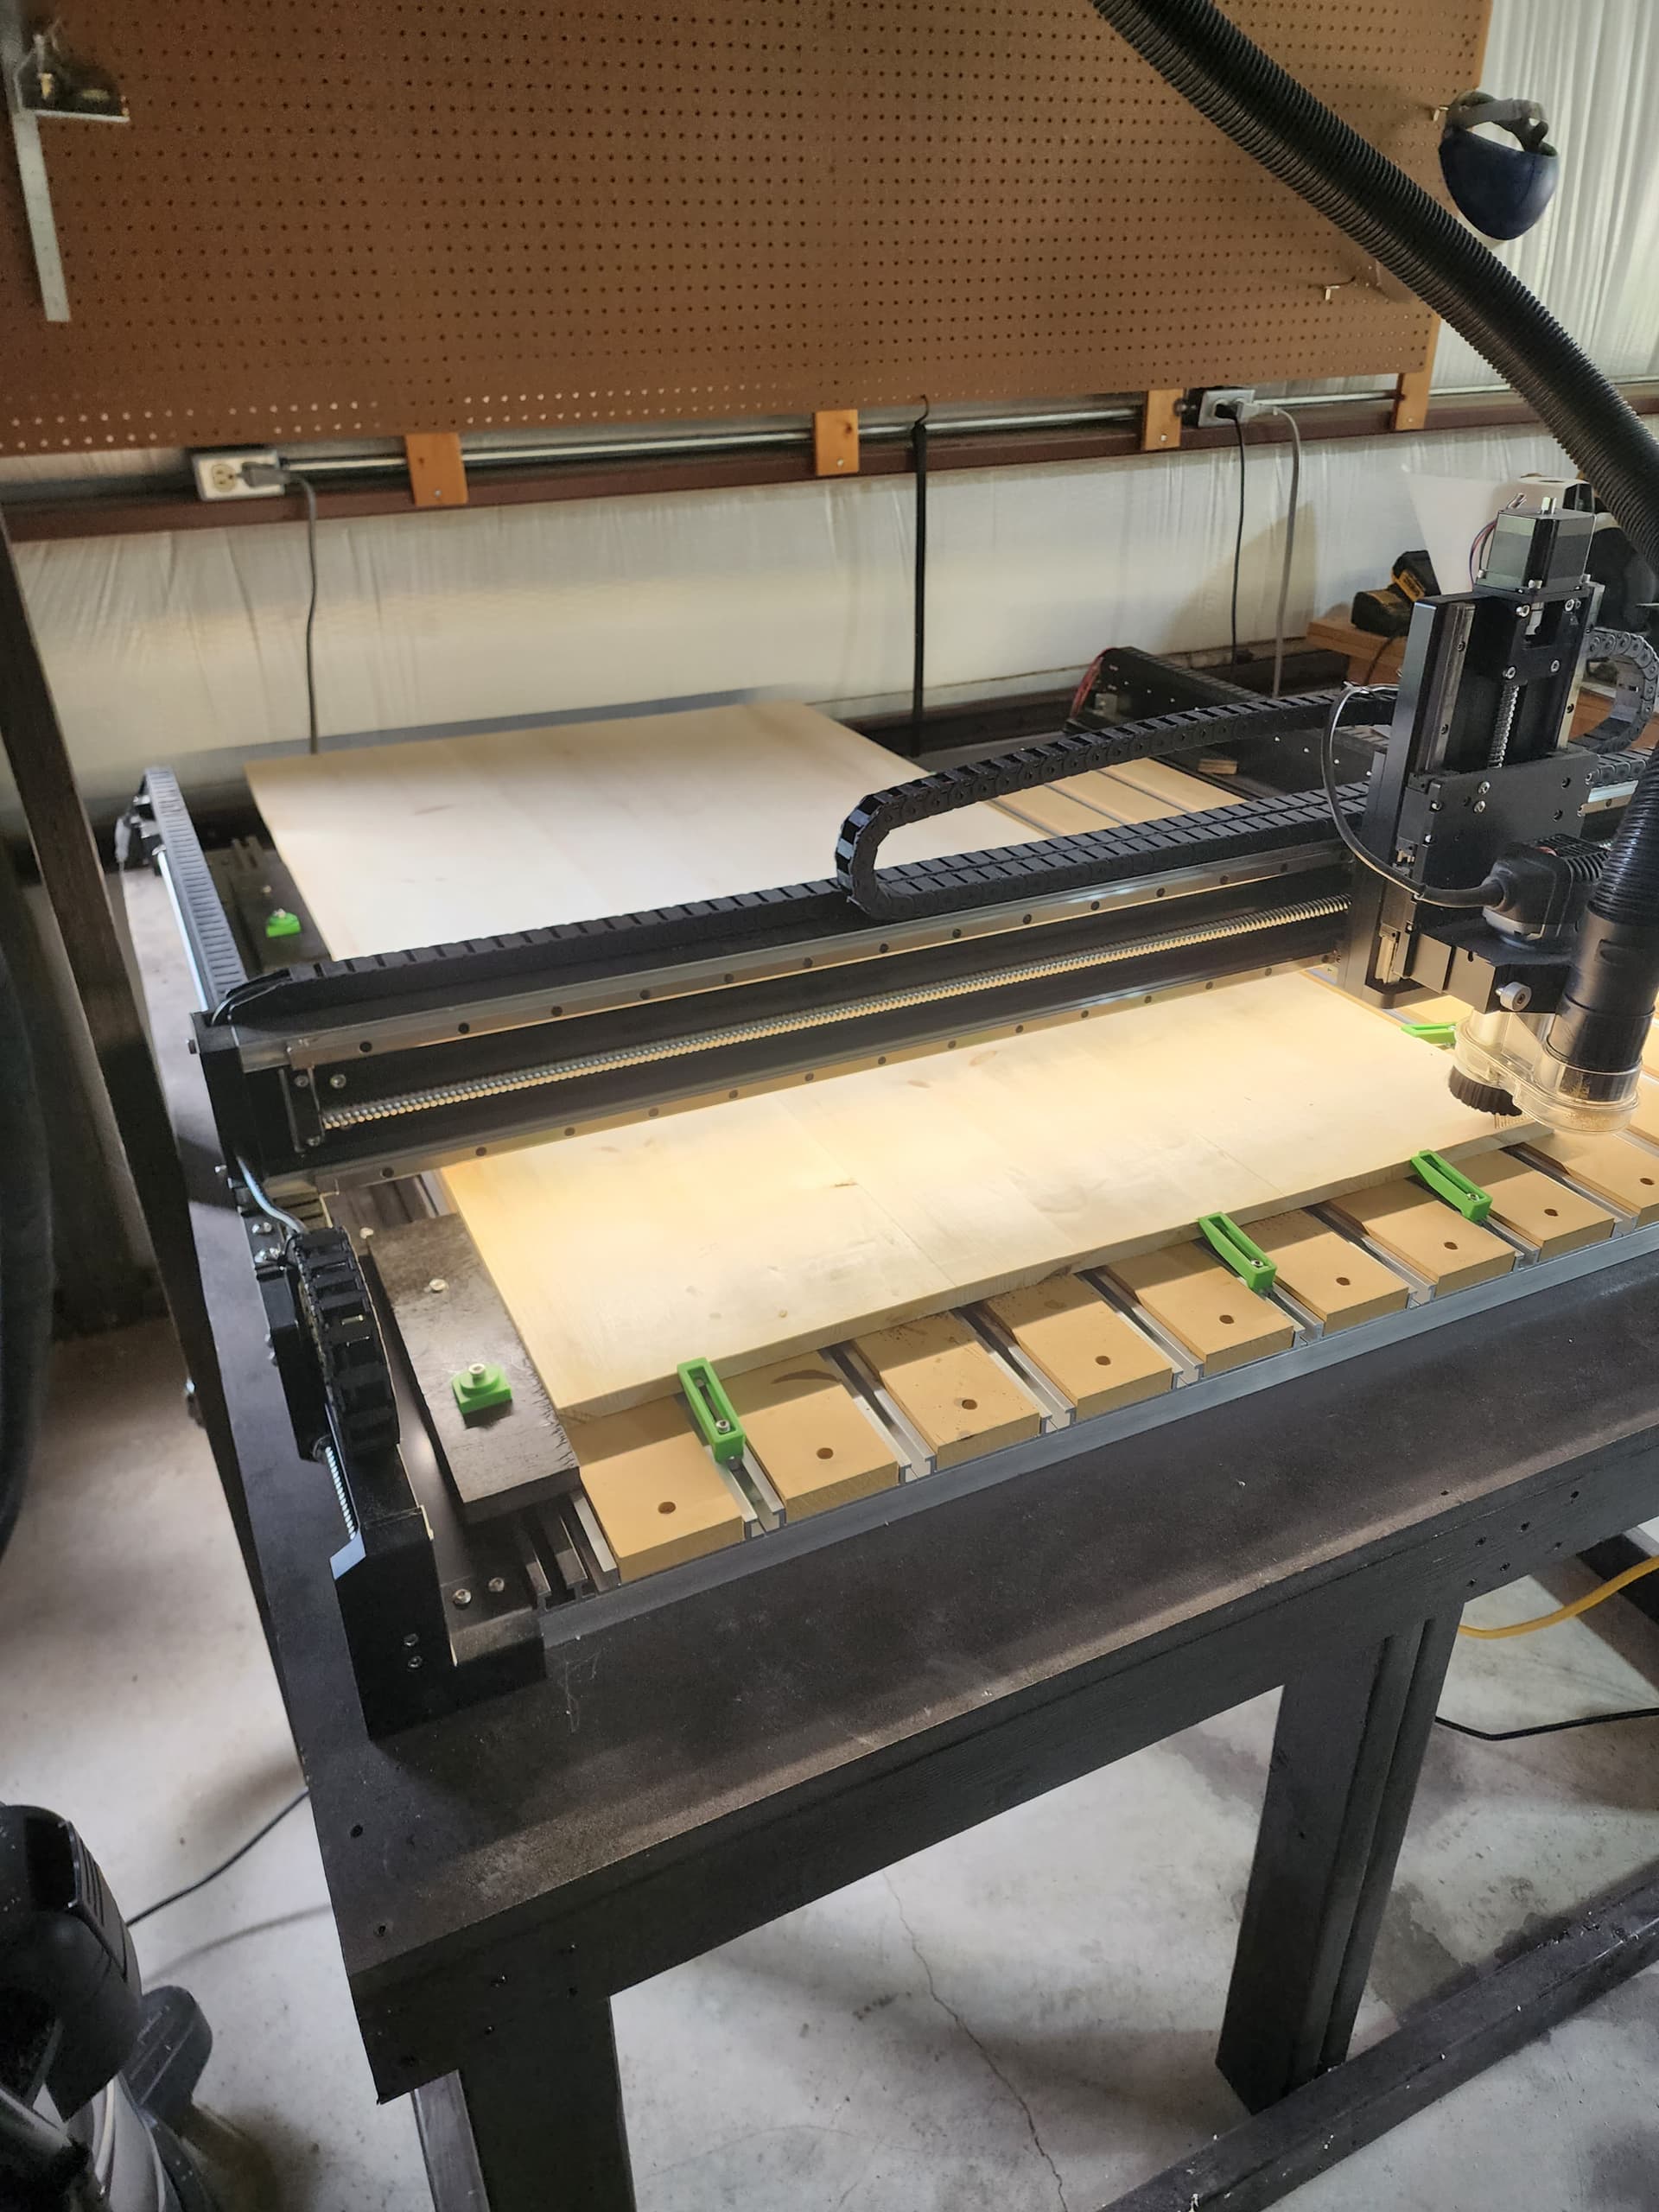
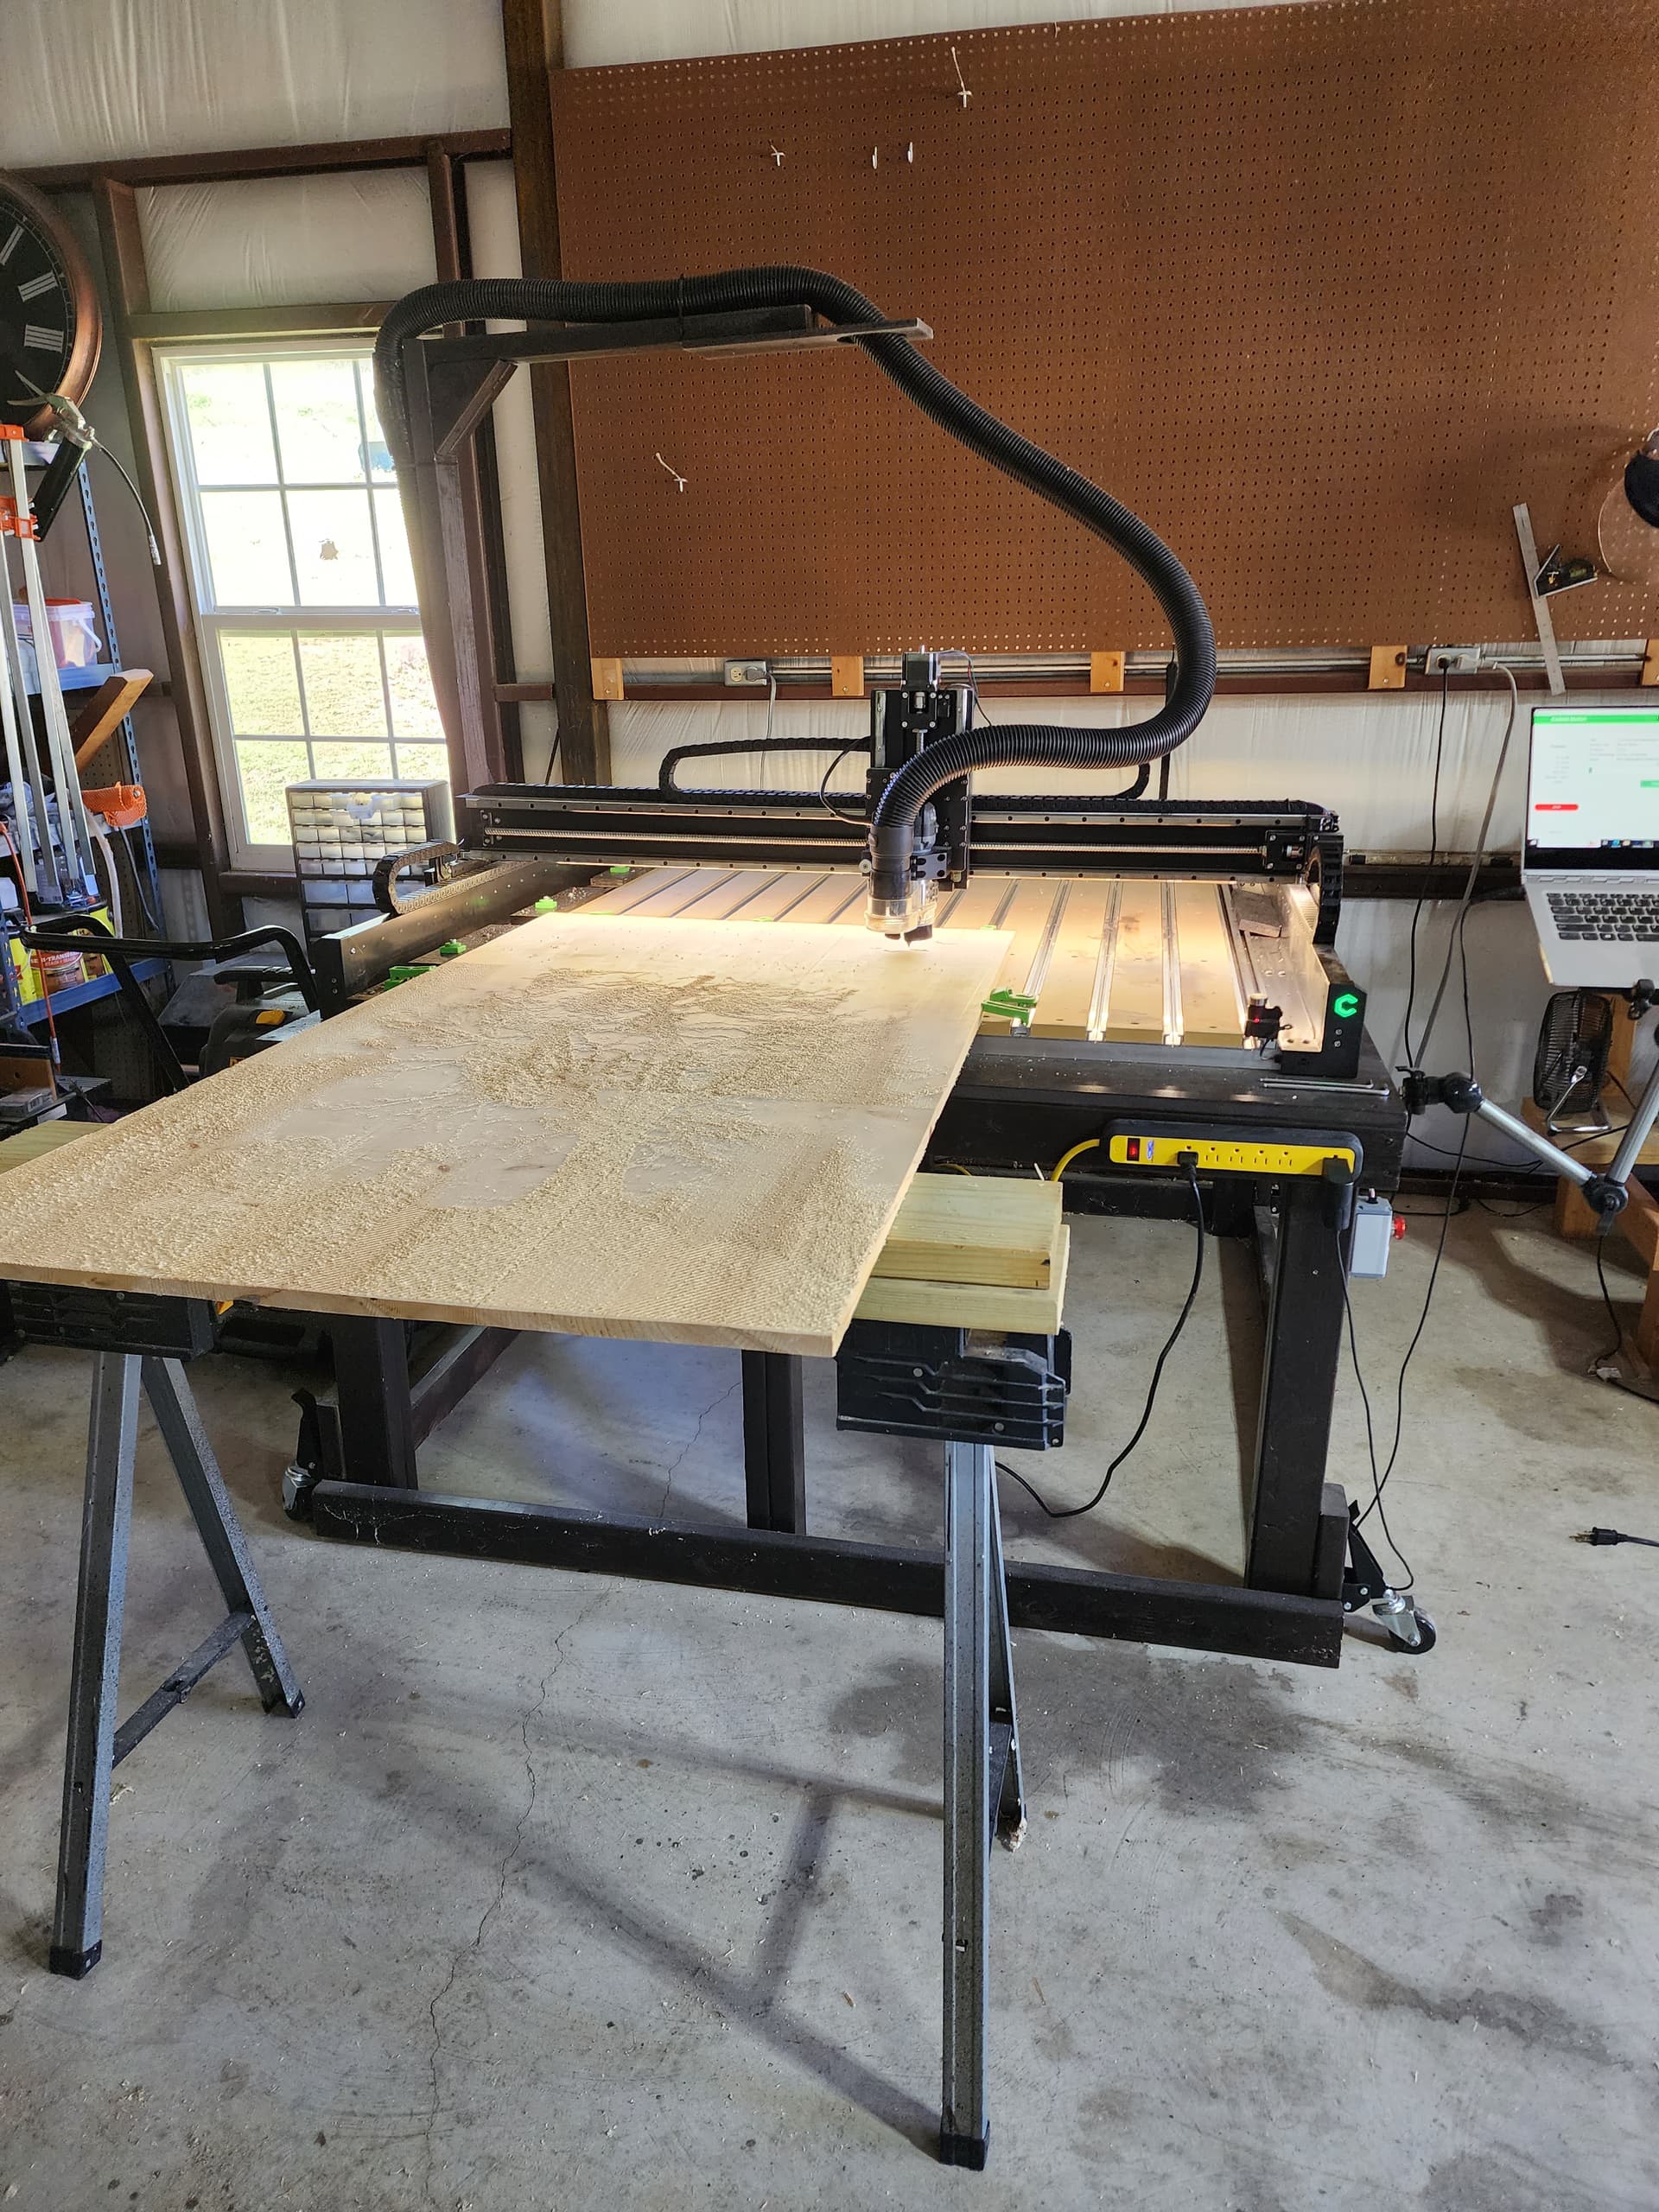
Next, I needed to set up the Shapeoko so I could put a large piece on and keep it aligned. I made some blocks that could attach to the far side of the machine (again using the Shapeoko).
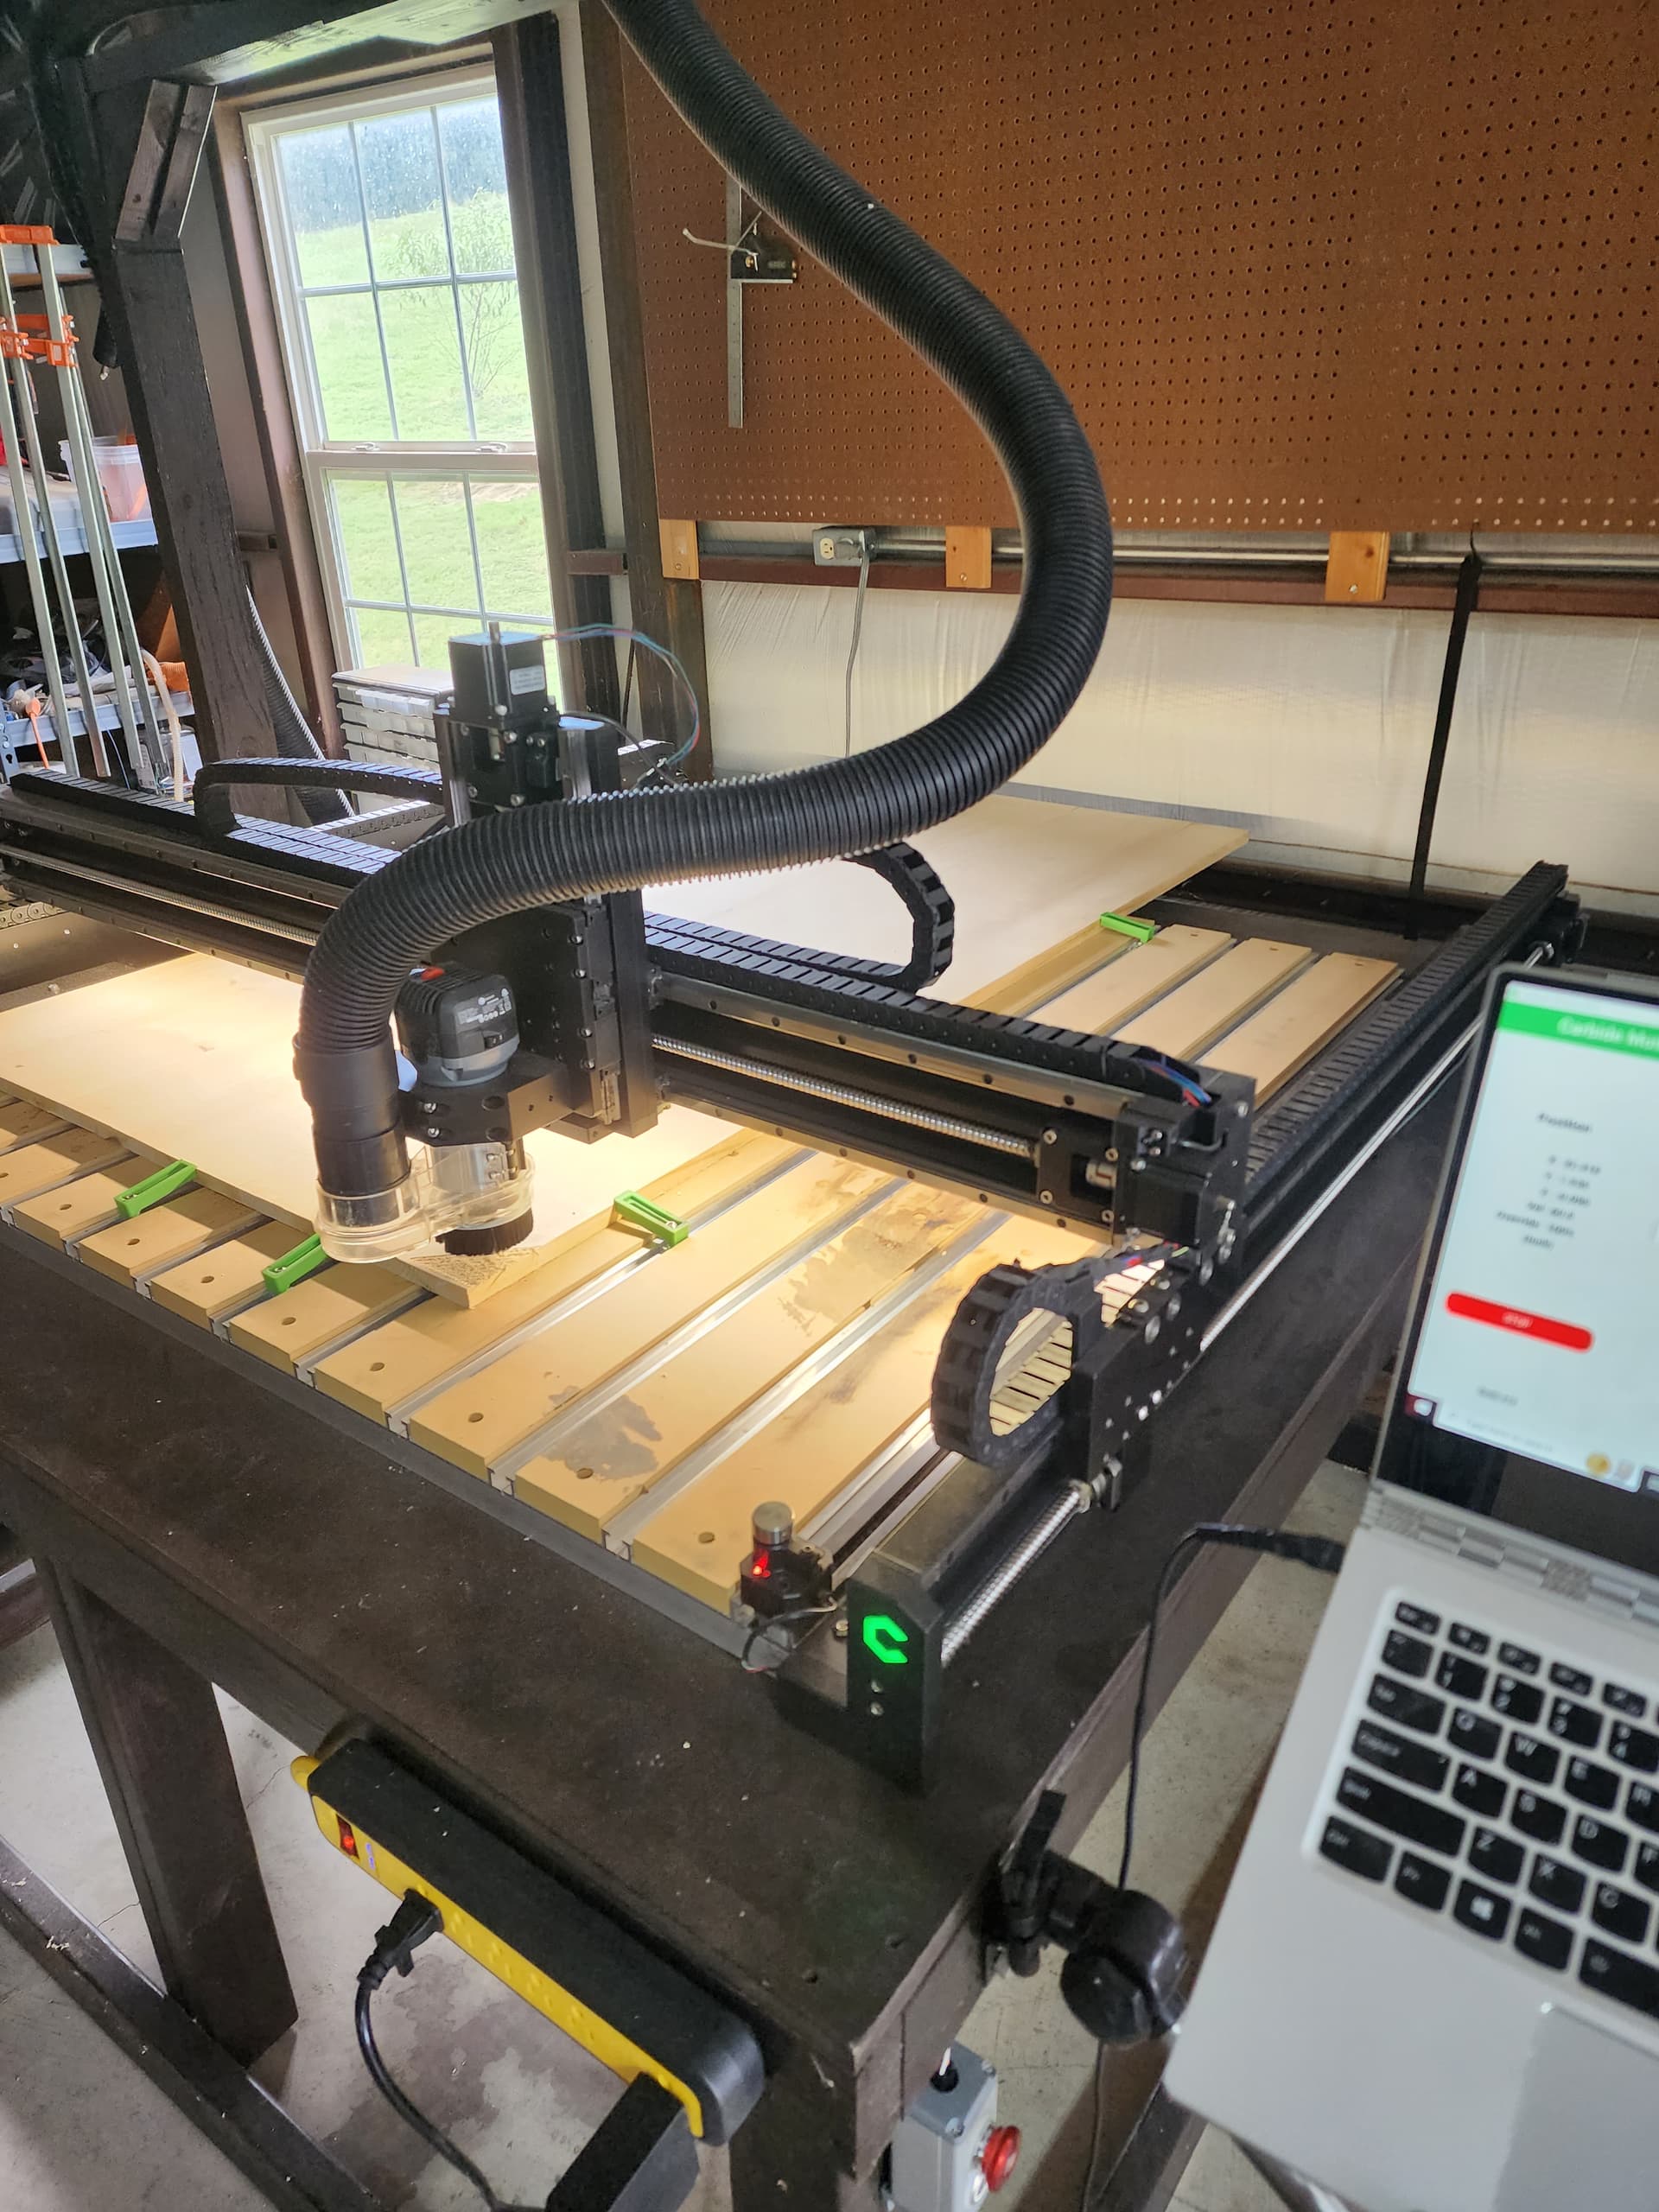
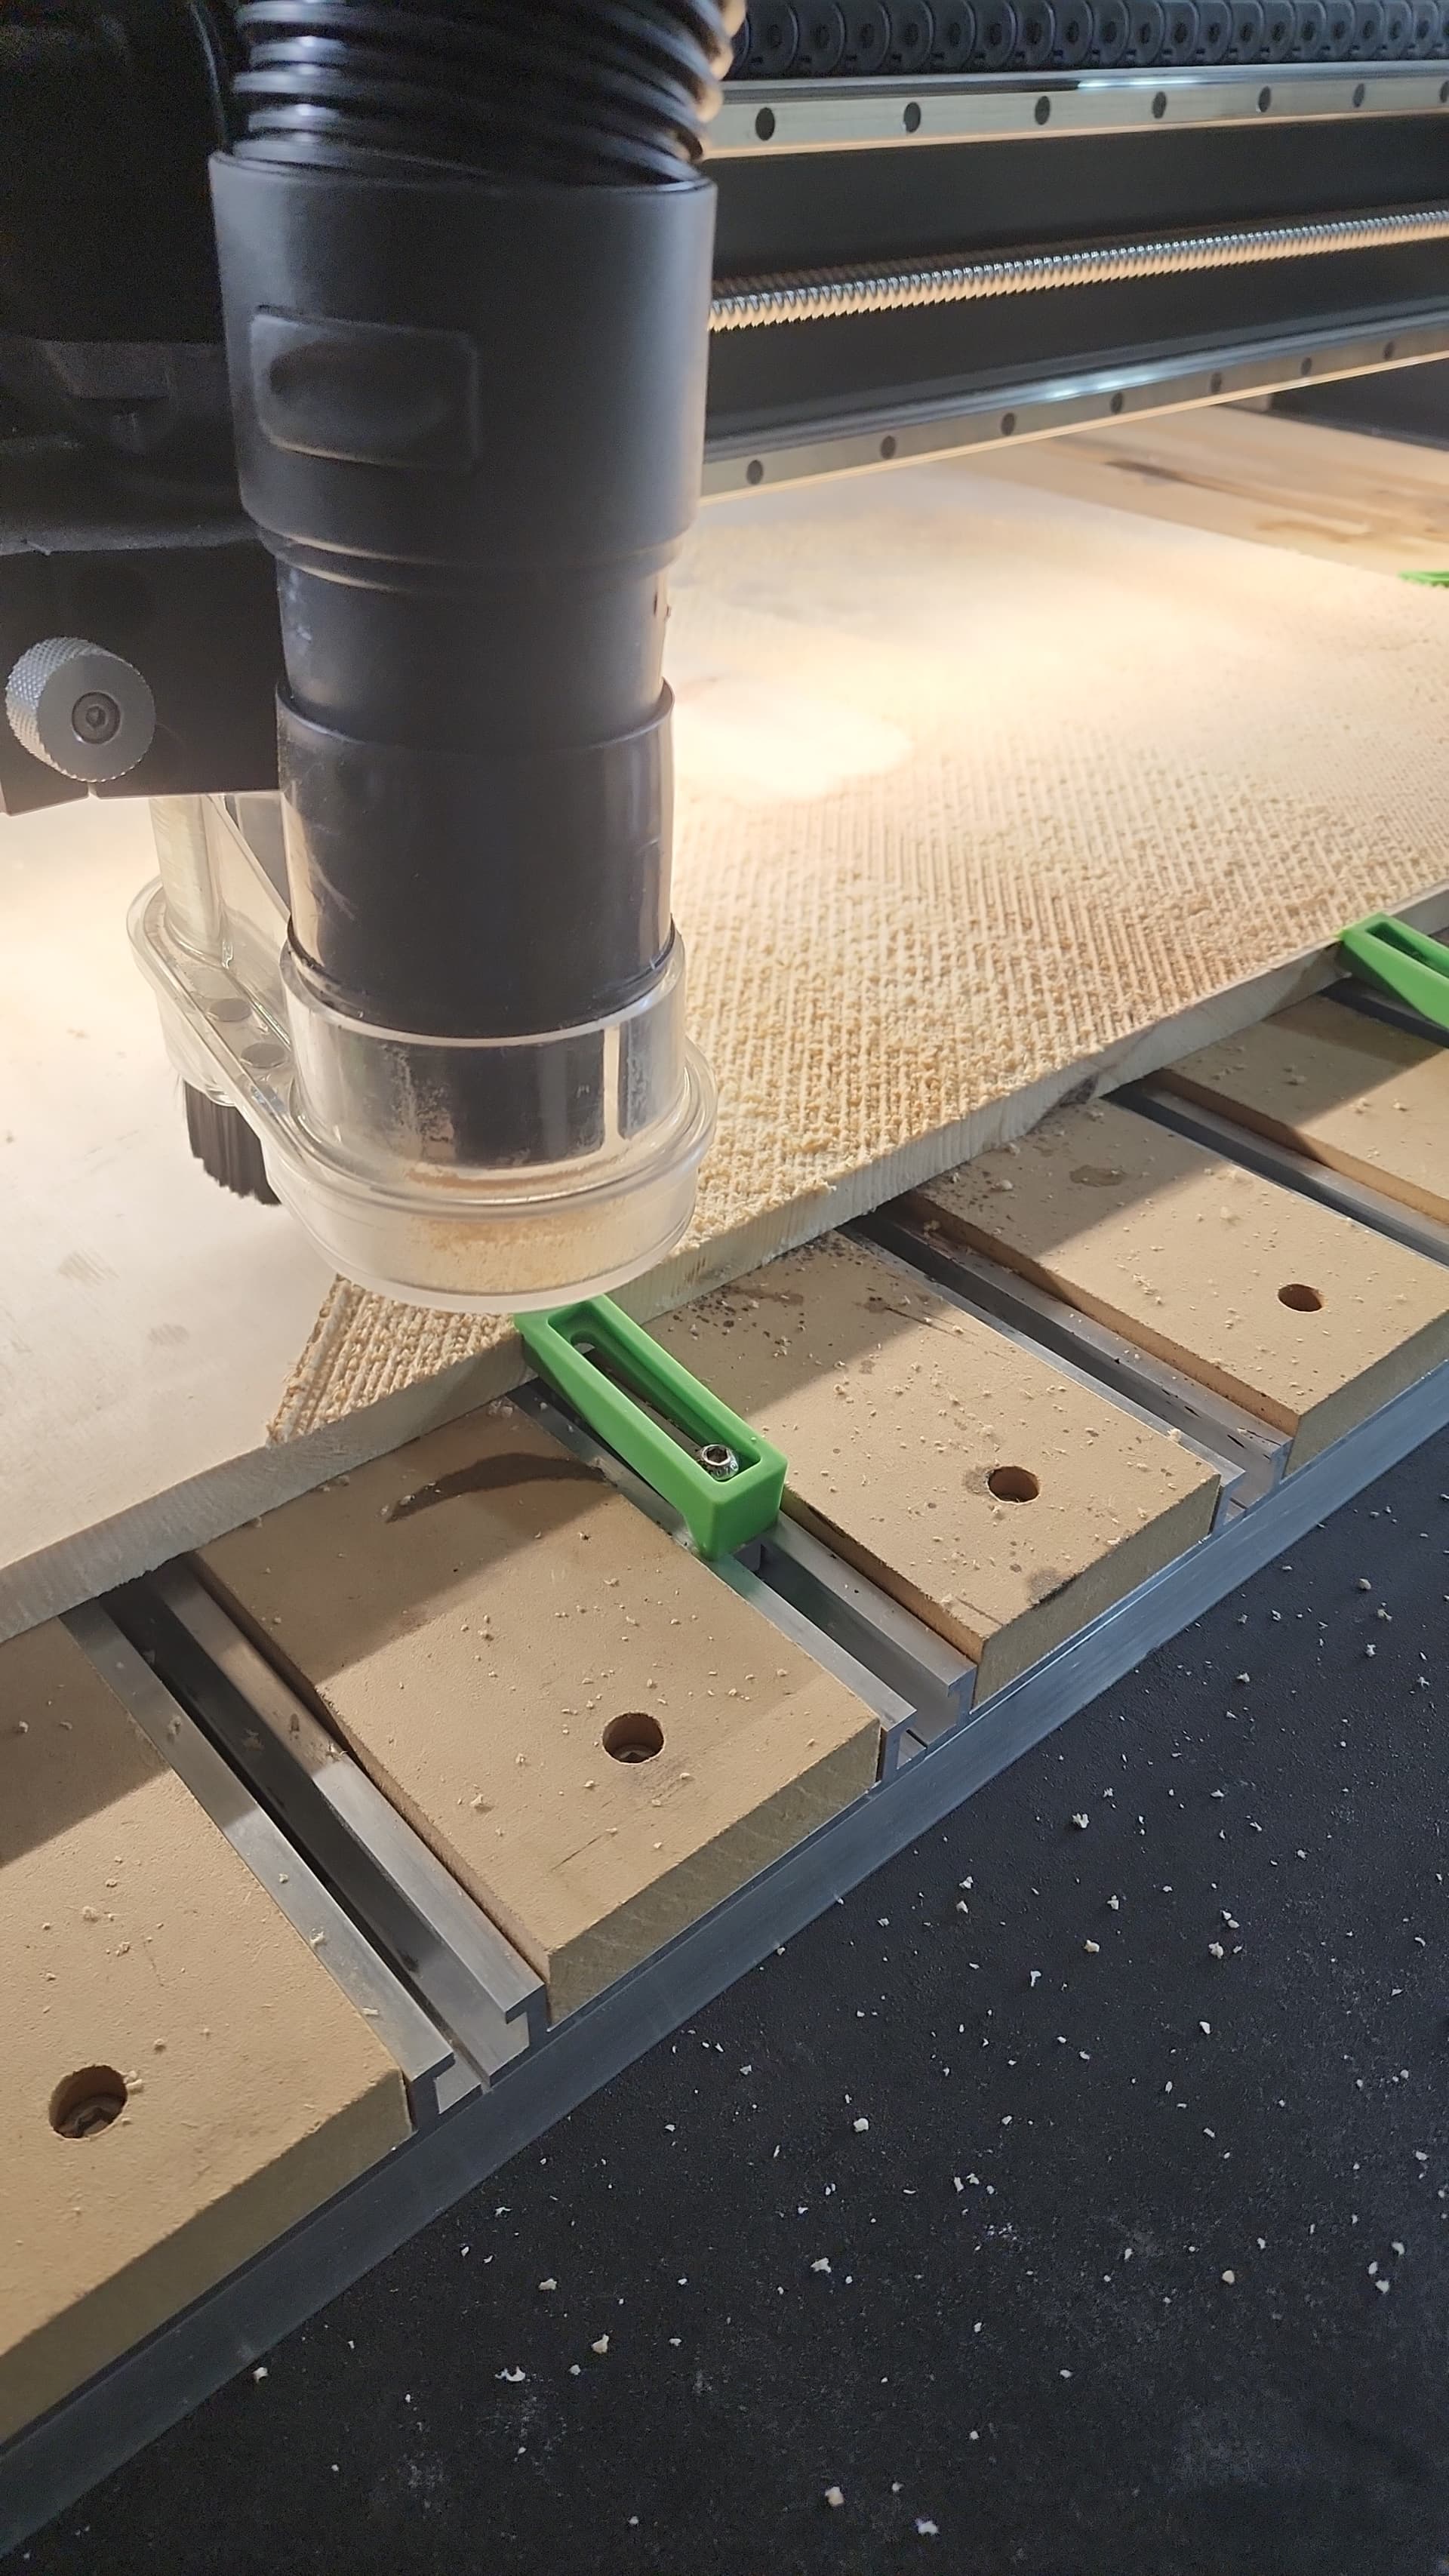
Because of the size of the sign I used the tiling feature. I set it up into three parts. I could have done it in only two but wanted to ensure the cuts in between each encompassed certain features of the design. I used the bottom of the alignment block as the reference point for each of the tiling parts. Lot of people like to use pegs to keep the piece aligned as it moves from one part to the next. However, as the bit would be covering the whole piece this wasn’t an option. I used the C3D #302 60° v-bit for the cut at a 45° angle.
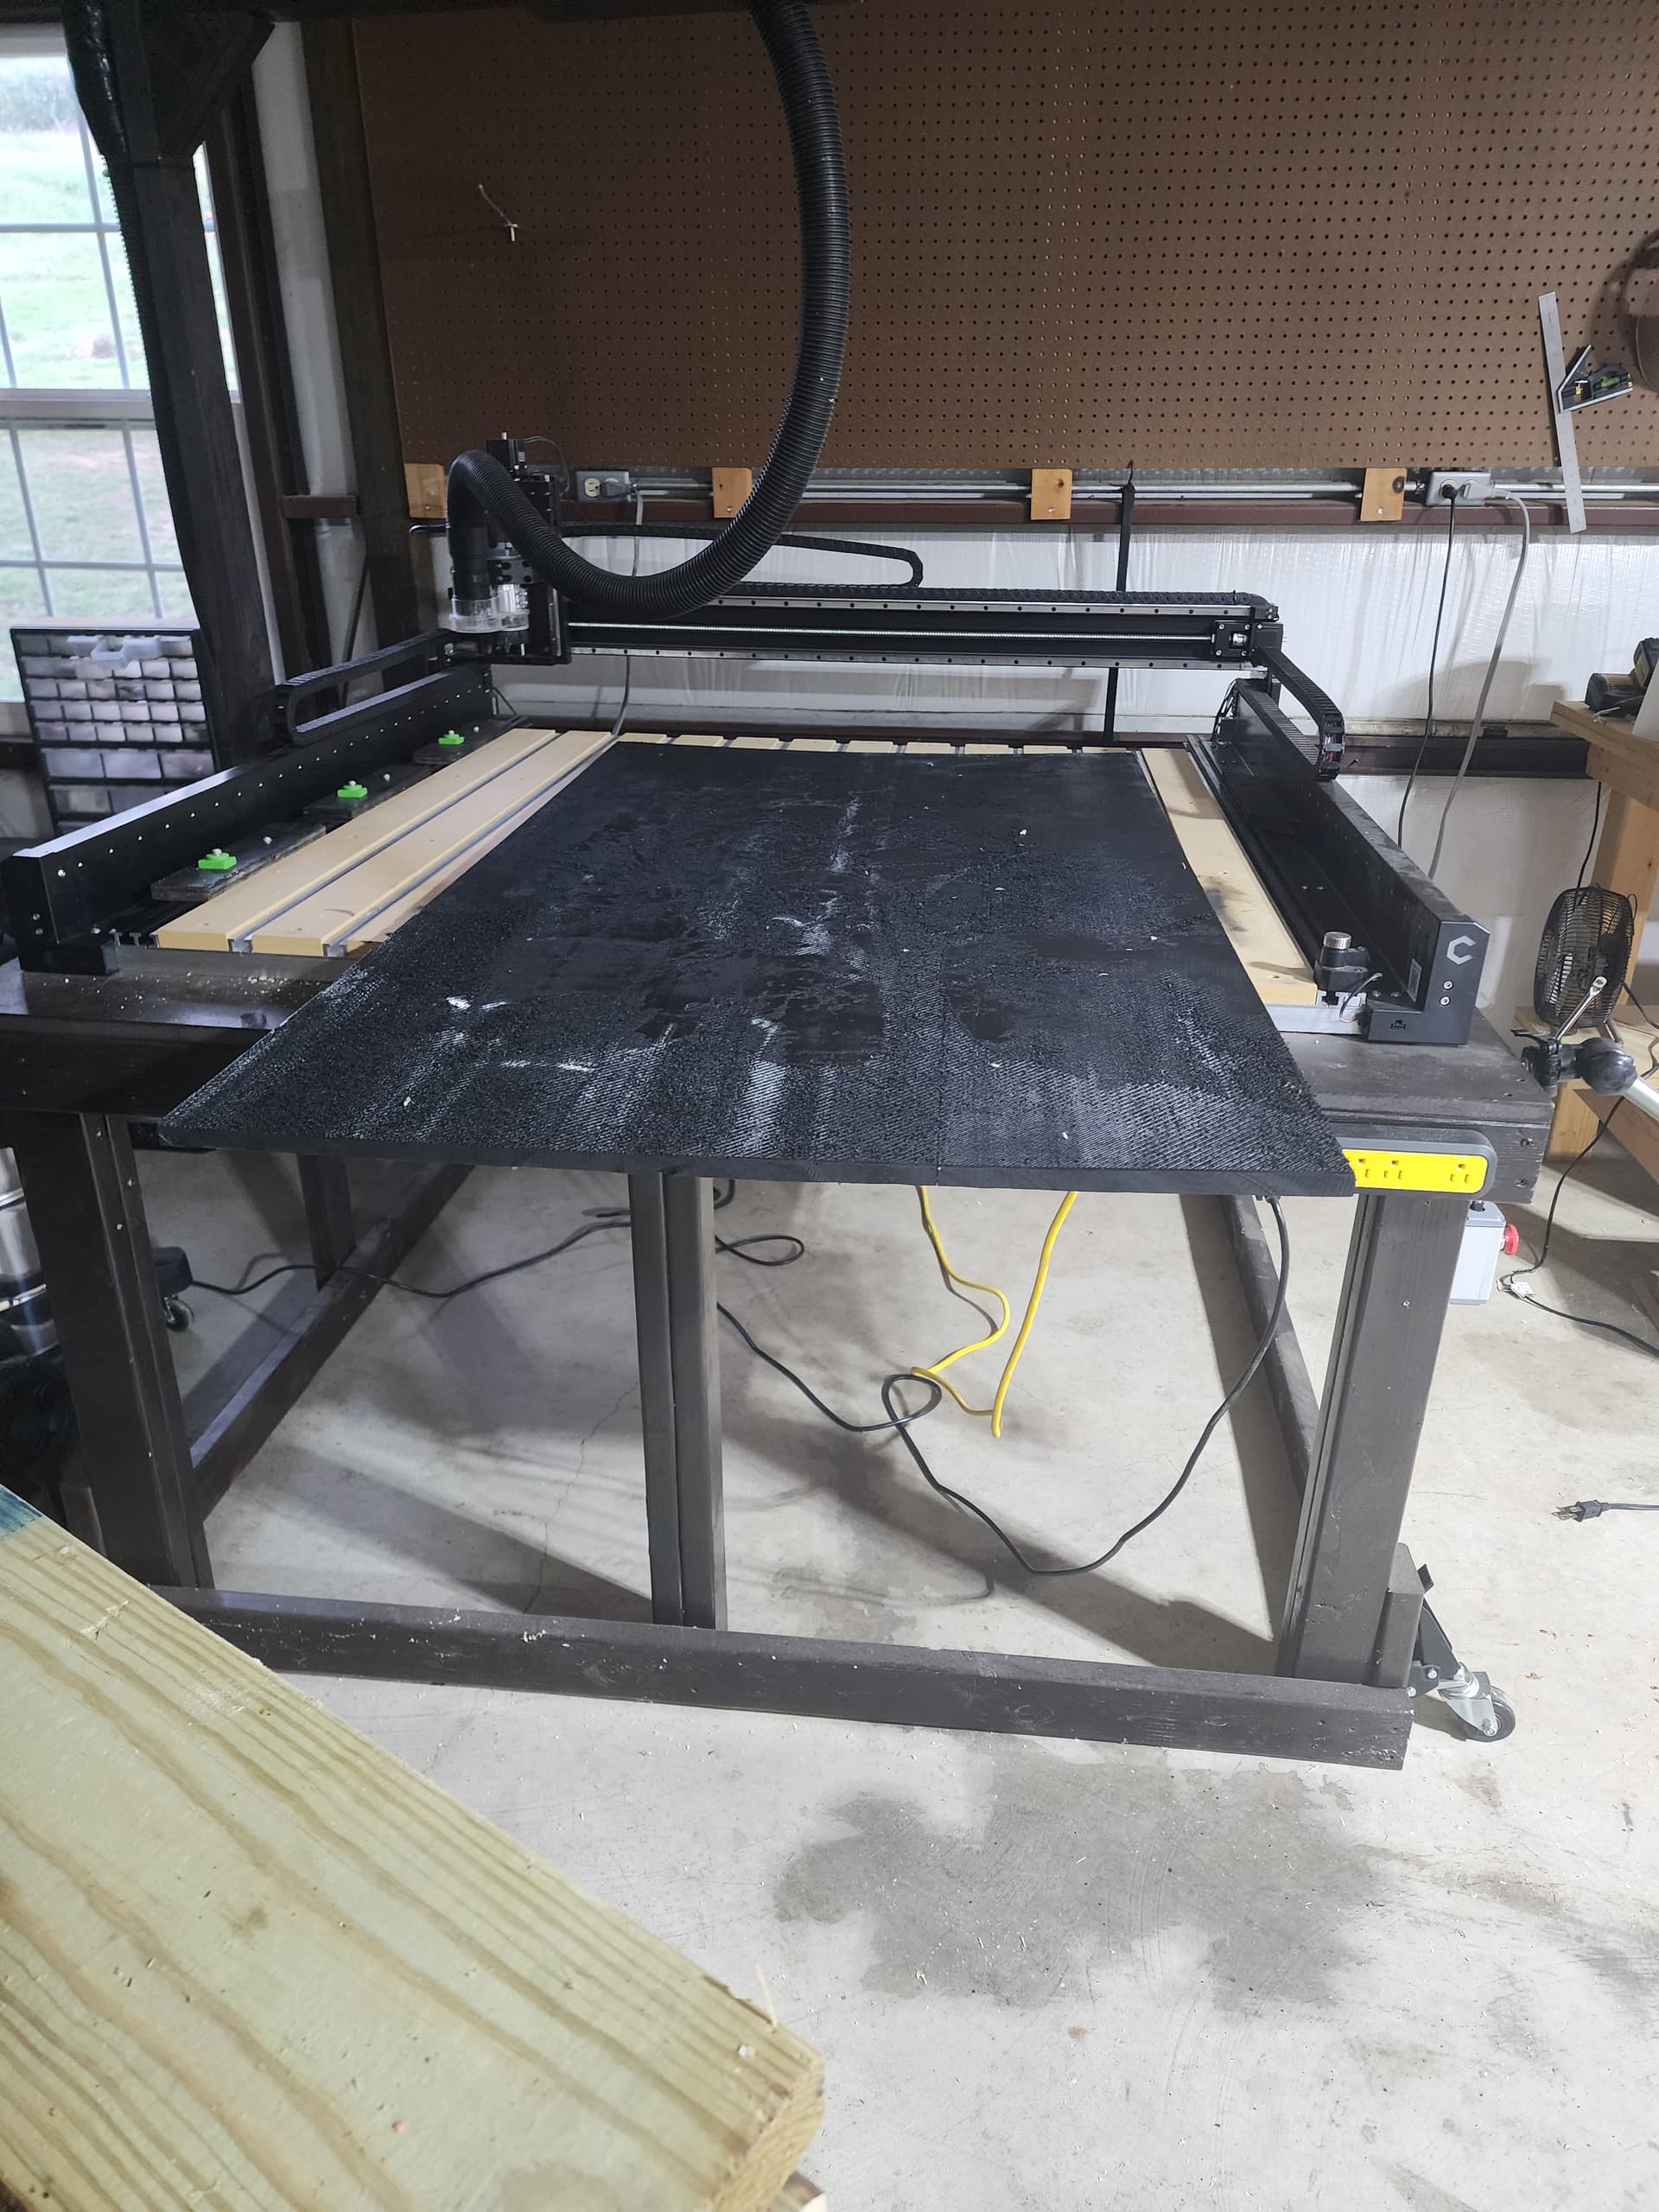
Once the cut was done, I used 2 1/2 cans of black spray paint to cover the whole piece.
After letting it dry overnight, I used an orbital palm sander with 60 grit paper to sand off the paint leaving the just the carved pictures. Next, I used some amber shellac to give it an orangish Halloween color.
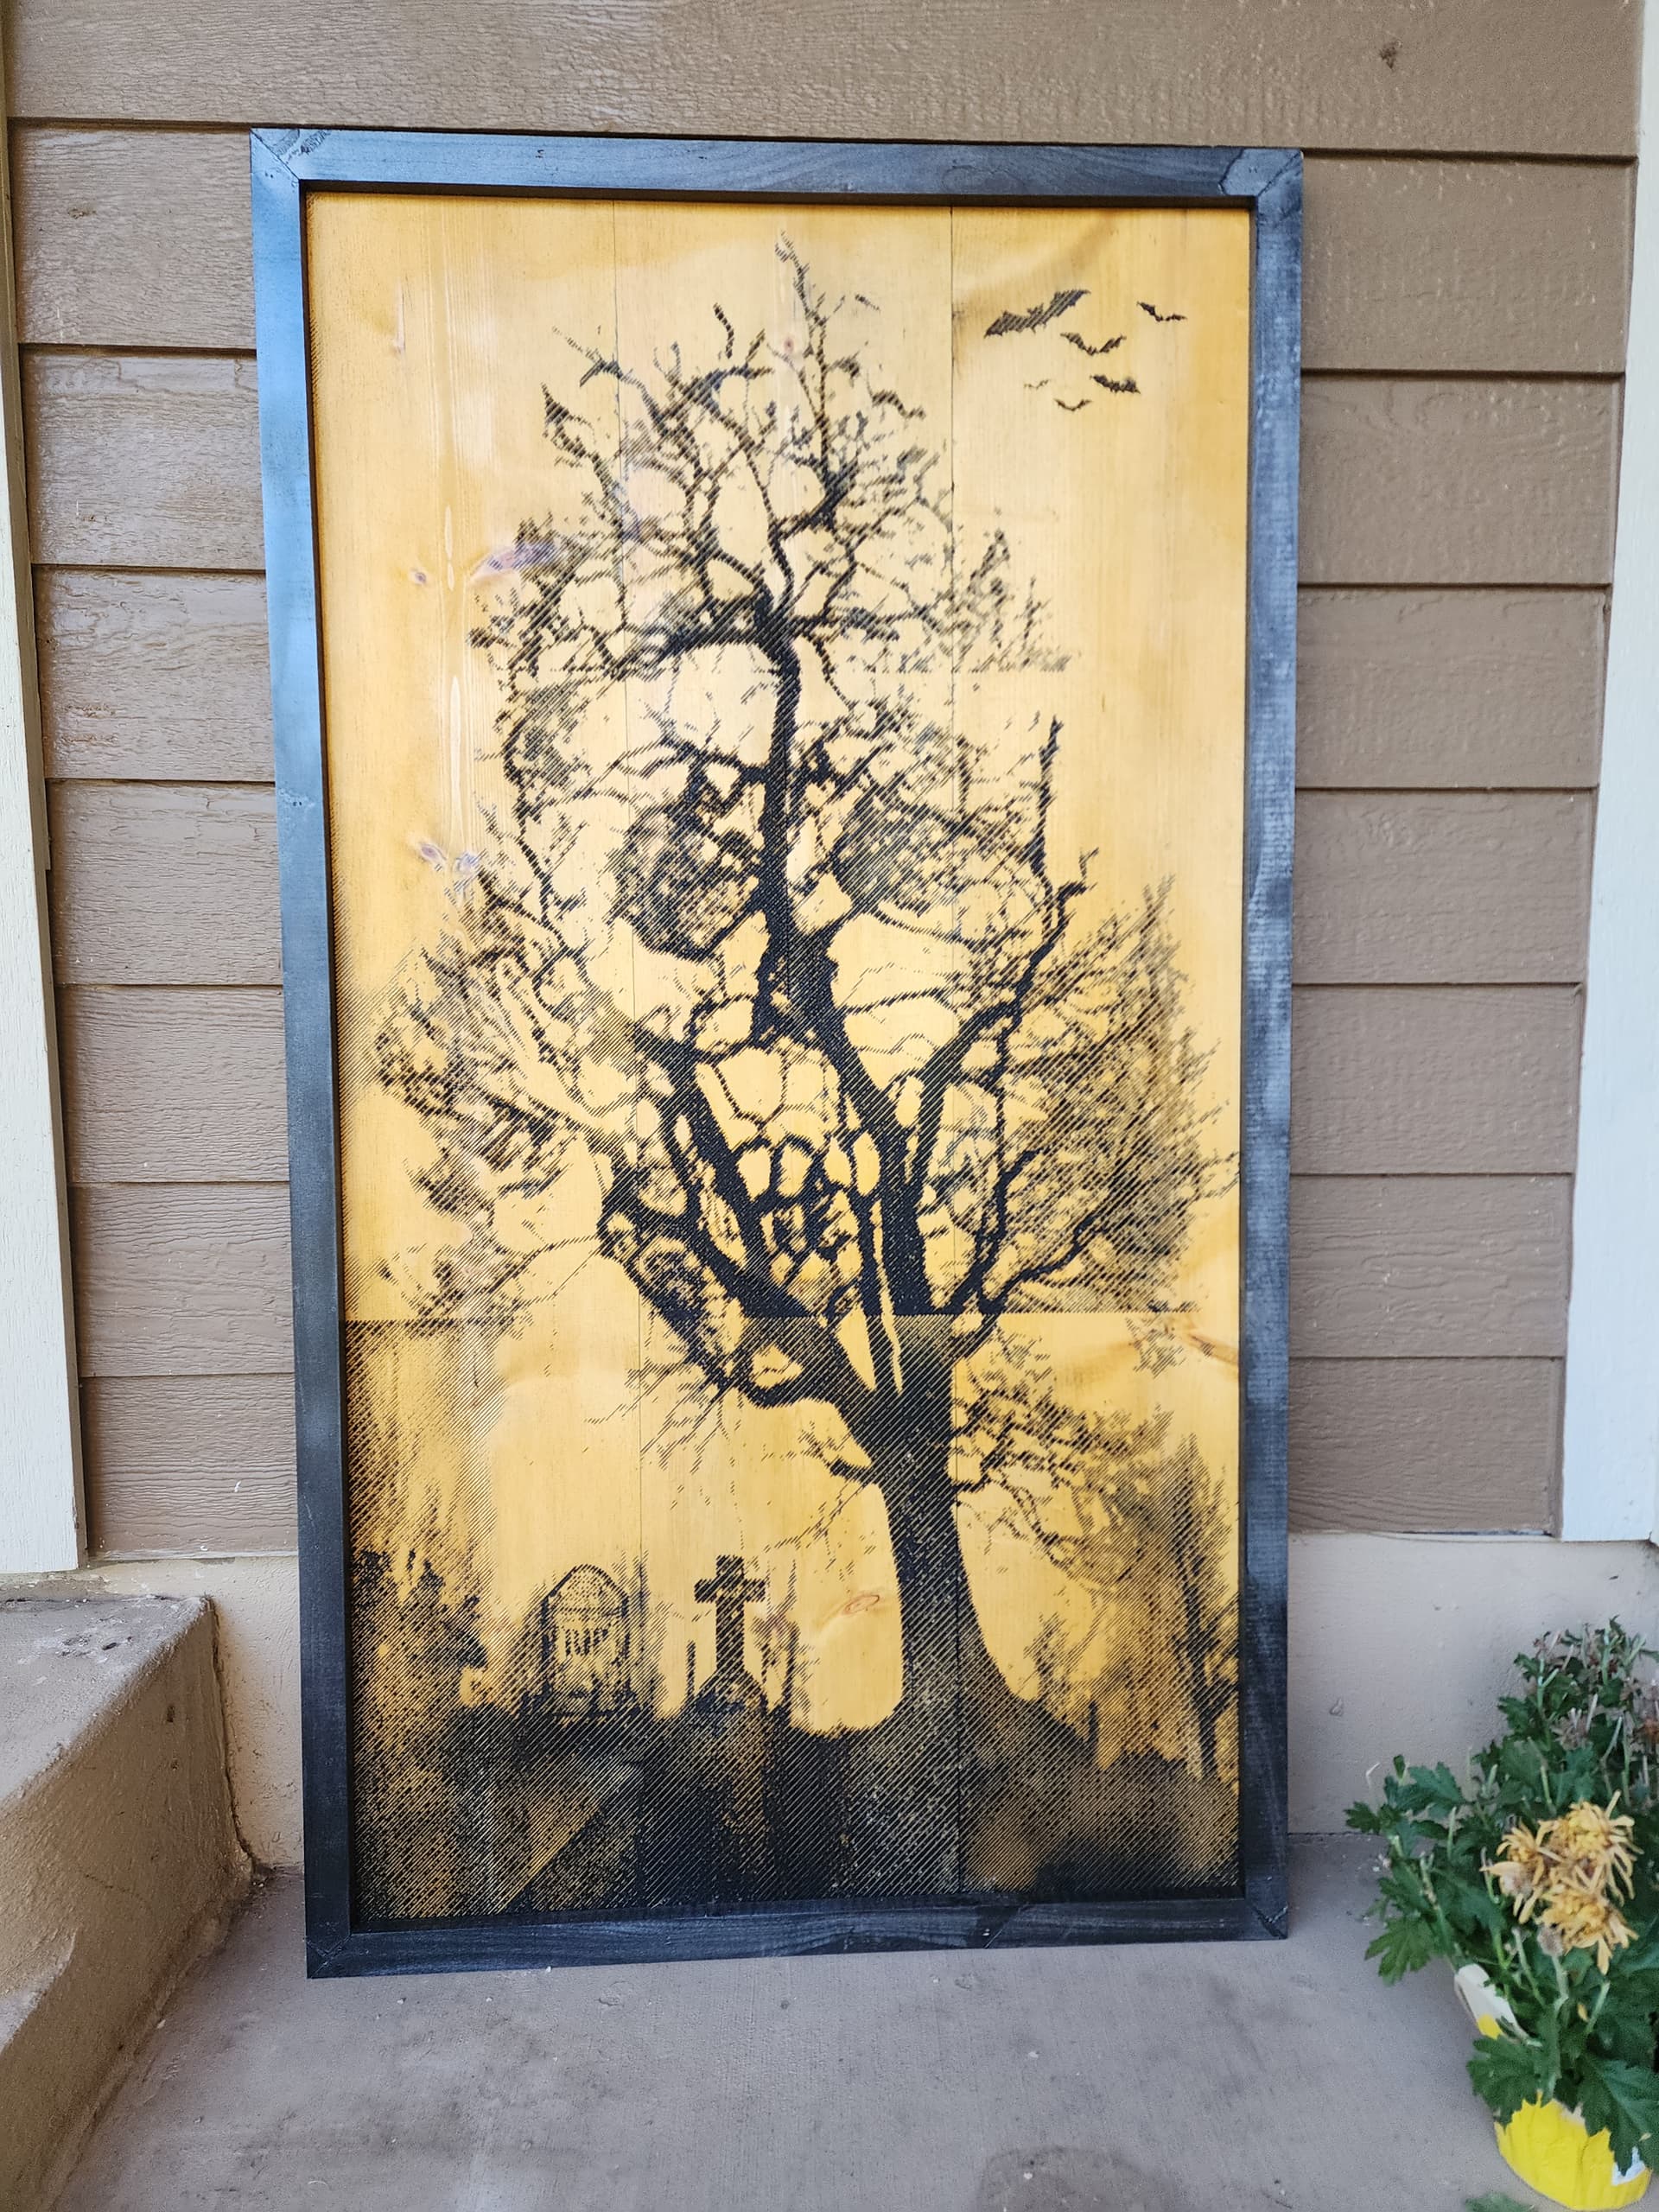
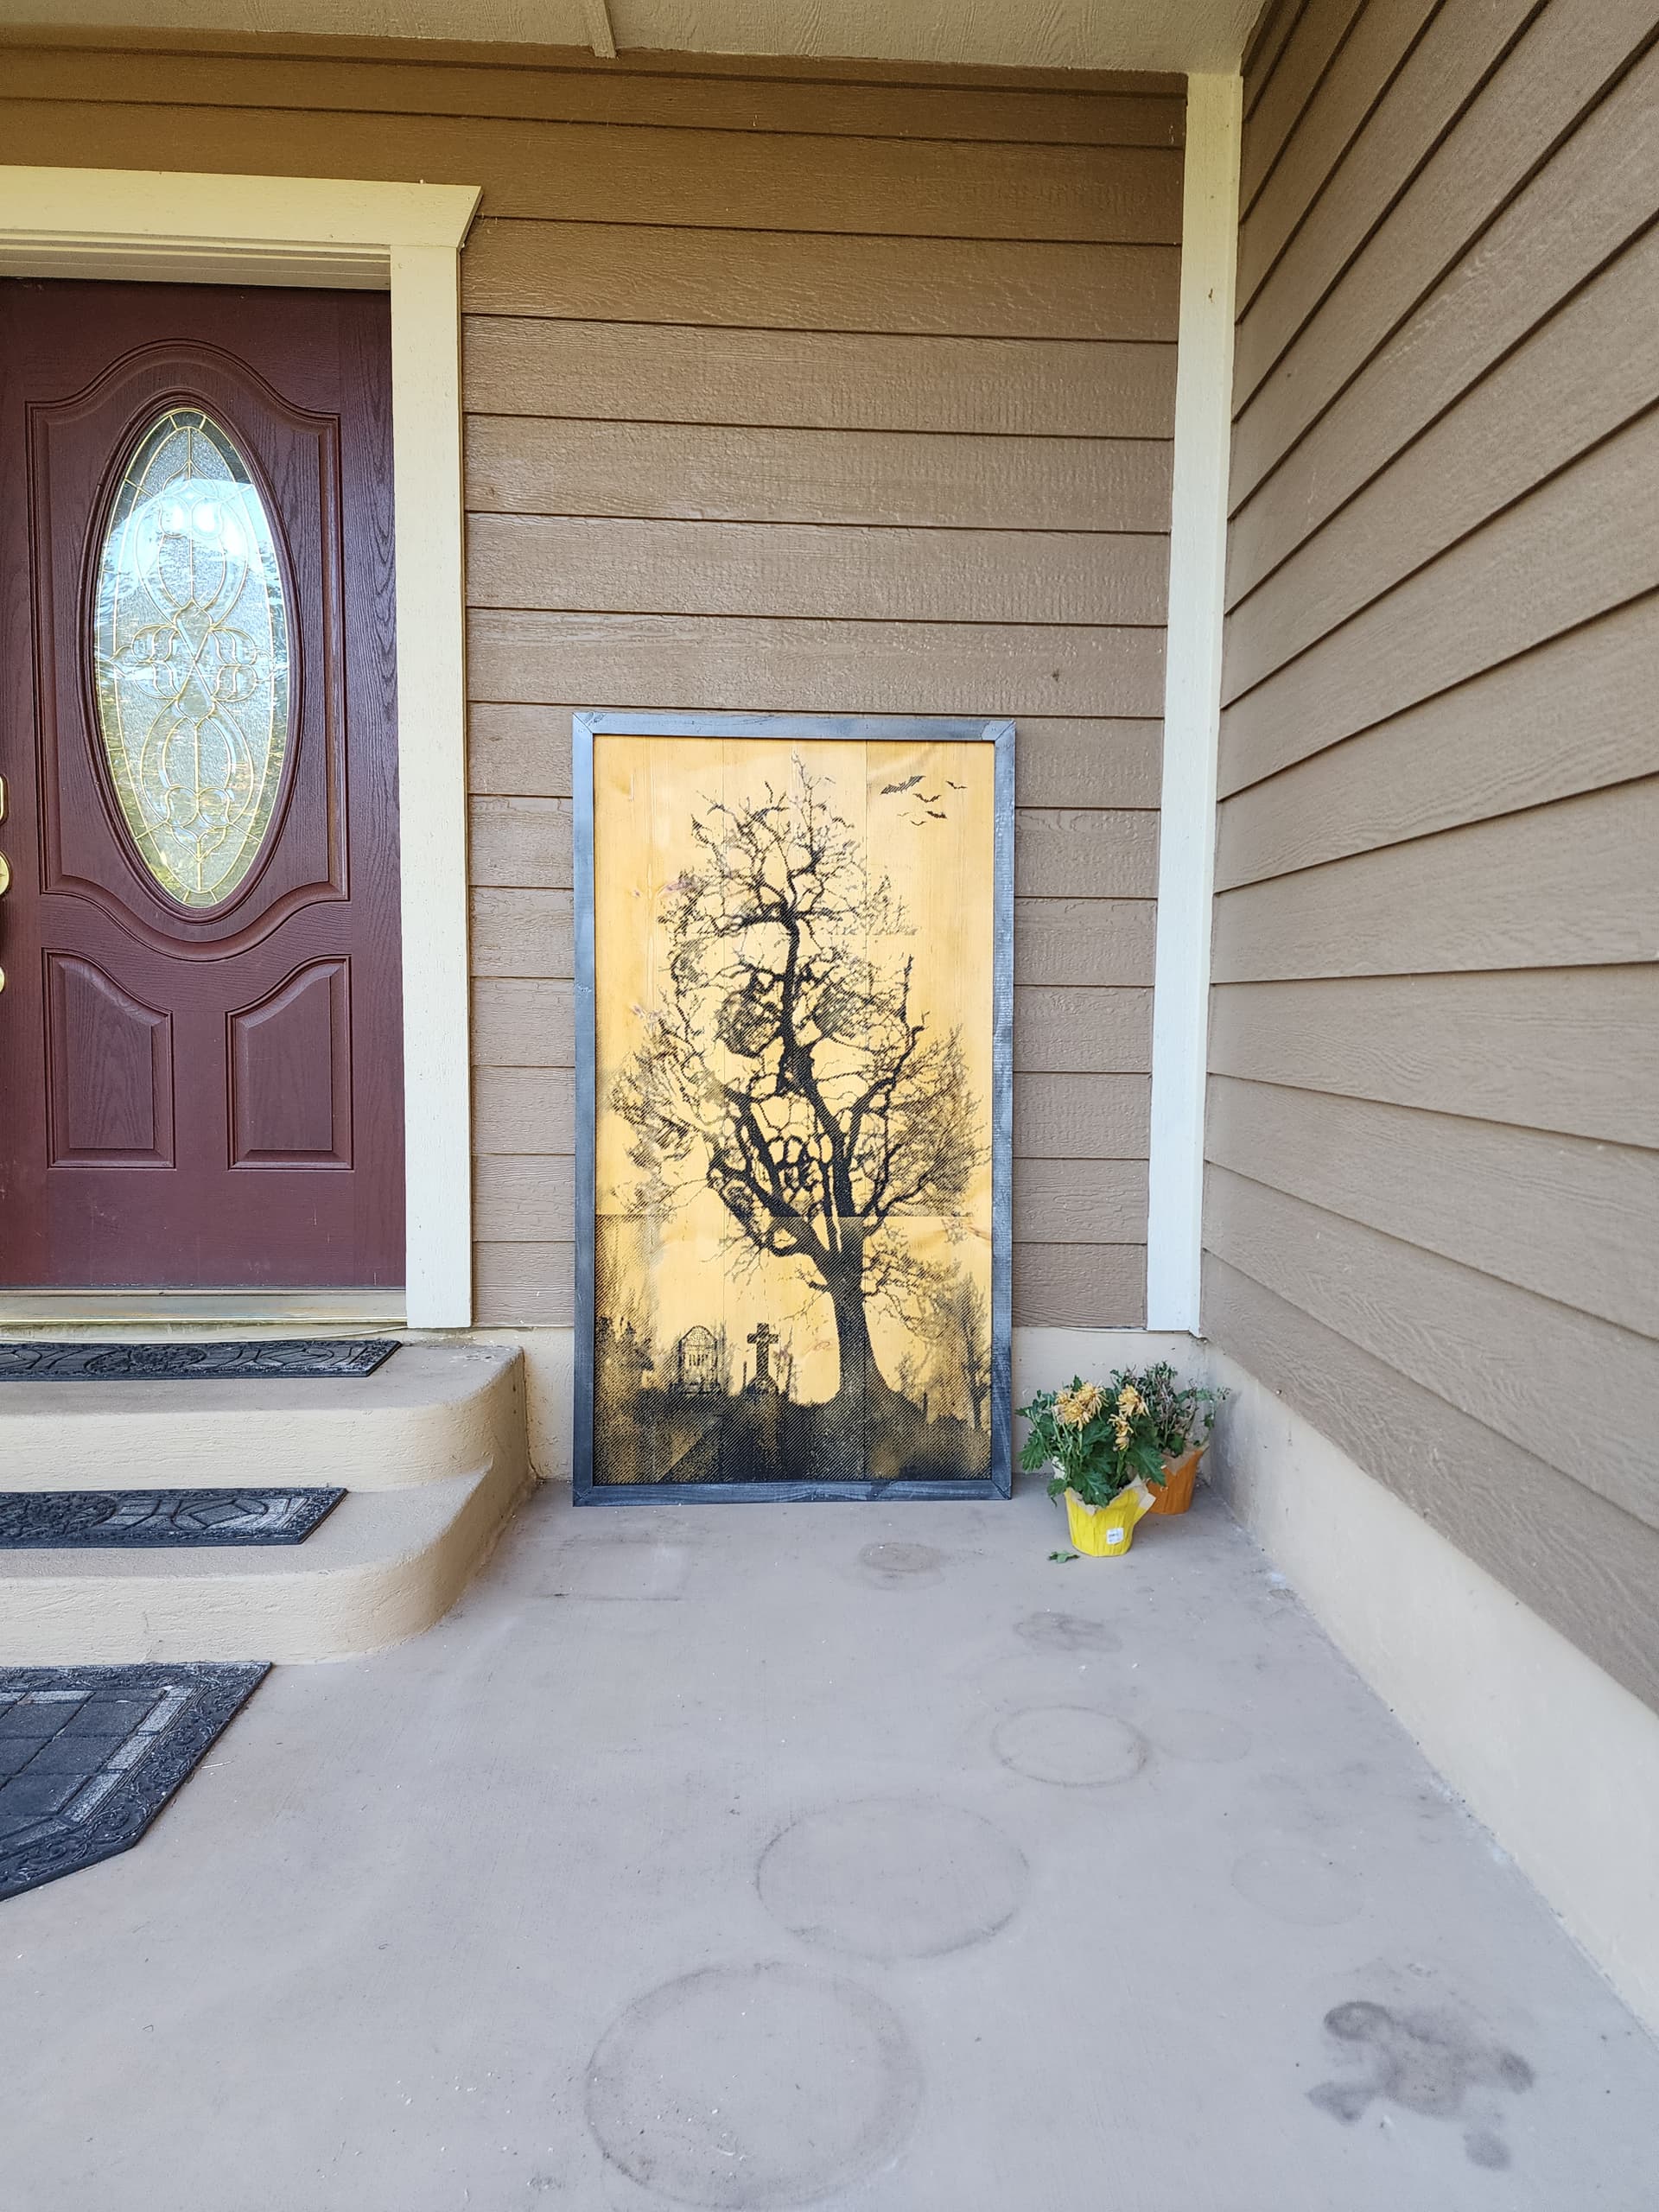
Here’s the finished project.