Confusing BitZero Issues - revisited

So, you close feeds when they don’t suit you? Sounds like a dictatorship, to me.

My response to that thread was going to be…

They’re all very valid points, @Gerry, and I appreciate the feedback.

Being a) trained to follow orders in the military, b) an engineer by trade, c) follow instructions to the letter by profession, and d) old and set in my ways, I’m confident I’m doing what I’m supposed to do, but here is my process, with the computer on, CM not running, everything connected, and the machine switched ‘off’ and in the NE position (which is where I normally park it):

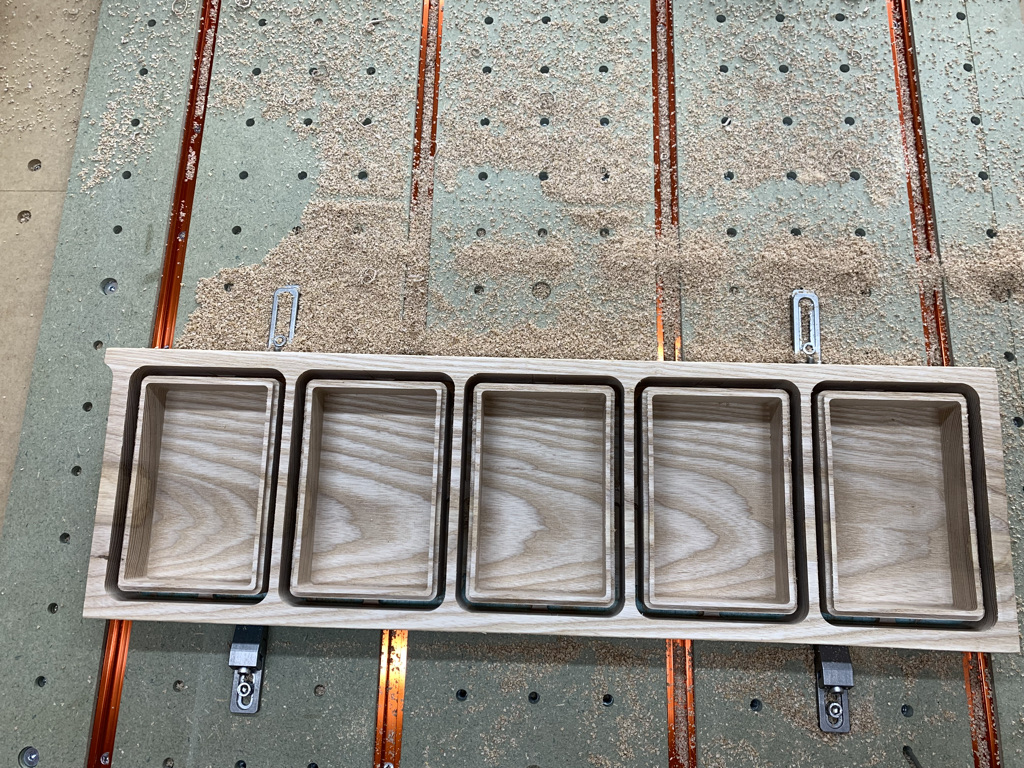
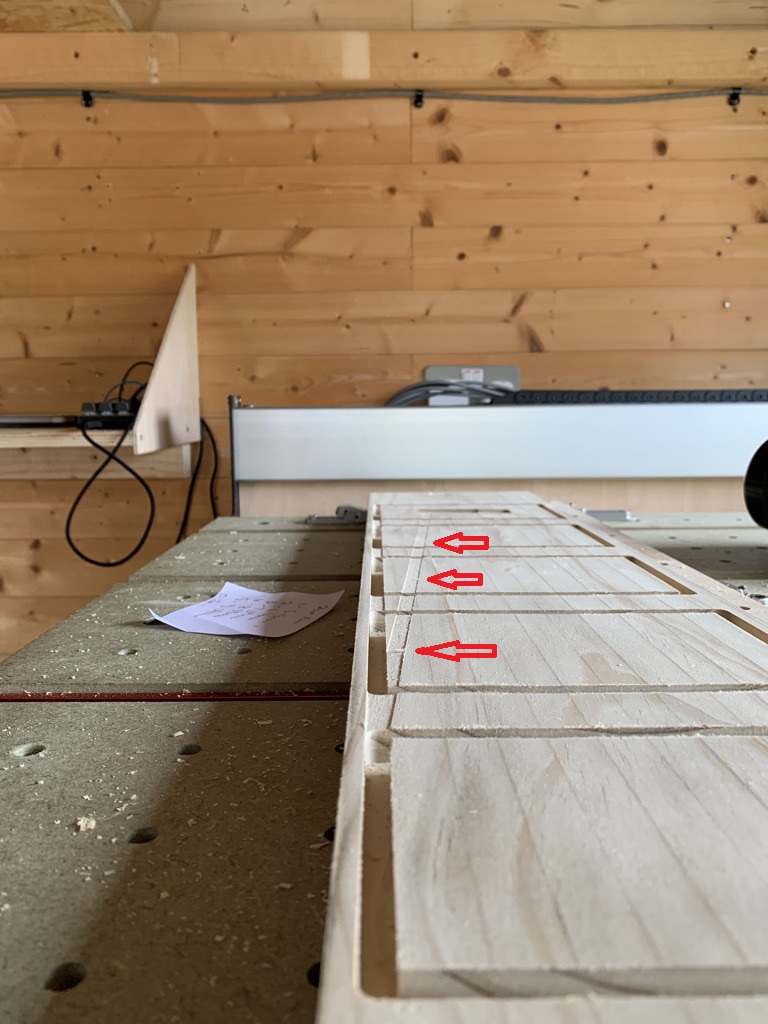
  1. Secure the stock in place.
  2. Turn the machine on using the rocker switch.
  3. Start CM.
  4. Click ‘Connect to the router’ - then wait for the Initialise button to appear.
  5. Click Initialise - The machine homes, moves to SC prompting for a bit/probe.
  6. Click Resume - It does its thing with the BitSetter, then returns to SC.
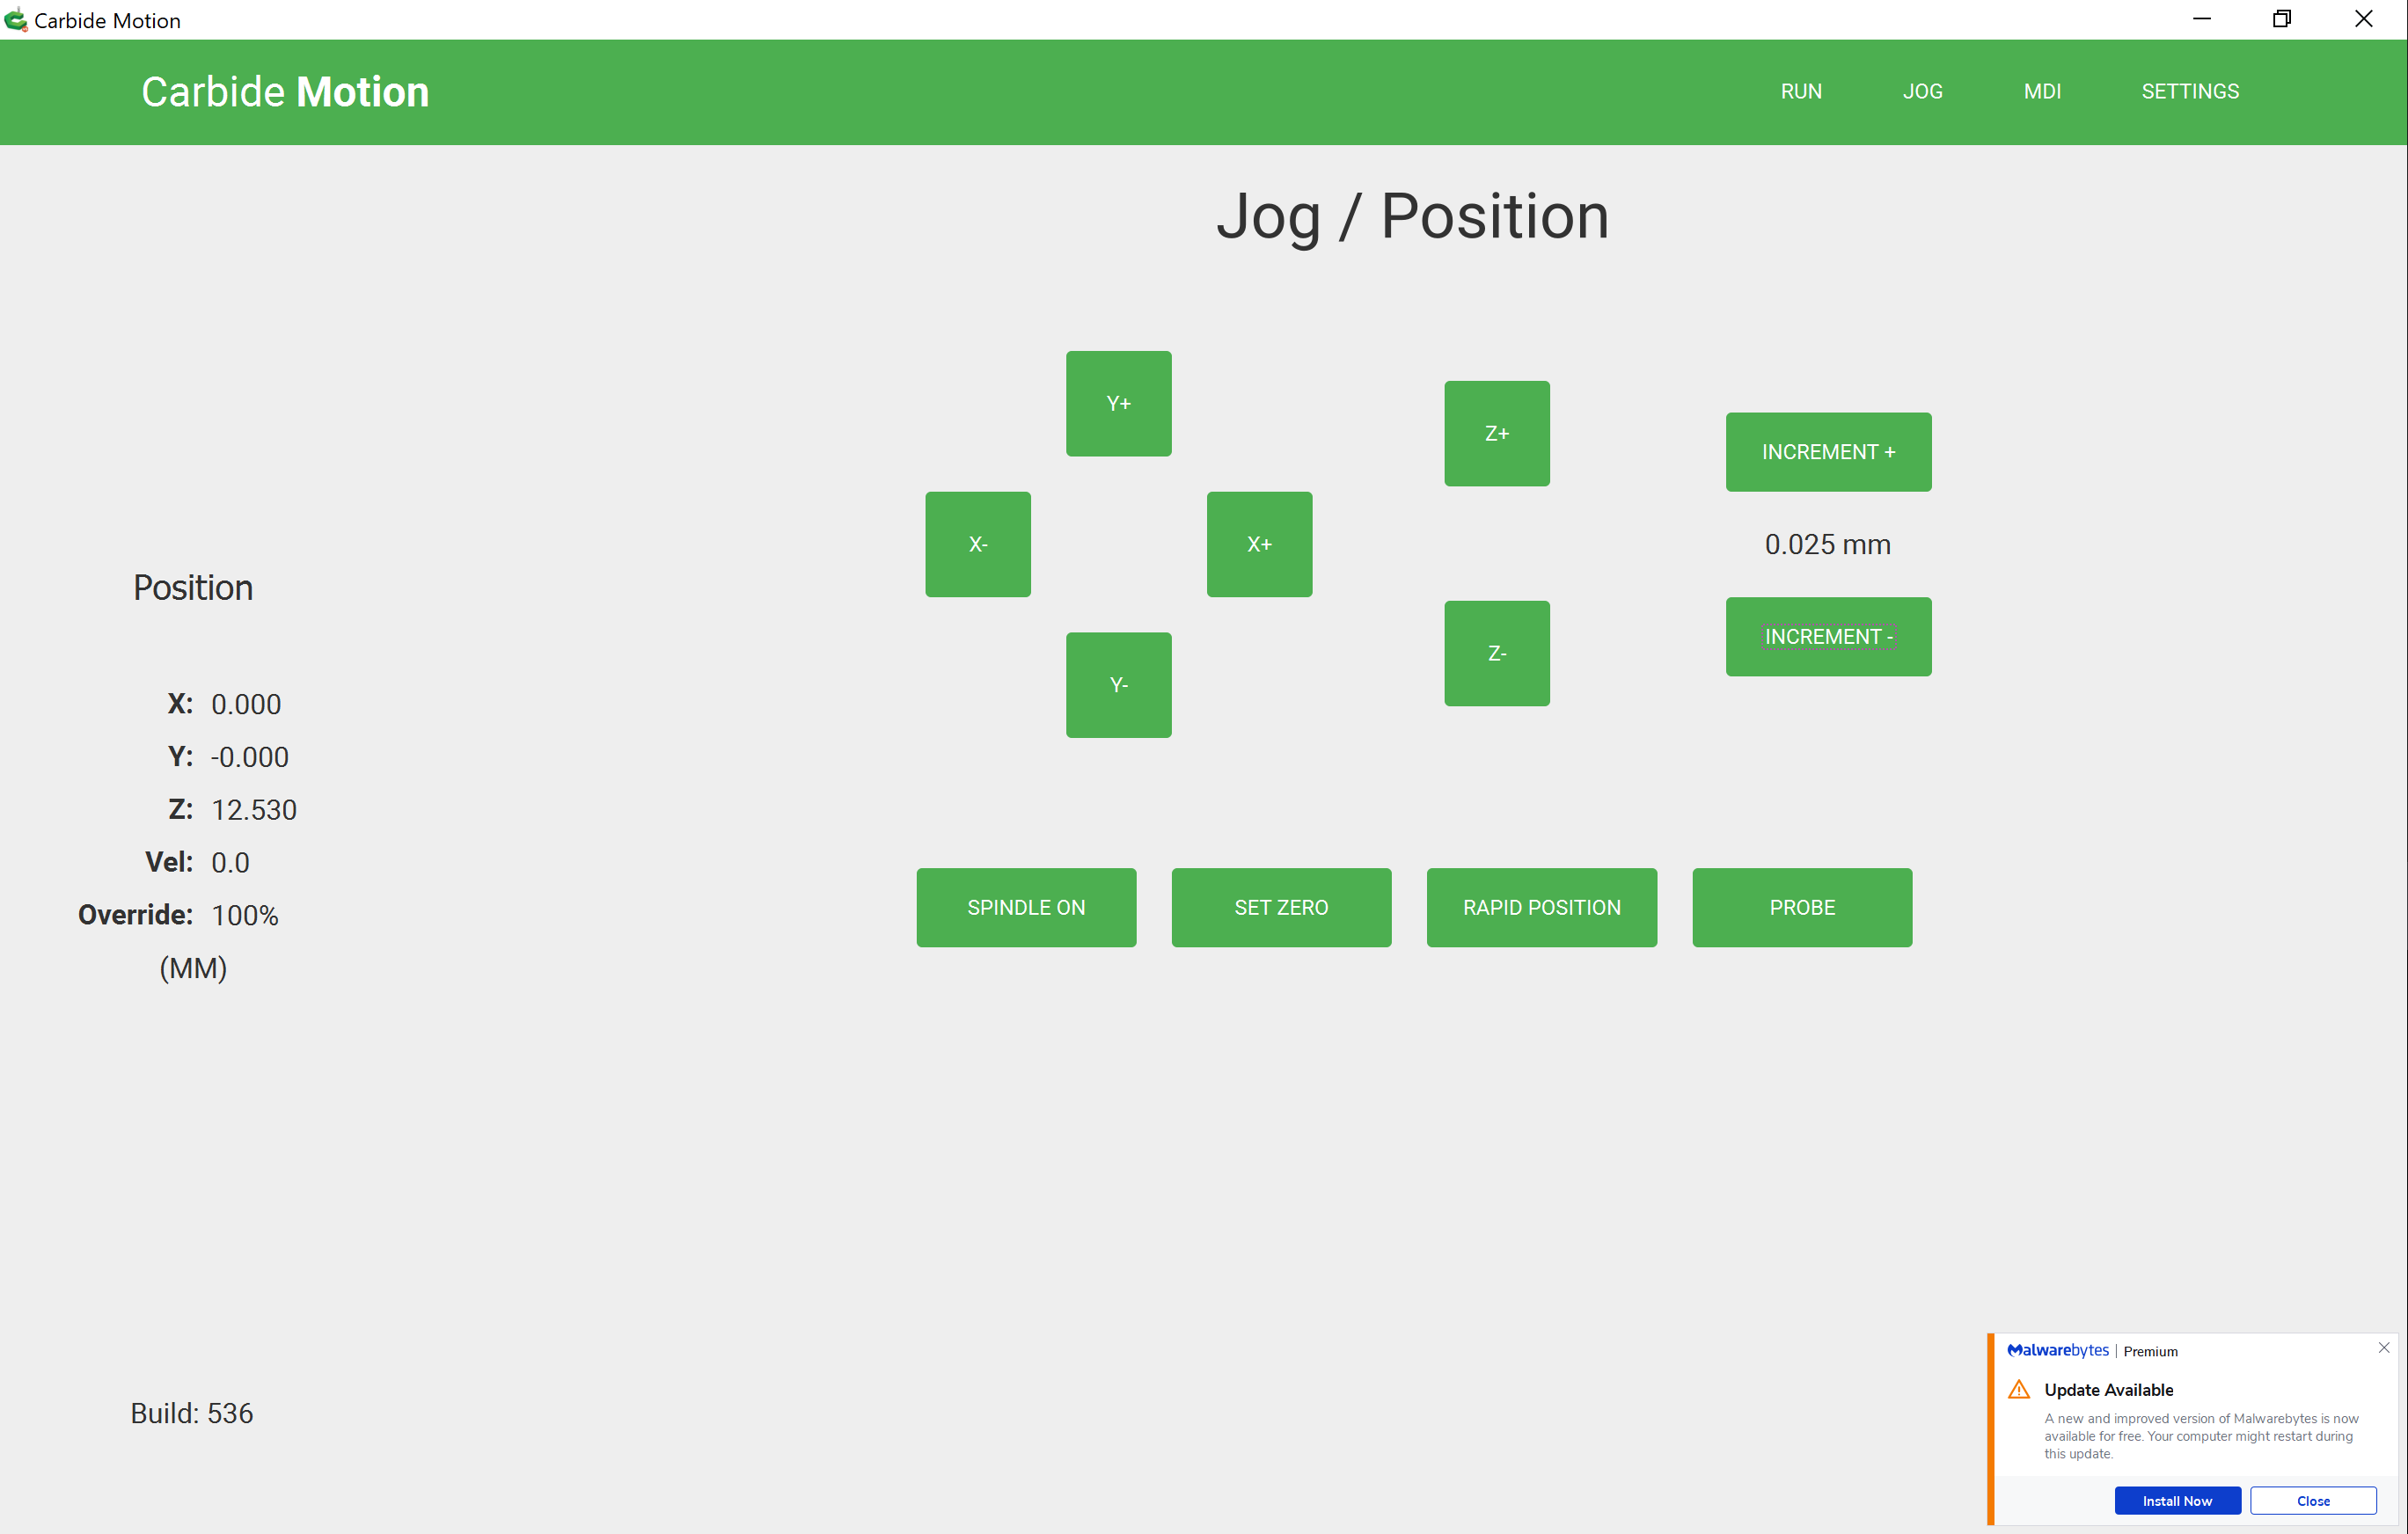
  7. Move the spindle to the start point and, using the ‘automatic’ CM workflow with the BitZero v2, set the X, Y and Z zeroes and remove the BitZero to a safe place.
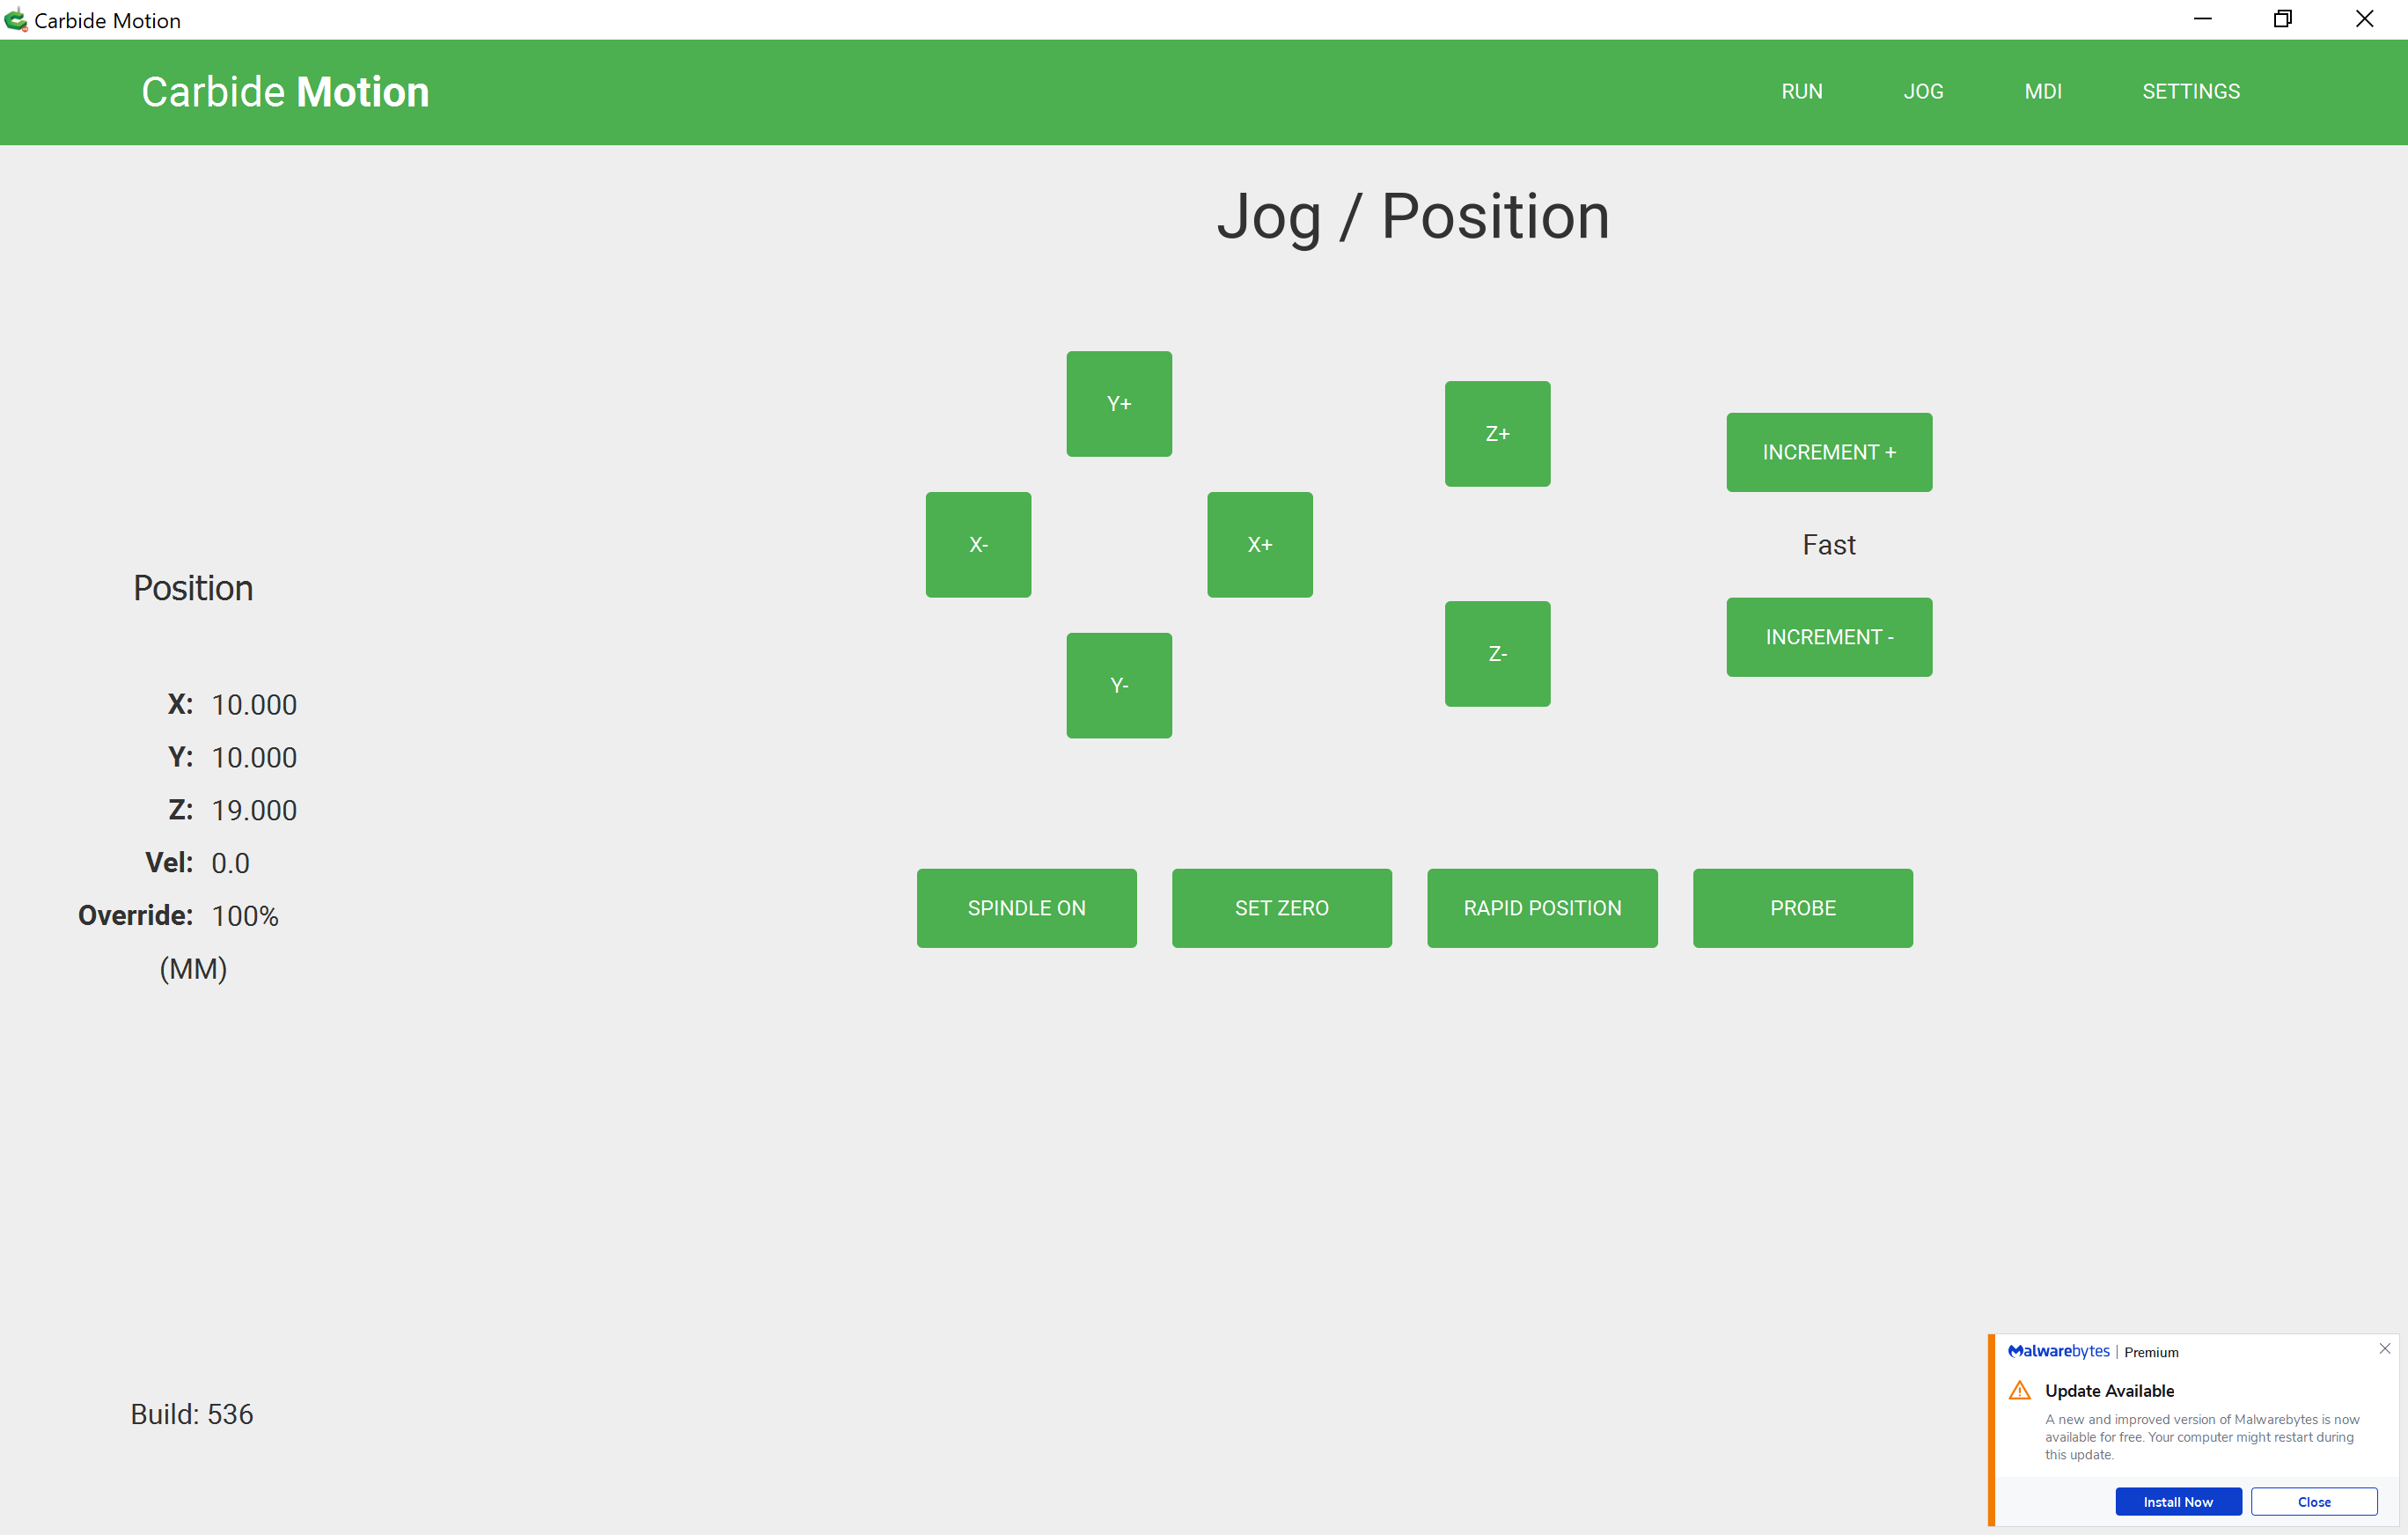
  8. Move the spindle to an approximate SC.
  9. Load the *.nc file.
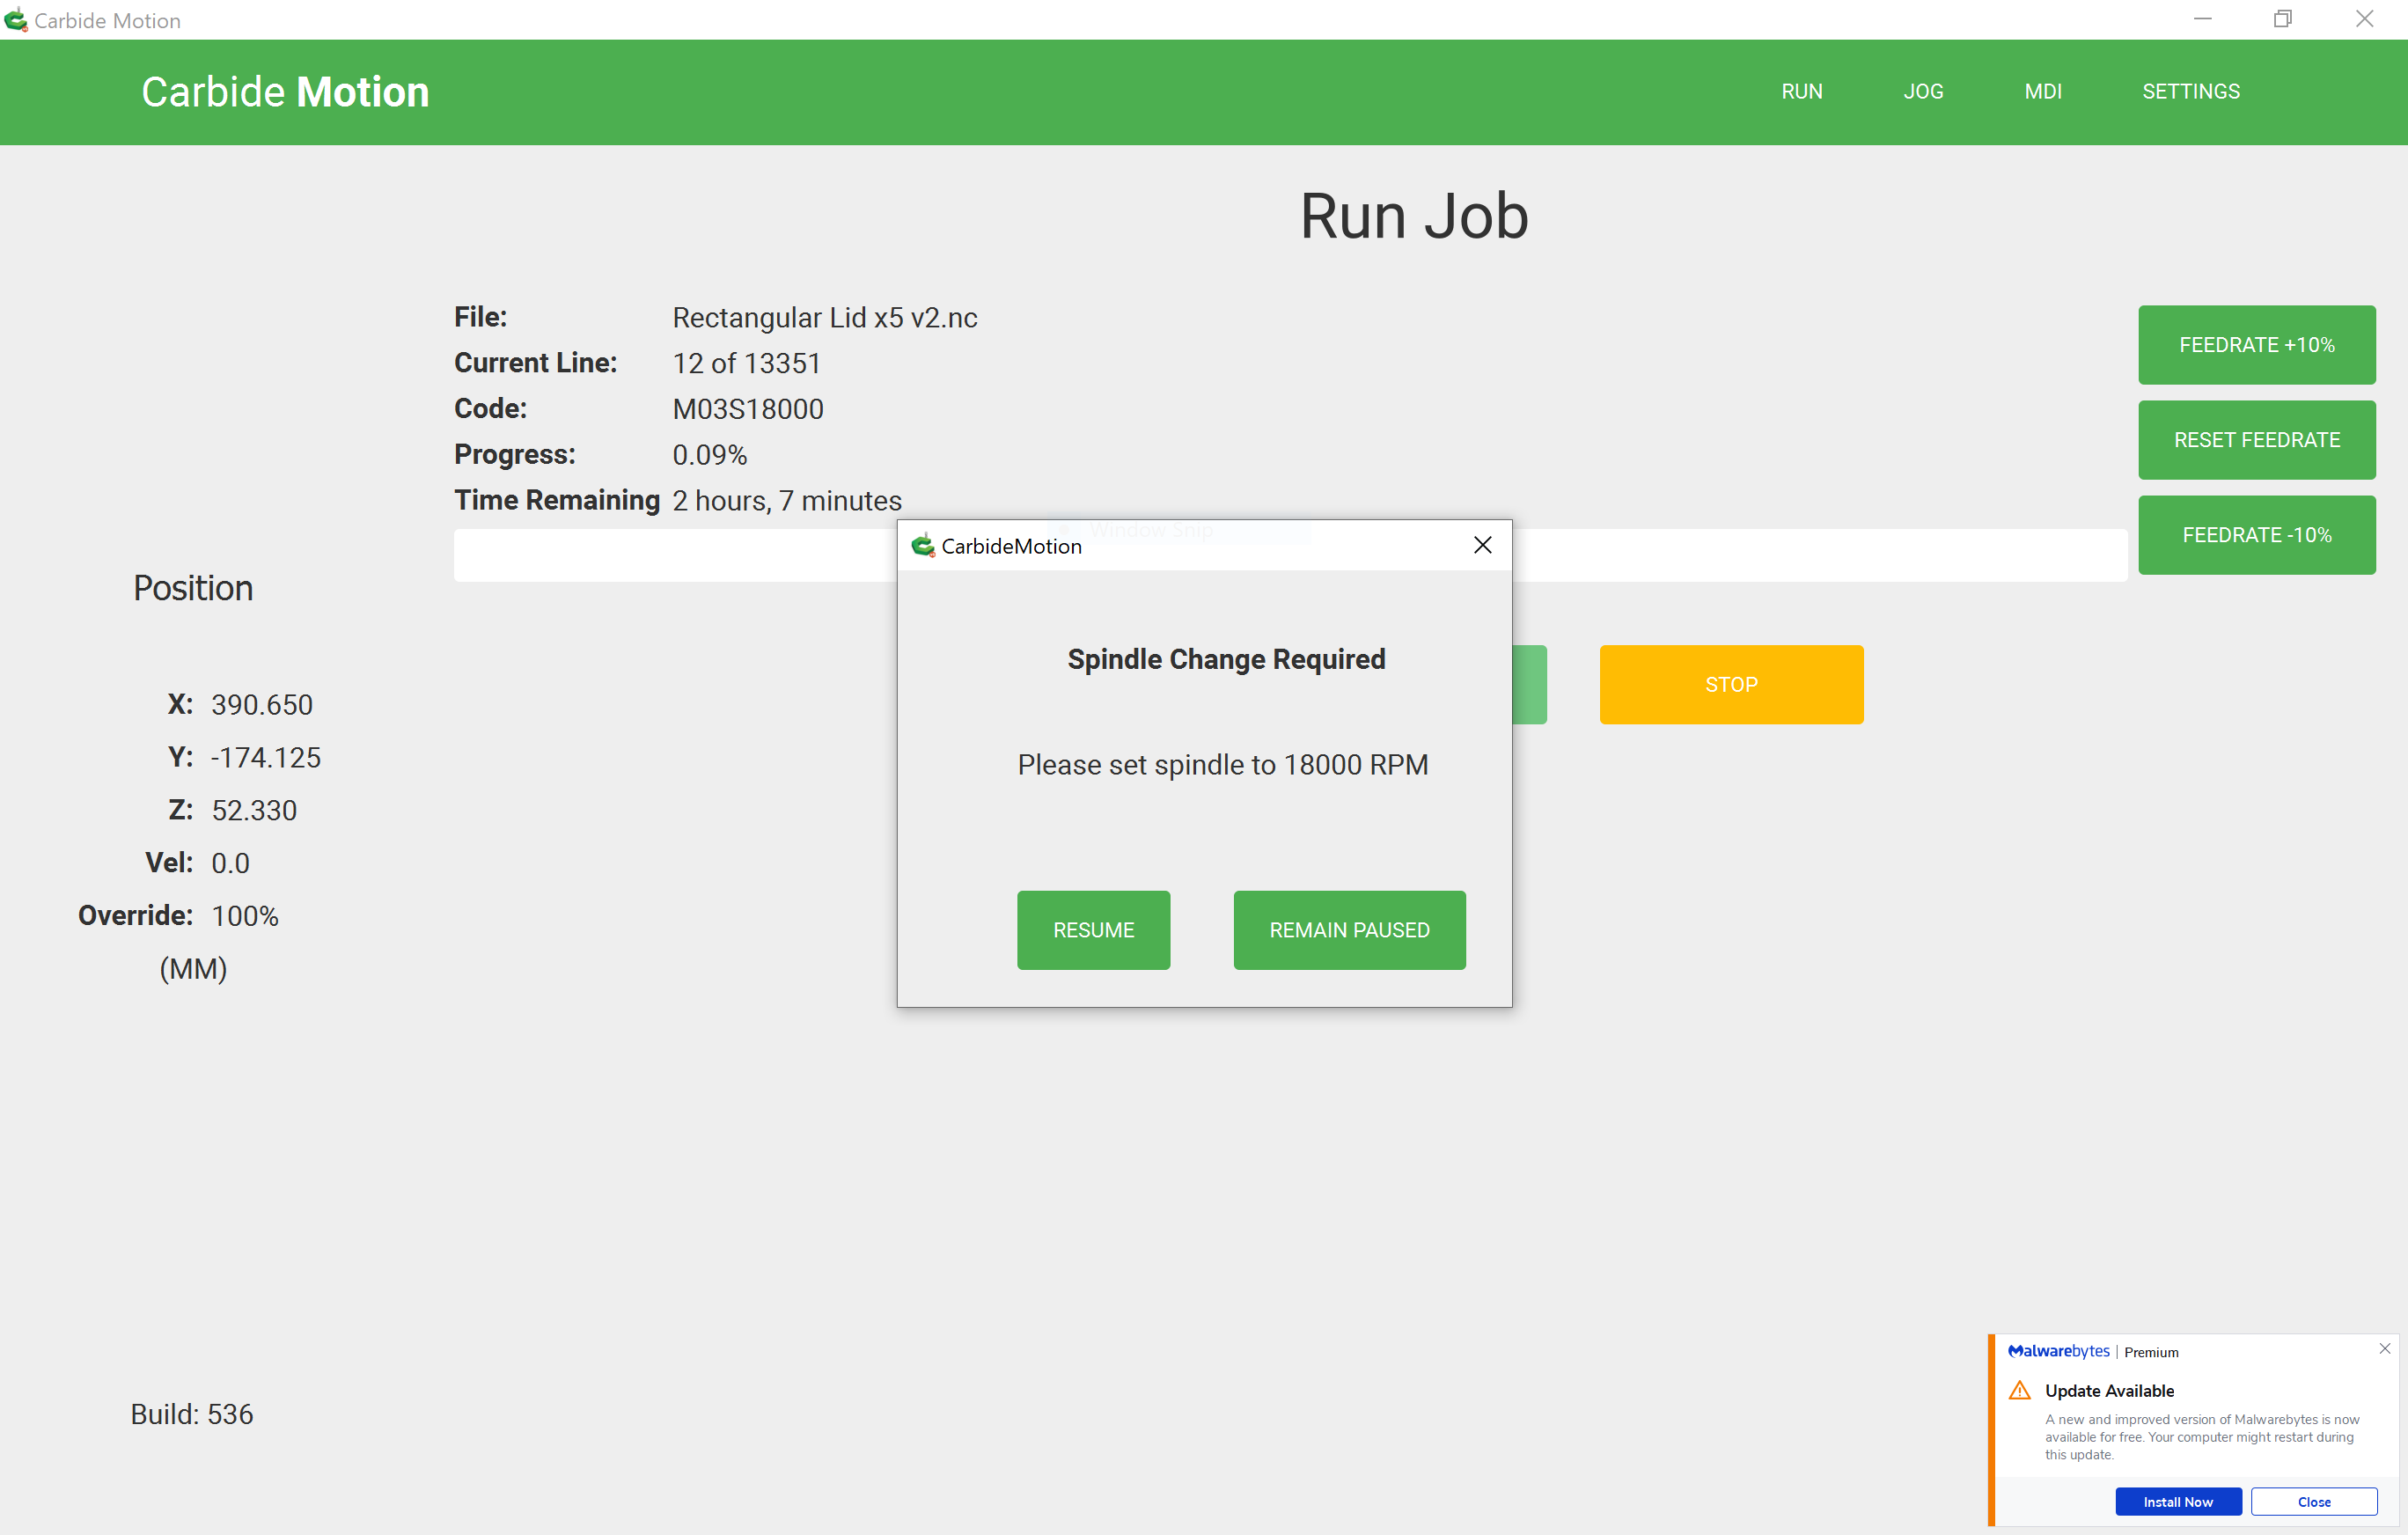
  10. Click Run - CM prompts for a new tool.
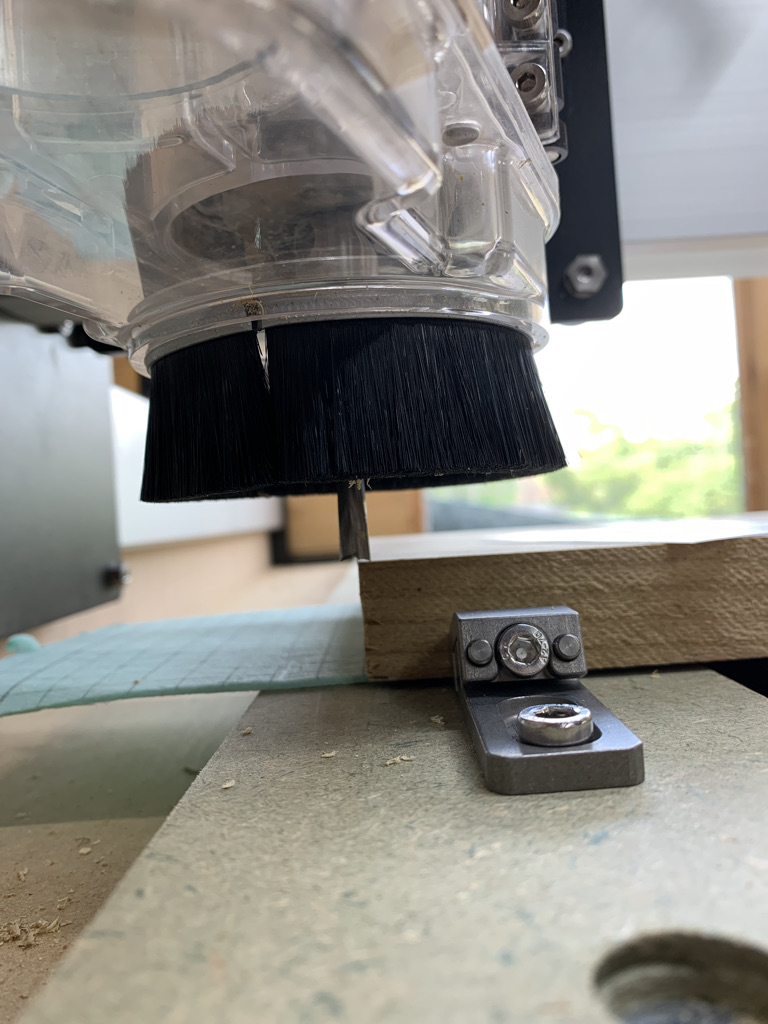
  11. Change the tool (unless it’s already in the spindle).
  12. Click Resume - It does its thing with the BitSetter, then returns to SC.
  13. Click Resume - cross my fingers and hope for the best. It’s at this point it going to go right or wrong.

This is the process I follow every time I start the machine to run a project but, if I run another project during the same session, I start the the process at Step 6, even if I’m running the same project a second time and cutting from the same stock.

I’ve tried this today, following these steps, and the project seems to be going well. I’ll let you know when t’s finished, but if these aren’t the ‘approved’ steps to follow, I need to know.

3 Likes

Hey Peter,

Thanks for the response. Your operations do look okay.

I don’t think 8 is something you need to do, and could accidentally trigger a “oh it needs a new tool” feeling, which would be bad :slight_smile:

Step 12 is where you turn on your router? I don’t have this step since I have a spindle.

In the same session, your probably can’t get to step 6 again. You’d need to go to step 7 I think.

It does look like you are doing the right things.

Really, the only rules for this flow of operations are:

  1. Never put anything at all in the collet from the time you turn the machine on to the time you turn it off - unless the spindle has moved to SC and there’s a CM prompt telling you to do so. As in, really really never, regardless of jobs loaded, zeroing, BitZero, or anything else.
  2. See 1.

It’s easy to make mistakes with zeroing by putting the BitZero in the wrong place, but I would image BitZero errors should only either be a 3mm too shallow a cut, or a 3mm too deep a cut.

5 Likes

I thought about that, but I did have concerns about the spindle being a bit close to the top of the stock when at Step 10, but maybe I’m just being paranoid :thinking: :+1:

Ah, my bad. I’ve got a BitRunner, so the starting the spindle is automatic.

Of course :face_with_raised_eyebrow:. I removed a line when drafting this and forgot to update text. Thanks for pointing that out :+1:

I totally agree.

Thanks, Gerry :+1:

So, the cut went perfectly well, following the steps above.

Today I’m going to cut the lids, using the same steps. Let’s see how that works.

6 Likes

So, running the project for the lids didn’t go as expected, despite following the steps above. The very first cut put a 9.03mm hole into the surface of the stock - and only stopped because I used the feed-hold switch.

I abandoned the project and moved the spindle back to the X, Y and Z zero points on the stock, like this:

…but this is the Position settings at that time:

…so my guess is it would have cut a hole deeper than 9mm if I hadn’t stopped it.

According to some, this is always user error, so I turned the machine off and closed CM, and started again.

After starting CM, reconnecting and reinitialising, the machine did it’s BitSetter thing, I used the BitZero v2 to set the stock zeros, and after it did it’s thing, the Position was showing thus:

I then ran the project and the spindle moved to prompt for a cutter, here:

When it returned from the BitSetter process is landed here:

I’m not sure why Y is different, but there it is, and I assume the Z position is different because of the difference in length between the Probe used for zeroing and the #251 cutter I was going to use for the project.

Except that didn’t work out, either.

This time, the first cut went 5.15mm deep before cutting the Contour path for the lip, with subsequent cuts being at 6.19mm (+1.04mm), 7.09mm (+0.9mm), 8.33mm (+1.24mm) and then 9.04mm (+0.71mm), which is a bit weird when the overall cut for the lip should have been 0.2", i.e. 5.08mm!

Also, why are the subsequent cuts to different depths?

Finally, I let the project run as the stock was now firewood, and this is what happened during the fast travel.

Tell me this is user error again, @WillAdams

EDIT: Sorry, I forgot to add the files.
Rectangular Lid x5 v2.c2d (250.0 KB)
Rectangular Lid x5 v2.nc (187.7 KB)

2 Likes

Are you 100% confident your endmill isn’t slipping and moving down in the collet? That would probably explain all of this. It does look rather protruded in the top shot.

I’m on my fourth read of all the details you provided and still can’t come up with anything relevant, so I’ll drop a few ideas instead, should you want to continue the investigation:

  • it would be interesting to make a note of tool stickout at each tool change. I know I usually ask for the CM Logs too, but in fact the logs are useless if one does not also know how far each tool was actually sticking out in reality. It’s going to be tedious, but there would be a chance that we can compare the actual, as-measured tool length difference, with what the BitSetter applied to the Z zero, and go from there.

EDIT: and this would also address @Gerry’s hunch of a slipping endmill, if you were to make a note of the stickout both before and after the cut with a given tool

  • until we figure out what happens, one thing you could do as a (somewhat silly) way to double-check where the Z zero has been adjusted by the BitSetter upon starting the job is: start the job, let it go to BitSetter, but then before it actually starts cutting, pause and stop the job, and manually jog to X0/Y0/Z0 like you did in one of the pics above. If it still matches, then re-starting the job as is should work 100% of the time (the job start will make the machine go to the BitSetter again, but with the same tool, so that is pretty much guaranted to not mess up the Z0)
  • as a last resort you could try and use another G-code sender with bitzero and bitsetter macros (e.g. CNCjs and Neil’s macros). That won’t help figuring out why in the CM+BitZero+BitSetter setup you have those issues, and I am not saying there is anything wrong in CM (trust me, I have tried and tried and tried to pinpoint something suspicious whenever someone reports a Z depth problem, but so far I have never been able to pinpoint a bug). It may provide you with a setup that happens to work for you always, sometimes at the end of the day this is what matters.
1 Like

I’m absolutely sure. The top of the cutter is just visible in the hole in the spindle of the Makita and the collet is clean.

I’ll check, though…

UPDATE: I’ve checked the cutter and it’s in exactly the same position it was when I started the project. And there’s more…

There are some questions about this that need answering, and I’m going to try and ask them here. Specifically:

  1. Running this same project twice and following the same set of steps that worked before, why was the first cut over 9.03mm and 5.15mm deep on the first and second attempt, respectively, on the first pass of the project?

  2. Why were the subsequent cuts on the second project different, when the Depth per Pass was set to 0.040"? They were at +1.04mm, +0.9mm, +1.24mm and then +0.71mm, when they should have been +1.016mm each.

  3. When I popped back into the shed to check the spindle, during a conversation with @jepho about Position vs Machine Position co-ordinates, I looked once again at the zero settings of the machine to prove a point. I switched it on, started CM, connected to the router, disabled the BitSetter and initialised the machine, and it carried out the Home process. I then used Rapid to moved the spindle to X and Y zero (which it obviously remembers from the last project) and then manually moved the Z down to it’s zero position on top of the stock (which is still in place, even though it is essentially firewood) and noticed the Z Position was reading 4.295mm, when it should have been 0mm. Why is that?

What I can tell you is this:
After zeroing the stock with the BitZero v2, the spindle retracts to X=10, Y=10 and Z=19mm, relative to the top of the stock. OK so far.

Somewhere between that point of ‘stability’ and when it leaves the BitSetter, something randomly goes wrong. It can’t be beforehand, because the BitZero has set whatever zero points the user has allowed it to do, so it must be something to do with the BitSetter (Assuming the cutter didn’t move in the spindle. If it did, this would be the problem - or part of it - but mine didn’t move).

After leaving the BitSetter, there is nothing to change the software settings (i.e. the X, Y and Z zero values) other than the cutter slipping but, again, mine didn’t move.

This leaves the BitSetter randomly changing the Z height value of the stock - so it seems to me this must be a software issue.

When you have eliminated the impossible, whatever remains, however improbable, must be the truth. – Sir Arthur Conan Doyle, stated by Sherlock Holmes

3 Likes

Is it possible your Z-Axis itself is slipping? Can you move it up or down by hand with the machine switched on?

1 Like

The truth lies dormant in our future history. [Tex Lawrence]

Could it be that you have a weak Z motor that works but not well?

No, definitely not.

I spent half a day checking the machine over and making sure the machine bed was level and the spindle perpendicular, and part of that was to check movement with the power on and off.

Valid question though, thank you :+1:

That’s a good question too, but how on earth could I check for that?

To eliminate a bitzero or bitsetter issue have you tried the job old school paper method? Then just using the bitsetter and then just the bitzero? We are working on process of elimination.
The one thing I noticed in the workflow was adding the code. What if you add the code before setting the zeros?

2 Likes

Can you capture the log when you probe XYZ?

Likely irrelevant, but,Was the machine still cutting Tab’s at this point?

I’ve disabled the BitSetter on a number of occasions when using a fly-cutter to surface the stock, then zeroed the X and Y by eye and theZ with the paper method, and tit worked as expected. I’ve only done this a few times, to be fair, but your logic is good.

I think I’ll disable the BitSetter for everything but multi-tool cuts (I don’t do many of these) and just use the BitZero for a while, and see how that goes.

As for adding the code before setting the zeros, I’ve had that debate with @jepho, but I’m happy to to give that a go, too :+1:

Thanks, Michael.

1 Like

No. This was the contour toolpath for the lip of the box lid, which should have been only 0.2" deep, and was the first cut.

Good idea.

Before I make the changes with the ideas from @MrGNY and @MindlessCorpse, I’ll enable the log (why doesn’t this run in the background, anyway?) and ‘air cut’ the project with the ‘firewood’ that’s on the table :frowning:

I’ll see how that goes.

I can see what you are getting at, but it can certainly appear to re-right itself for certain sequences since the system is relatively measured and not absolutely measured.

For instance, if your router slipped in its mount to a new position, reinitializing the machine would make that problem disappear without any physical adjustment or effort.

Imagine a certain amount of force causes the Z axis to miss steps, and the operation itself, or the wood grain, or something variable like that, is what causes it to happen. This would make the machine misbehave as seen.

Reinitializing the machine would reset this error and it might then appear to cut perfectly for a while.

1 Like