In my example above, it’s really not necessary. You can just add the start & engrave cut depth to get to the level you want. I assume it uses plunge feed from above the 3D model, so it would cost a bit more time, but not much.
I have got a mental block trying to get letters to roll around a crude curve and can not achieve this,if I cut an object out on 3D I have to know the exact height of the carving?
Not sure what that means. The letters won’t wrap, they will just project straight down (or up, depending on how you view it.)
As of now, just set the Start Depth to something large, like the stock thickness, and the Cut Depth to the depth you want into the 3D surface.
2 Likes
Thanks Tod,on your early post how did you get them to go over the curve?
So will they only go onto a flat surface?
Imagine projecting the design from overhead as with a cutout mask placed in front of a bright light. The design will not wrap.
2 Likes
Not sure how it works in CC.
In Vectric it’s more like the 2D is a piece of fabric that conforms to the curves when laid down.
I’m trying to understand how this new capability works so I went through and did some testing at different settings to try to get my head around things.
So i have just a dome shape modeled with some text above it.
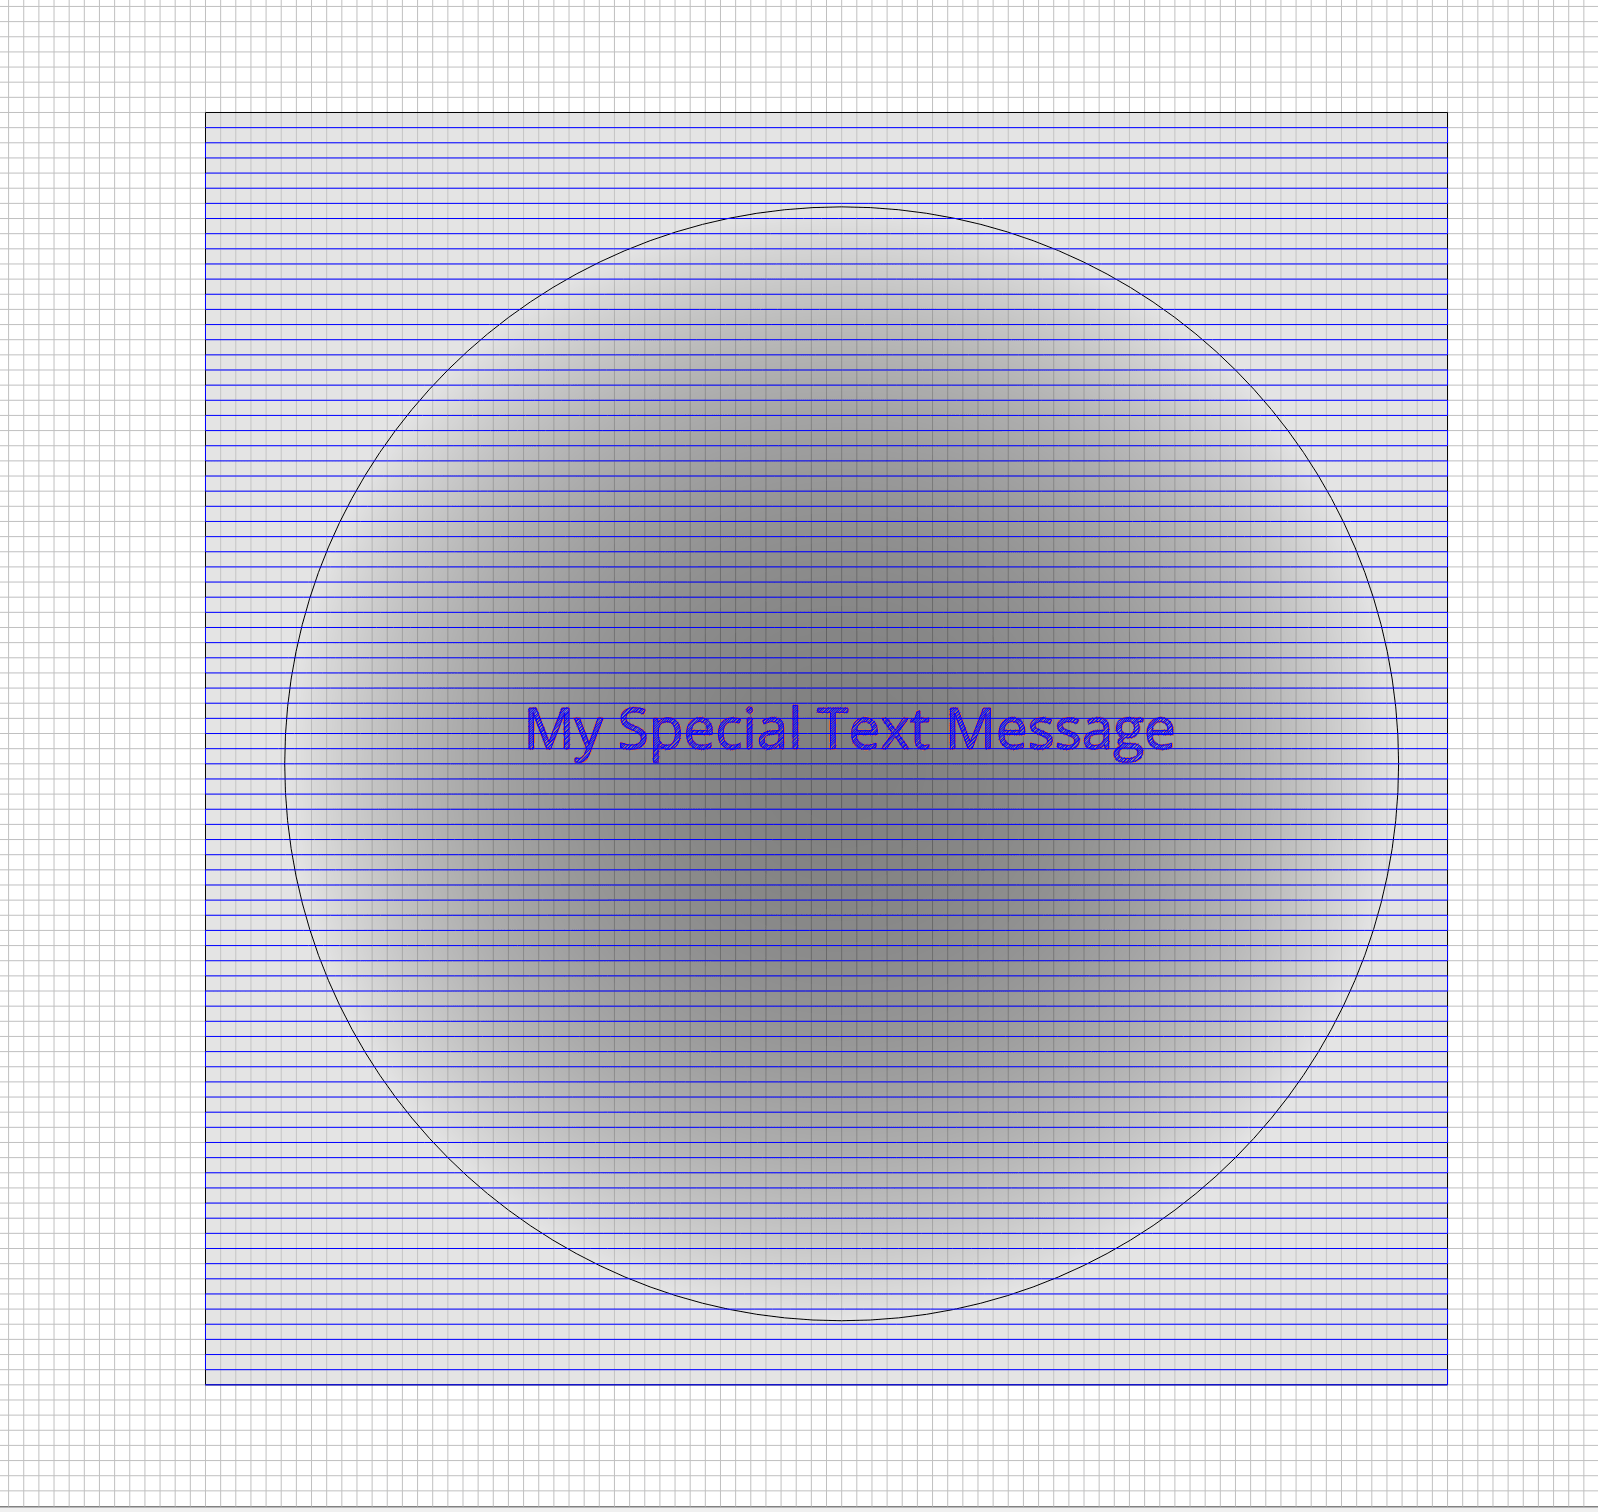
There’s a 3d tool path over the dome then the engrave tool path for the text.
The first thing was to leave everything default and see what happens
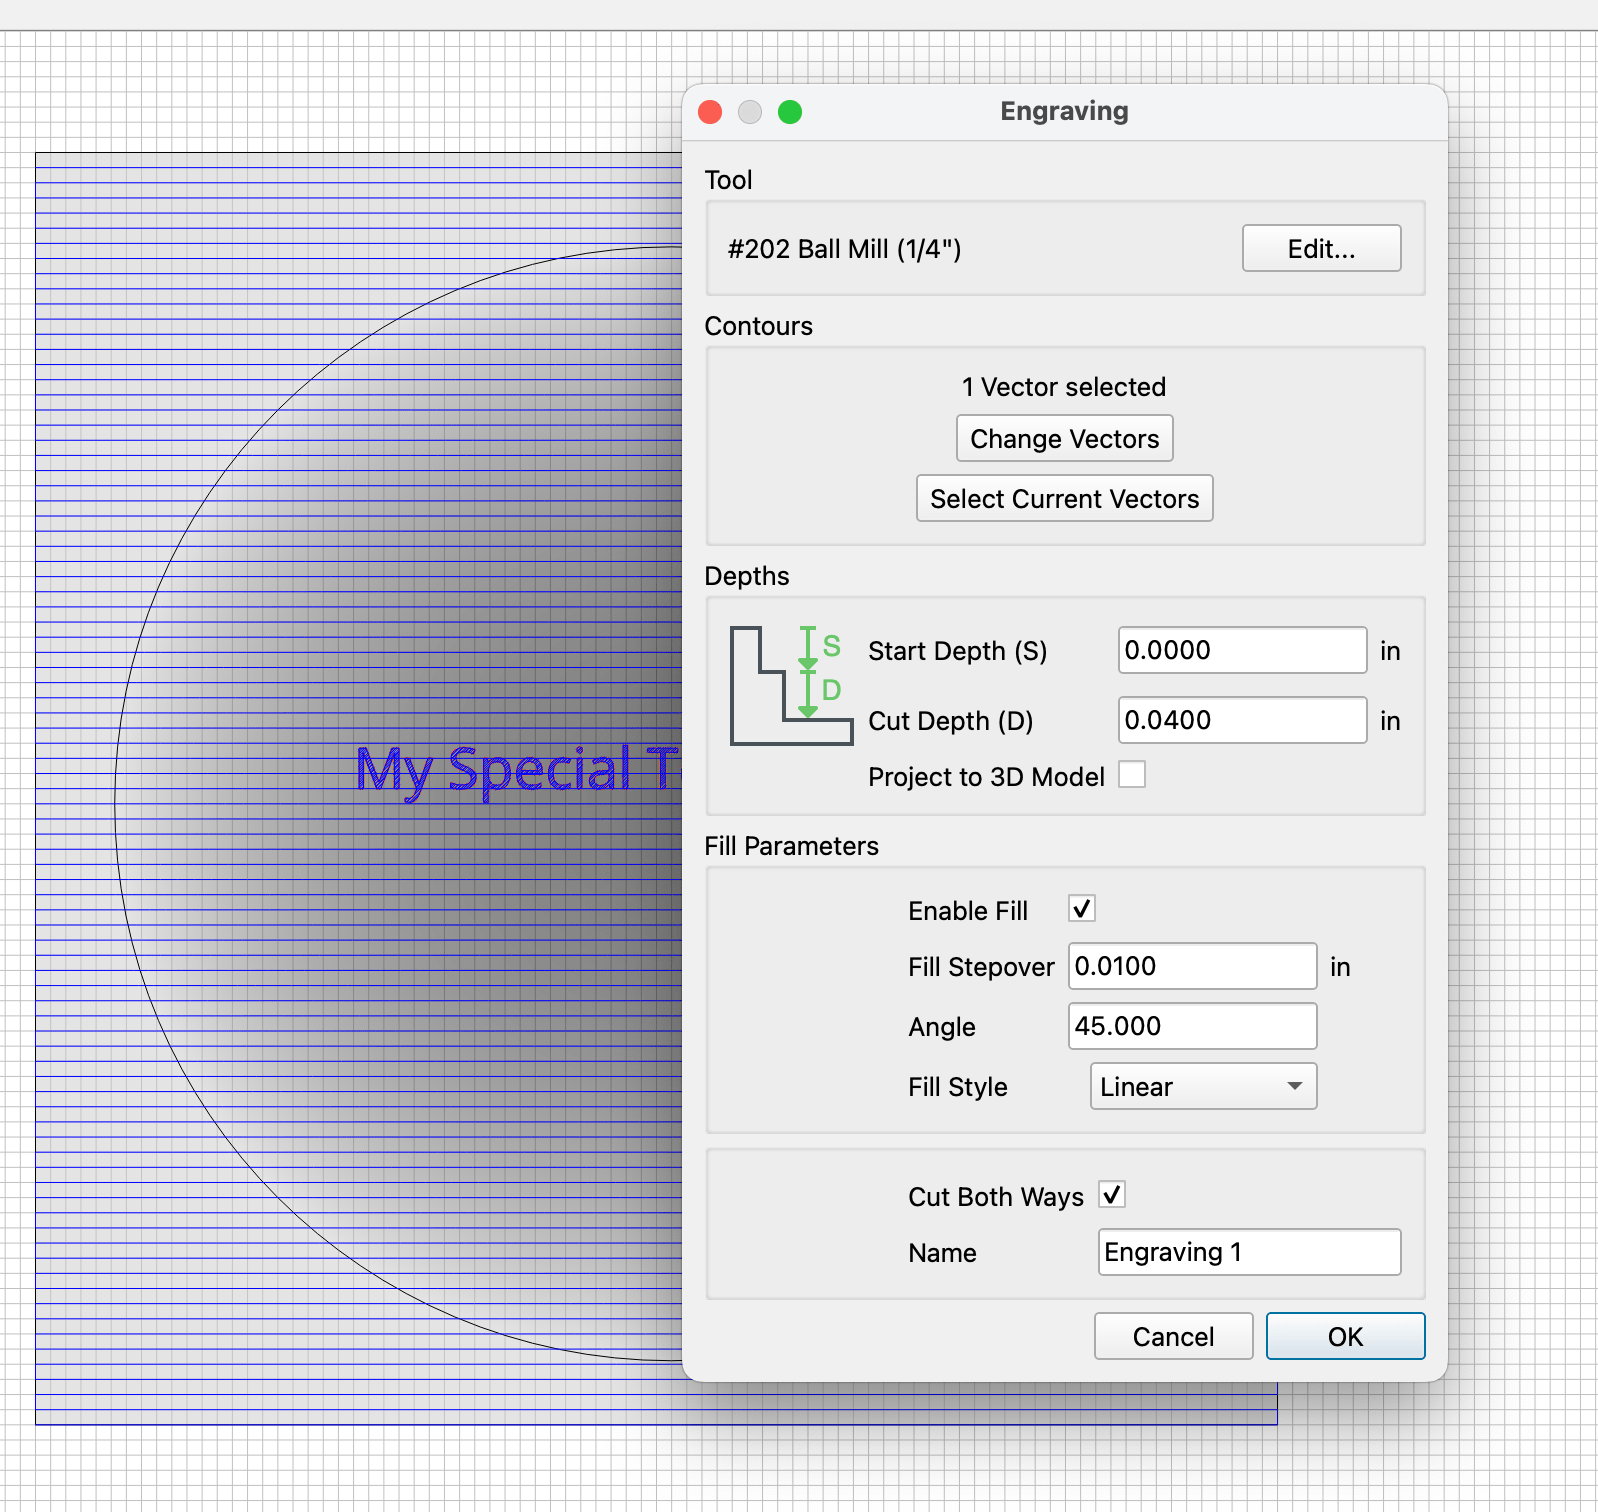
As expected, the engrave is just hovering above the model since it’s a 2d path above a 3d model.

So next I enable the new 3d projection checkbox. My expectation would be that the text should now be projected onto the dome since the “start depth” I would assume to mean how far in from the top of the 3d model to start
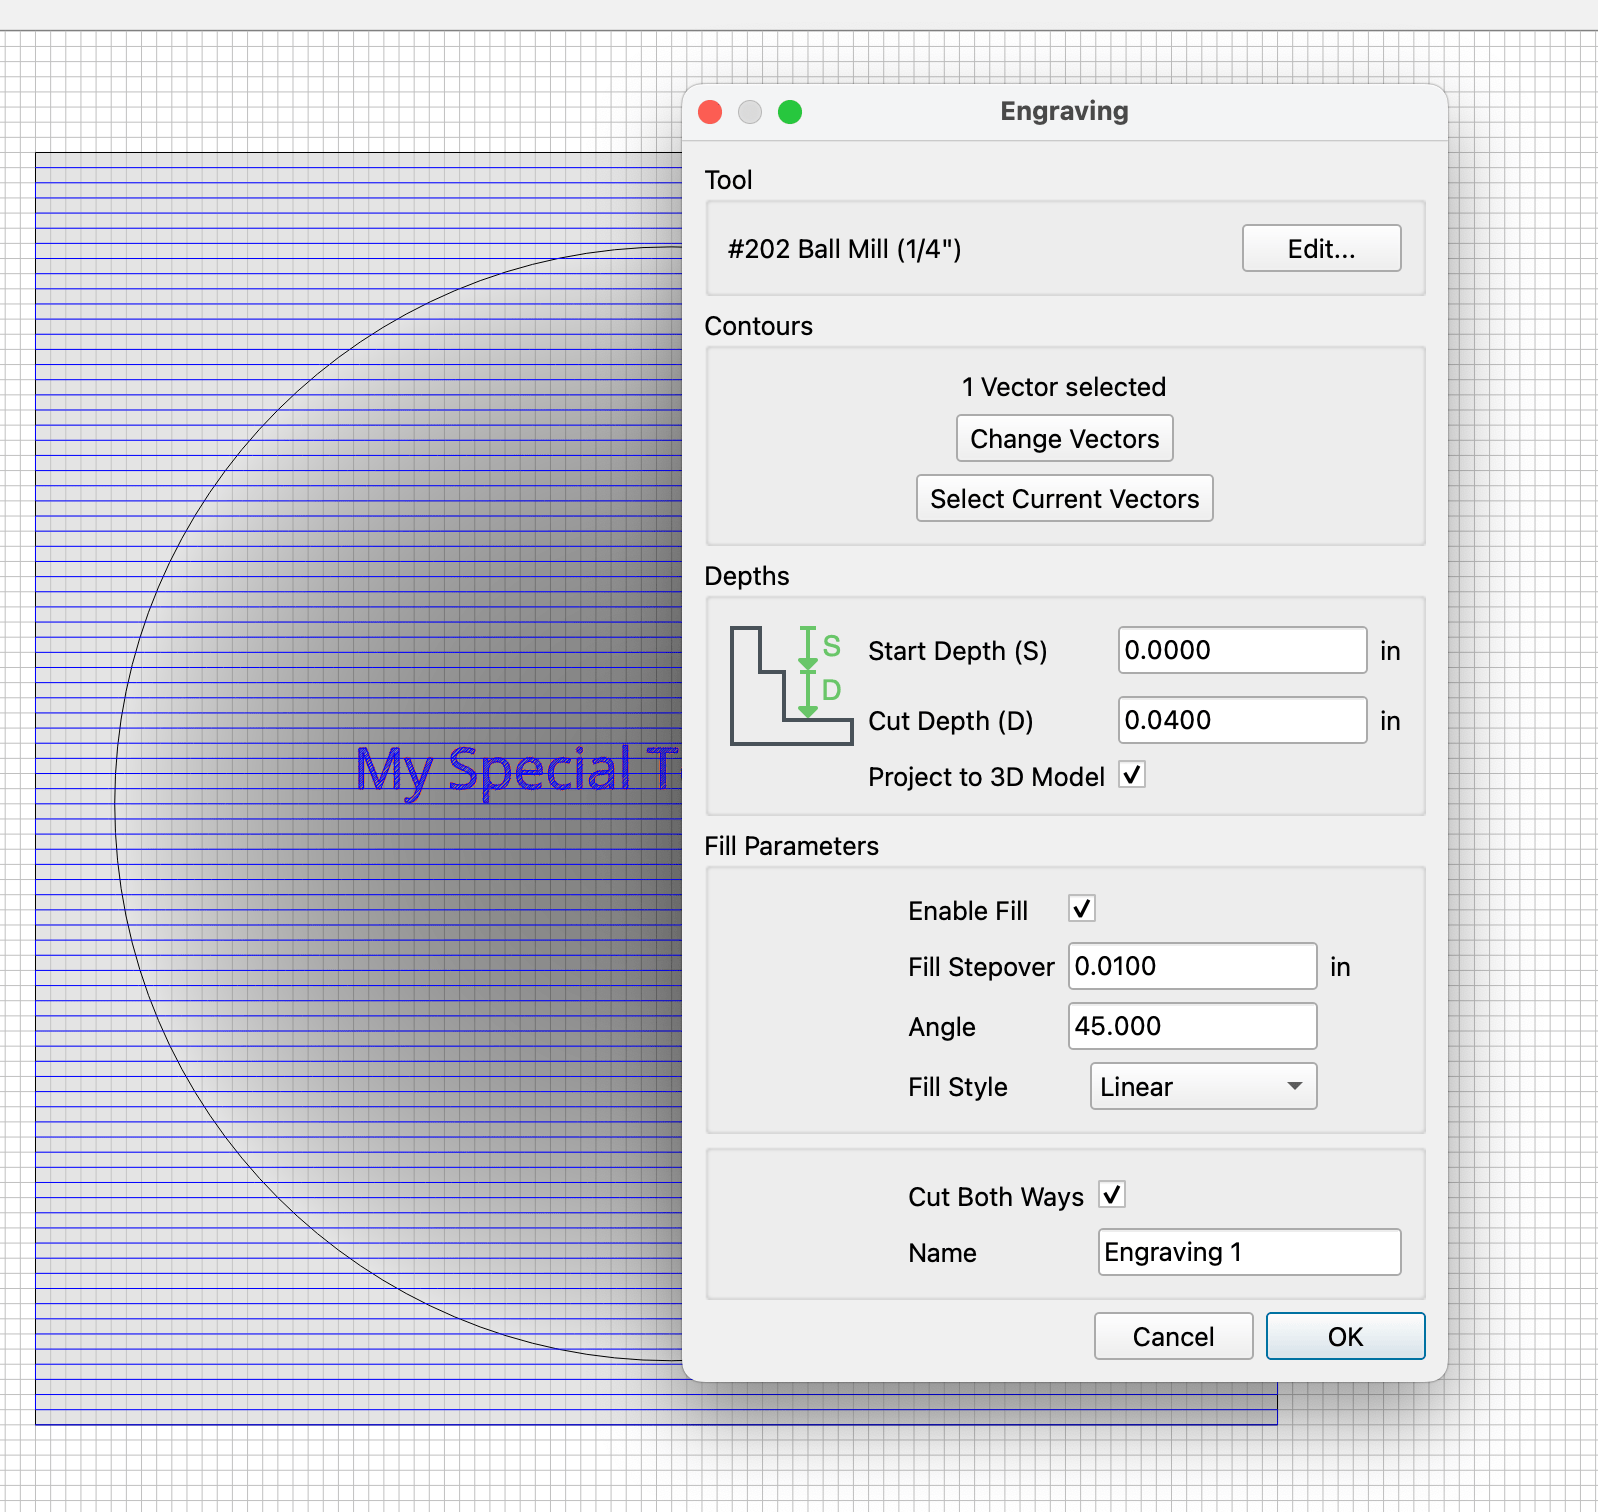
But nothing appears to be any different, the text is still floating up in space at the top of the material.
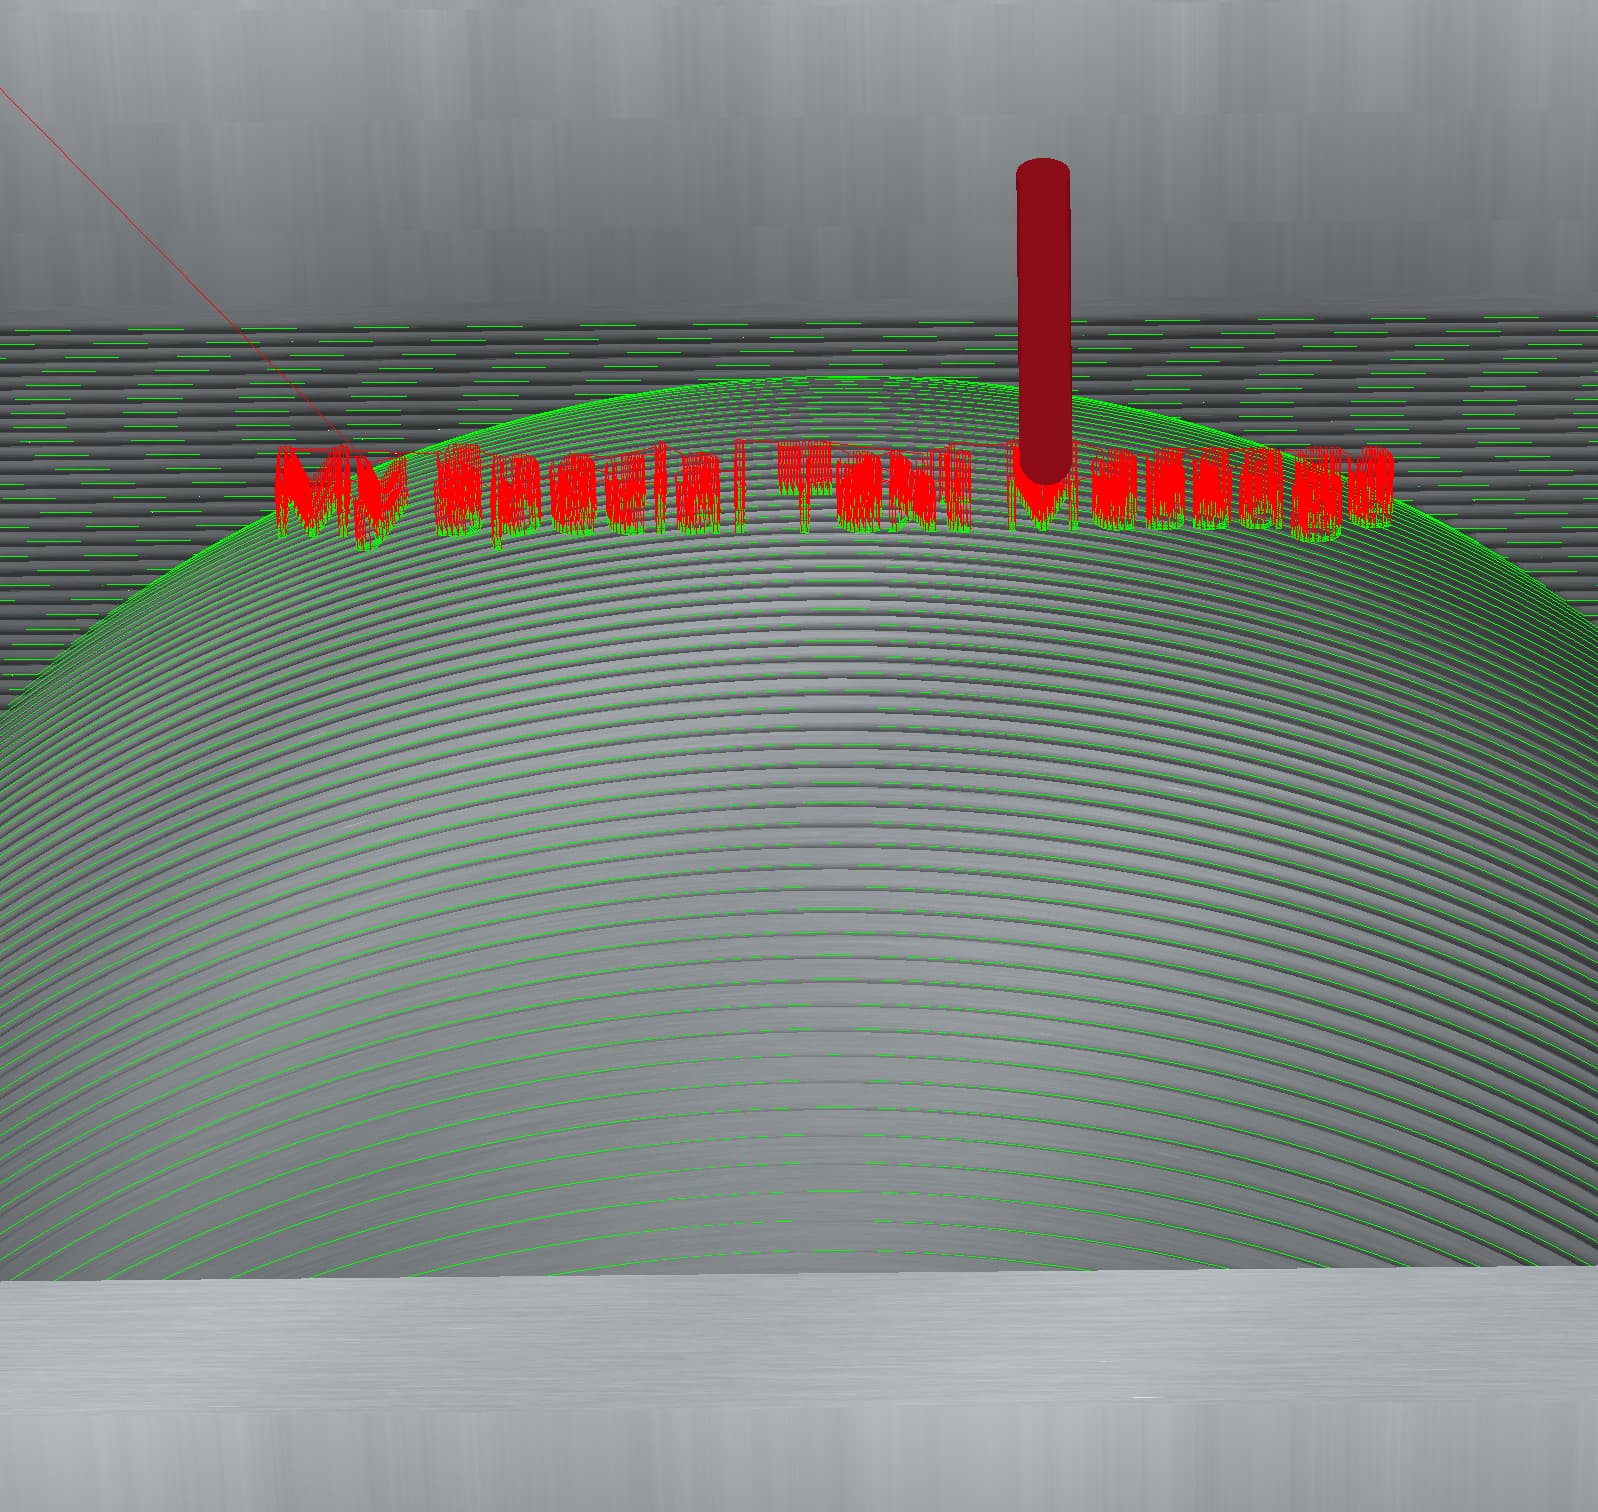
I try changing the cut depth to be 1" to make sure the cutter gets low enough to cut into the dome
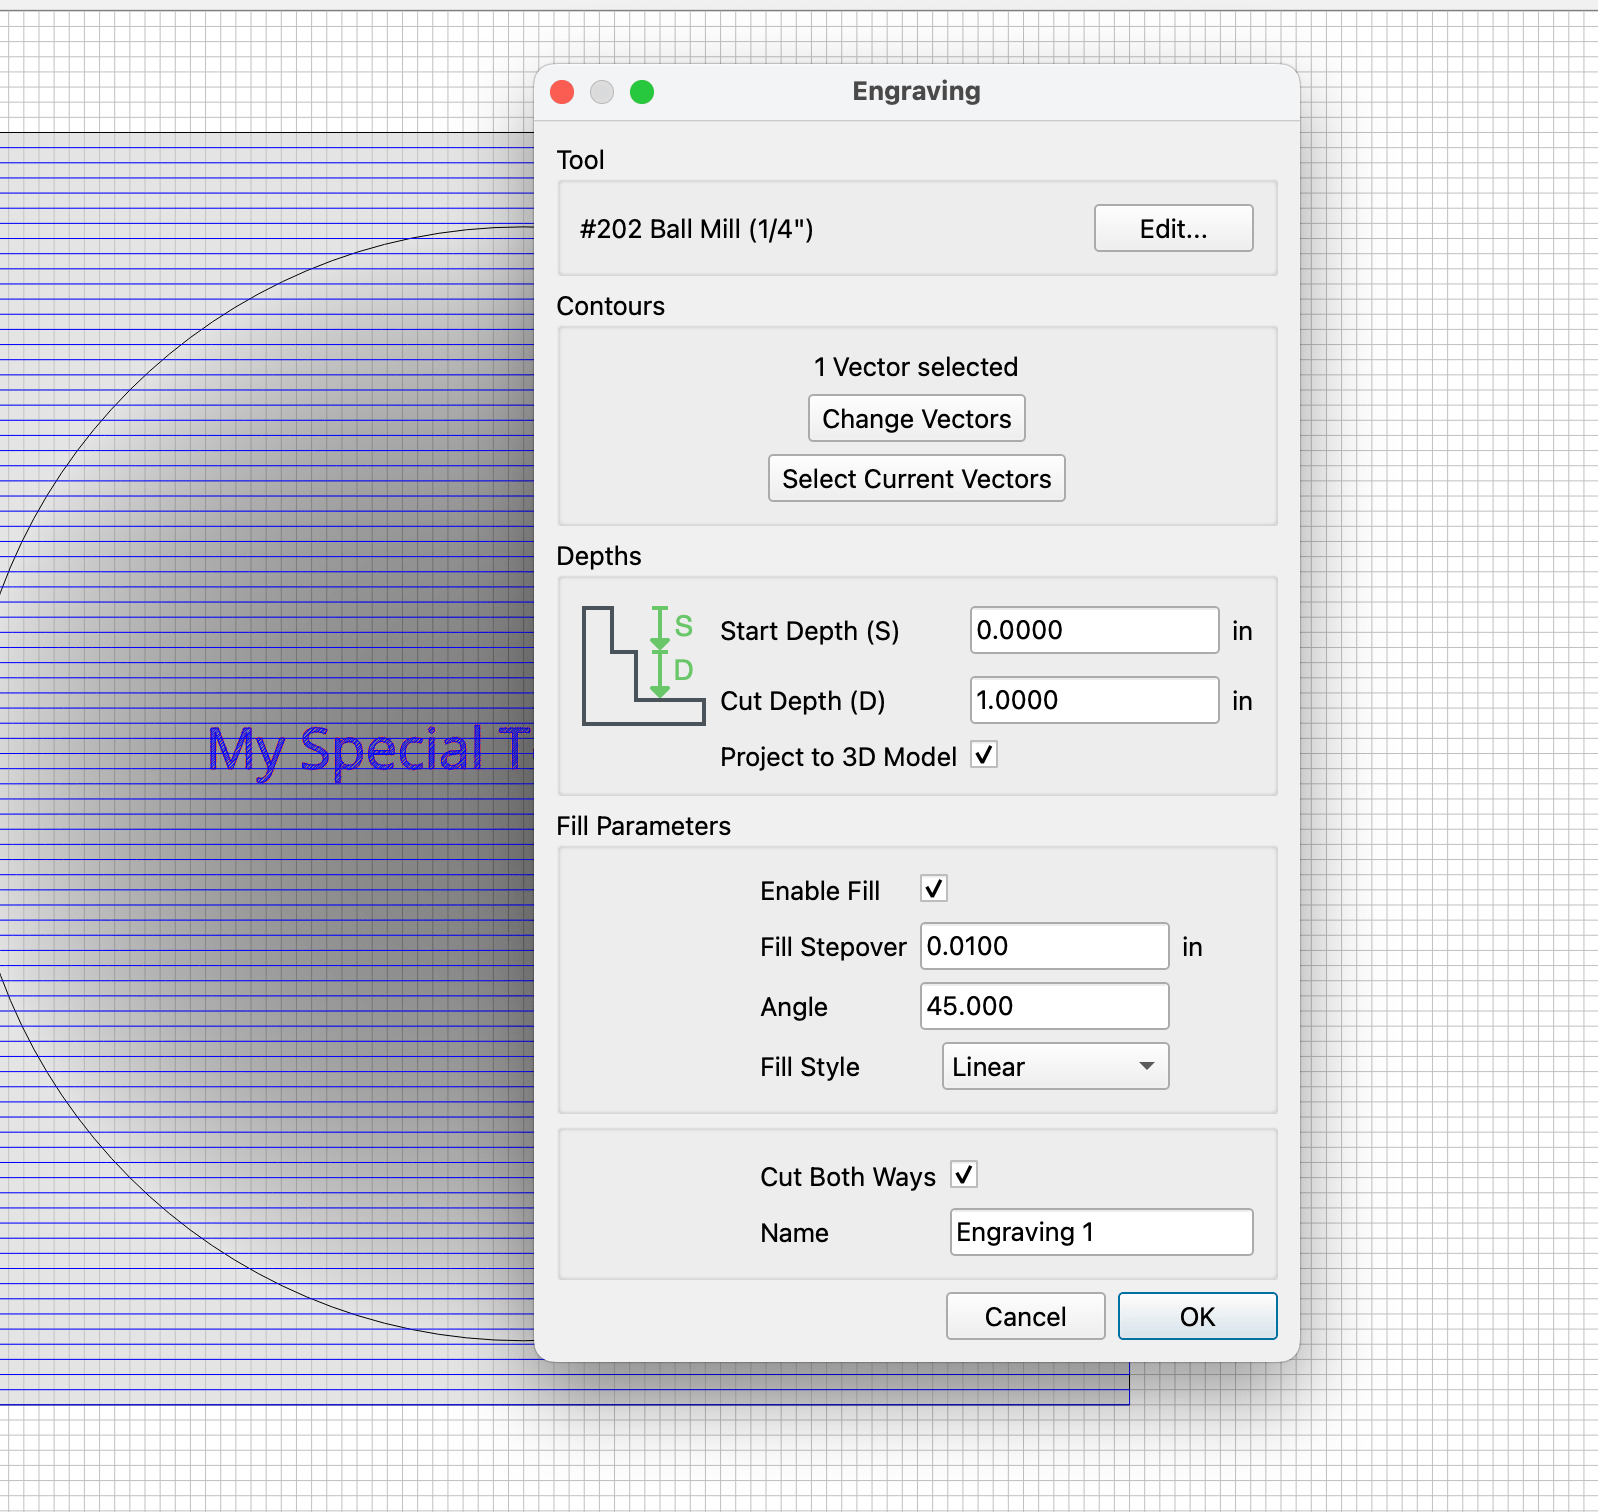
But the text just cuts into the dome as if it was a 2d path that cuts deeper
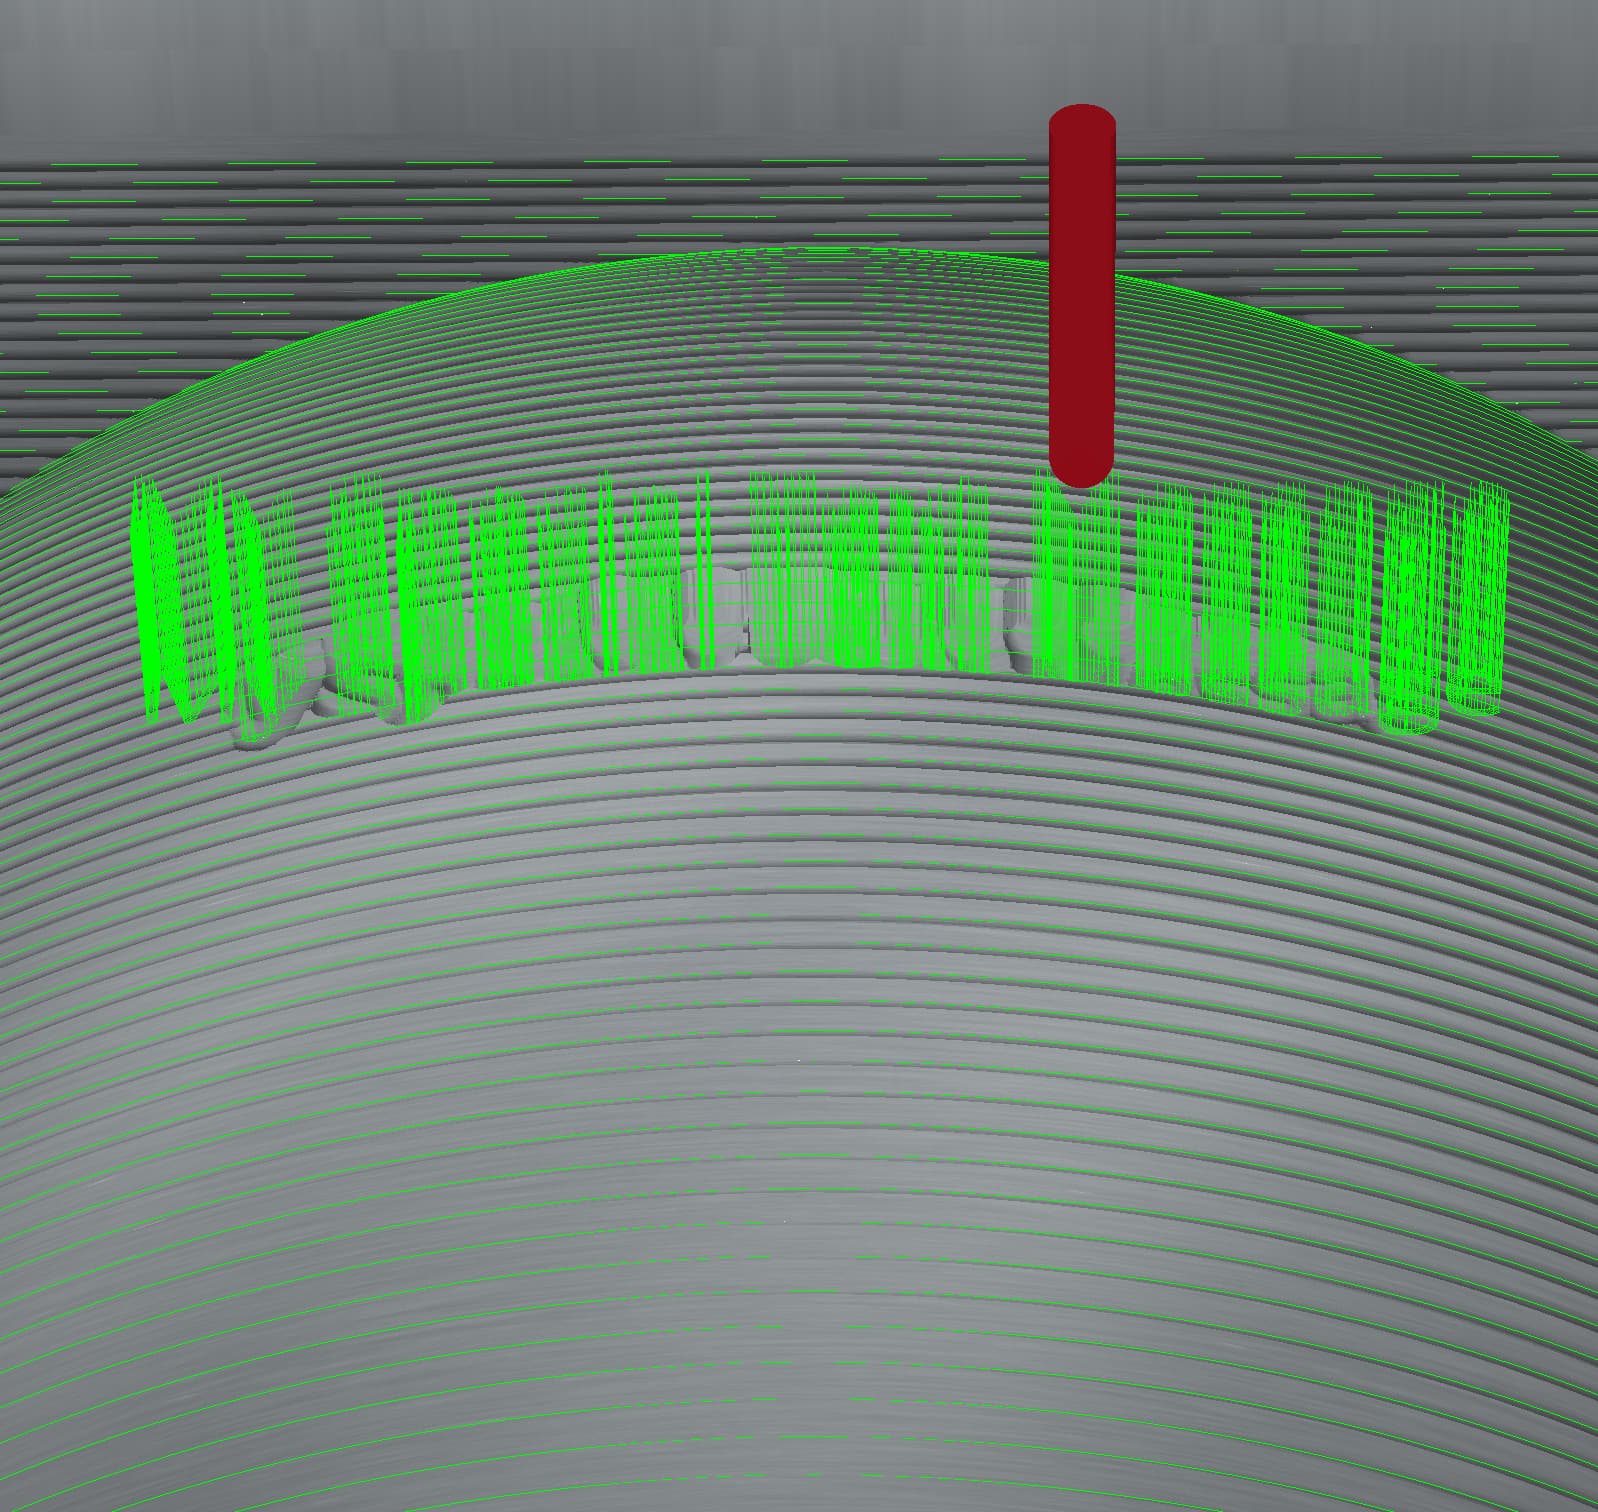
So now I try changing the start depth to 3/4" without the checkbox and see what happens
And as expected, the text just blindly cuts through the model
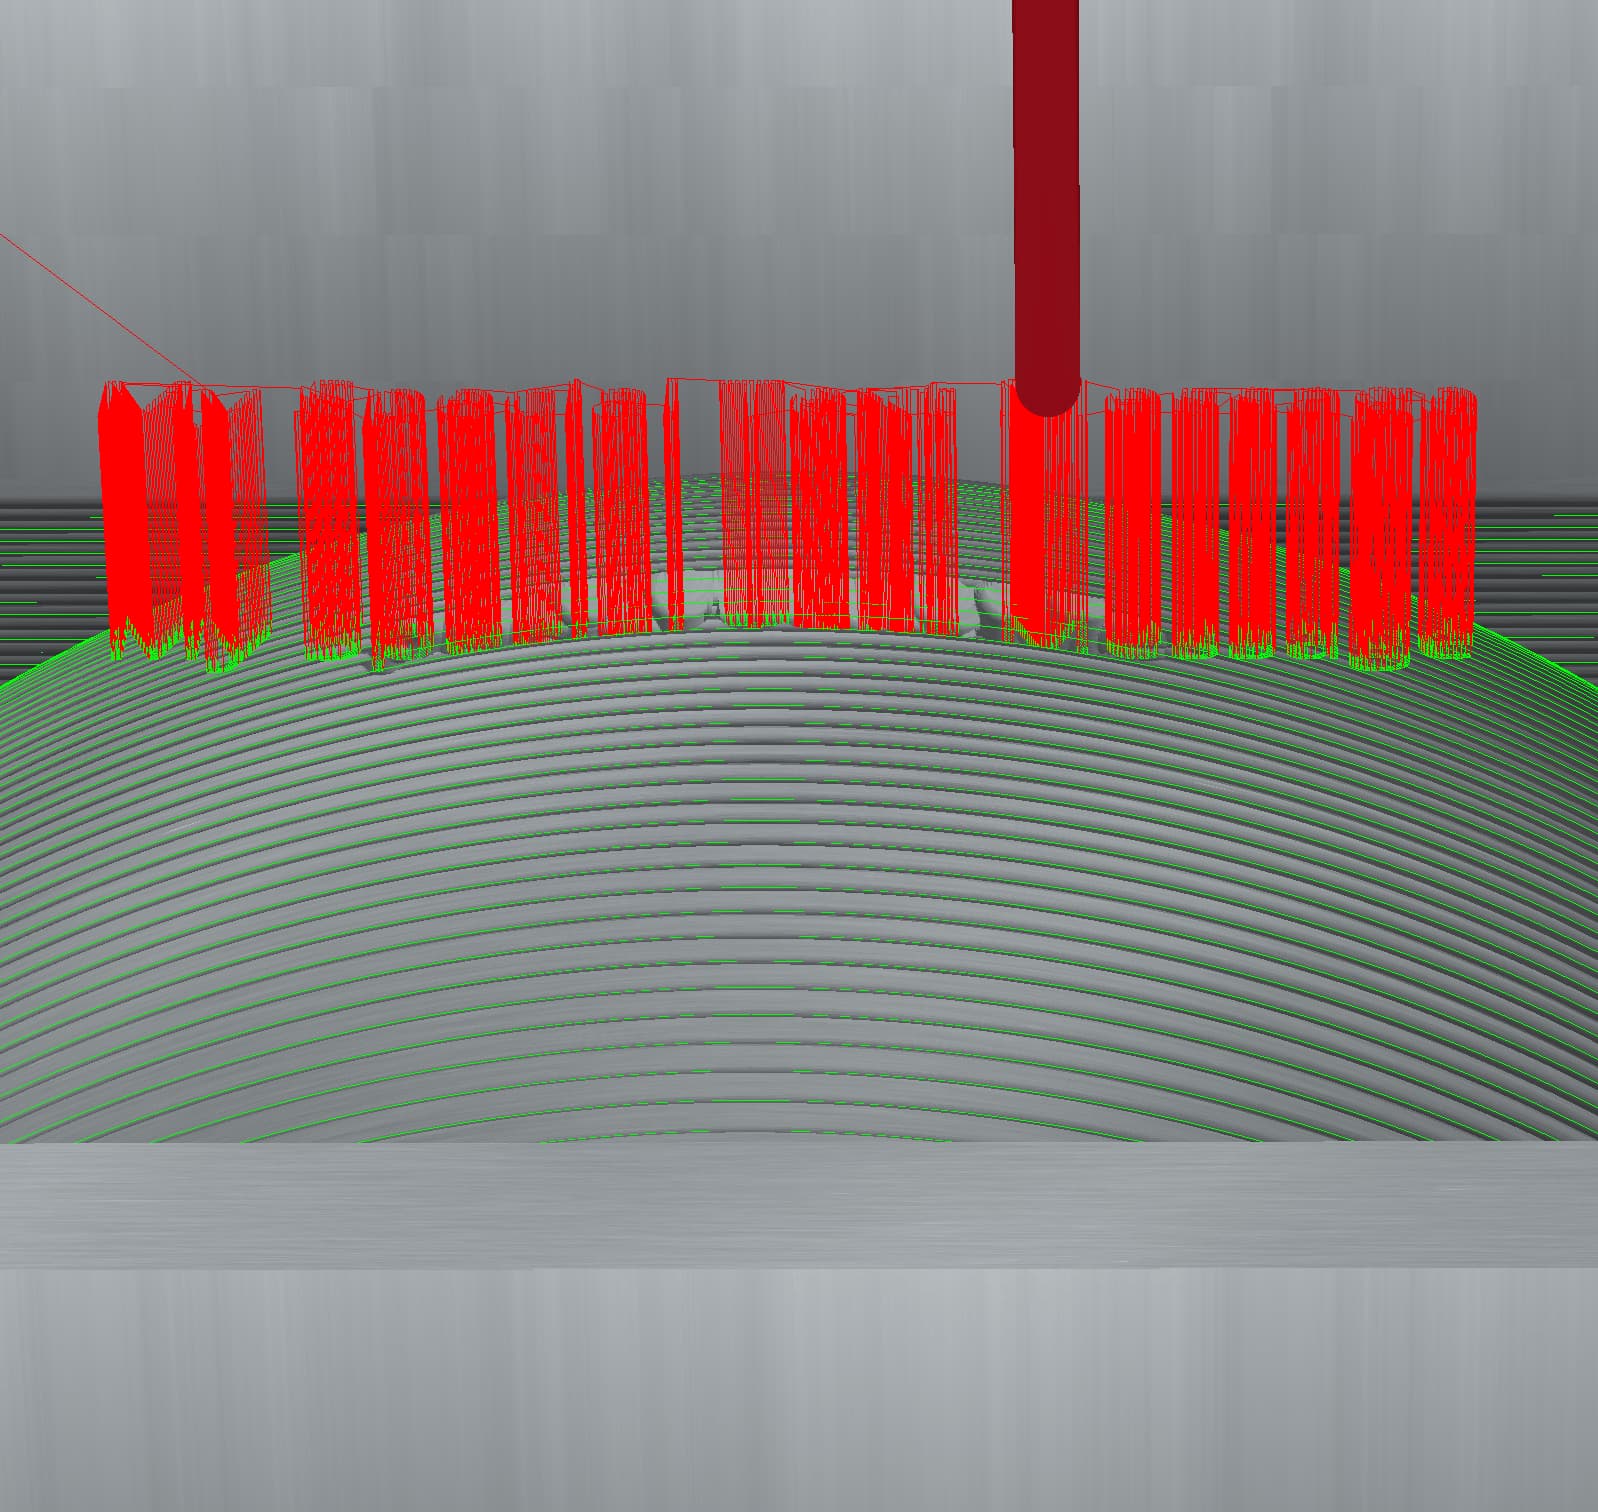
Now I re-enable the checkbox still at 0.75" start depth
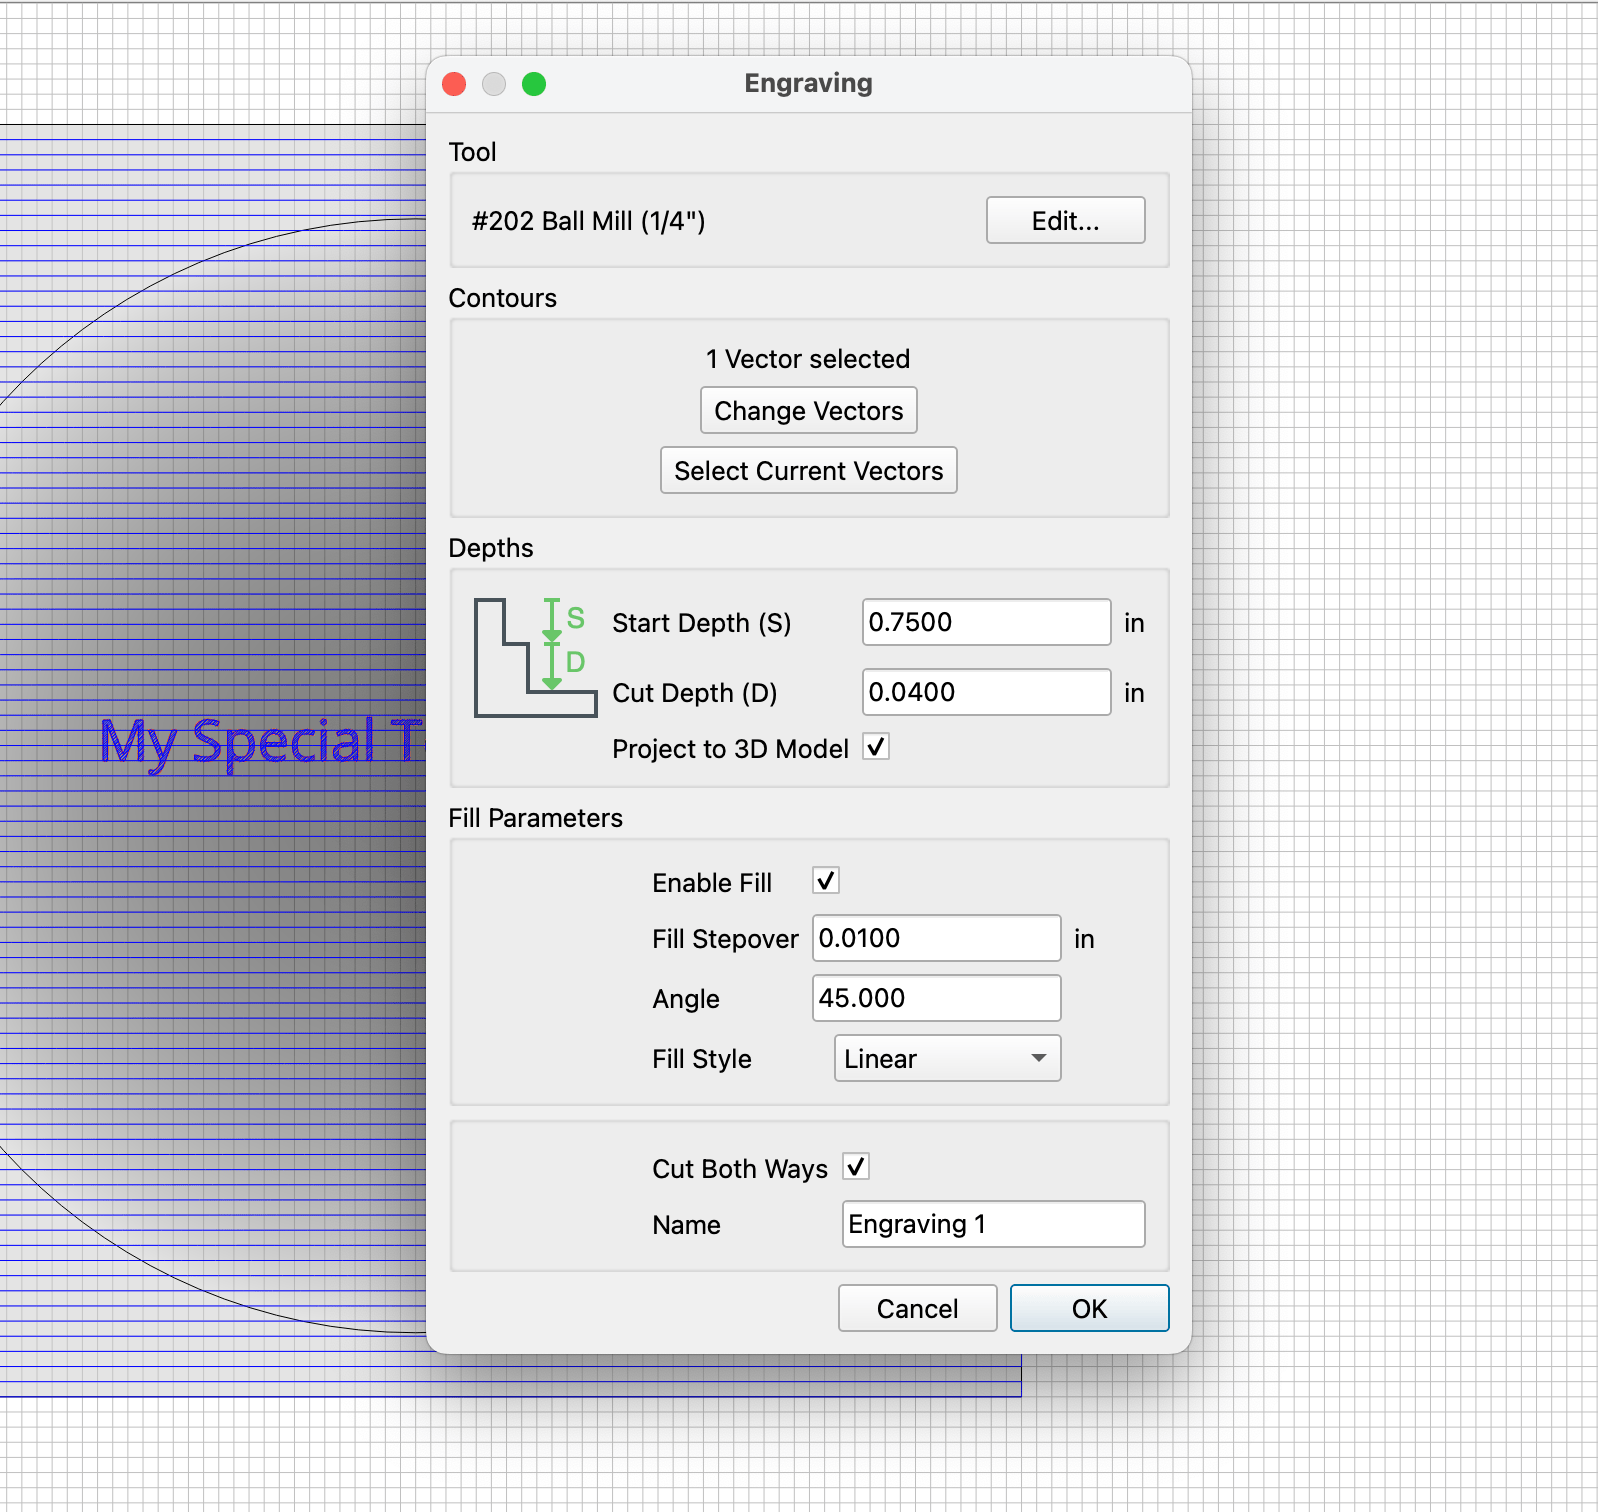
And I can see something happening now. The text that overlaps with the model doesn’t just cut through the model, it now follows the curve as I would expect. However, the part that still is floating out in space doesn’t follow the curve, only the part that cuts in does.
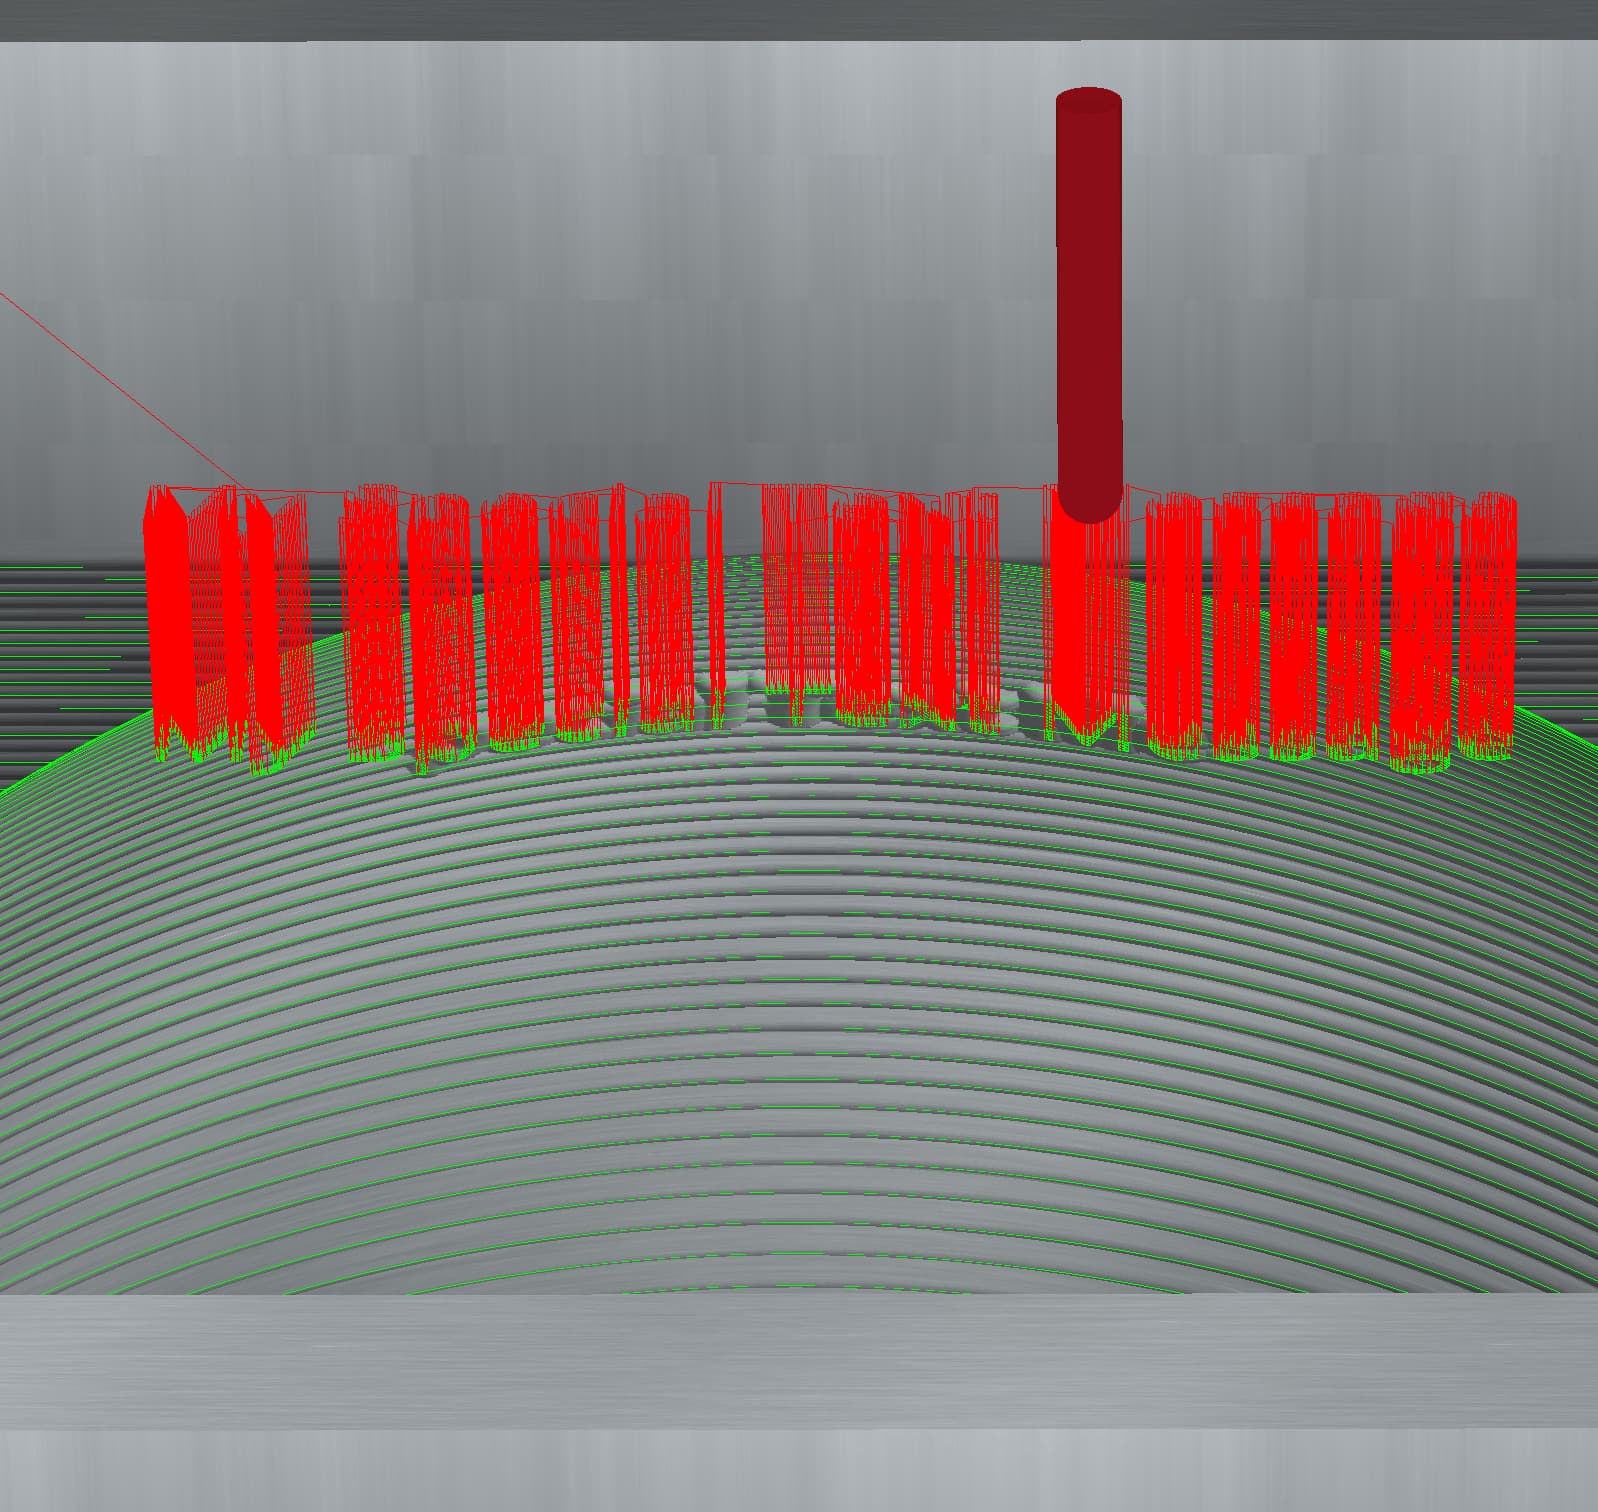
So now I set the start depth to “t” for the material thickness, unclick the checkbox, and the text cuts through the model completely as I would expect for a 2d path
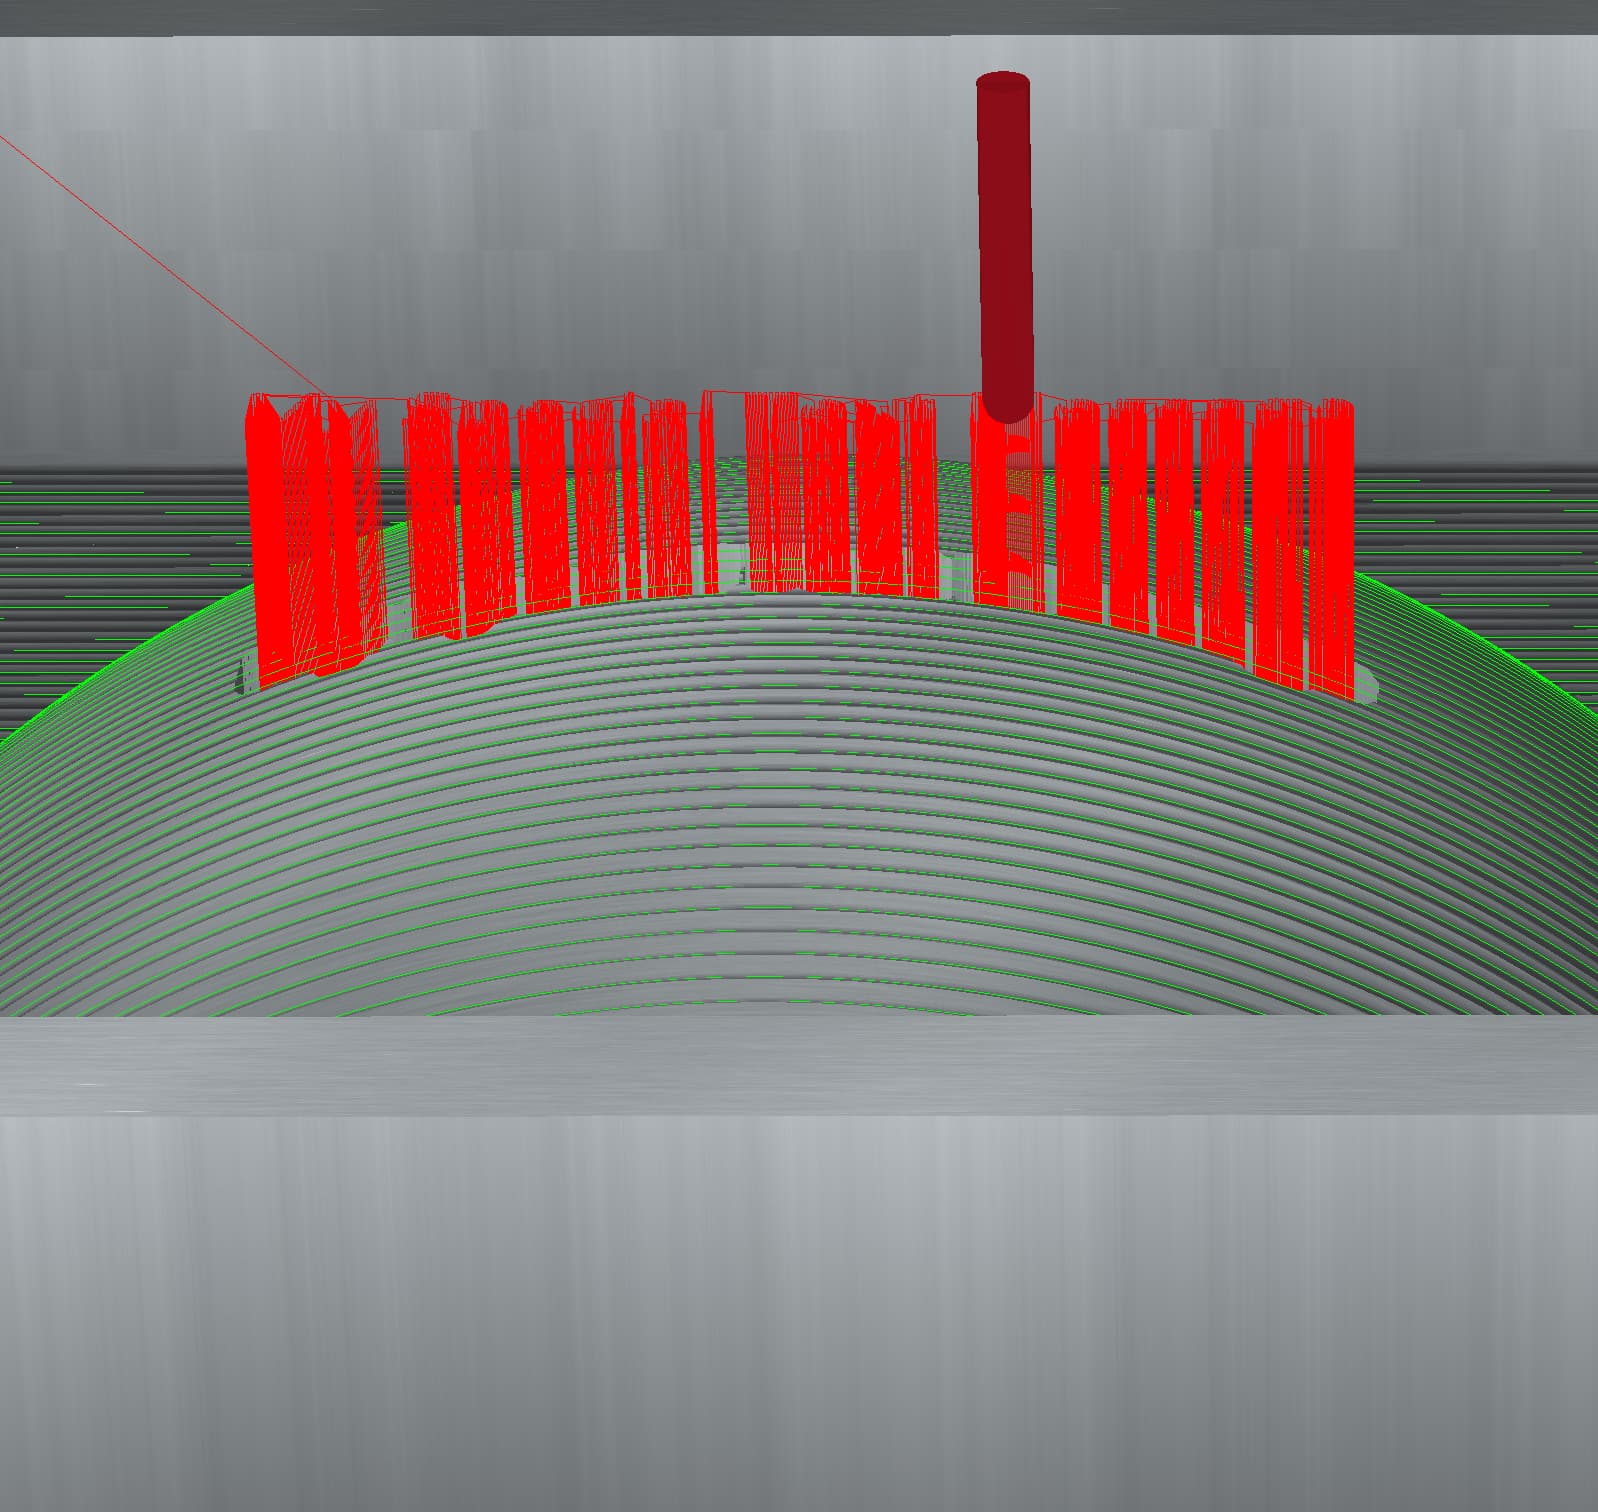
Then when I go back to check the 3d projection checkbox I notice that the depth has changed from “t” to the actual thickness of the material of “3.0000”, which I assume is a bug
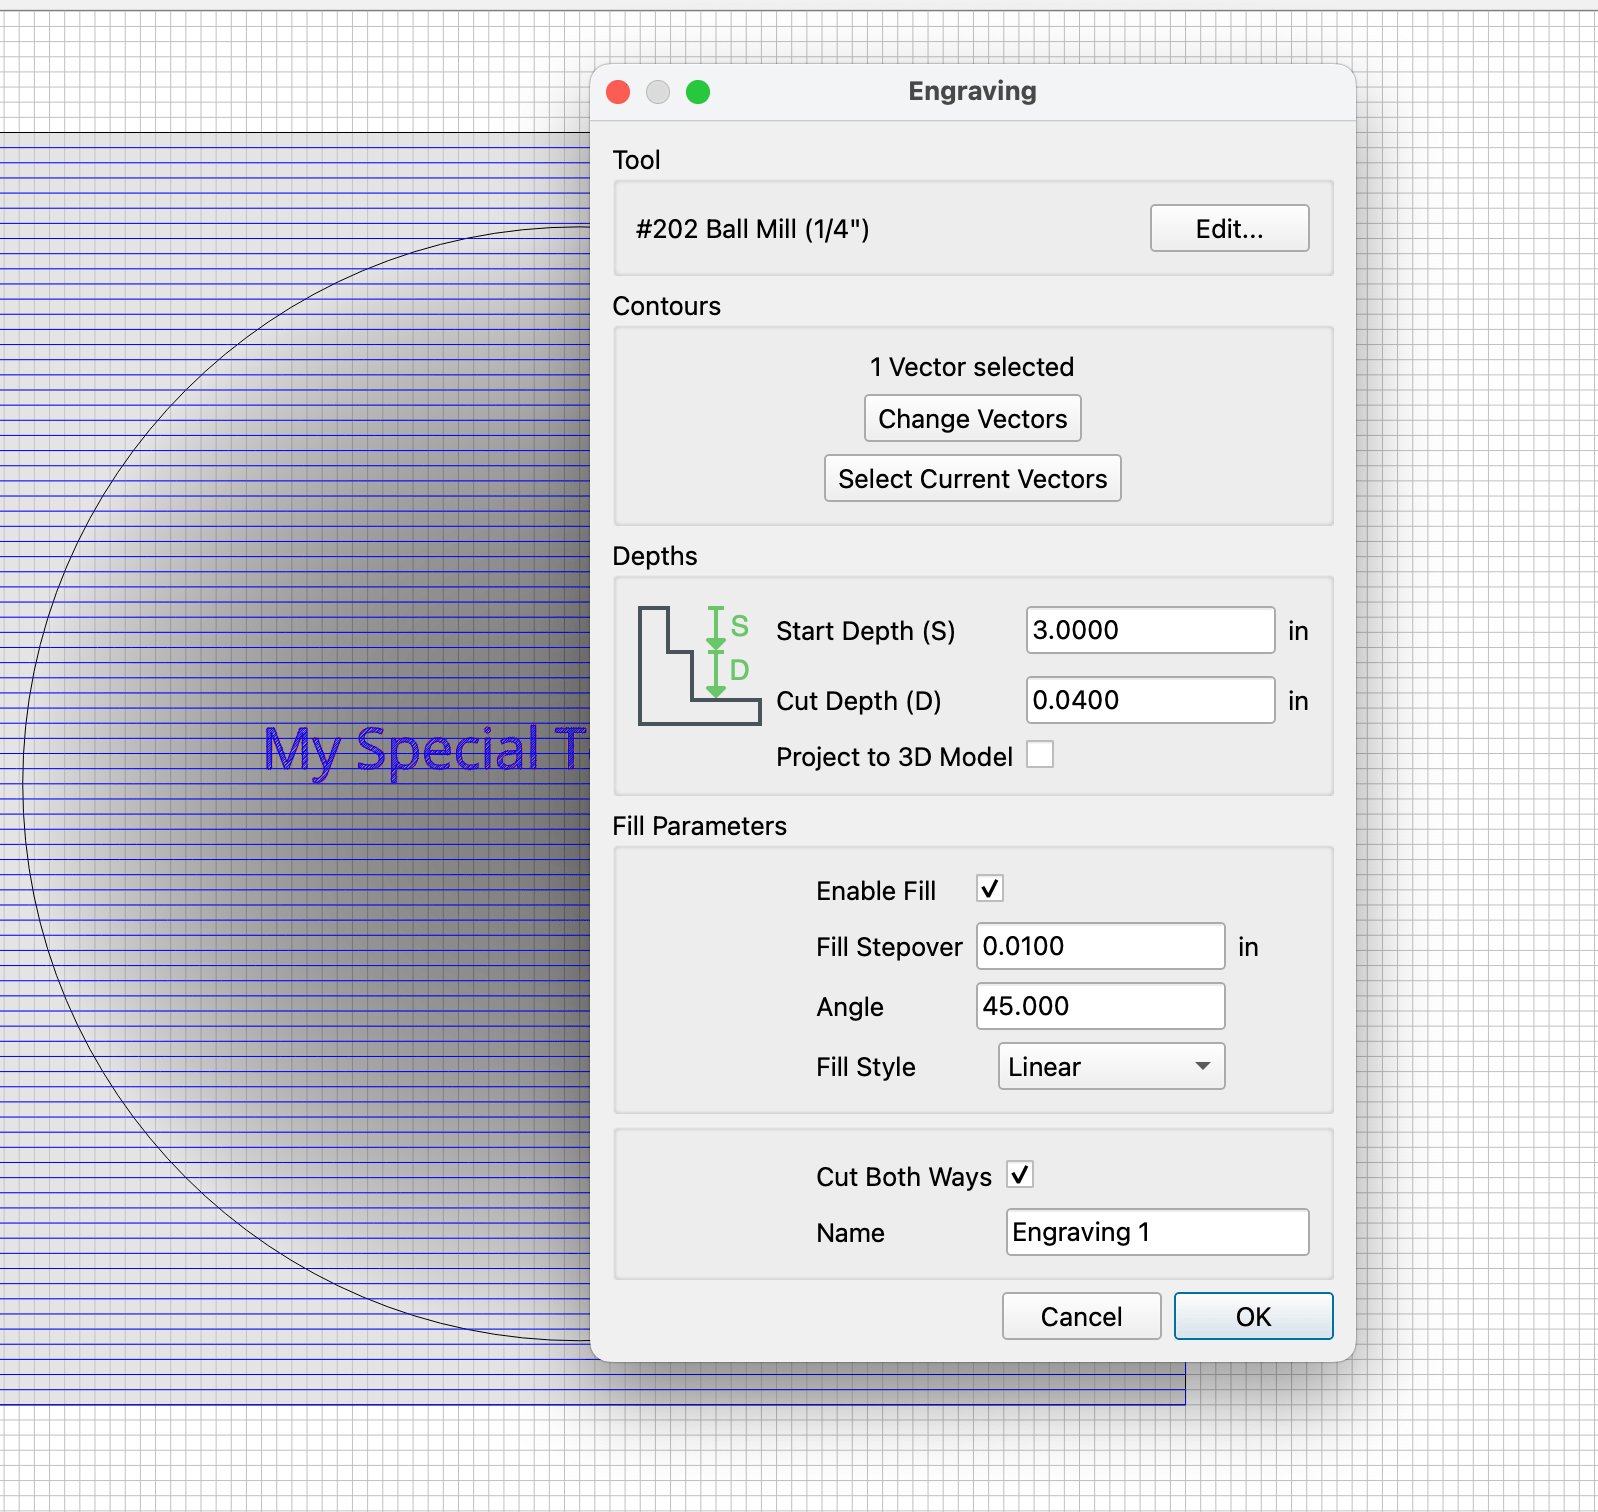
But with the checkbox checked, the text projects onto the dome the way I expected it to be with the start depth at 0. The text fully covers the dome and is inset only the amount it’s set to go based on the cut depth.
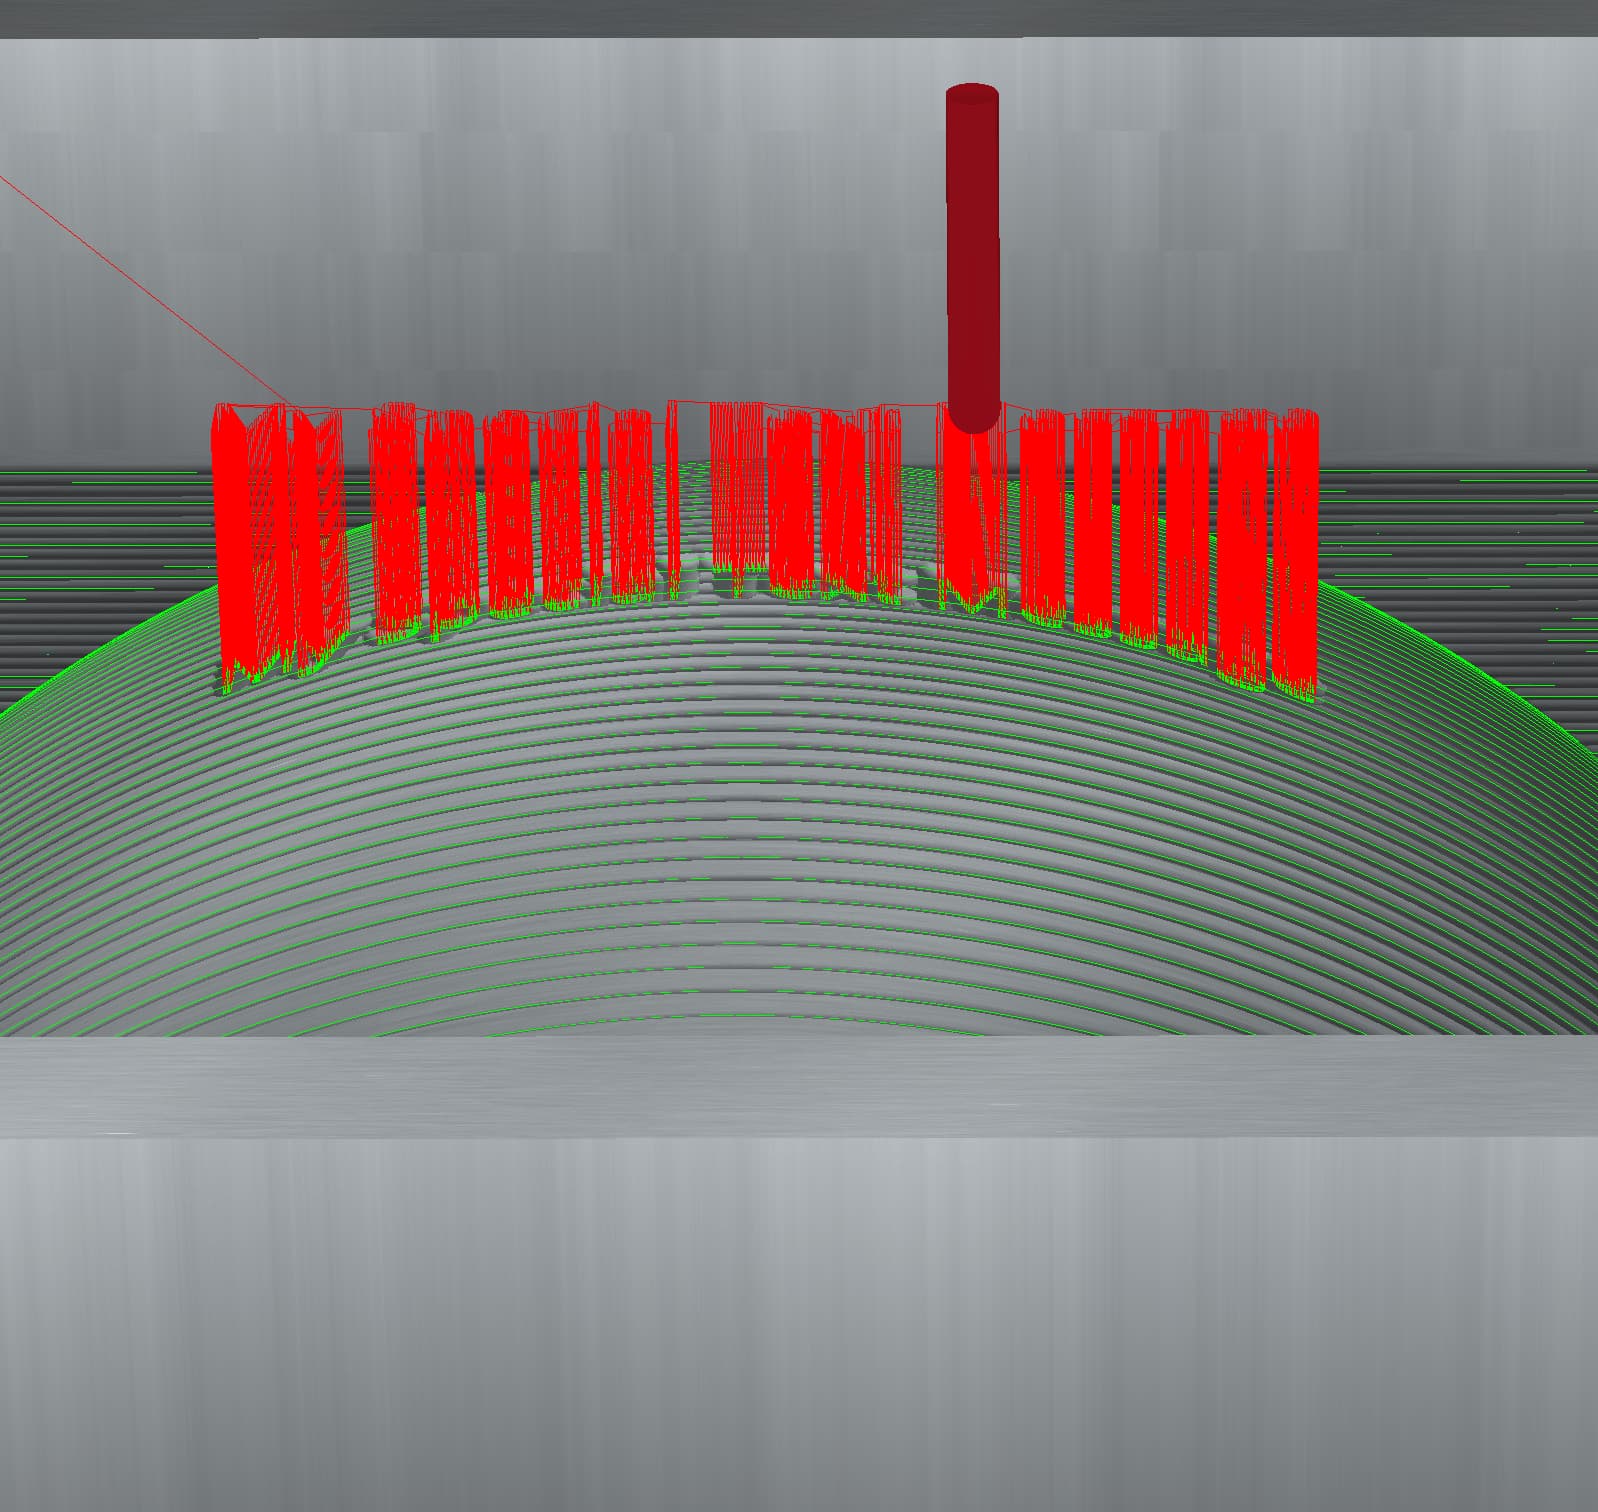
So regarding the “Start depth” question, it would probably be better to omit that checkbox when the “project to 3d” checkbox is checked assuming that the behavior is what we are observing currently when we set the “start depth” to the thickness of the material.
4 Likes
Rob that is the issue I am experiencing Will has had me reset my mind set so I am going to follow word for word what you have done and lets see how I go.
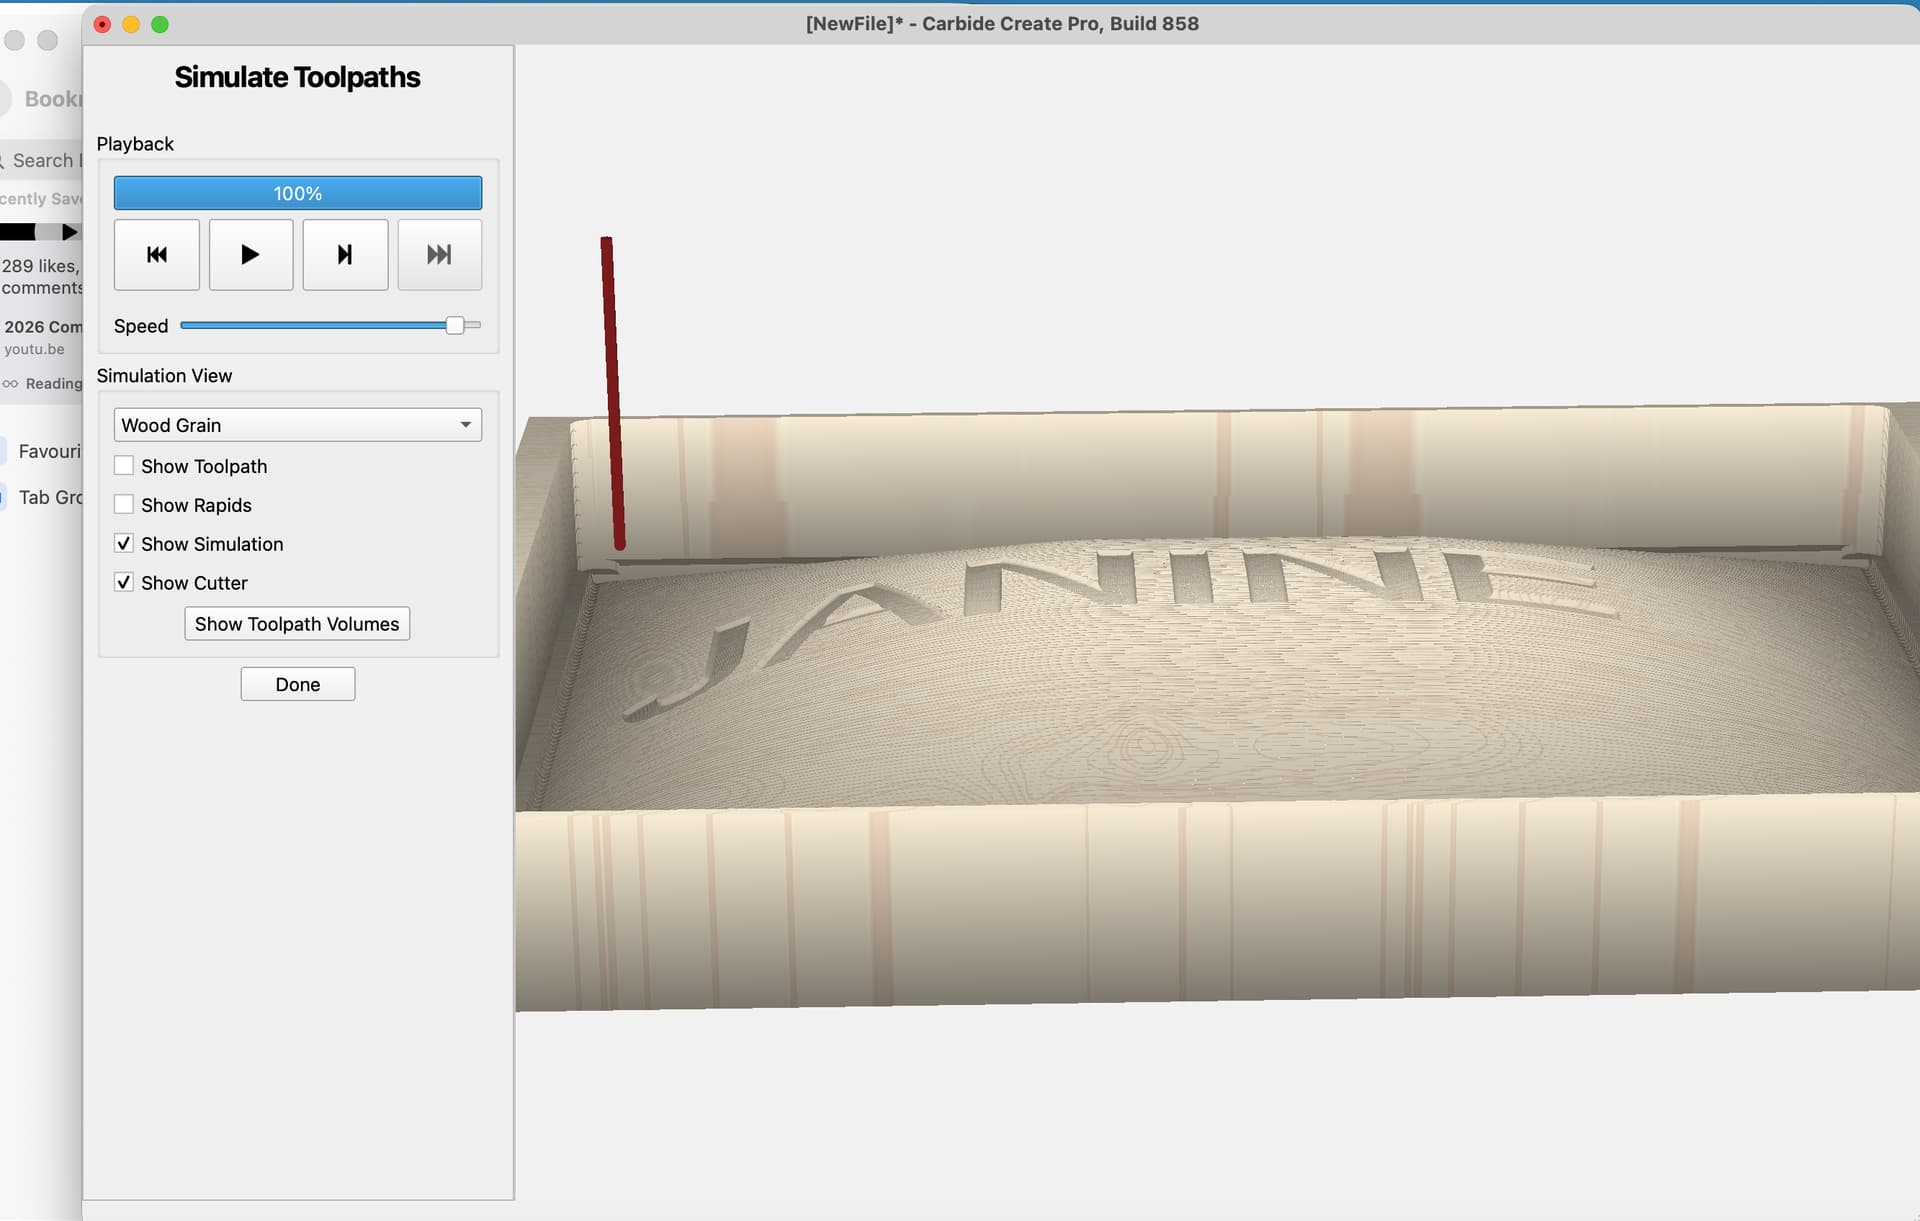
The addition of Parallel Pockets was great! I had several signs to pocket for my church and no longer have to try to sand out the ‘swirlies’ in very small areas.
THANKS!!
2 Likes
859 is posted on the beta page:
- (PRO) Added Climb/Conventional to Pocket toolpaths.
- (FIX) Fixed broken cancel in Align command.
- (FIX) Projected Engraving toolpaths now disable the start depth field.
- (FIX) Try to make progress updates more reliable on newly created toolpaths.
- (INTERNAL) Changes to the 3D model code to simplify it.
7 Likes
I’ve only tried some testing with the projection feature on dome shapes and I like it alot! I have a few more ideas to try so I’ll see how they turn out.
2 Likes
Ok I just did a couple more test runs… projection works great on round dome and round recessed model shapes… big win since now you don’t have to 3d model things like the honeycomb pattern in my snack bowls. Just overlay a design and project it on the 3d surface…voila! Done!
Also tried the parallel pocket feature and it works awesome as well. In my test I used an existing file with the CC time estimates of original pocket taking 31 minutes to cut and the new pocket taking 58 minutes. A bit more time but I’m sure that it will cut down on sanding and finishing time so I’ll call it even.
@robgrz Good job to you and your team!! 
2 Likes
Here’s one thing to consider:
For raster pockets (the new name in the latest release), it’s generally safer to use a wider stepover to reduce machine time. When using a stepover >= the tool radius, an offset toolpath may leave a small island behind in a concave corner. With raster toolpaths, that cannot happen.
So, with proper speeds and feeds, you should be able to do a wider stepover to cut down the machining time.
Thanks- we really want Create to be great, so we rely heavily on feedback to figure out what to do next. (Which makes everyone here a part of the team)
5 Likes
Good advice… I just tried increasing the stepover on the #201 from default 3.175mm to 5.75mm and the time dropped to 37 minutes. The simulation shows no scalloping or other toolmarks so next time I have a few minutes I’ll run a test on the machine and see how it turns out
2 Likes
Just done a projection trial on a few domes and works brilliantly,thanks Rob
2 Likes
Here’s one more. 860 has been posted to beta:
- (PRO) Added Align Model command to move the model and and selected vectors to the center or edge of the stock. This is still a work in progress.
- (INTERNAL) HUGE change to the 3D rendering code. This should make the 3D view much more responsive.
- (INTERNAL) Sped up 3D toolpath calculations.
- (INTERNAL) Small speedup on 3D model changes.
The new renderer is the one we’ve been using in Motion, and we’ve seen zero crashes/problems from it. Based on that, we expect this to be a simple upgrade, but we’d appreciate everyone giving us an “It worked for me” reply, just to confirm.
2 Likes
I’ve got no idea how to make the “align model” command work. Can someone tell me what it’s supposed to do and how? When I invoke it, if I move an object, the Model dialog disappears. I’m probably not using it right
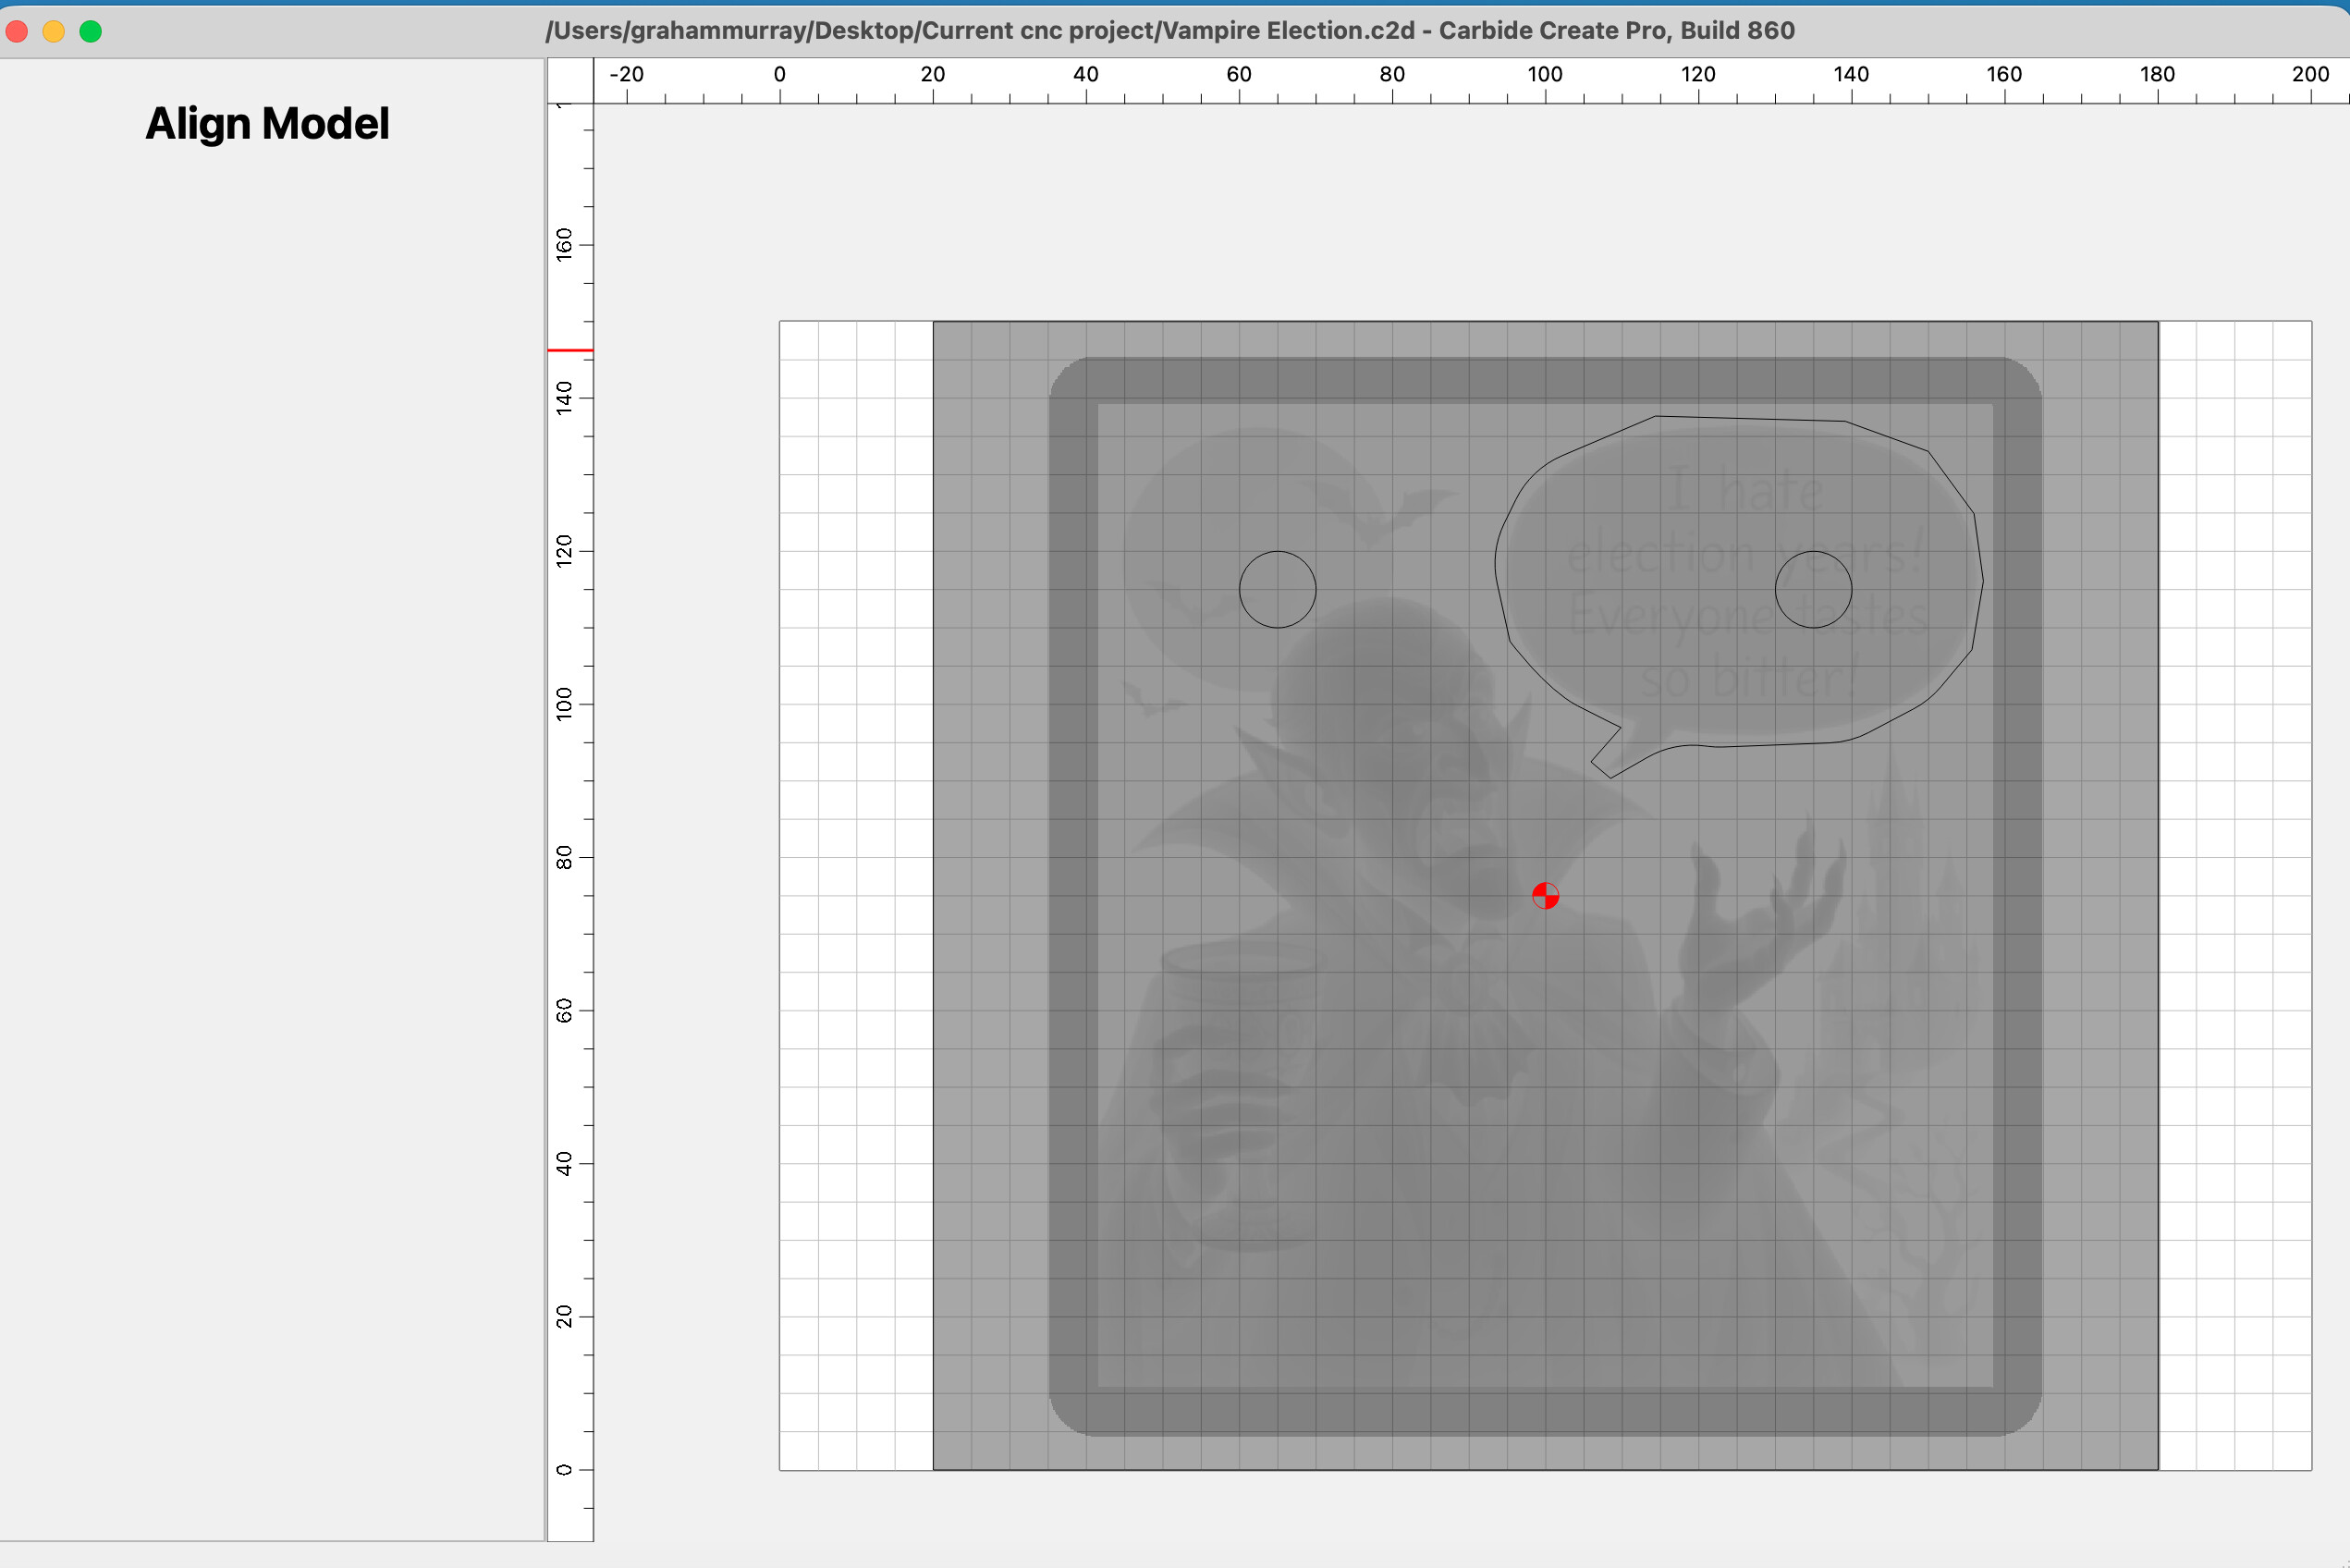
CTRL-Z will eventually get you out, if ESC doesn’t