I set up a custom tool for my Frued Keyhole bit. The key is to get all the measurements of your bit and input them. Basically you make a full depth plunge and then the bit runs forward as far as you want it and them reverses to the entry hole and plunges back up.
Here is the database for my Frued 70-104 Keyhole bit. This is only valid for this model bit and may need to be modified for another model and/or brand.
| number | vendor | model | URL | name | type | diameter | cornerradius | flutelength | shaftdiameter | angle | numflutes | stickout | coating | metric | notes | machine | material | plungerate | feedrate | rpm | depth | cutpower | finishallowance | 3dstepover | 3dfeedrate | 3drpm |
|---|---|---|---|---|---|---|---|---|---|---|---|---|---|---|---|---|---|---|---|---|---|---|---|---|---|---|
| 701 | Freud | 70-104 | 701 Keyhole | end | 0.39 | 0 | 0.25 | 0 | 0 | 2 | 0.125 | 0 | 10 | 60 | 16000 | 0.4375 | 1 | 1 | 60 | 16000 |
I have used this custom bit to make quite a few key holes on the back of projects for hanging on the wall. Works well. I originally went to t he Frued site and their Feeds and speeds are incredibly high for this bit on a Shapeoko.
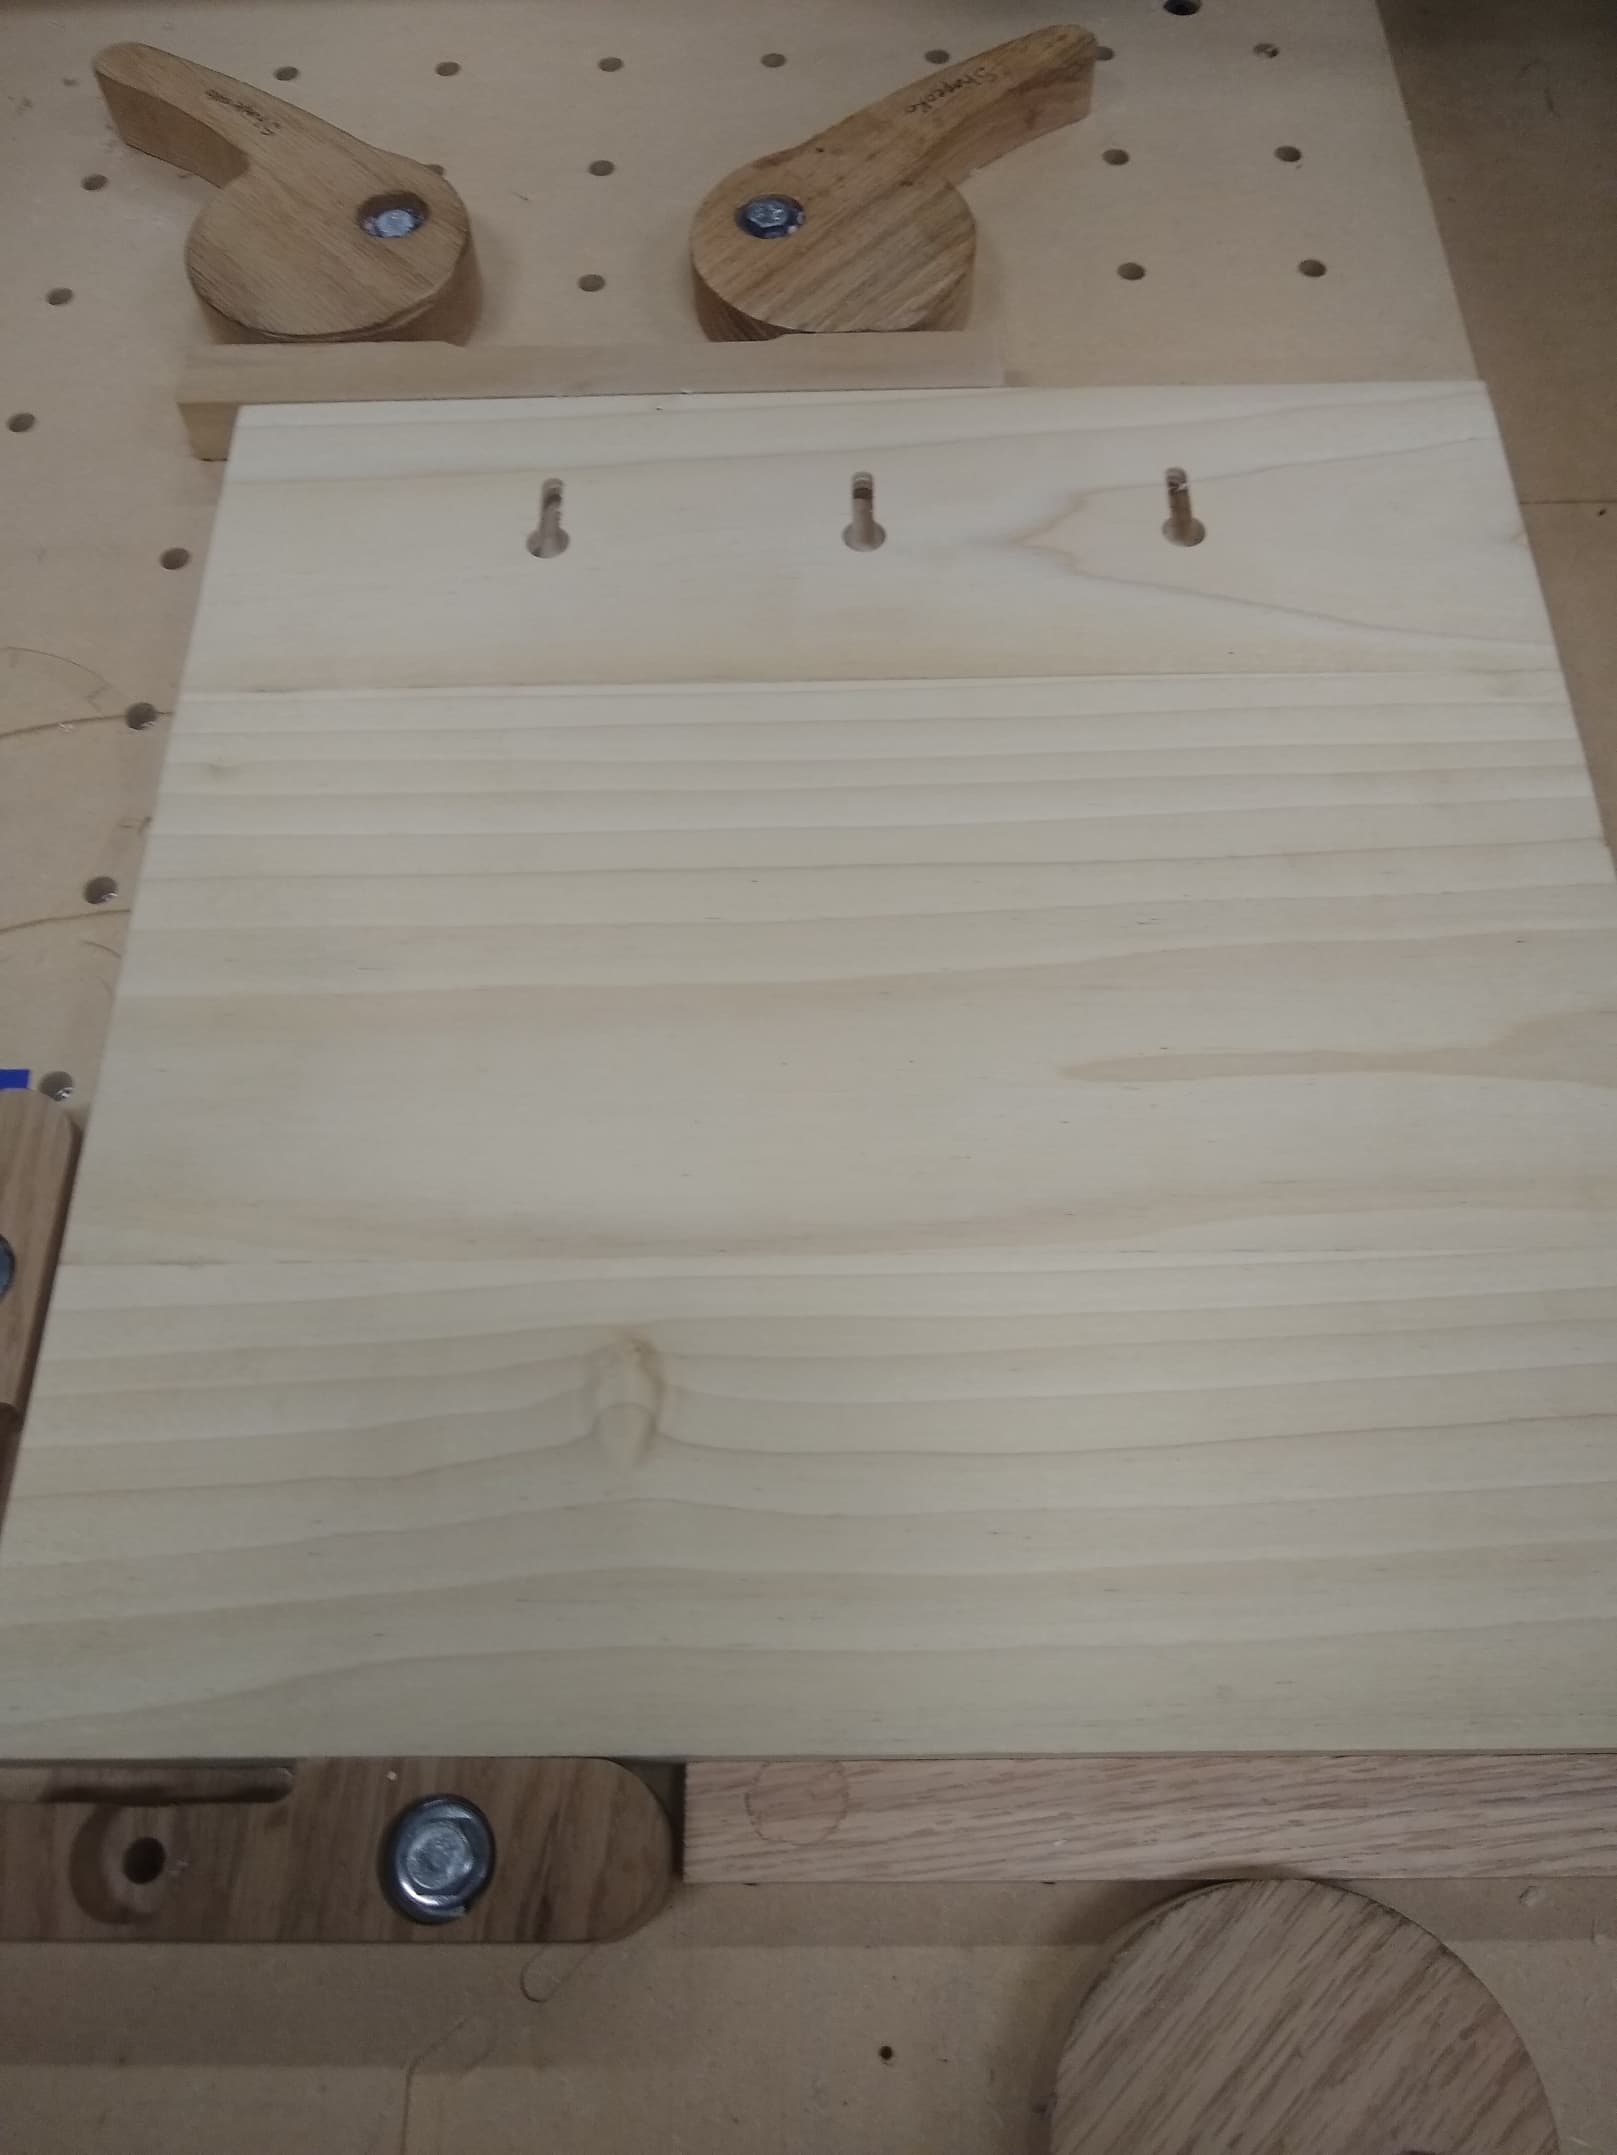
Here are some key holes I put on the back of a plaque. Notice there are 3 holes. One is centered and the other two are 6 inches apart. The reason for 3 is so the person can hang it by the middle one alone or with 2 to keep the project perfectly level. It is important to put the holes at exact spacing to aid in hanging your project on the wall. I usually make a paper template to go along with the project so the person hanging has a template.
In the custom tool database my depth of cut is .4375" and that was determined by measuring from the bottom of the big end to the top of the small cutting flutes and just a little subtracted. So a key hole needs to plunge in full depth and not in thousands of an inch like regular end mills.