It should be pretty straight-forward:
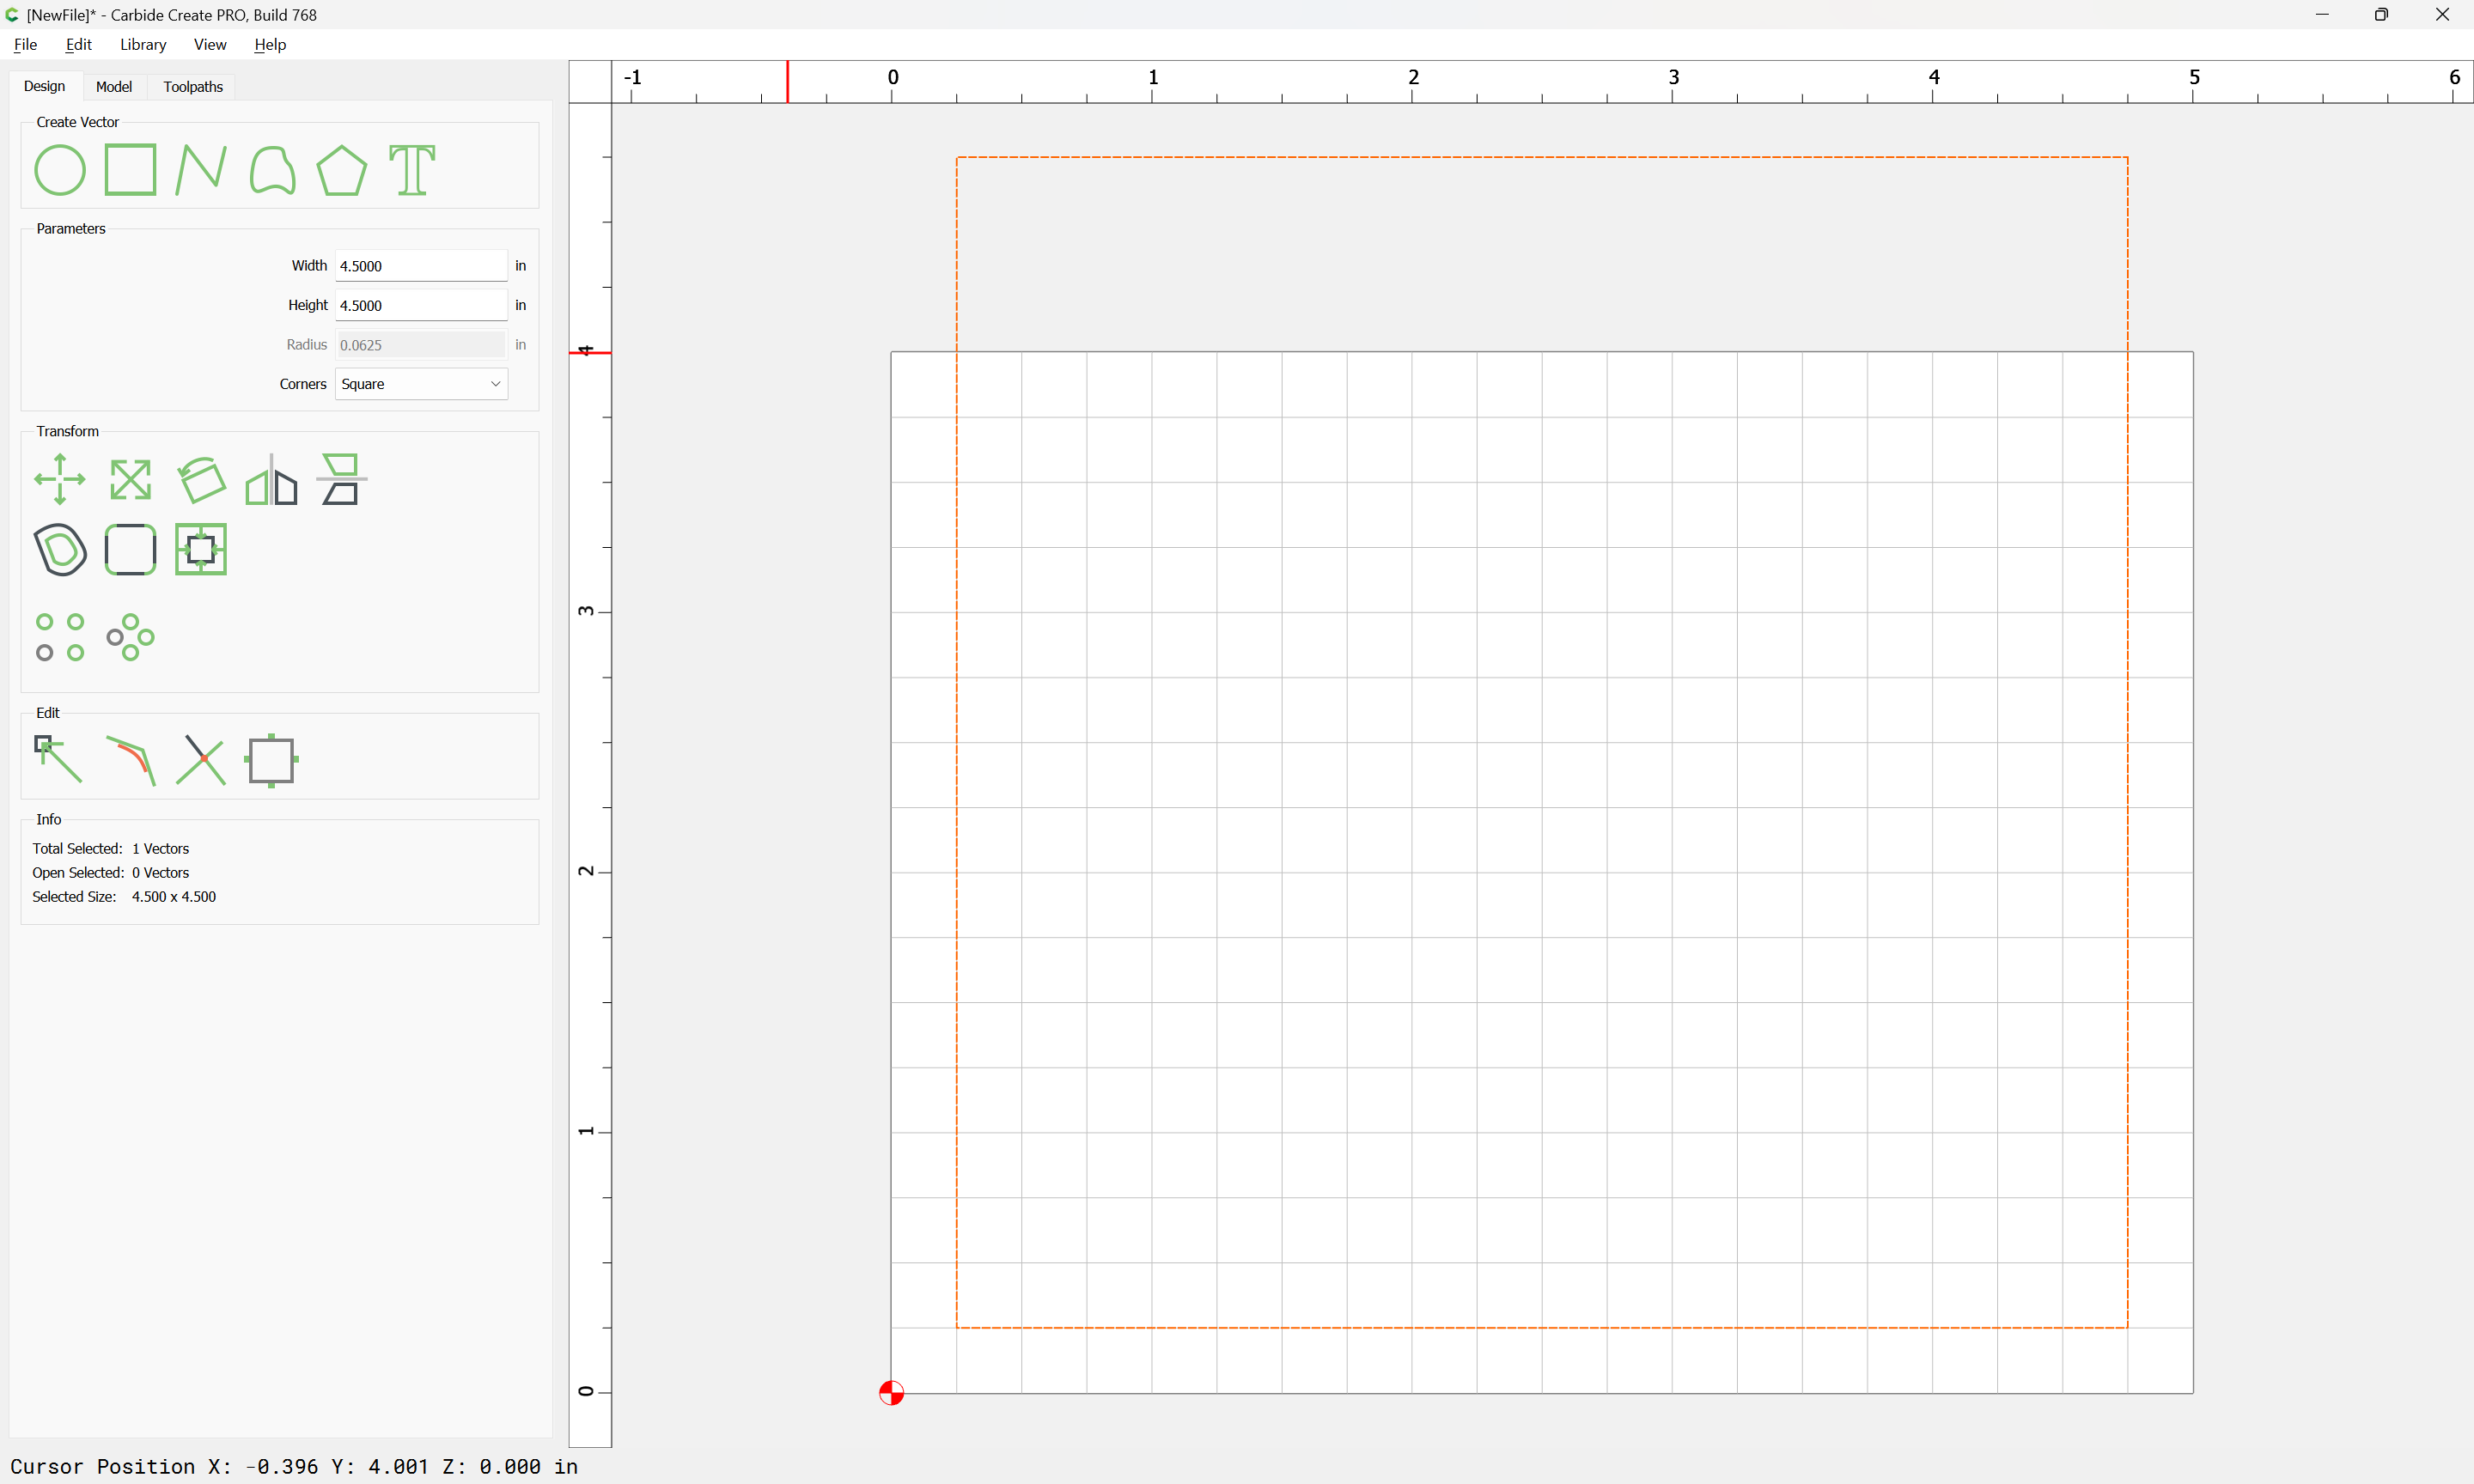
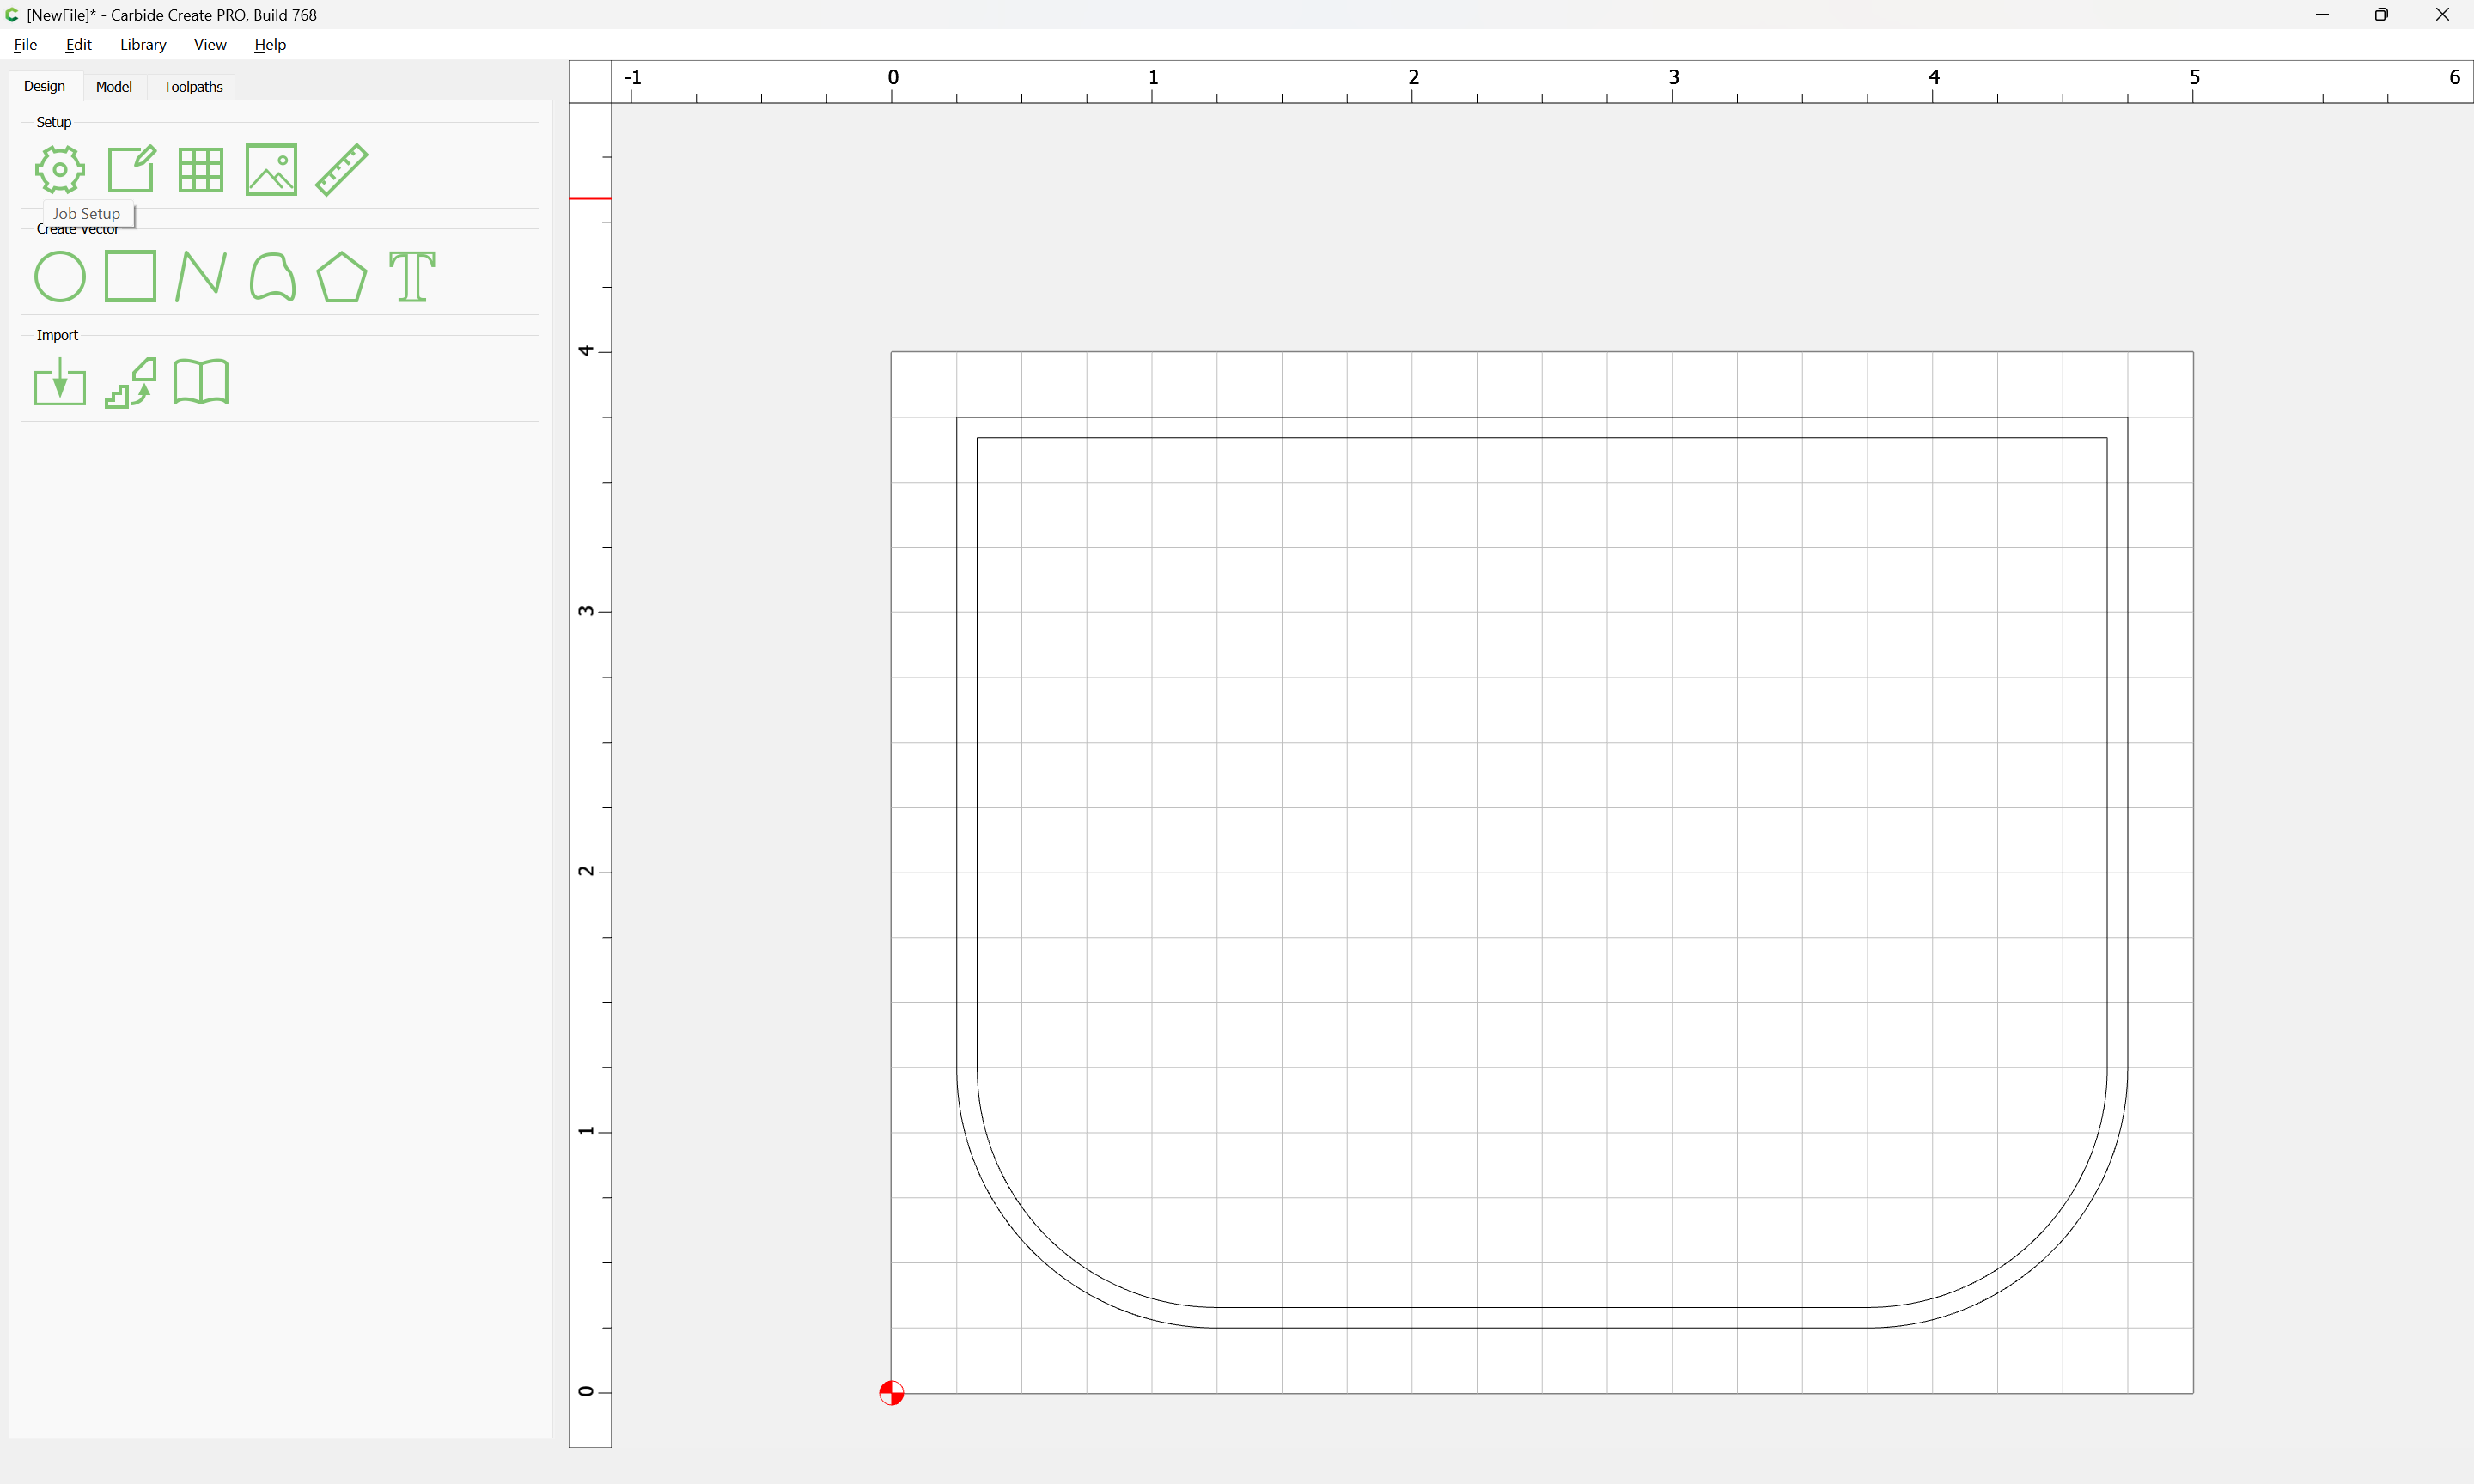
Draw the largest version of the shape:
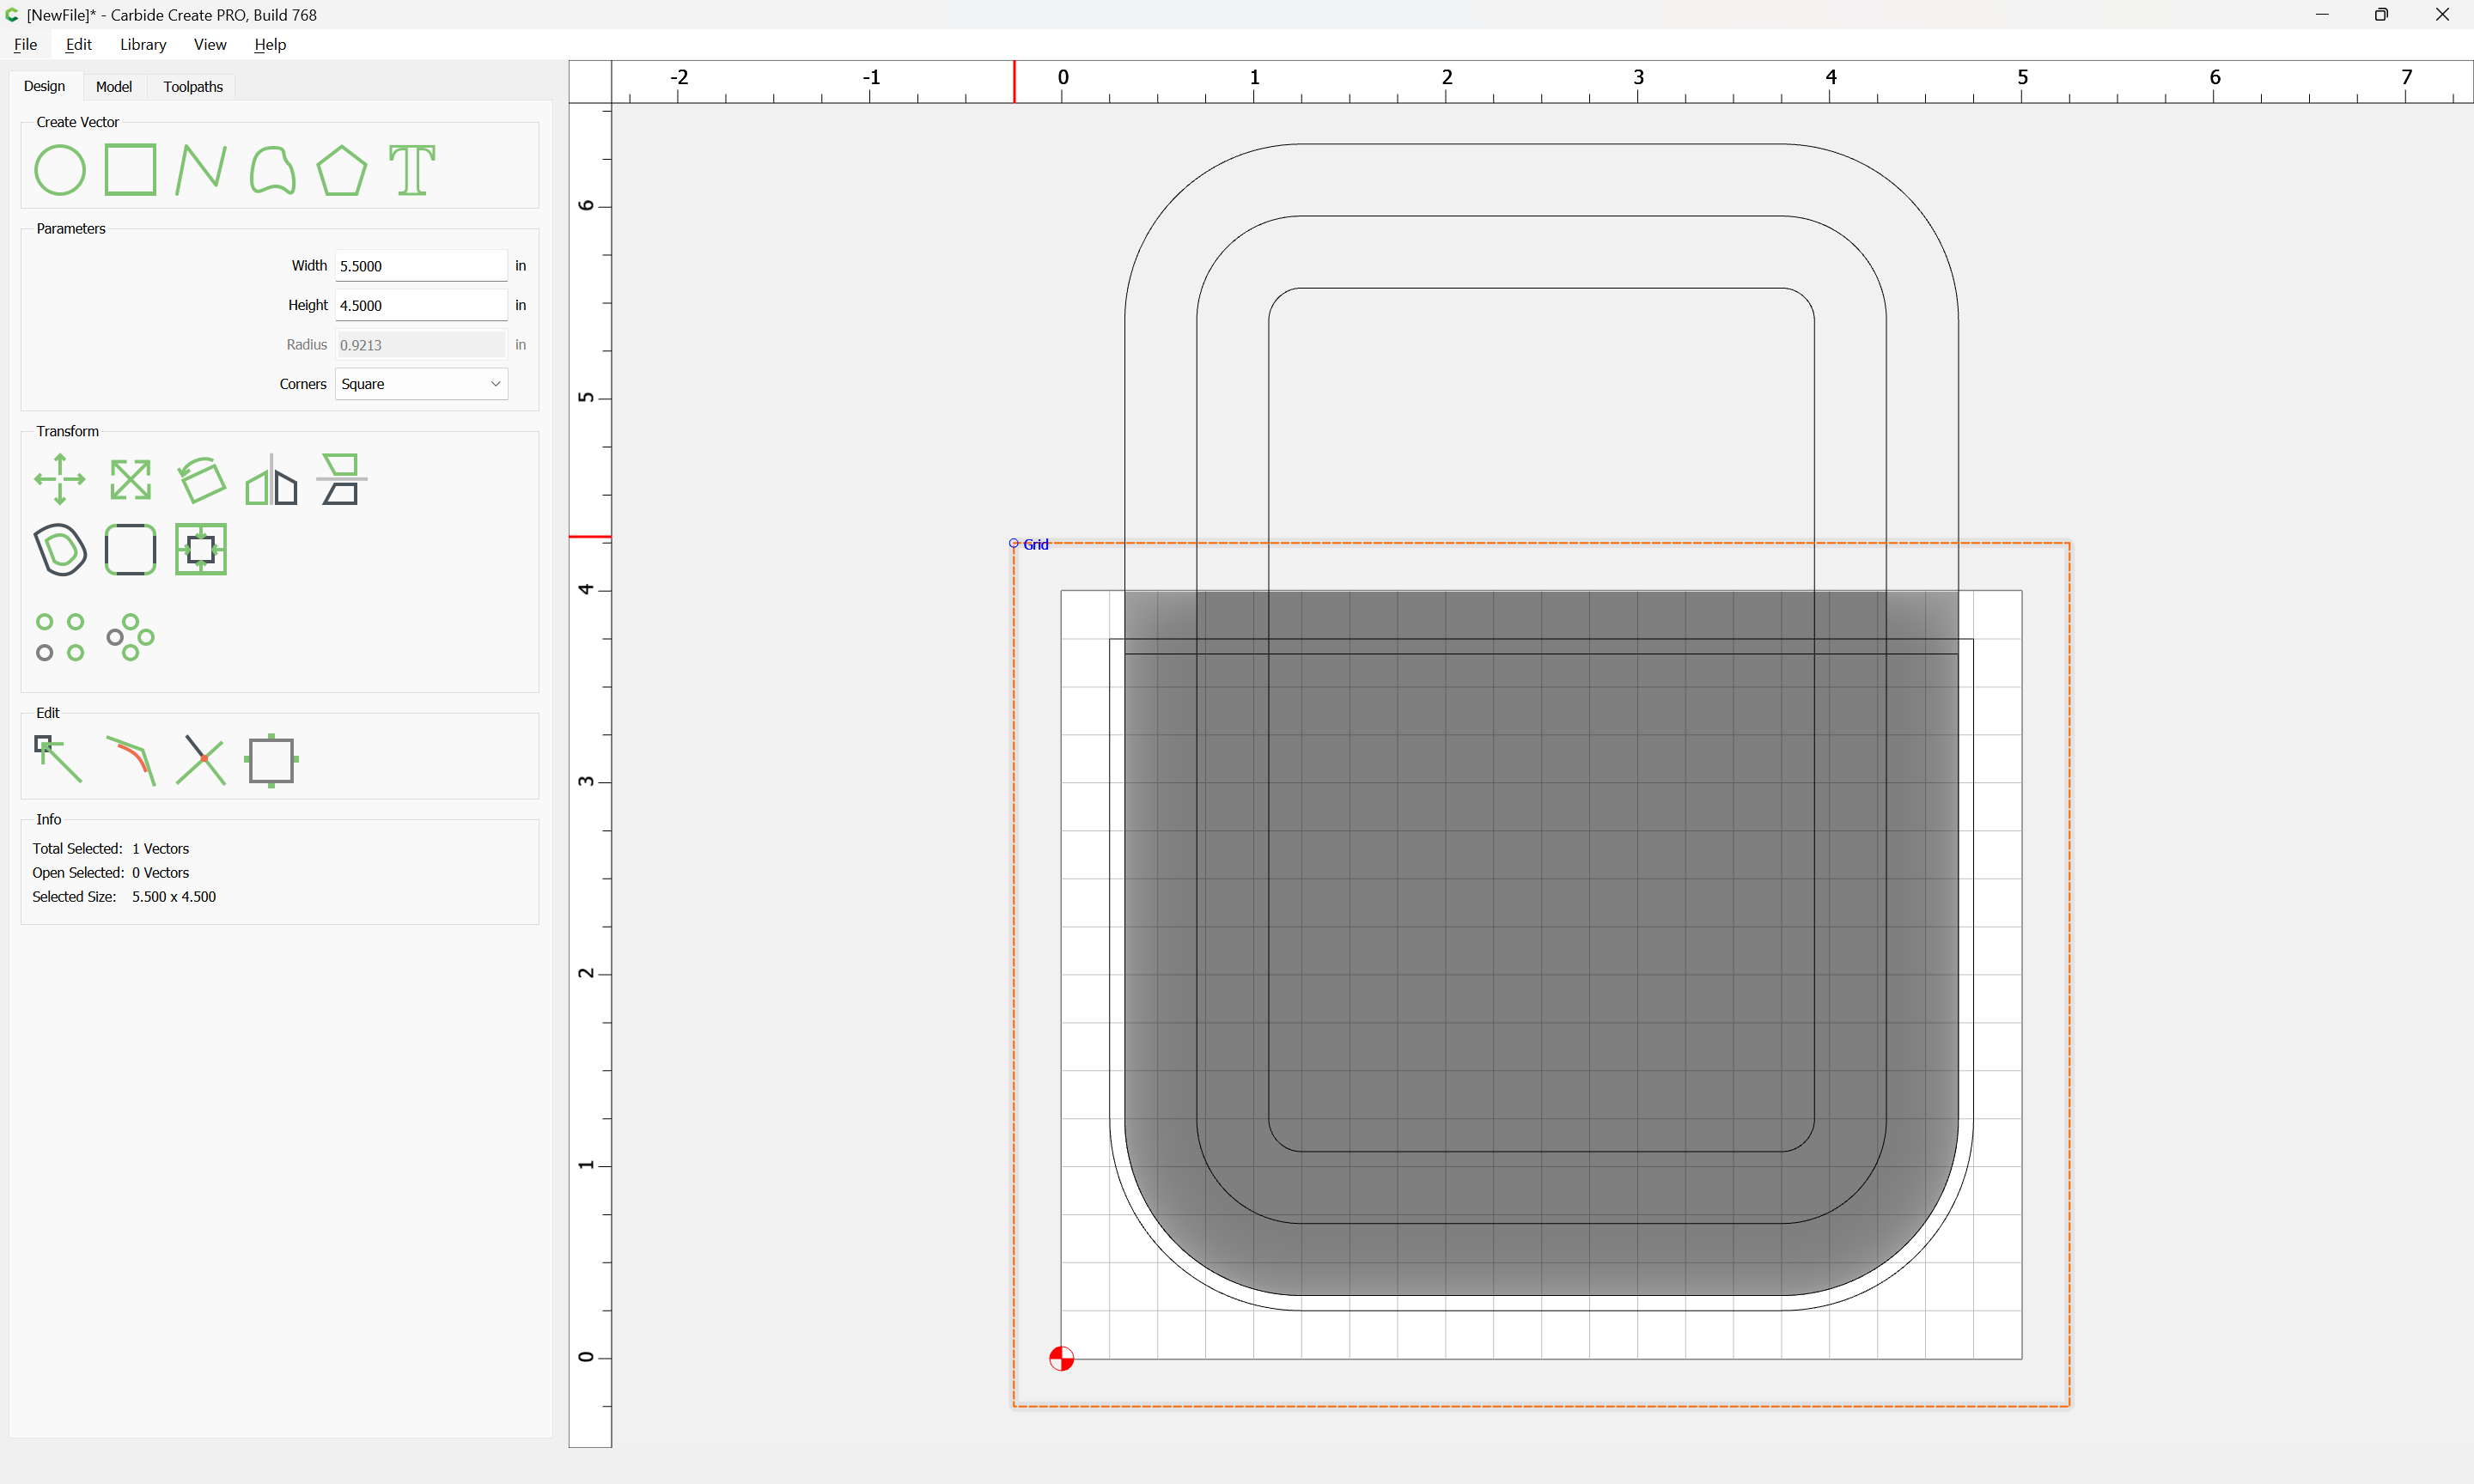
Easiest way to draw this is to draw the rectangle larger than is needed:
Apply the rounding using Filleting:

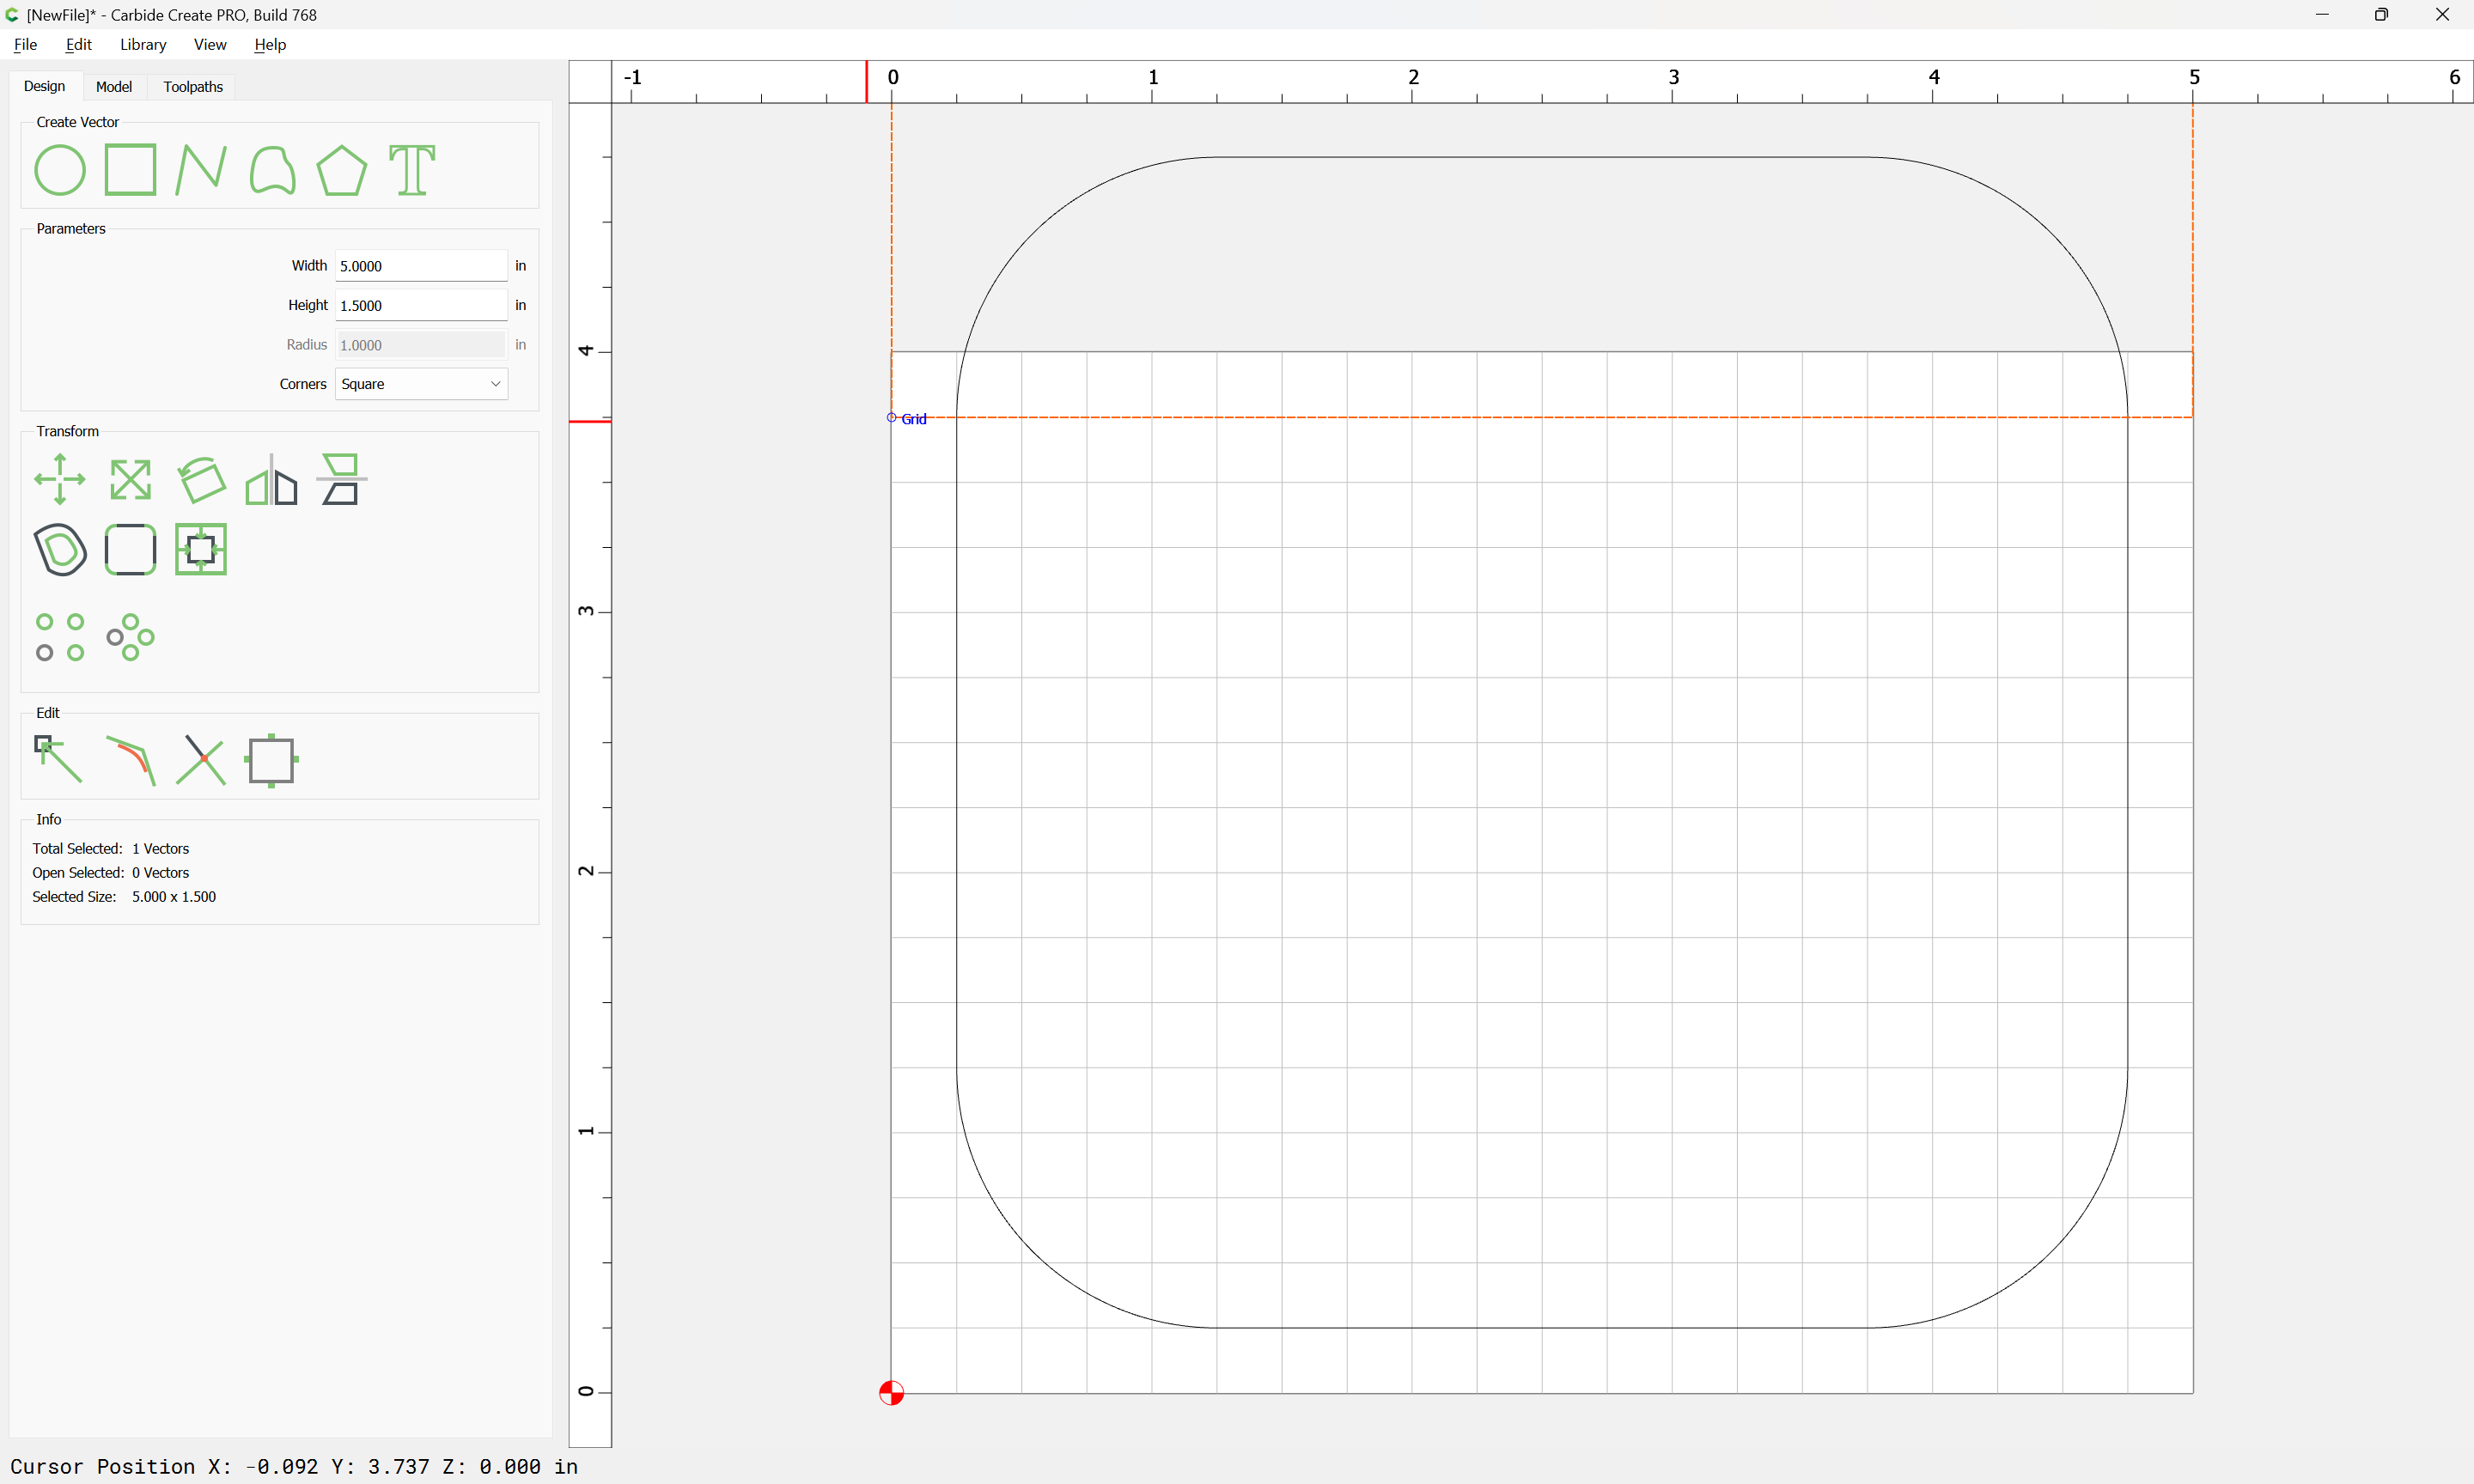
Draw in geometry to cut the top off square:
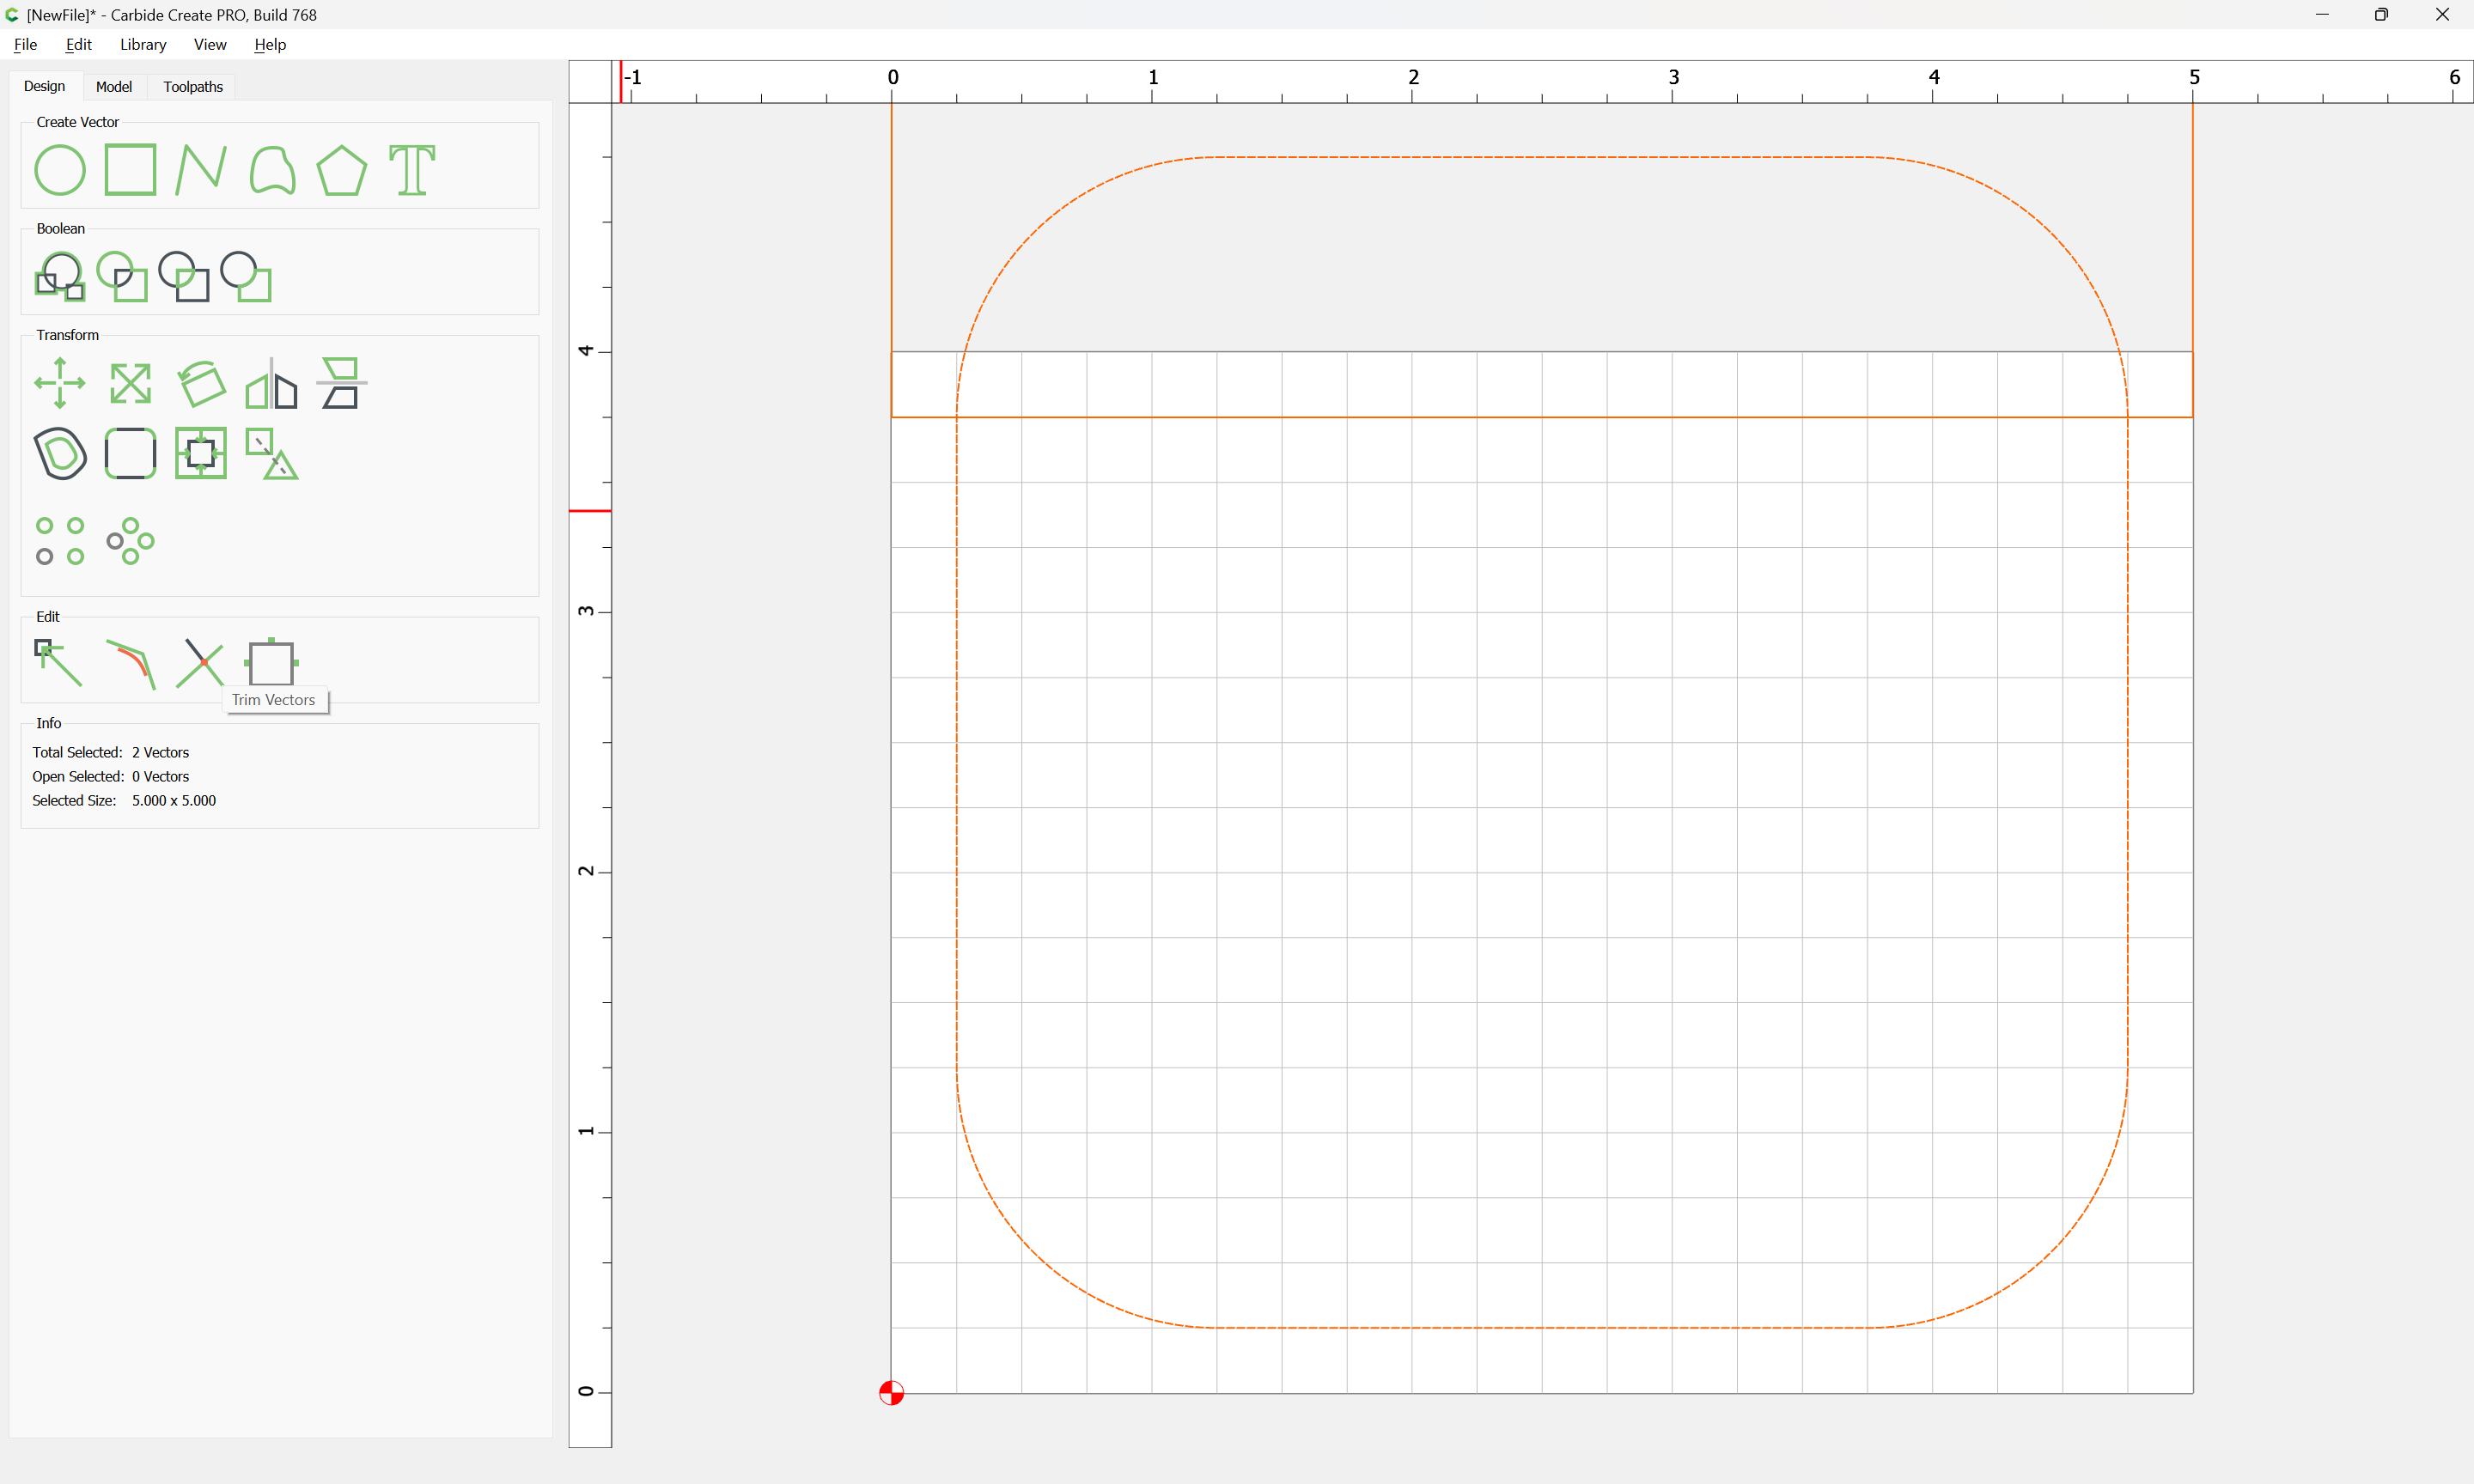
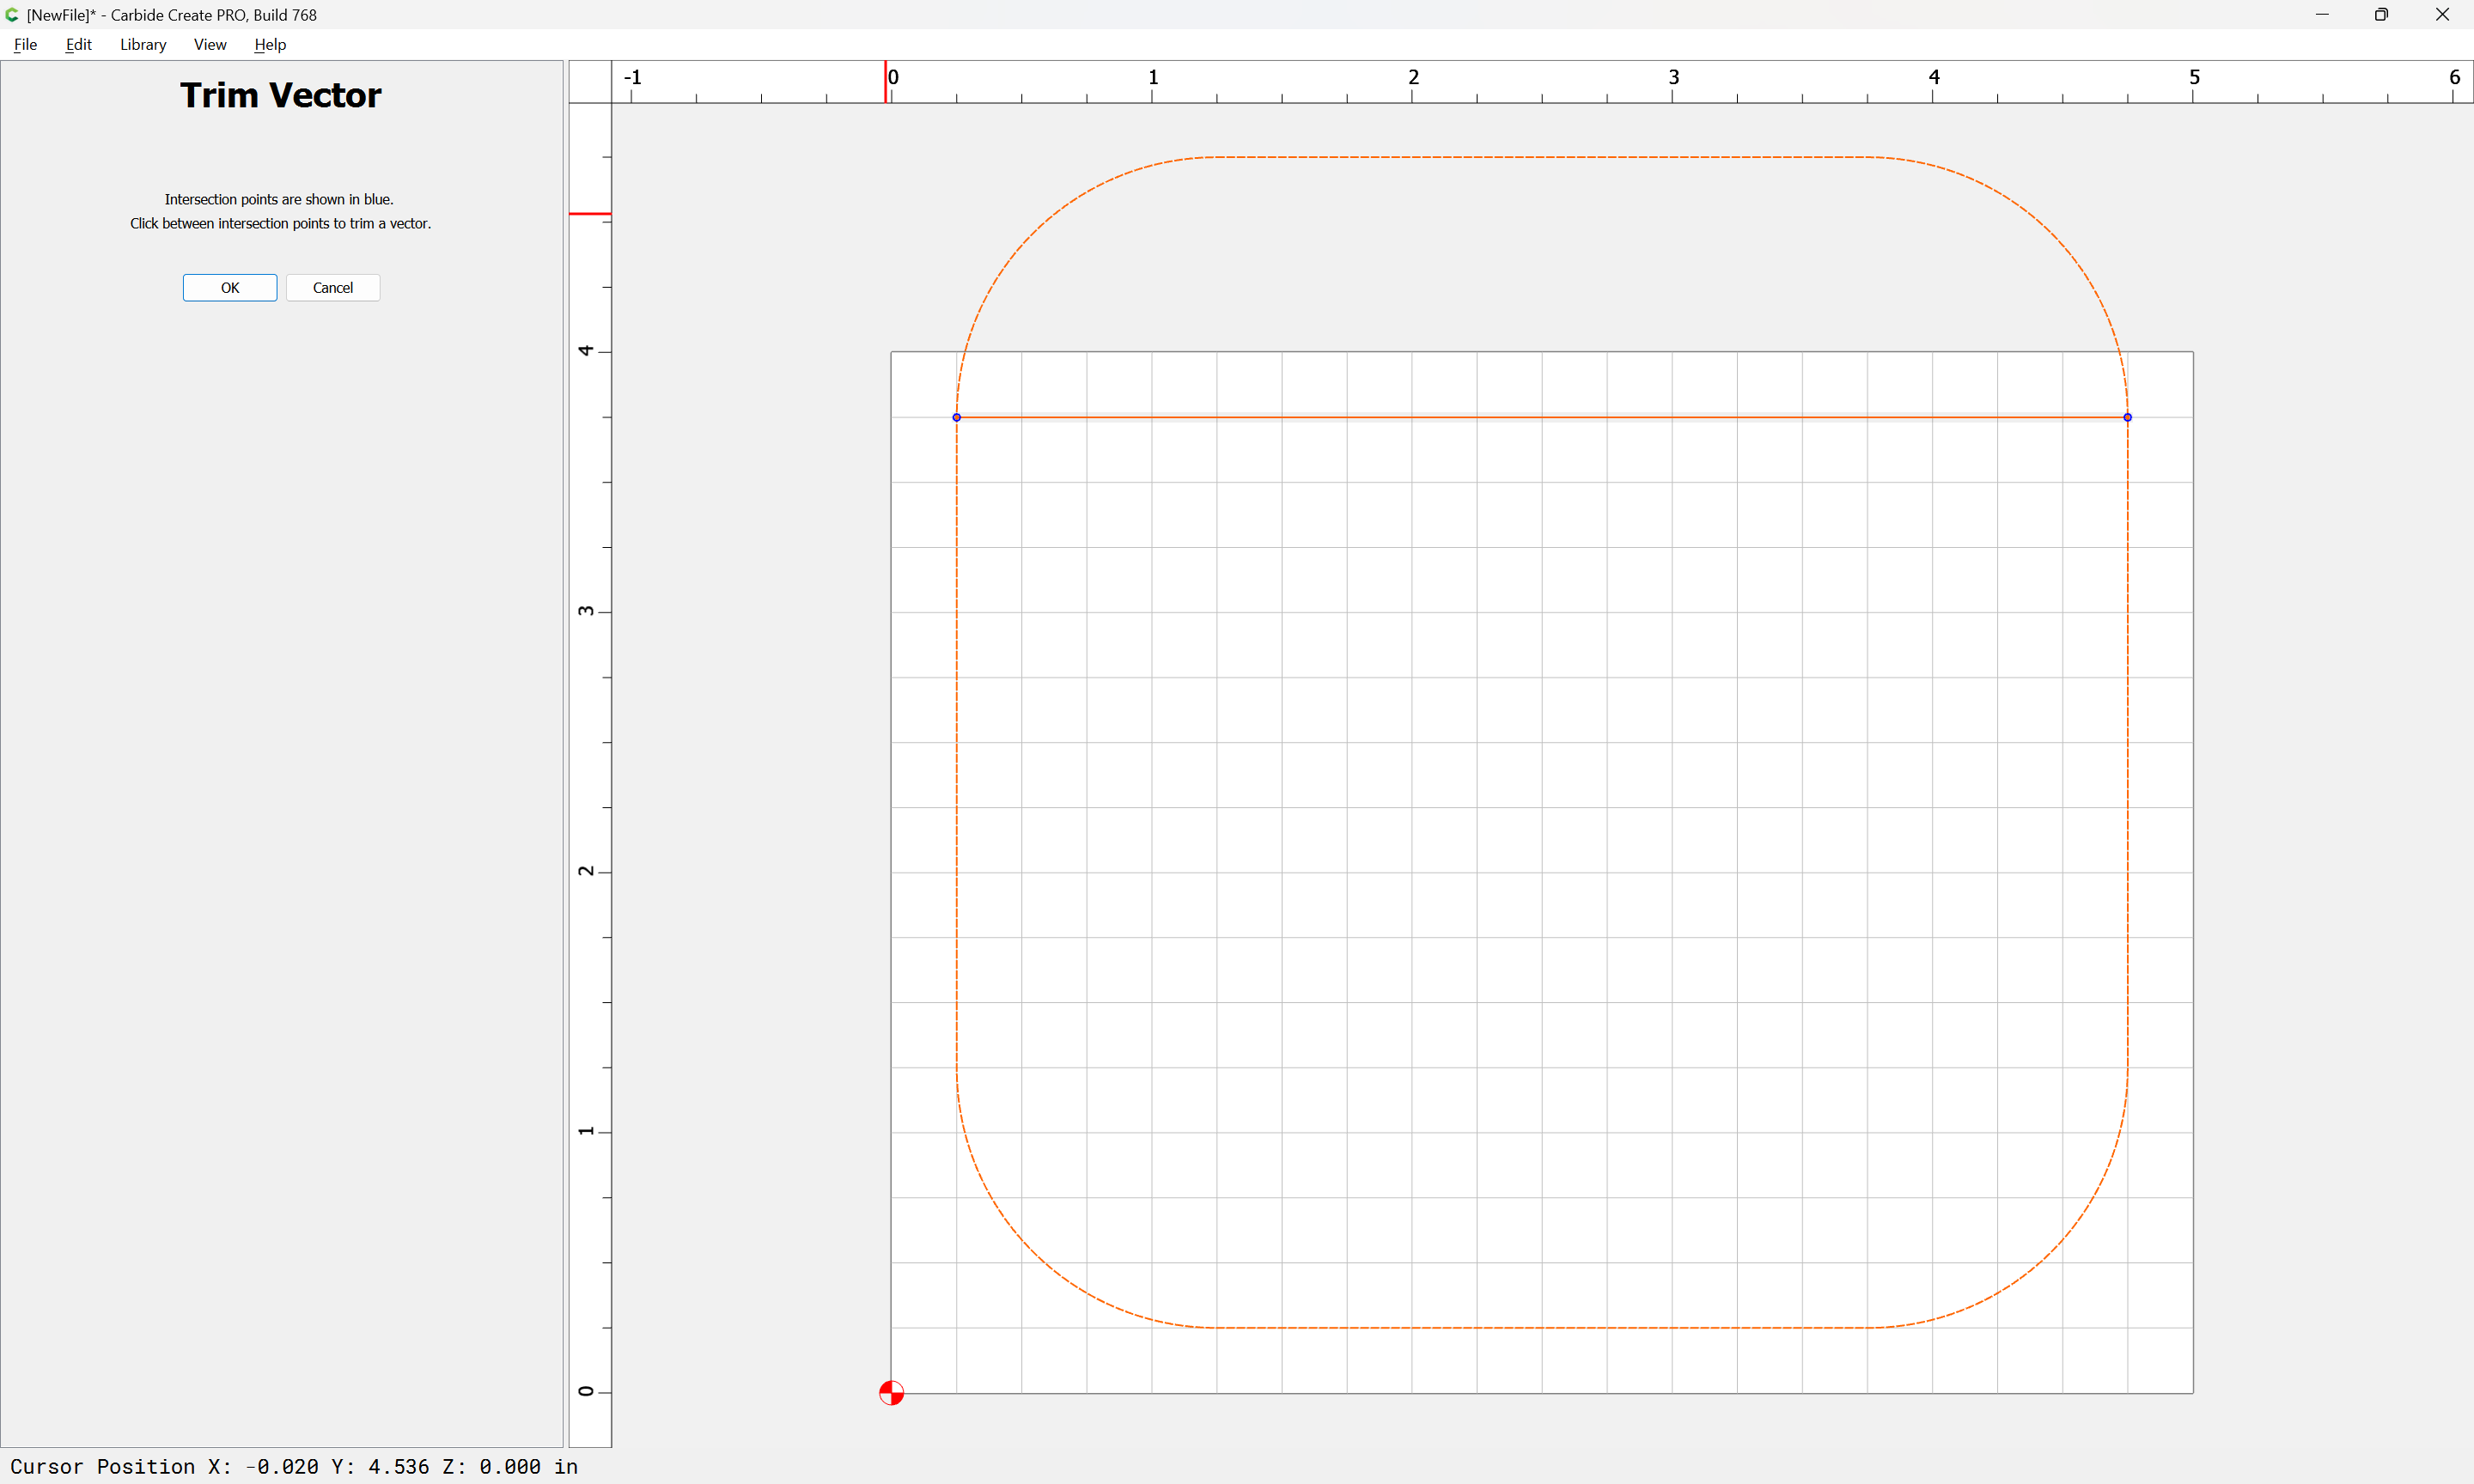
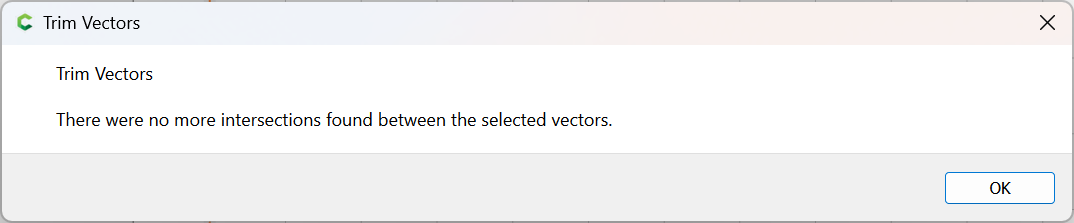
Select both elements and use “Trim Vectors”
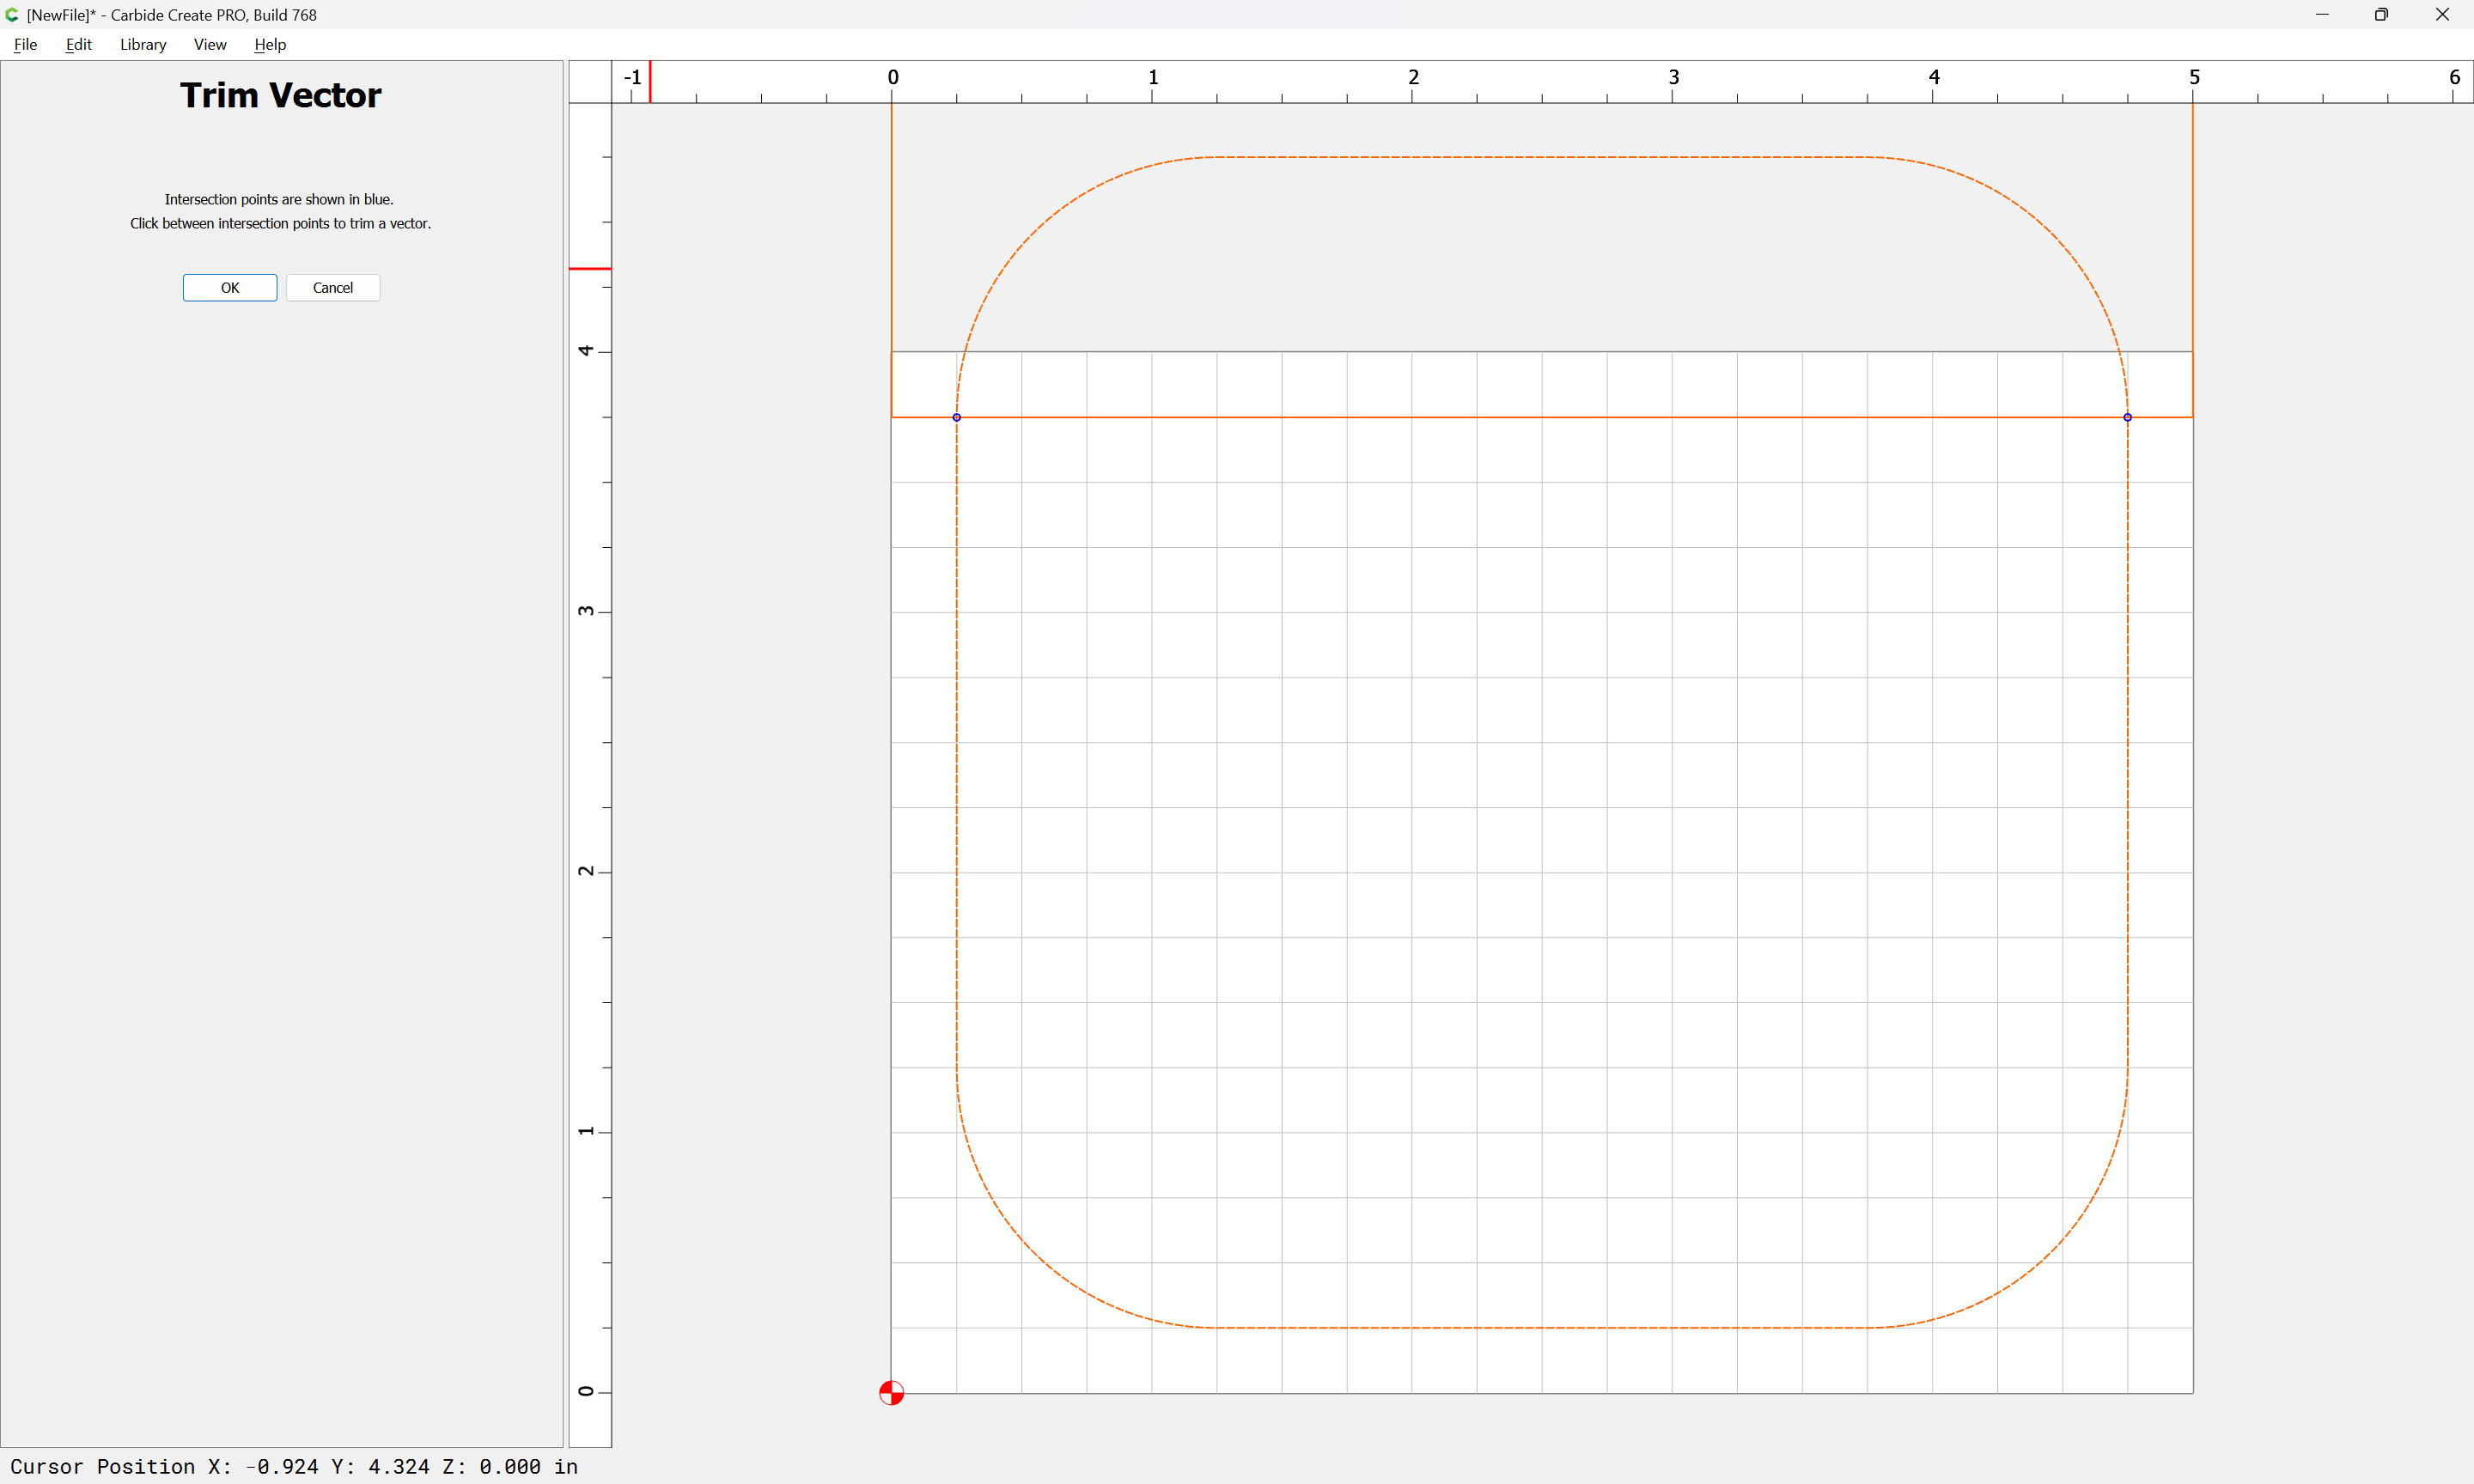
and click to remove what is not wanted:
OK

OK
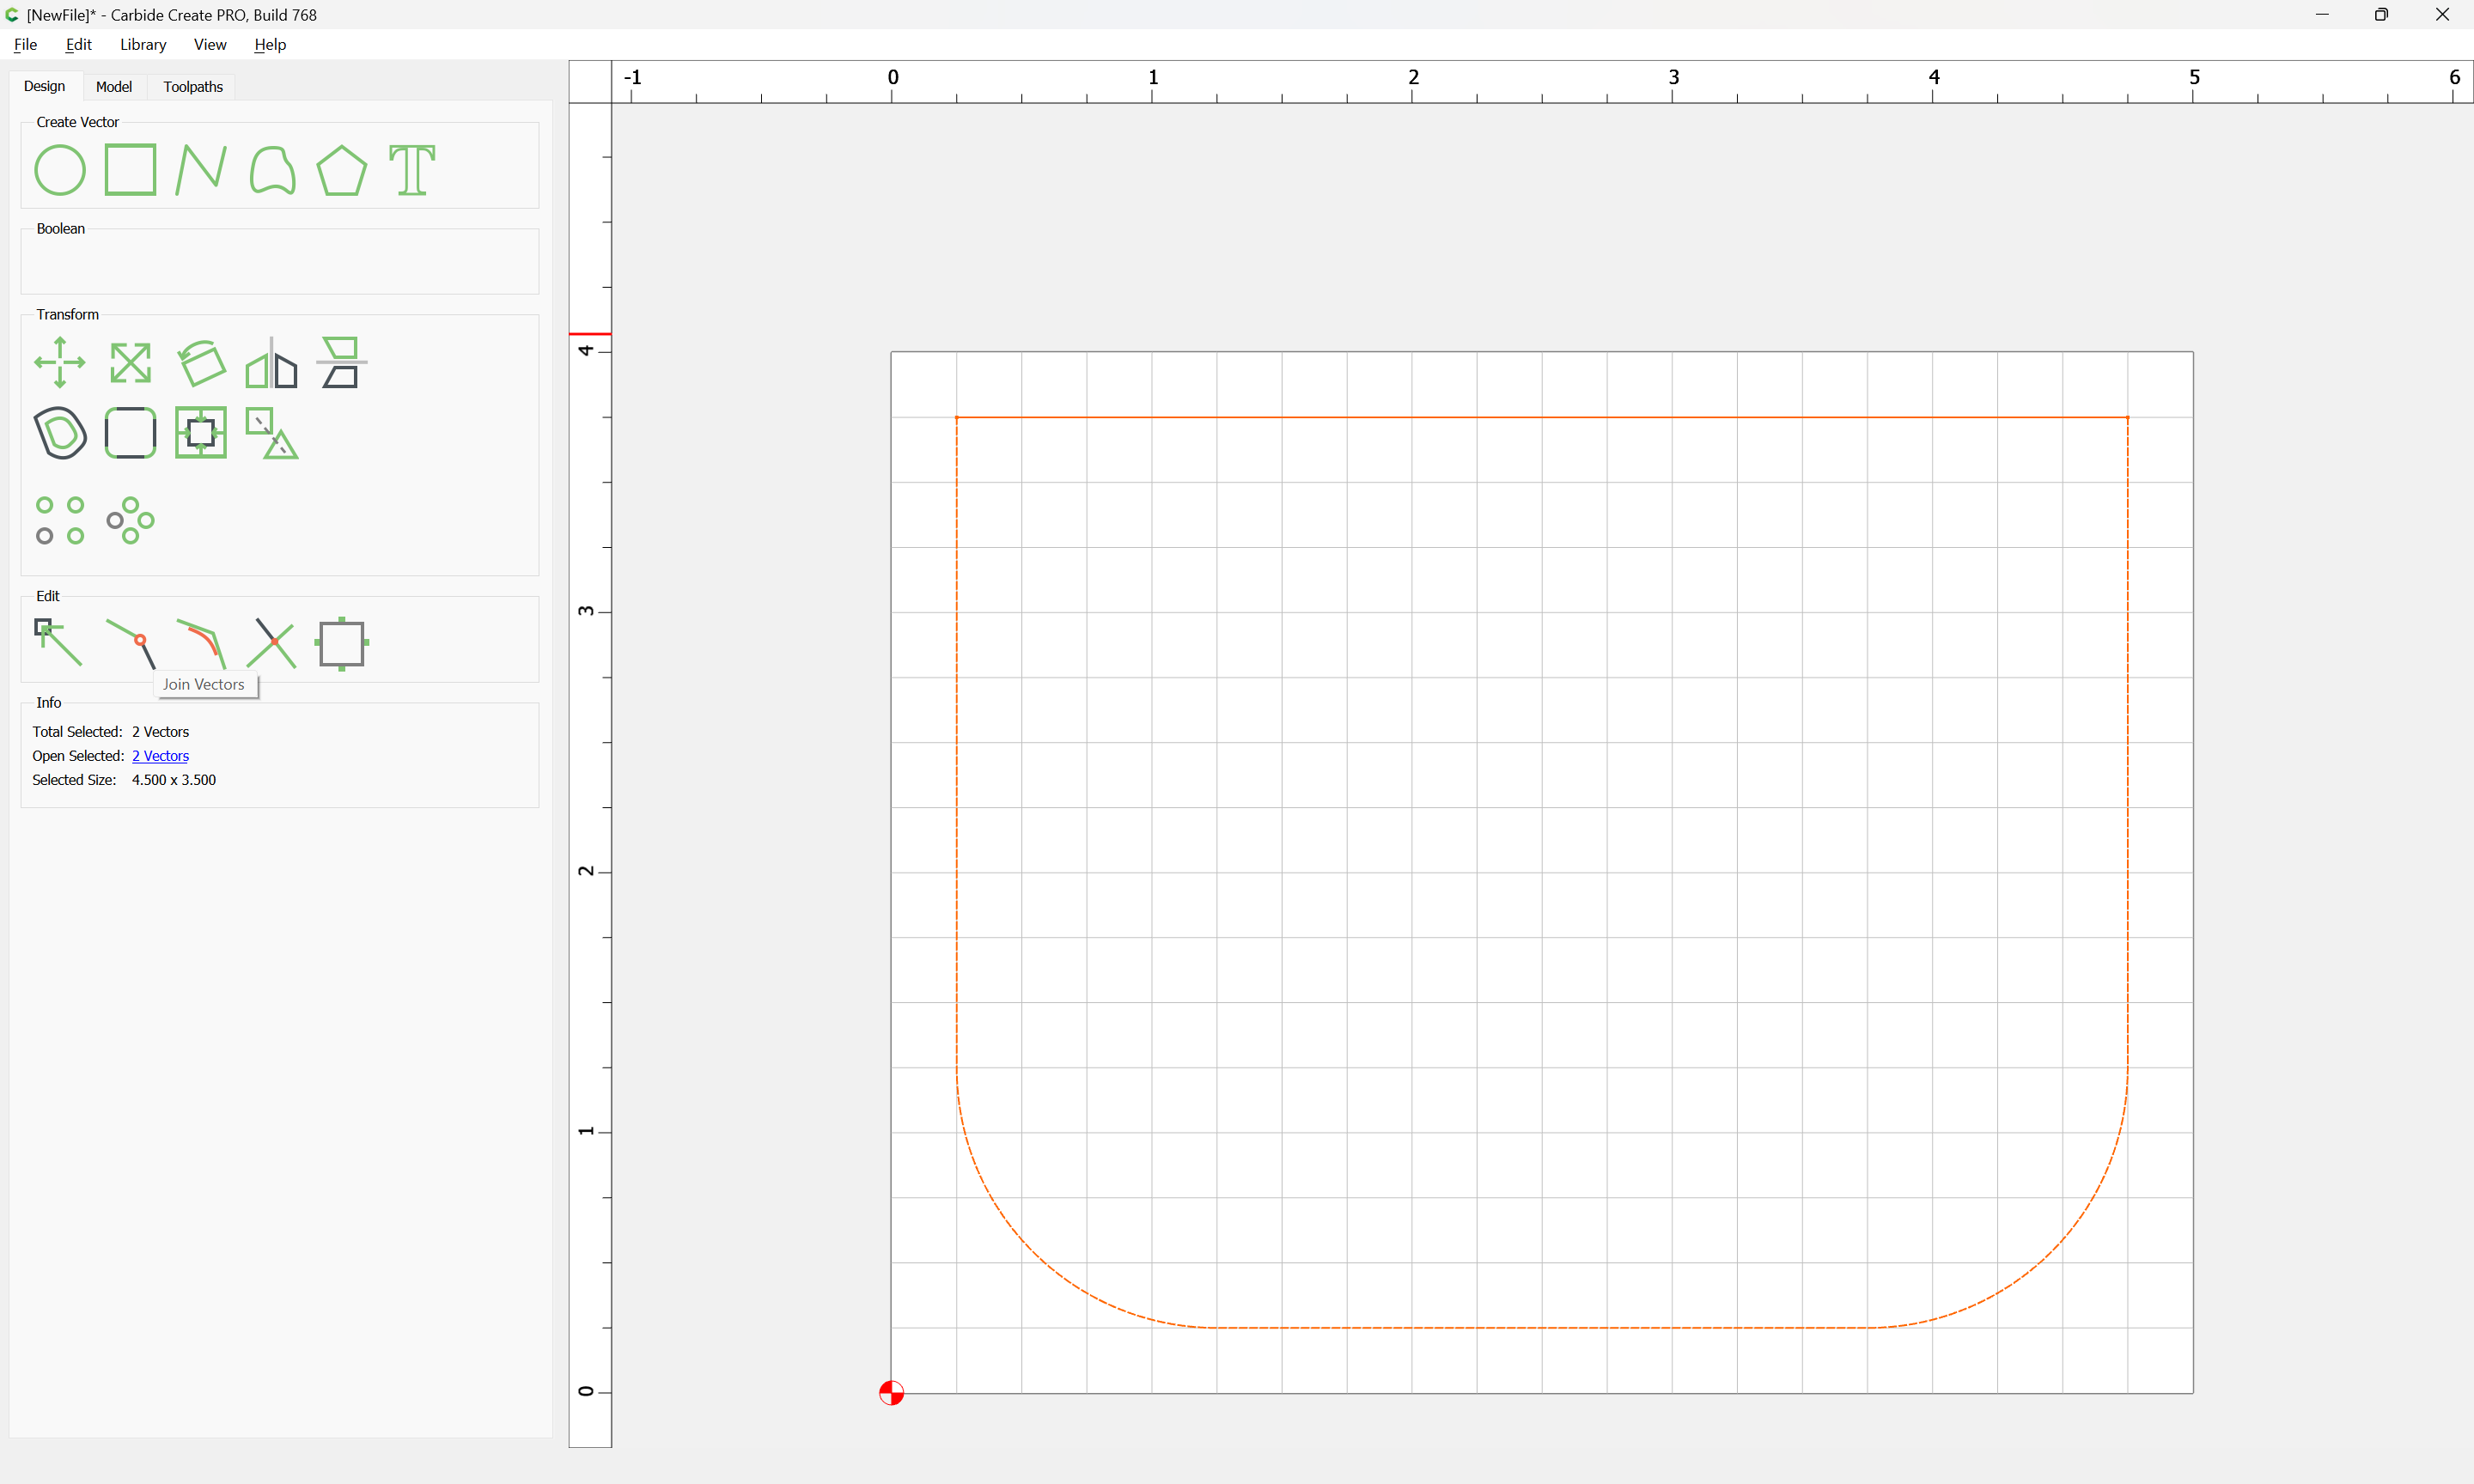
and use “Join Vectors” to close things up:
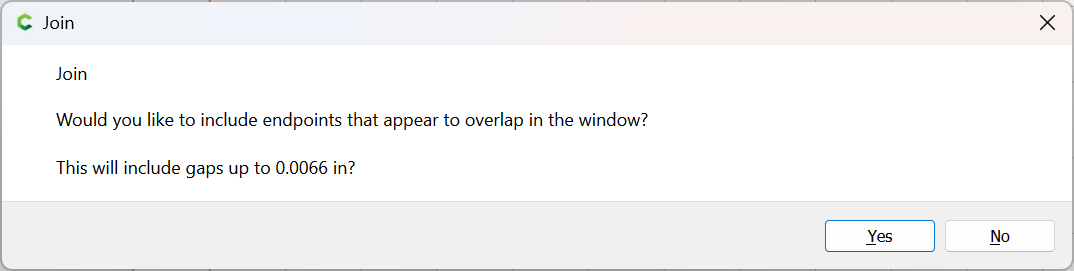
Yes

Use “Offset Vectors” to inset by 2mm

Apply

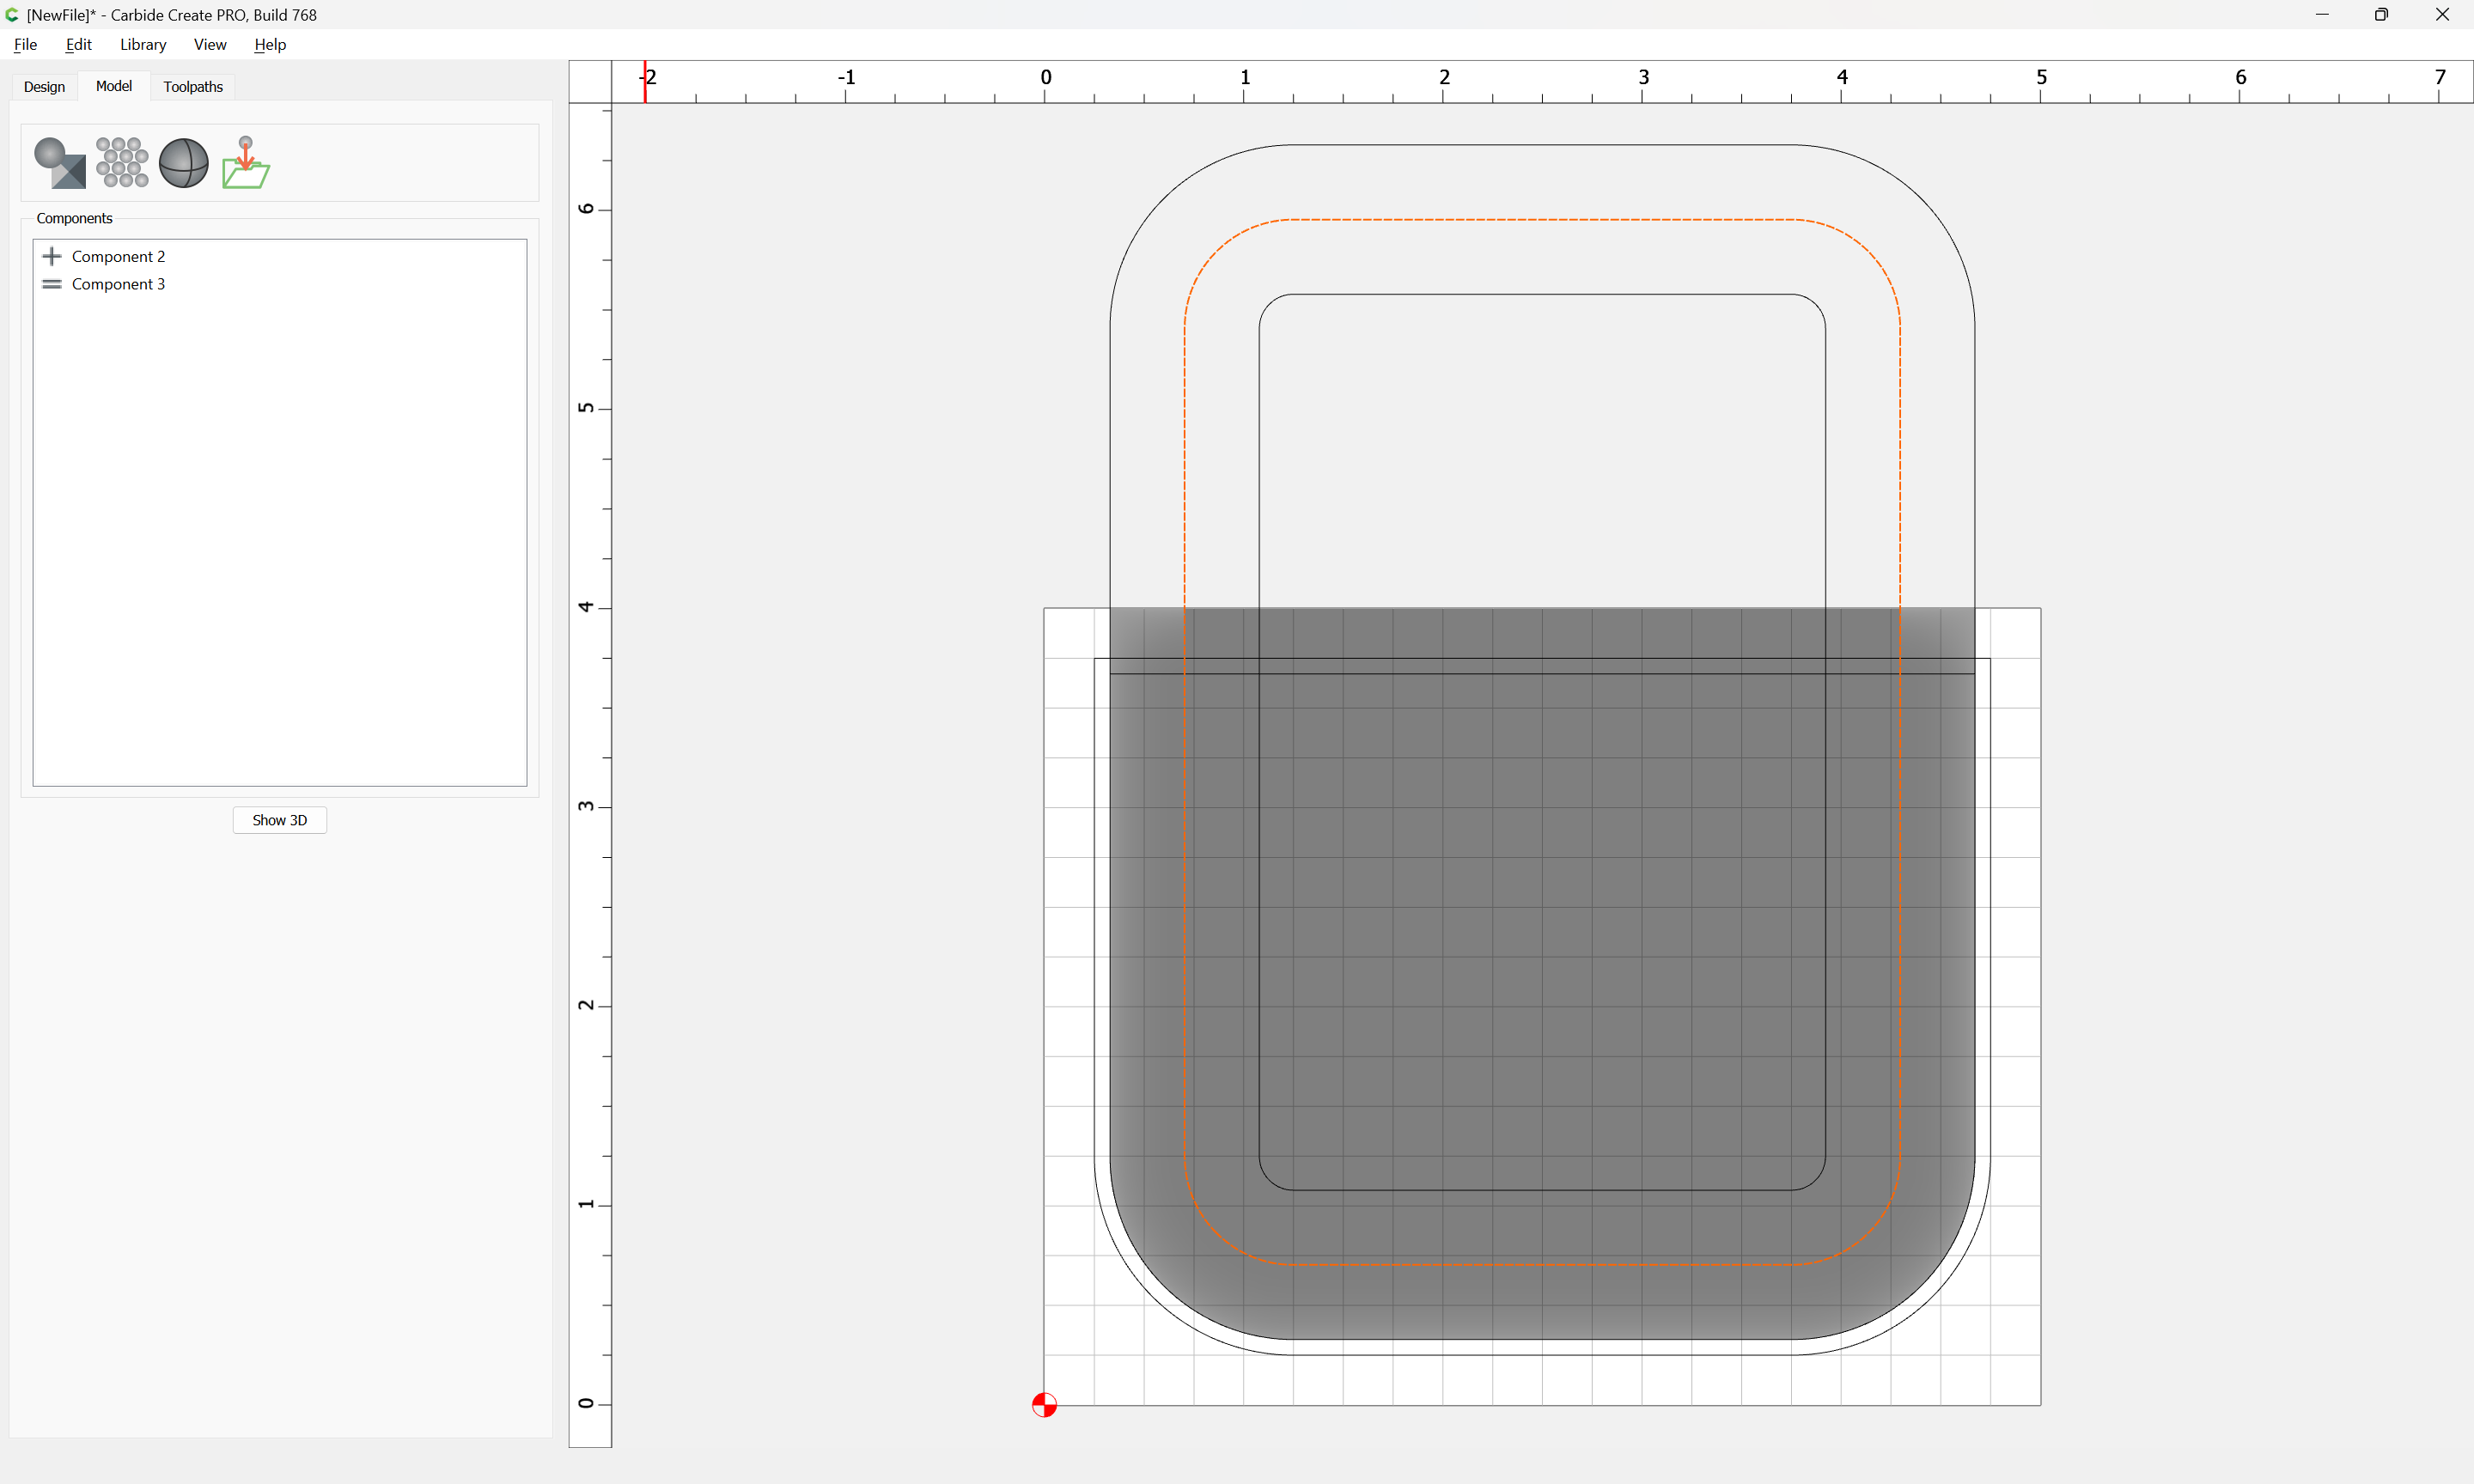
Then Job Setup for the 3D modeling:
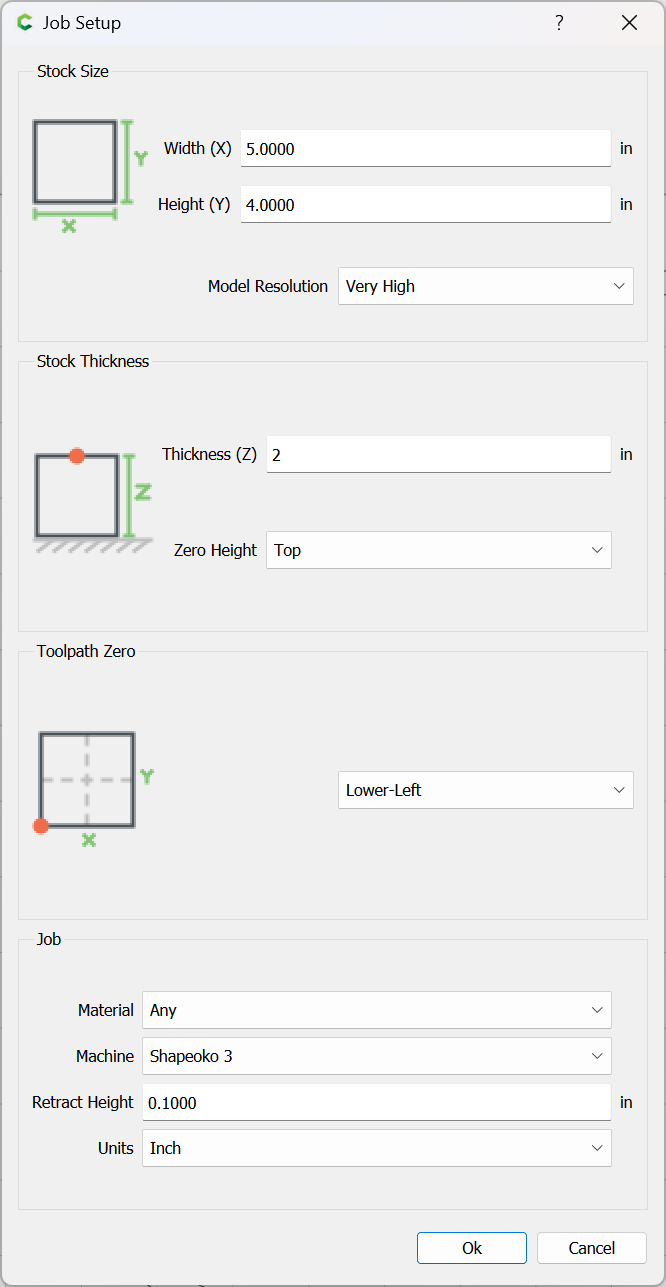
Be sure to set Model Resolution to “Very High” unless that has performance issues.
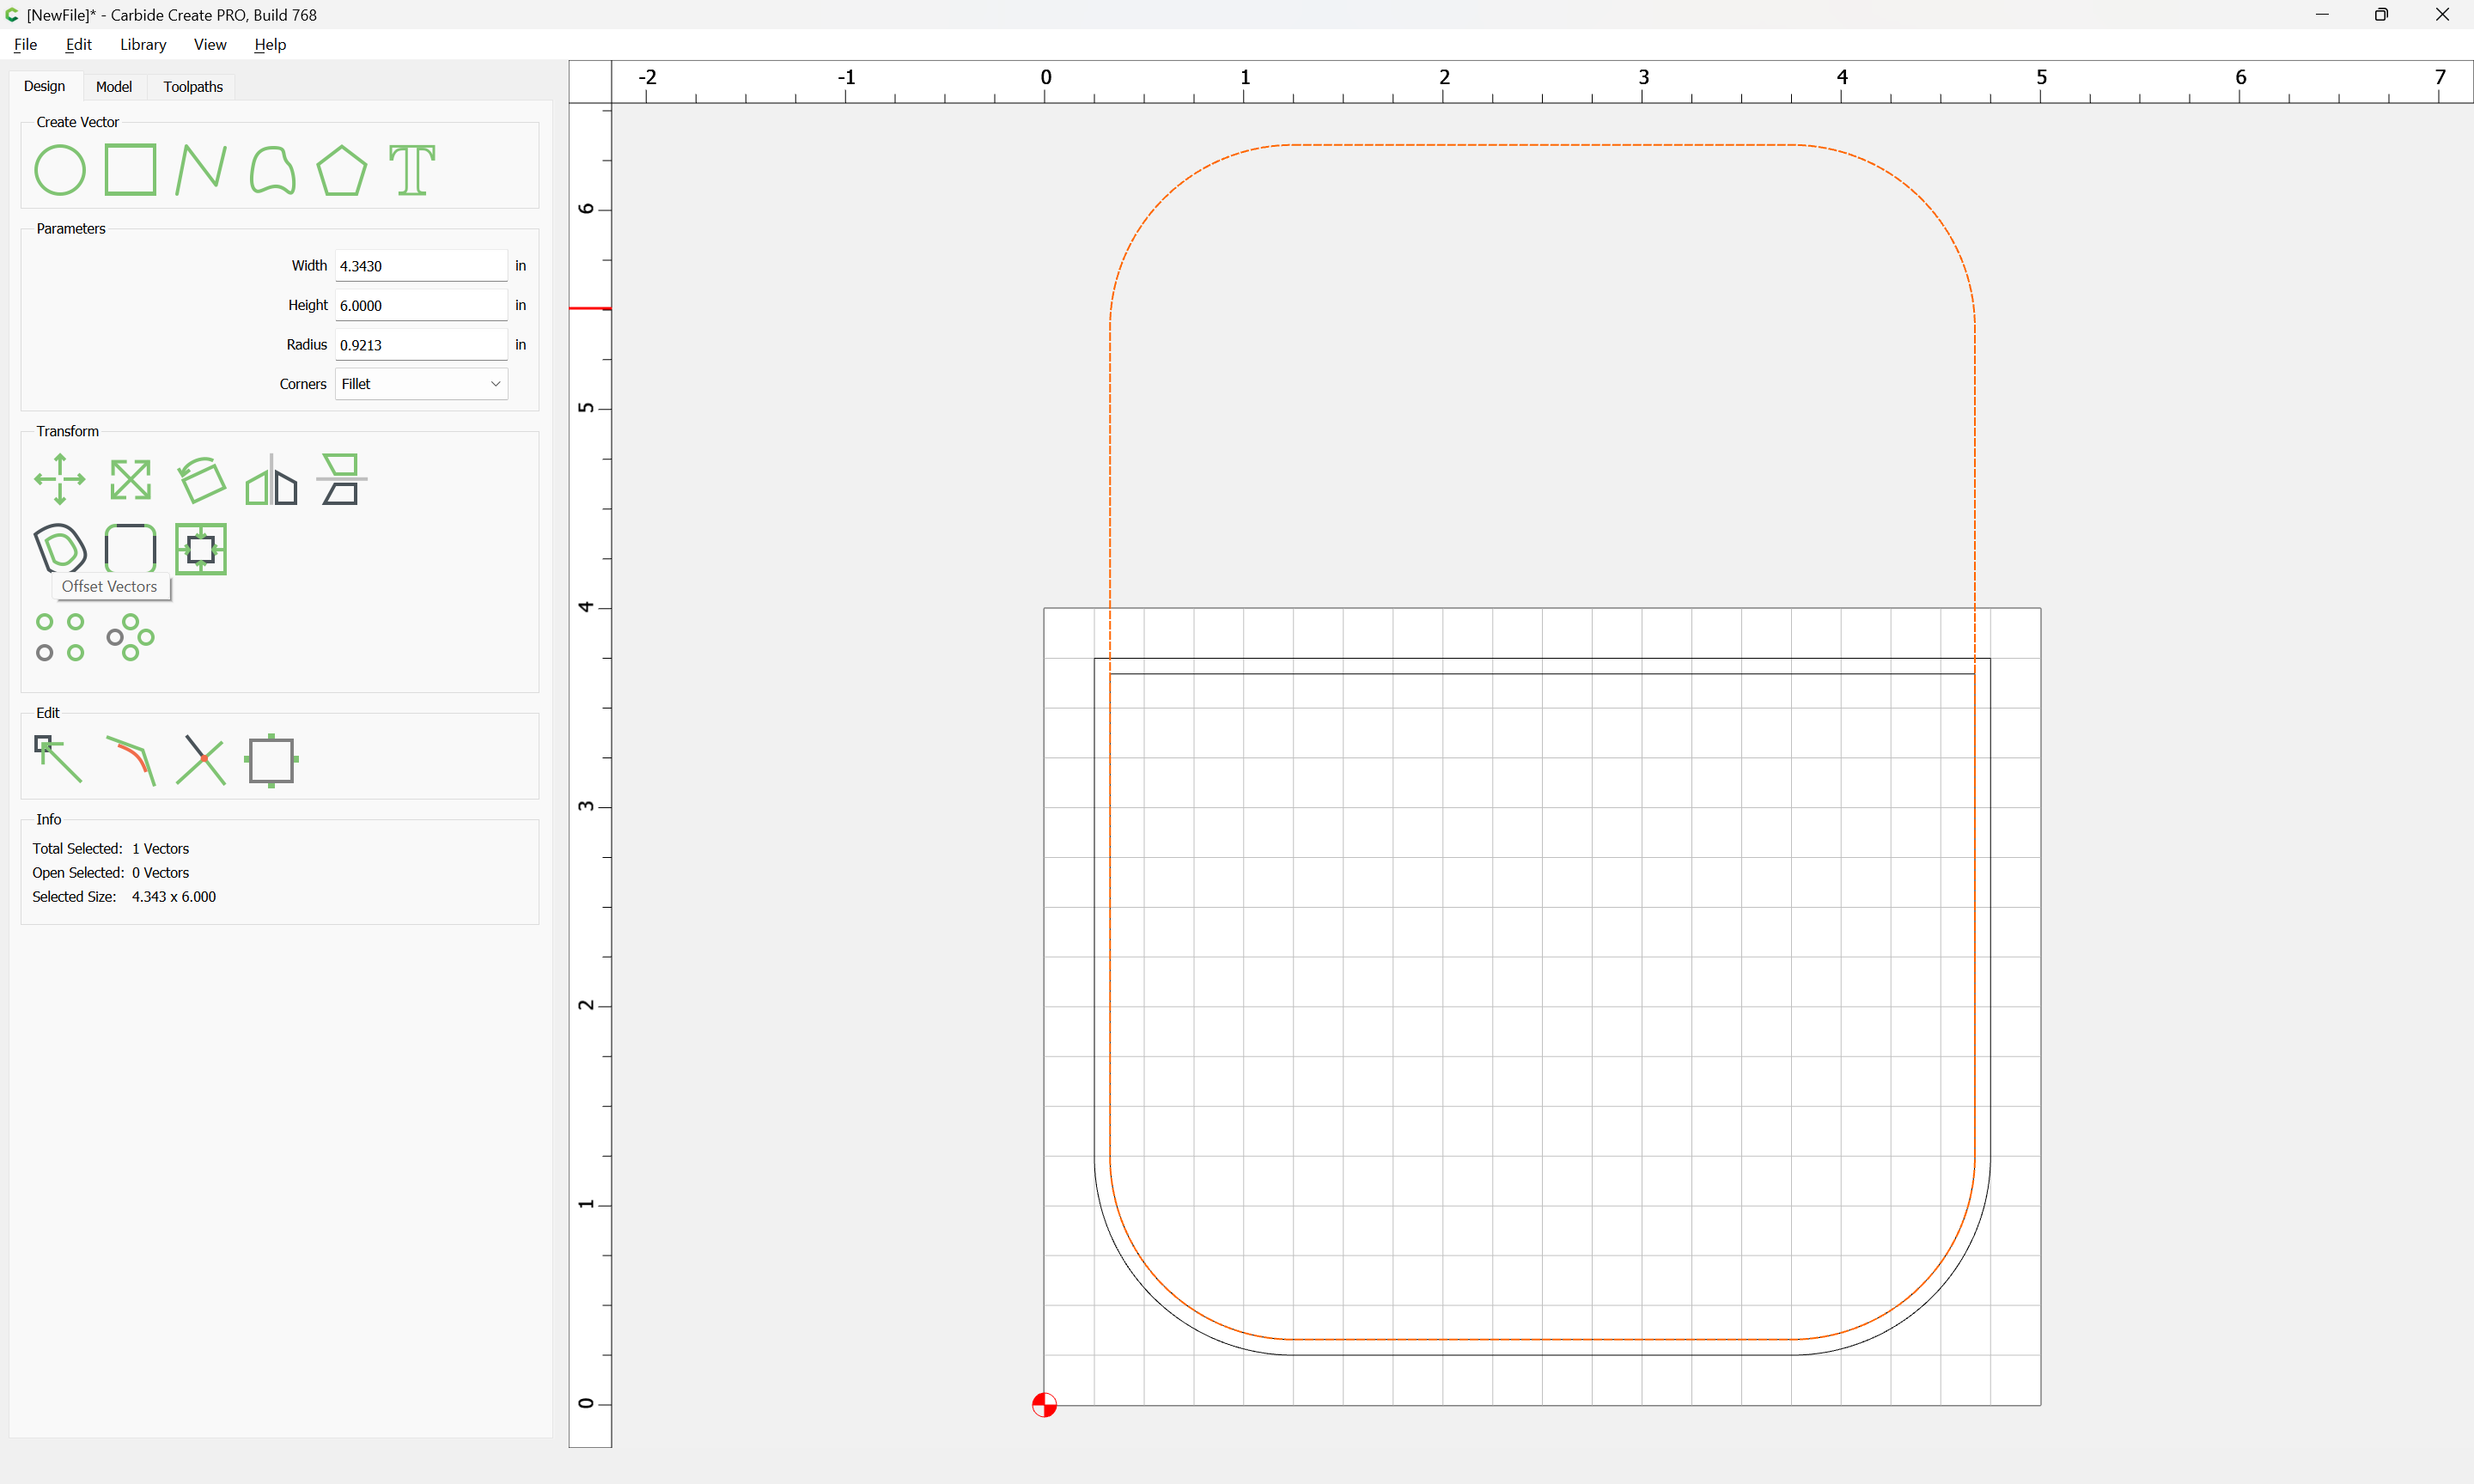
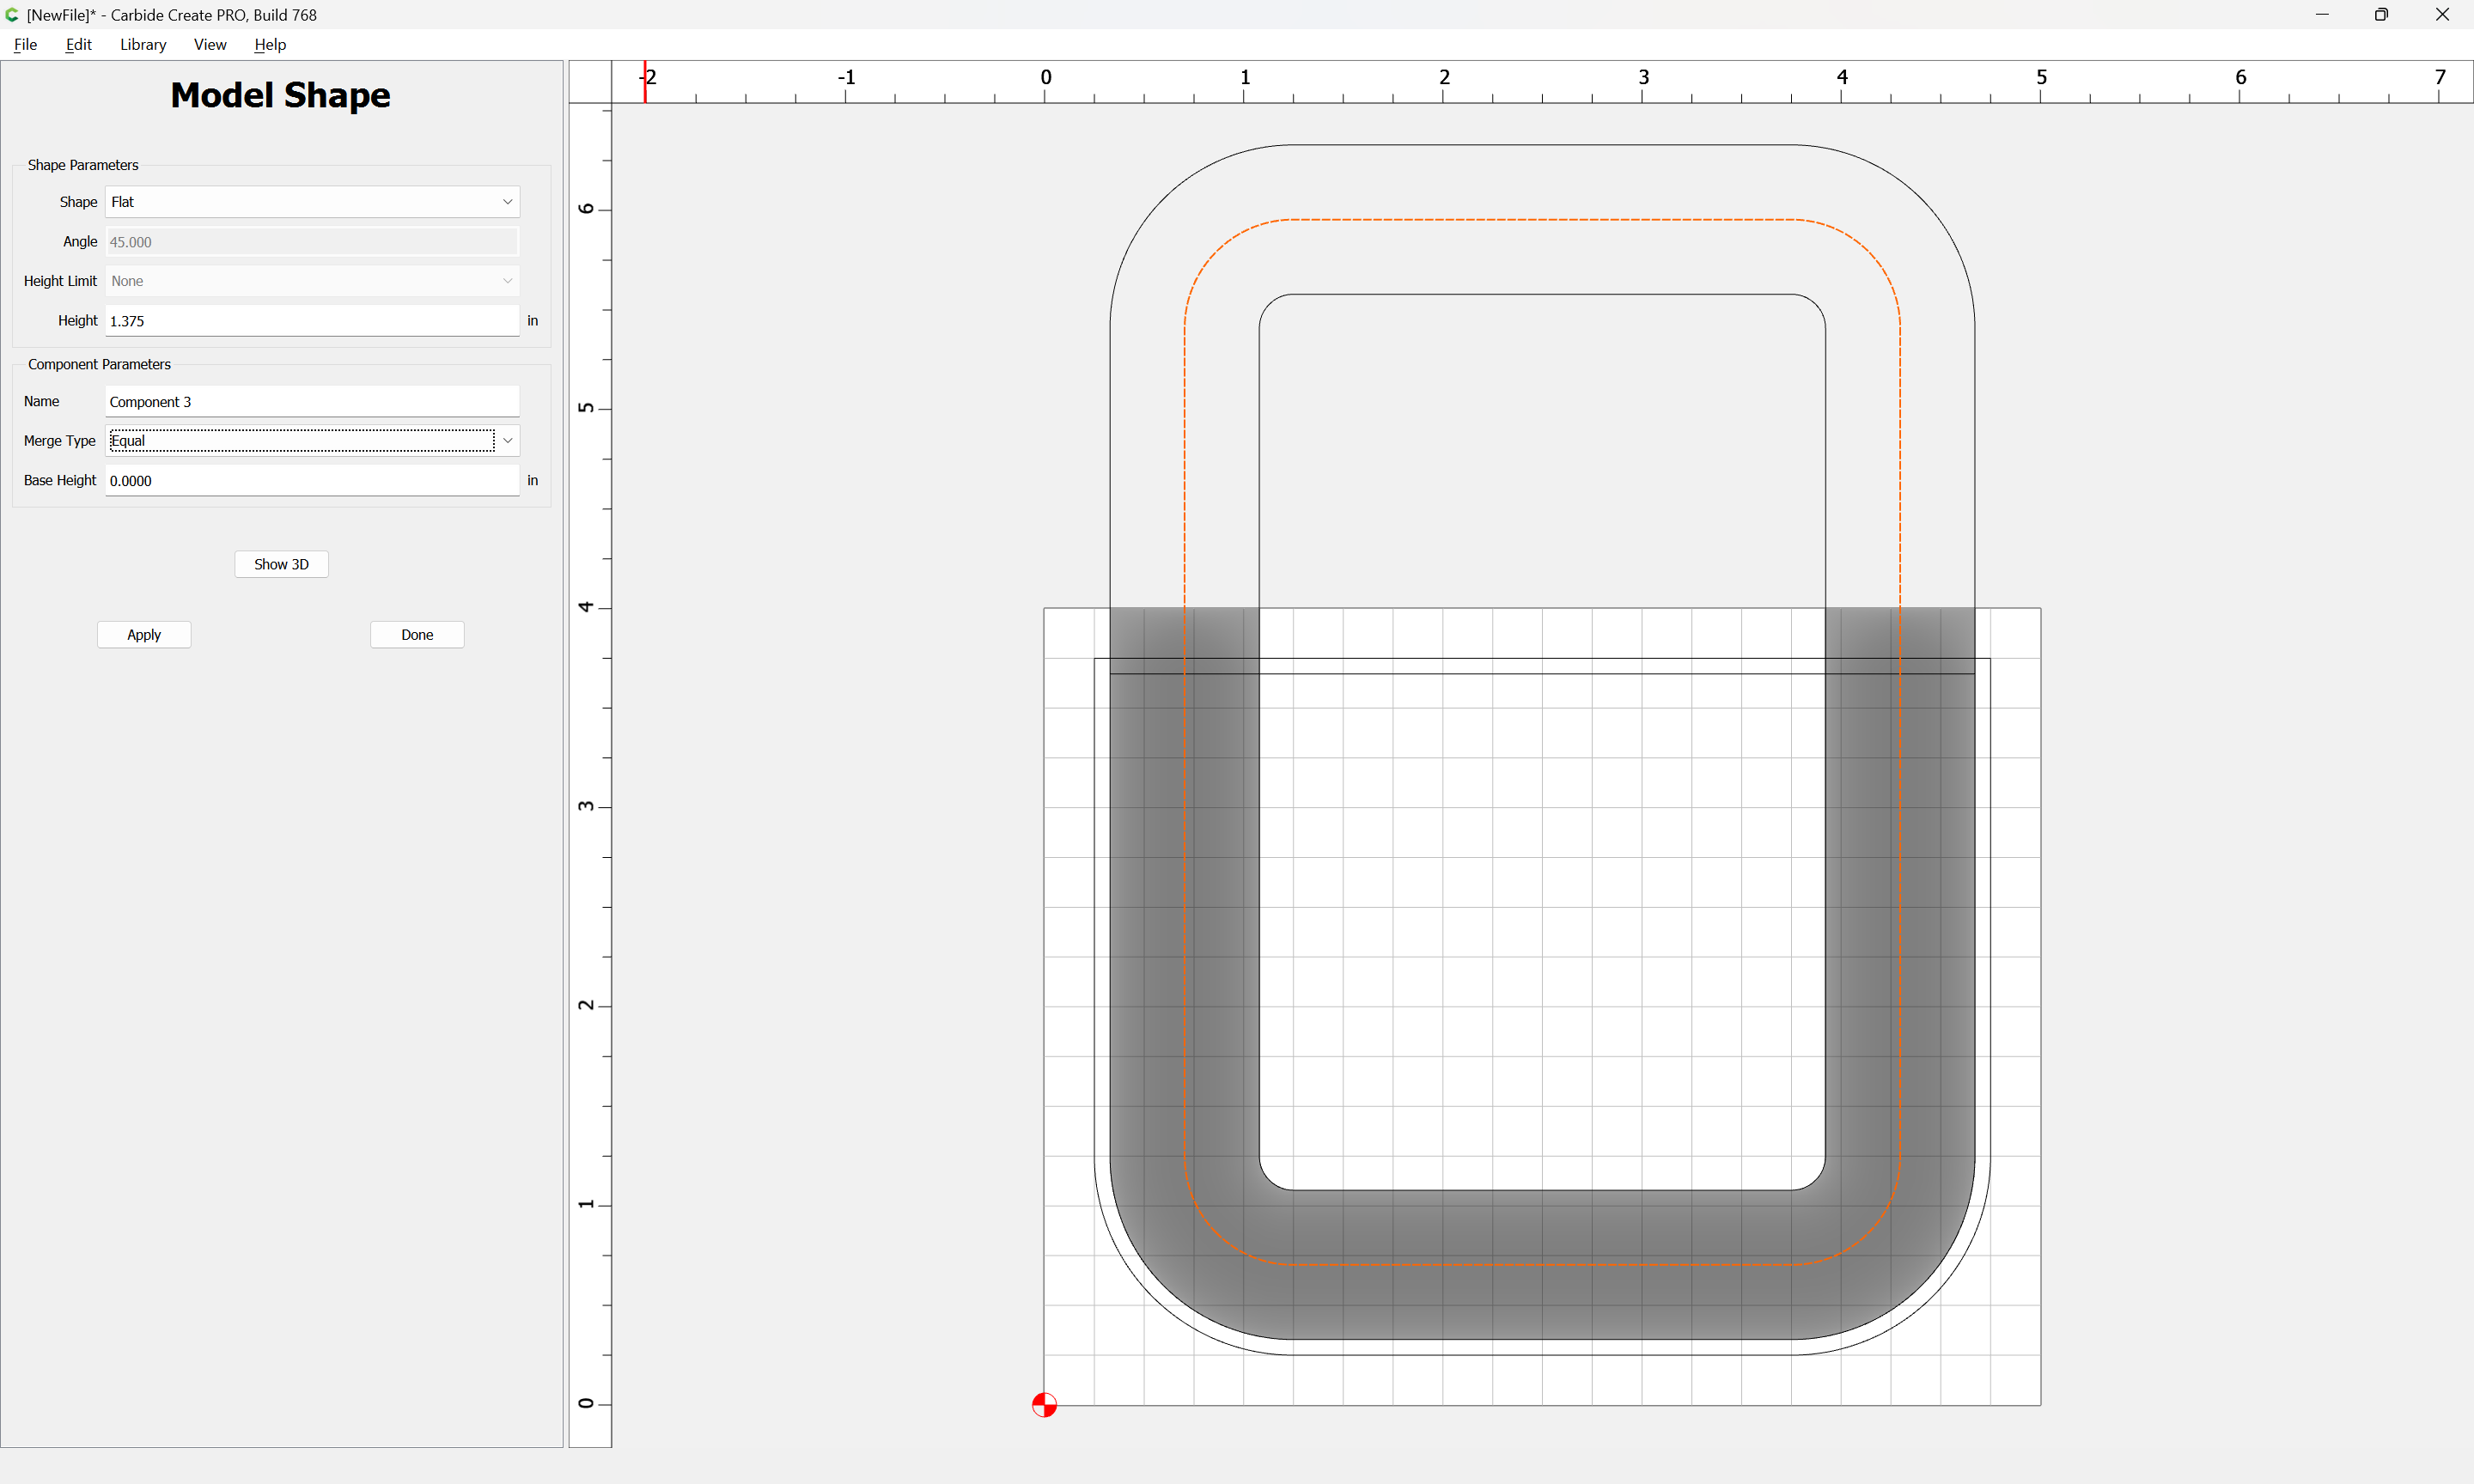
It will actually be necessary to re-create the larger geometry from before so as to model the straight edge at the top.


There are two options here, a symmetrical form which is consistent, or a more organic shape — we will do the former, and the other, being simpler may be experimented with as desired.
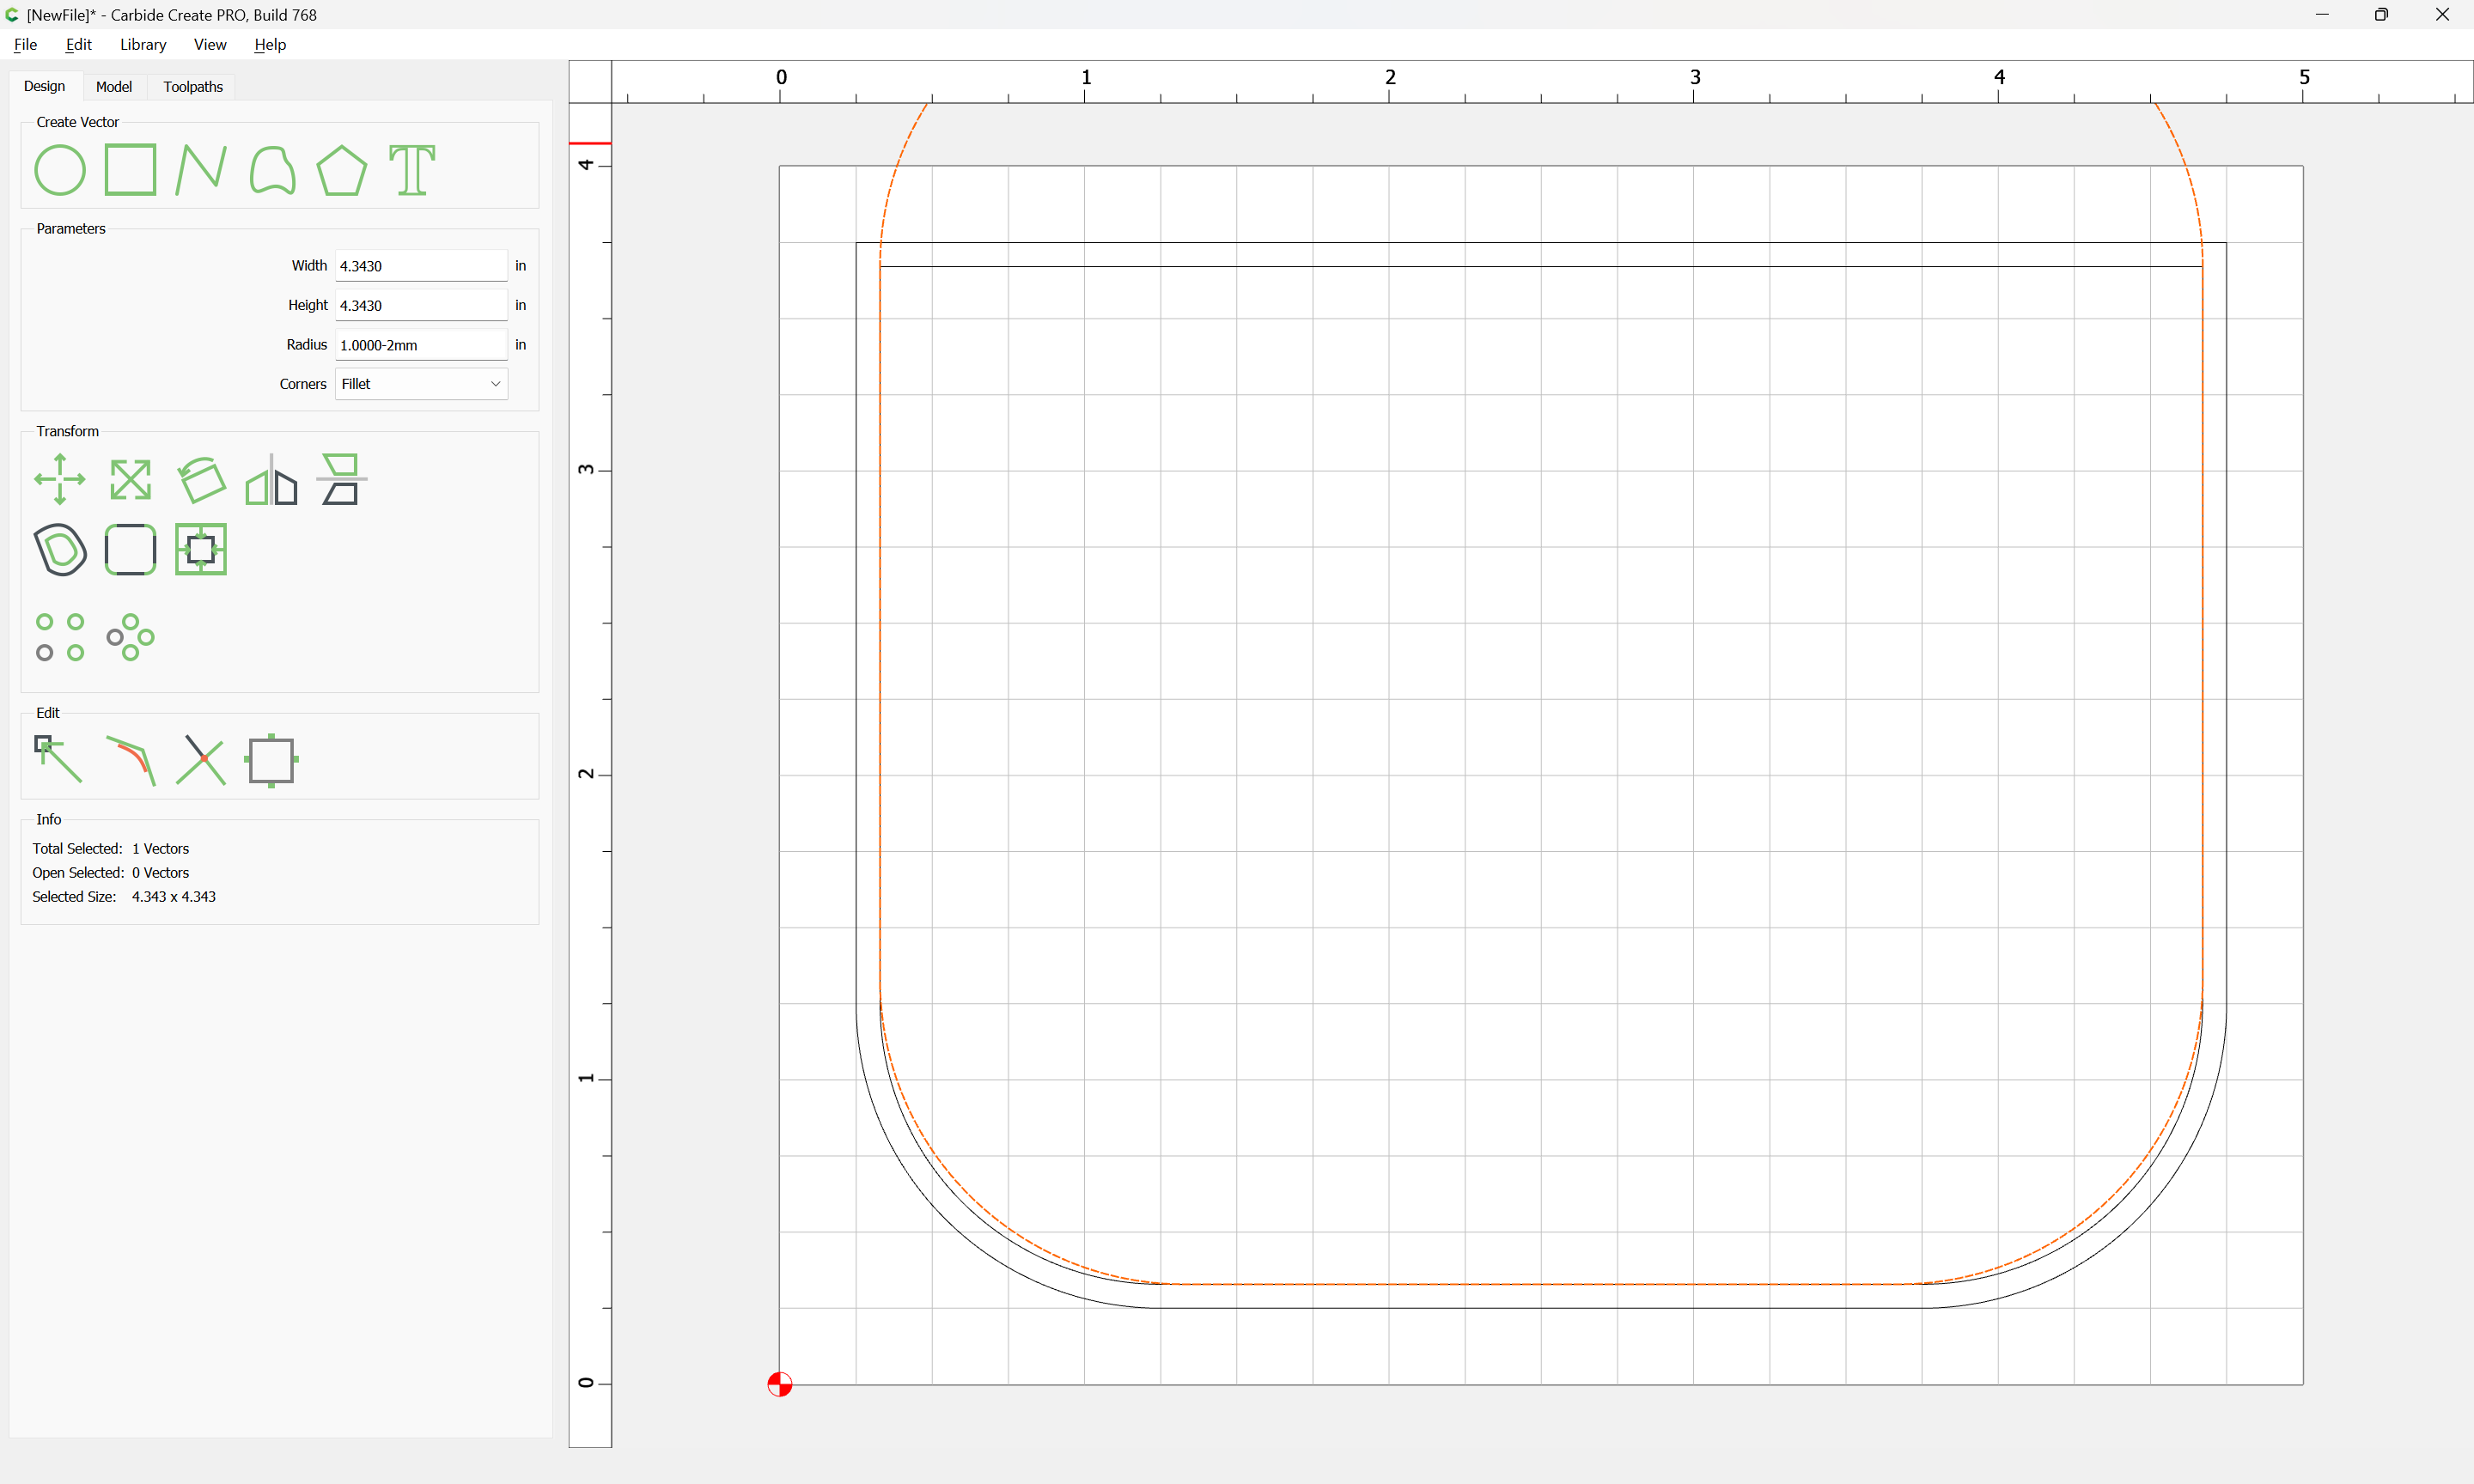
Inset this shape twice, once by the desired amount of rounding, and again by that same amount with the inset geometry:

Apply


Apply
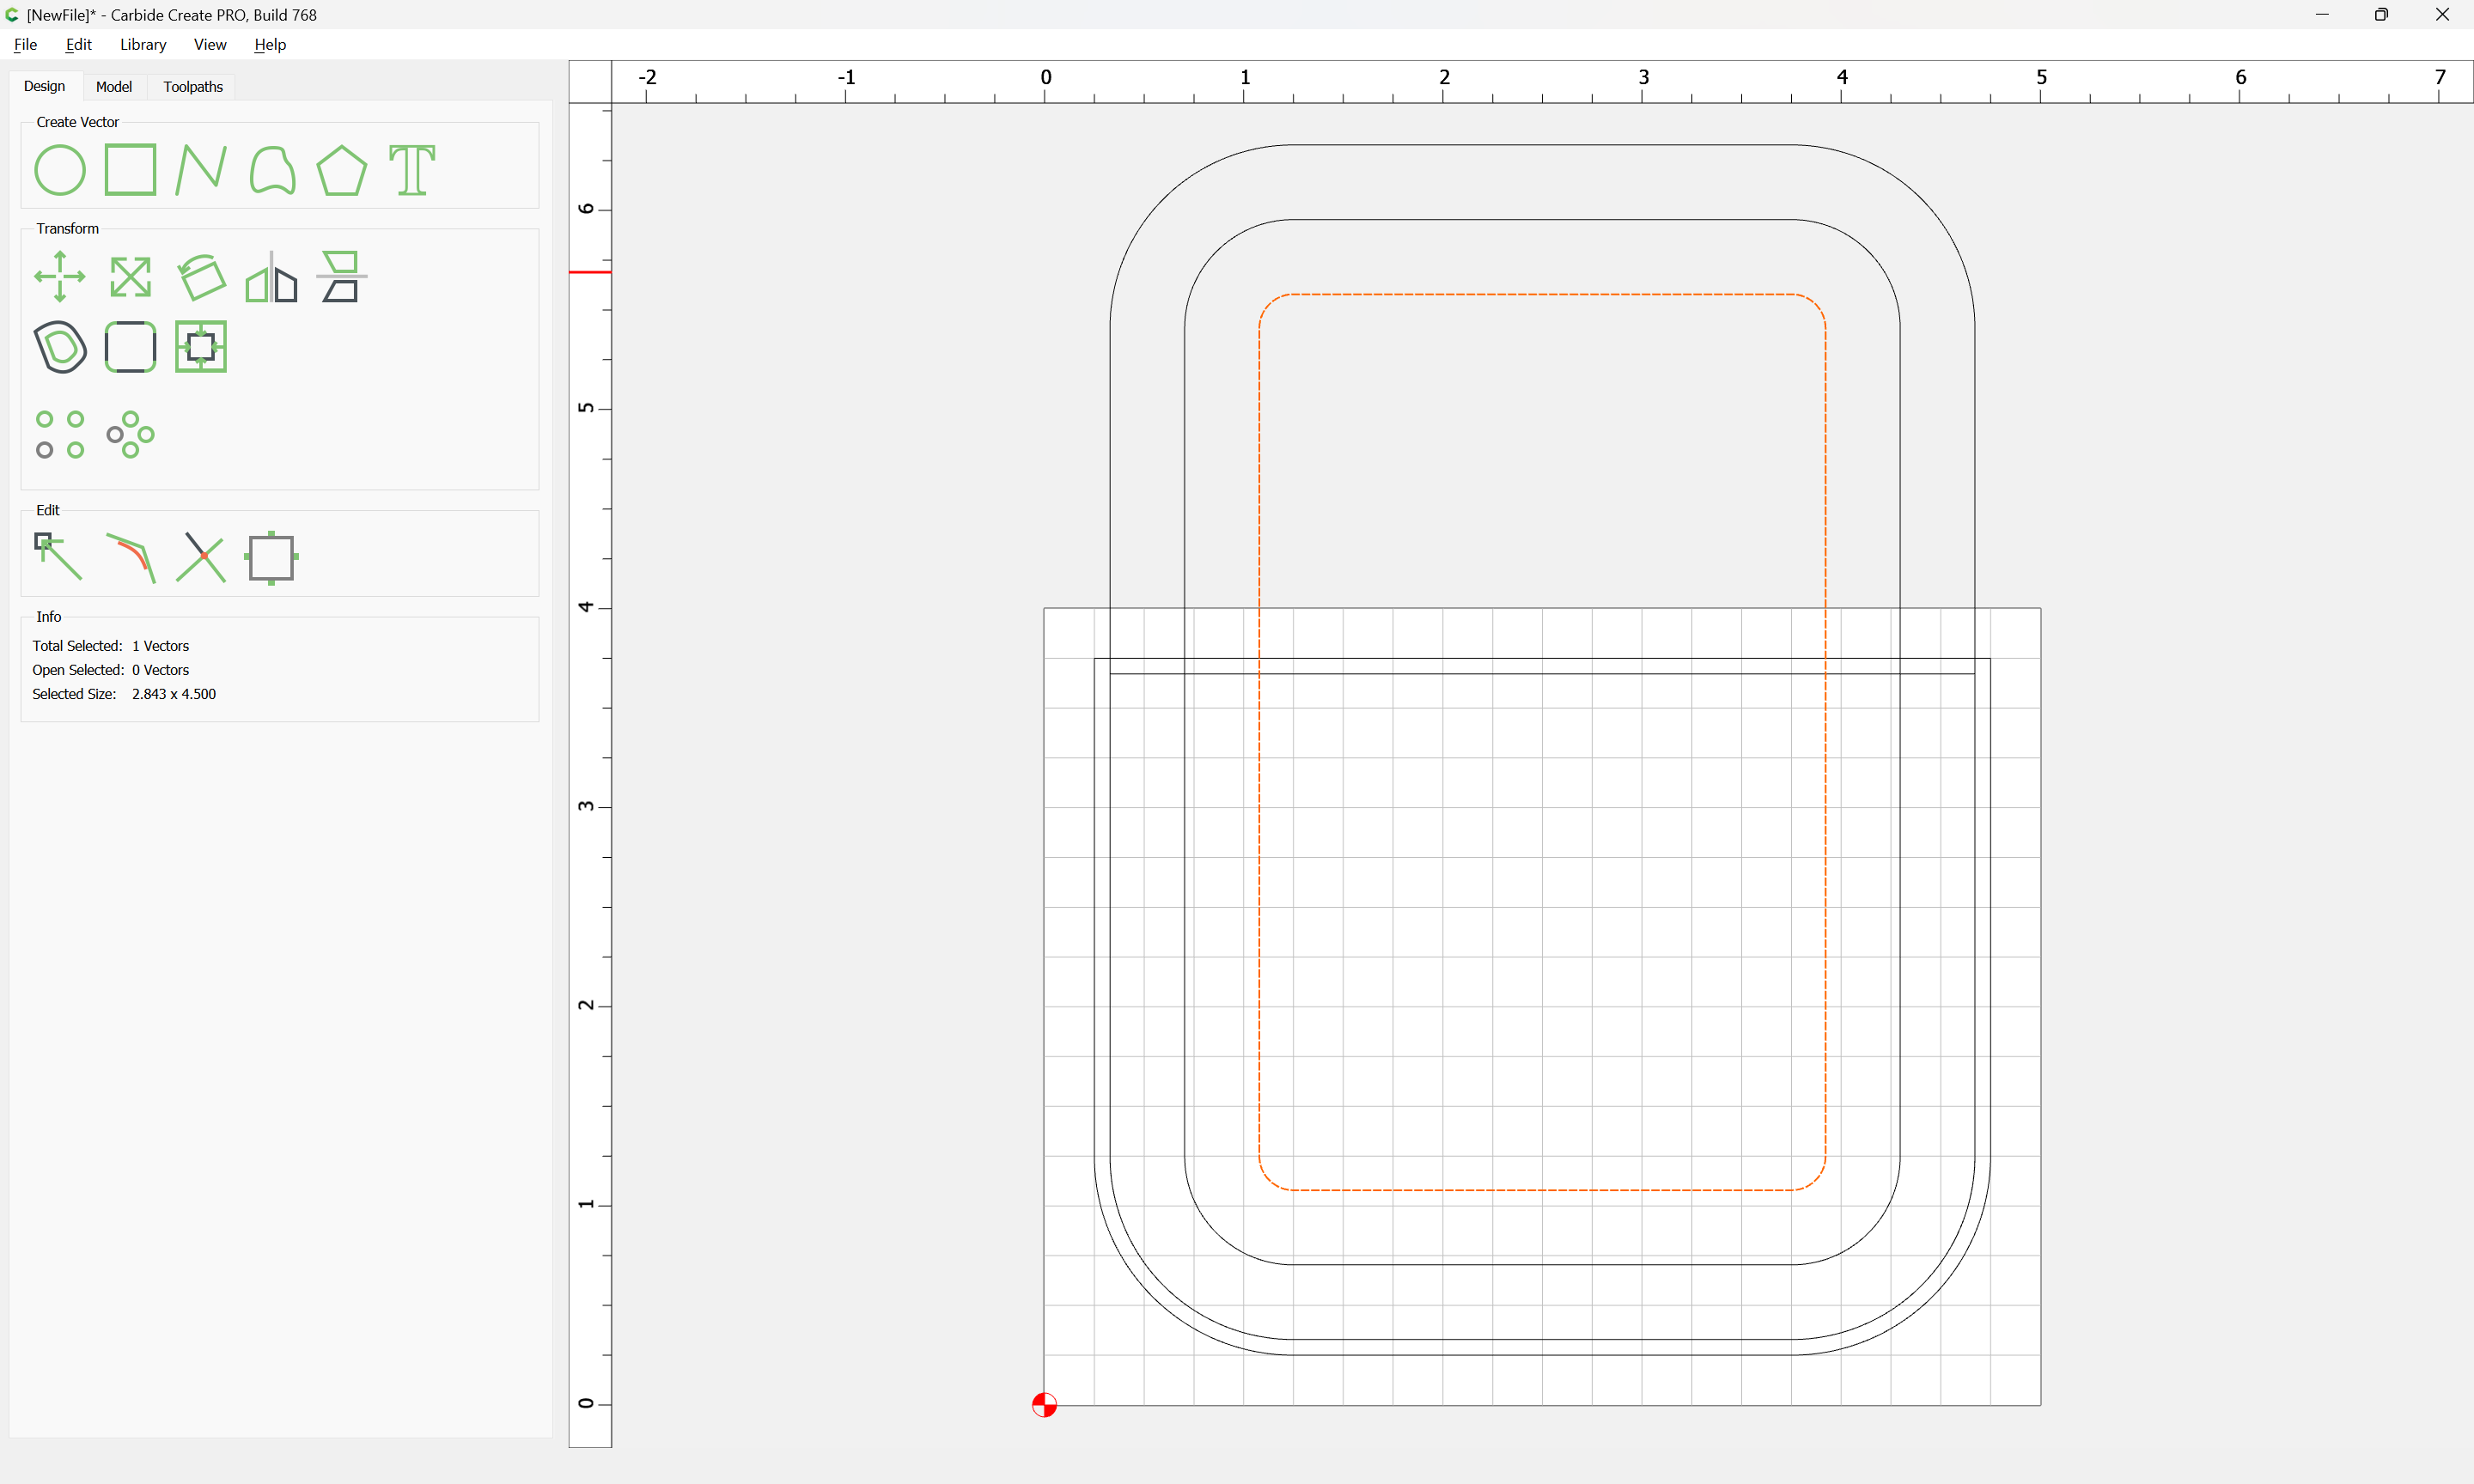
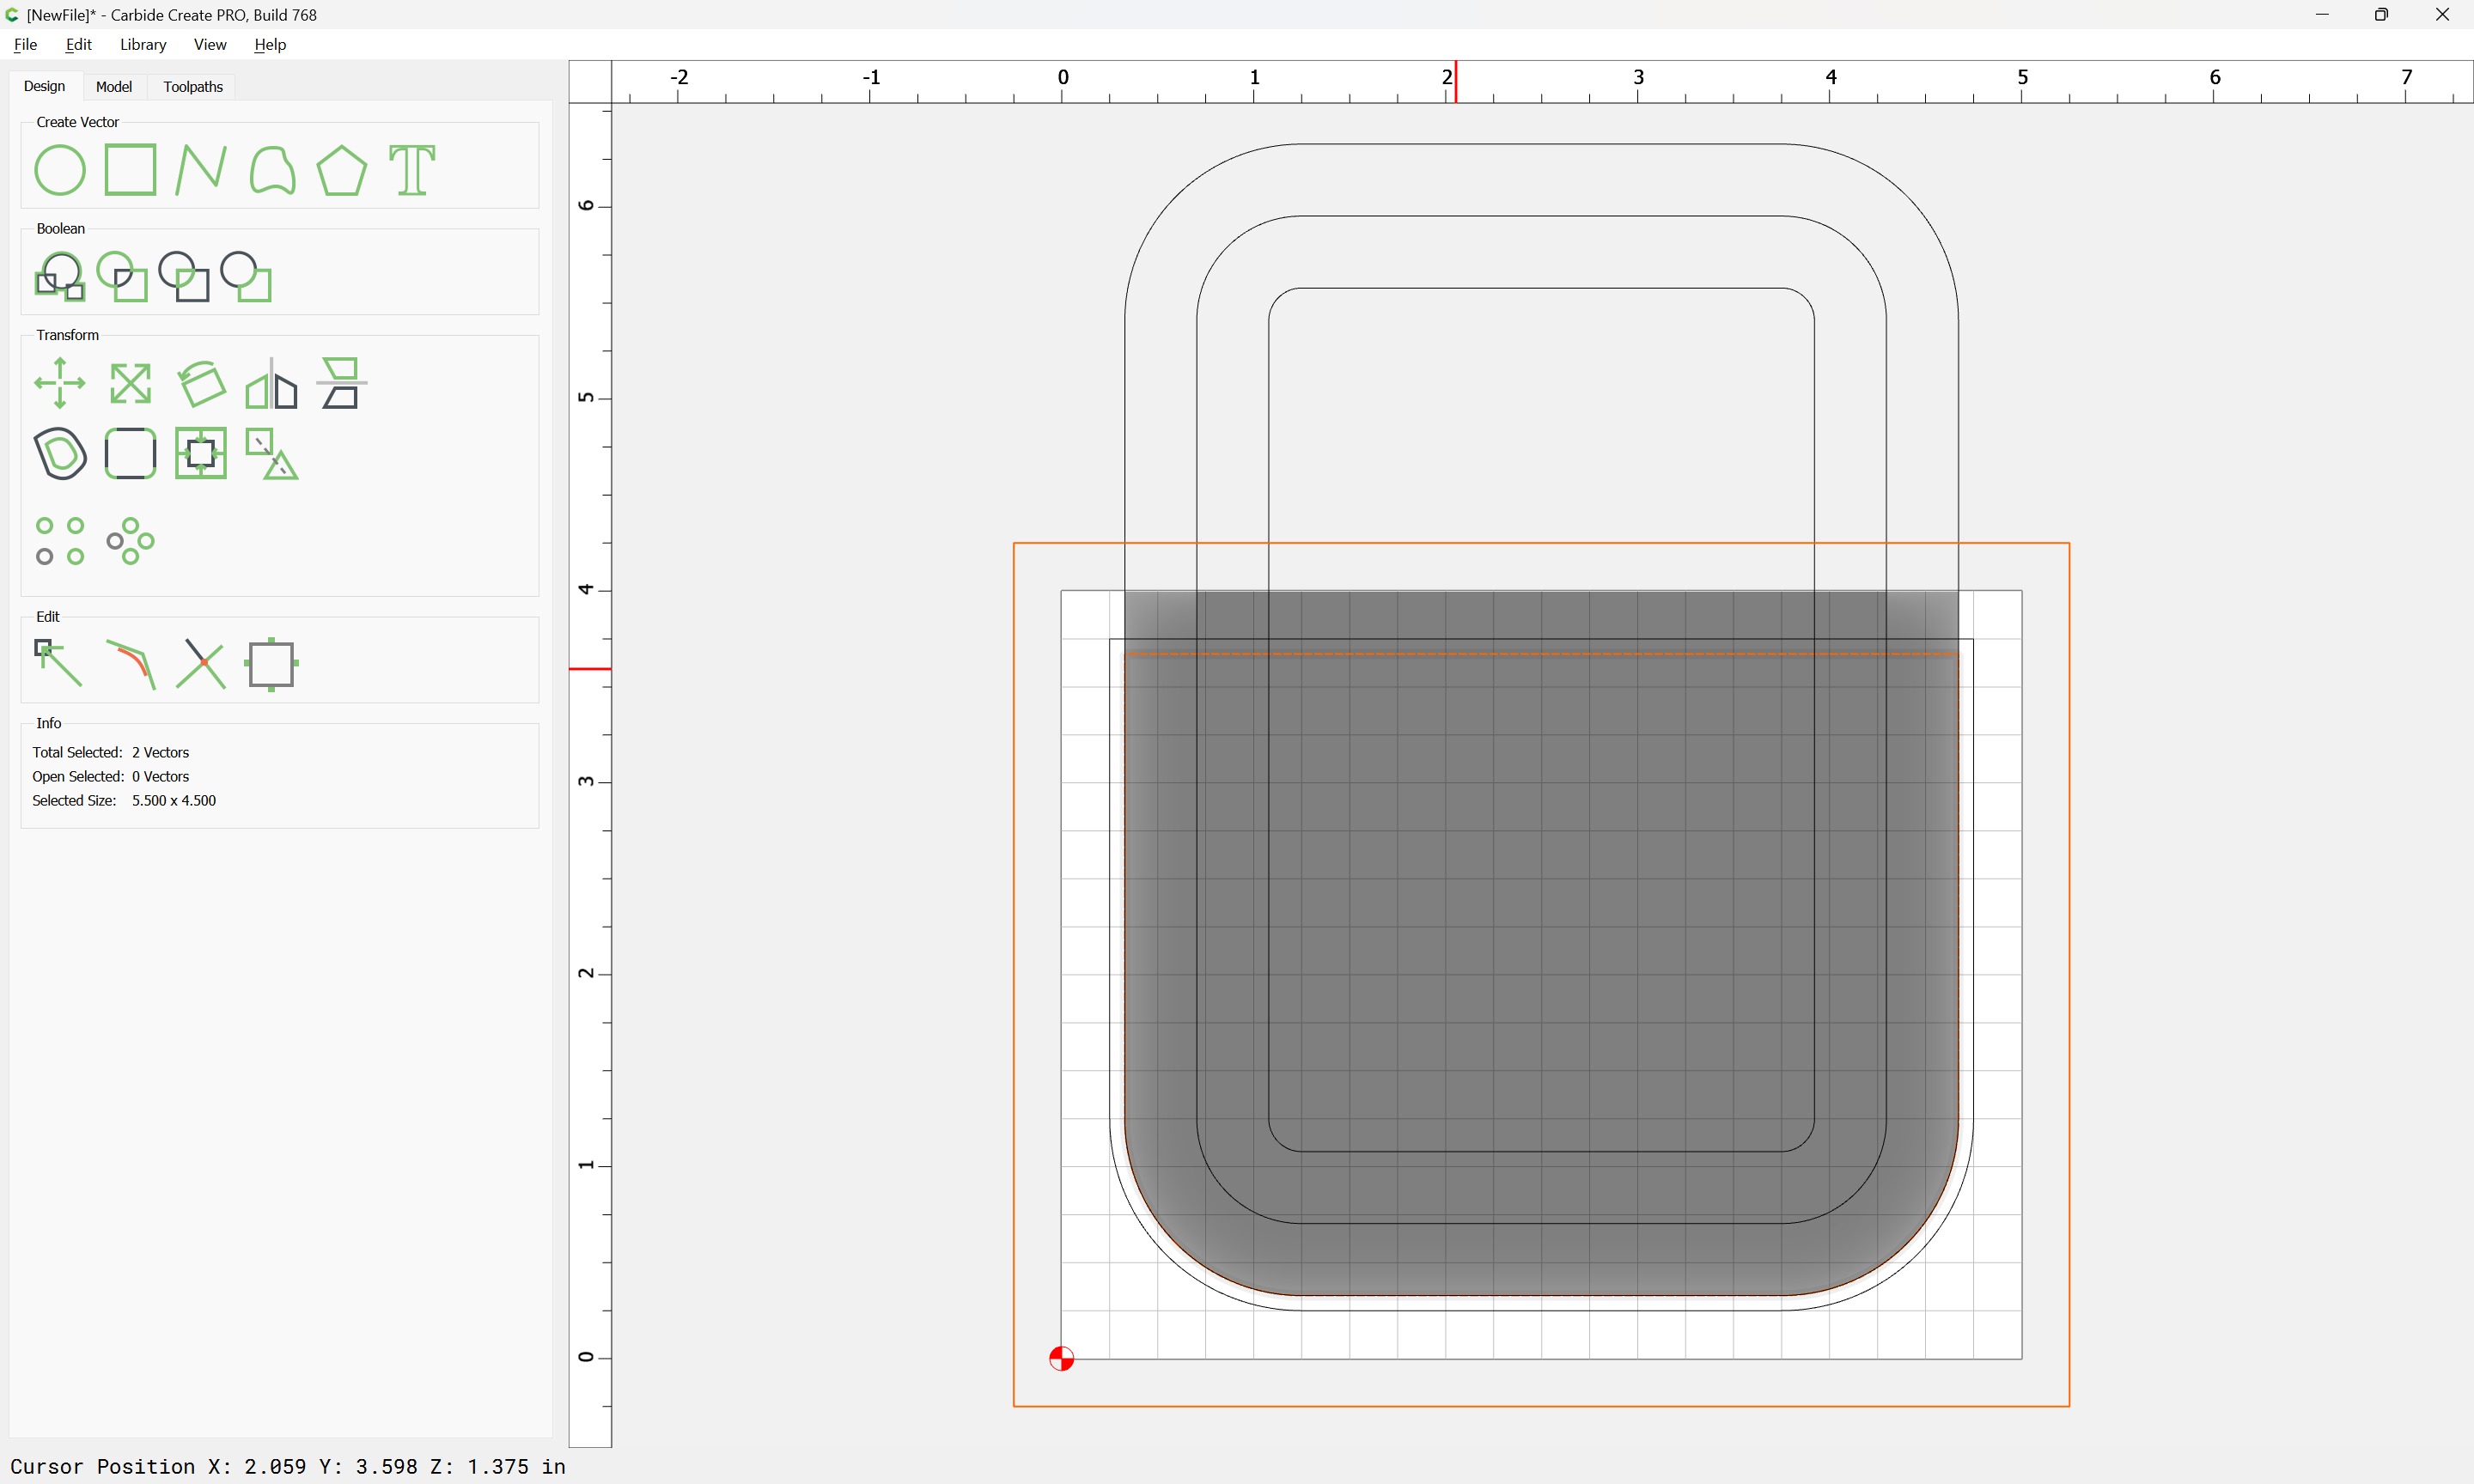
Select the last and first geometry:

and set the parameters to match what is desired:

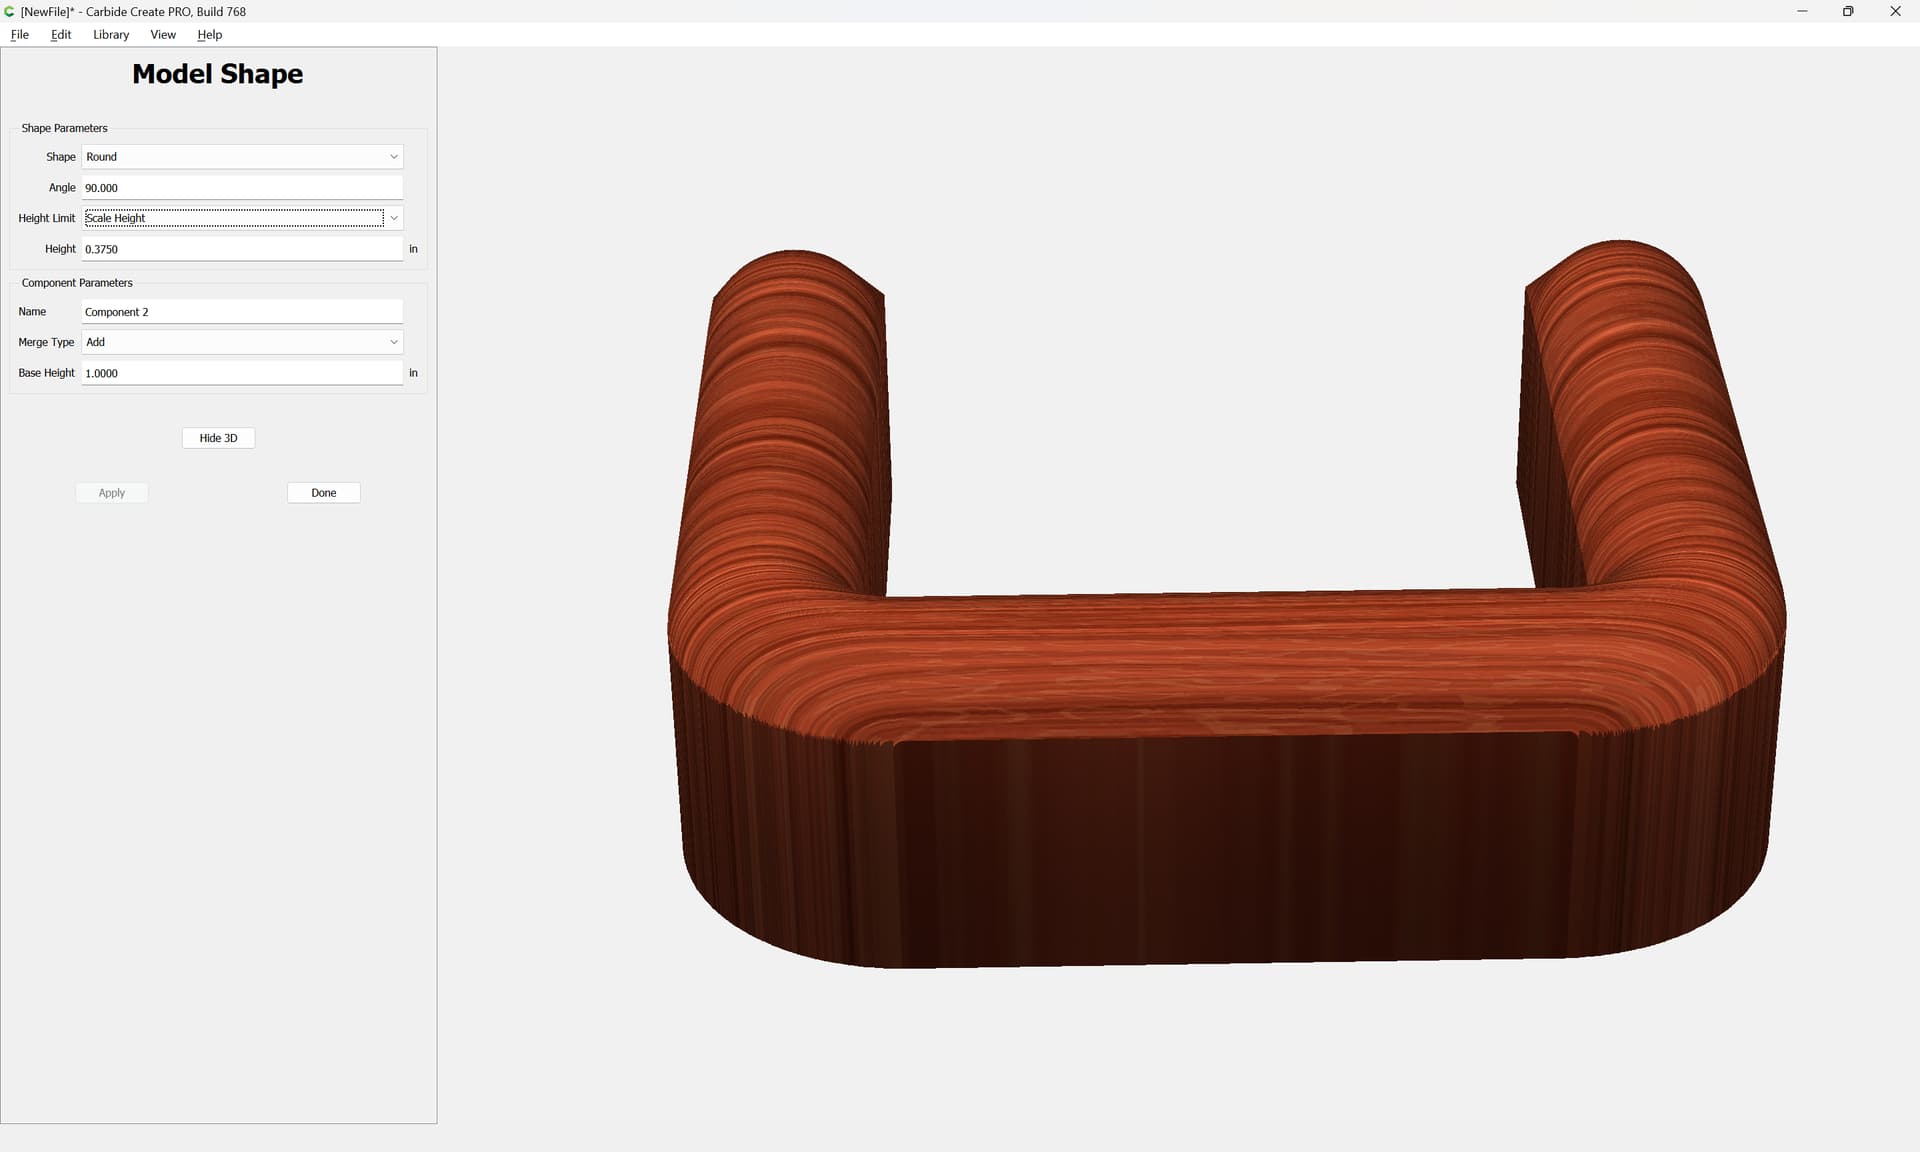
and if need be, adjust as desired:
Done

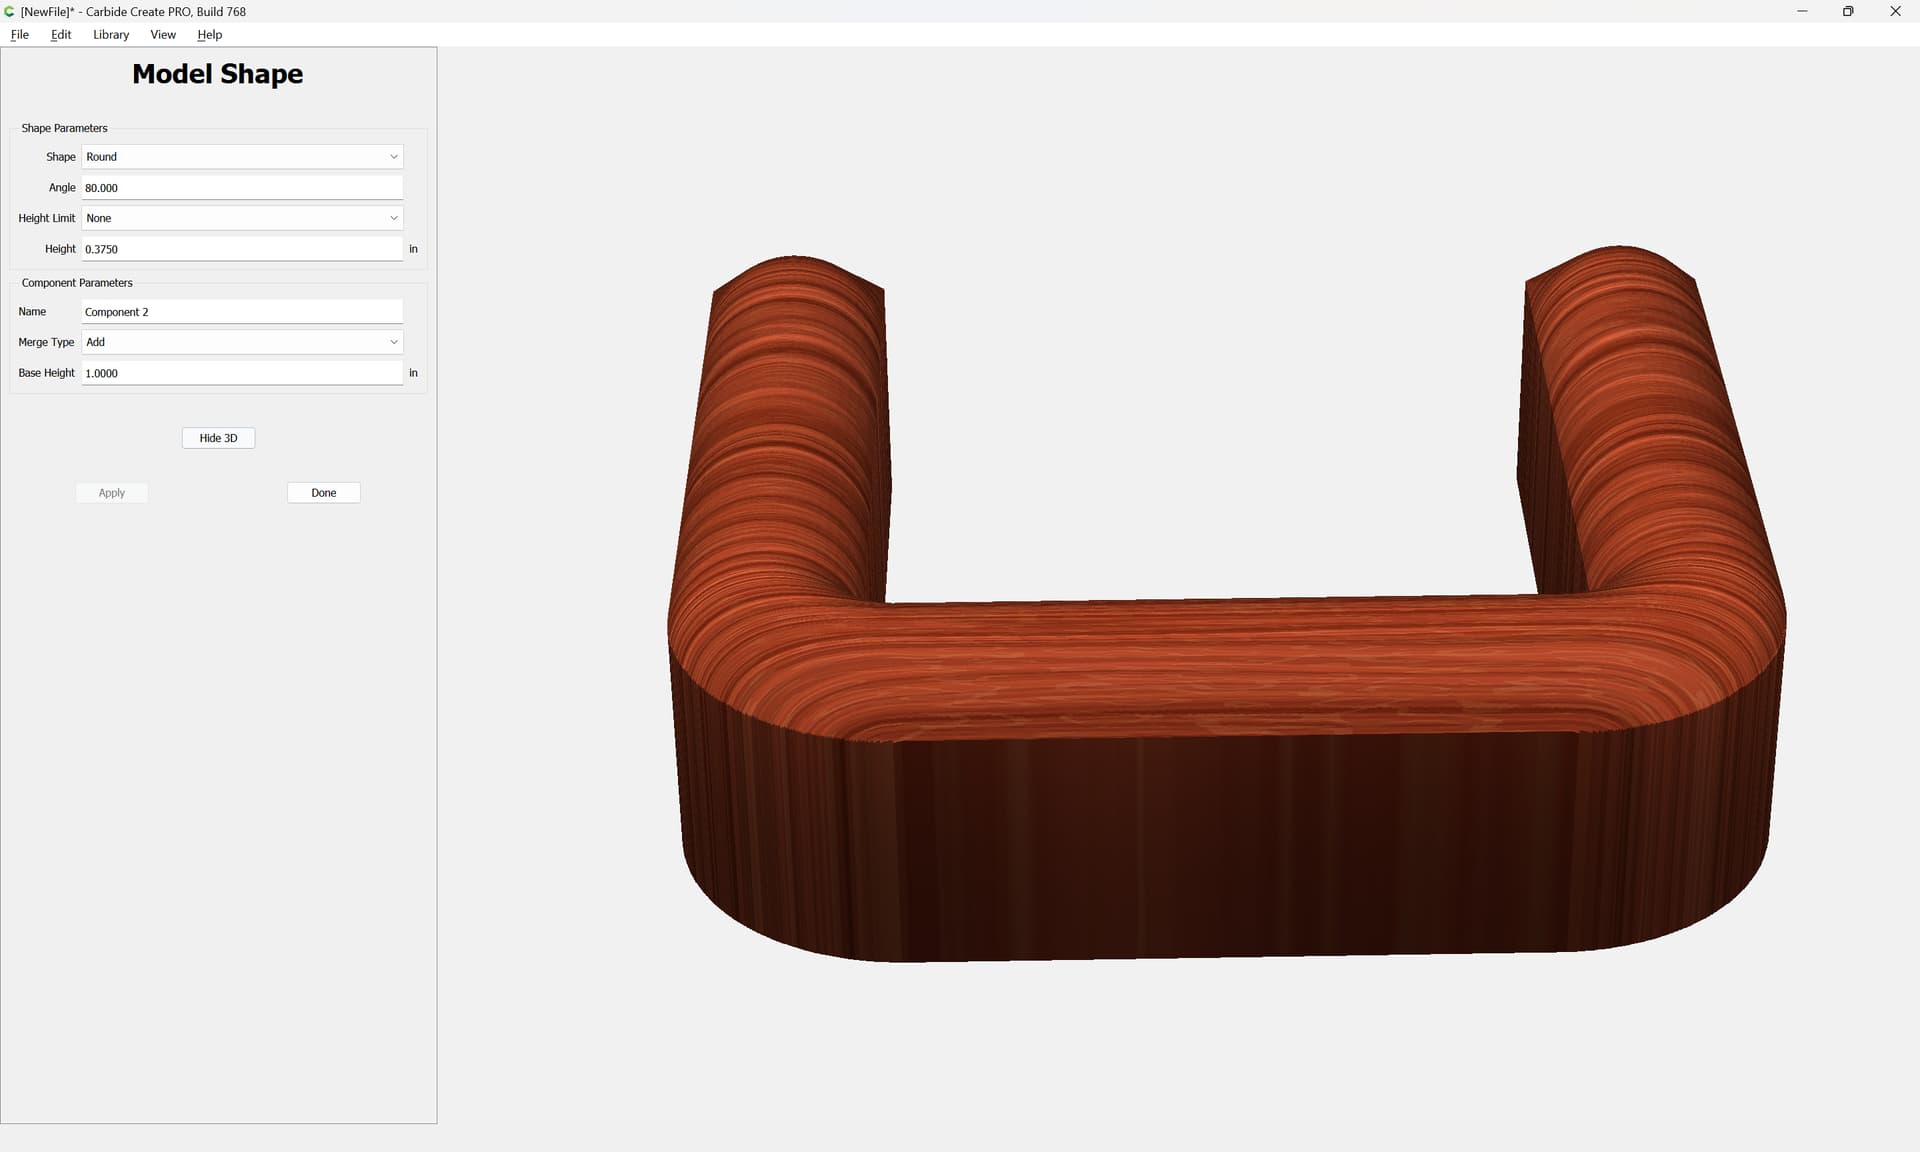
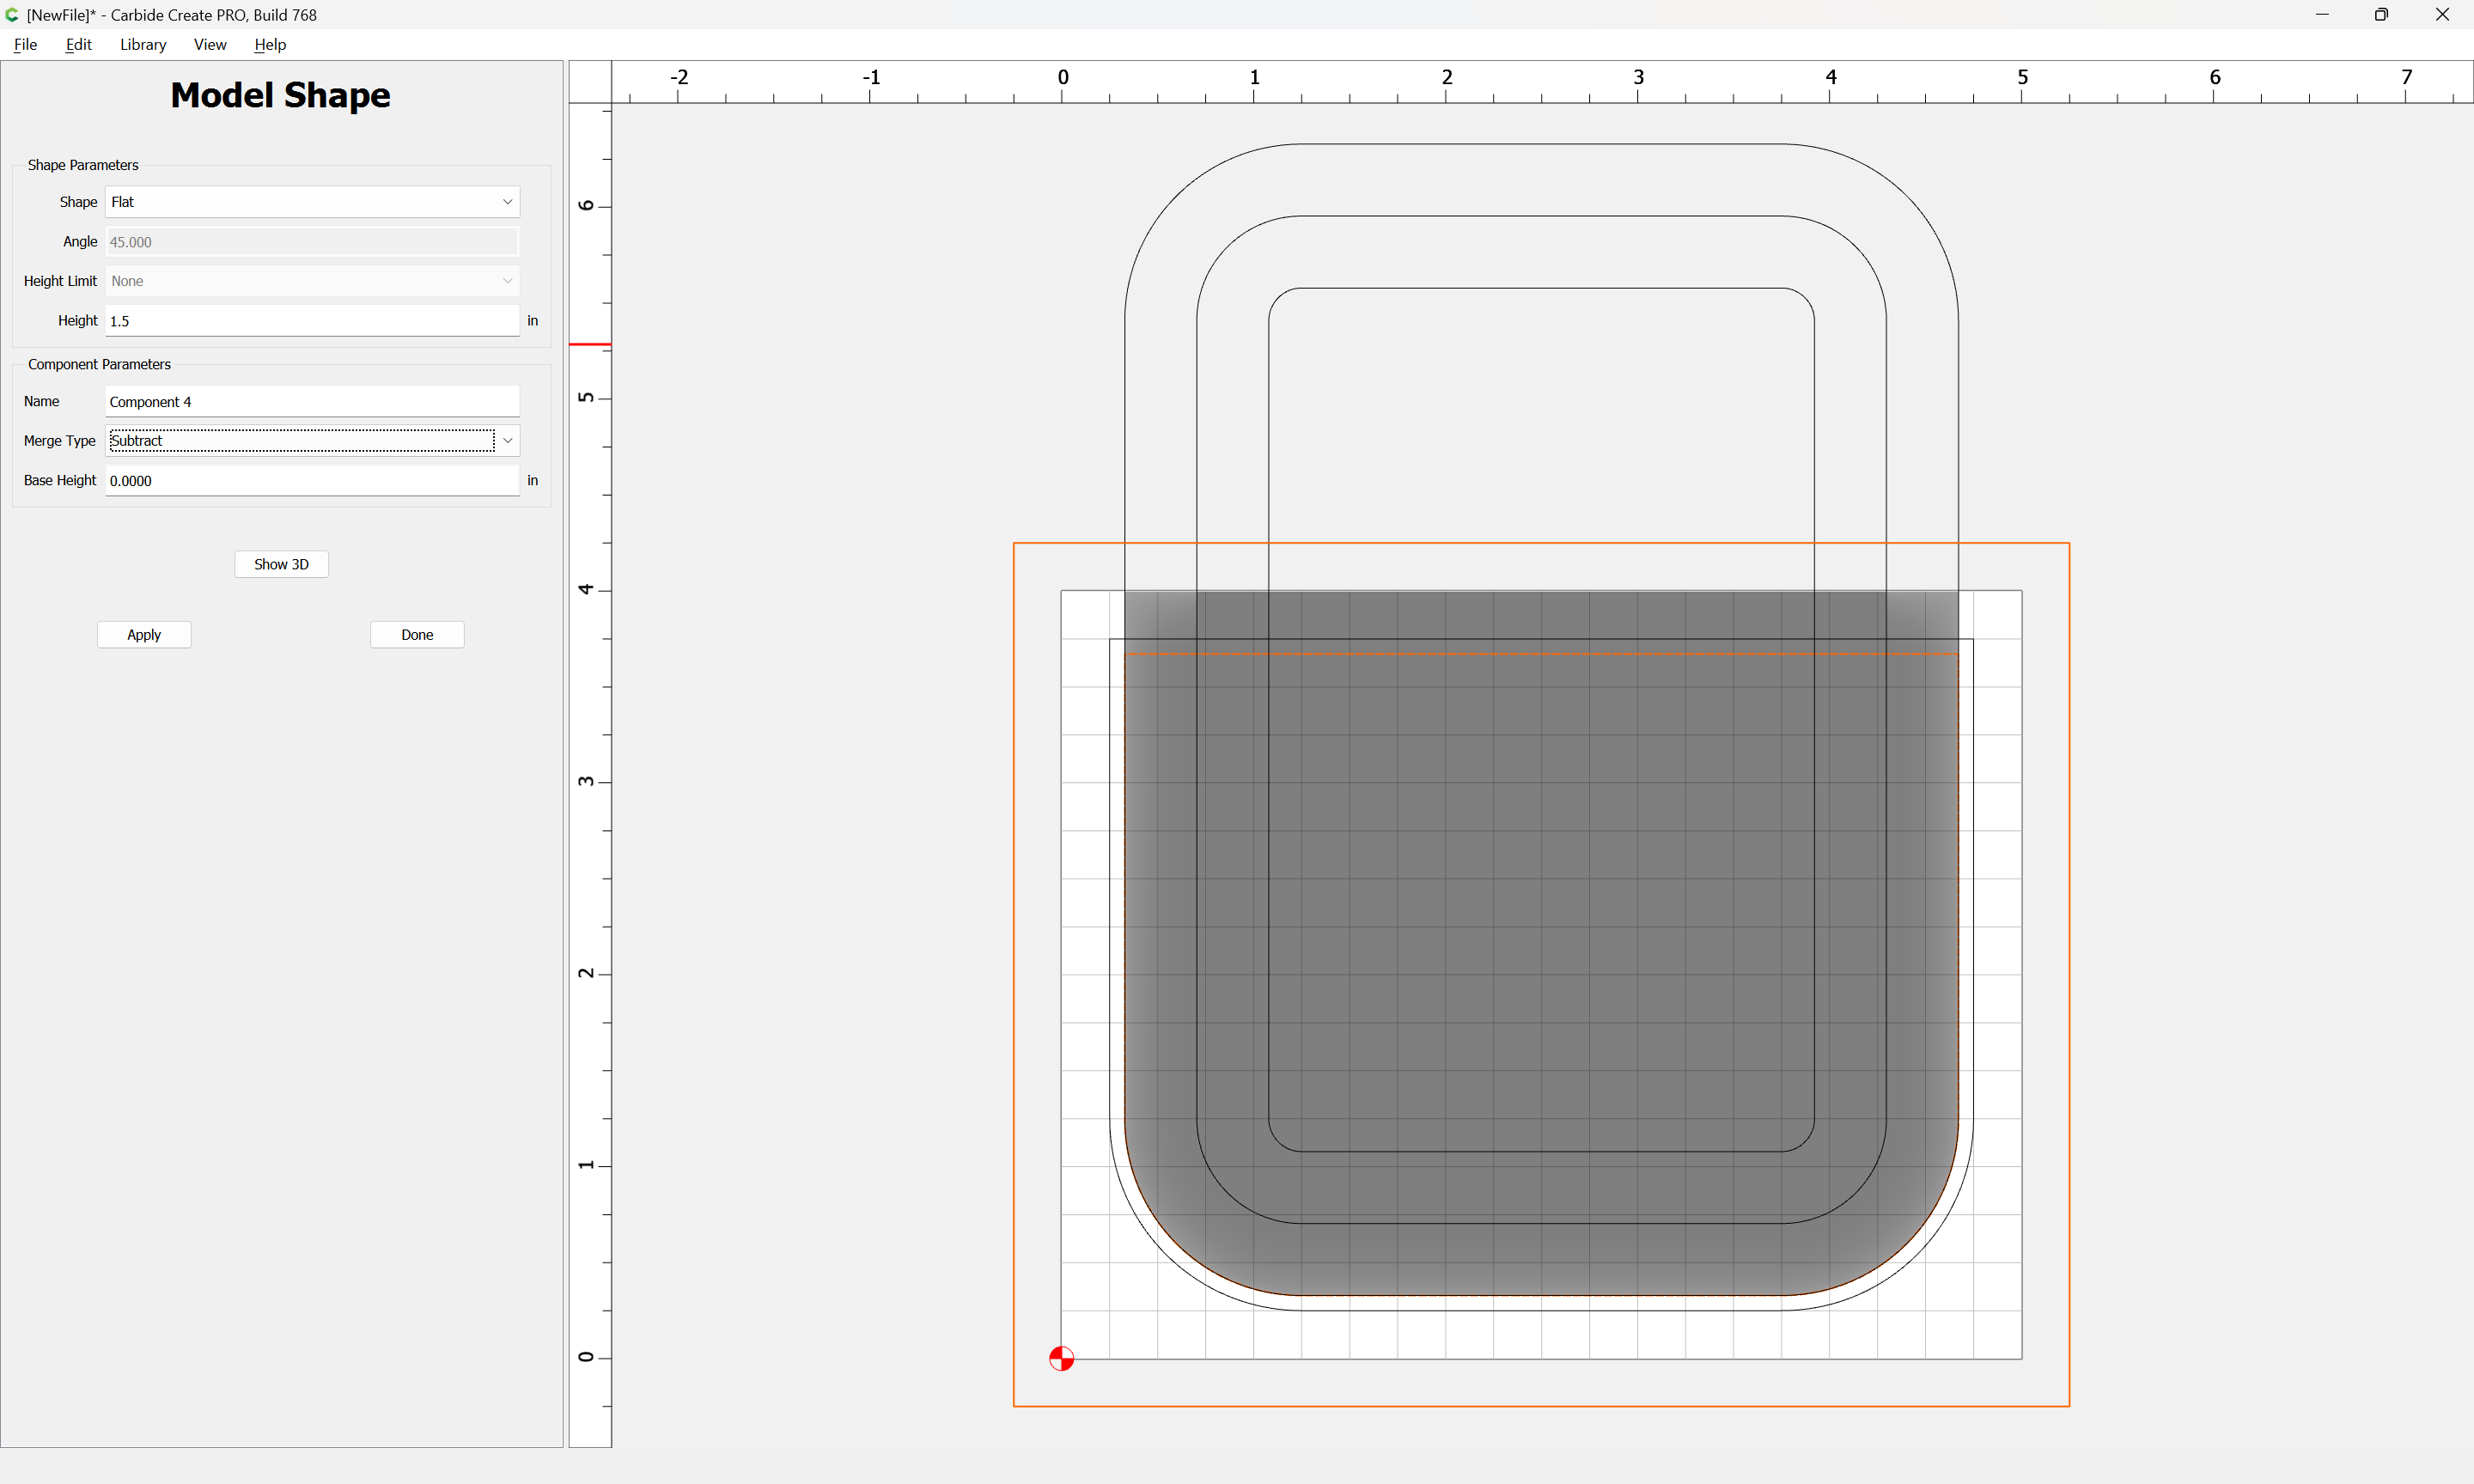
Select the middle geometry:

and model it to the thickness of the previous component:
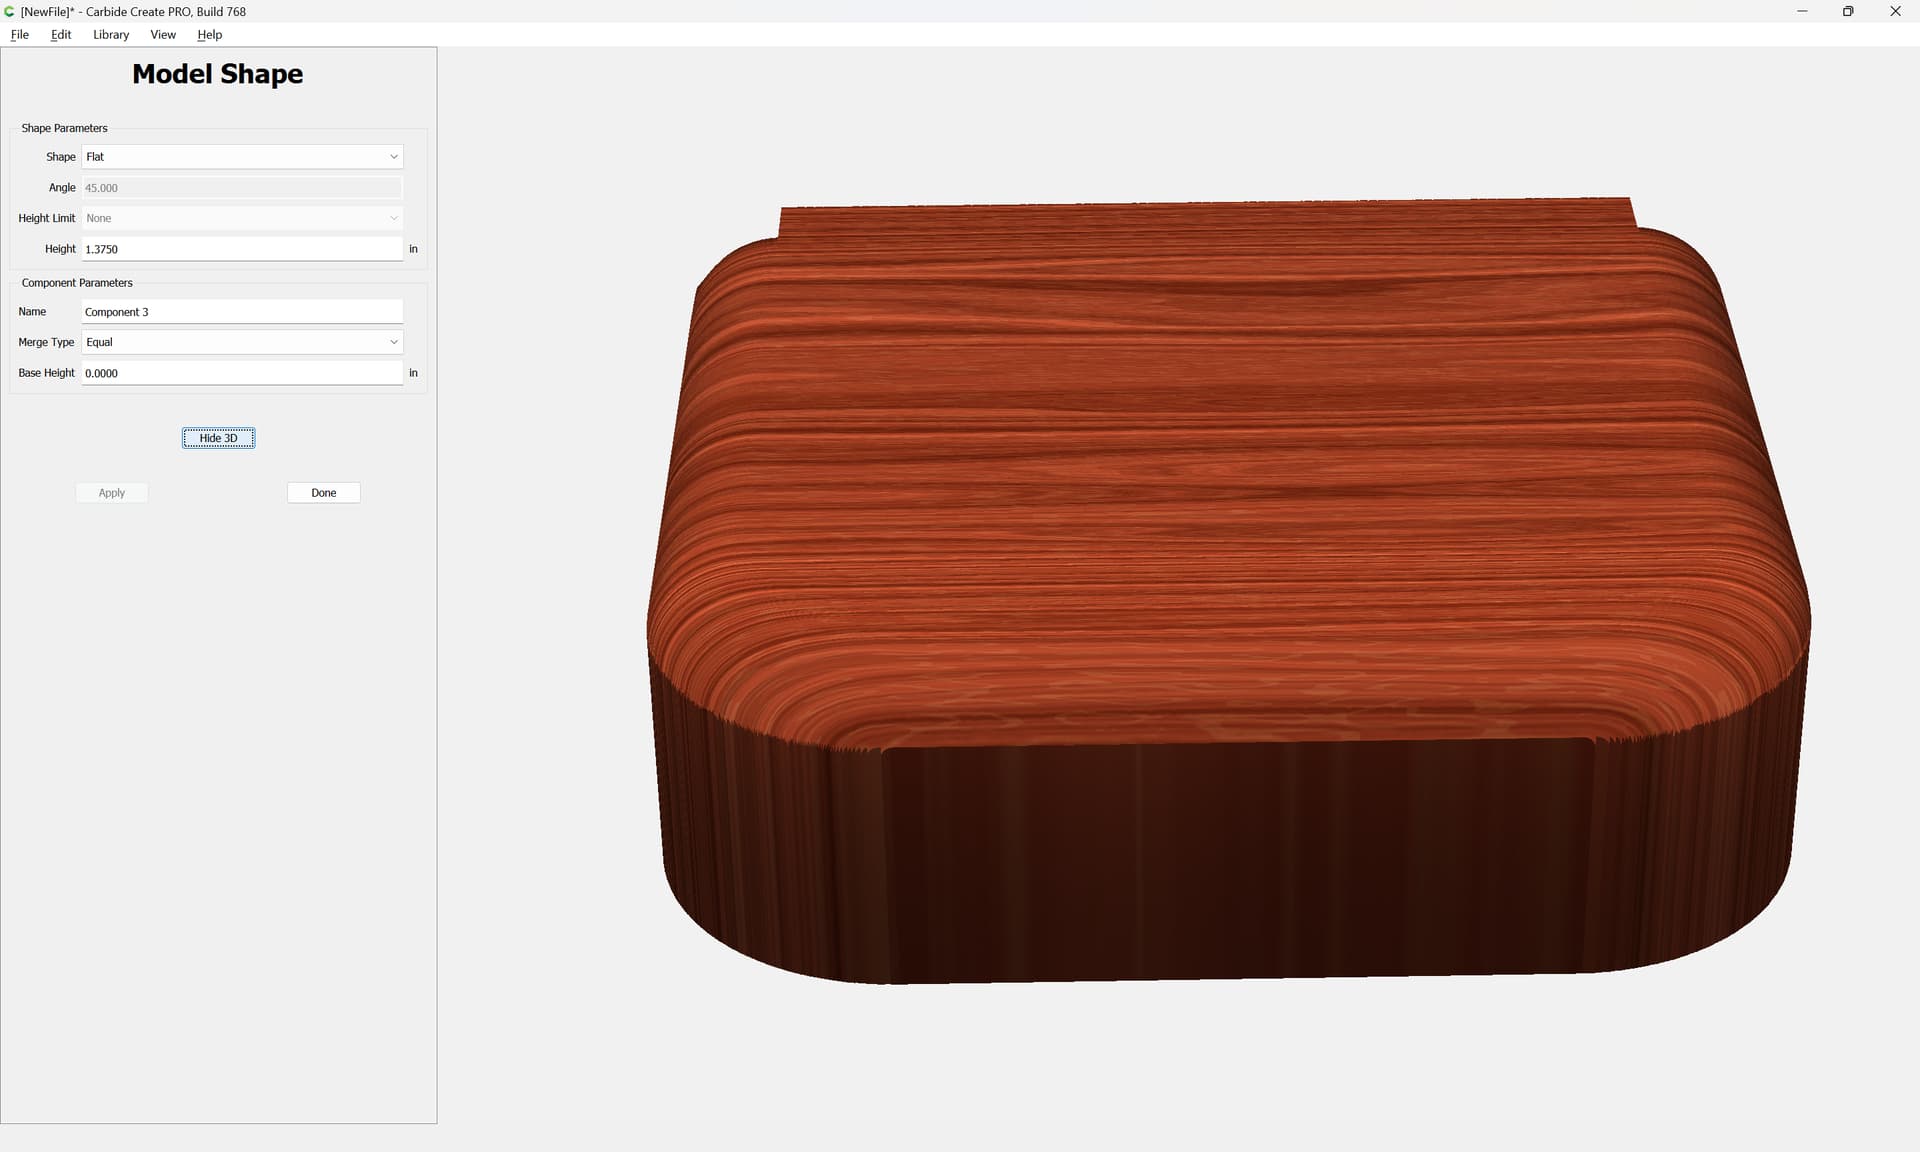
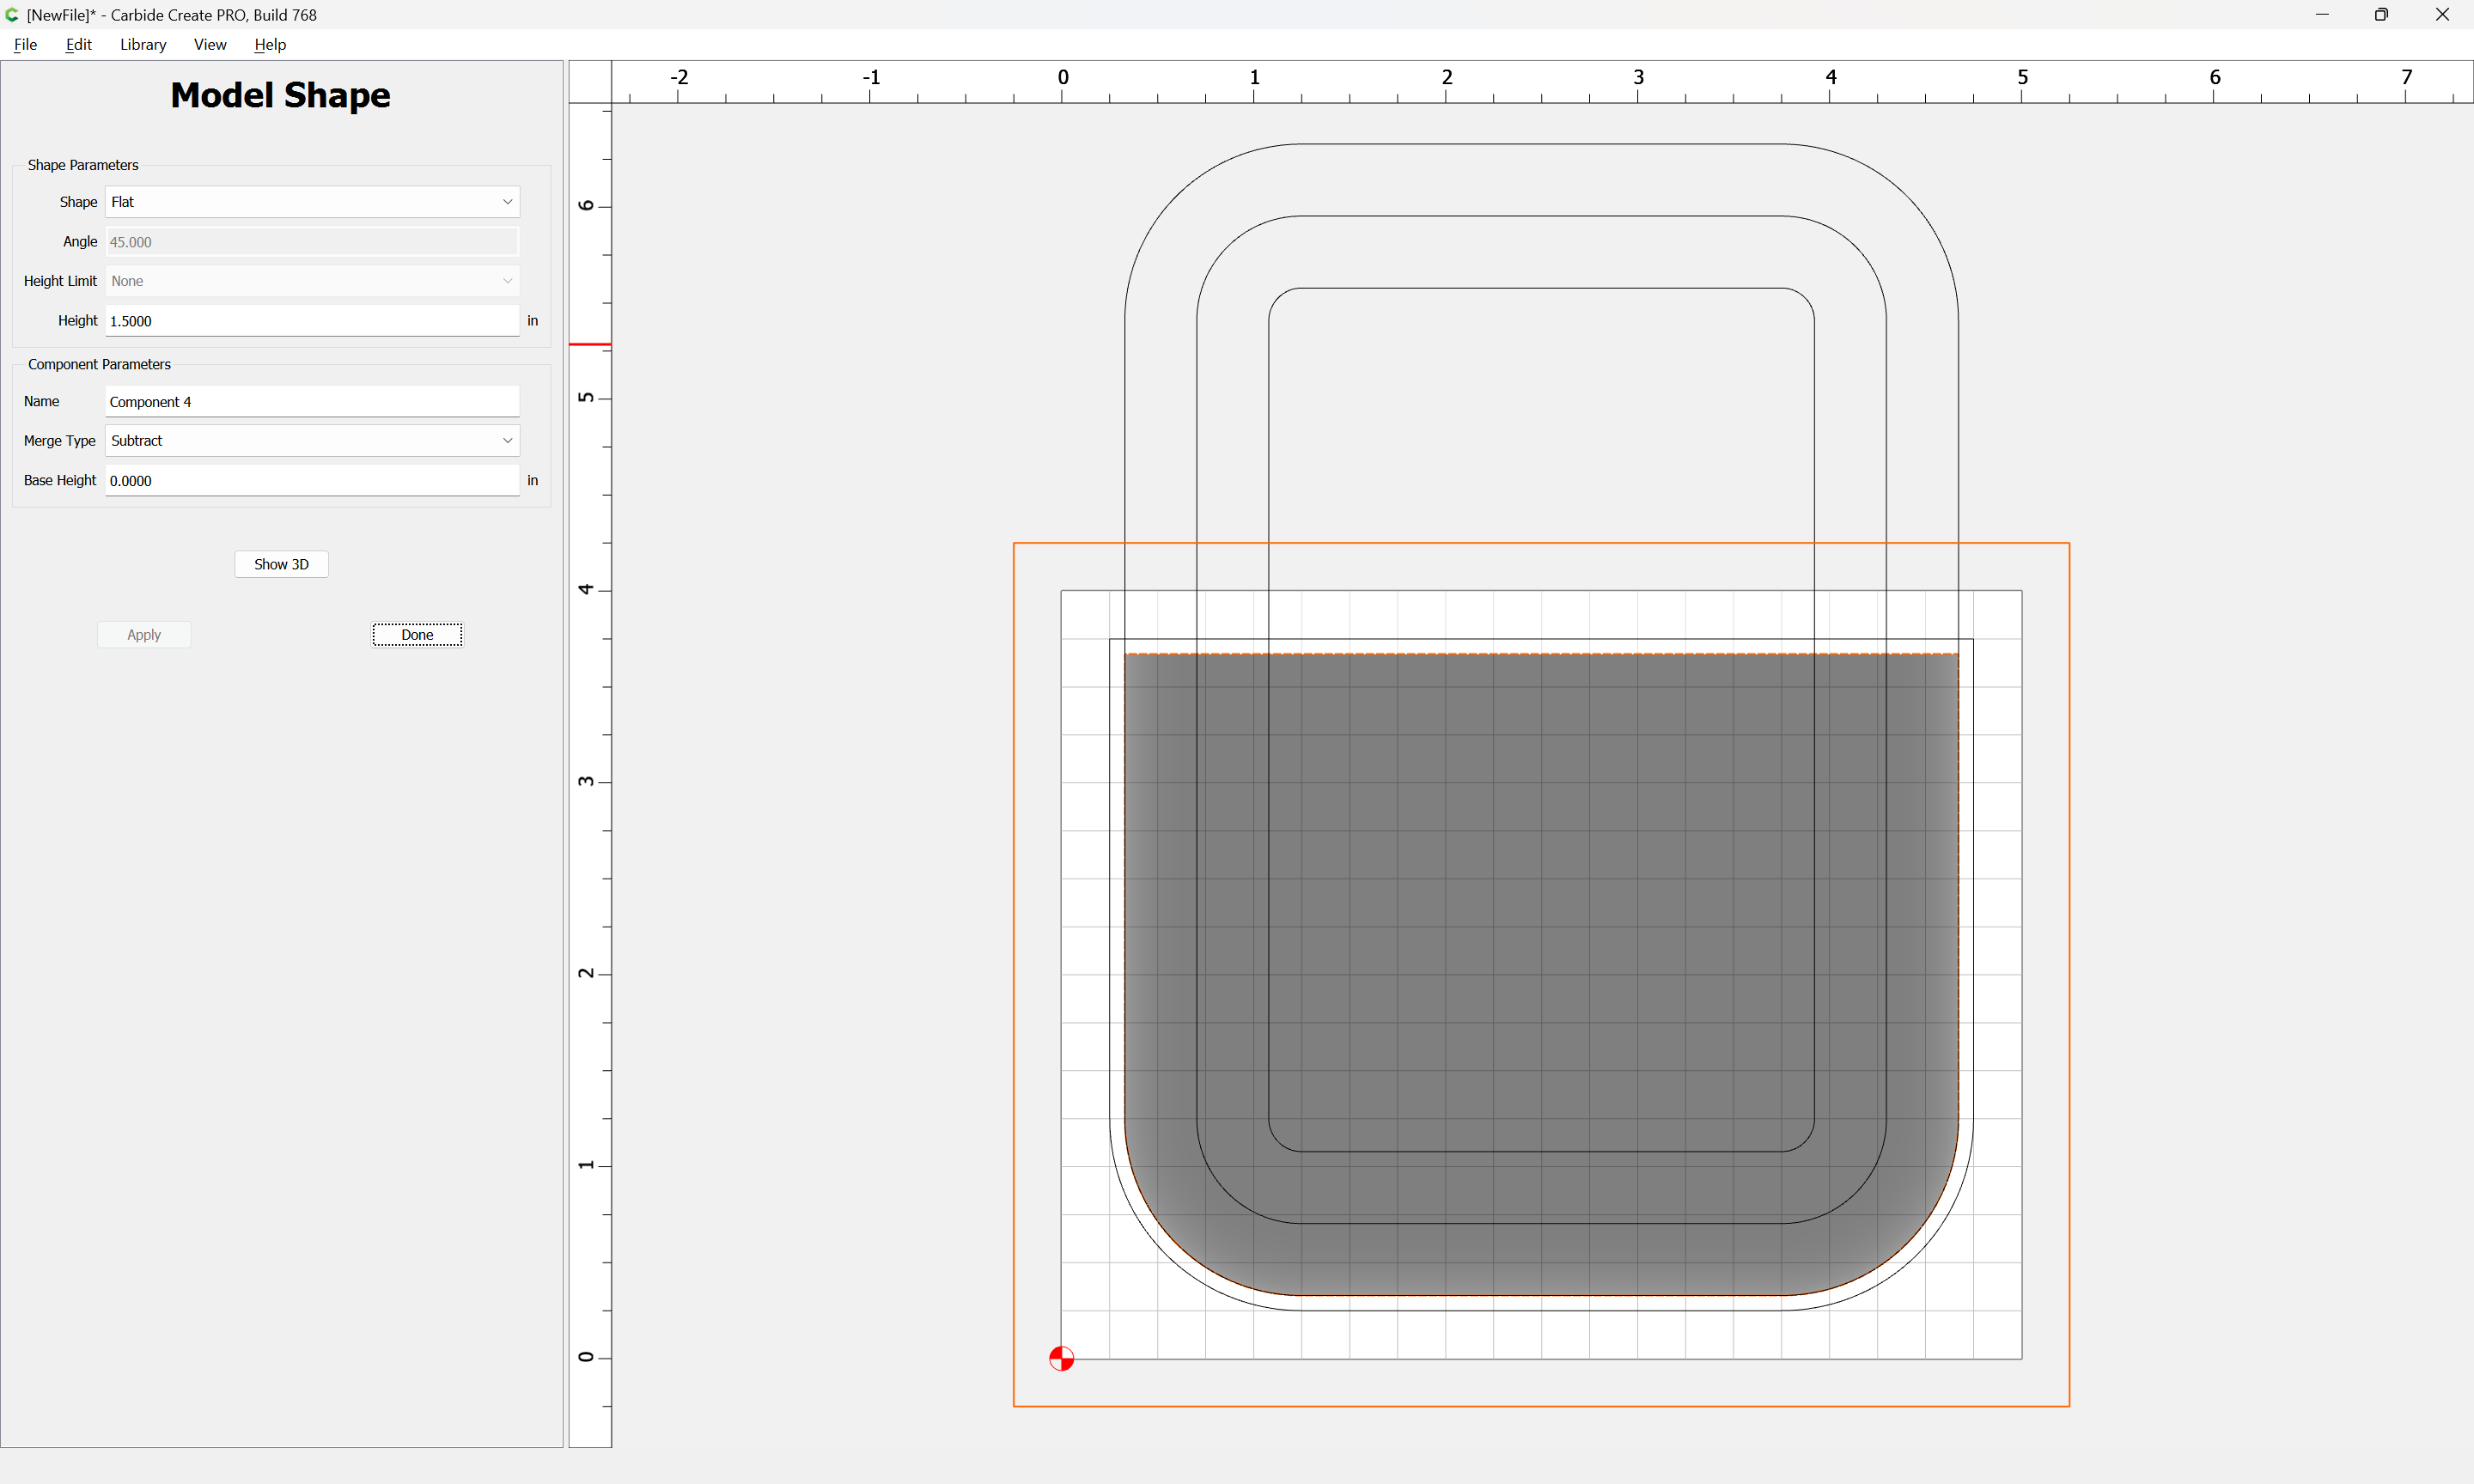
Done
Draw in geometry larger than the Stock:
Select it and the desired shape:
and model so as to remove what is not wanted:

It will then be necessary to set up toolpaths so as to cut things out — this will require “long-reach” tooling which Carbide 3D does not sell.