Shapeoko 3 xxl
Material was anodized aluminum plate 5"x7" 0.5mm
120⁰ McEtcher
Bitsetter turned off
Stepover .250mm
Depth per pass 0.381mm
Plunge 762mm/m
Feed 1524mm/m
Rpm 0
Can anyone make any recommendations to improve finish? Is this the right tool for the job or is this the job of a laser engraver? I was hoping the for the lines to be less noticeable.
I like the stylized results as is.
Did it cut everything more than once ? Looks kinda deep.
If you back off the spring pressure the lines would be fainter.
Stepover could reduced. I am not home so I can’t check what I use on black acrylic.
It looks decent. One could try a 90 degree McEtcher (my favorite), which should make the etches a bit narrower. This may allow a smaller stepover yet still give a more defined outcome. Trial and error with various combinations of stepover and depth per pass on a small piece of scrap will show the broad range of results obtainable with your material. Cheers.
I personally like the look. It definitely looks like it was engraved. If you didn’t want the lines, I would think you’re better off going with laser engraver.
I did a name tag for my kid’s camp footlocker with a 90⁰ McEtcher and felt that it cut too deep but that may have been because i used the bitsetter forgetting the tip could compress and throw off Z-0.
It looks like you guys seem to like the style as is and i may just have different expectations. I do need to play with the settings a bit like reducing pressure and stepover.
Overall this mcetcher is a great tool and will be a game changer for single line fonts when i redo my boats USCG tag.
I really want to get a Neje laser module for projects lile this but need to finish my enclosure and add ventilation before i set off smoke alarms
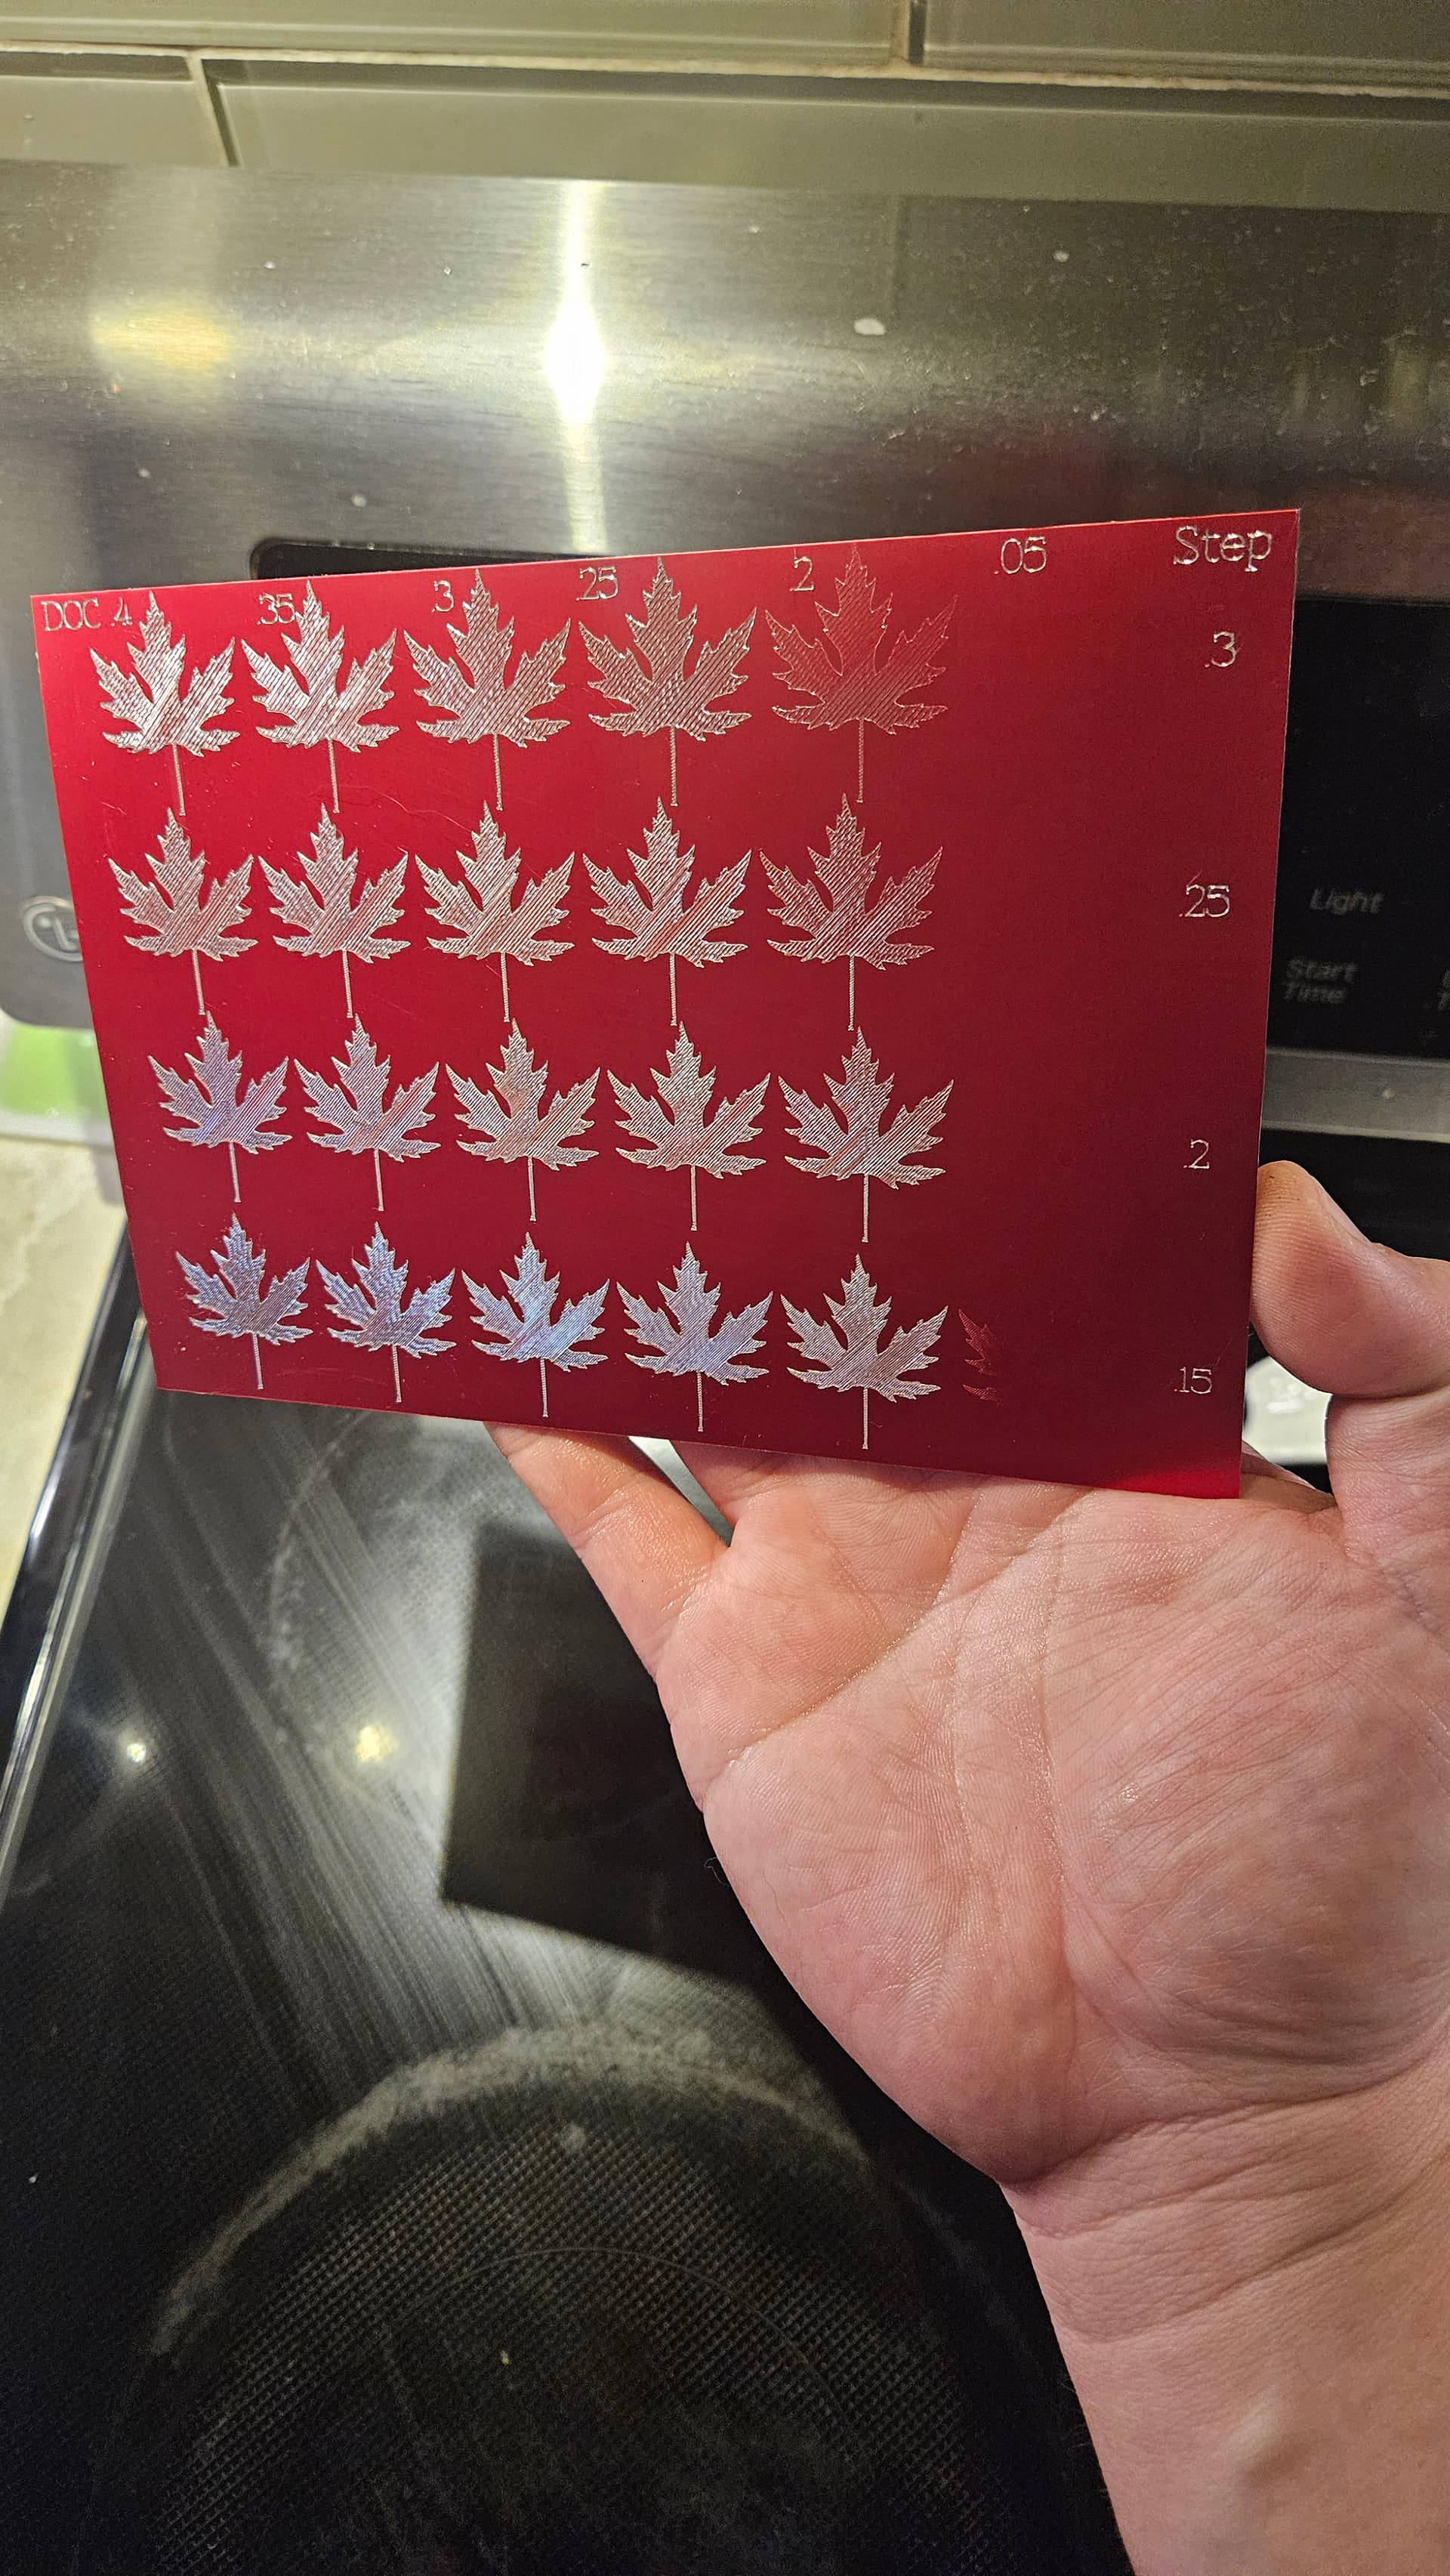
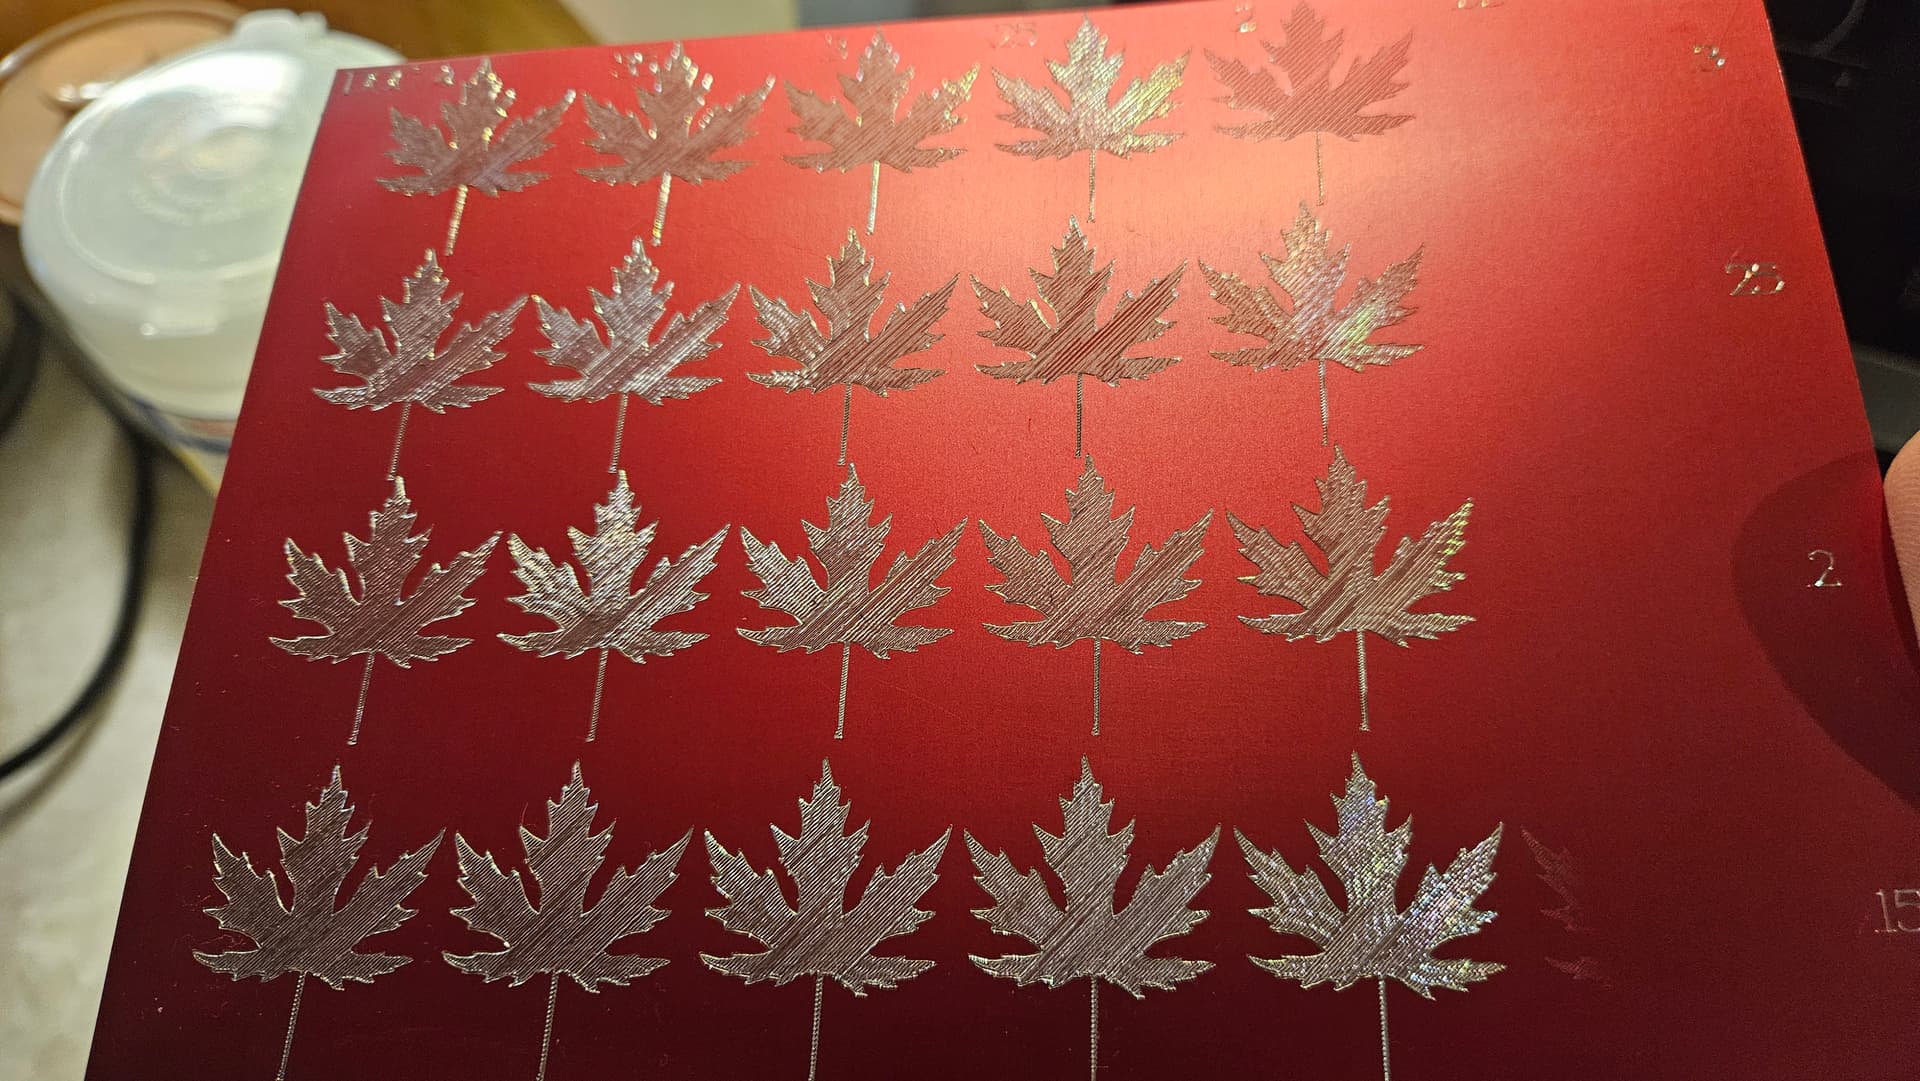
I ran a test piece with multiple stepovers and depths. The last line barely worked except for a little ghosting due to uneven surface. Tape and glued the piece to a piece of baltic birch scrap.
This is with a 120⁰ bit. I will do a run on the other side with the 90⁰. Its hard to tell the differences between most of the depths. Maybe the spring rate is linear and depth of cut doesnt make as big a difference as it seems. In my confusion i totally stipped .15mm and .10mm d.o.c. and went straight to .05mm
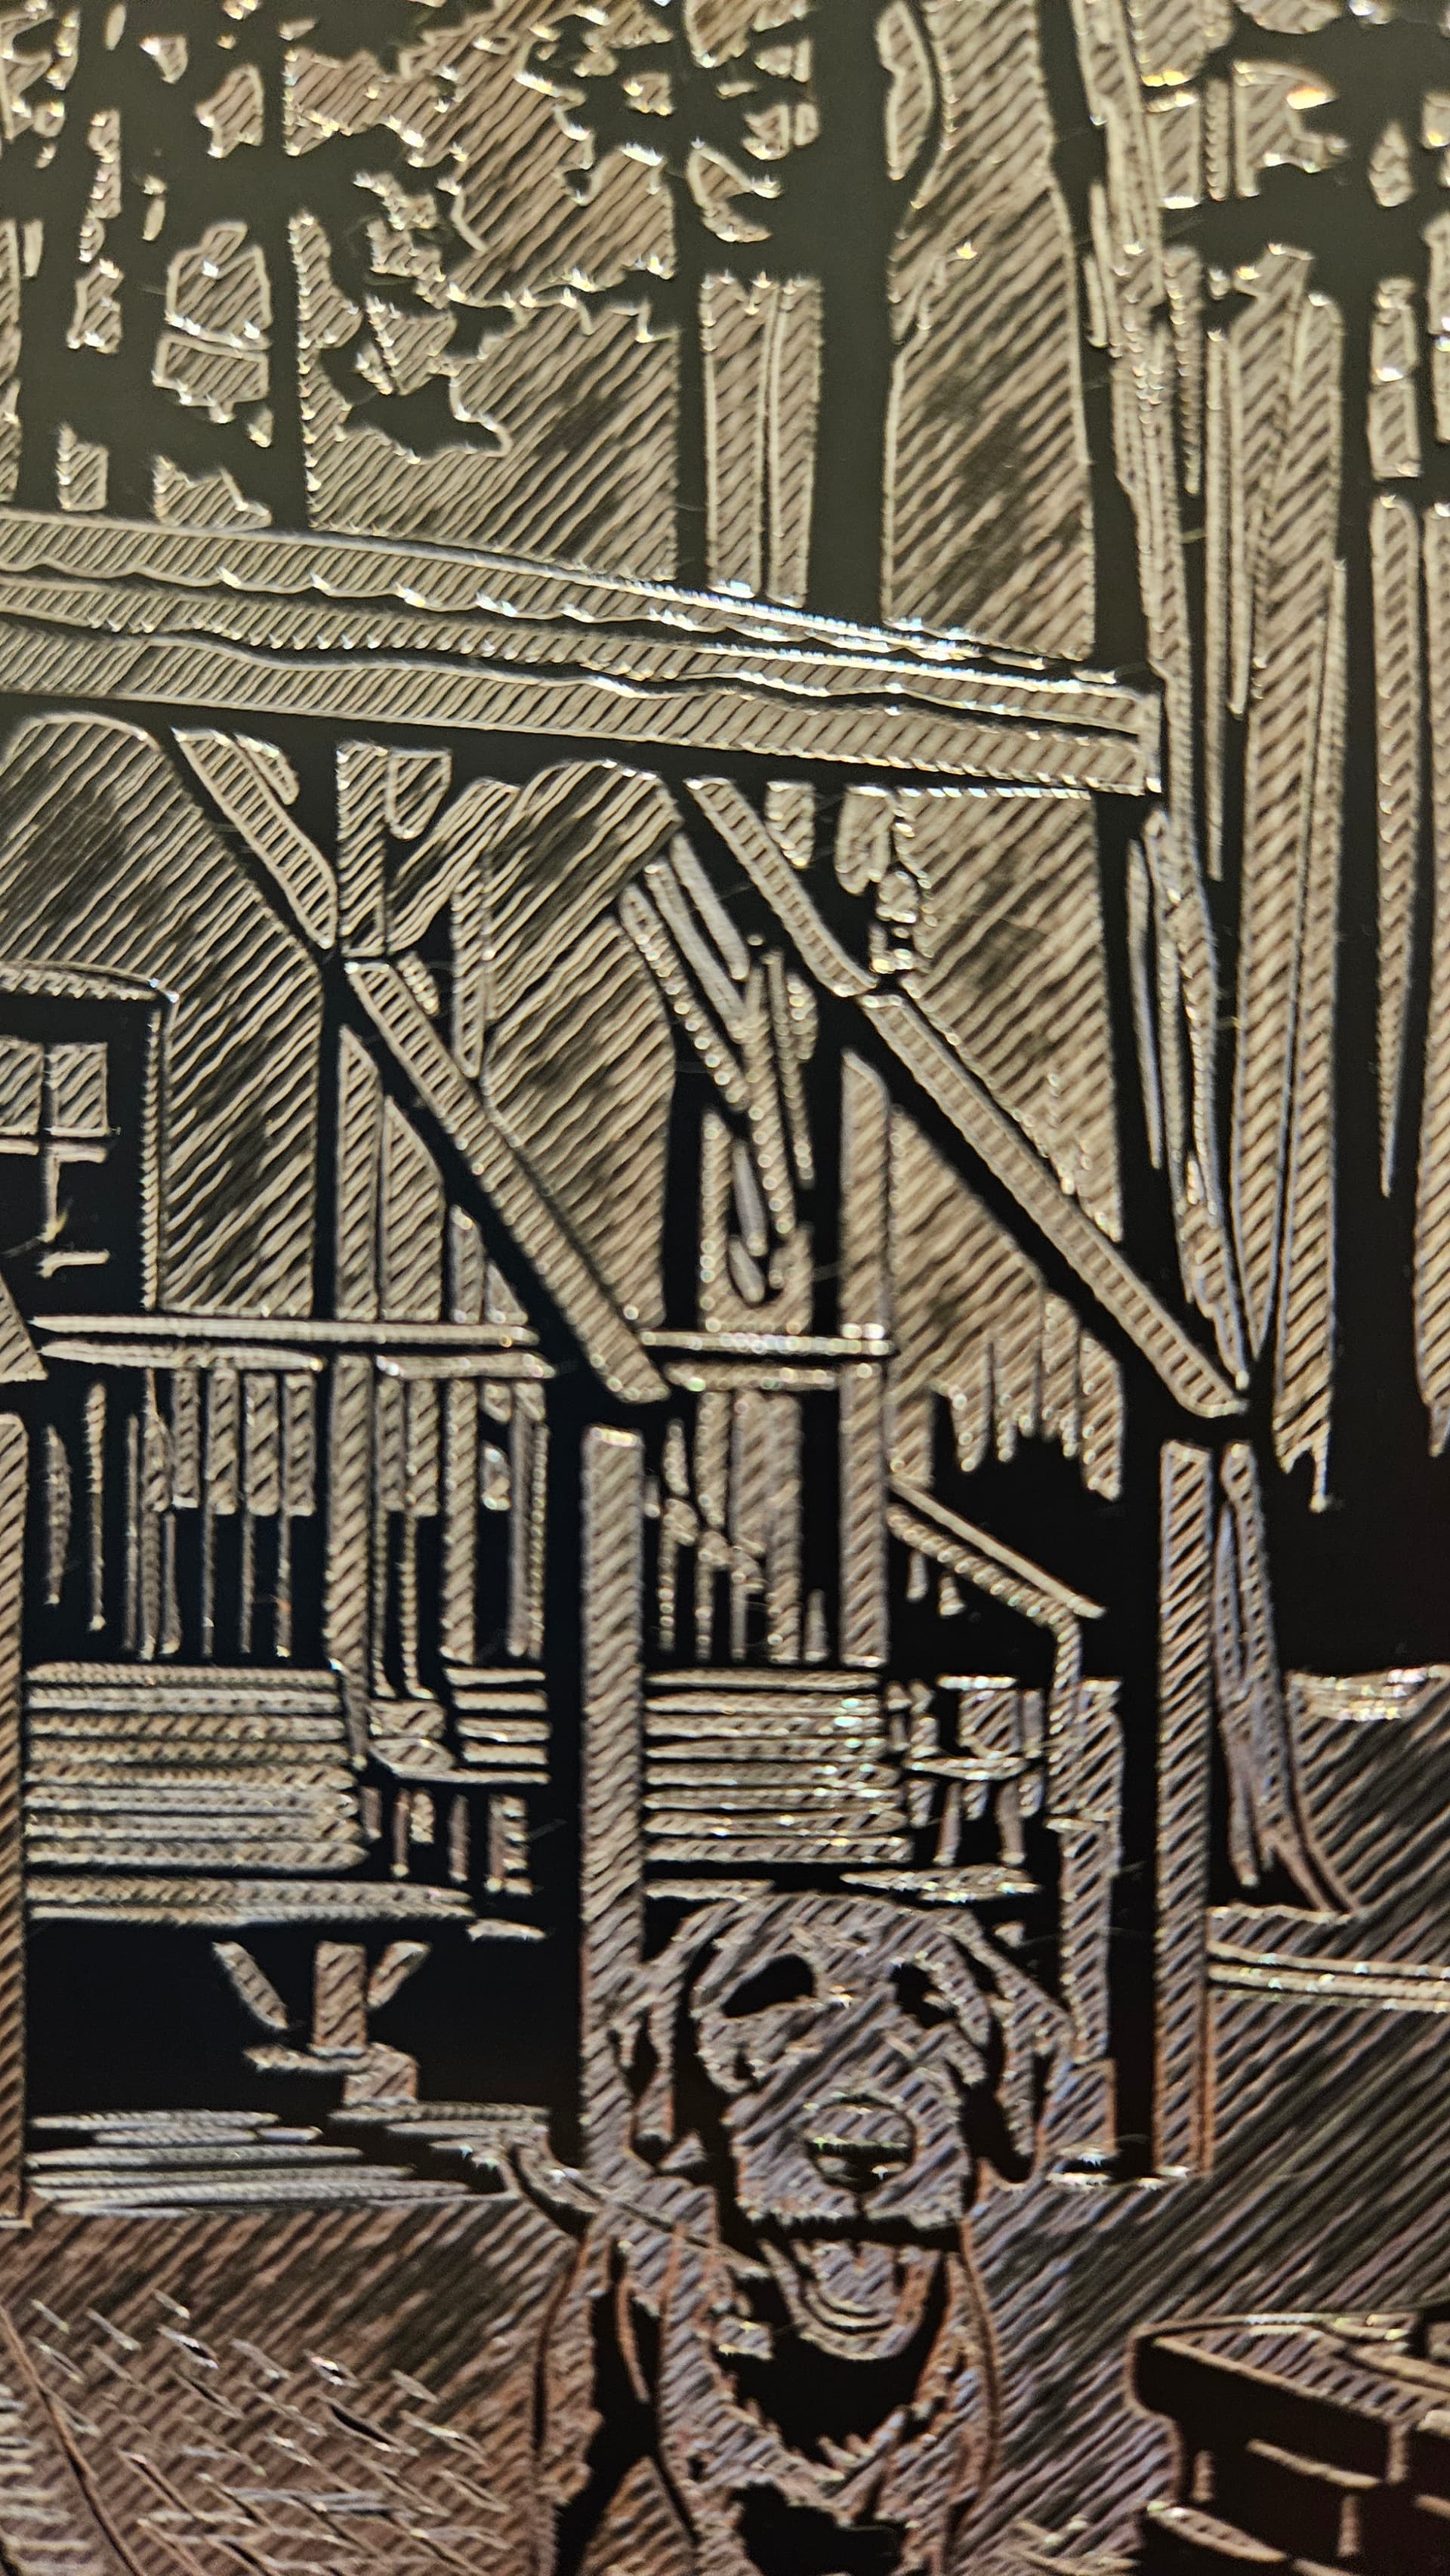
The only thing that bothers me a little is the lines have varying glimmer, that could be the aluminum loading the leading edge of the bit. I could try tuning off “cut in both directions” and i think crosshatching would look great.