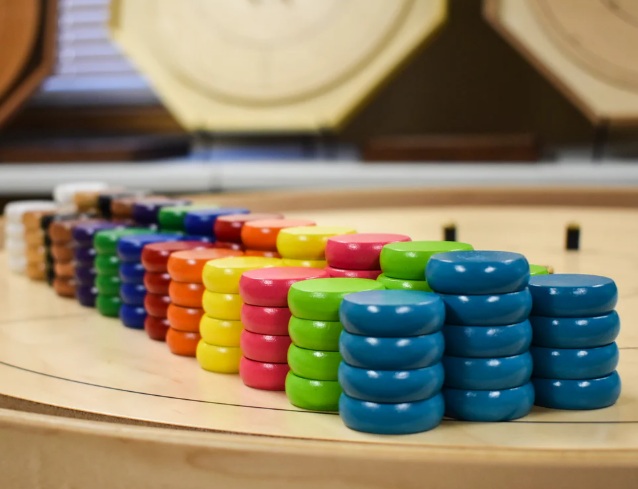
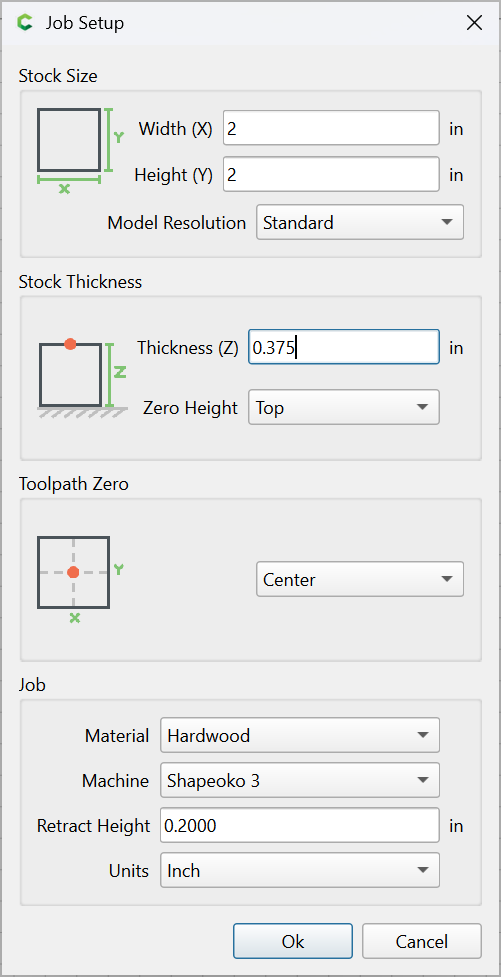
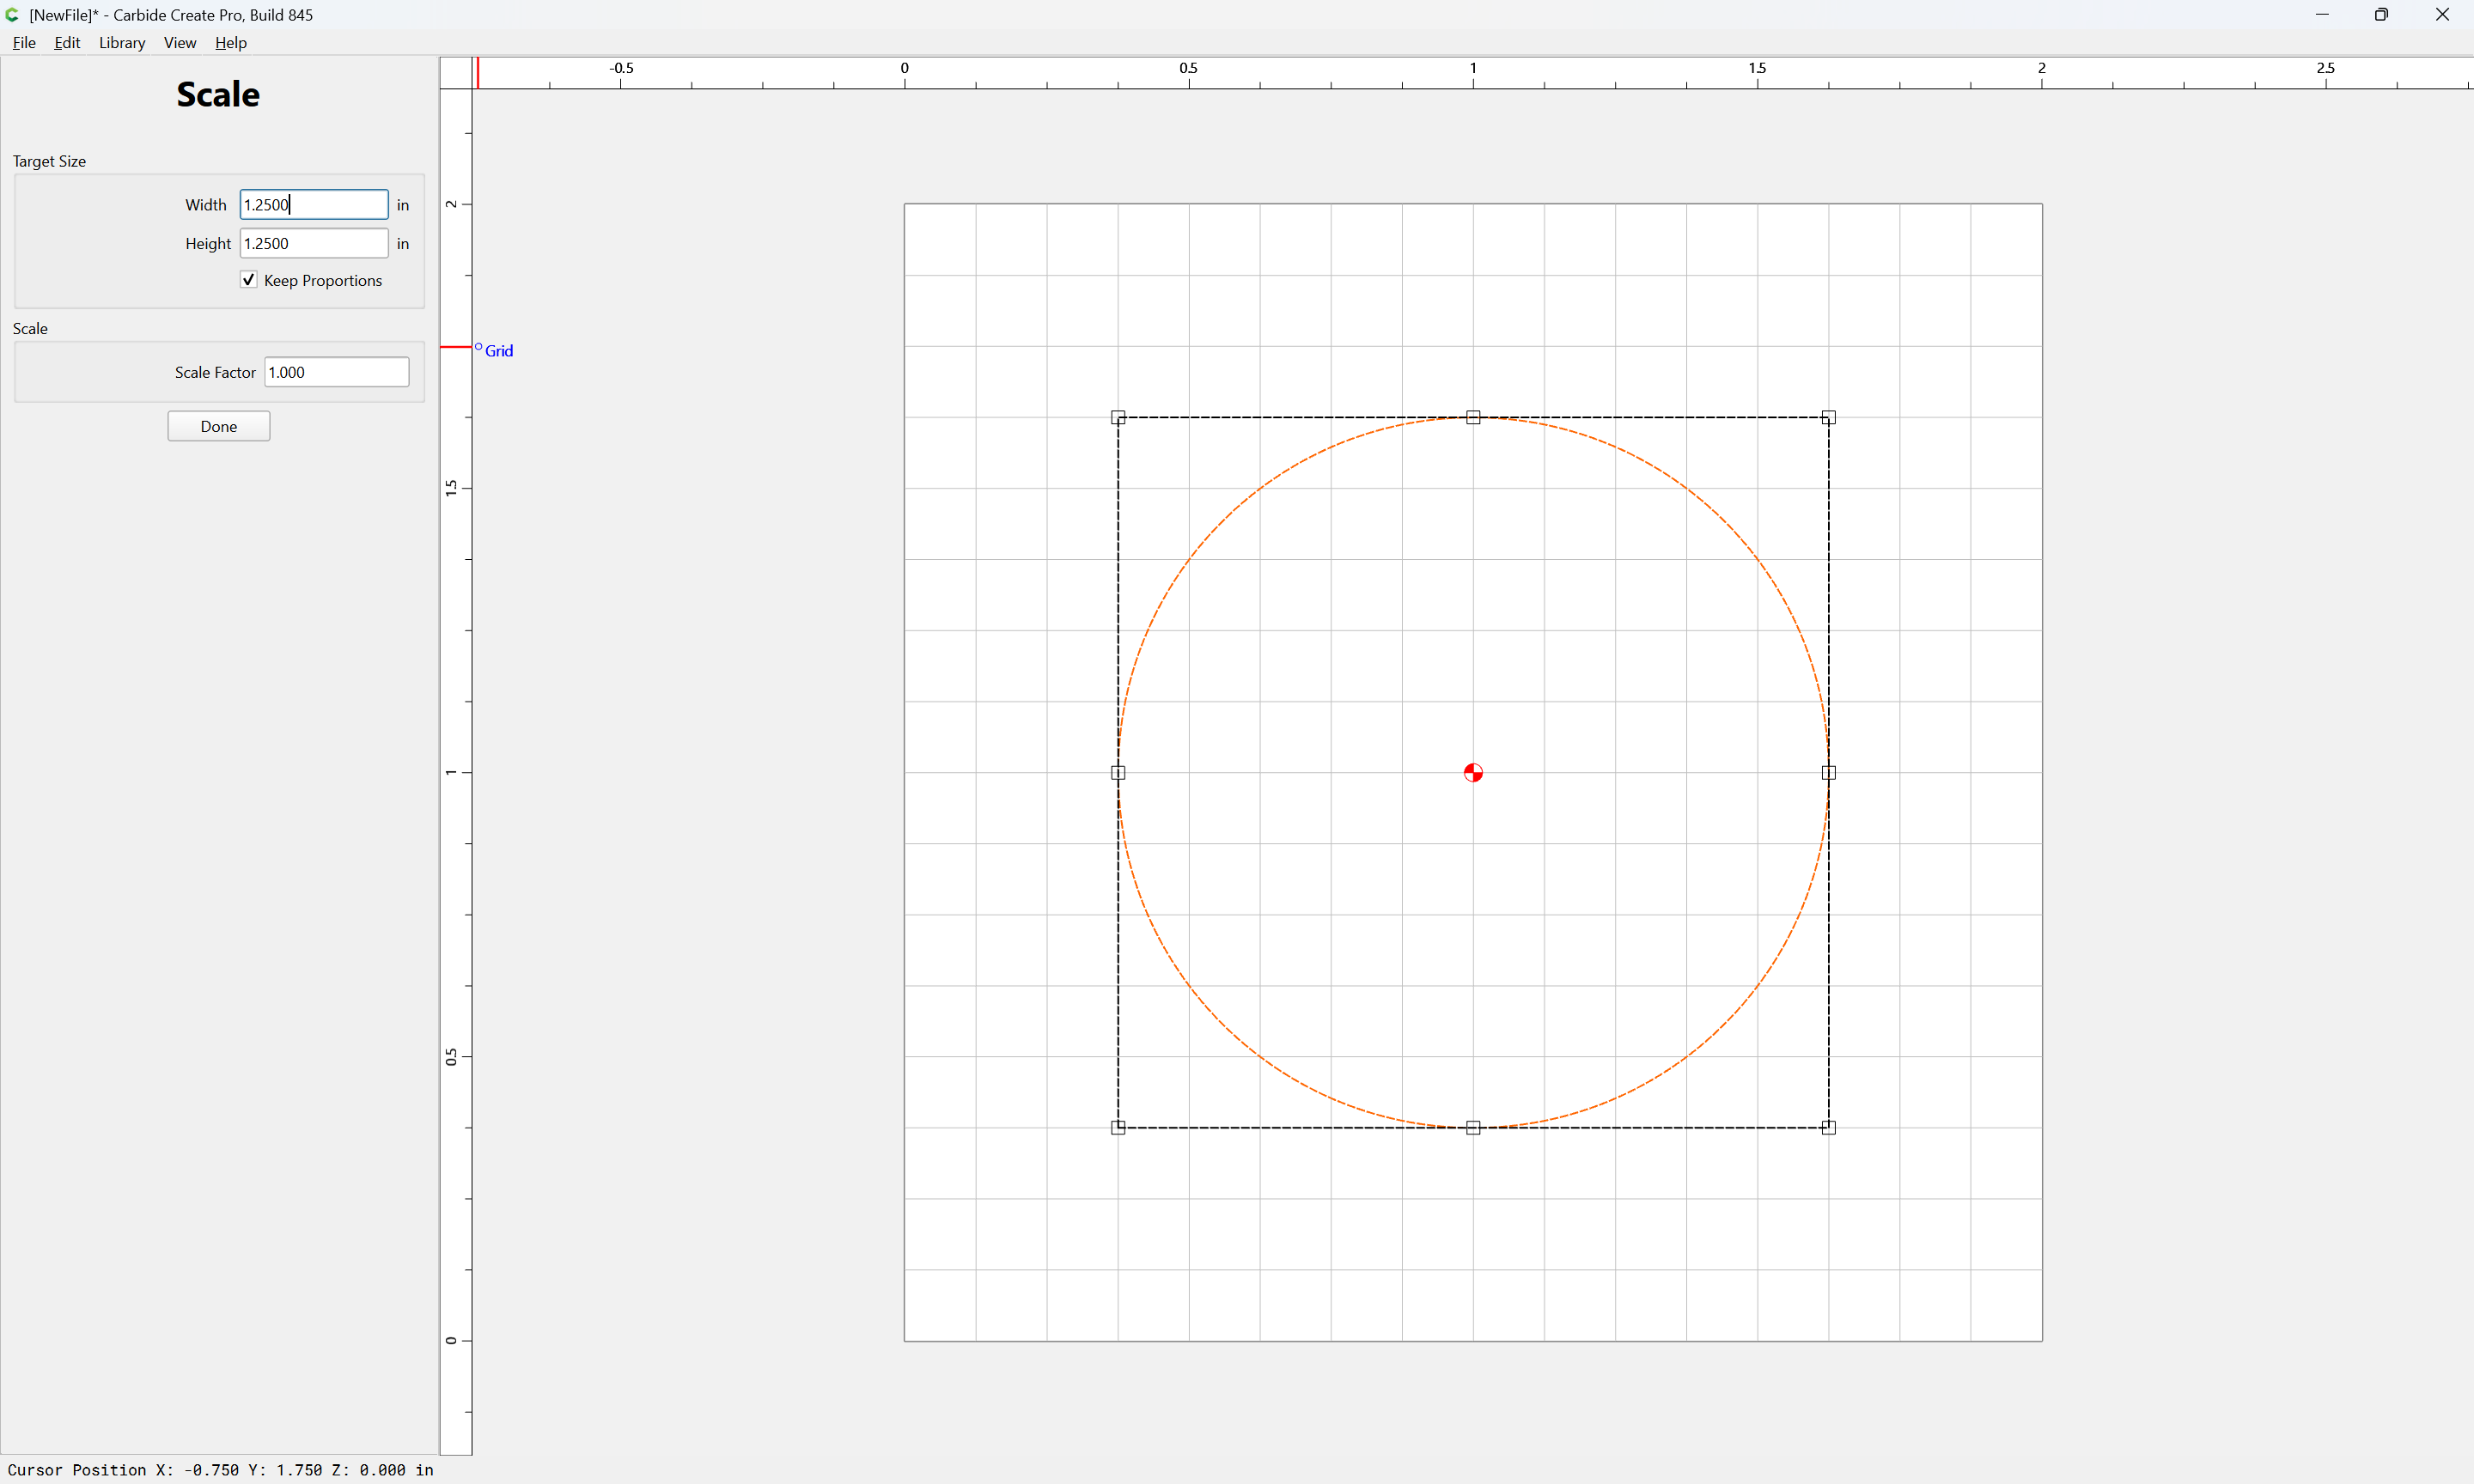
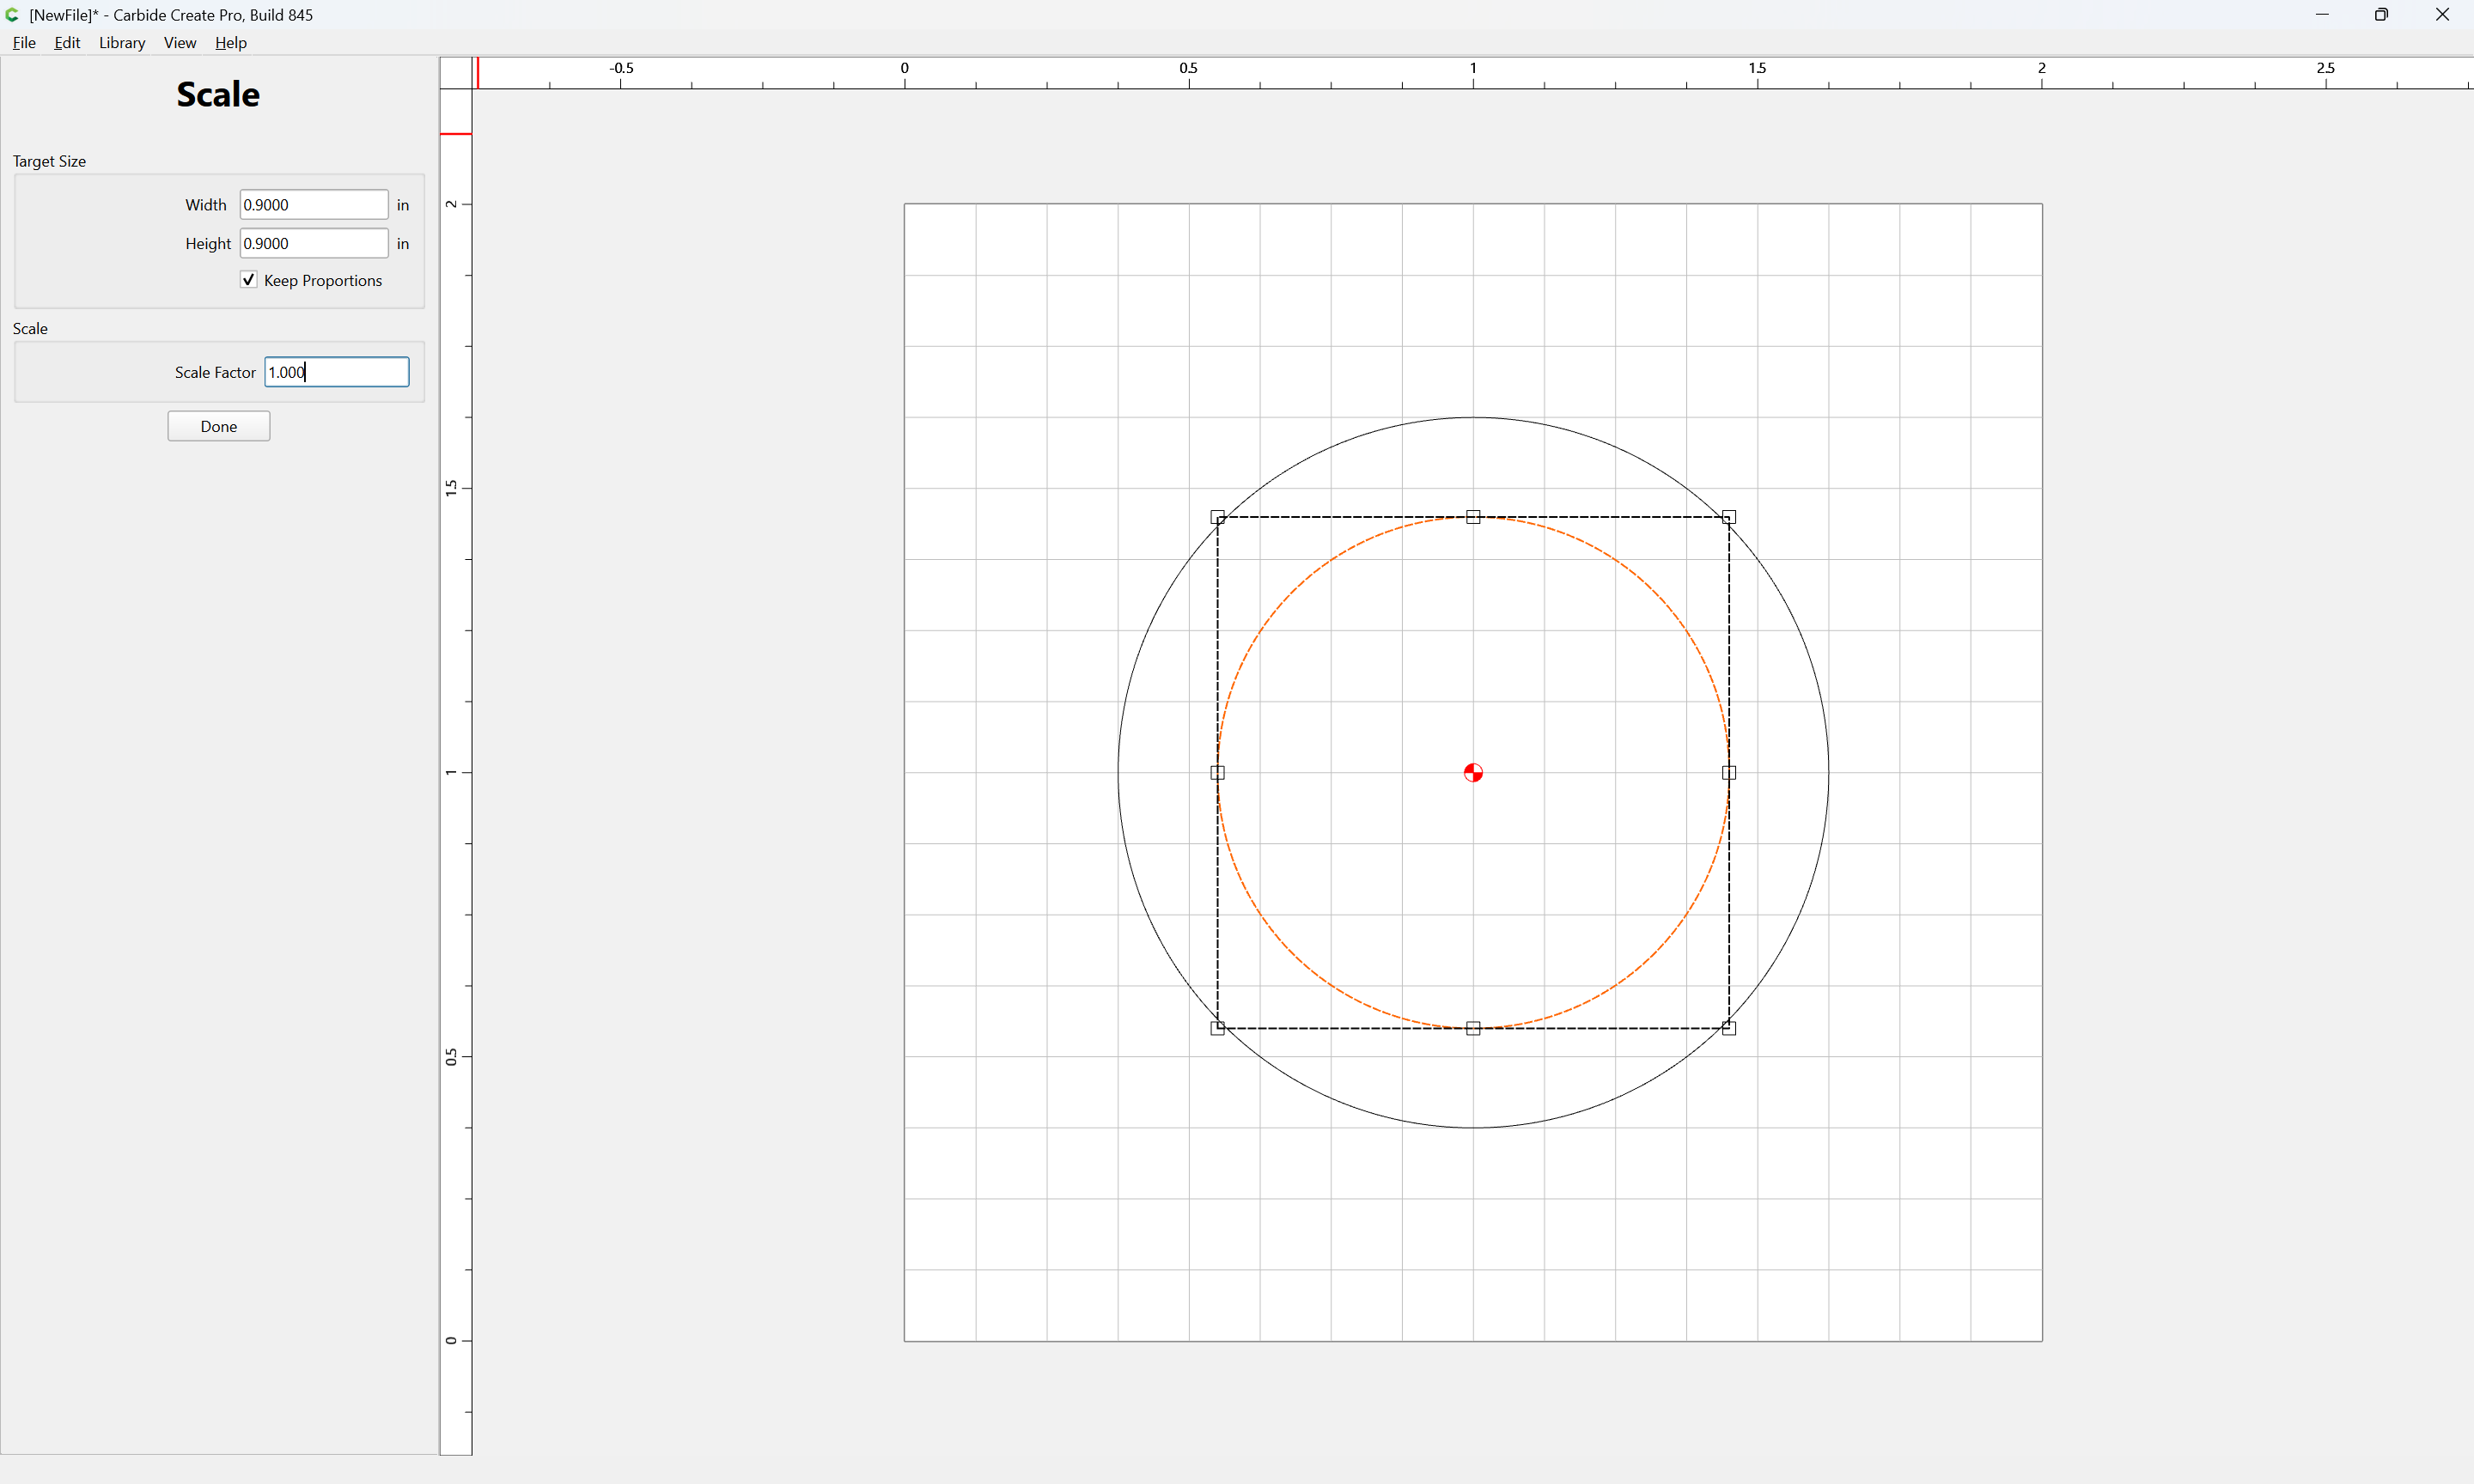
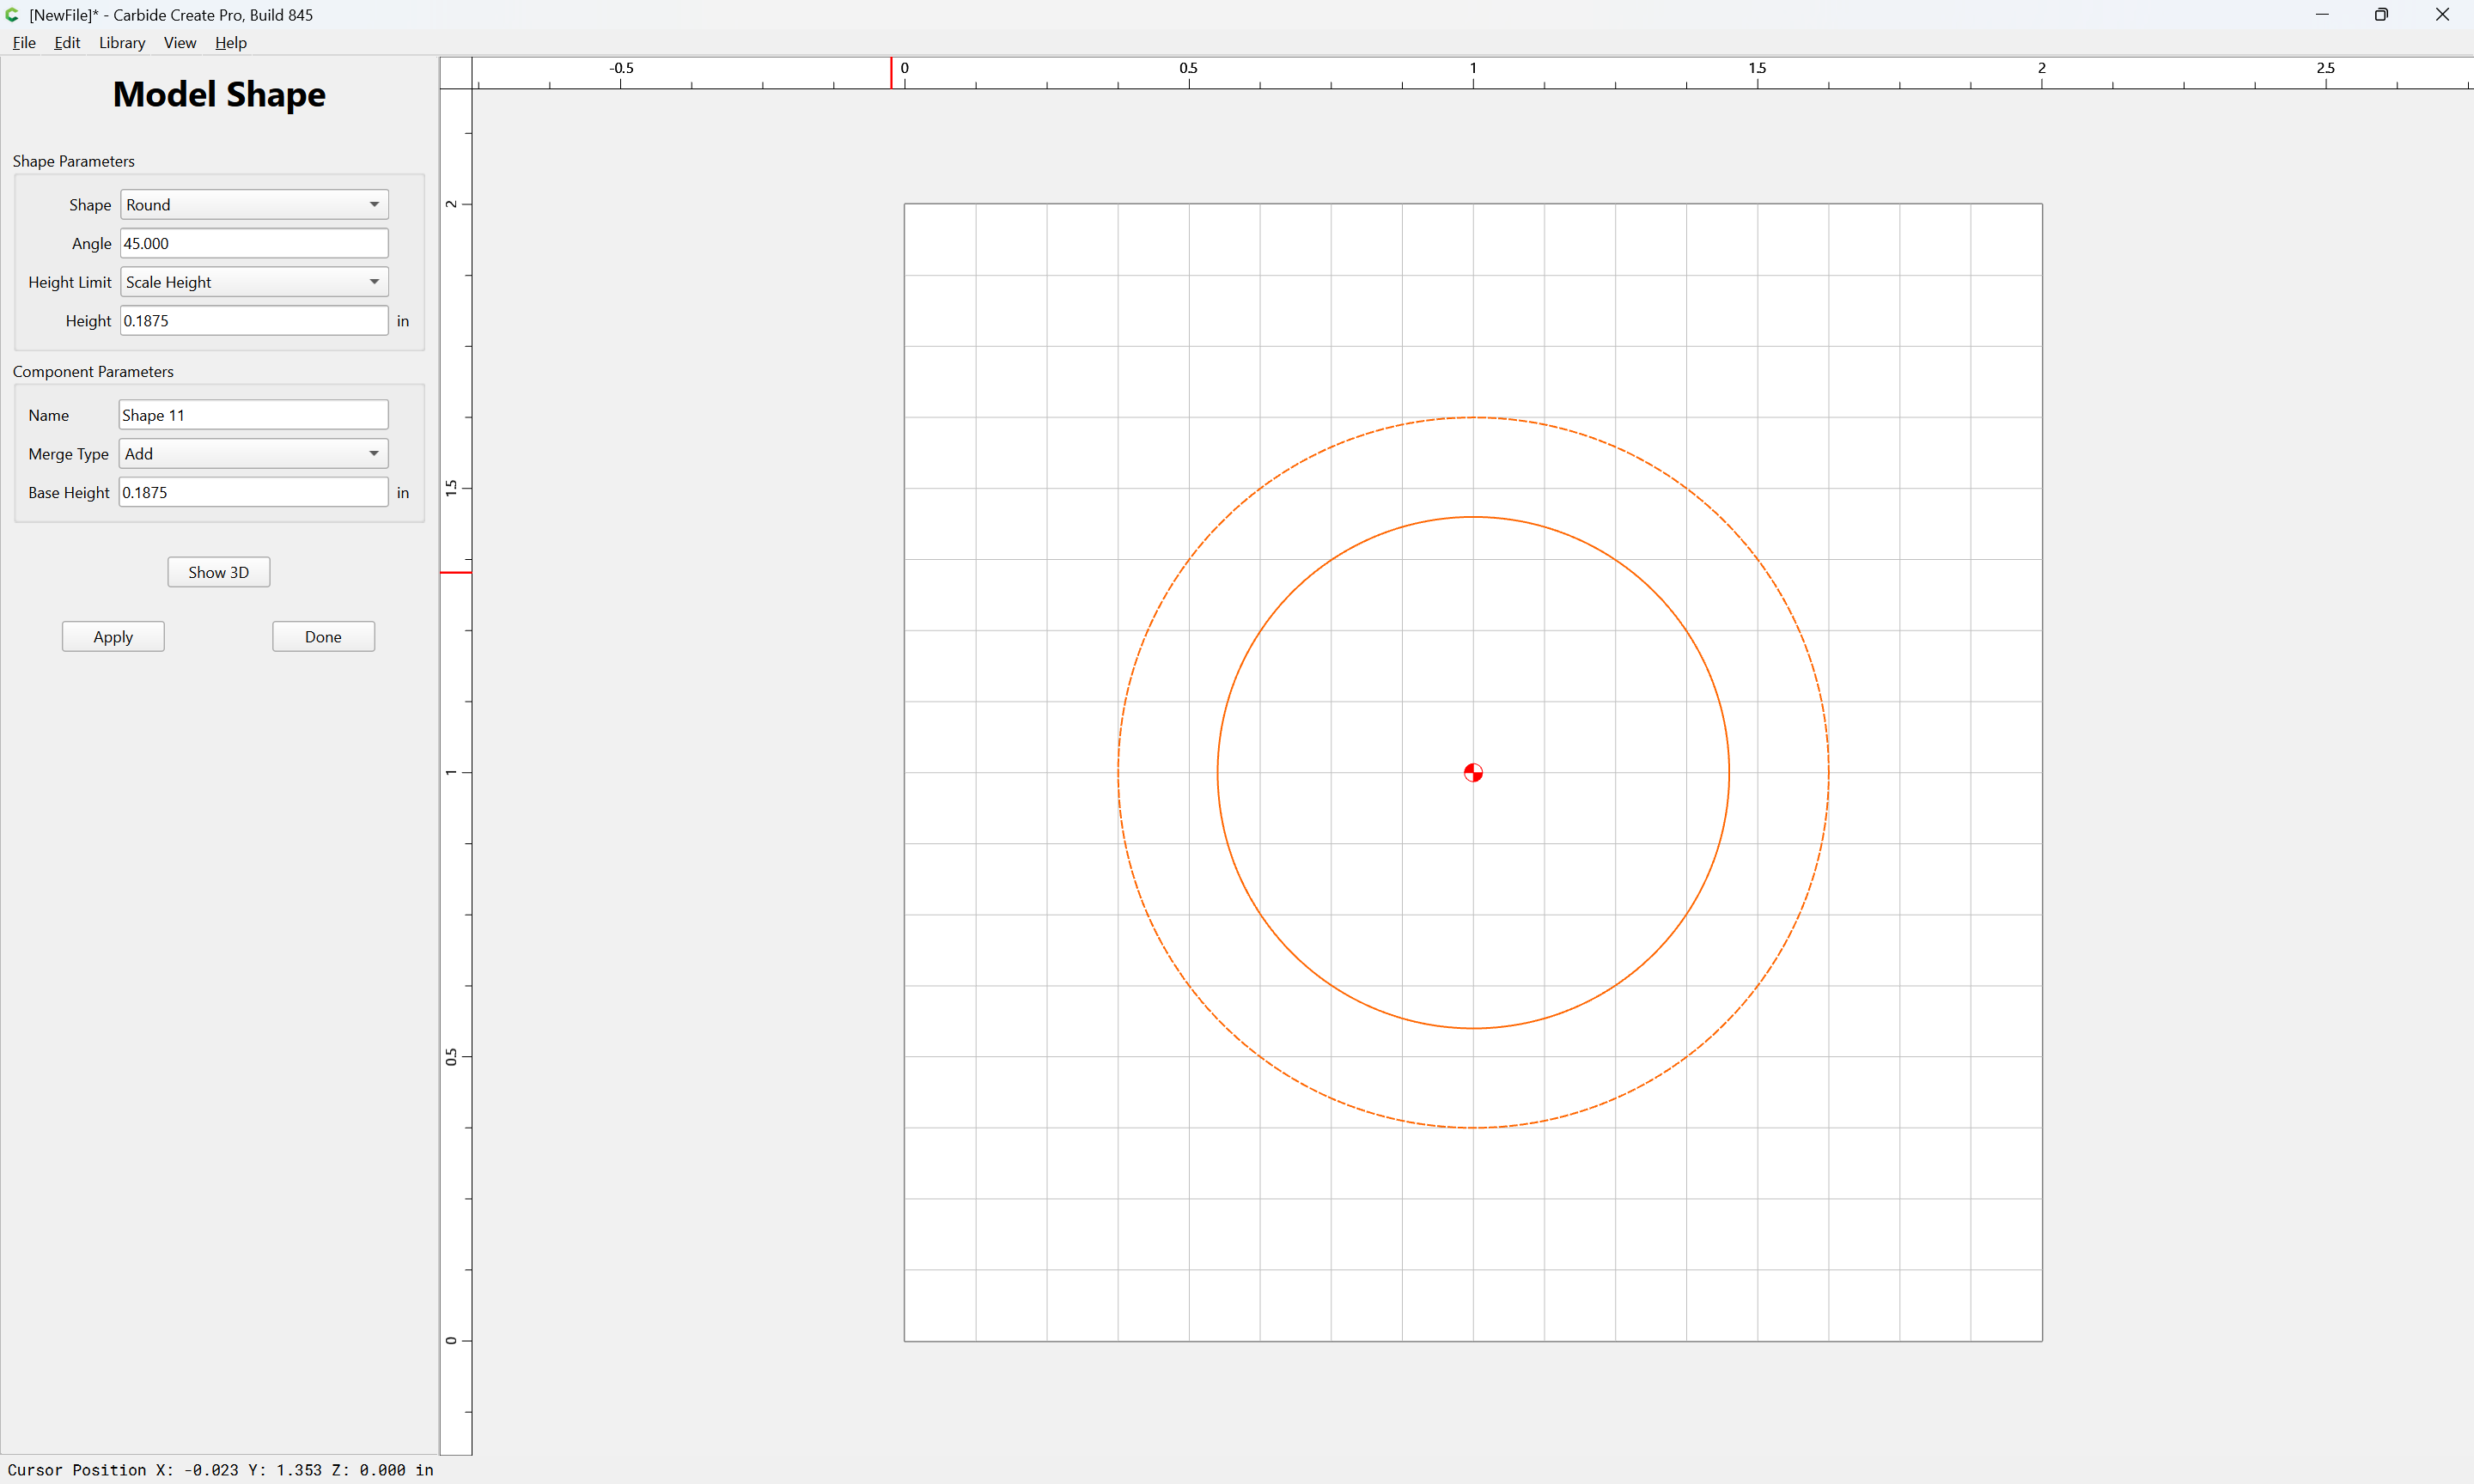
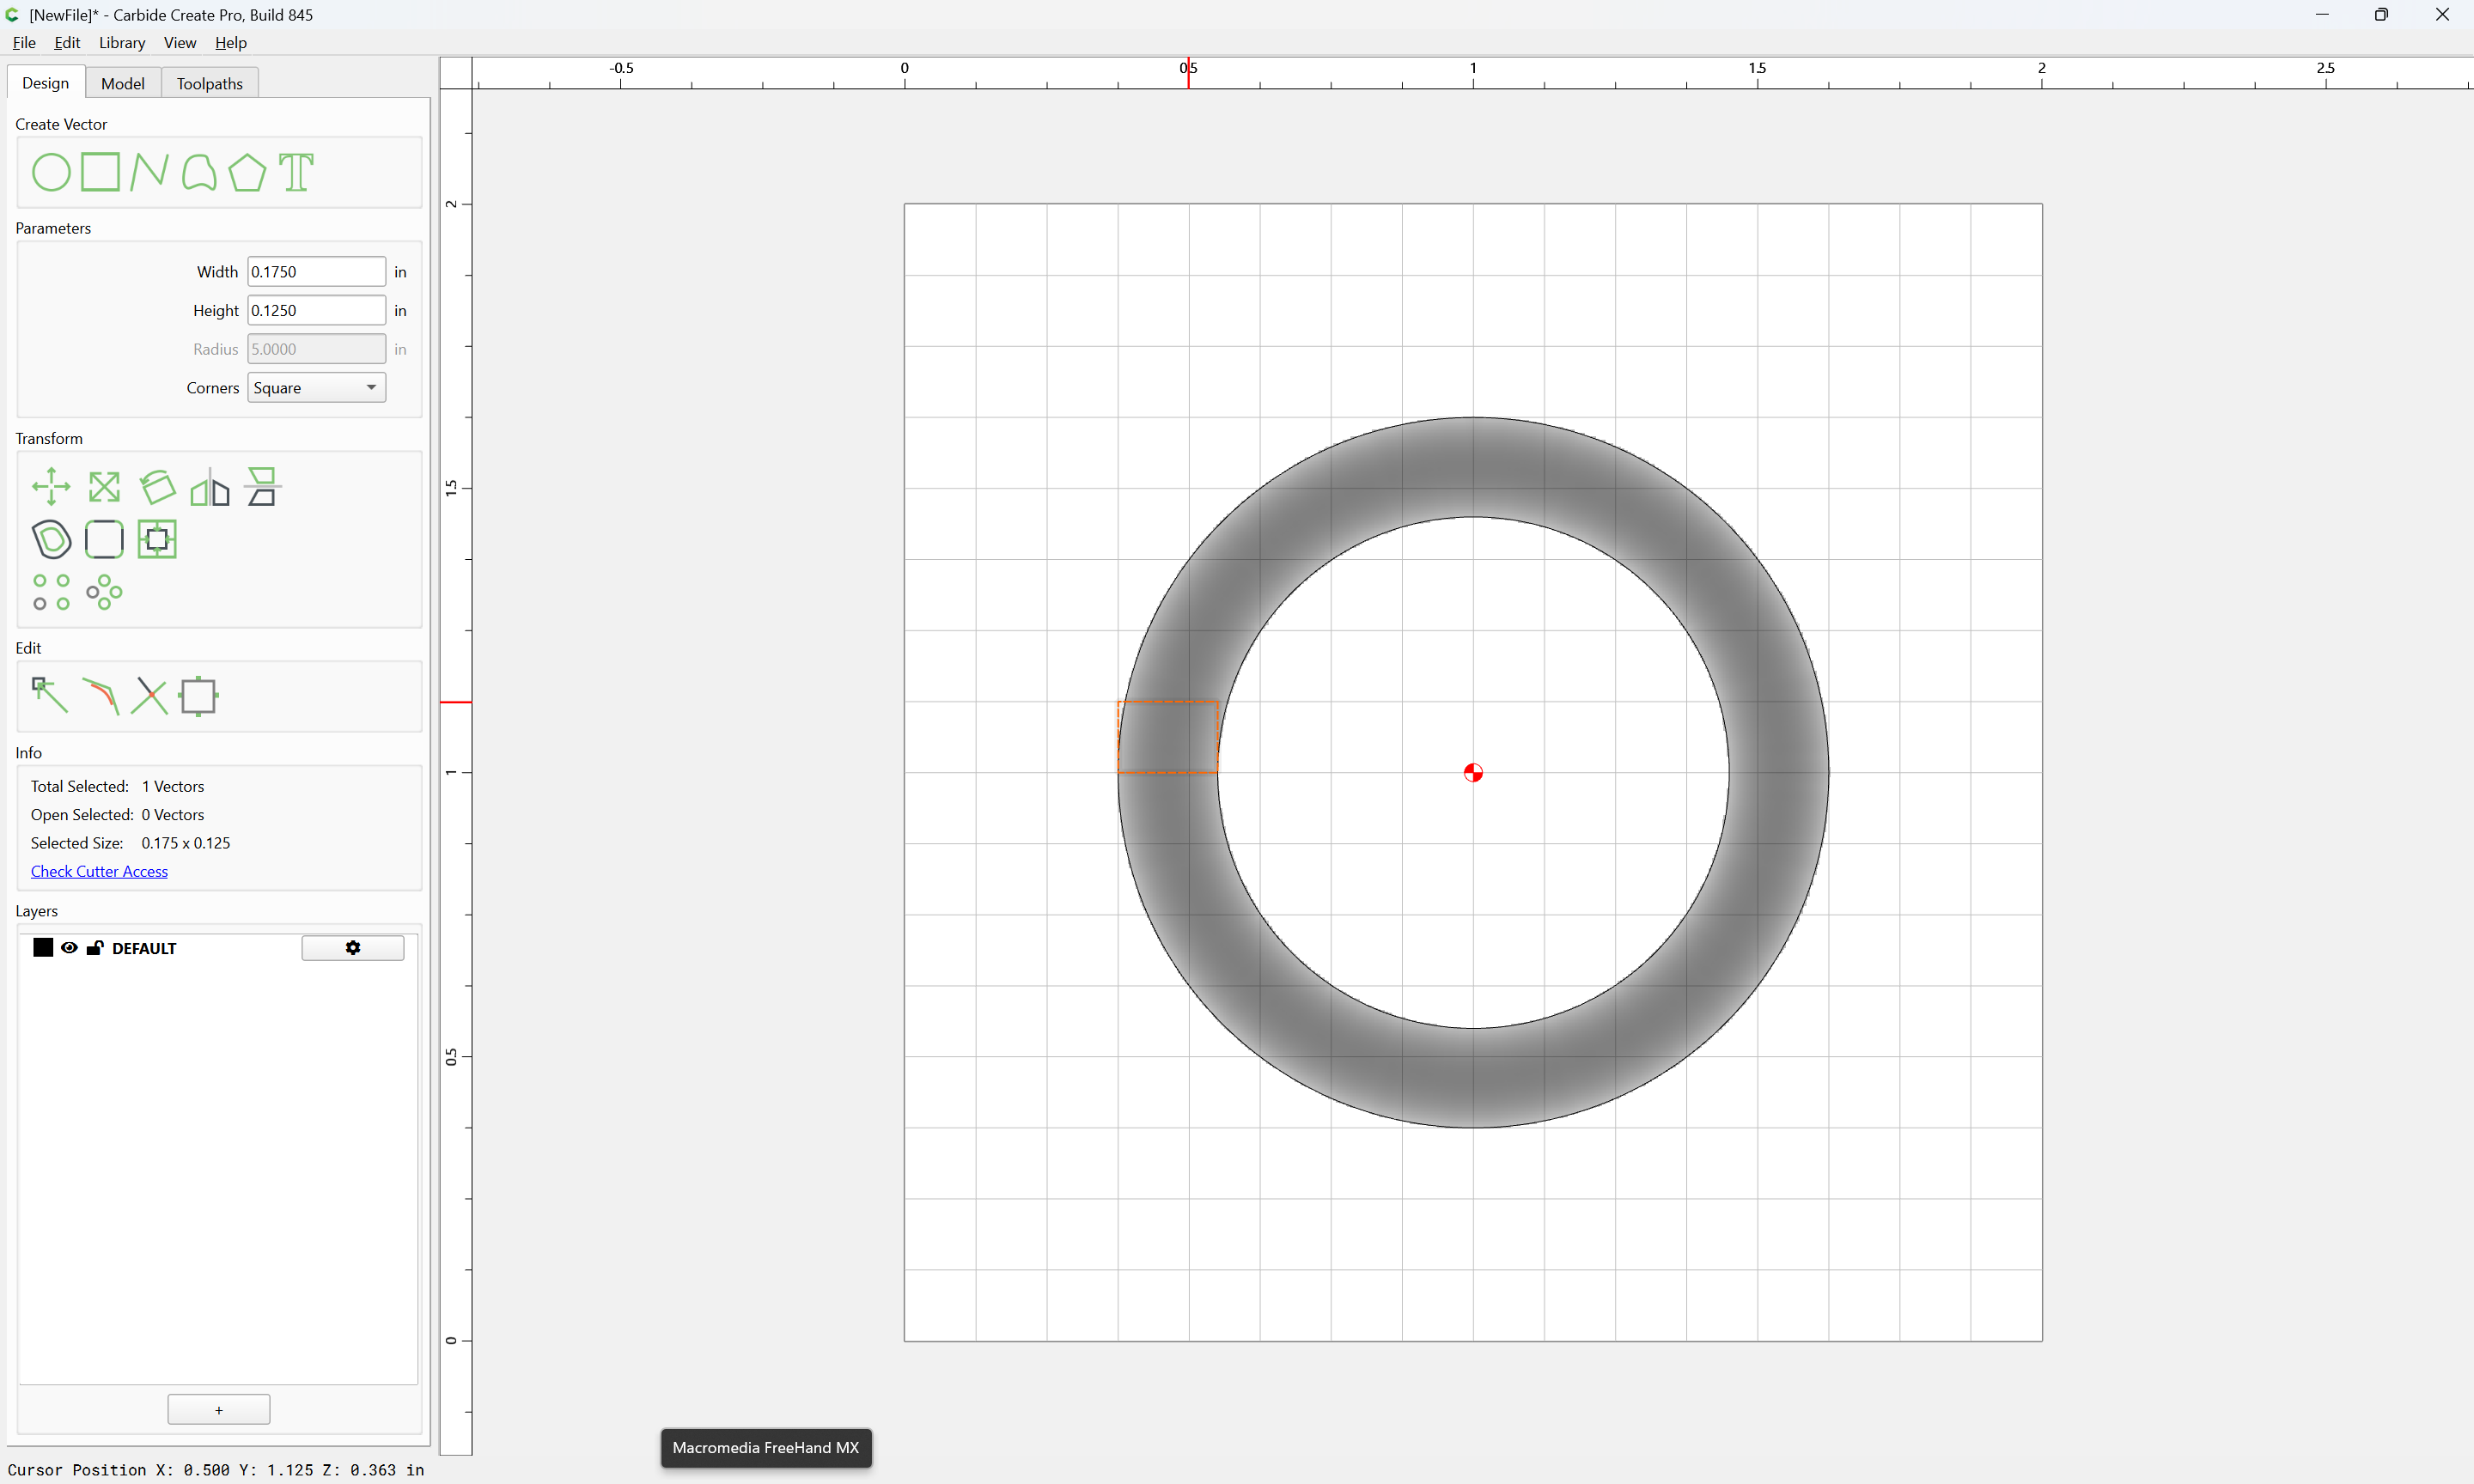
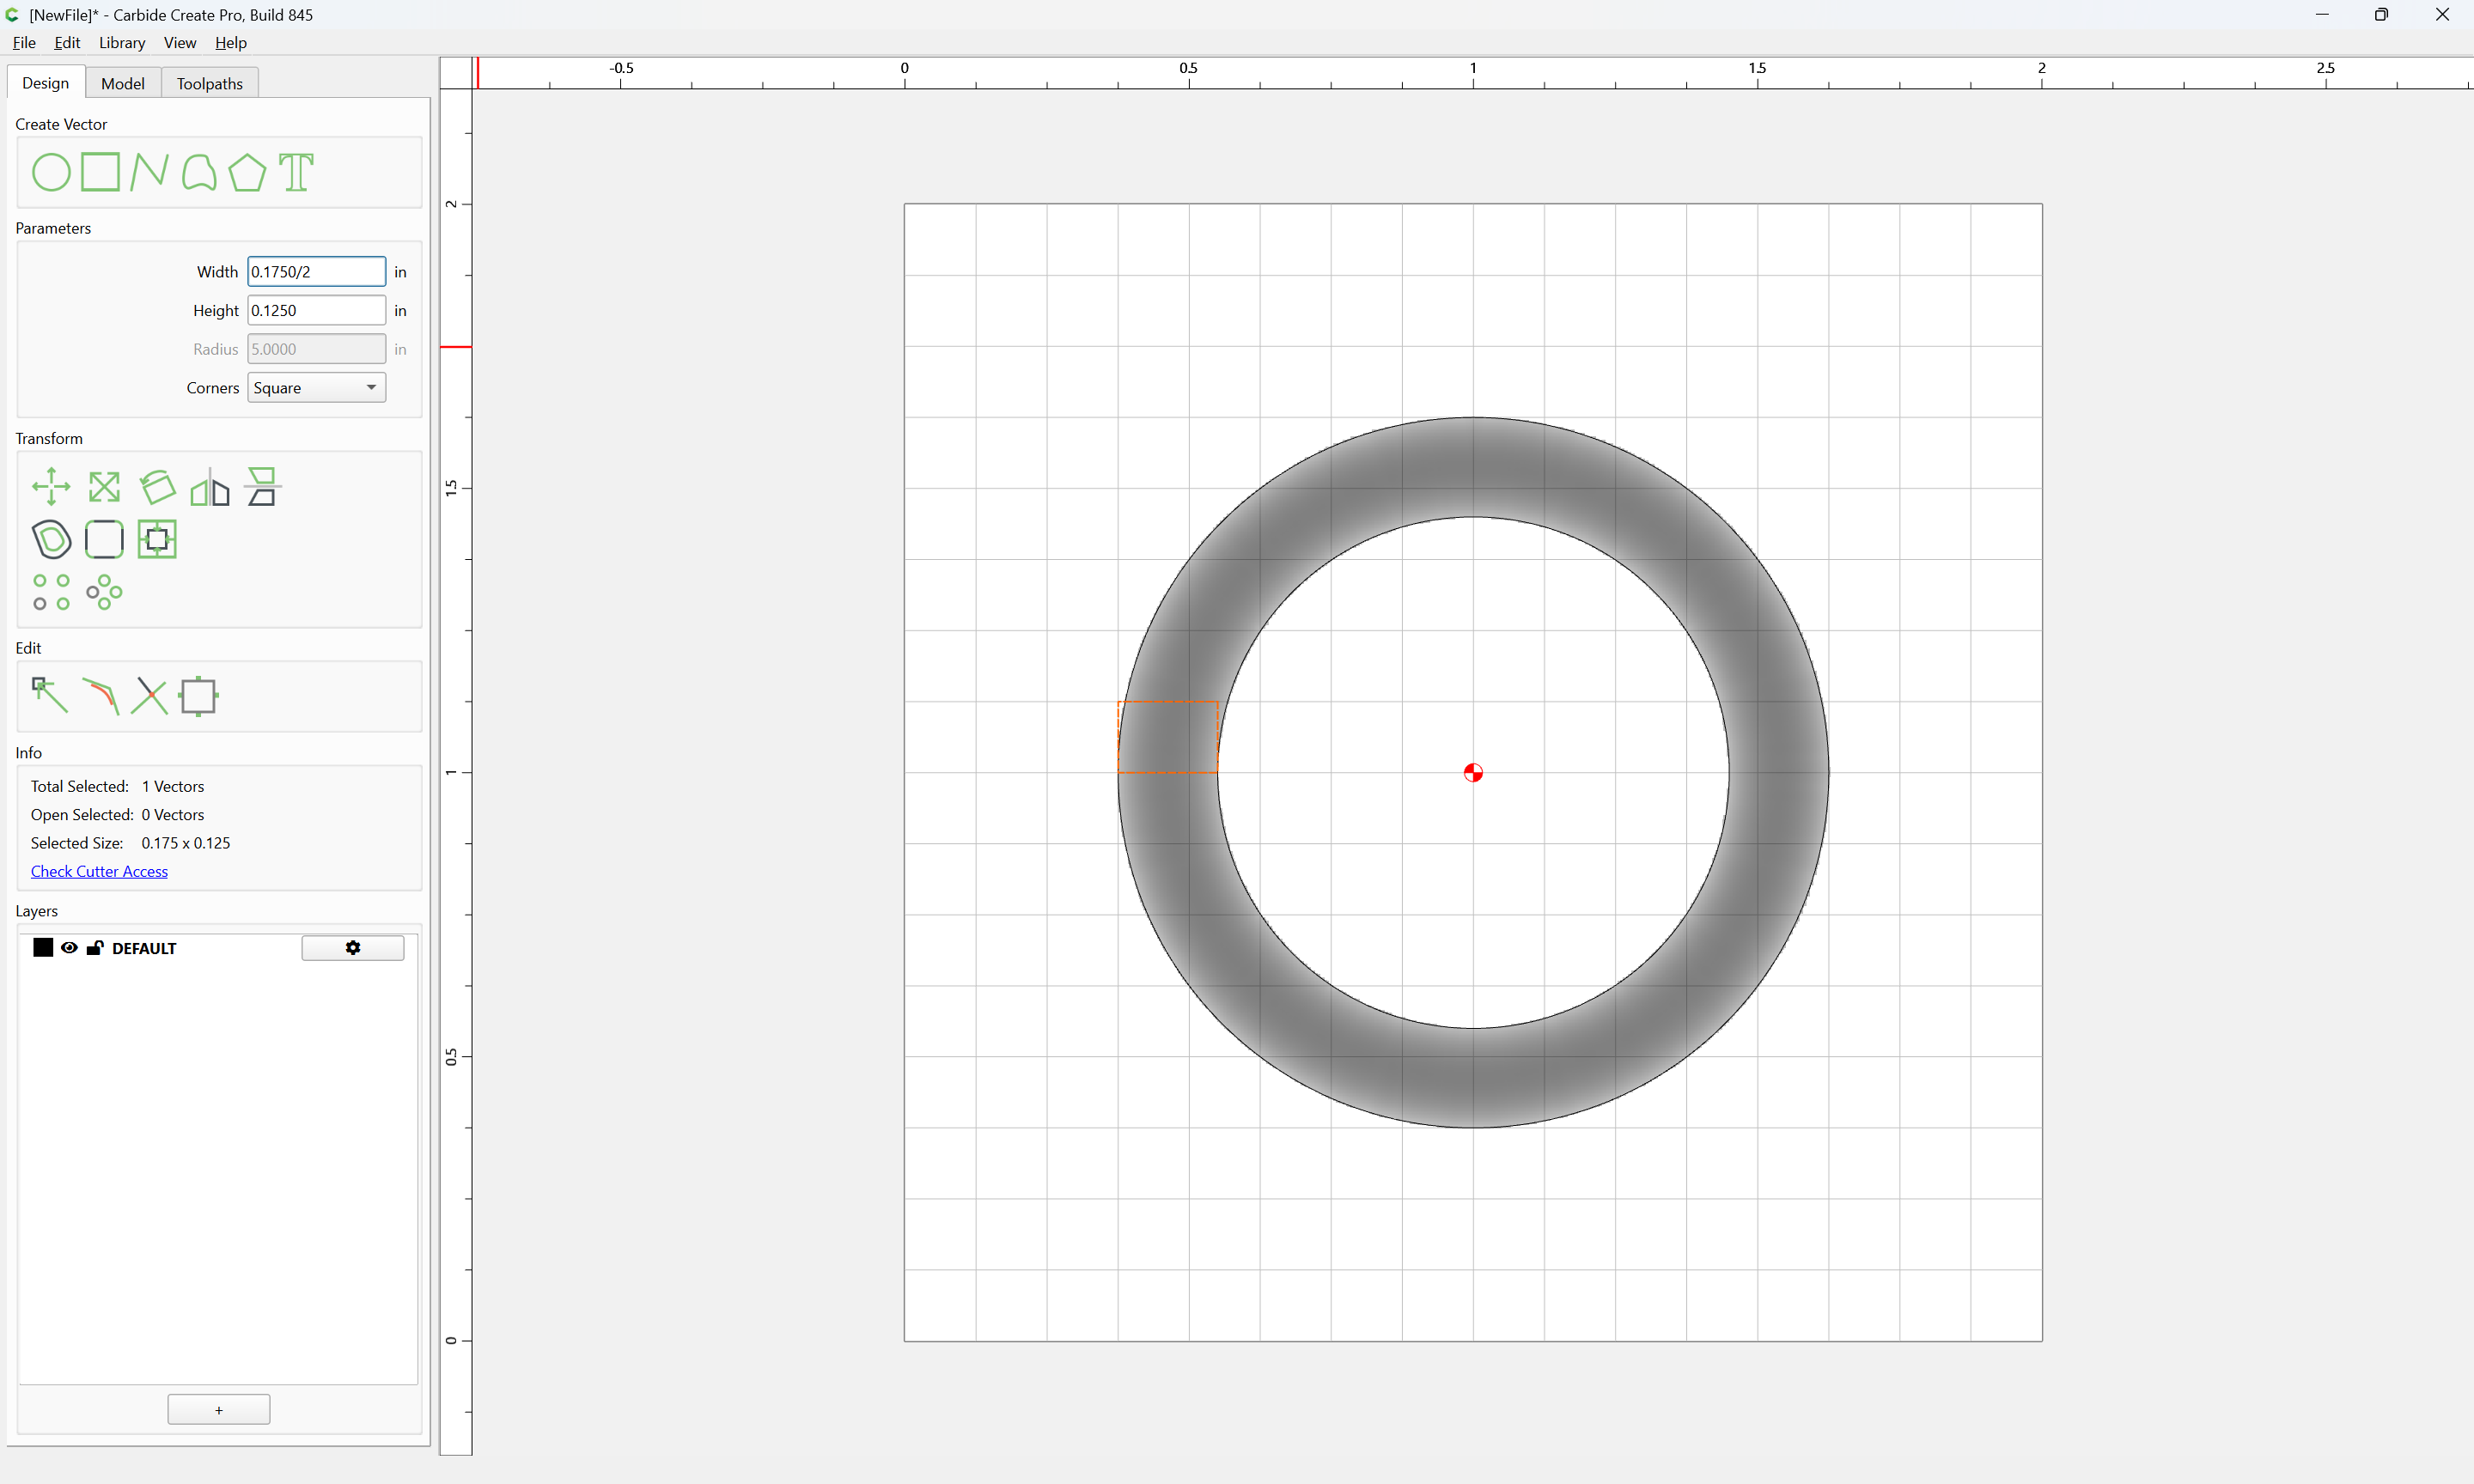
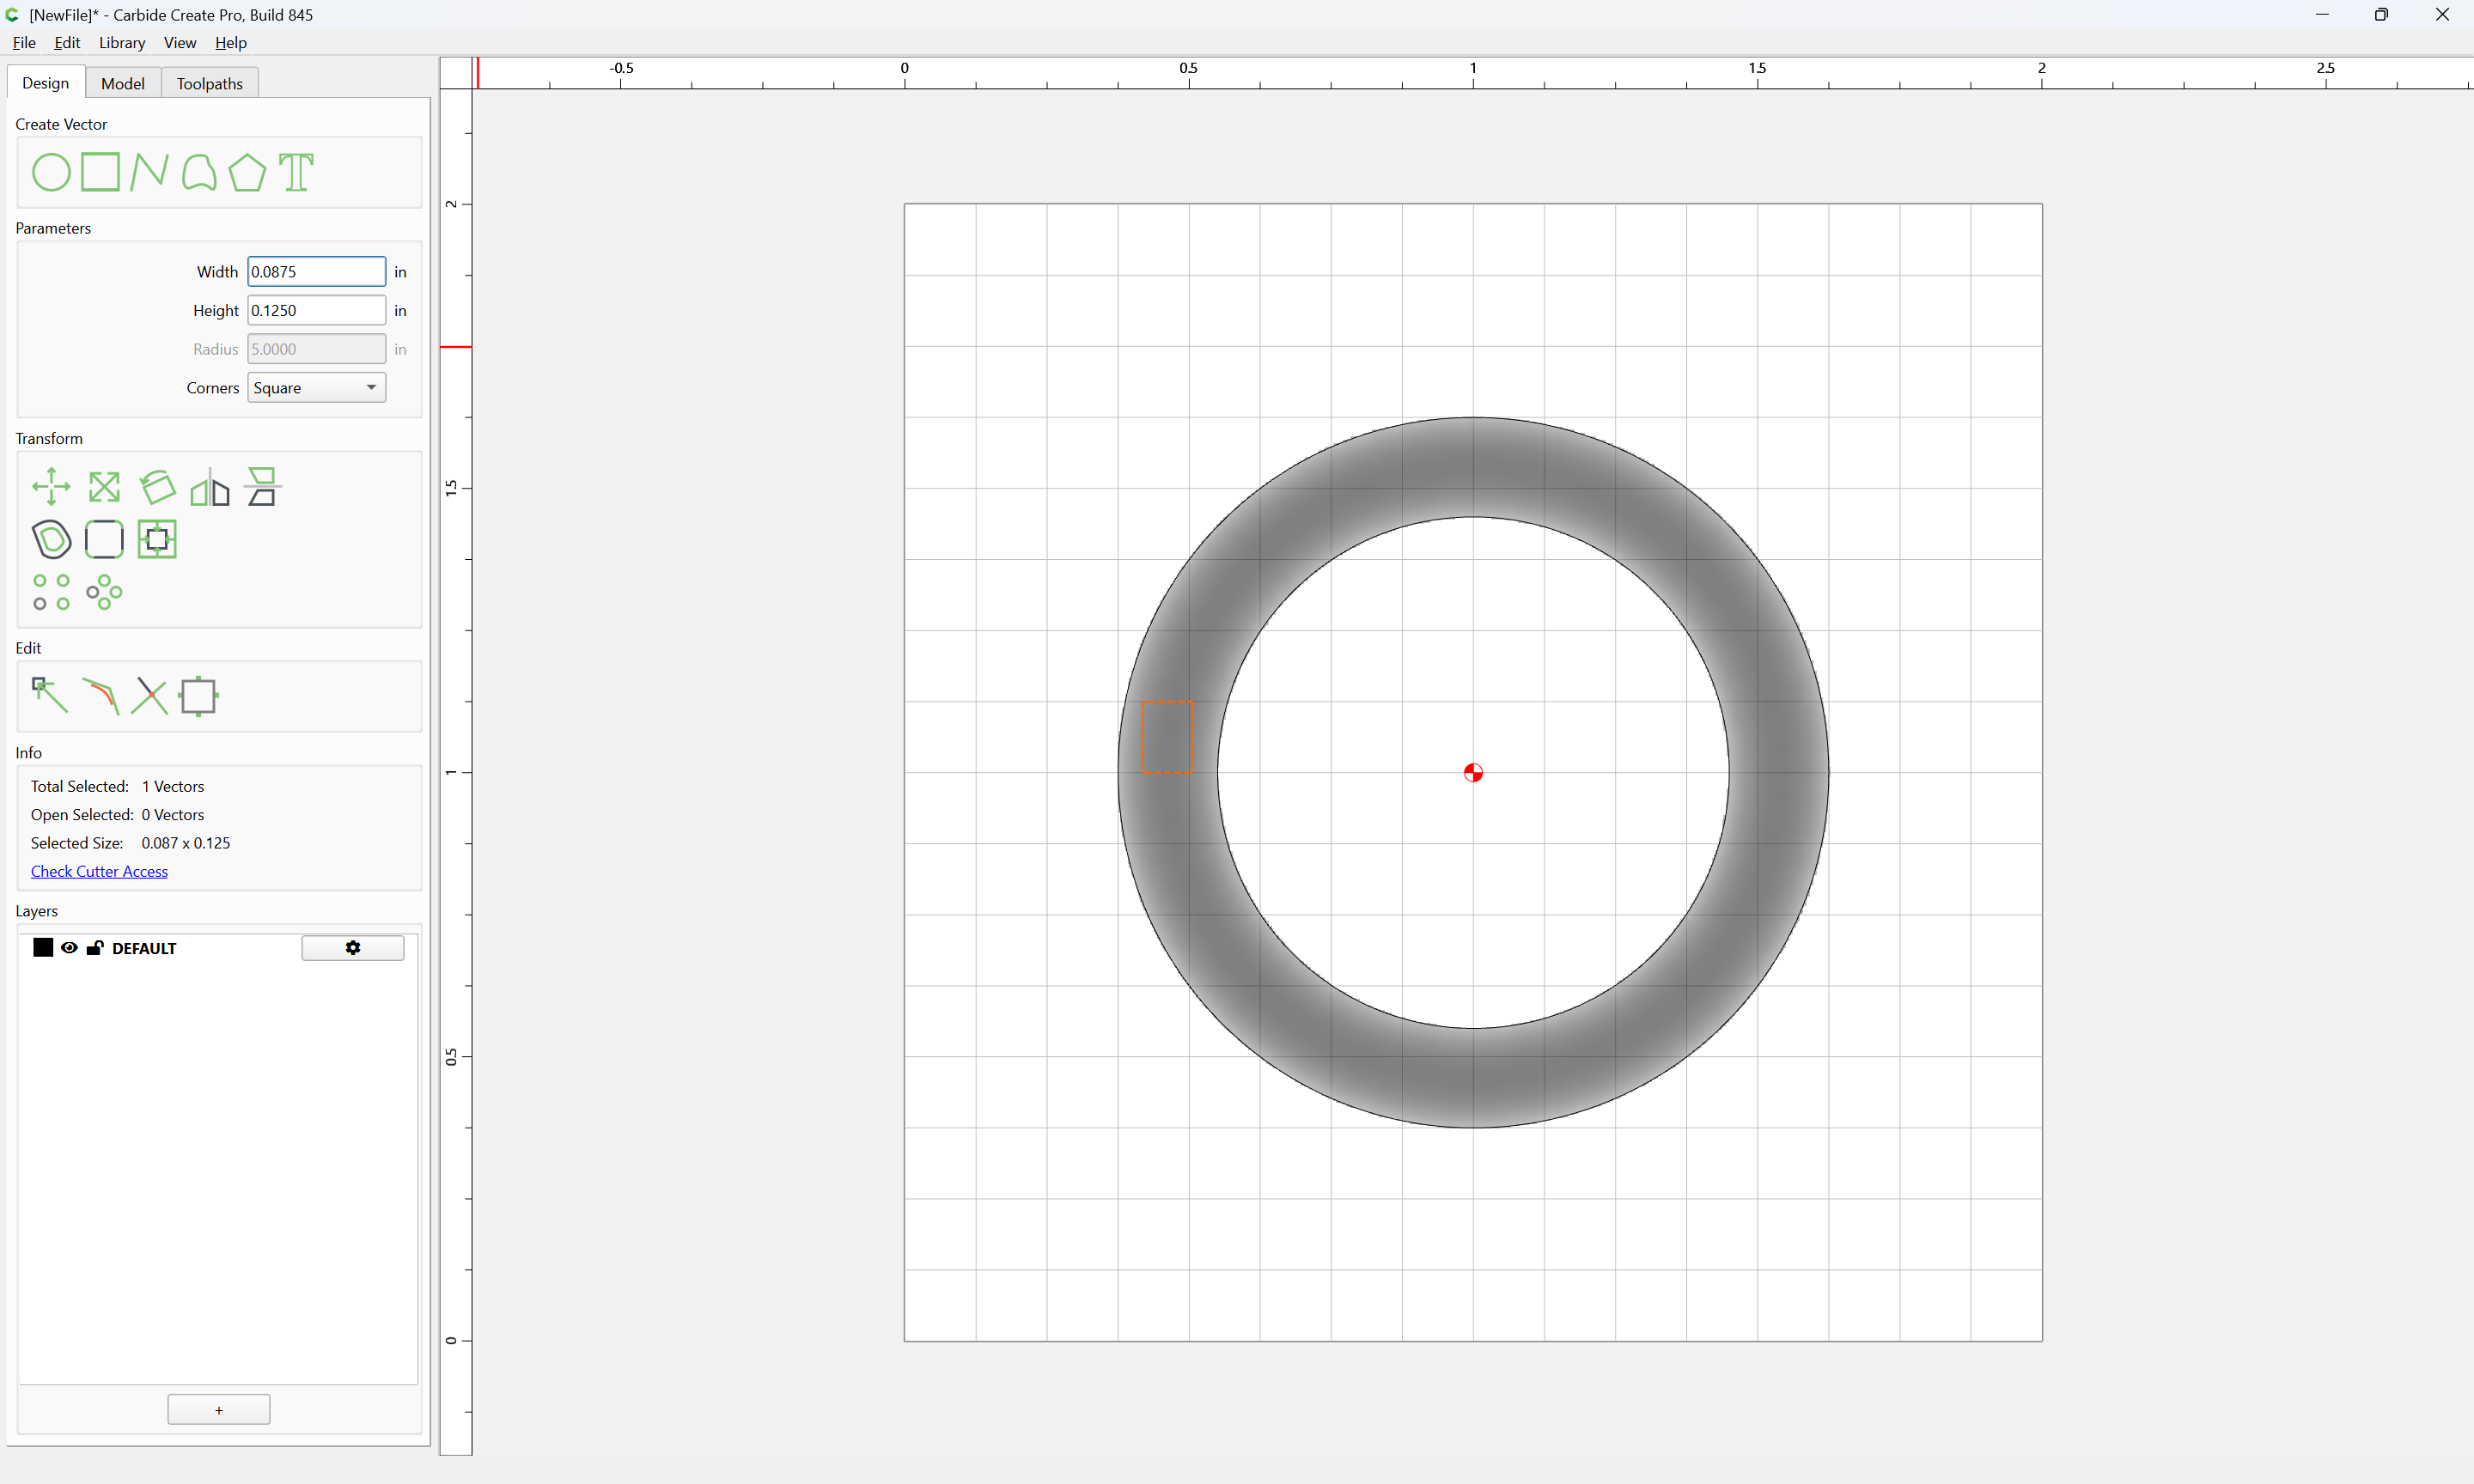
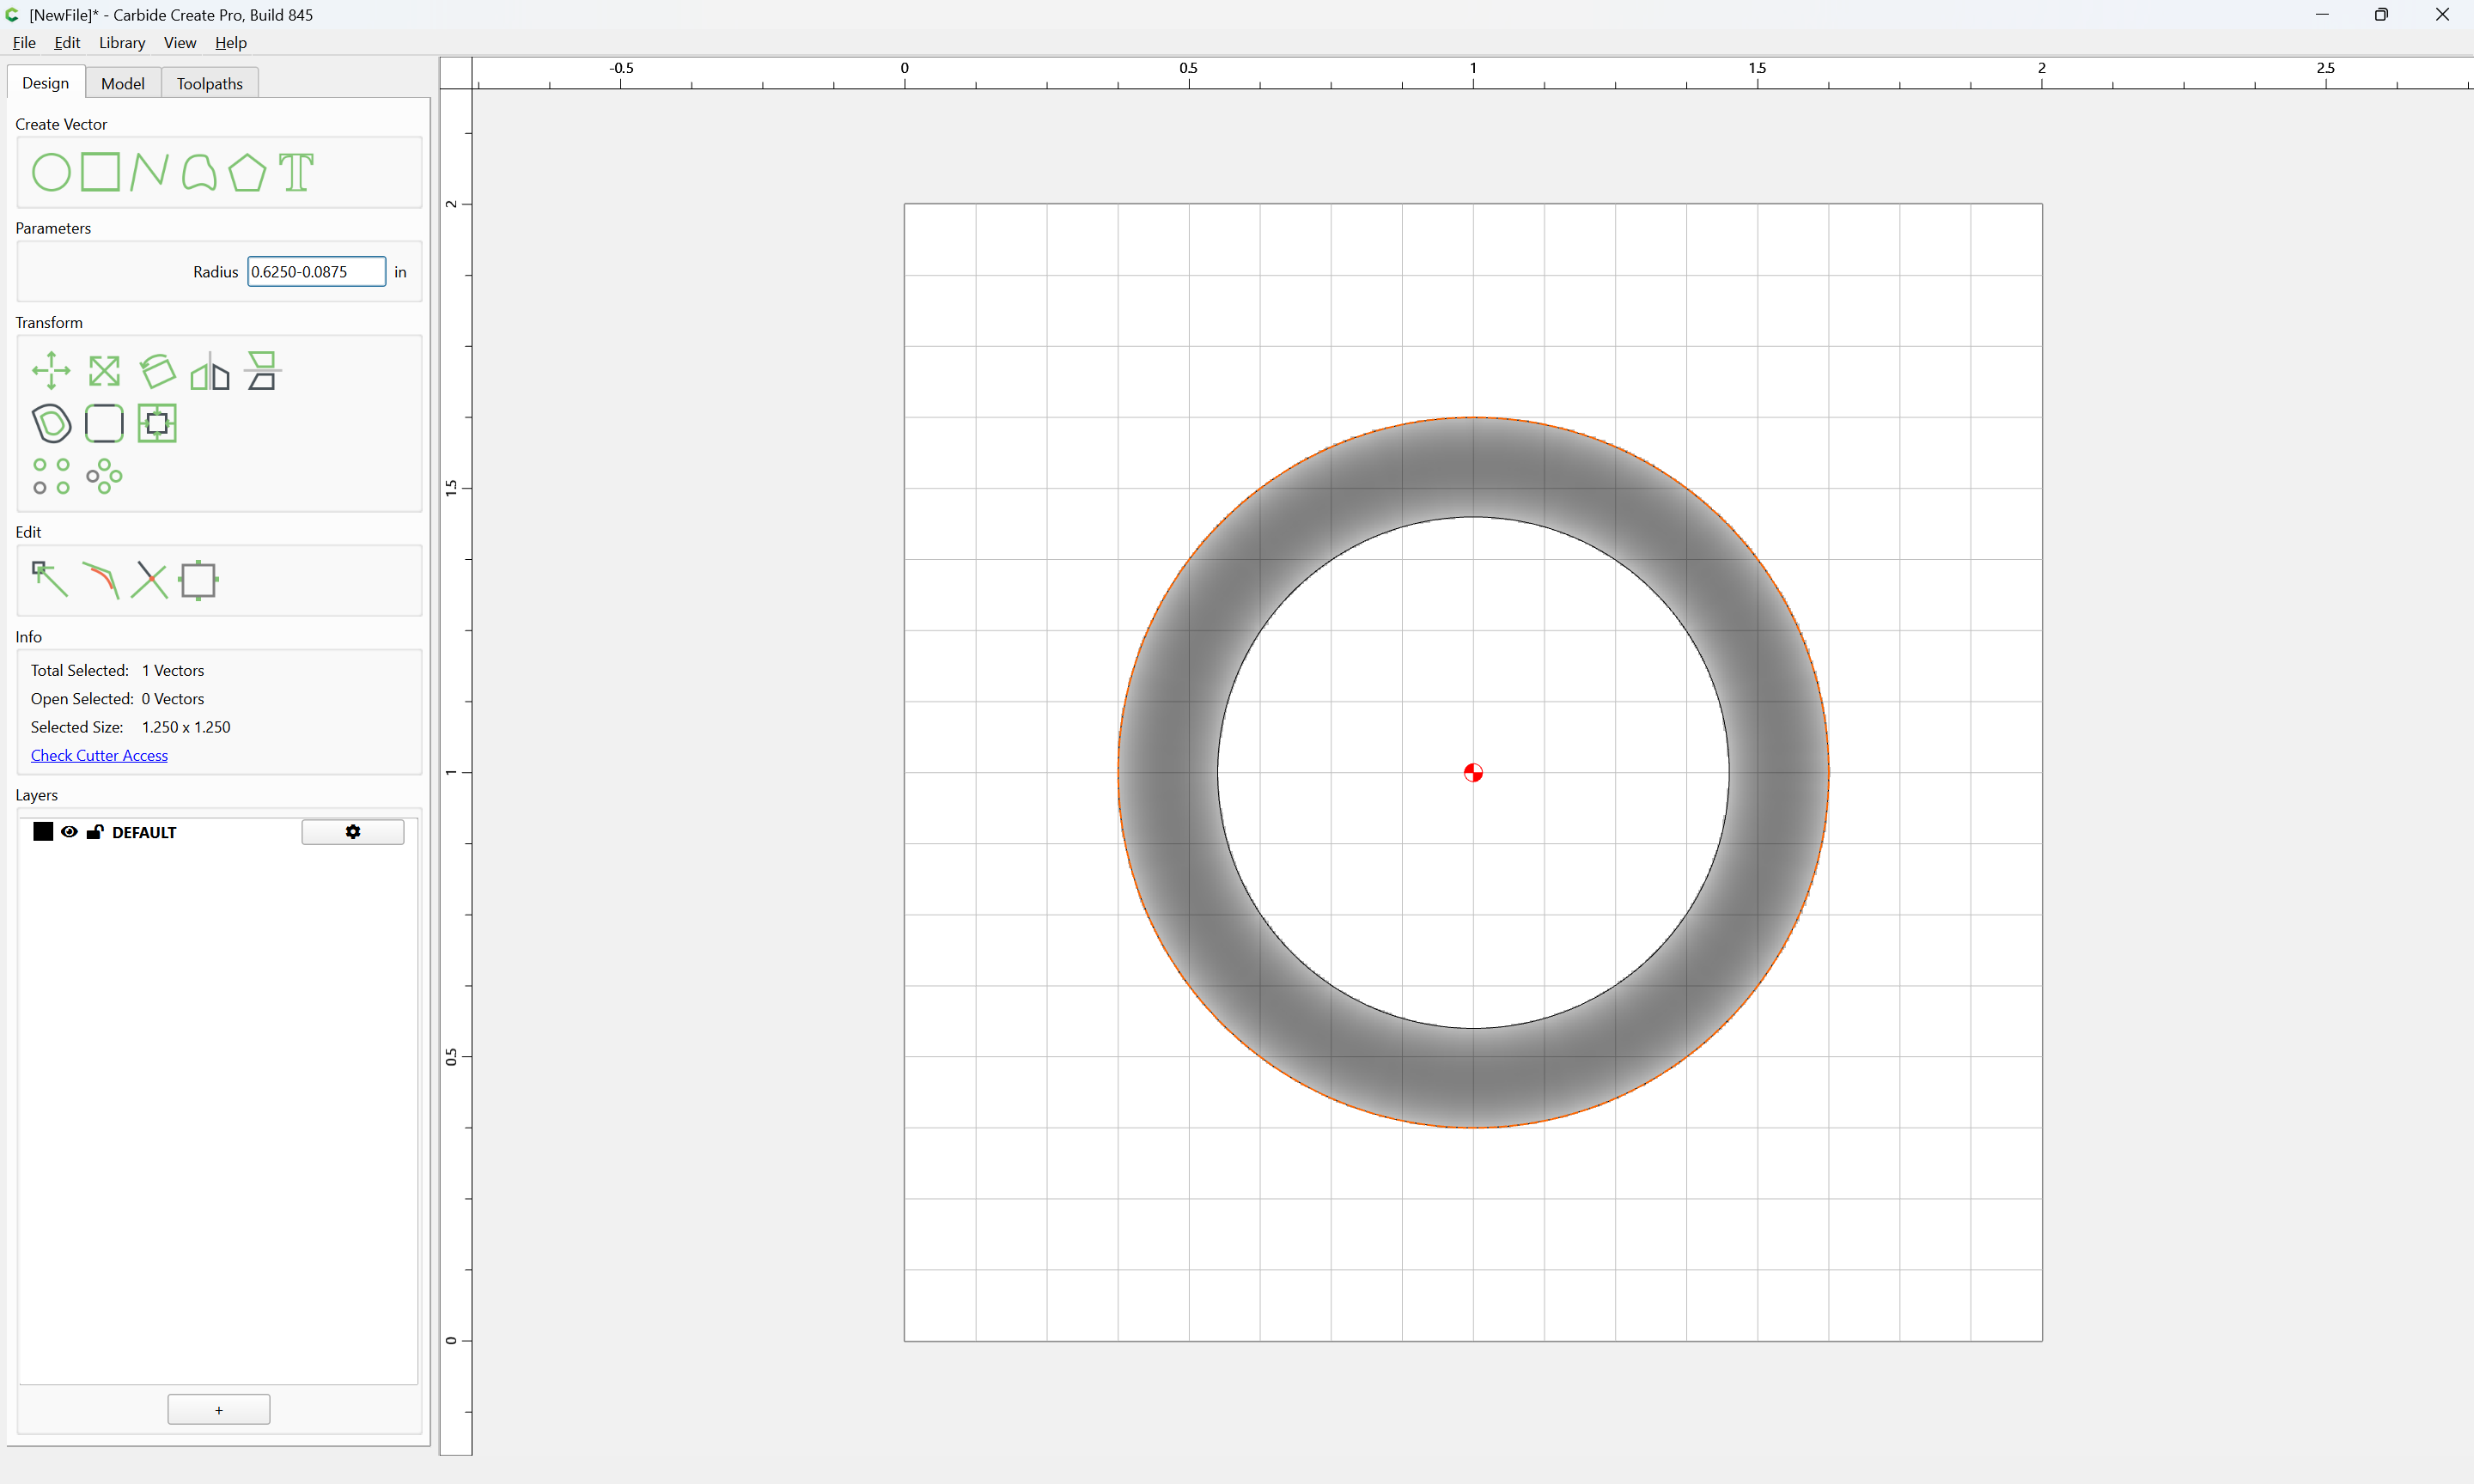
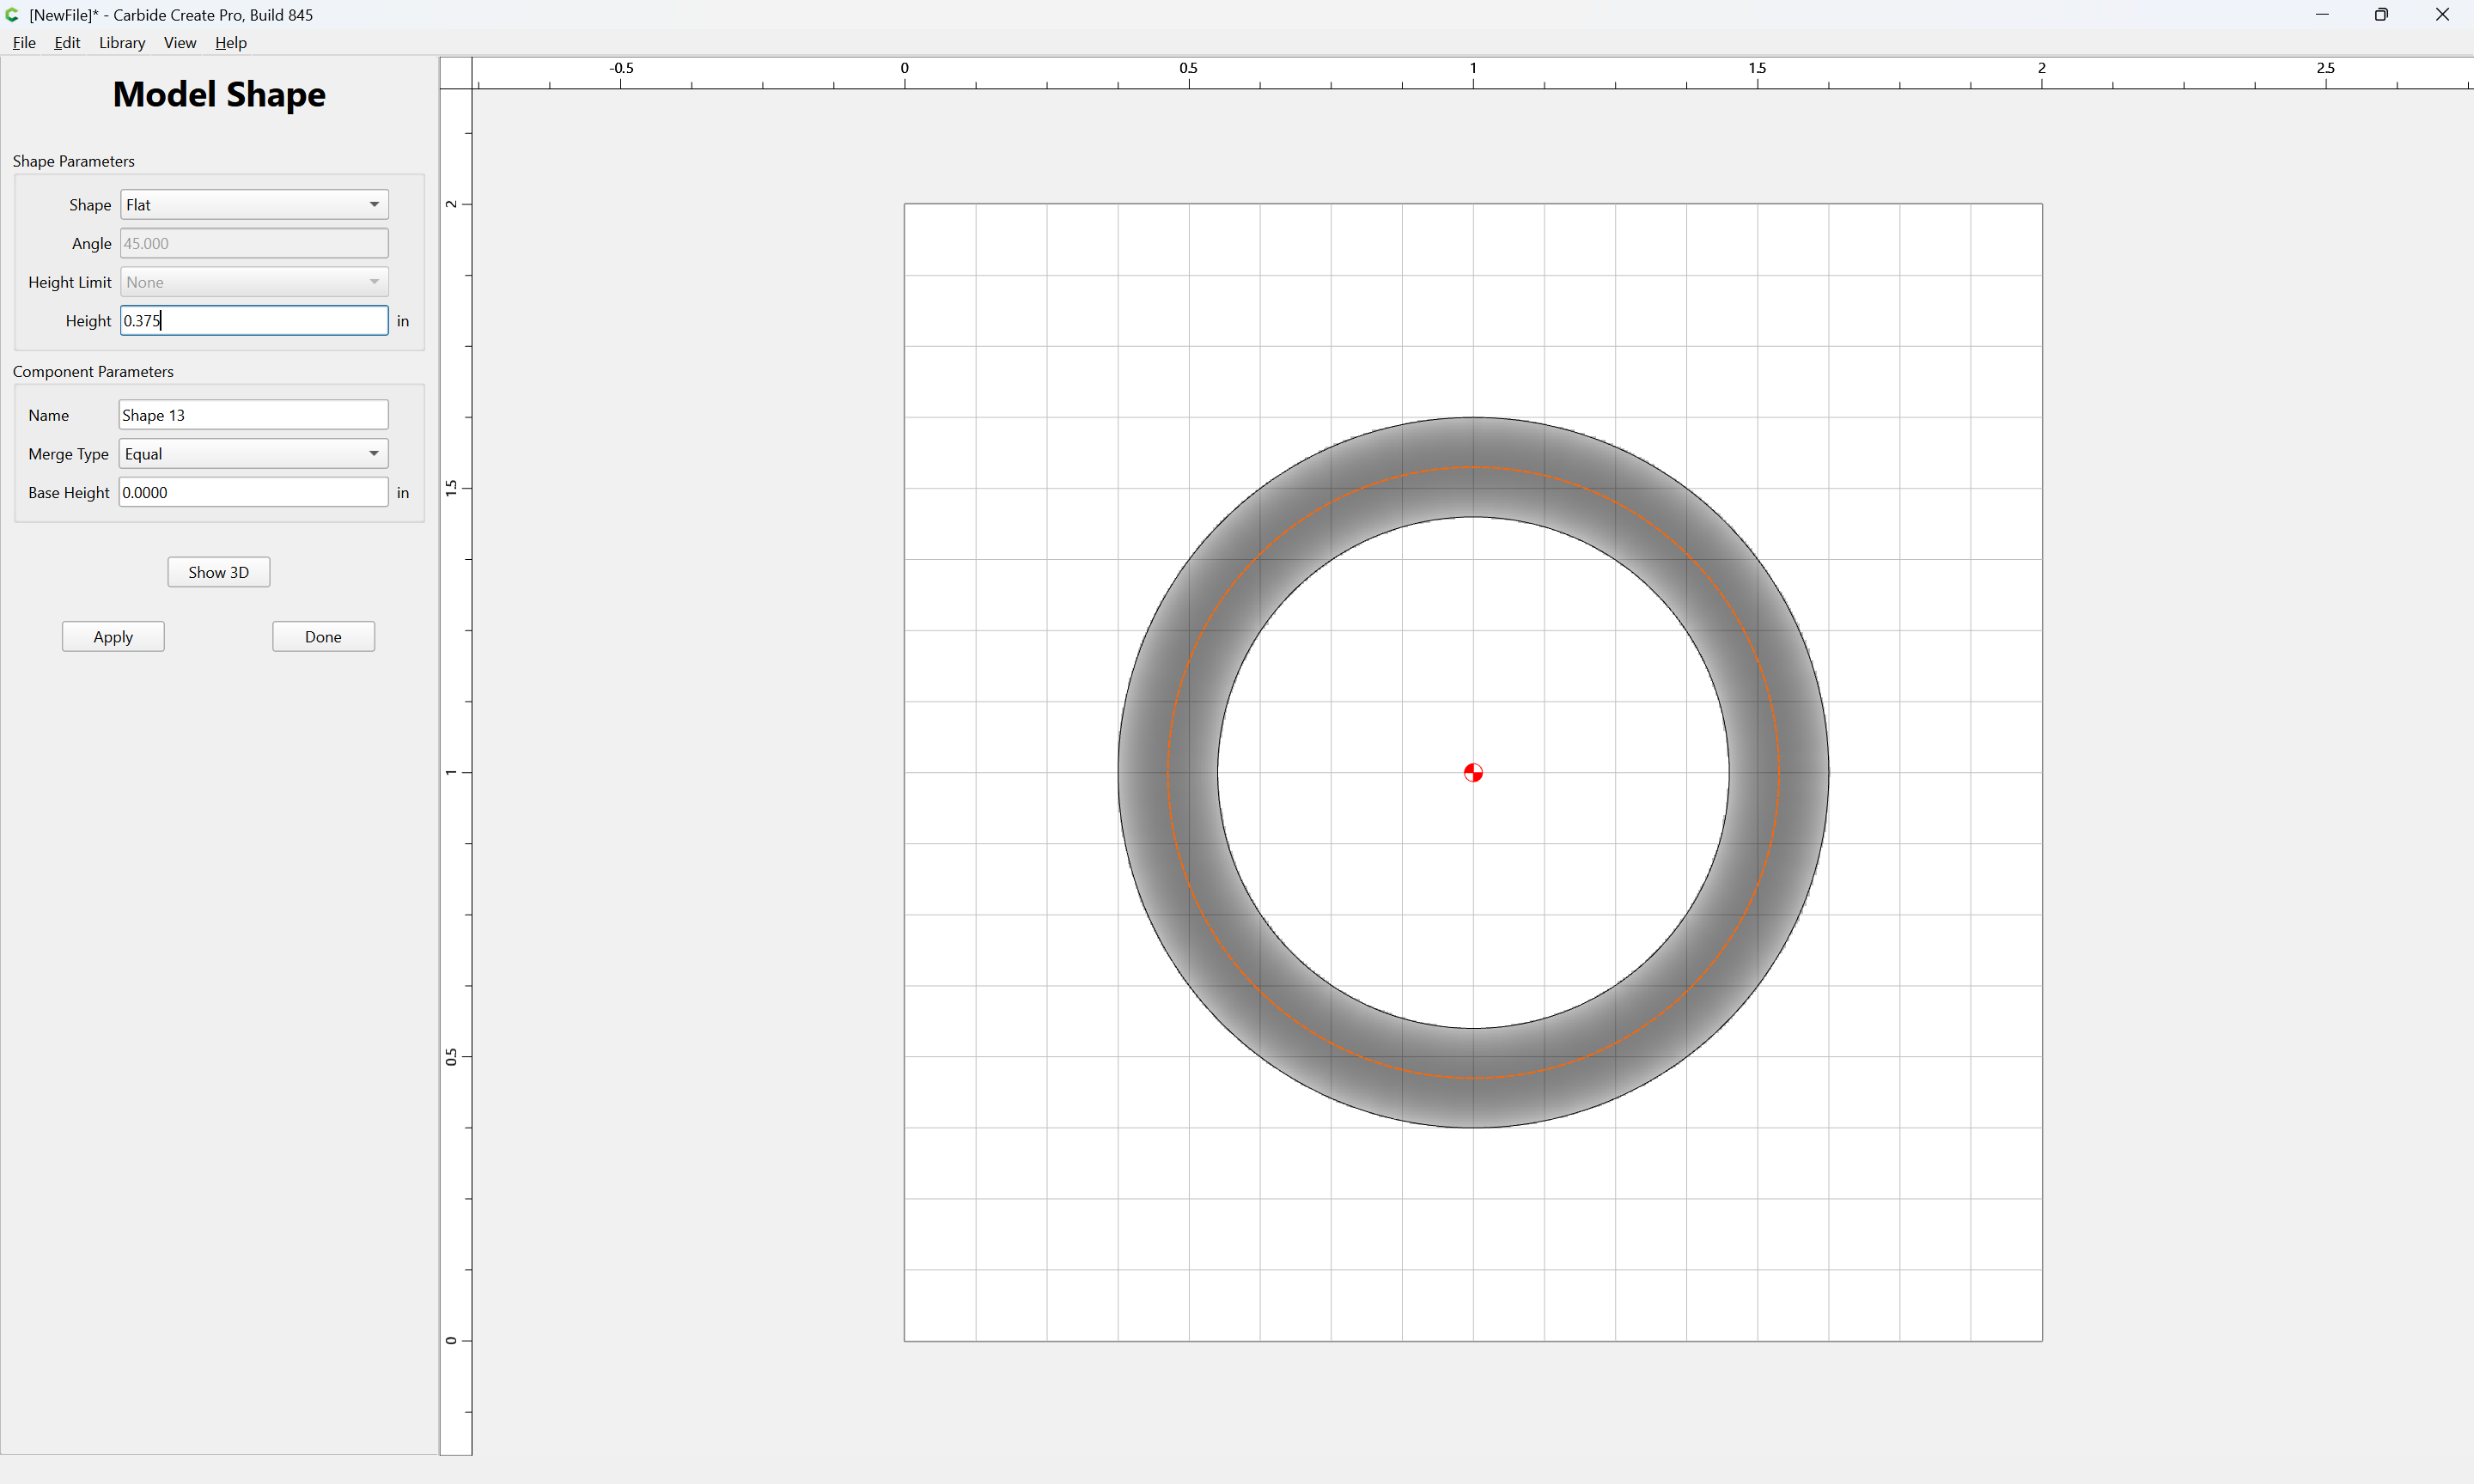
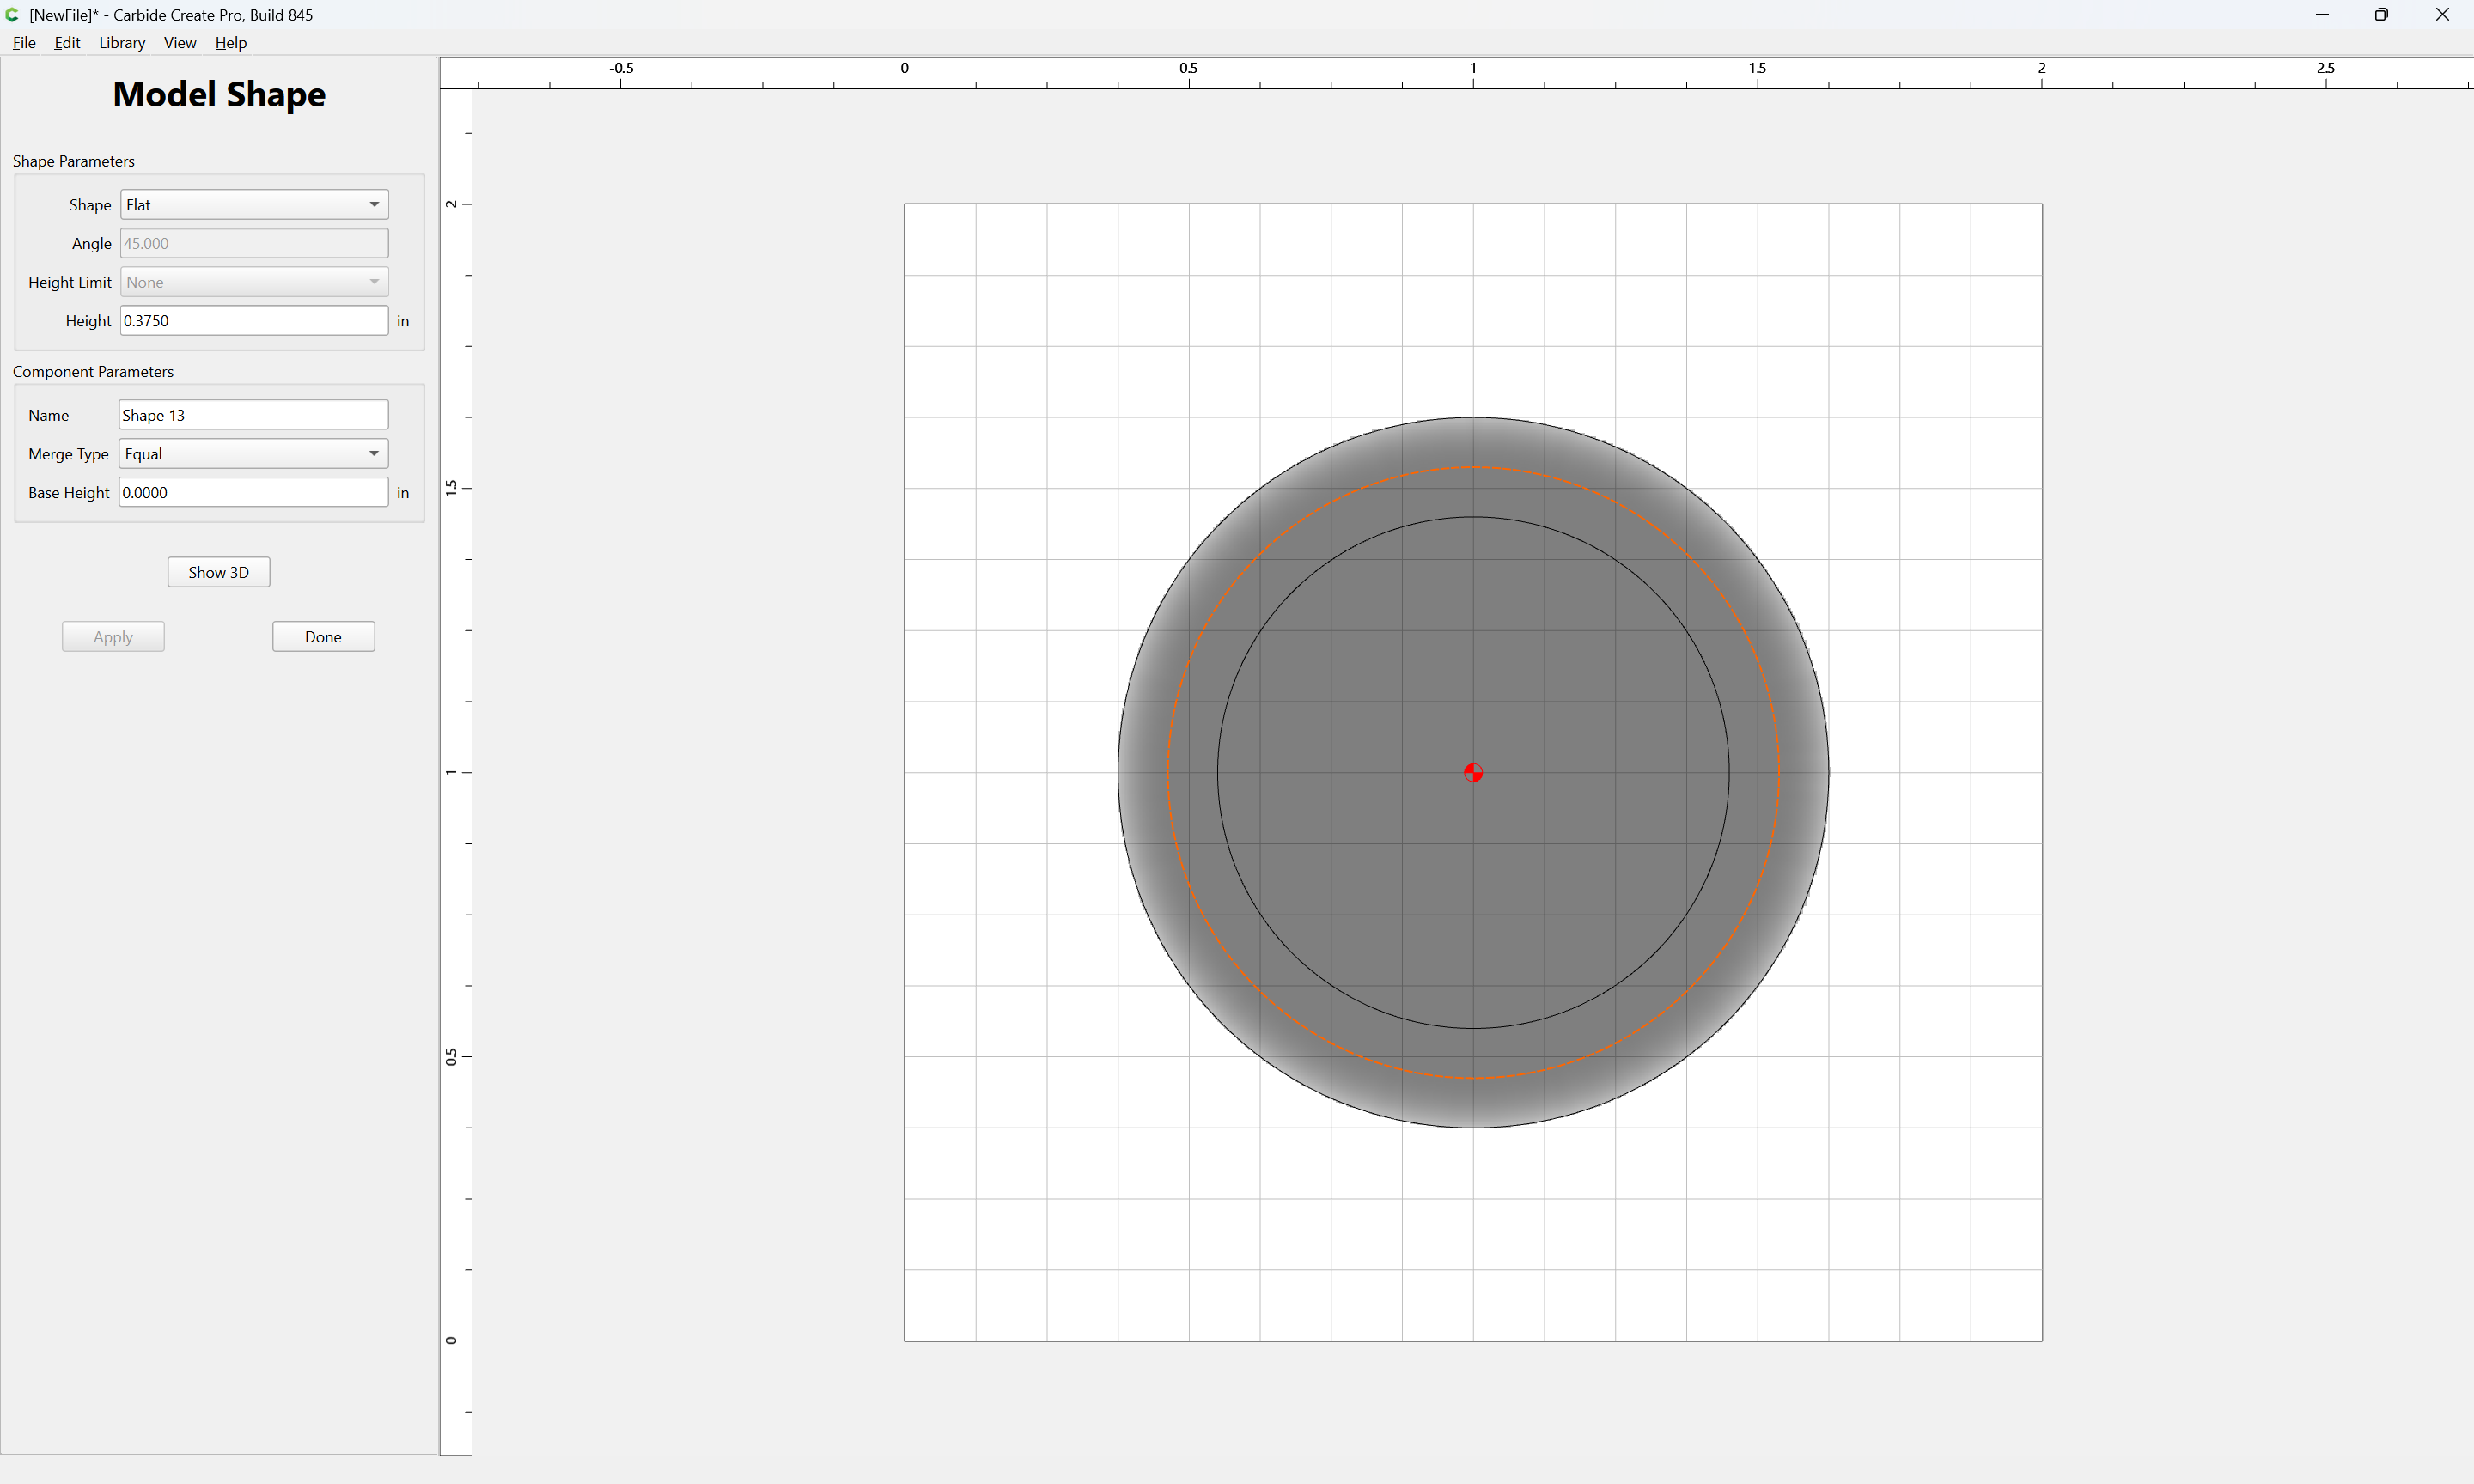
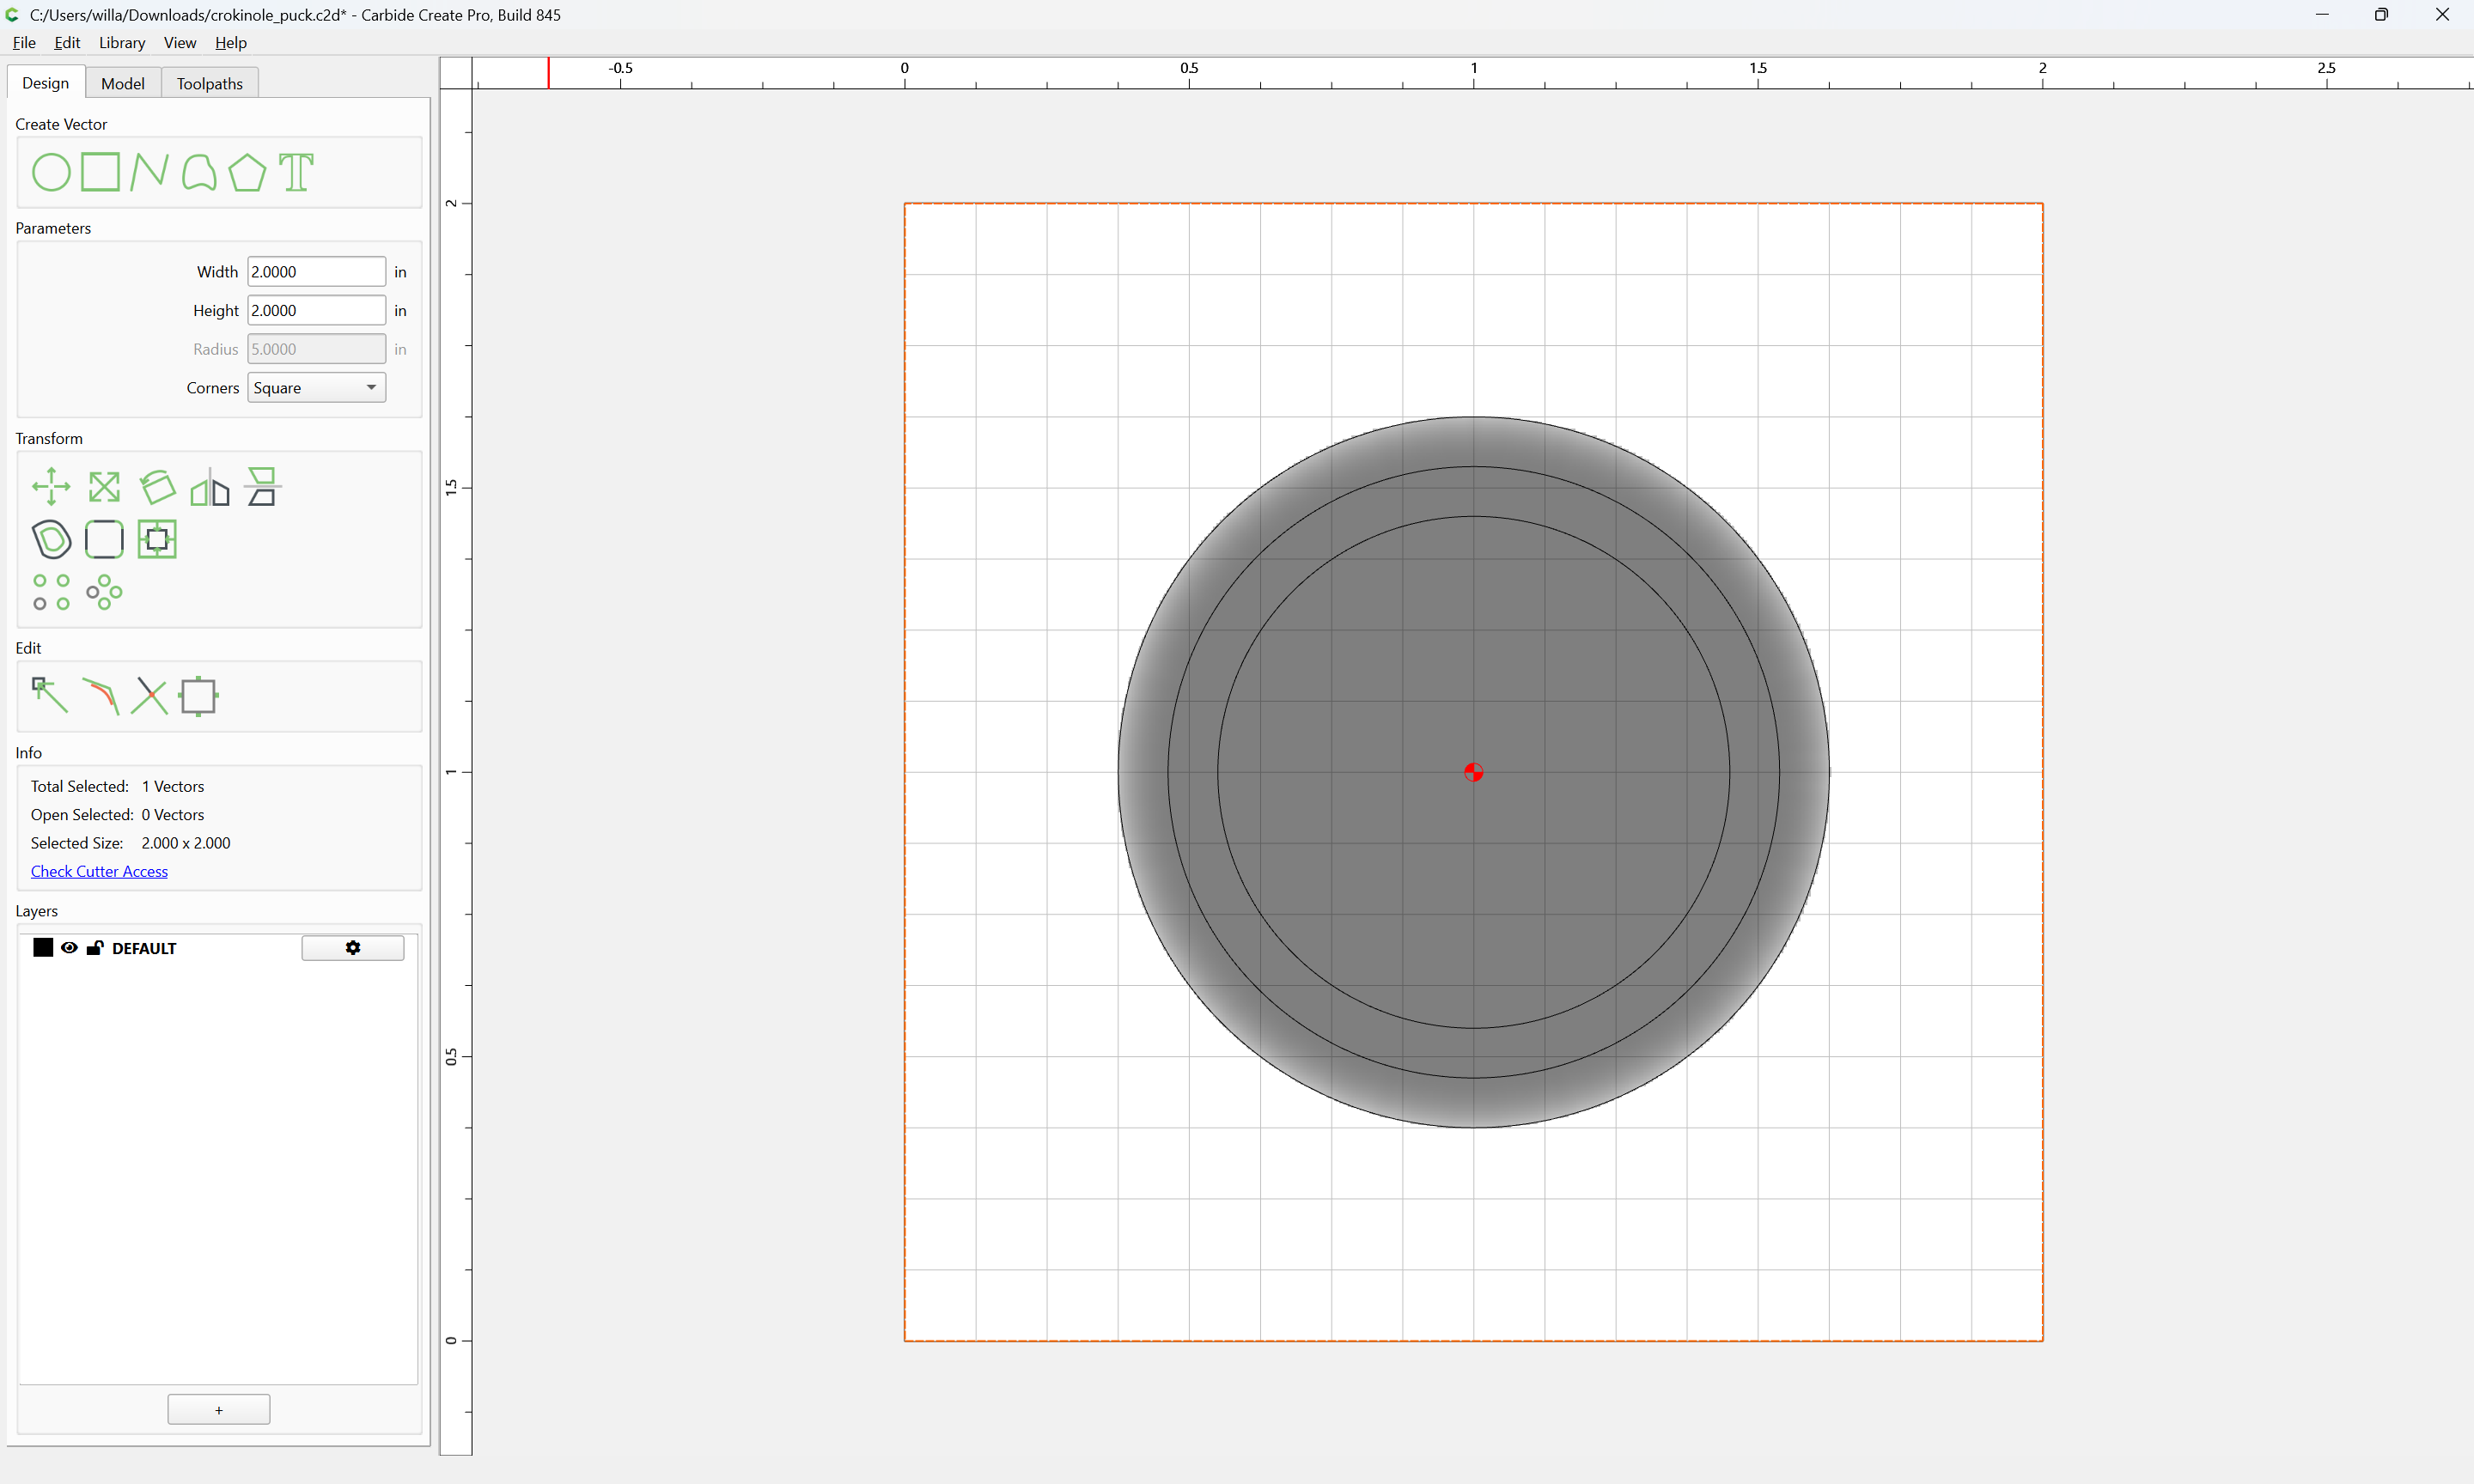
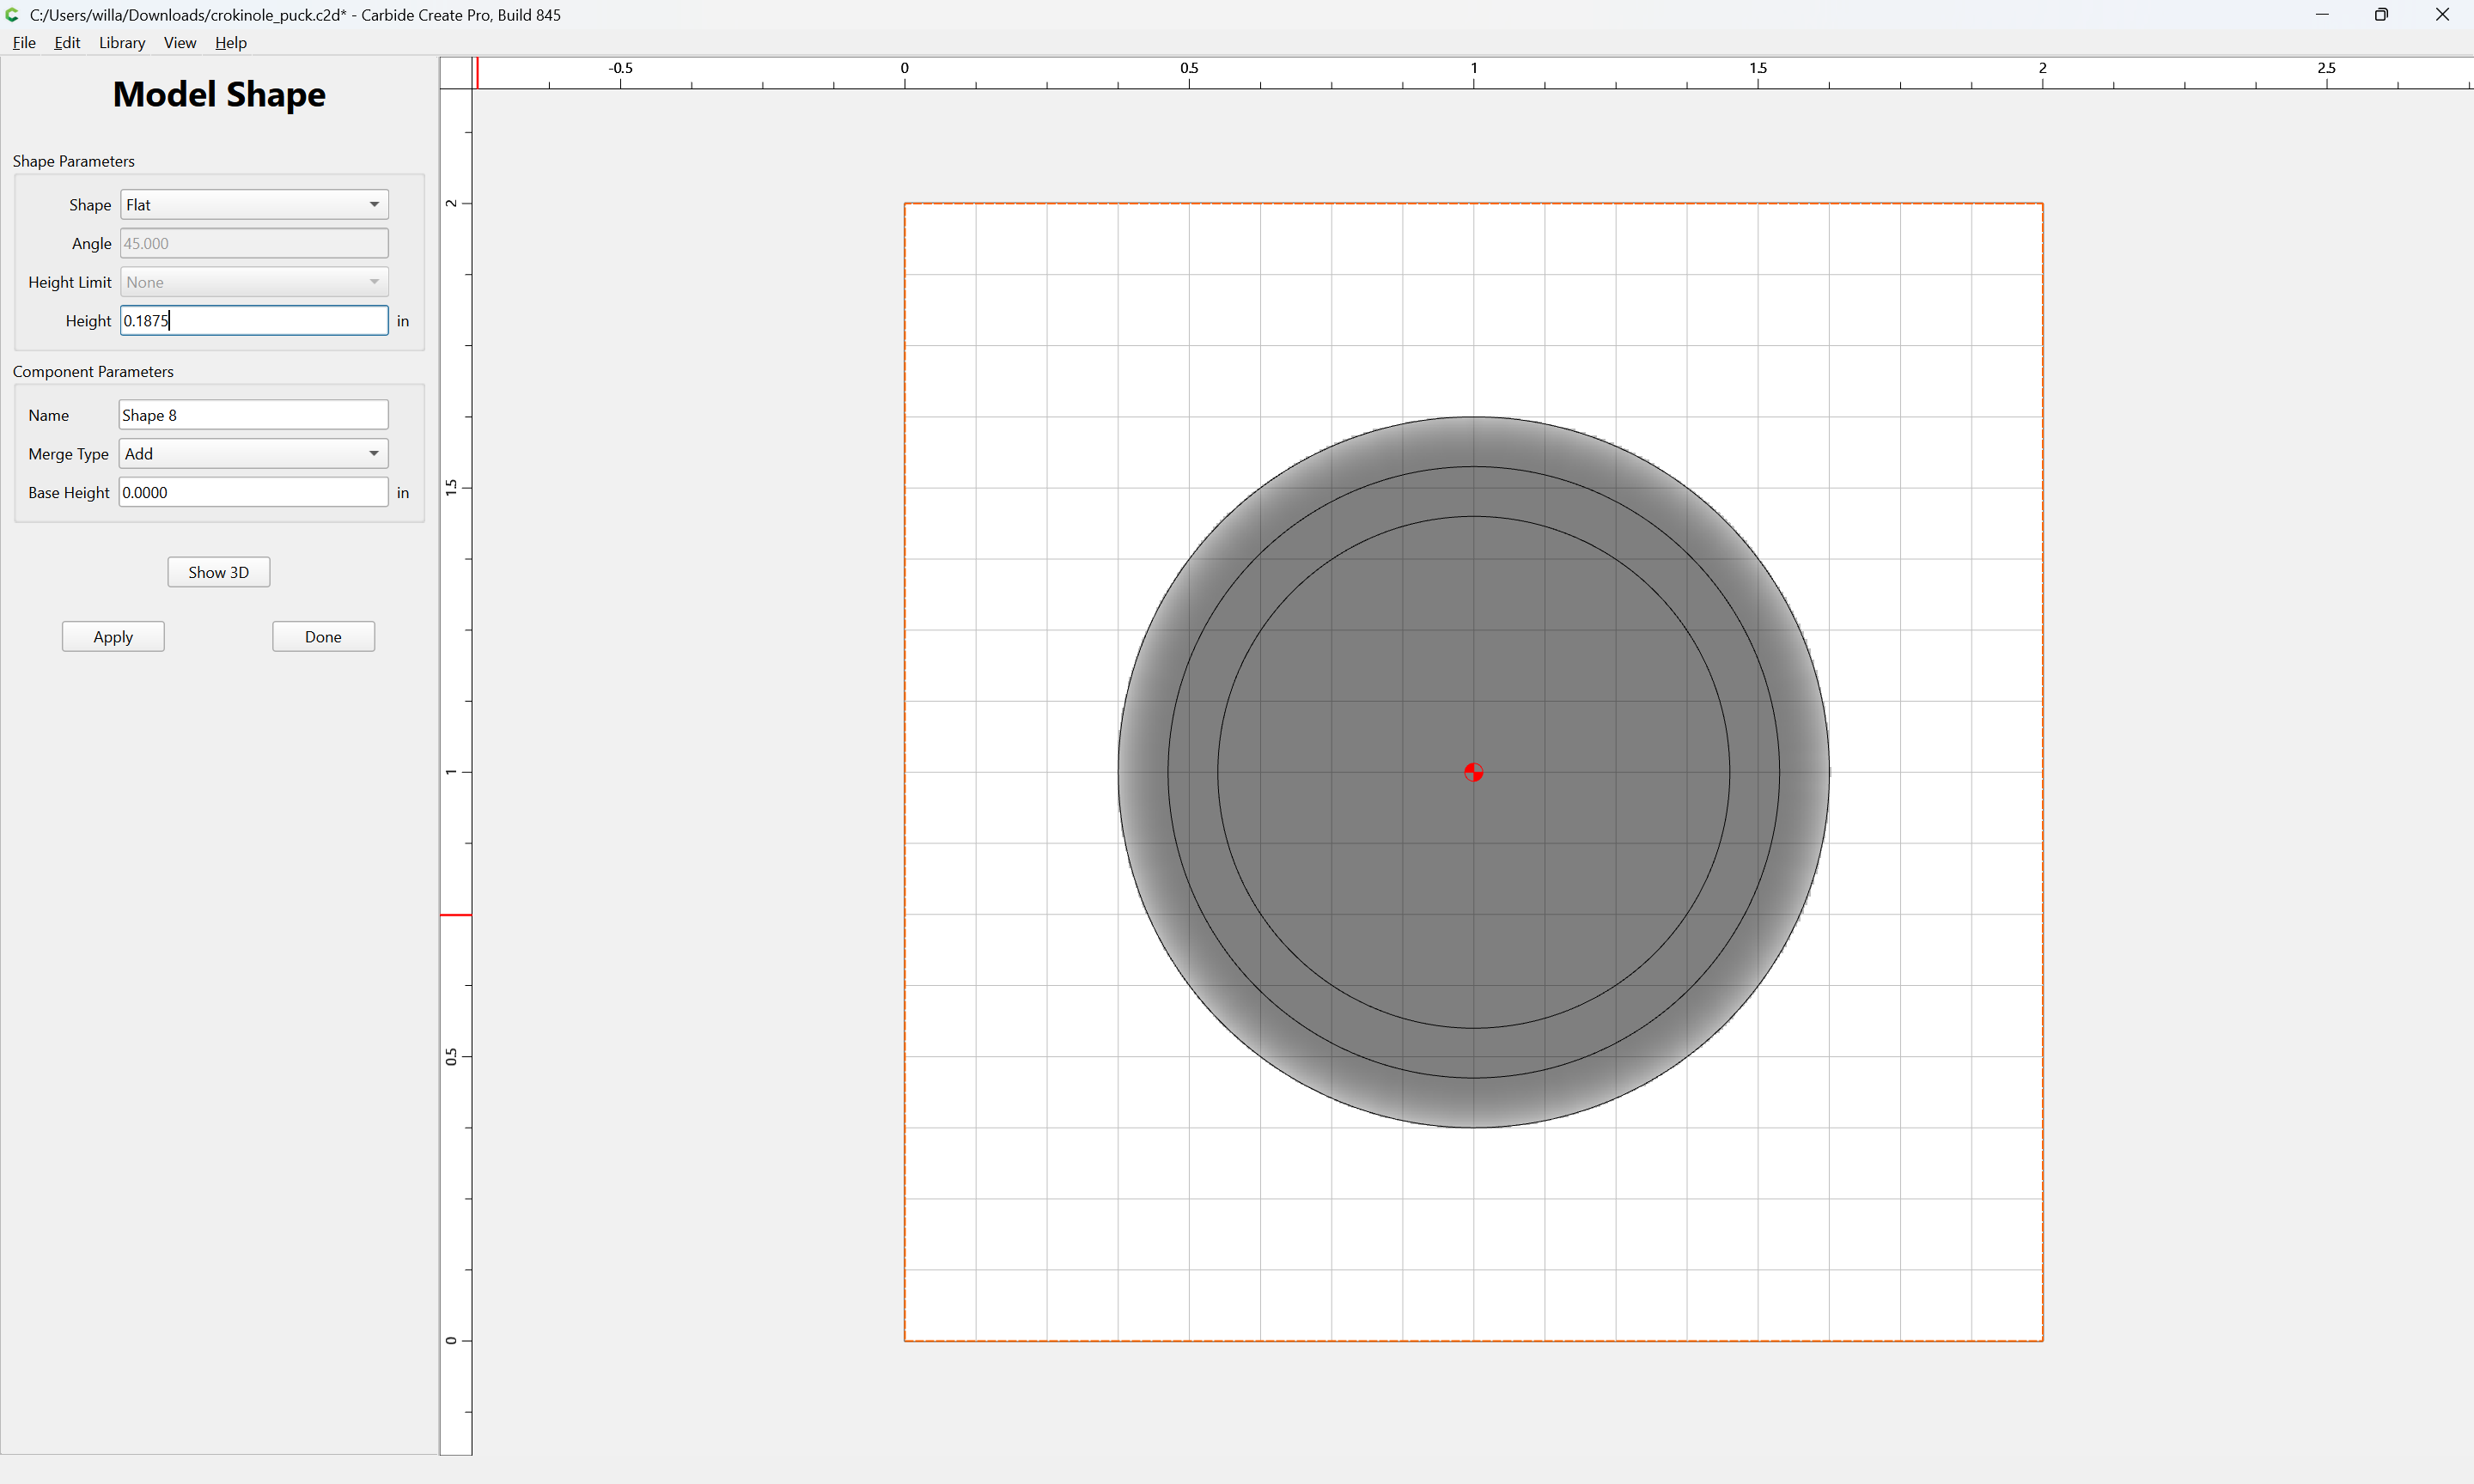
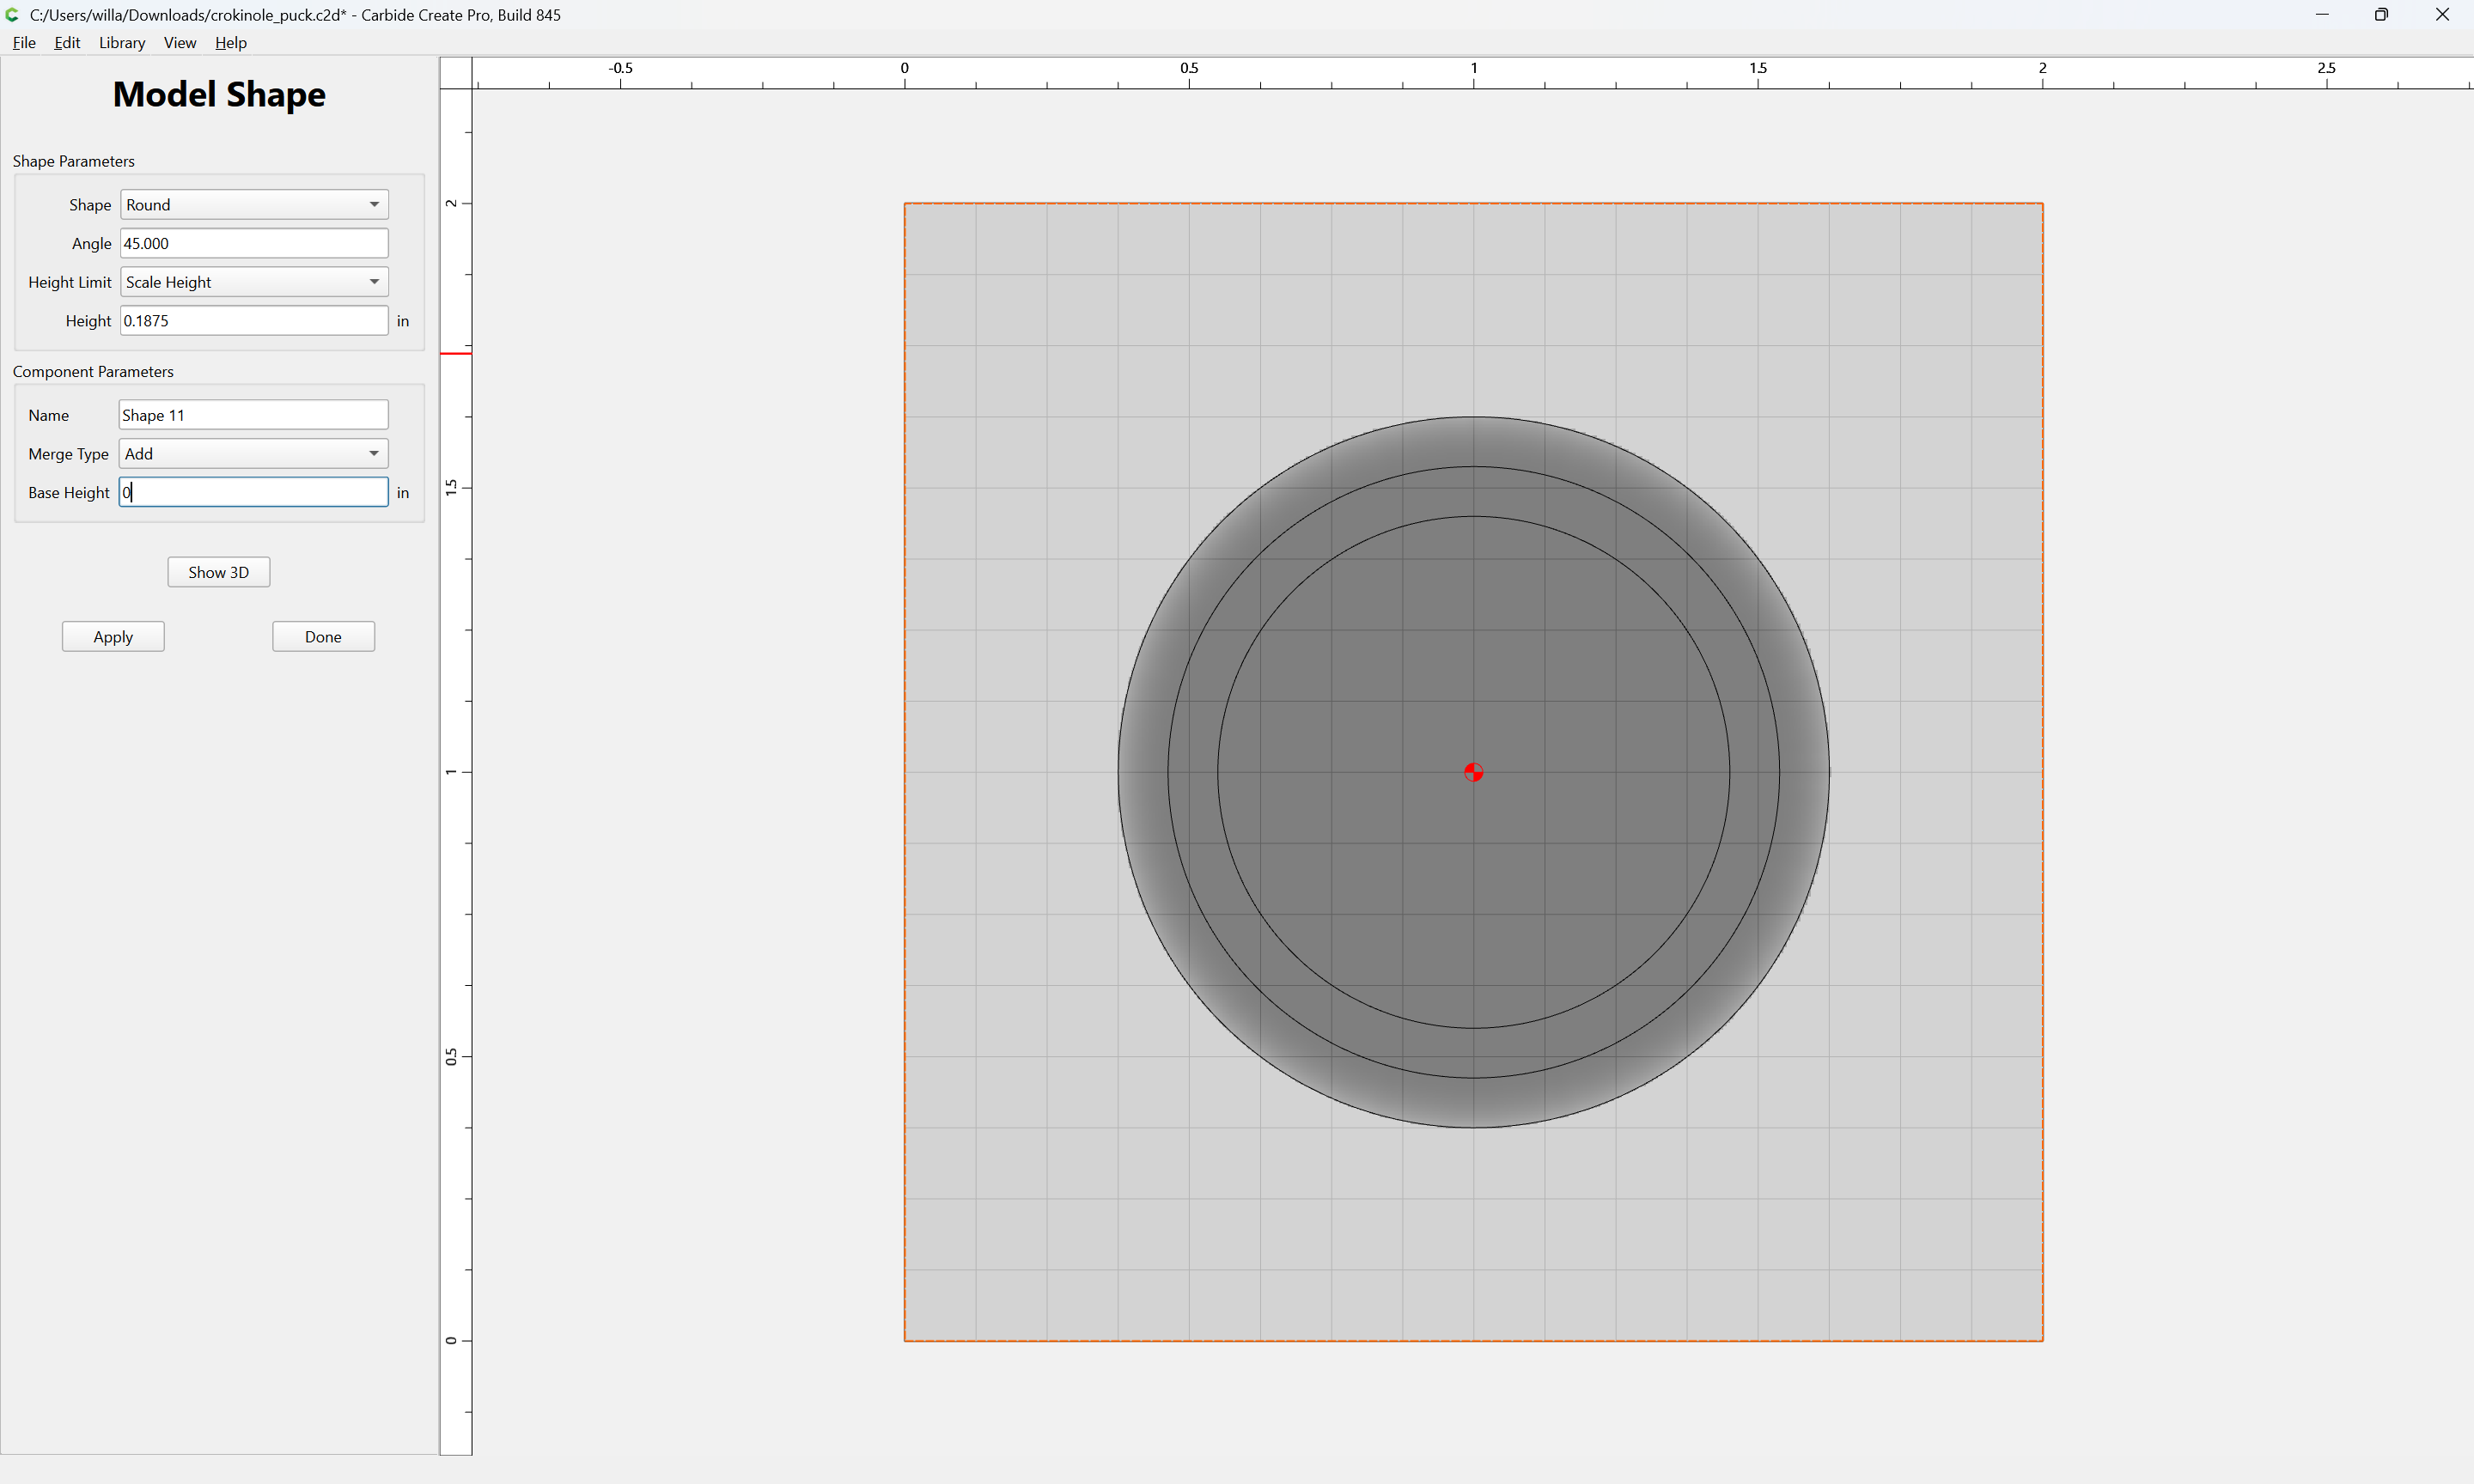
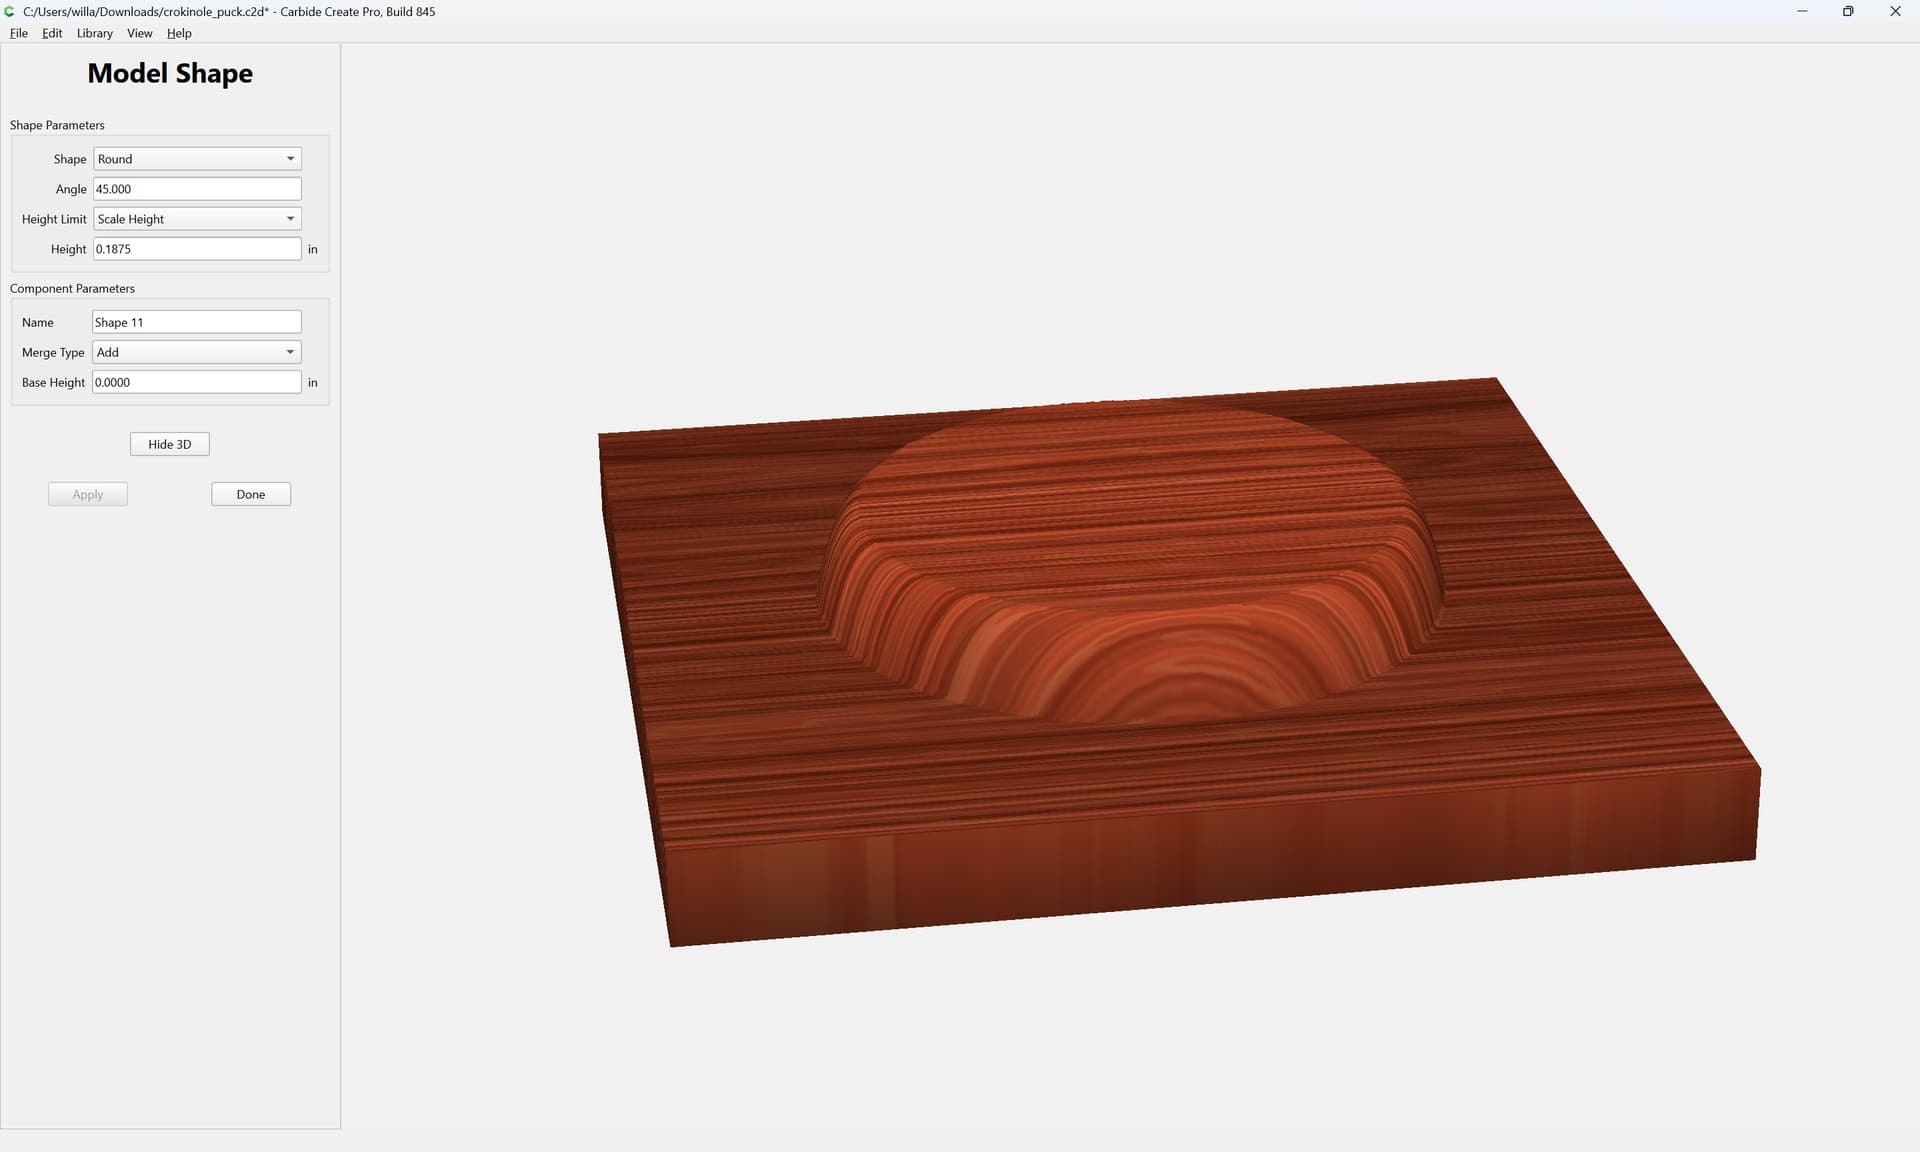
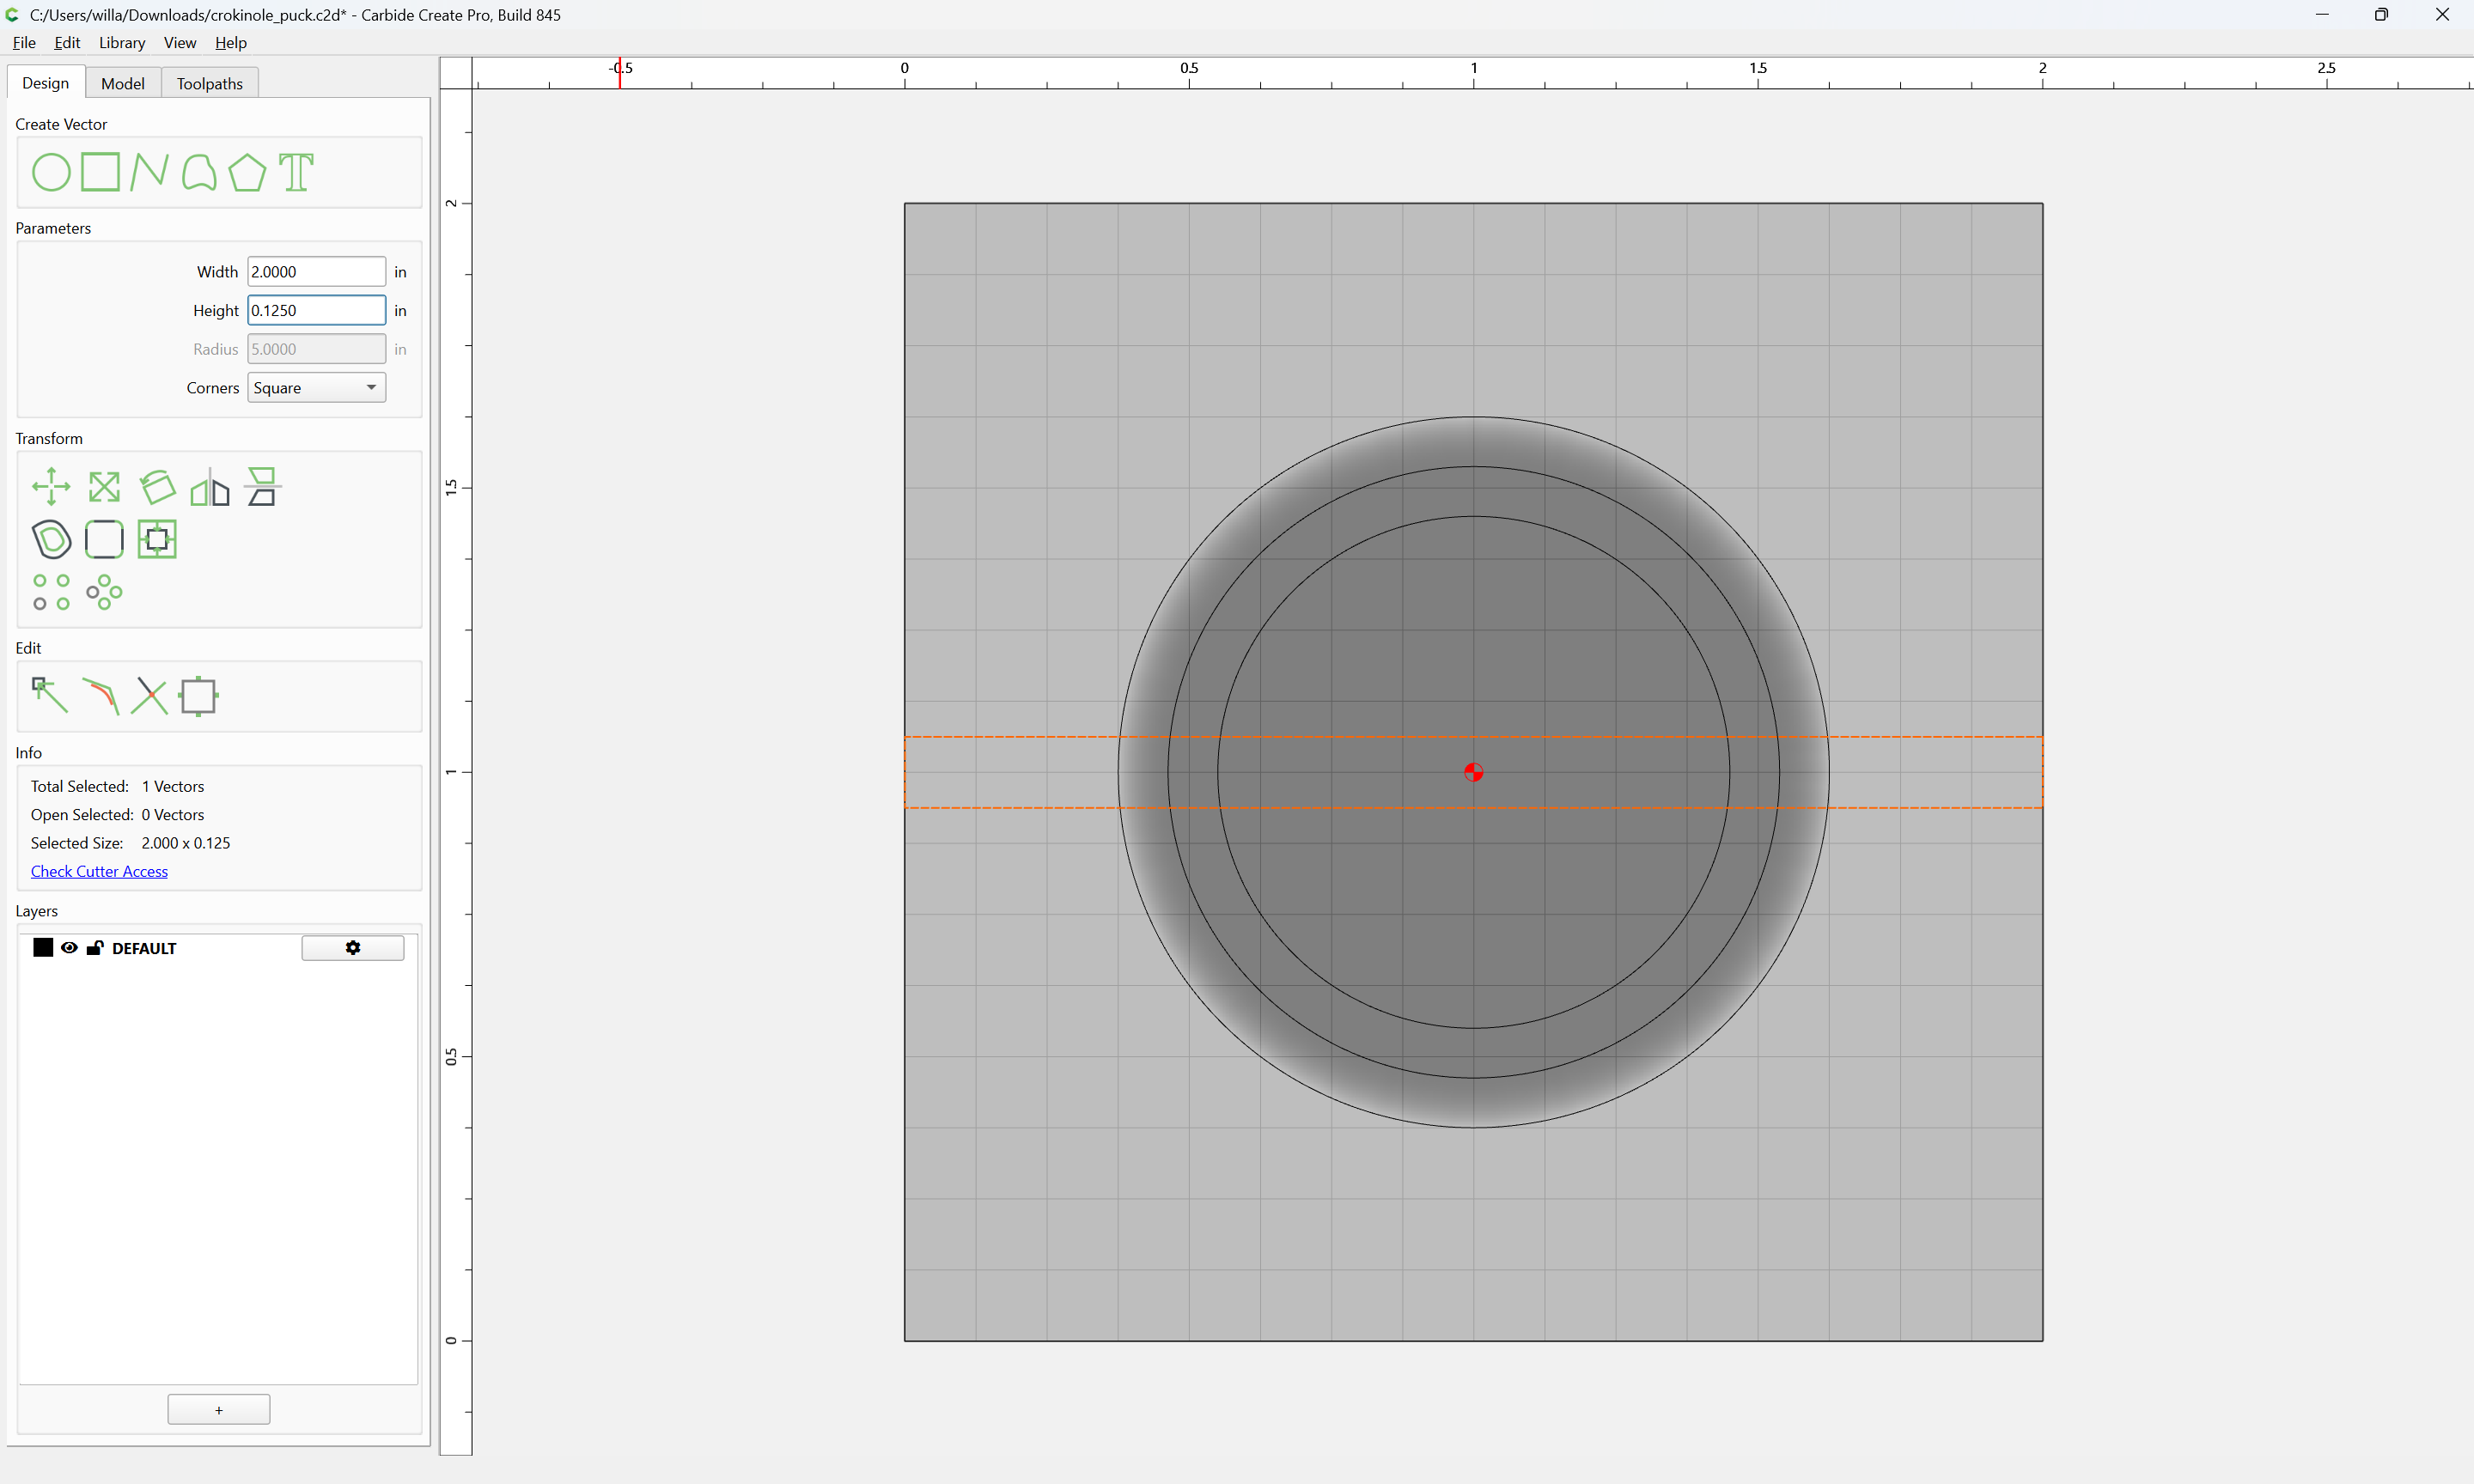
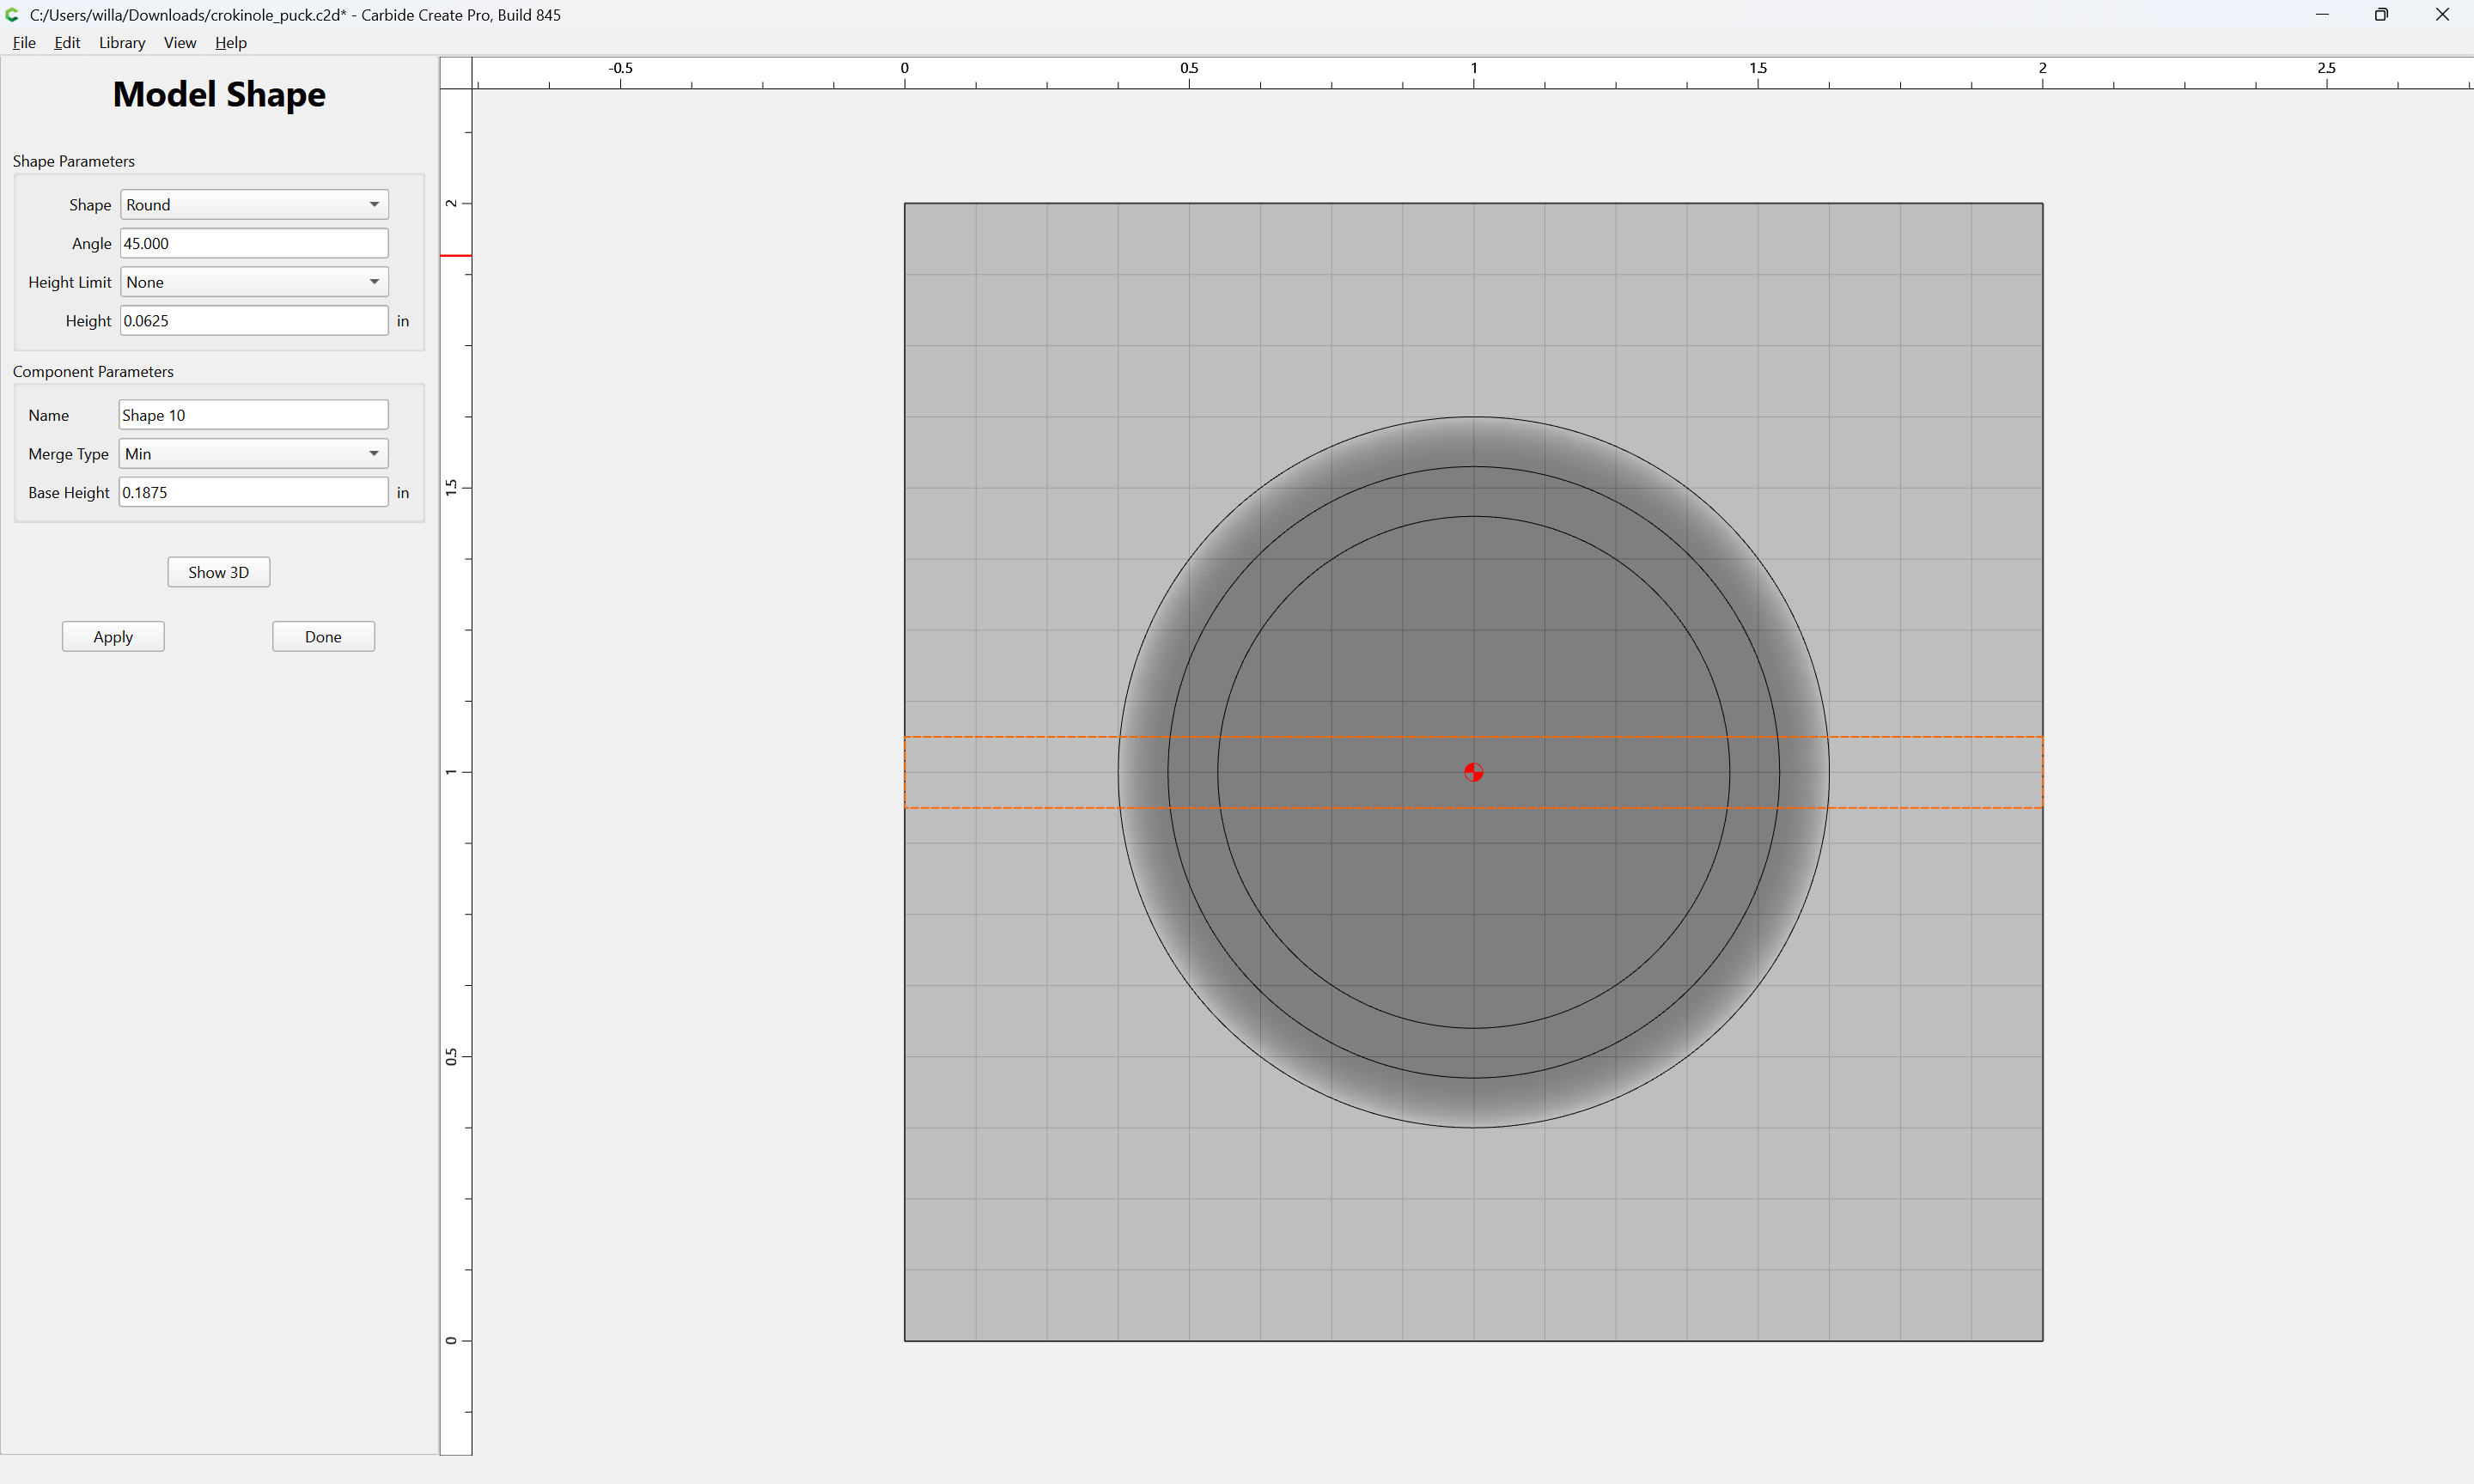
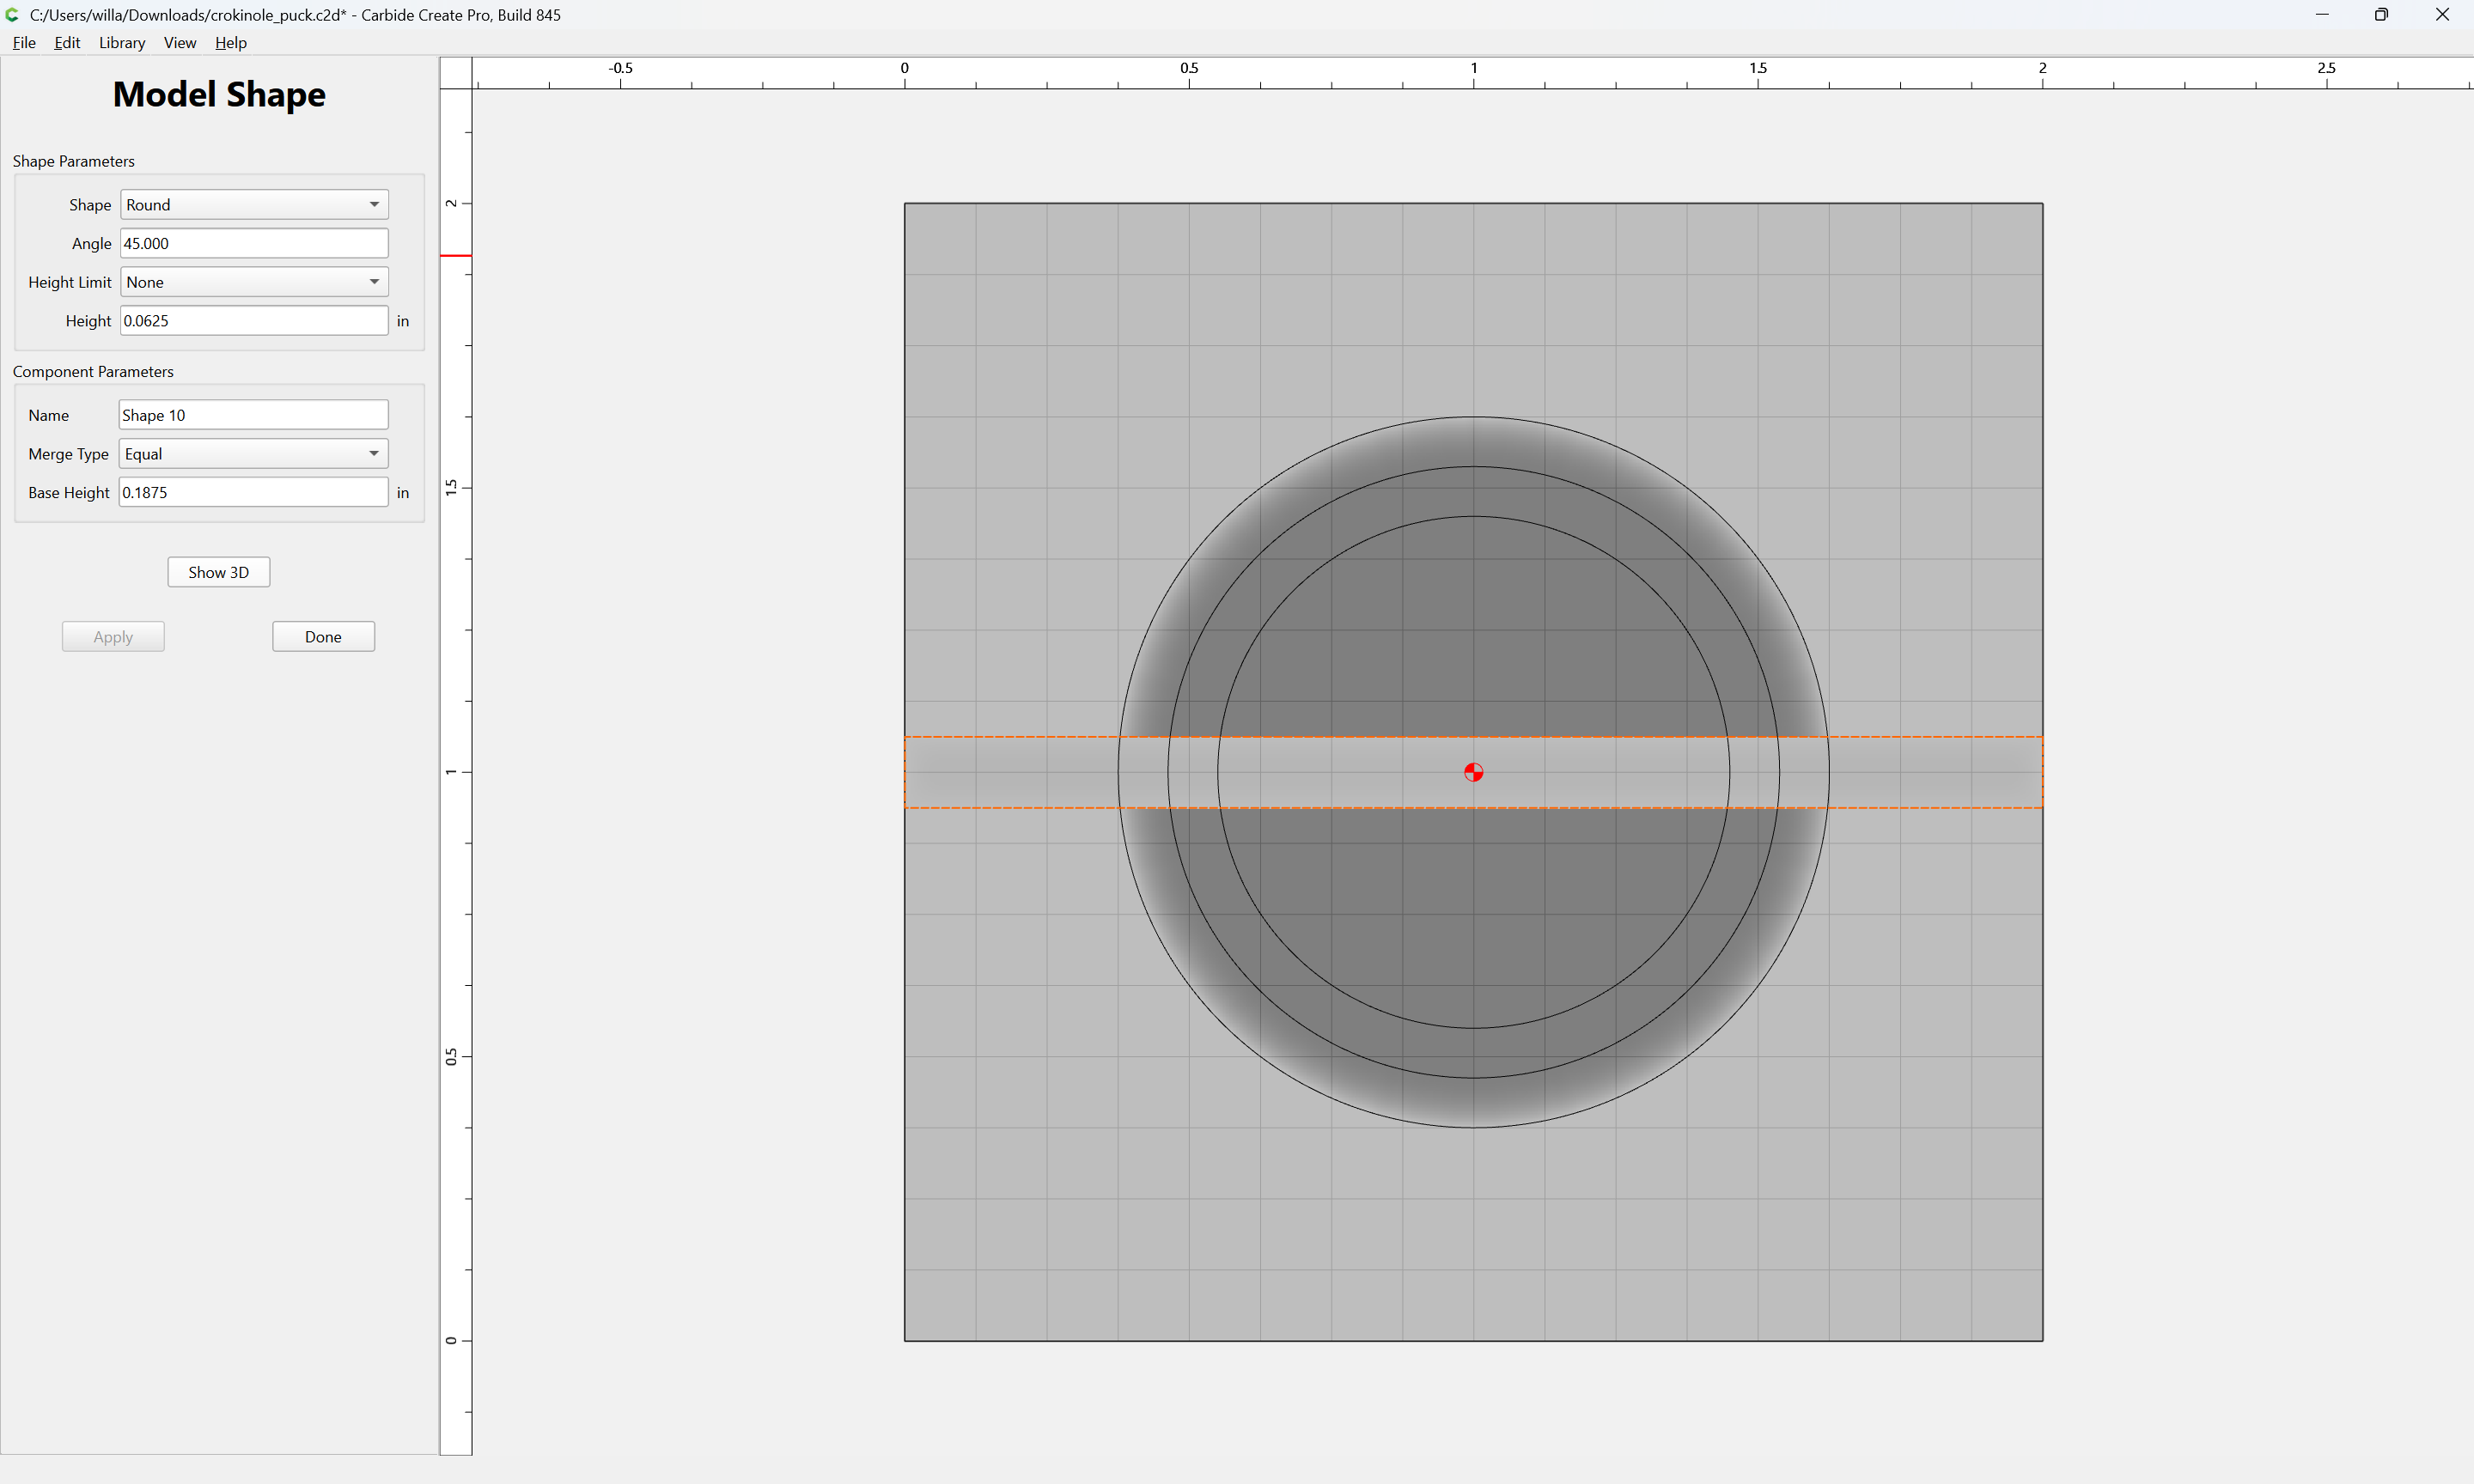
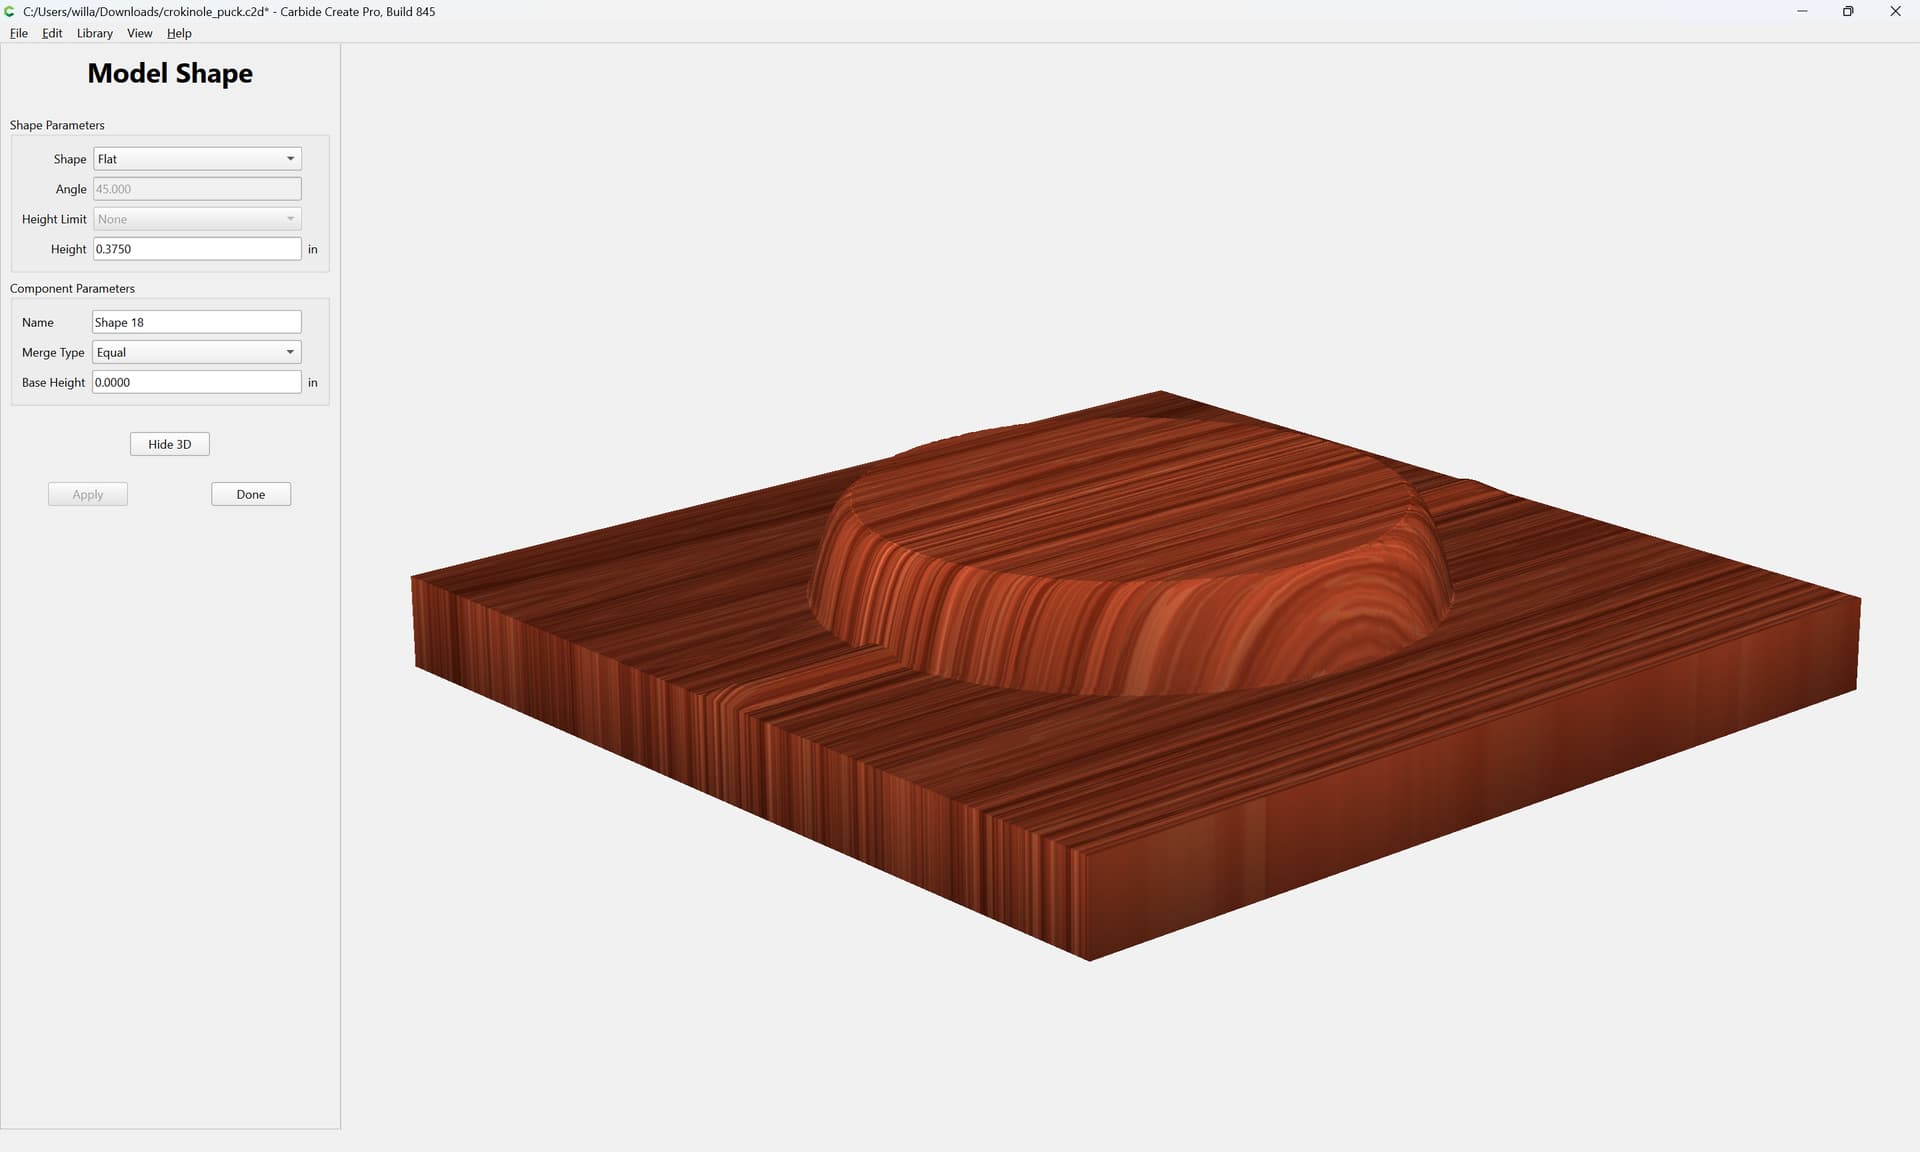
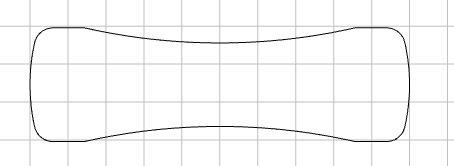
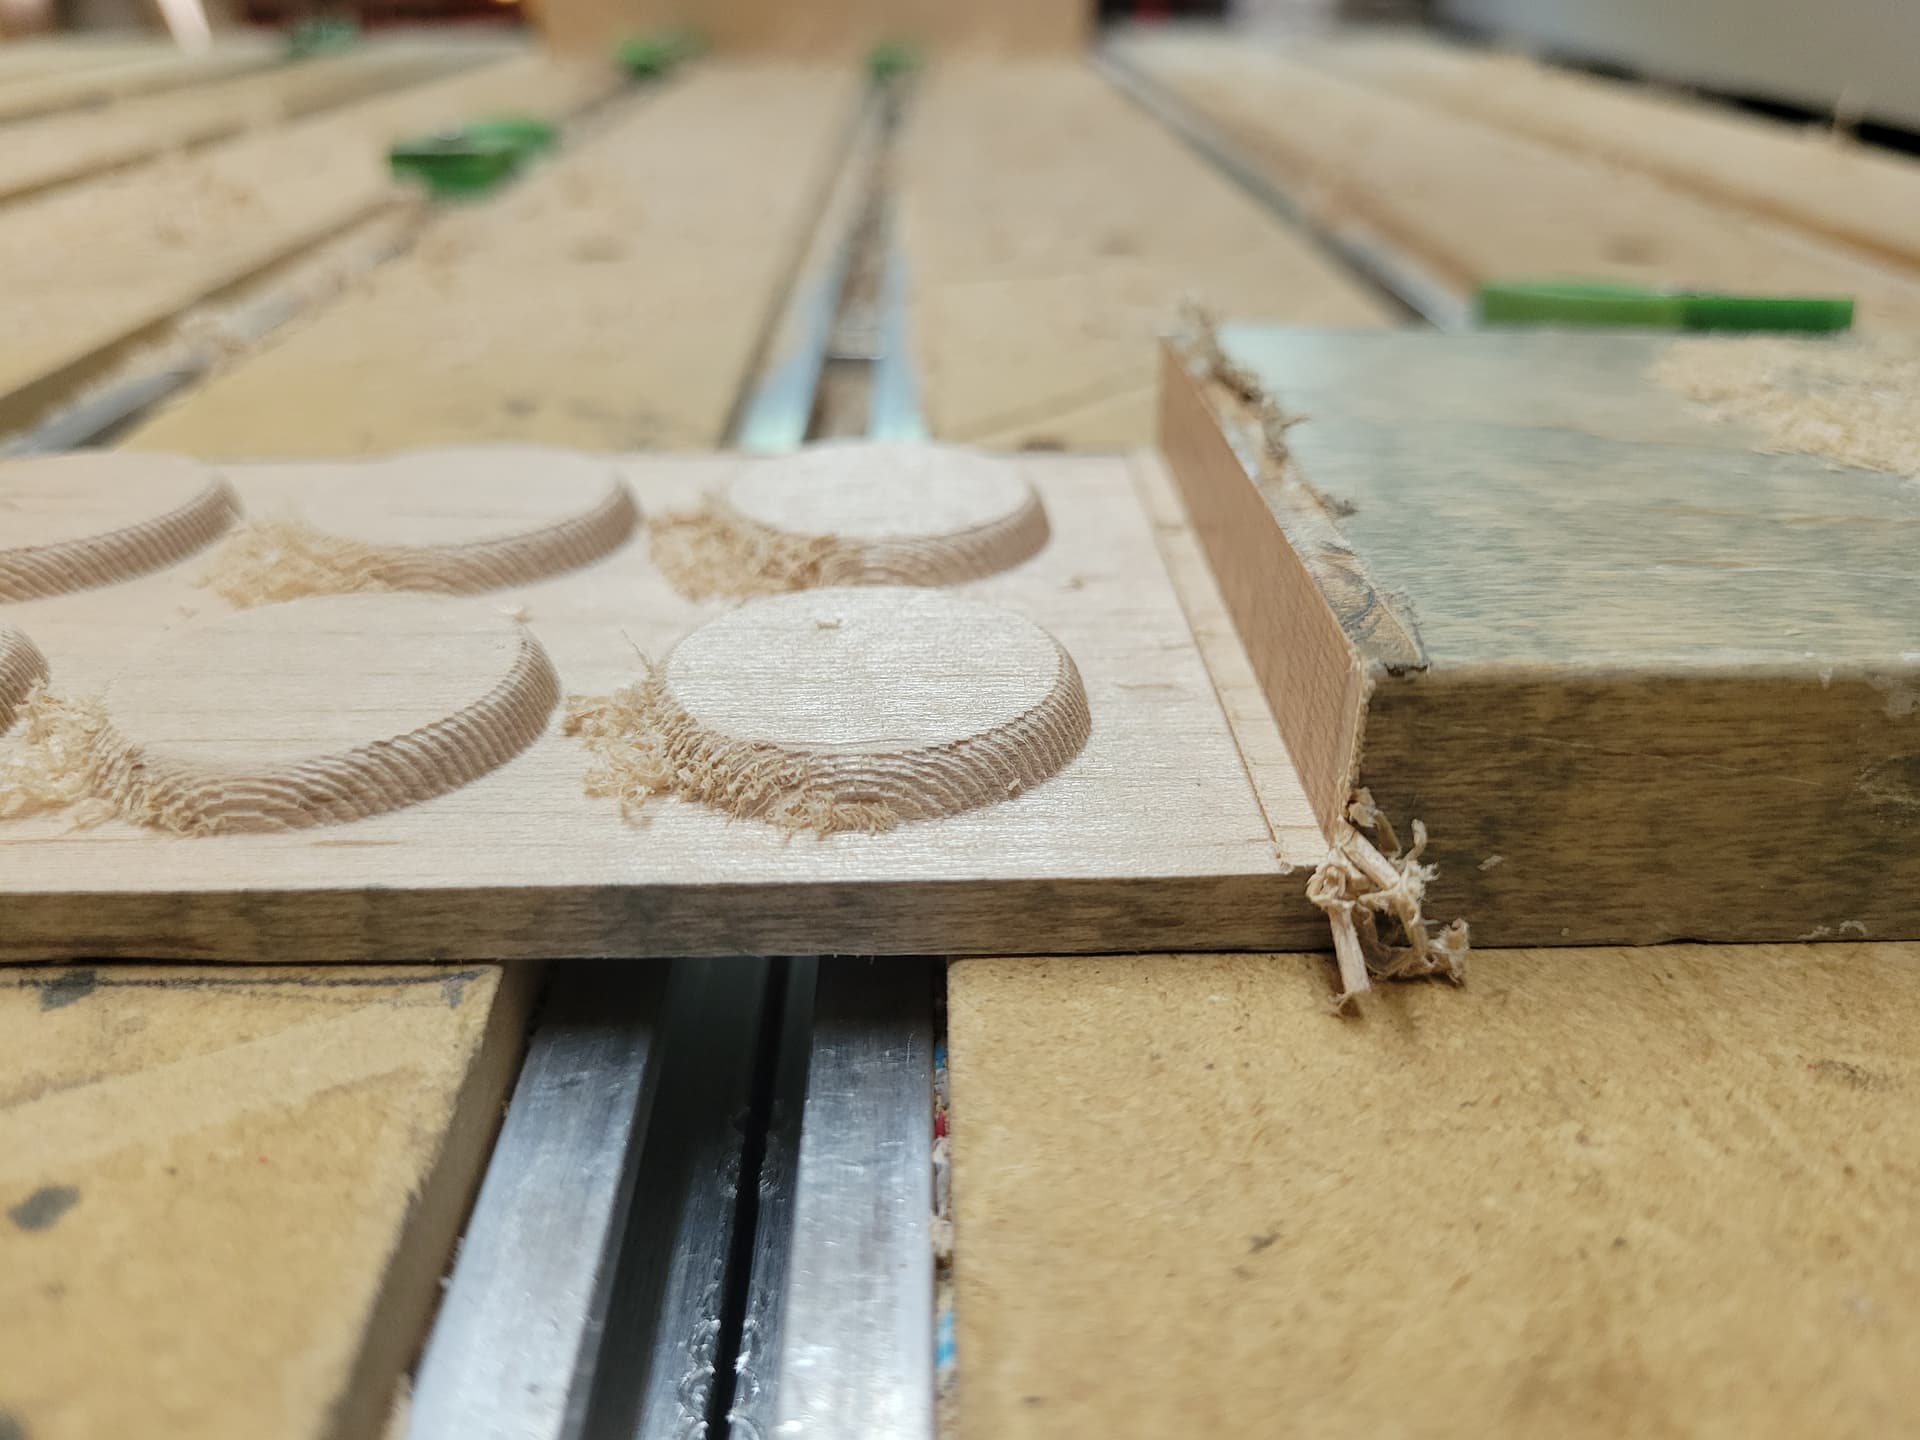
I’m trying to learn 3D modeling and have crashed too many times. Here’s my goal: I want a file where I can set some 3/4" maple scrap on the machine, flip it once, and have some crokinole pucks. They are 3/8" thick when finished so I figured I could just carve down and leave a middle 1/16th" inch of the center as a “tab” and then flip. It’d be simple sanding after that. They’re 1 1/4" diameter.
The curved side is the challenge. If it was straight sided, you could do this with CC free version no problem.
How much sanding are you willing to do? You could cut the edges with a V Bit, then sand them to be rounder. Again, CC free would do it.
Being so small, they are poorly sized for work on a router table, so I think that it out.
A large radius round-over bit might fit the curve, but the bearing boss would likely interfere with the tabs.
Full 3D could model the shape, but the cutting time is going to go up a lot. What’s your time spent VS result trade-off like? Is it worth to you 10x machine time to get rounded edges vs straight edges?
Curves like this make me really wish I could grind custom form tools. Some day.
One thing that’s kind of interesting to note: a player will often spin the puck on both sides before shooting. Most pucks are made on a lathe and they tend to have a convex and concave side from the parting operation.
With a CNC you won’t be creating those surface geometries. Not sure if that’ll matter or not to folks but if people ask about it, they’re not just blowing smoke, it makes a difference in play
This comes up on various YouTube channels, possibly
or maybe Inheritance Machining…
and has me wanting a lathe, or a 4th axis, or maybe a shaper — but I haven’t even found time to make a die filer…
Interestingly, the Gingery Book Store is going out of business — makes me wonder what the 21st century equivalent is/will be (had a copy of Vol. 2 The Metal Lathe ages ago and have always regretted giving it away, the new print lacks the charm of the original’s typewritten text and inked figures).
Well, “some” is the real solution. If “some” is 5000, then this is obviously in need of a special solution.
The parts are too small to safely do them on a manual router.
I’d say offhand that this is easily solved with a wood lathe and a profile template or a specially shaped profile tool. Seeing as how the parts will be painted, then any available dowel material will work. I wouldn’t want to make 5000 with that method, though.
Oh well, you’ve probably got it done by now, anyway!
Let me know when you get em going and I’ll order a set for myself. We’ve got a couple boards at work and occasionally do tournaments.
Maybe I’ll grab a couple of sets for tourney prizes
Which side do they choose? I presume the convex side has less friction, but whether that’s necessarily desirable would be in question. Would the concave side with more friction give more control over distance?
Either way, you should be able to make them perfectly flat, unless the wood warps or swells.
In my experience, the side depends entirely on player preference. I like a consistent controlled surface but some people…some people just want to watch the world burn
Low friction/high flick strength = chaos
That’s what I thought of, but I think I really like a sanded flat surface. The concave face would need to have more sanding help to get it perfect and that introduces less consistency.
I might make a few for a learning experience but one can probably buy them for less than 50 cents each. No way I could match the quality for anywhere close to that price. I made a crokinole board a few years back on the Shapeoko 3 and promptly purchased pucks, score boards, and pegs. Cheers.
Yeah, that makes sense. I just saw something that could force me to learn something new on the machine and I have a pile of hard maple trim scraps, much of it with figuring.
It’s been slow going because this is my busiest time of year but I’ve made some maple firewood and think I’ve got it almost dialed in.
For official tournament-style Crokinole, the puck/disc is a round, flat disc (not concave), typically 1 1/4 in diameter and 3/8 in thick. When playing, the disc has to fit through a 1 ⅜ in diameter hole.