@ErnieS asked on Facebook how to design this in Carbide Create
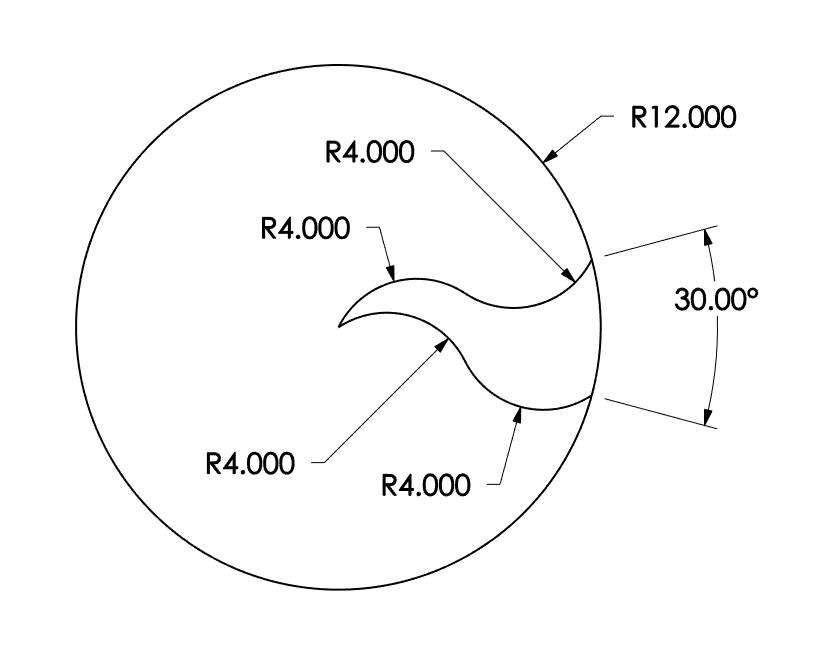
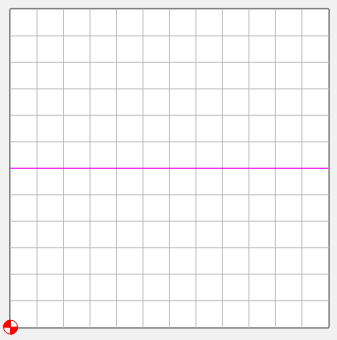
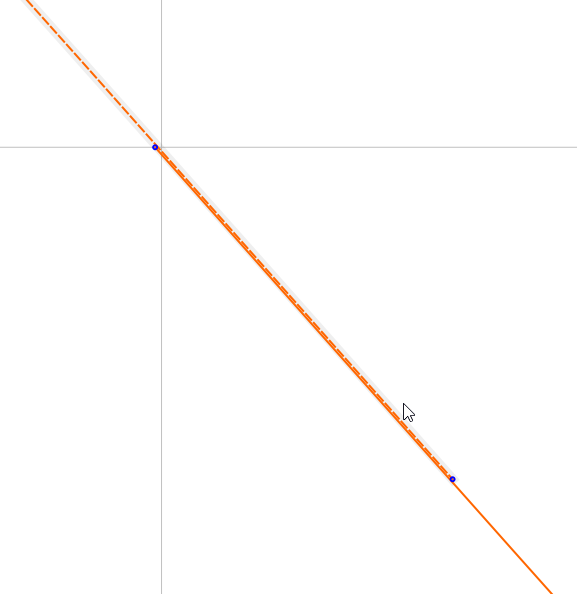
Start with a 12" line
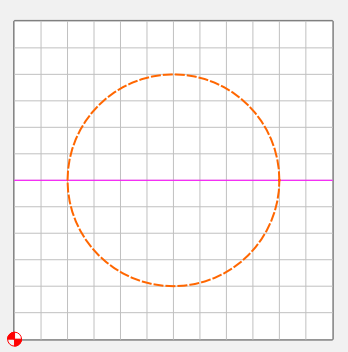
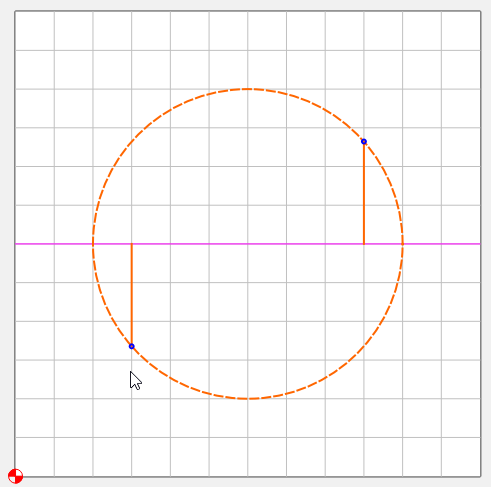
From the center of that line, draw a 4" Radius circle
At 3" and 9" along that line, draw a vertical line
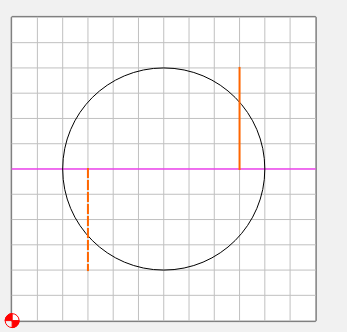
Trim those lines to the circle
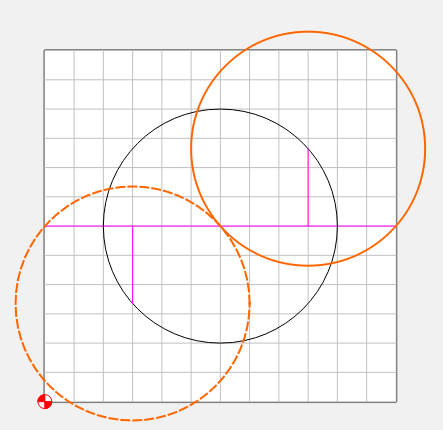
From the newly trimmed ends of each line, draw another 4" radius circle
You can use the ends of the 12" line, or type in 4.0"
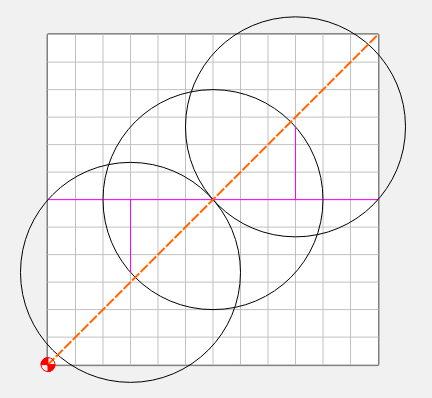
I just happen to know that when you copy & rotate your “S” curve, it will not be exact. So I’ll draw another line at 45° to trim it to to leave the right end a little long.
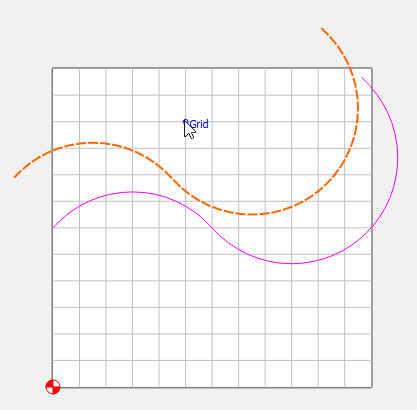
Trim the curves to look like this
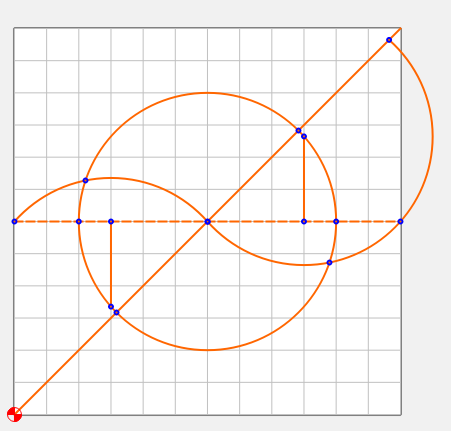
Delete the construction geometry, leaving just the “S” curve. There will be a tiny bit of overlap in the center. trim that section too, then join the curves.
CTRL-D to duplicate the curve & click anywhere
Rotate the new curve 30°
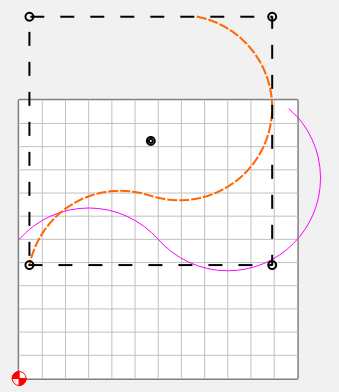
Select the left end of the new curve & move it to the node on the left end of the other curve
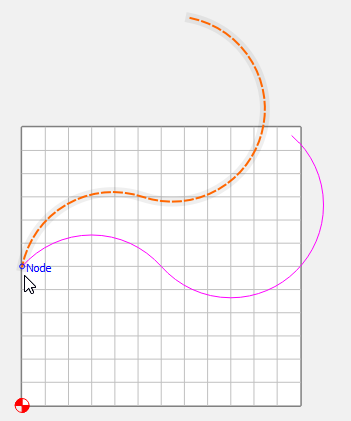
Draw in your 12" radius circle
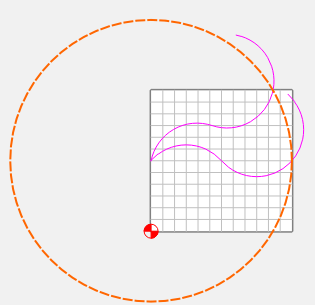
Trim the right ends of the curves to the circle, and the 330° section of the circle
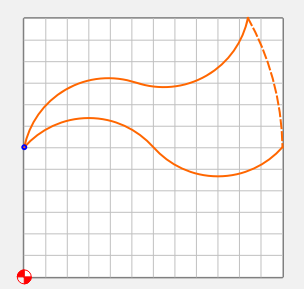
Join the curves
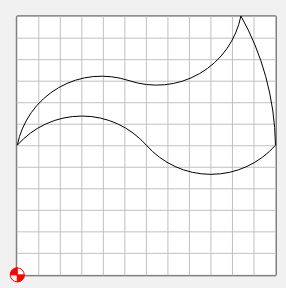
Of course, this is ONE way. I’m certain there are others. ![]()