Custom sign work

I need some advice I am stuck. When I am making my custom signs I struggle with the finish product being as straight as the design example below ……


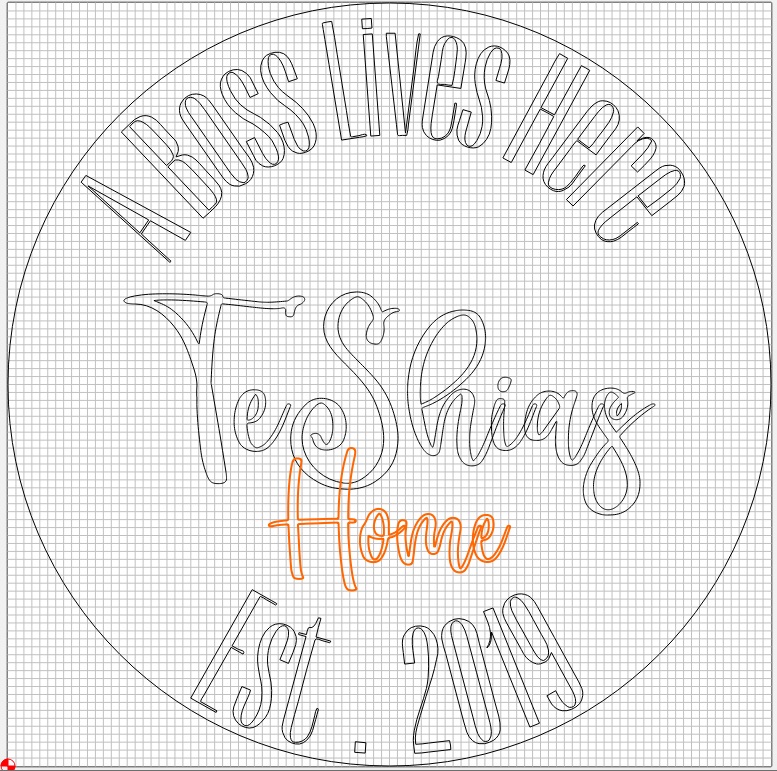
How can I cut out the outline of my letters on the circle so that when I am done cutting my letters out I know exactly were they go so everything is straight

Are you cutting the letters separate from the back?

You have two options EDIT: directly w/ the parts:

  • machine holes in both the back of the letters and the front of the disk which match
  • machine the design into the disk so that the letters are inlaid

EDIT: As @neilferreri notes further down, a template is a straight-forward way to handle this.

I usually use a cardboard template for these.
I cheat and use a CO2 laser for the cardboard. I hoped the “20w” neje would cut cardboard, but I gave up quickly on that.

1 Like

Yes the 24 inch circle is brought separately, I cut the letters out individually

T sign.nc (601.2 KB)

The .c2d file which can be worked with, not the .nc file which is only suited for sending to the machine.

Teshia sign.c2d (1011.5 KB)

As I expected. I am of the thought process if you use one piece of material and cut it with raised or recessed lettering, you’d get exactly what you expect

These only work if the circle fits on the machine and if you can guarantee things will be lined up correctly.
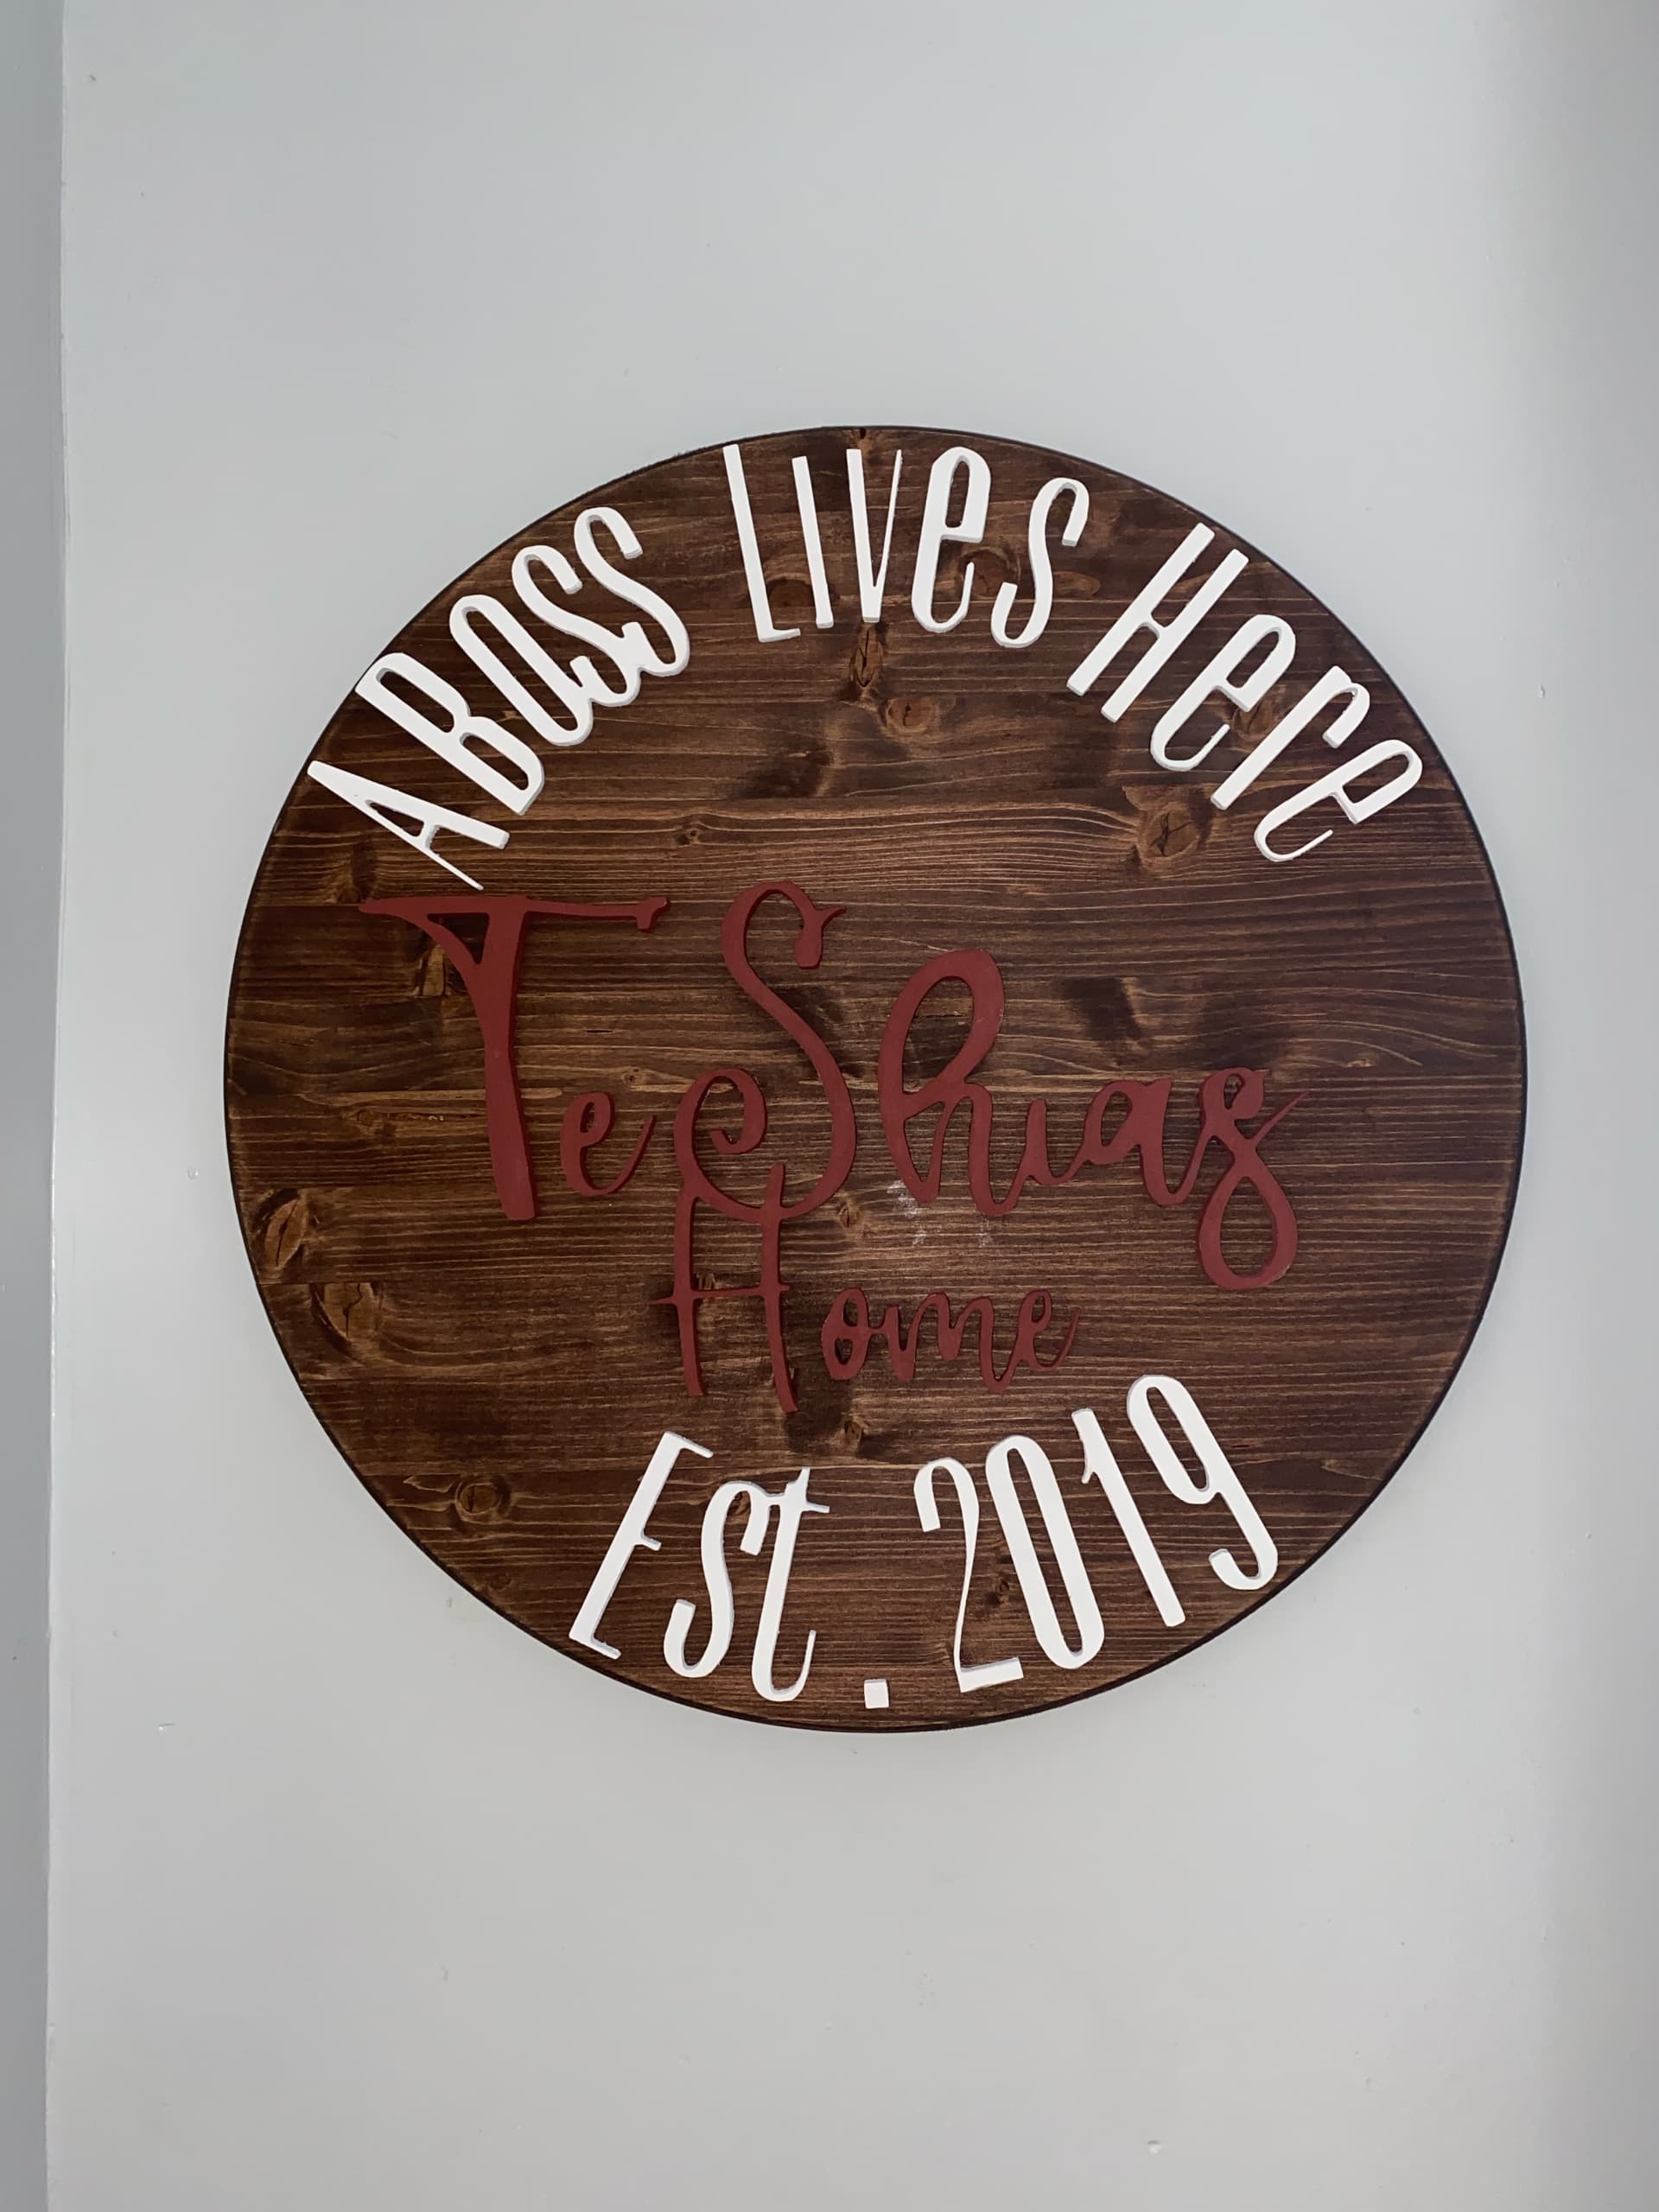
I’ve done a bunch of signs like this. I think cutting a template is the way to go. Doesn’t have to be cardboard. You can even print and hand cut paper templates if you don’t want to use a material you can cut on the Shapeoko.

1 Like

I don’t have the fonts you used.

I agree w/ @neilferreri that a template would be the most expedient way to handle this.

1 Like

This topic was automatically closed after 30 days. New replies are no longer allowed.