I have the free FSWizard in my iPhone.
It probably isn’t perfect, but it gives me a decent starting point.
I have the free FSWizard in my iPhone.
It probably isn’t perfect, but it gives me a decent starting point.
I will try it out, thanks!
I didn’t remember about this other video from Winston about cutting copper on the Nomad:
He is using the same #102Z in C14500 copper, for the contour cut he used 10.000RPM, 305mm/min (so that would be 366mm/min at 12000 RPM) and 0.178mm DOC, and for the pocketing cut he used 10.000RPM, 508mm/min (that’s 609mm/min at 12.000RPM), and 0.23mm DOC
=> this is quite consistent with the feeds and speeds discussed above, just a confirmation that the 400-600mm range at 12.000RPM and 0.2mm DOC sounds right, for this cutter.
I’m all out of copper, but I would have tried the same setting with coolant or air/blast, to see if it actually made any difference. Pretty sure it would not matter much for this 1mm cut, but for deeper cuts as he does in the video, it becomes critical.
Anyhow, I hope to see your plaque, it will be a very cool gift for your friend
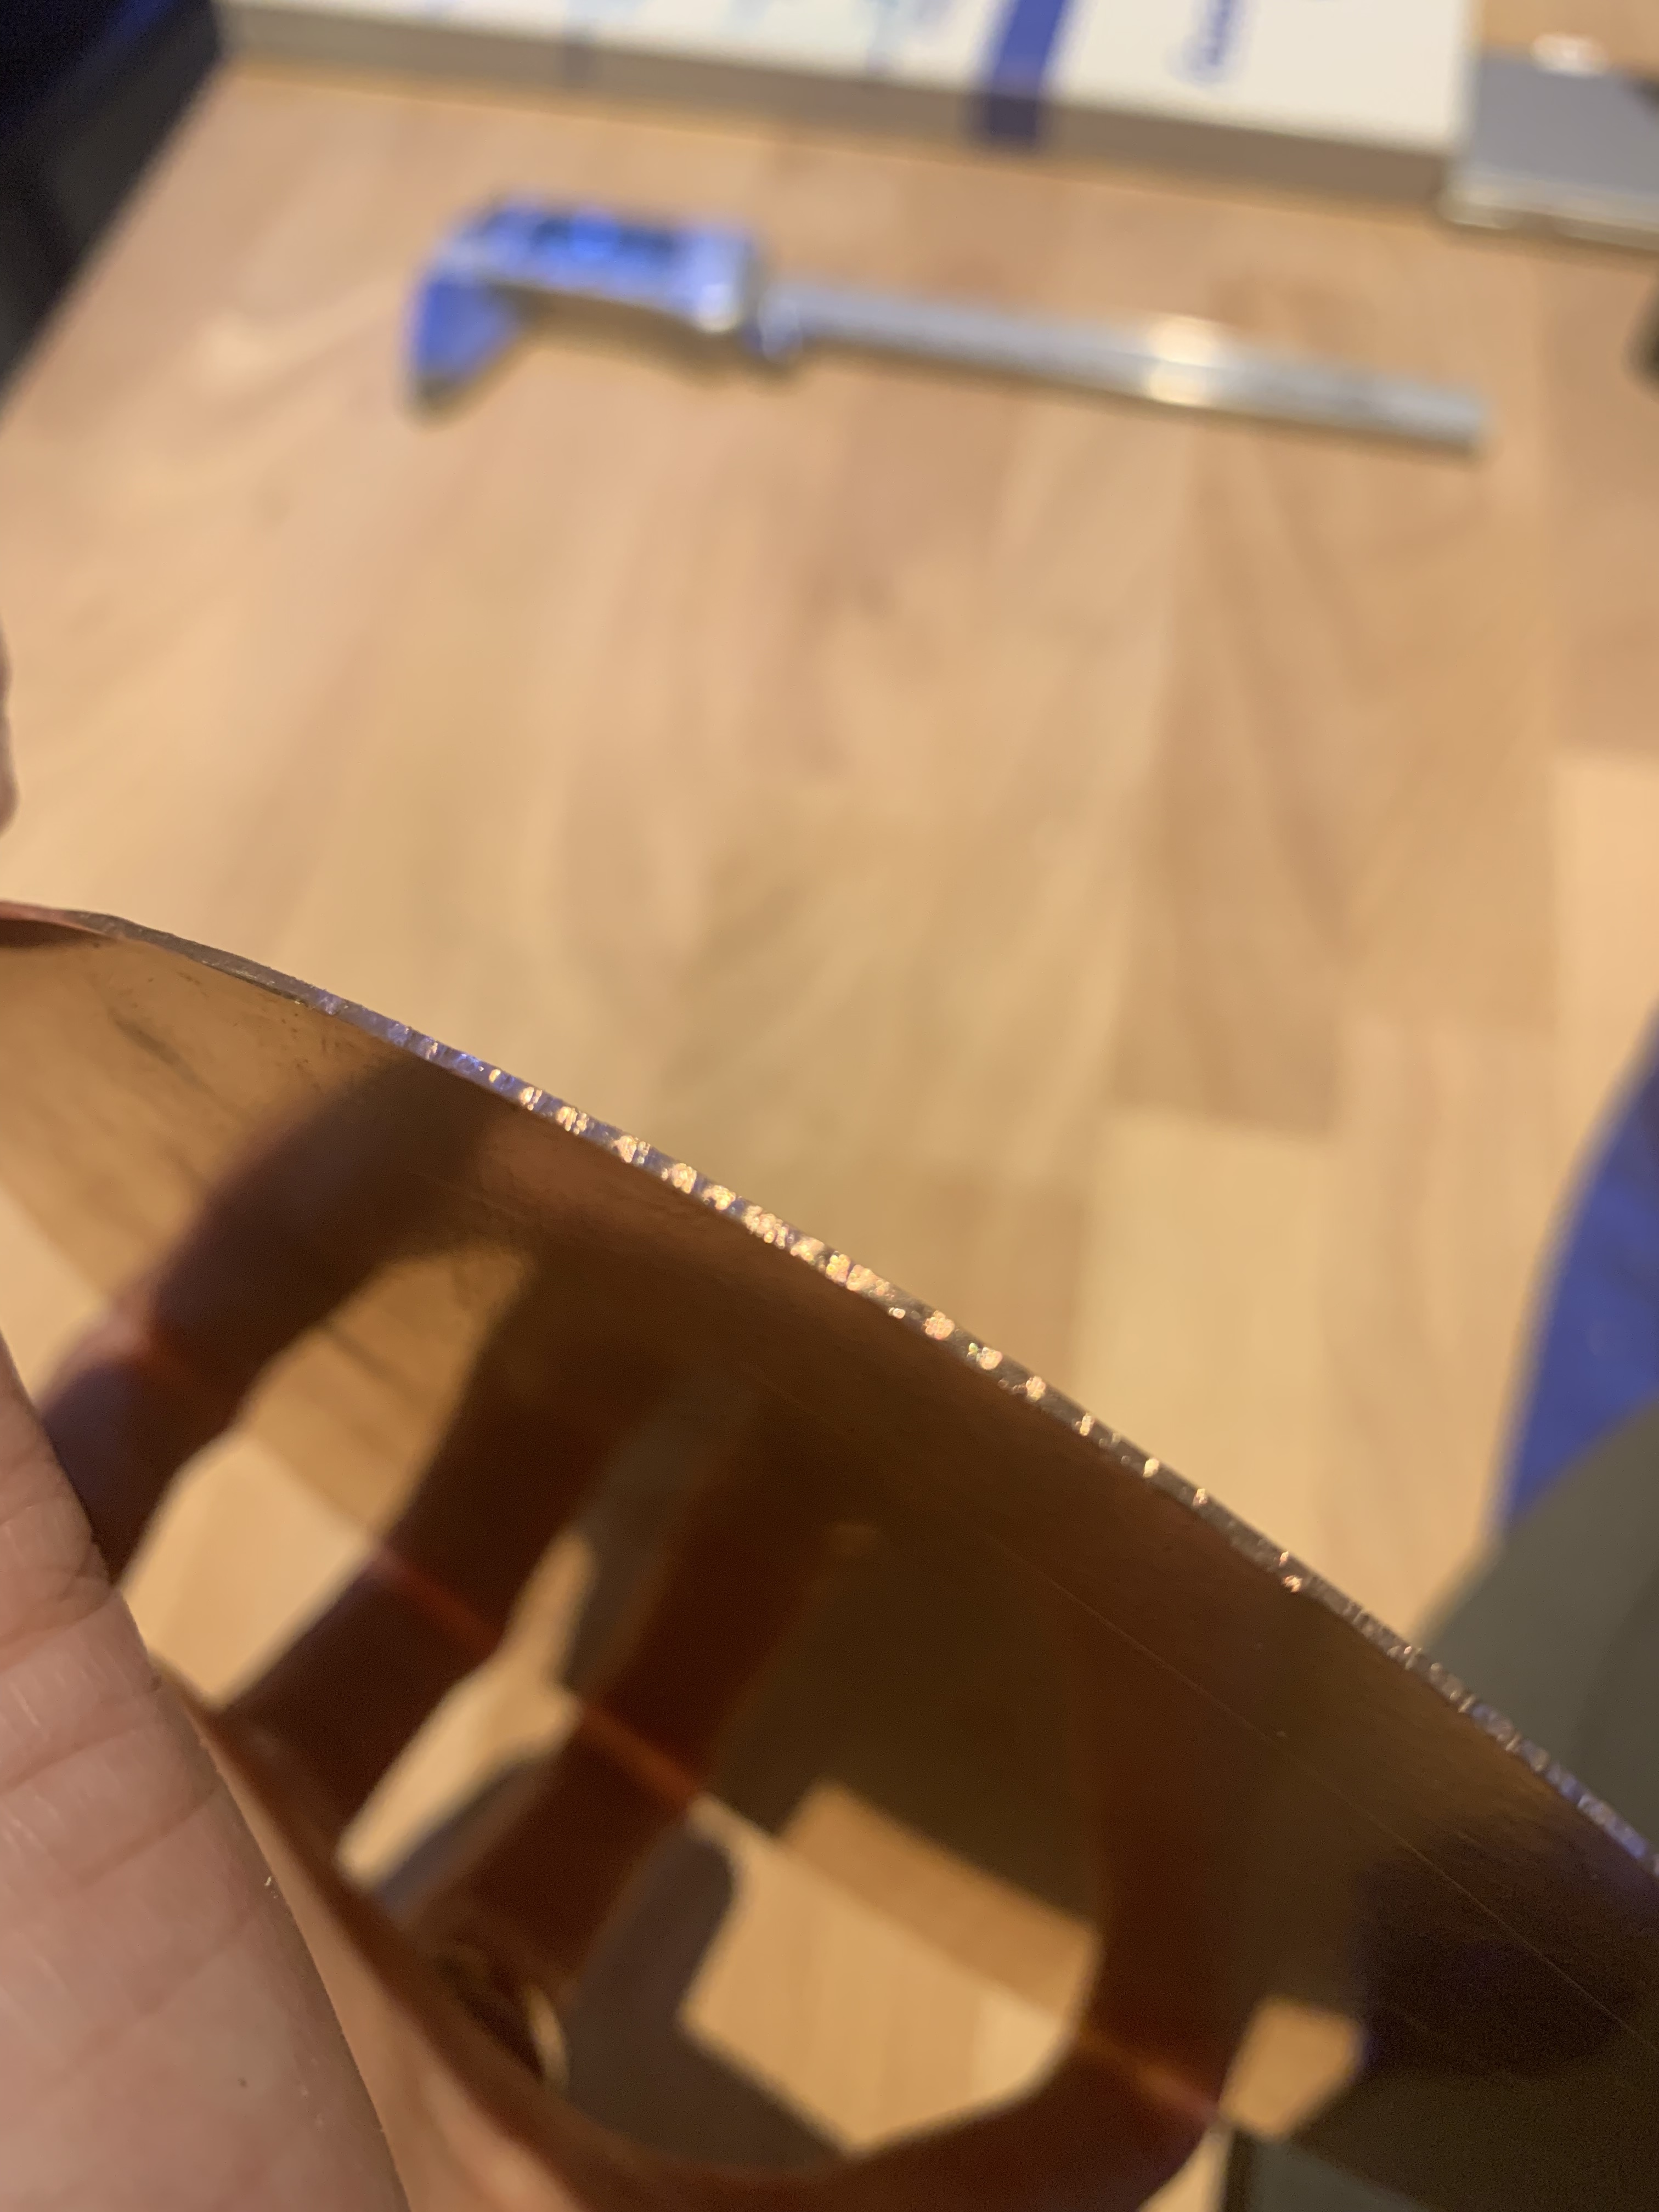
Now my first attempt has been made. Not too bad for the first attempt I think. Some vibrations occurred, perhaps normally.
Wavy edges occurred in a few places, can I get smoother edges somehow?
I used the settings mentioned above and the makita on speed-level 2 (about 12000 rpm)
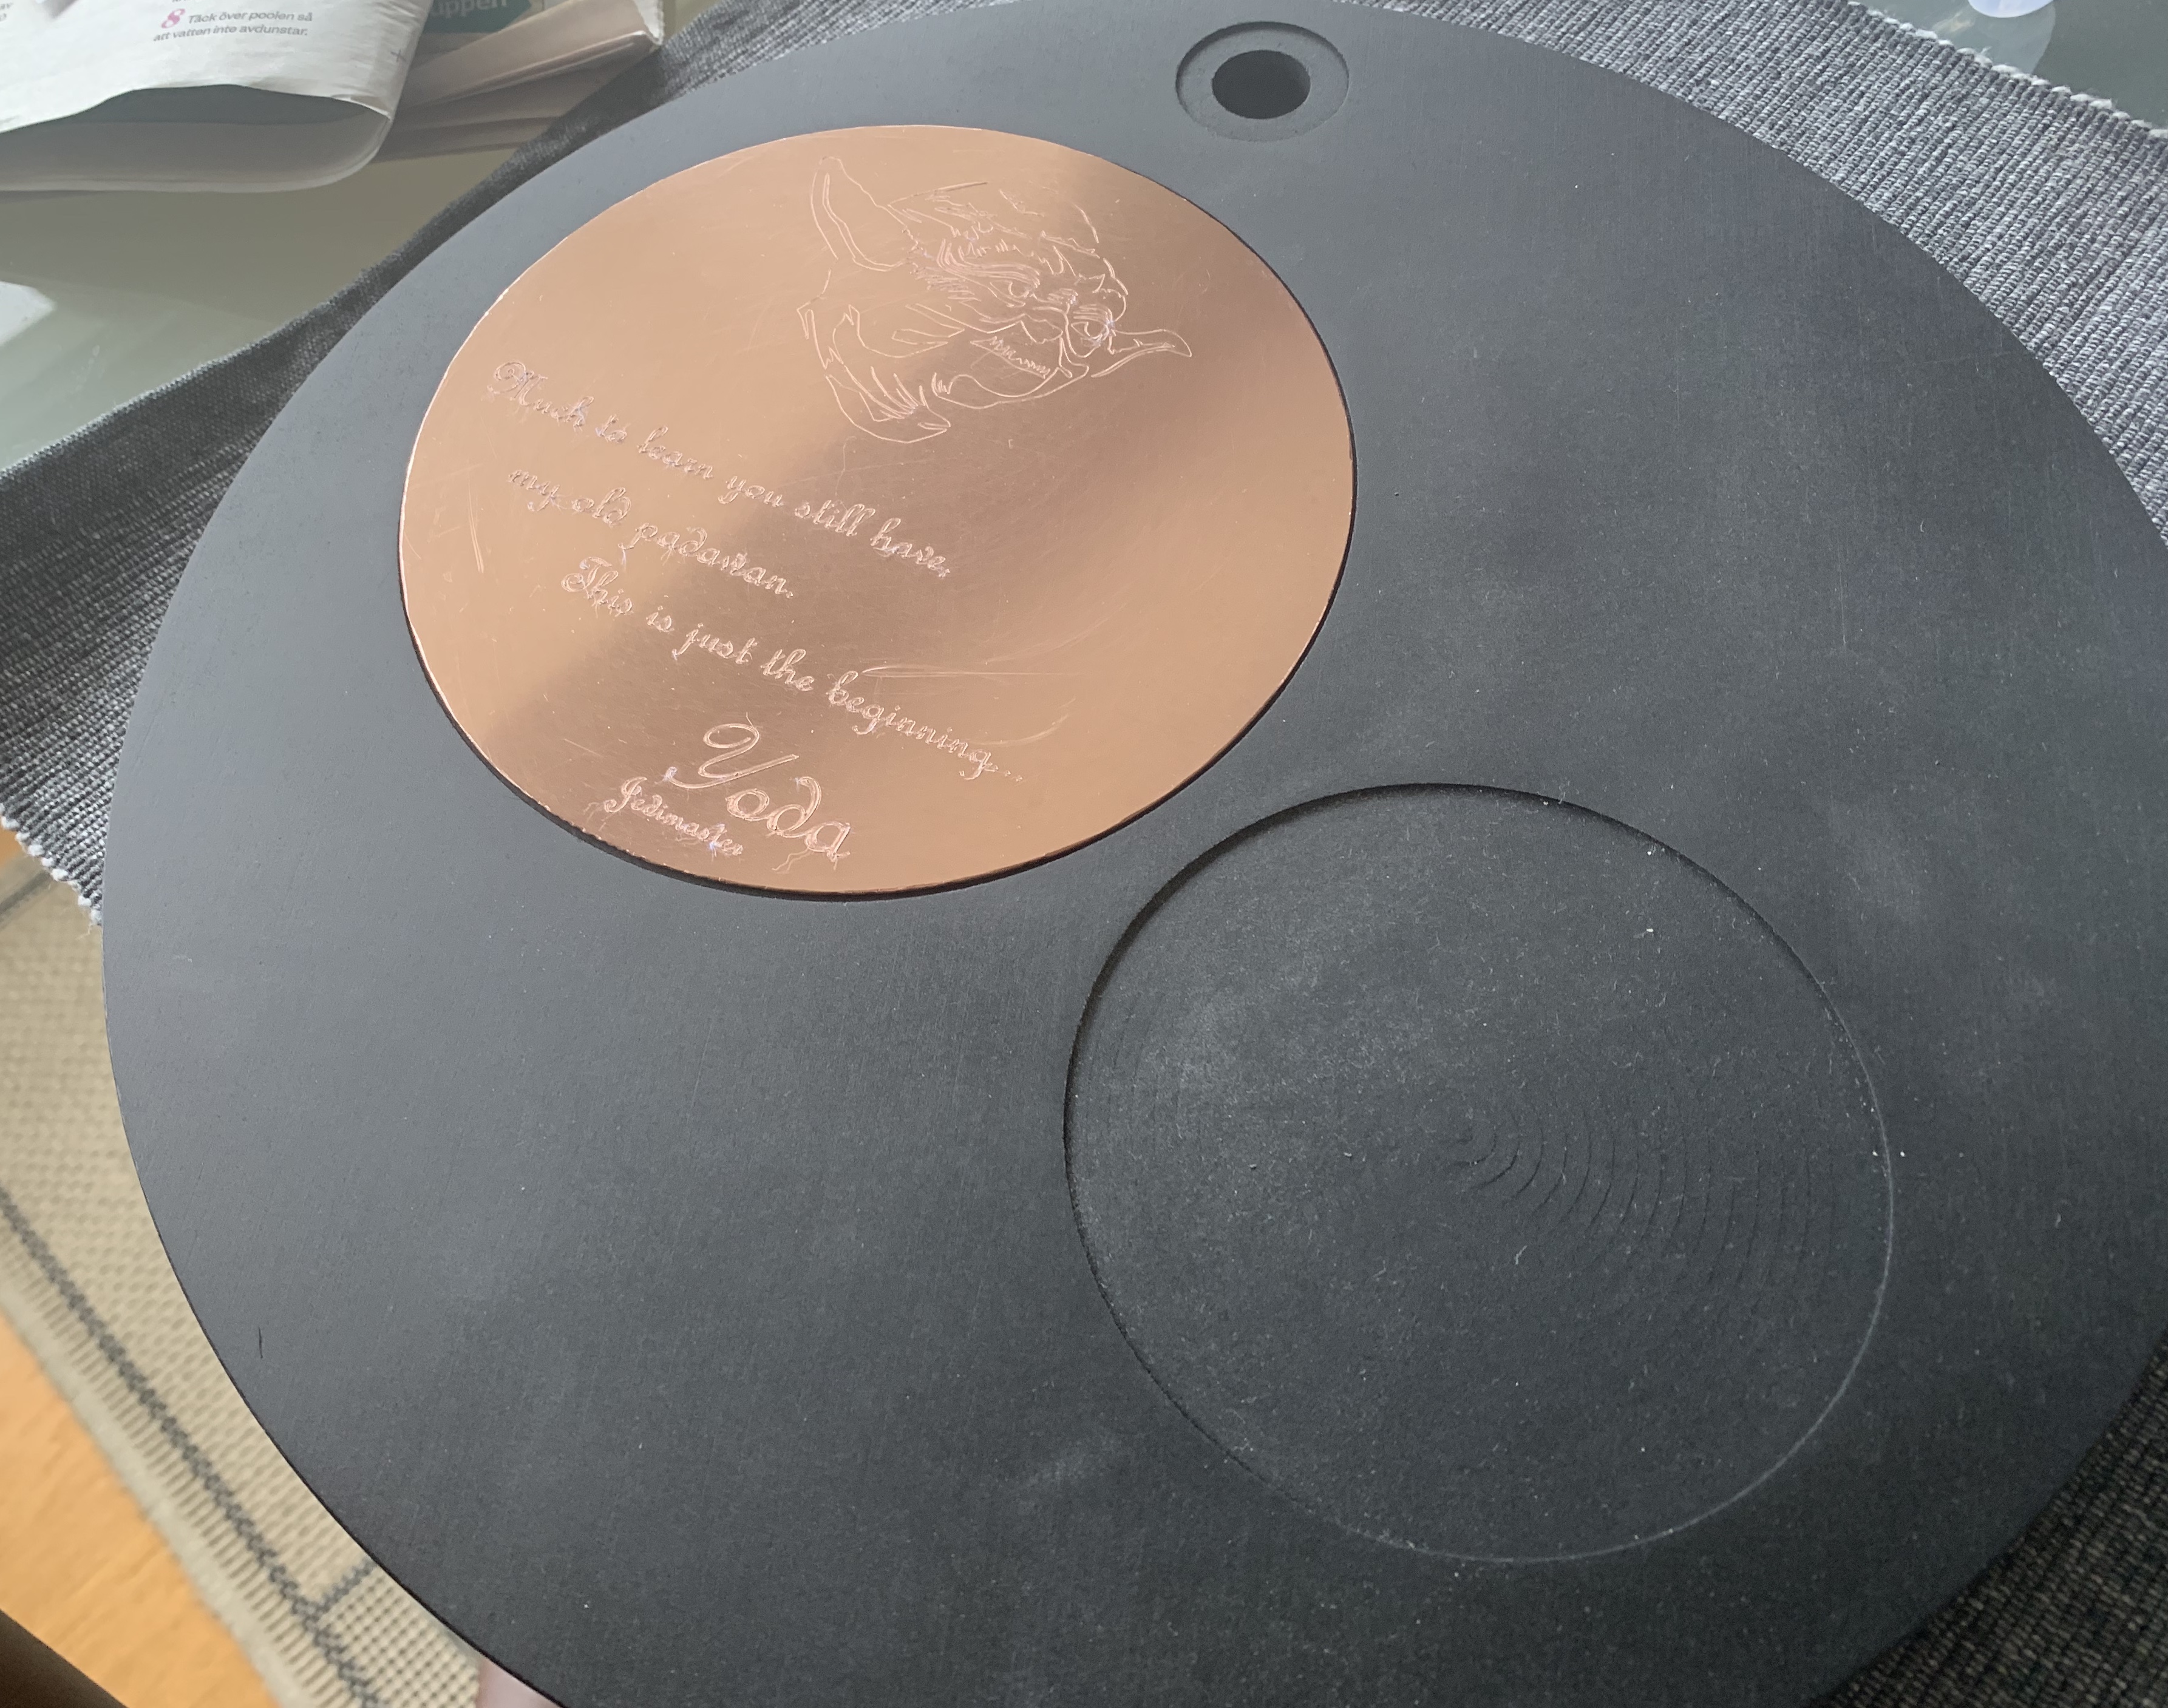
Now time for some polishing, another plate with some greetings will be cut for the second circle.
(This is the other side of the piece btw)
Since you are basically etching the copper plaque, have you considered a diamond drag bit for the job?
A diamond drag bit is what I have used for engraving the text and picture. A diamond drag bit can not be used to cut through the 1mm copper plate. Thats why I need help to get my parameters right for my cutting bit.
OK, I understood that you did the whole thing including the text using the endmill.
Aah, this is my first ddb project and its great fun and easy to use.
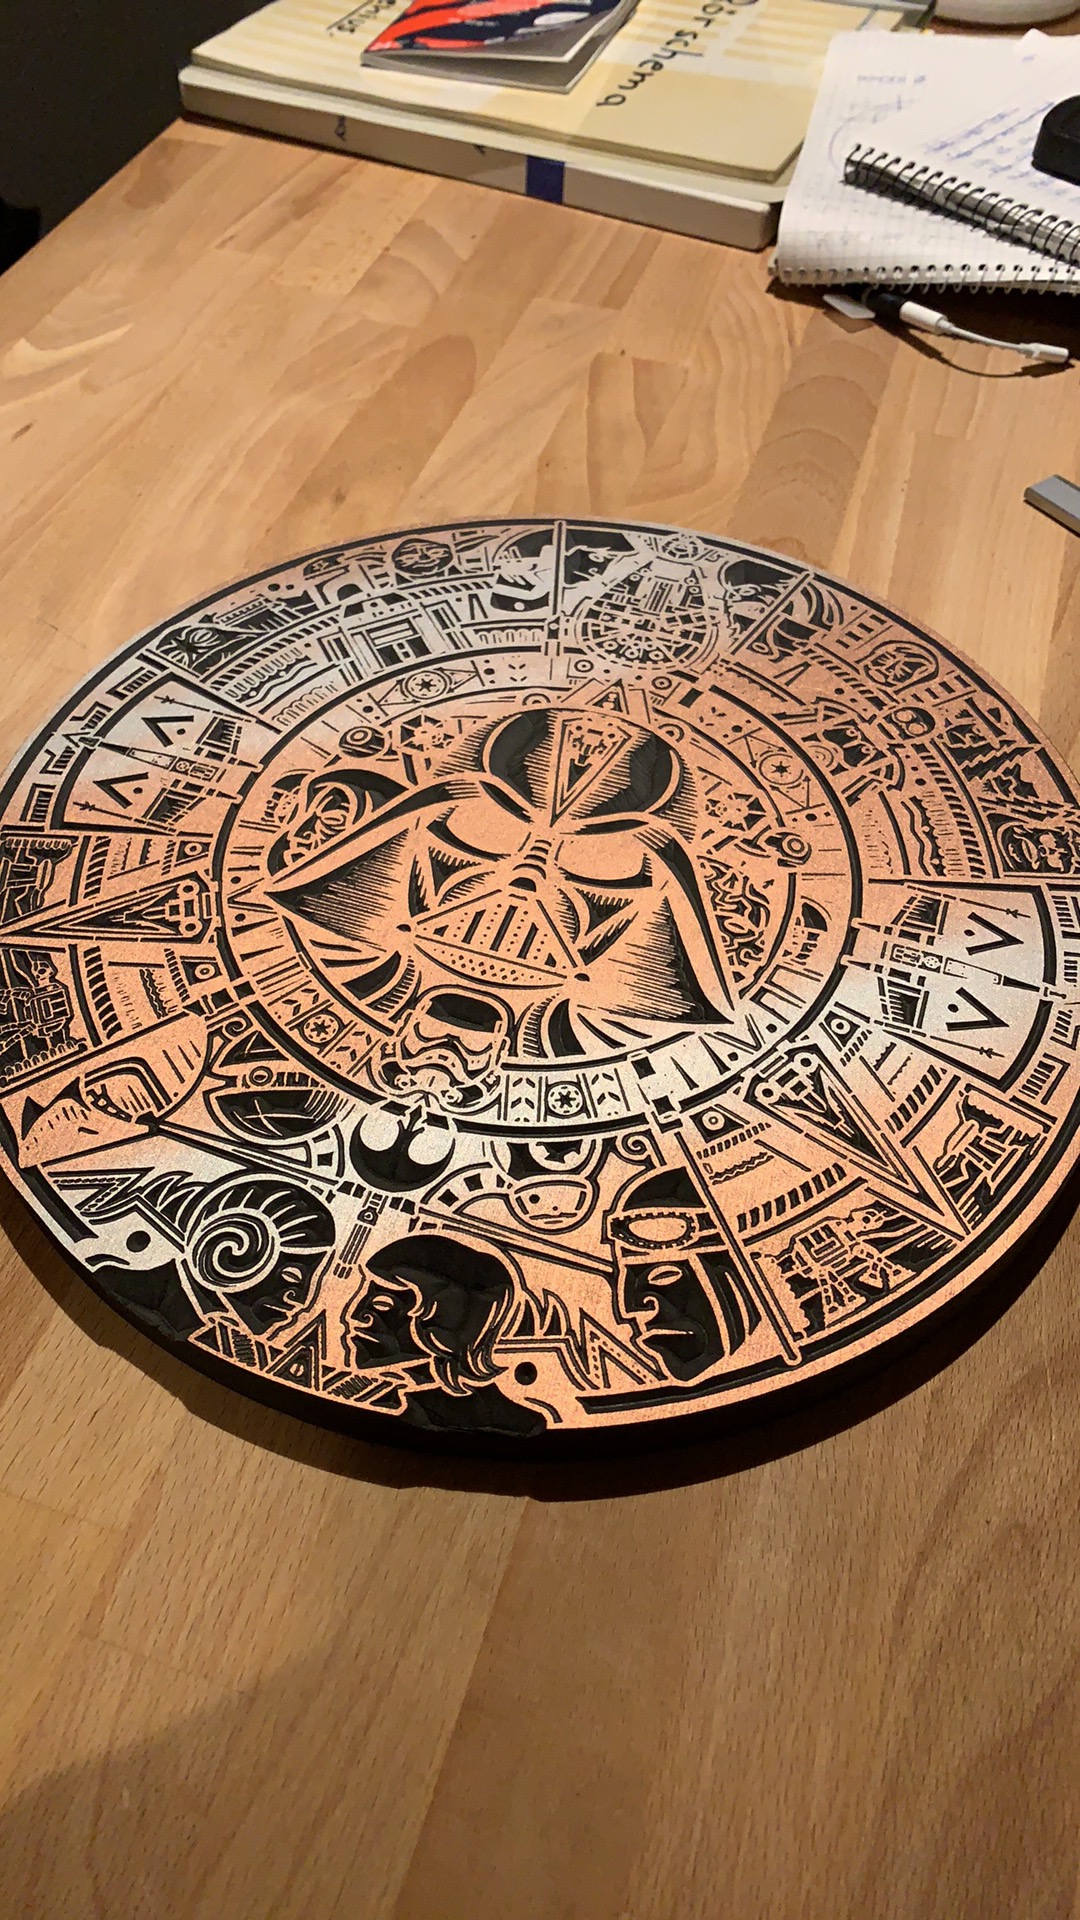
These look great ! The Aztec calendar is spectacular in copper like that (copyright infringment issues aside, we’ve all been there ![]() )
)
About:
I’m afraid this means chatter, which correlates with you reporting “vibrations”
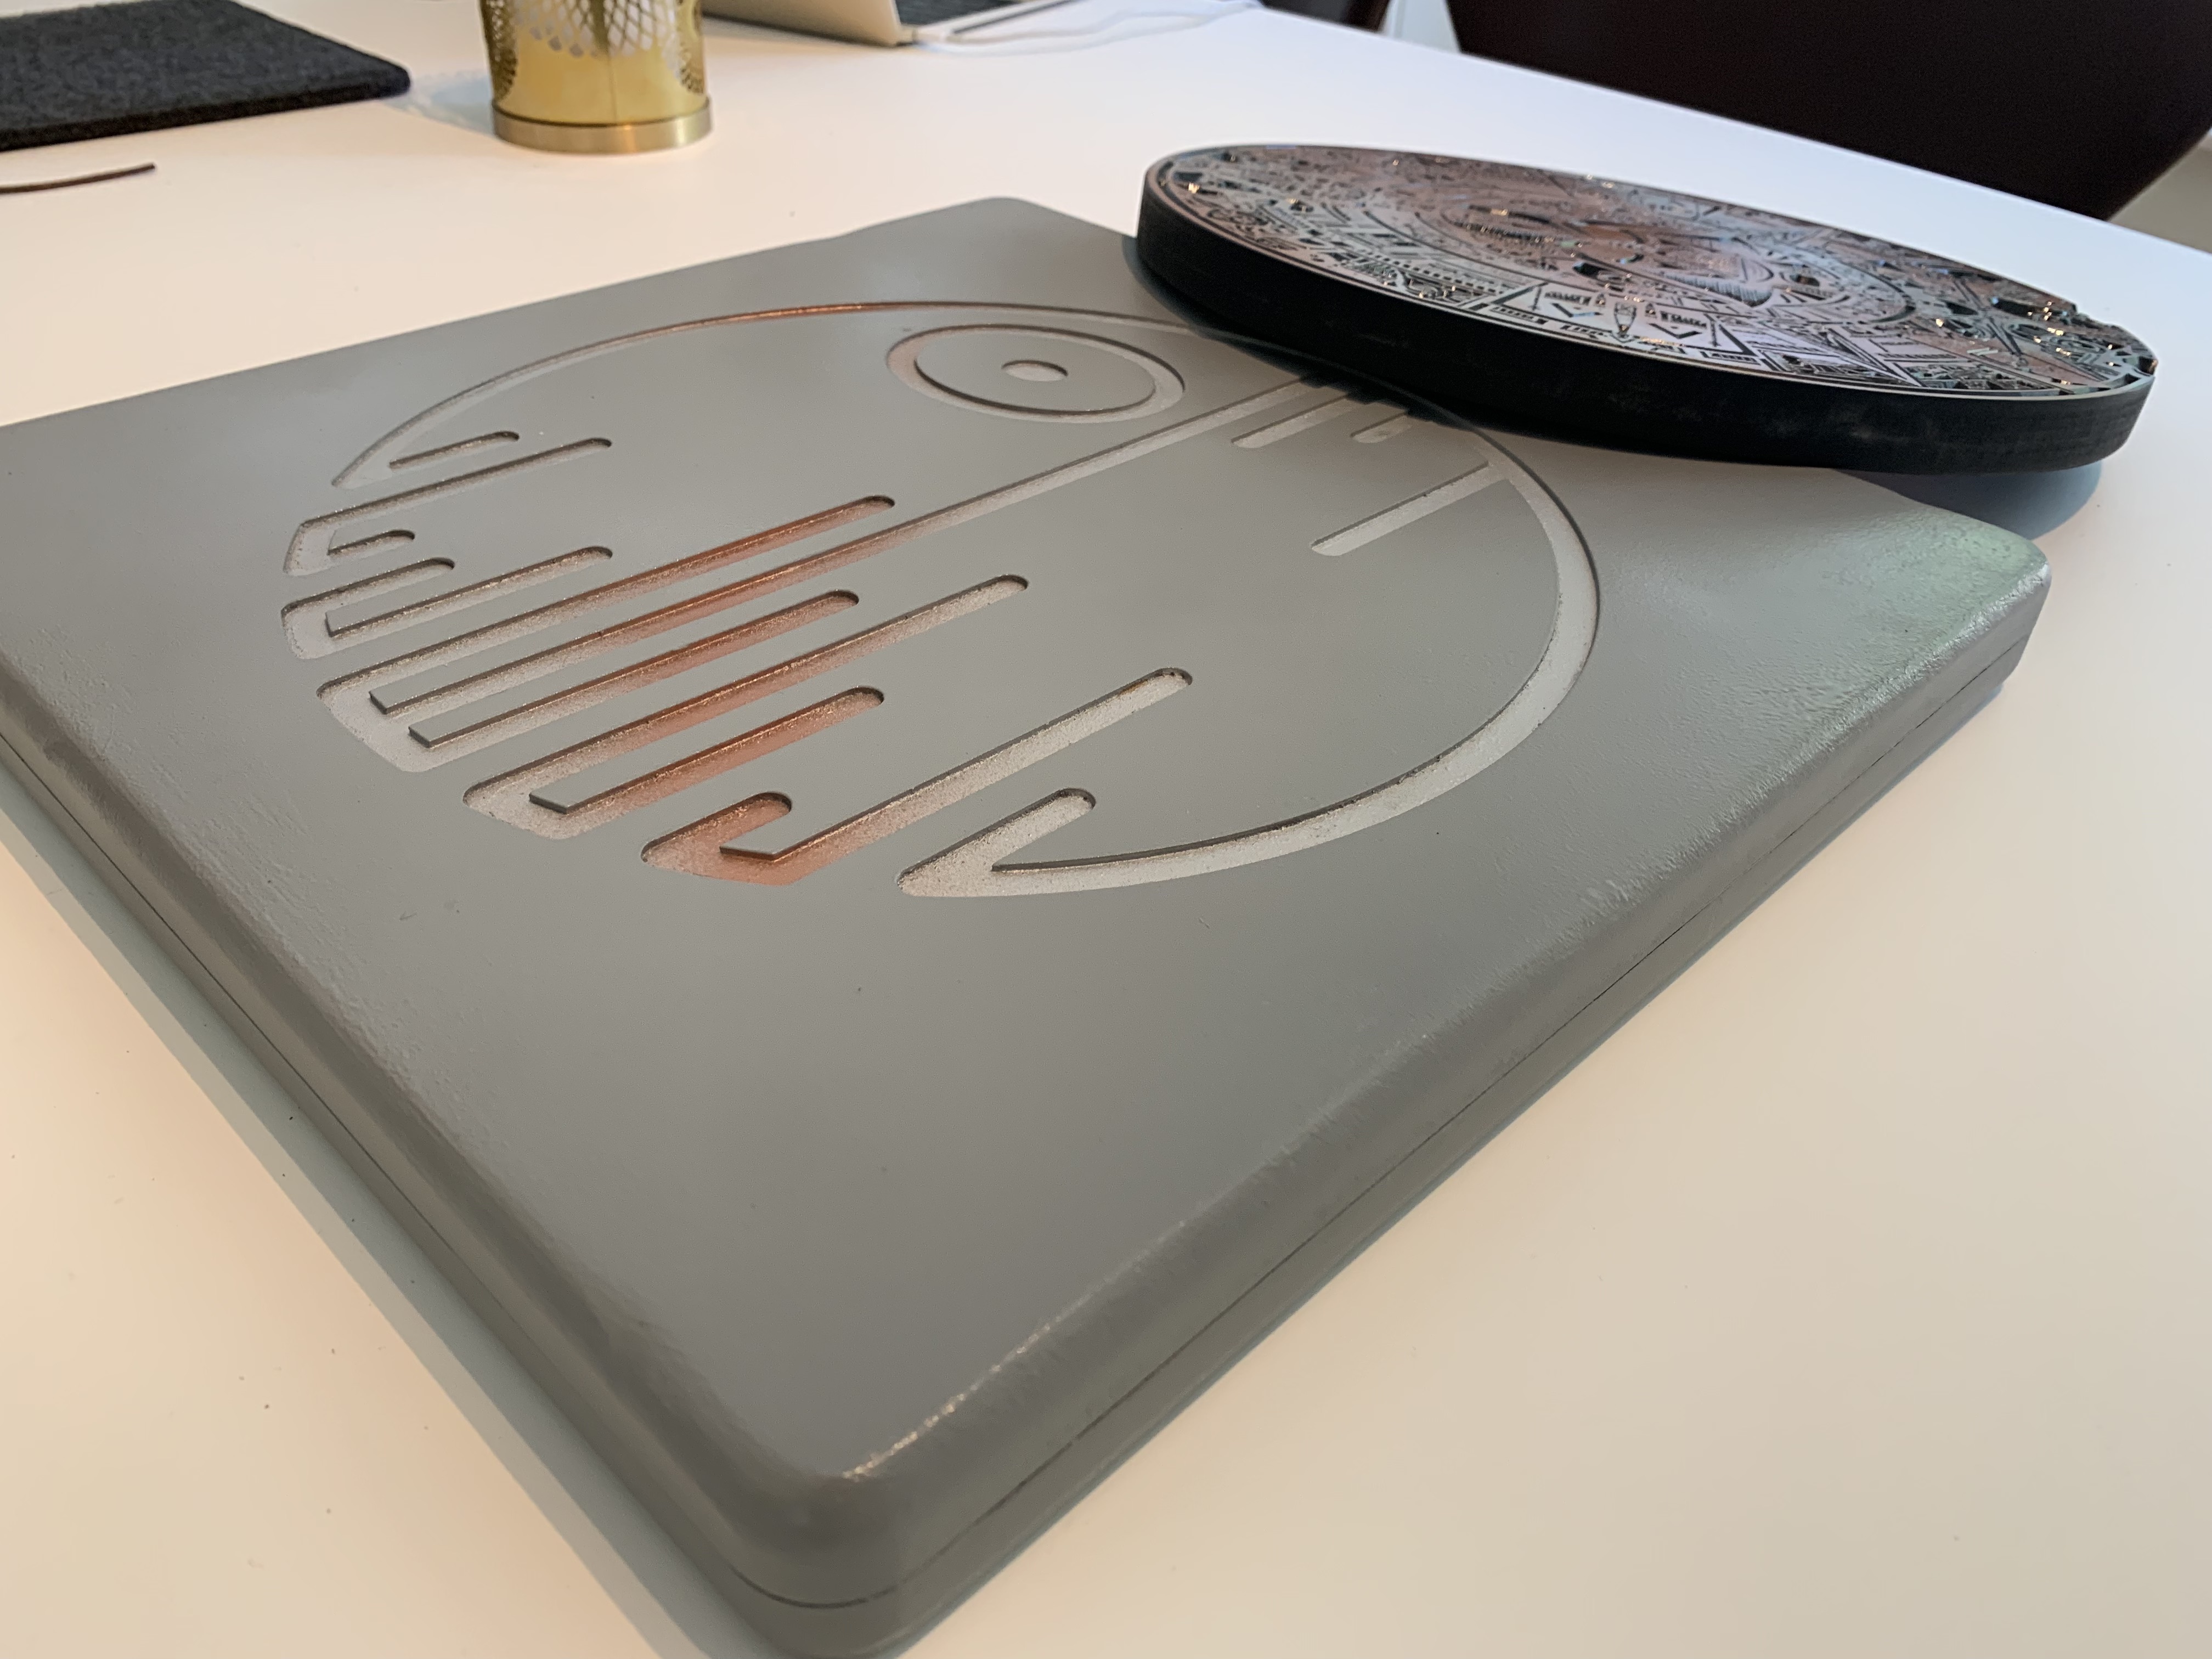
p.s. : the picture about the black (MDF?) piece tells me you will also need to tram your router to avoid those circular marks, but that is a discussion for another day.
I think that the reason for the waves is my holding method. I used strong dubble sided tape, but not enough with only a single stripe in the middle (and 3 tabs as a compliment). I need to get some better (or weaker) tape since this is a struggle to remove, the sheet got bent when trying to remove it from my waste-board last time.
So I will use better holding method and lower the feed from 600 to 400mm and add a second finishing cut for my next run.
It’s some sort of mdf, sanded and painted with matte black paint. Next project may be some calibration of my CNC setup. I have moved it a couple of time when building my enclosure and I’m sure it have affected the rig.
I used double-sided tape exactly once and hated it, then used clamps (and tabs) for a while, then discovered tape&glue, and never looked back. It’s so convenient and efficient. Do yourself a favor and try  It’s not the best for very thin materials, you still have to proceed carefully when removing the piece, but 1mm is not what I call very thin. The test stars I cut lifted without any bending.
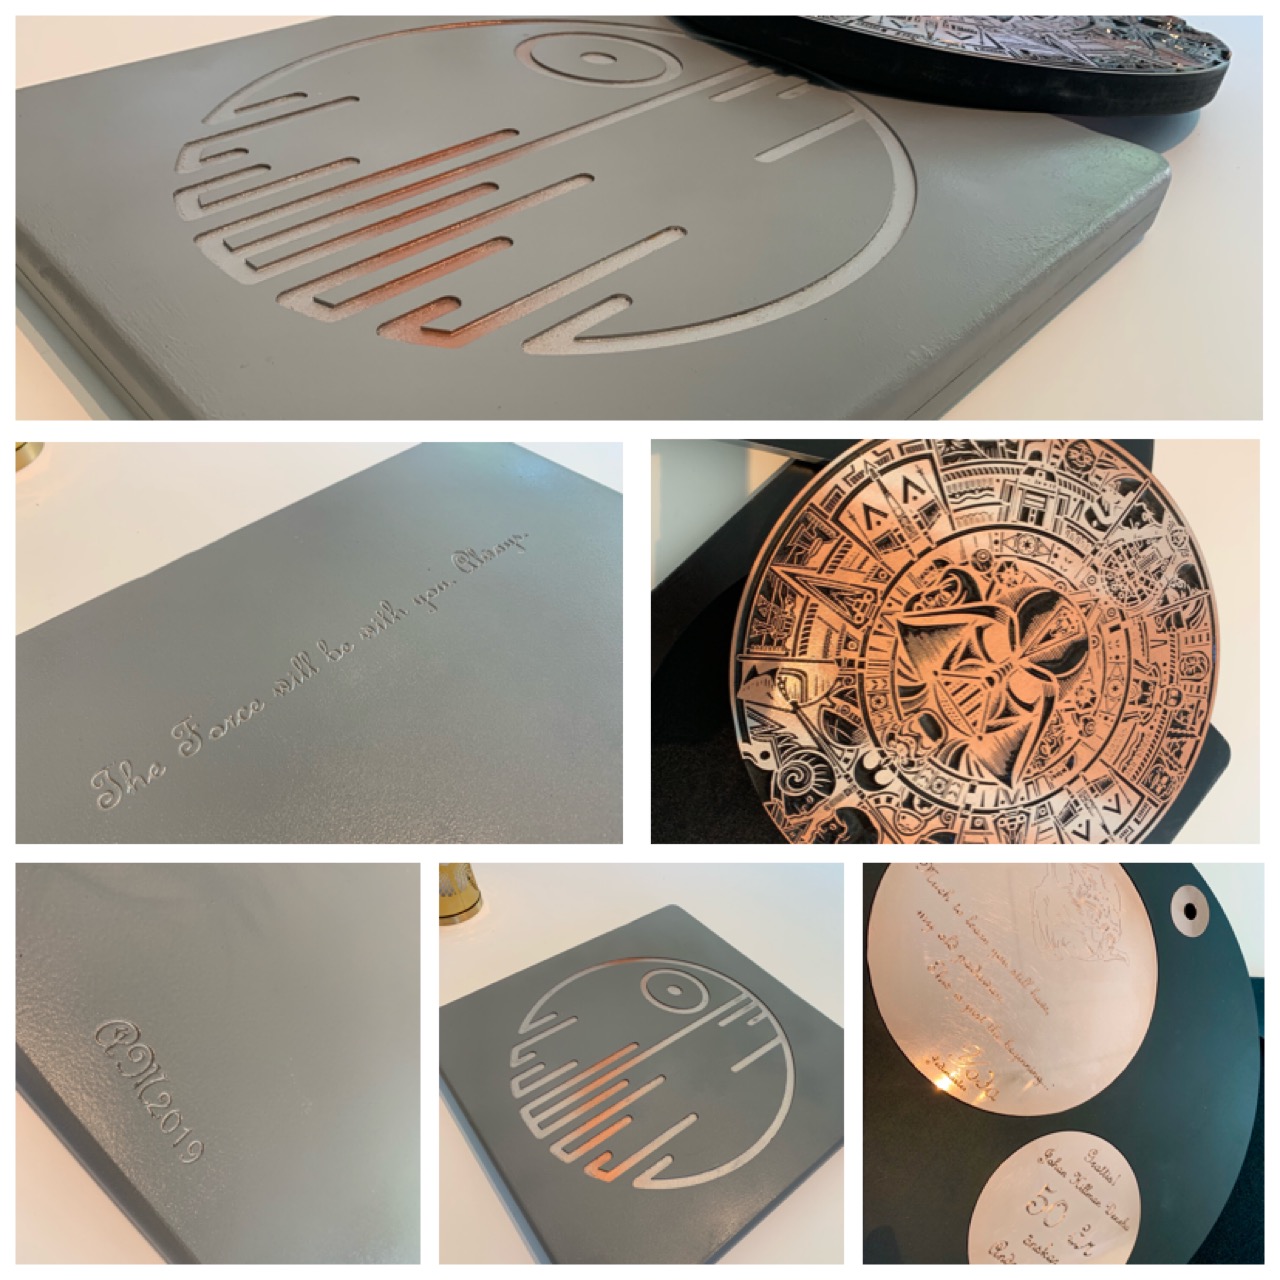
Here is the final result! Im very happy and im sure my friend will be aswell. Cant wait to see his reaction when receiving it.
Im using strong magnets to hold the “shells” together, it works great at gives a solid feeling when open/closing it.
Big thanks, I have learned a lot completing this project.
Very nice! I’m sure he will like it, and offering a piece that you made on the Shapeoko is a great feeling too. I remember my nephew’s face when I gave him this aztec star wars calendar…priceless.
This topic was automatically closed 30 days after the last reply. New replies are no longer allowed.