I am roughing with a 1/4 end mill (#201), then a 1/4 Ball end mill (# 202), then a 1/8 ball end mill (#101).
I have created 18 Tool paths in Fusion. I know, not too smart.
I started with these values for the 1/4 end mill (#201).
DOC = 0.563 in
StepOver = 0.100 in
RPM = 18000
Feedrate = 60 ipm
Leaving stock = 0.020
Your cut parameters look reasonable. If it’s creating enough force to rock the part, perhaps lower your depth of cut a bit.
Typical lumber is not perfectly square, flat, or dimensionally accurate.
Your 4x4 is probably close to 3.5 x 3.5".
I would start by surfacing 2 adjacent sides, using a square to make sure the 2nd side is perpendicular to the first. Then lower the Z a bit & surface the remaining two sides. And then check at least one end, where you set your zero, is perpendicular to the sides. Adjust your model to fit in the new size.
Now it should sit flat, and all your cutter paths will line up better.
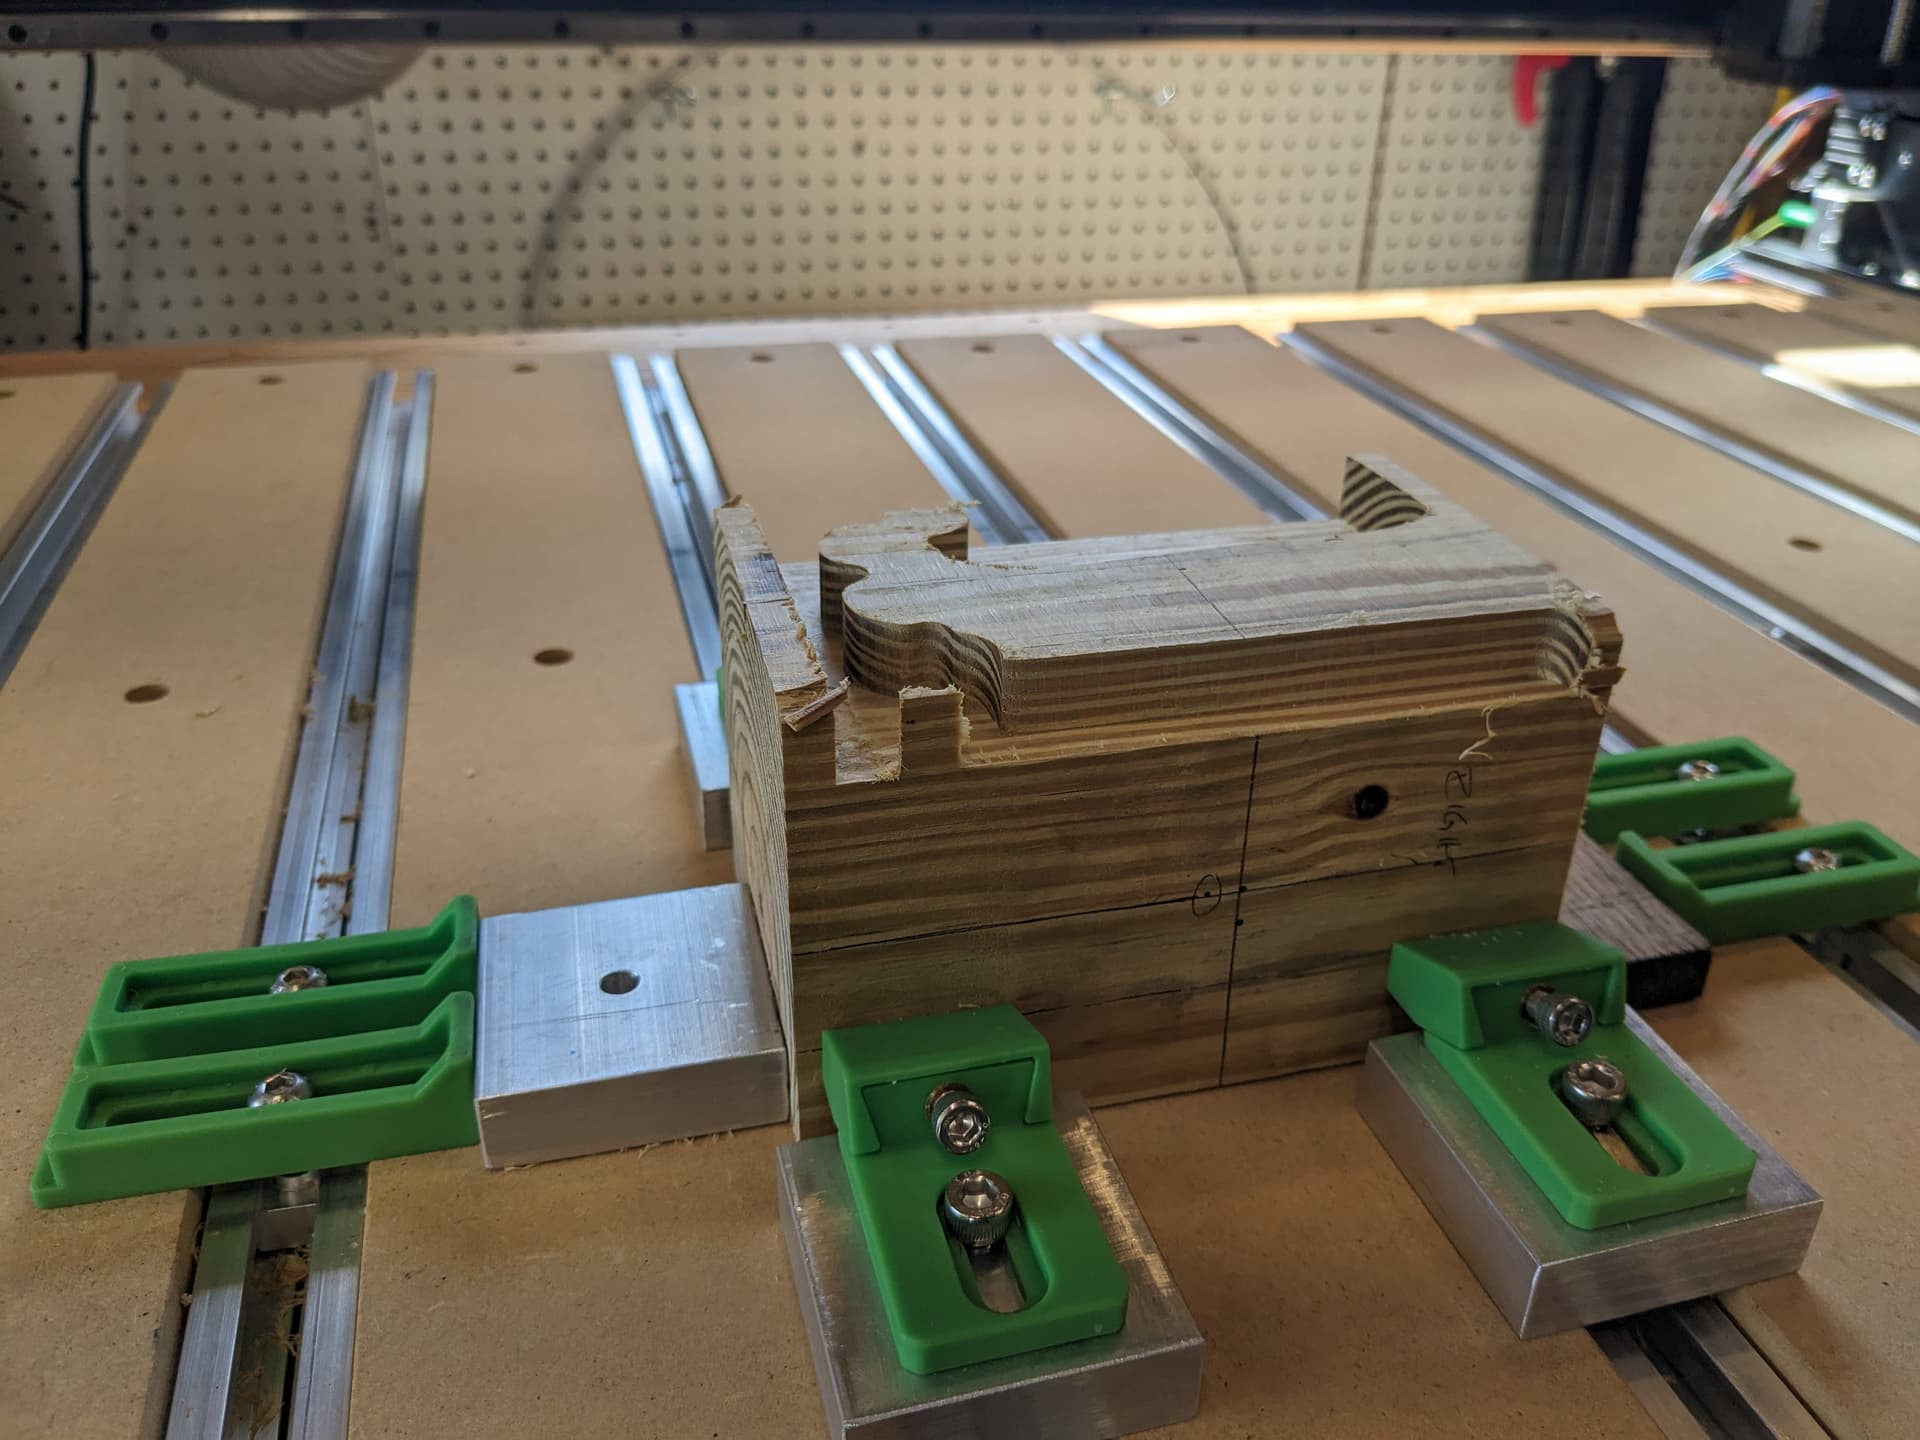
I squared it up @ 3.375 to clean surfaces on a bandsaw.
Cut ends as well .
I may make aluminum end plates and screw them on before milling. The would steady the clamping surface.
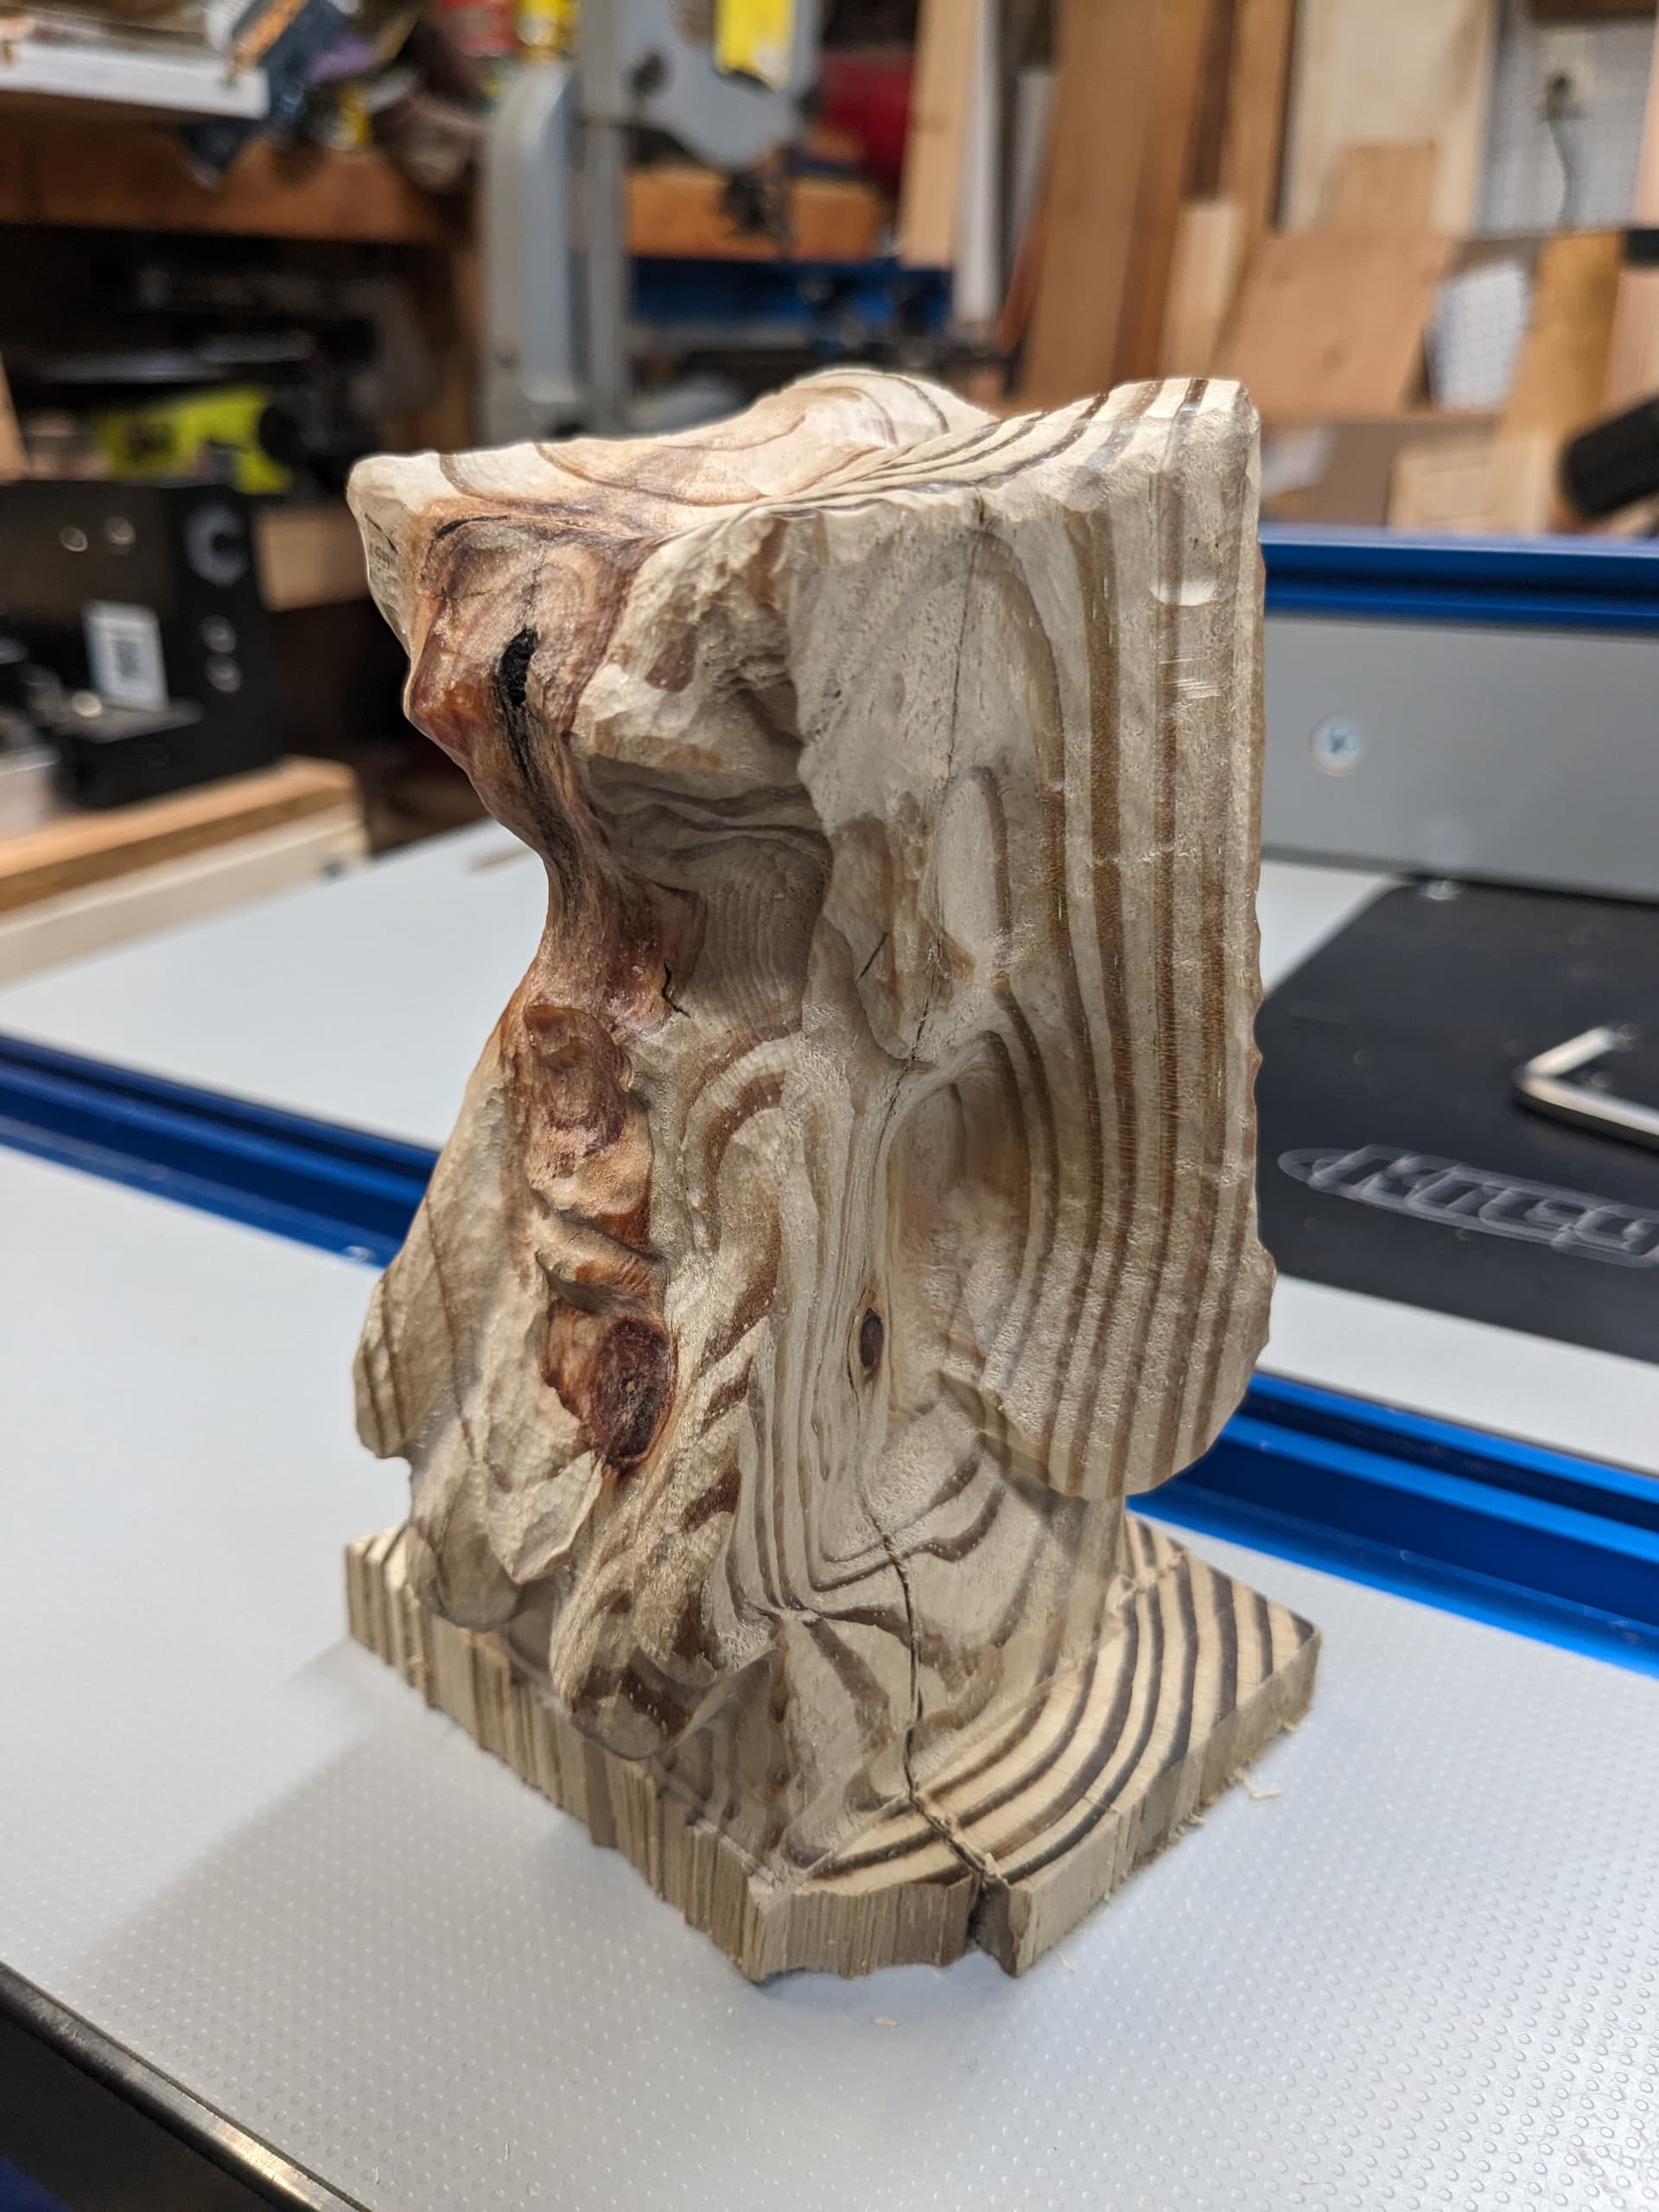
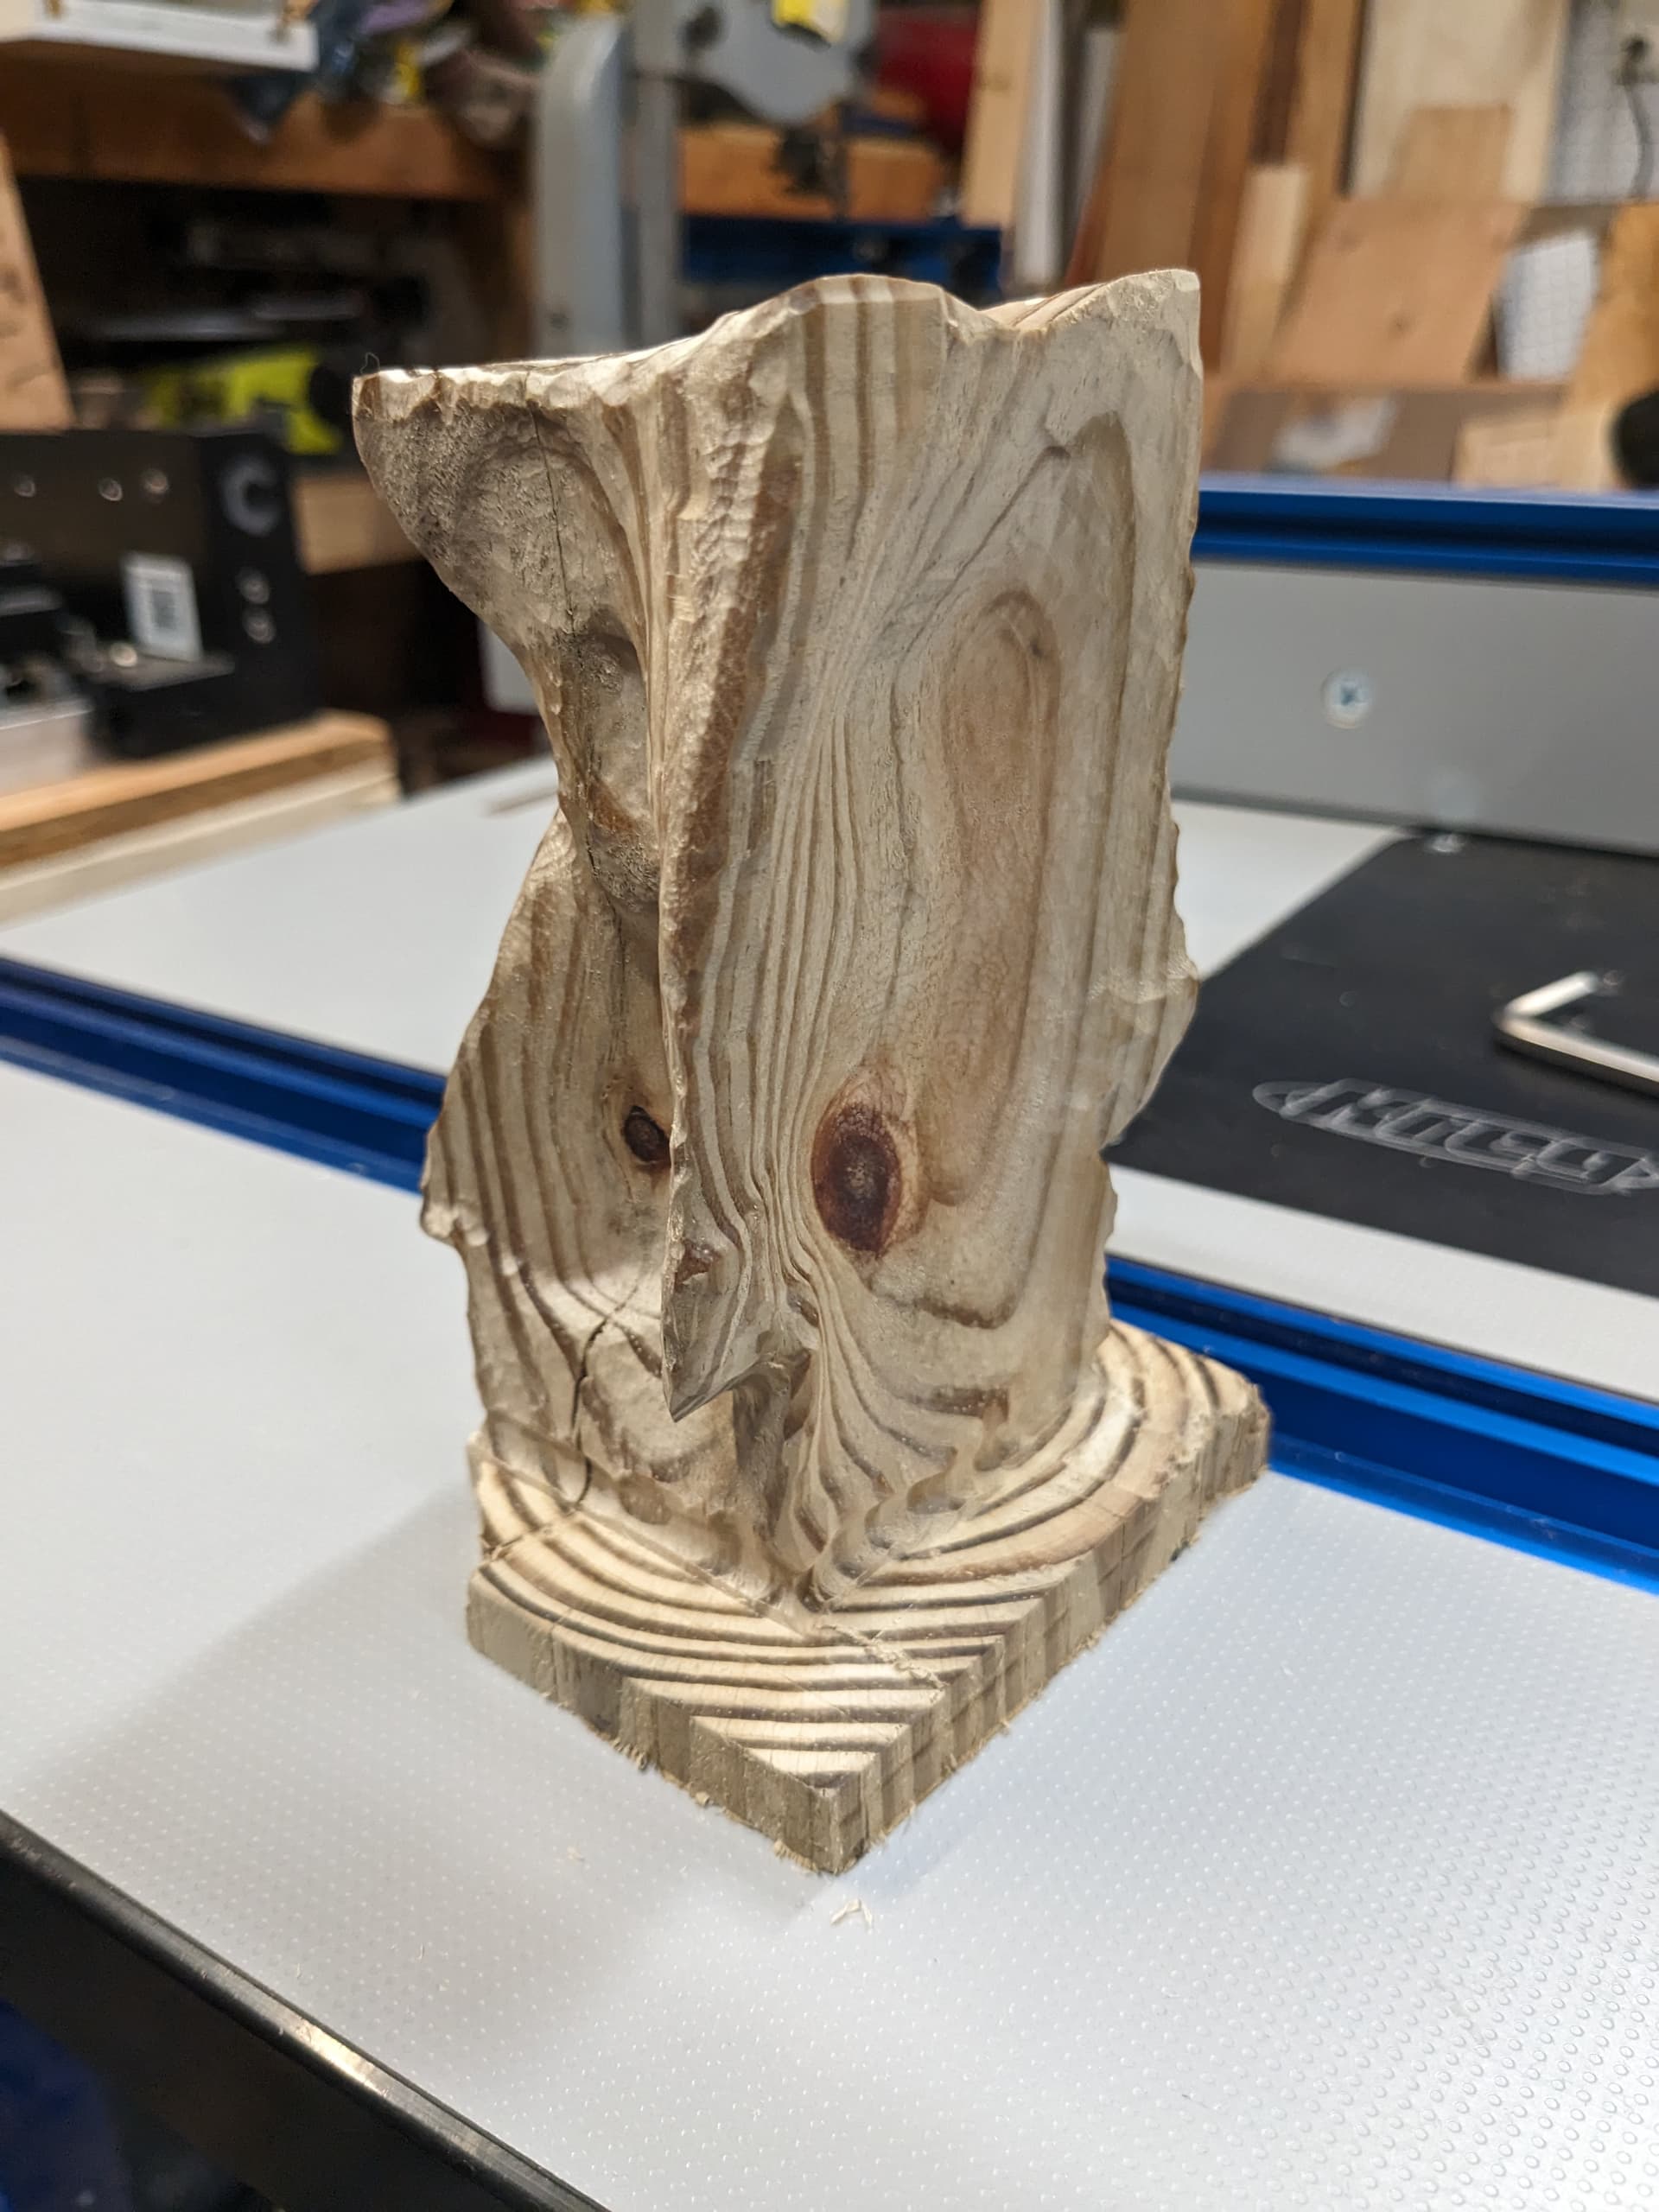
The part is just under 4.5" tall. I was intending to have a 1/2 of shelf on both ends to hang onto, but I set the stock to 5.5", but forgot the 1/4 cutter width so the shelf is only 1/4 wide. I will restart a new piece of stock.
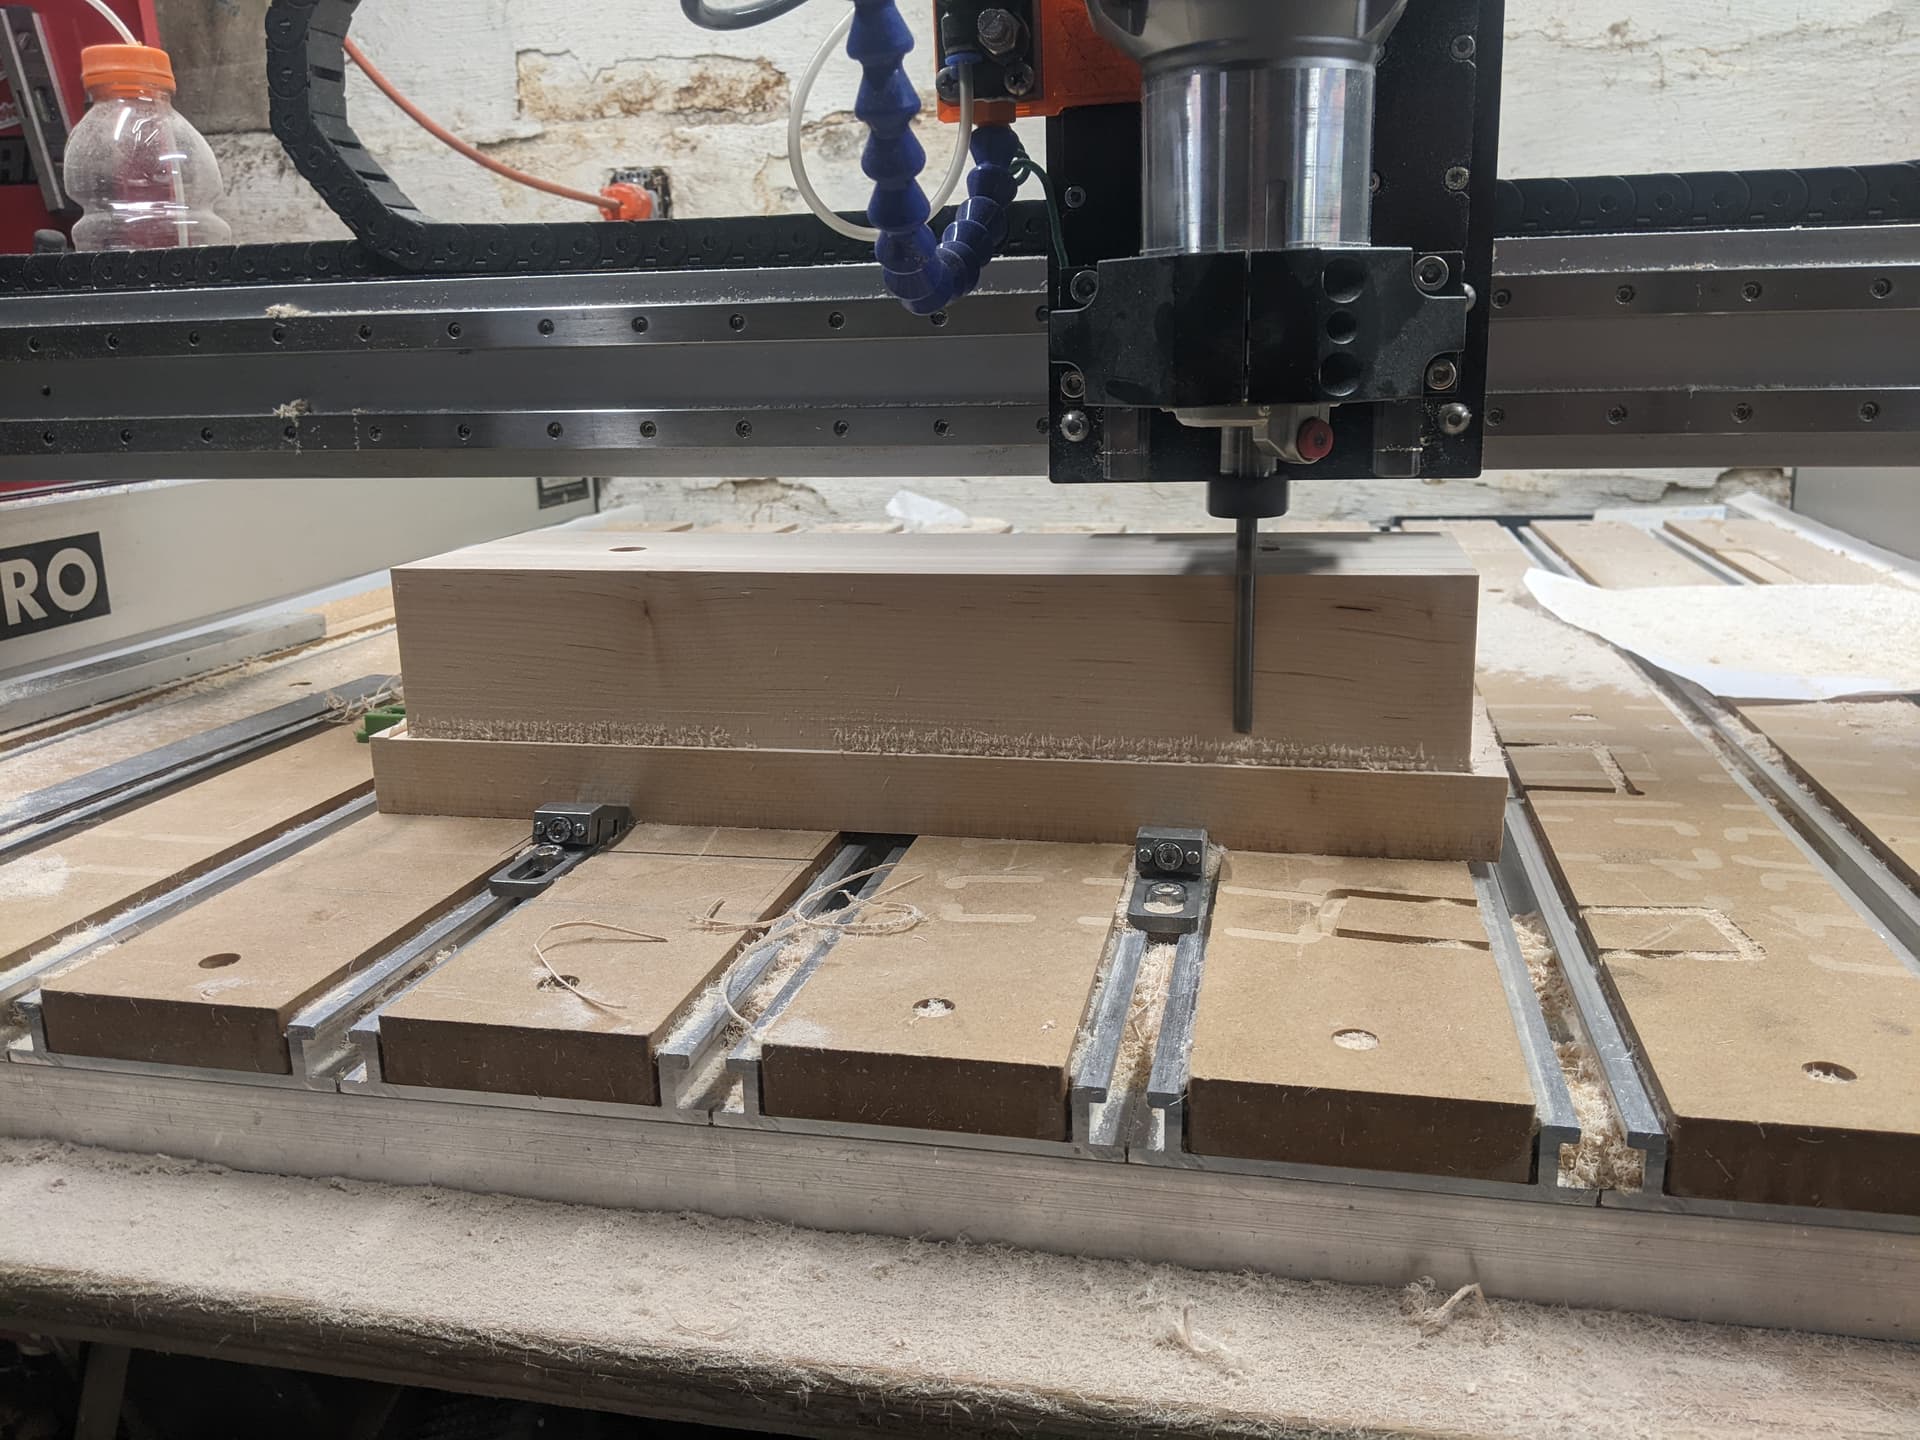
I will cut the top shelf before milling.
I have to mill the top in two paths, in order to clear Router and have enough reach.
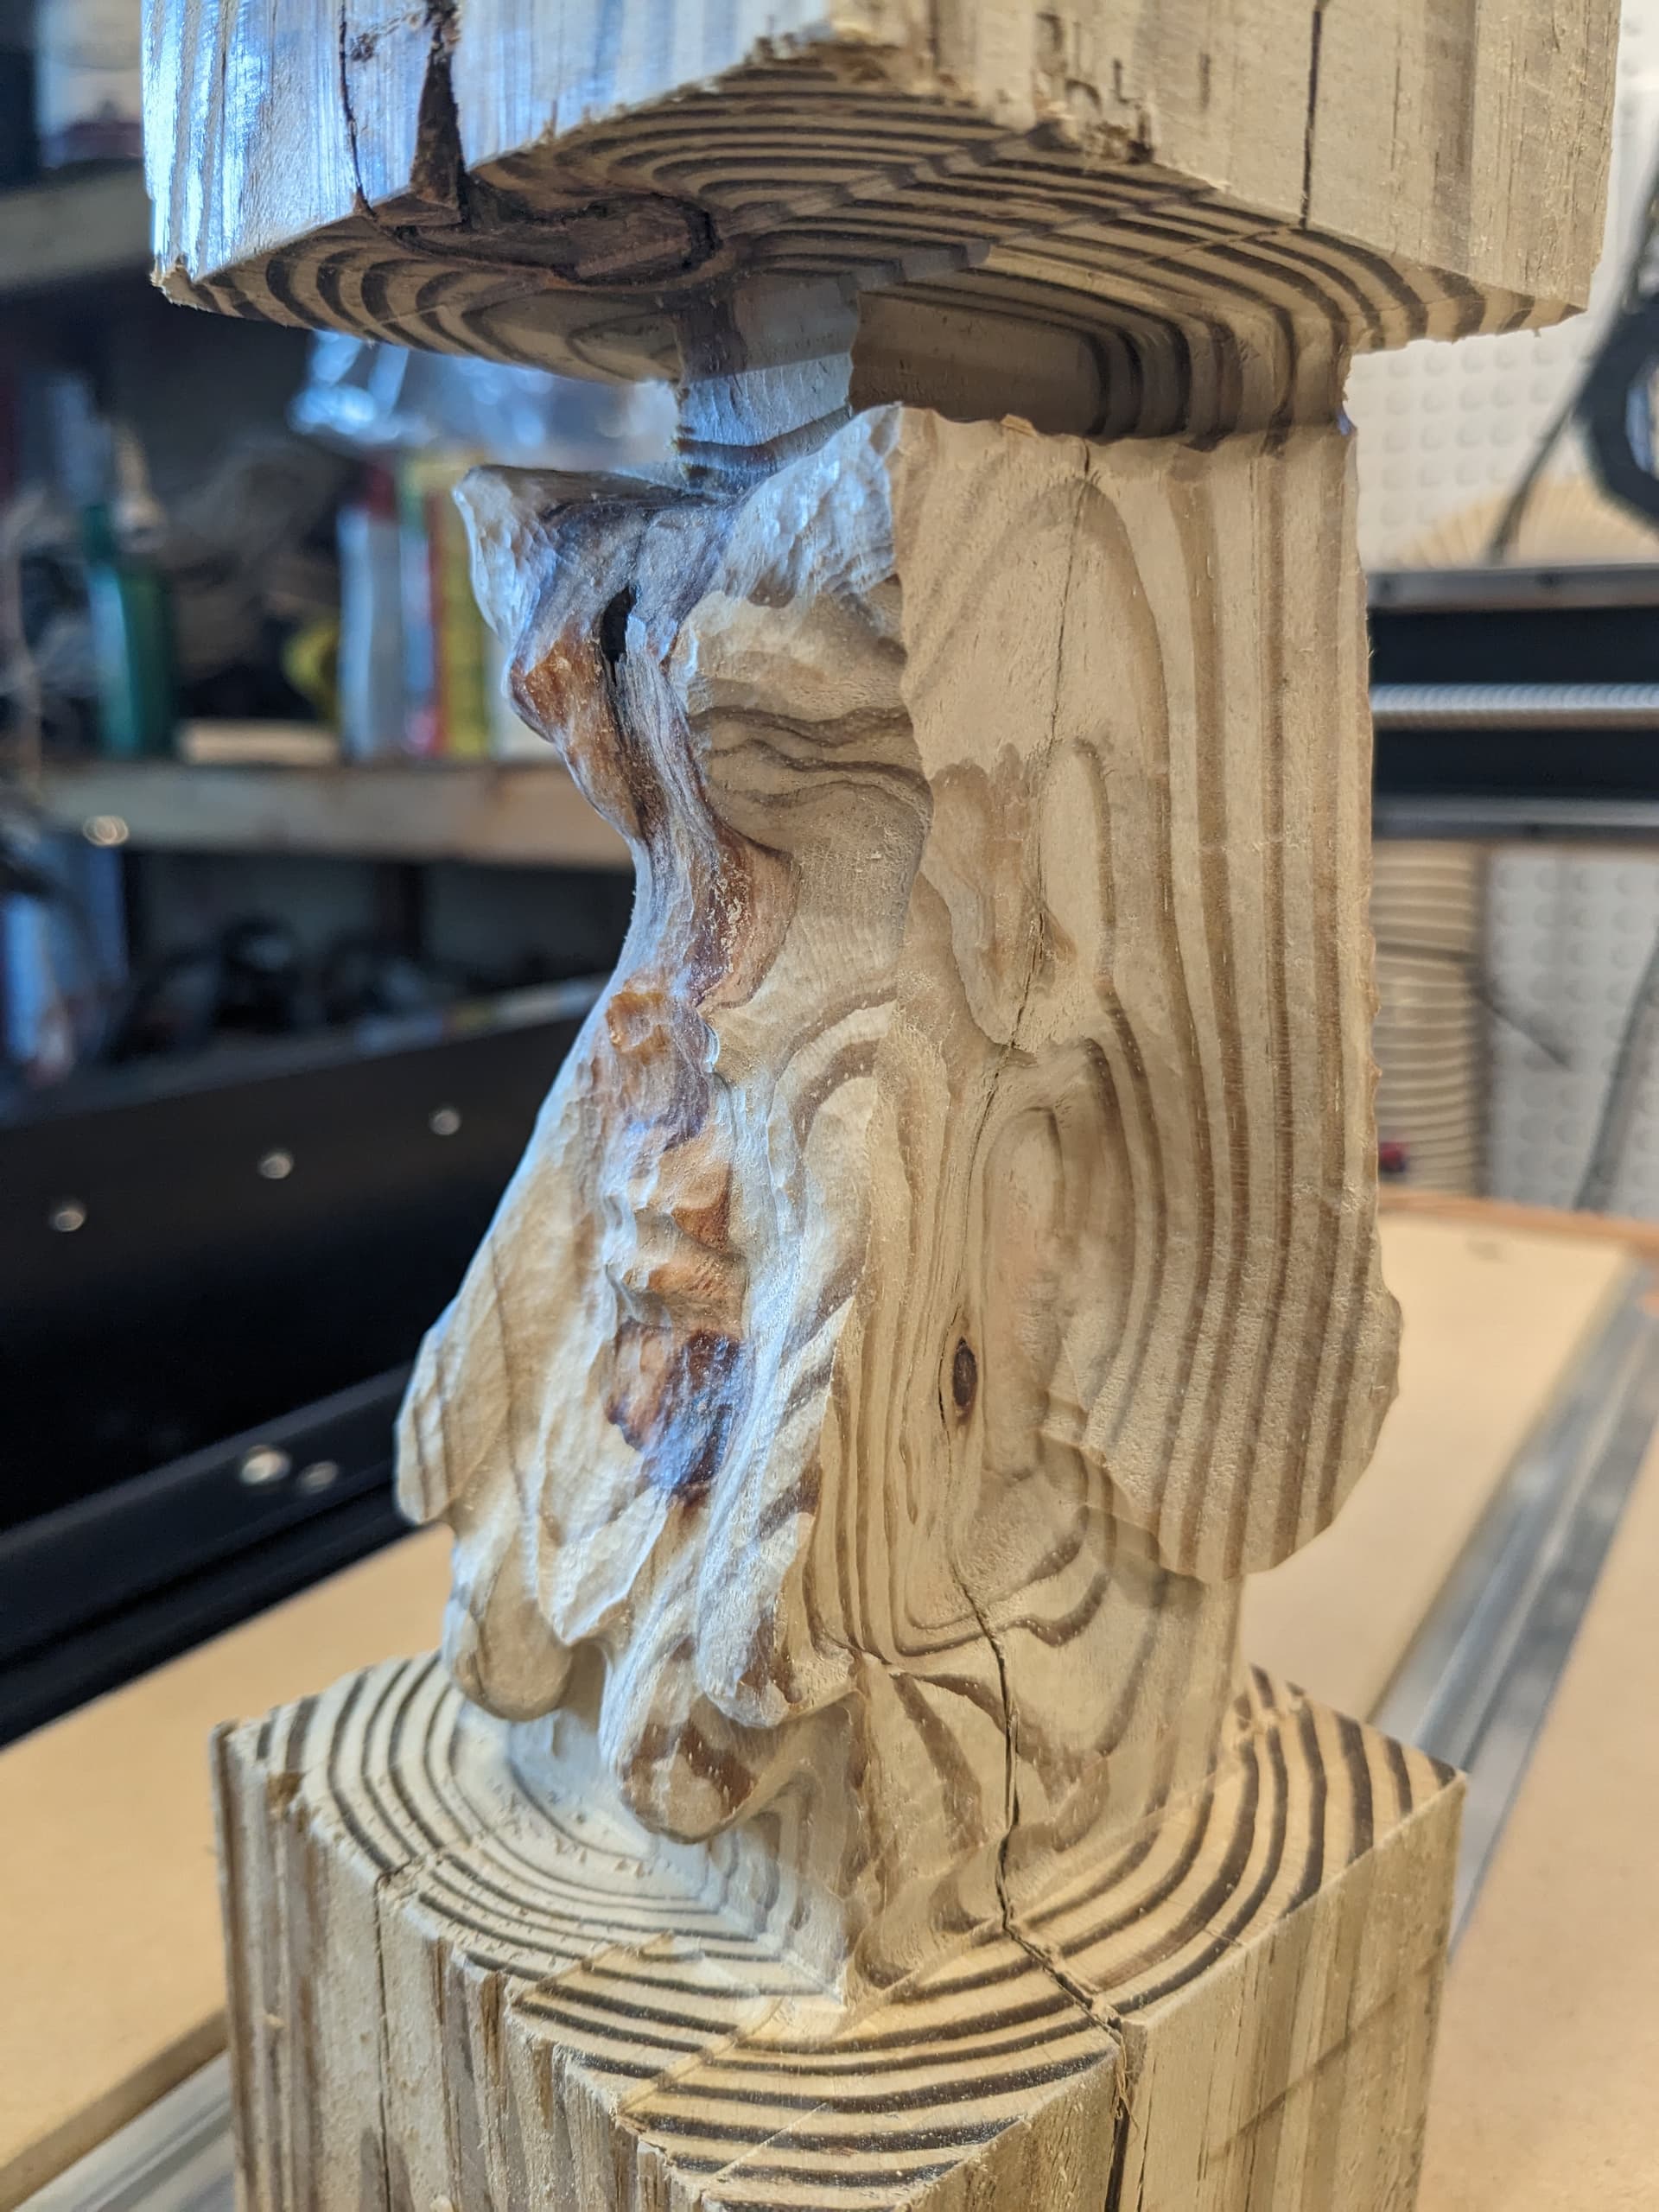
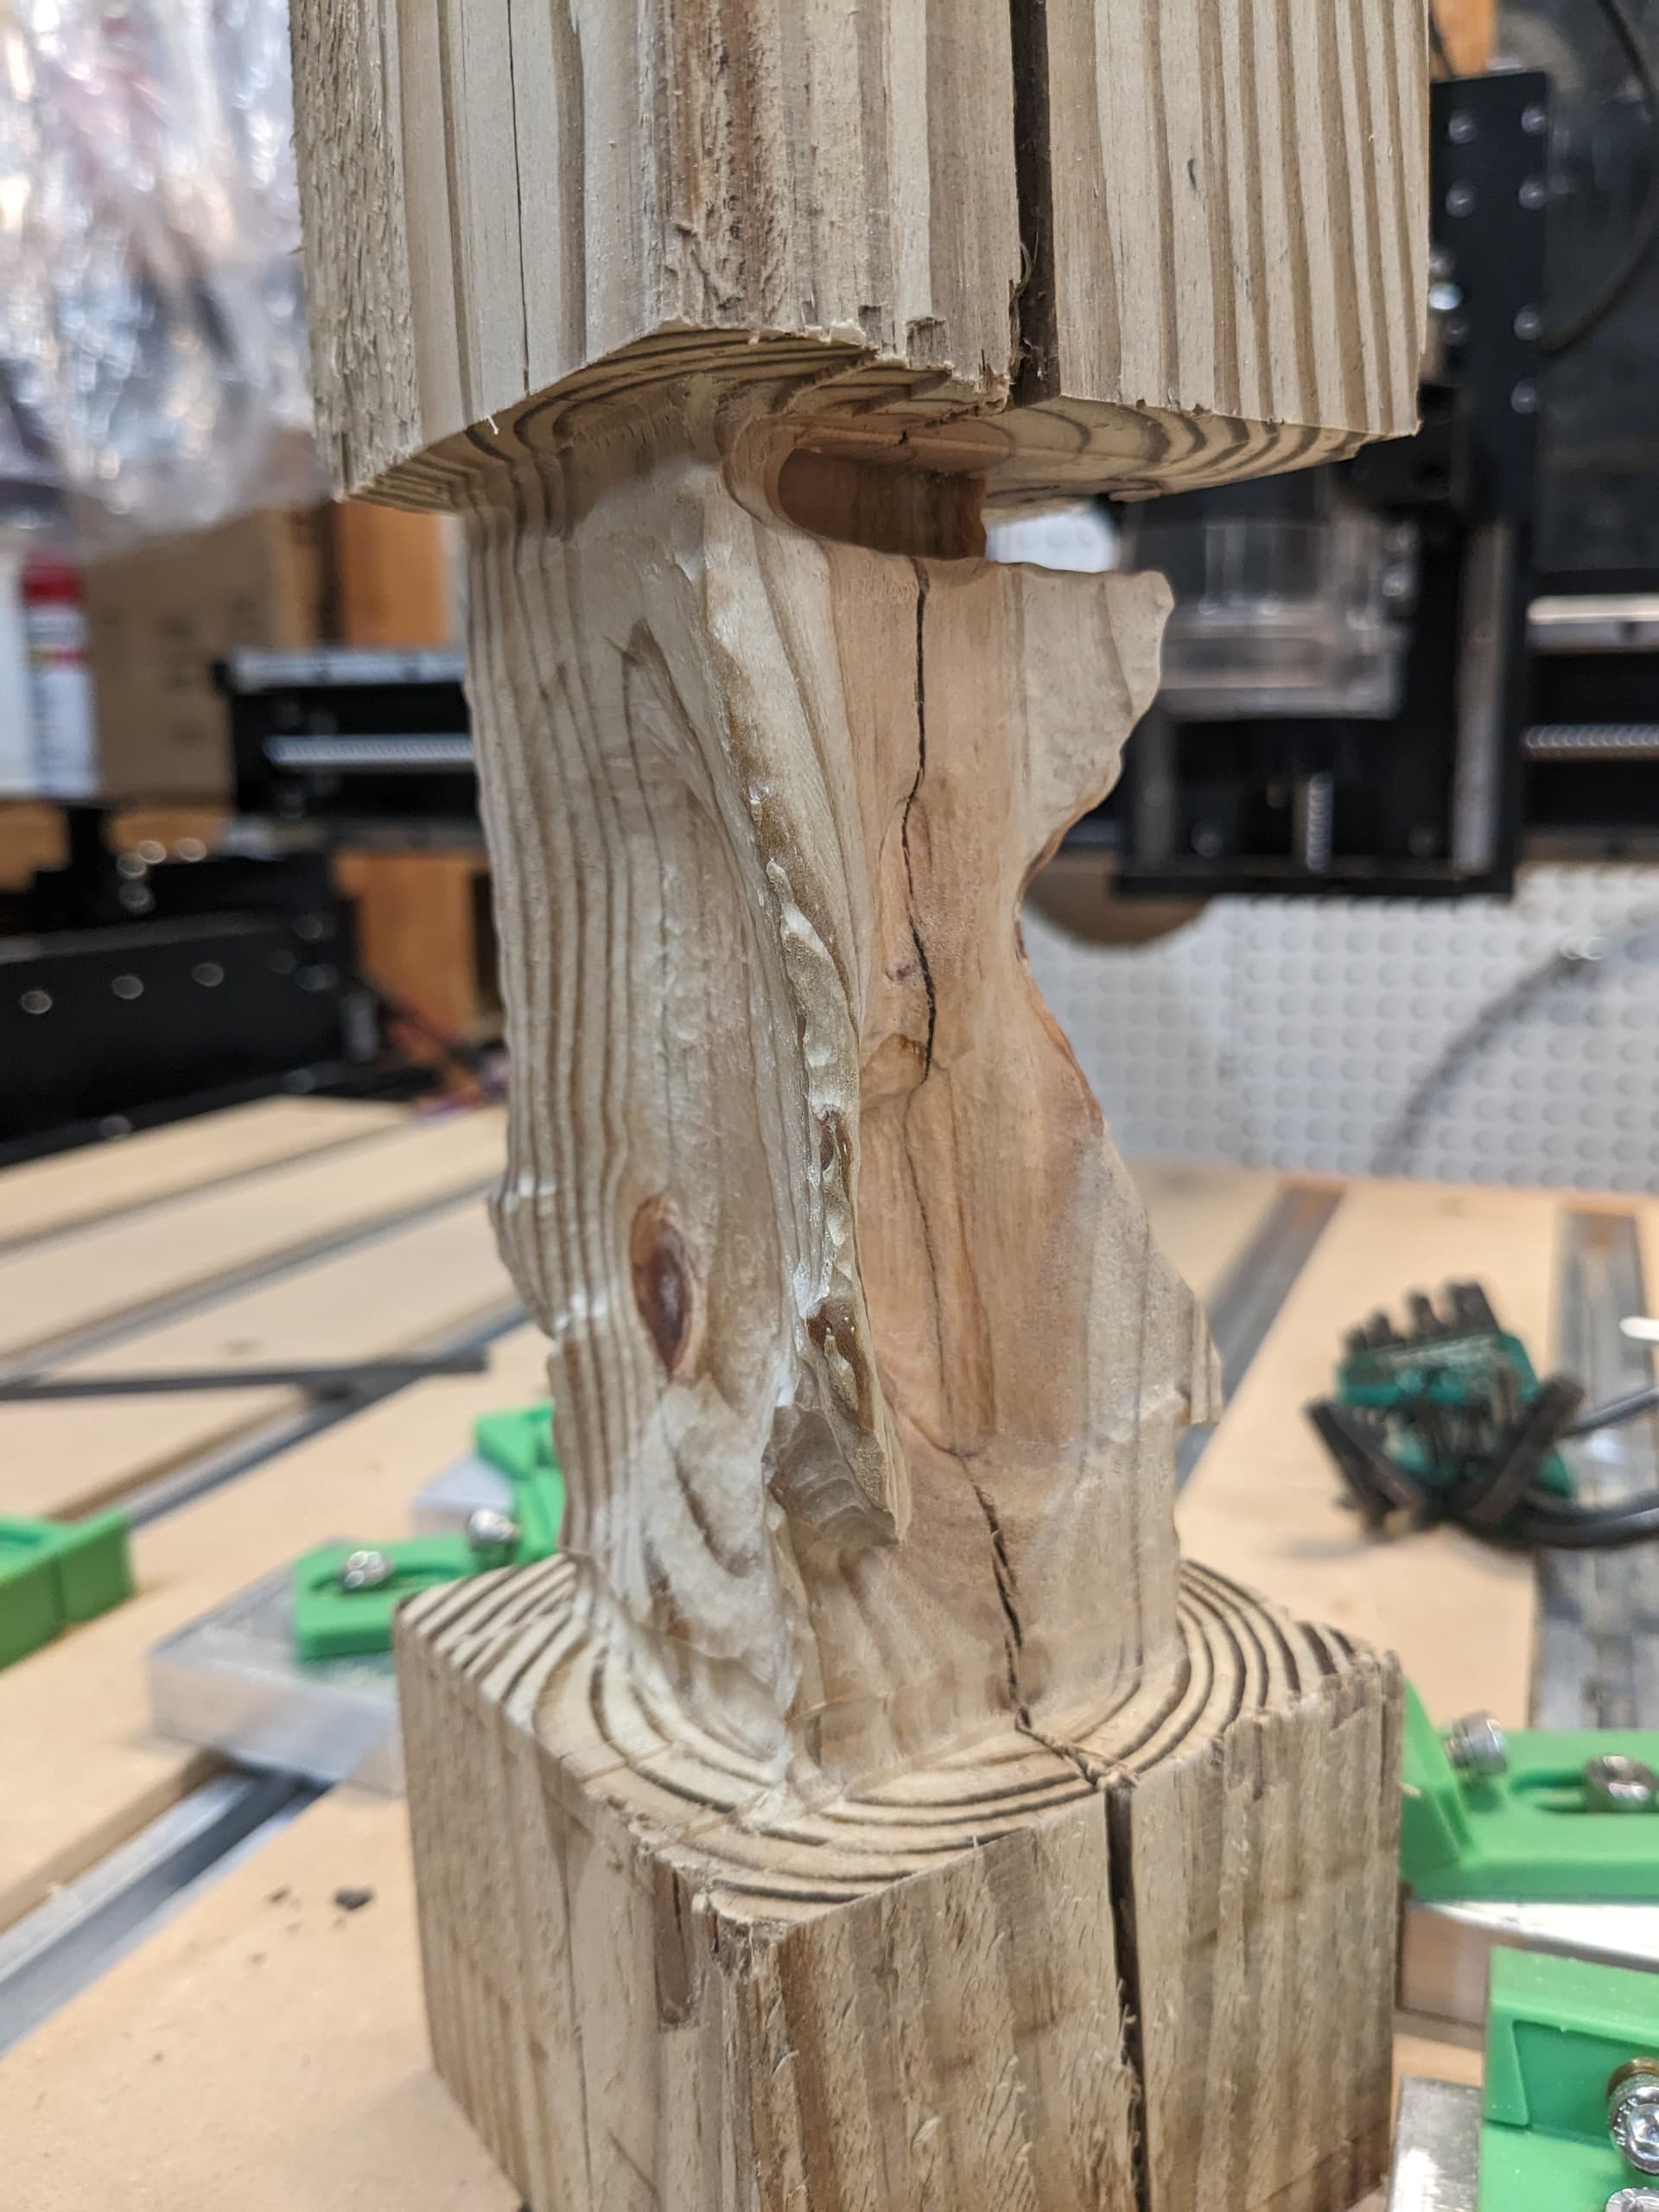
Correct except for a bit of overcut due to alignment issues.
Learned to watch , stop reset Zeros, restart.
6 Setups ( Front/Back and Sides and two for the Top ( Front and back ).
A lot of path generation time. I need to learn to script Fusion.
One first pass for the Top Front I ran the part over with the Gantry going to set the bit, I had placed the part about 6" front the South edge. Moved the part to the max South edge, much better
The 1/4 ball end mill cleaned the surface ( No leaving material )1/8 ball end mill ( again leaving no material ) put the texture of the “stone” back into the part after the 1/4 ball end mill pass.
I never realized the effect of busy grain on visually recognizing detail.