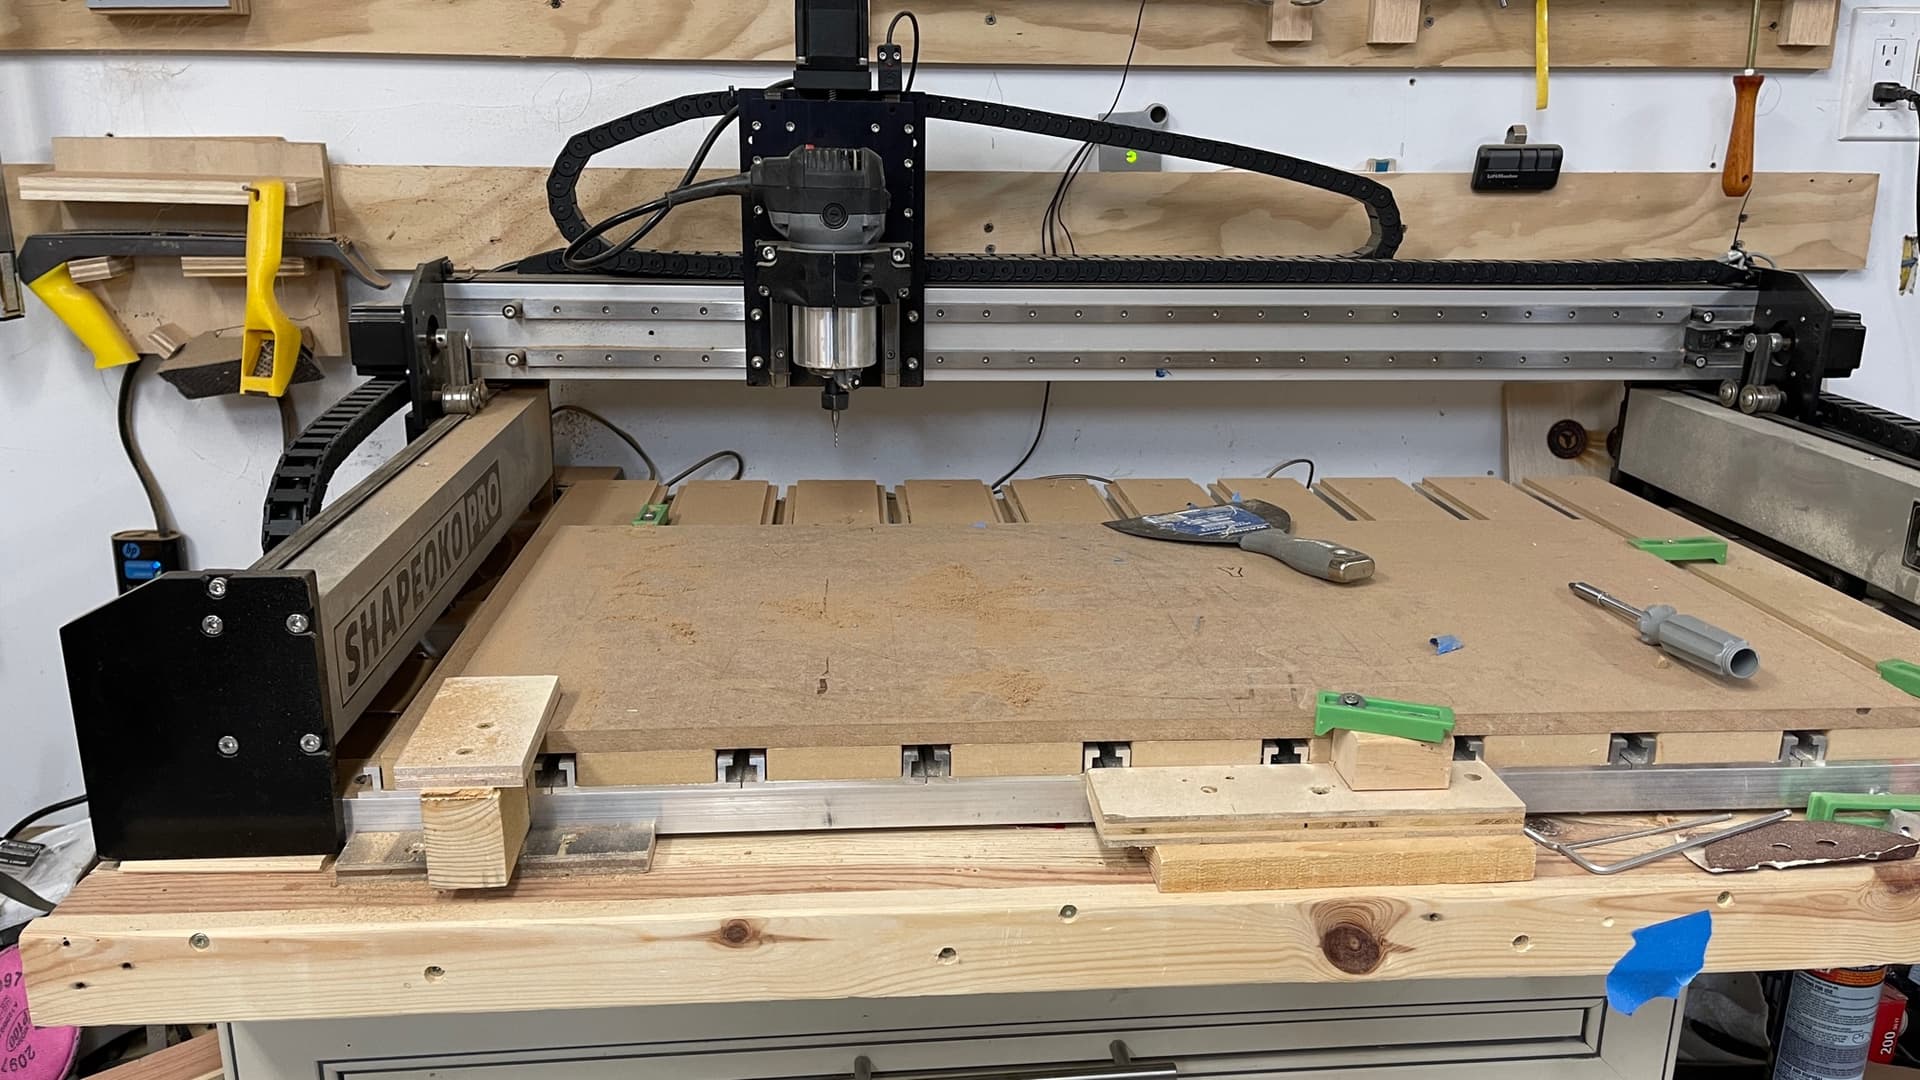
Hi gang, it’s been a while since i posted any questions here but I keep coming across an issue that I can’t figure out.
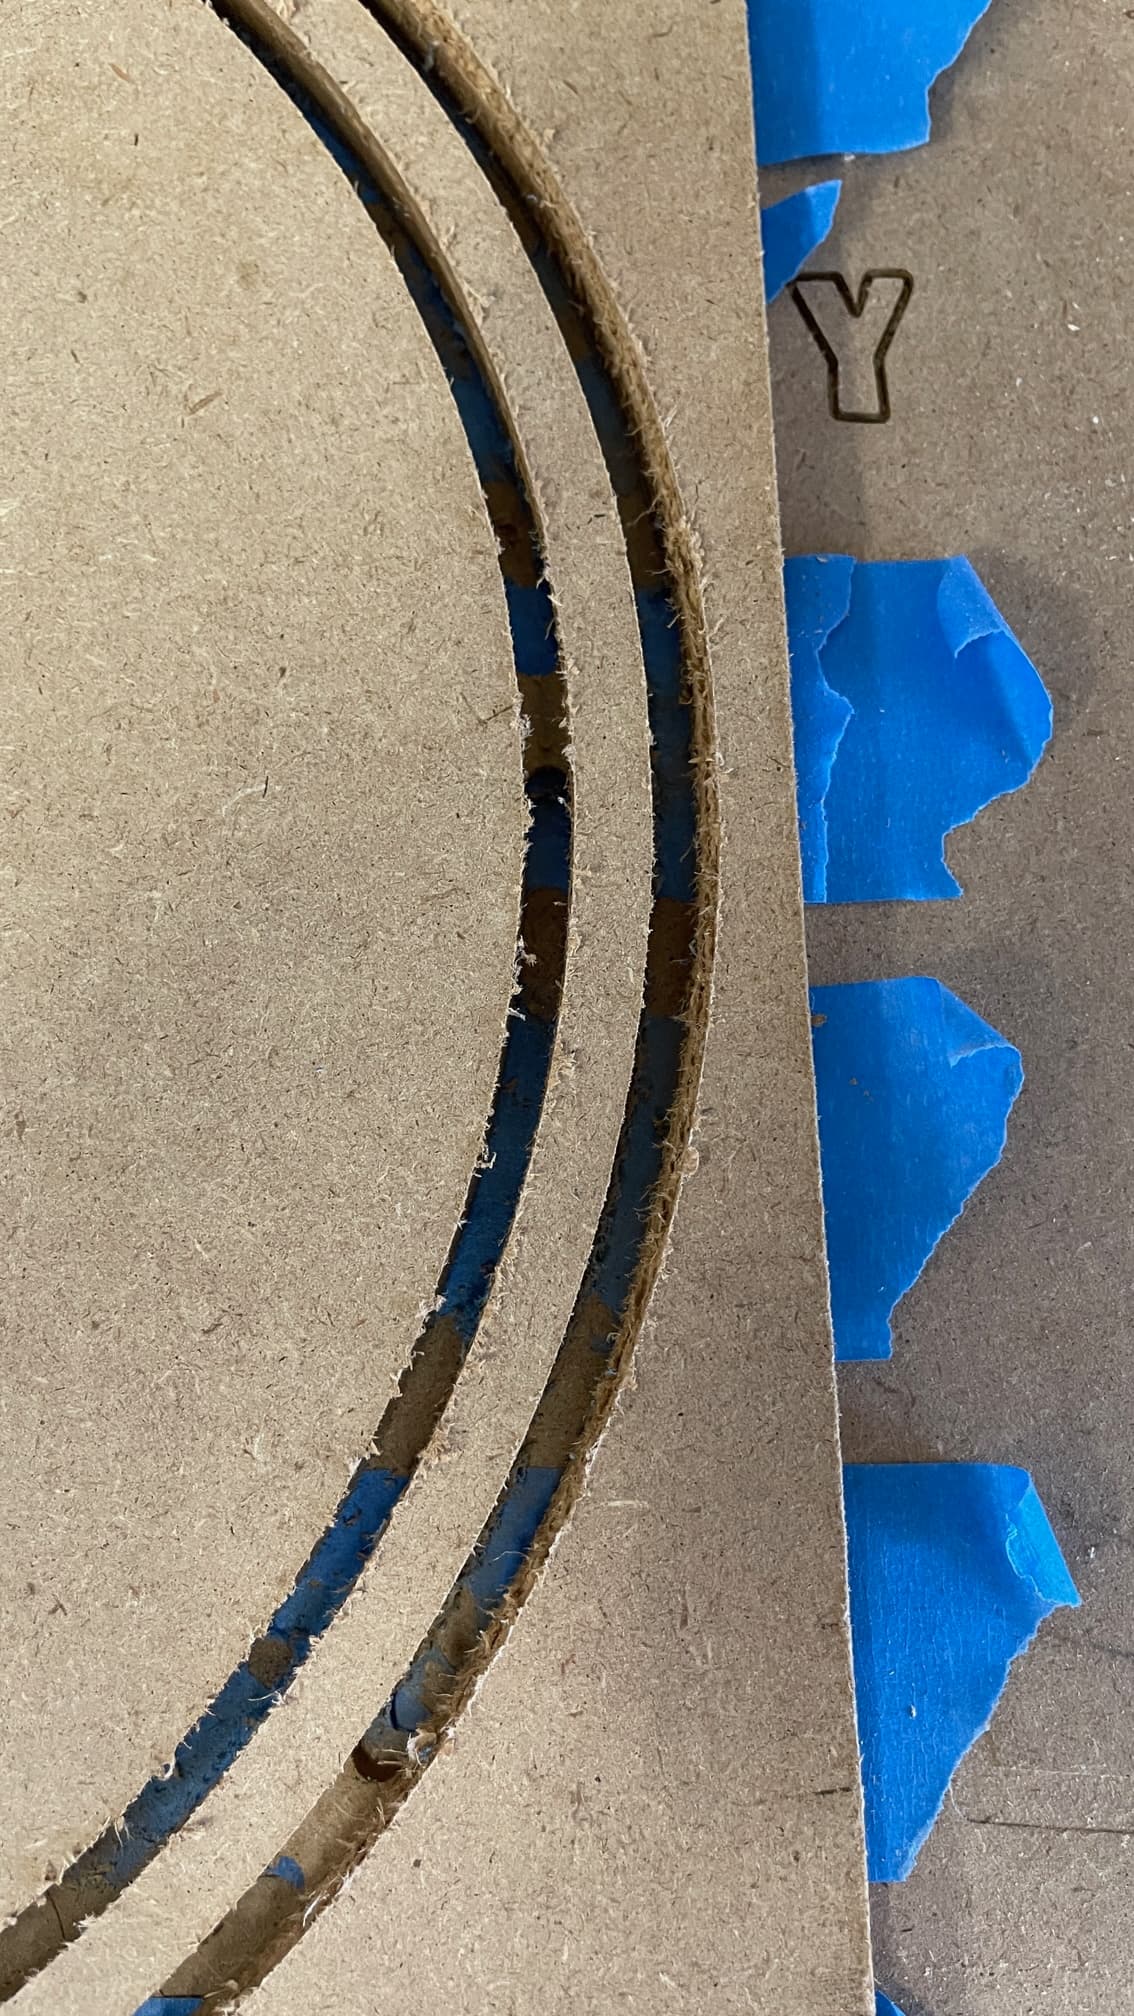
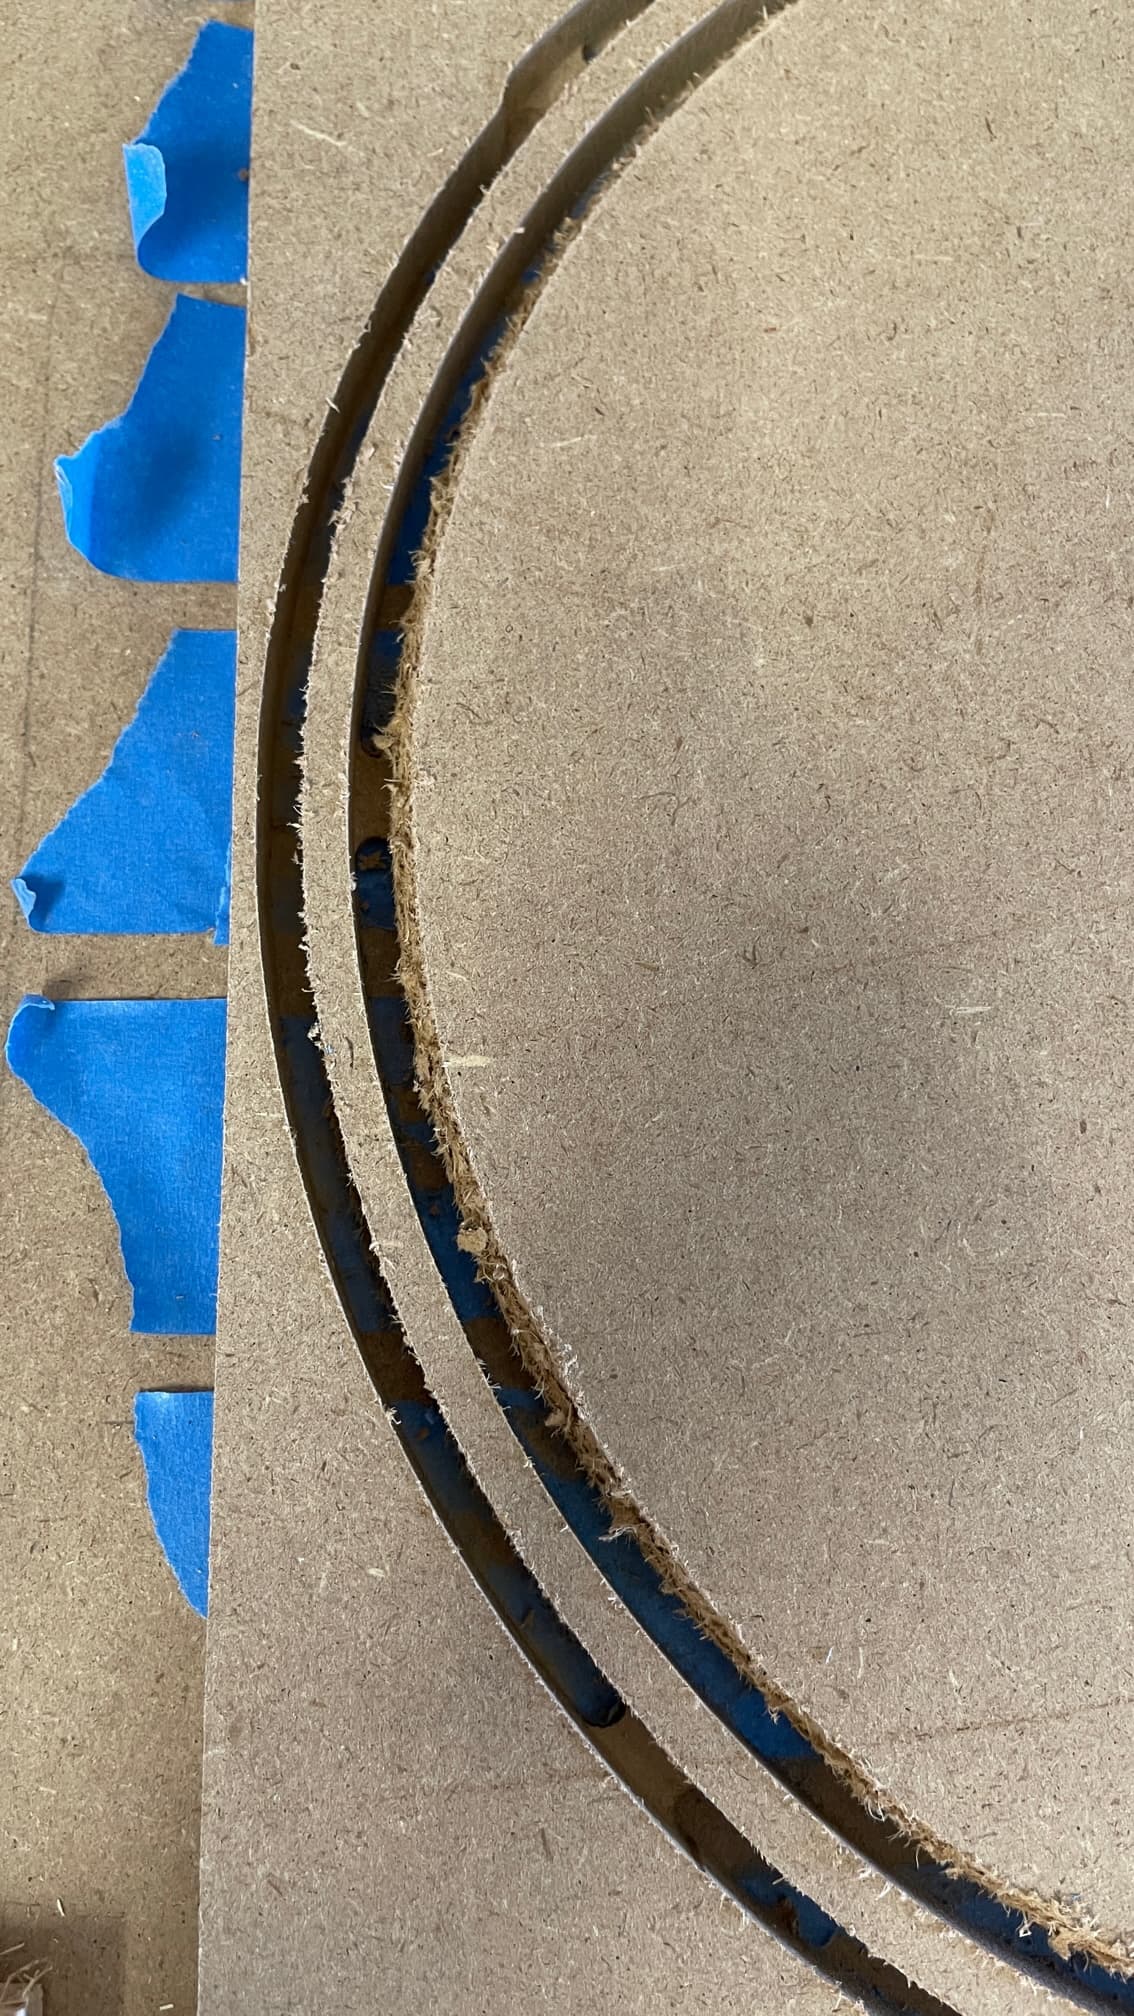
my shapeoko is cutting crooked. it almost feels like the router (if im staring straight at it) must be tilted slightly to the left (like the slash under the question make on a keyboard). I notice it on deeper 1/2 inch cuts that if i cut a 16" ring because of the apparent angle the left side ends up being thinner than the right. 8025 is the left side and 8026 is the right. so then 8028/8031
is not a perfectly shaped ring. i cleaned it up with a trim bit on my router table and this is what i ended up with
i’ve been using the blue tape/glue method to hold pieces down and sometimes pieces break free and causes more chaos and snaps 1/16" bits.
i know how to level the table, but it seems like no matter what i do getting the router and the cutting surface to be completely aligned is impossible.
There are lots of YouTube videos that explain how to square / tram CNC machines in general, and maybe one or two for Shapeoko specifically. There are tools / accessories / supplies to make it easier. You have the Pro, and I am not too familiar with that specific model, but you should have a pretty good head start with getting things squared-up already.
From what you’ve written, it sounds like the major thing is your spindle is not square, but @WillAdams is right - if you have not squared / trammed your machine, you should do it right and start at the beginning.
At least one square is required. Two make things easier.
A straight edge is nice to have to verify things that should be flat are actually flat. A decent level will have one flat edge machined that should be good enough for our machines.