I’m seeing about 3/4" max overhang (from the bit to the edge of the floor of the machine) allowing me to cut 5/8" or so on my Pro XXL.
If I’d like to get more, what is the best way without cutting into the floor of the machine? Move the spindle away from the gantry? FYI - I’ve already adjusted my Y axis in the settings as far as it will go. Thanks in advance.
I remember a post you made about not the aluminum threads in the hybrid table and how it’s easy to overuse the threads. Is this still the case with the hybrid? If so, I’ll need to design something that is a permanent addition to the table.
Also, do you think you’d need two slots to ensure you are square with the machine instead of one?
I believe the threads are machined after anodization — even if they’re not, the layer is thin and will easily wear off.
If I were designing such a fixture, I would design it so that:
it would accommodate 4 boards
would probably use wedges for clamping
would use either steel hardware w/ threads attached or nylon hardware for anything which was being regularly adjusted or attached/detached
That said, one of the advantages of having both an SO3 and a Pro is I can dedicate the original machine for joinery.
That said, on the gripping hand, I’ve pretty much given up on the separate operations in favour of joinery which can be cut flat on the machine — it’s just so much faster and more reliable, and it’s easy to hide the endgrain.
If you need a design done, let me know the parameters, including stock thickness and I’ll gladly work up a design.
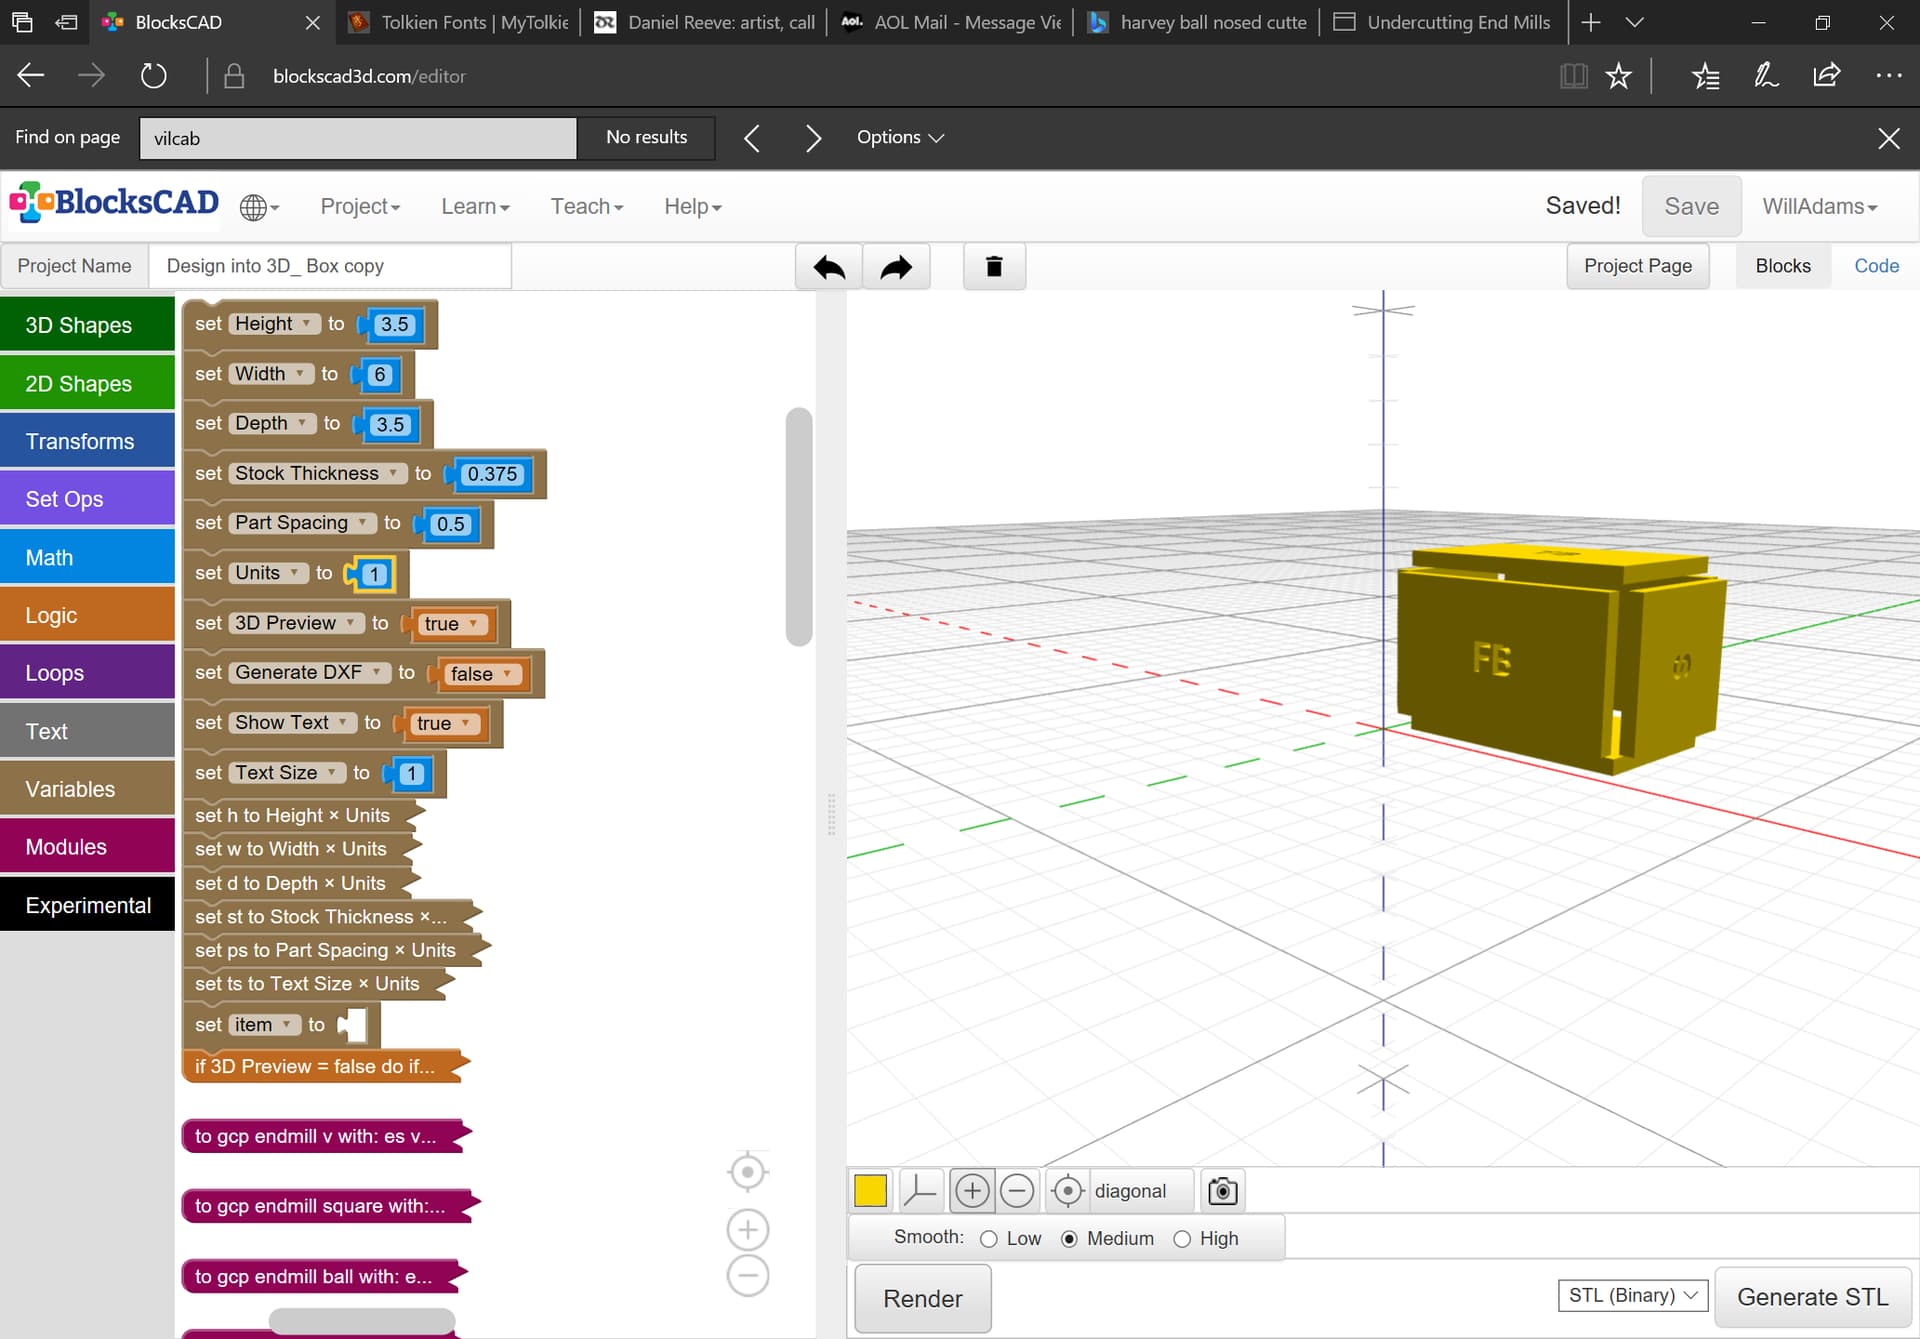
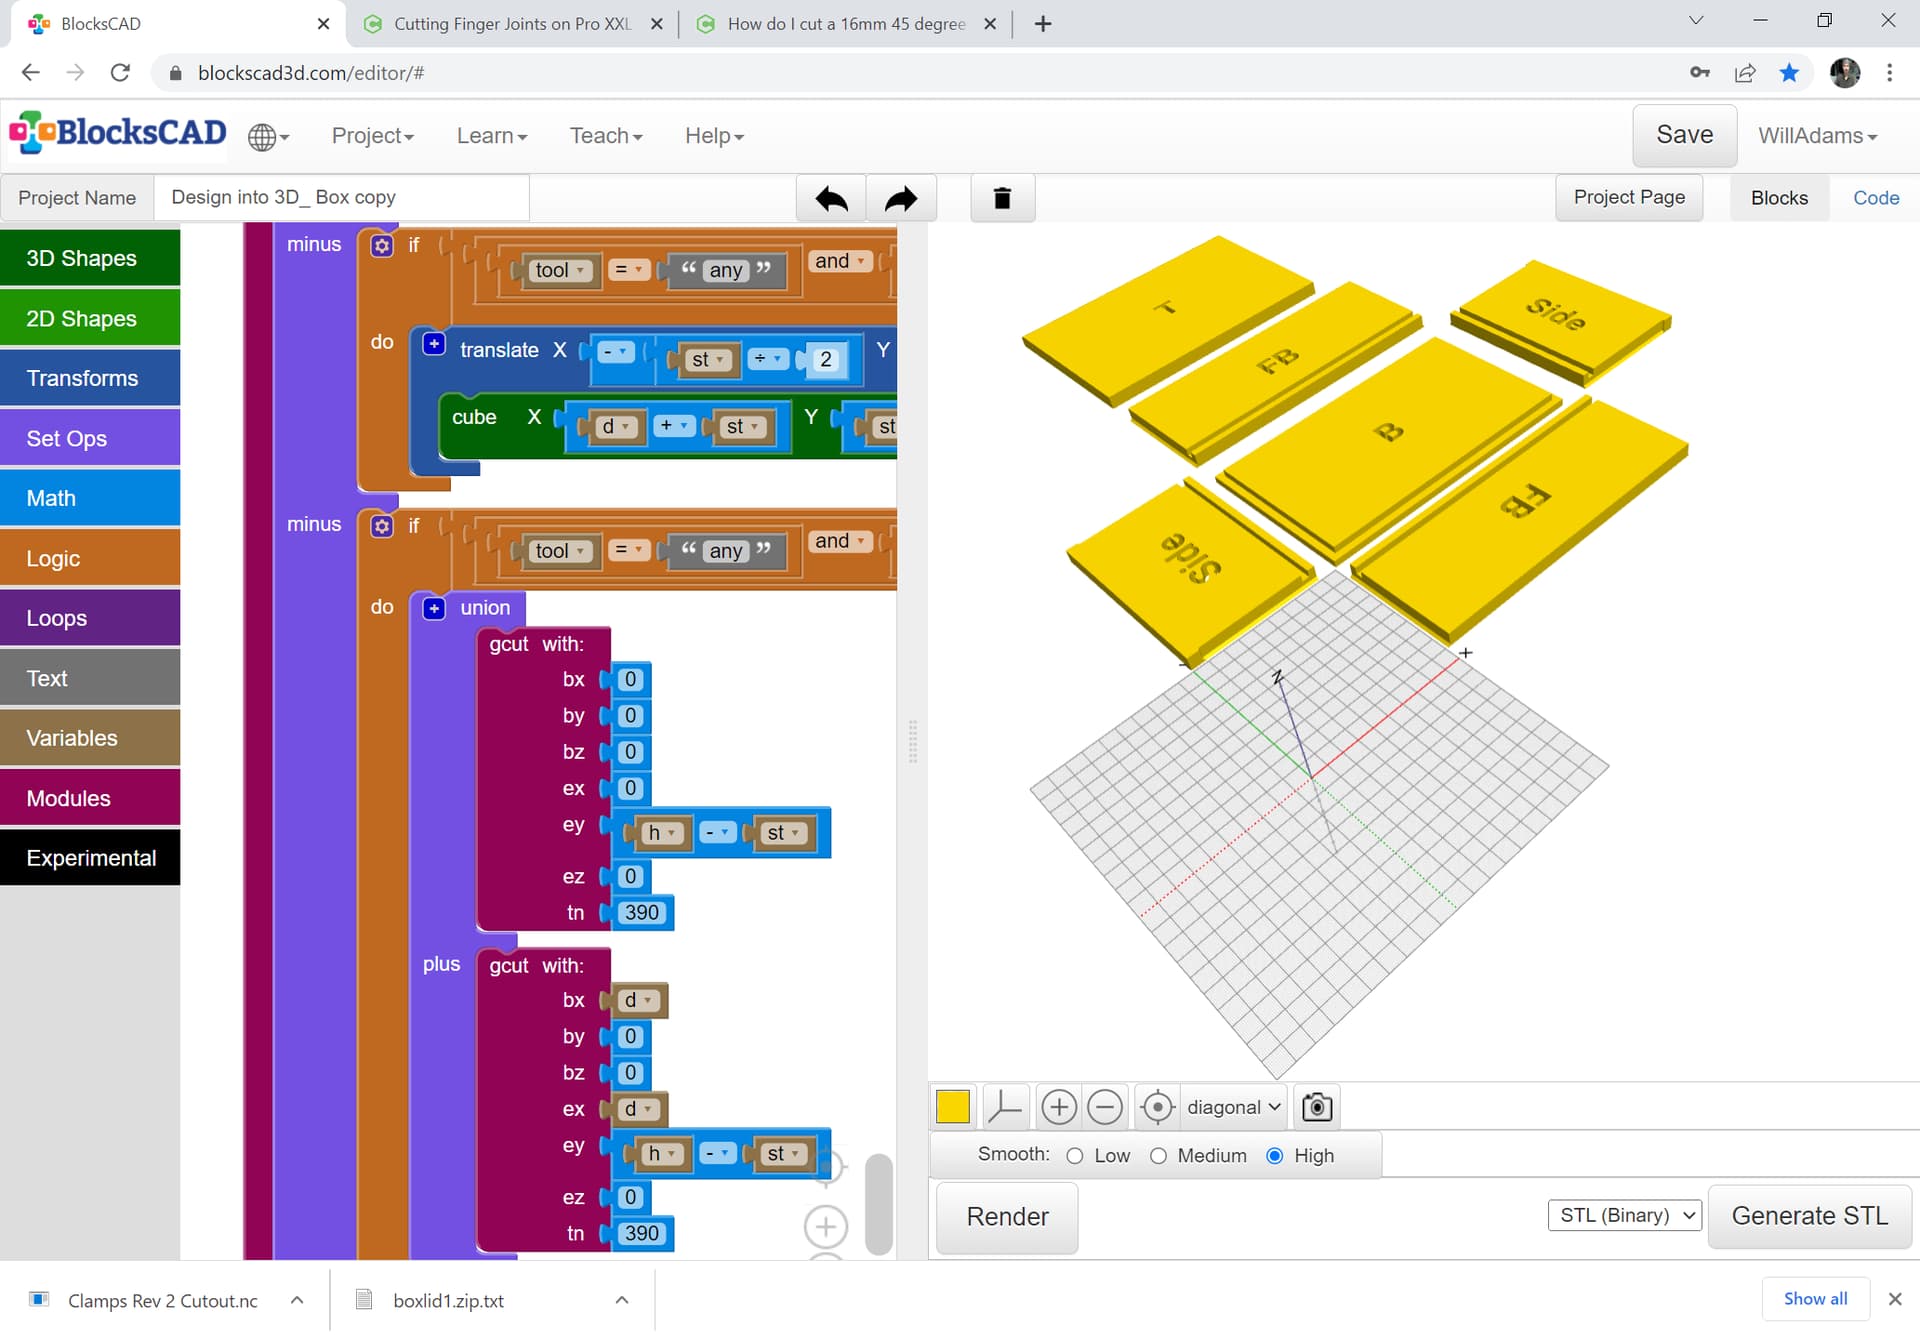
We are making some higher end walnut boxes that will be displayed on a kitchen countertop and thereby need traditional finger joints… no dog bones, round corners, relief cuts, etc. I’ve briefly looked at your full-blind finger joints and they look great, just not an application for this specific product… That said, it sure wouldn’t hurt to have a look at a model without end grain… The box is 6" wide, by 3.5" high, by 3.5" deep. It will have a flip lid hinged with brass pins.
Yes, I sleep — mostly I’m a night owl though, and my wife complains I live in a different time zone.
Okay, I’ll work up a model and file for cutting this presently — should be able to cut a test version out of bamboo (just stocked up on cutting boards).