I want to make a screw/nut for a wooden vise. My thought was to use my 5 Pro and a thread mill to do the cutting. It would be a 90 degree v thread, 2tpi.
The toolpath is easy enough but I’m having a real hard time finding a bit long enough to make it down 2".
I would need at least a 3" shank length. Does anyone with more experience than me have any suggestions where to look? I’ve searched thread mill but most of the results are for ISO threads in metal, not a 90 degree v thread.
Well, it’s way more than I would pay for a bit, but maybe this will give you some ideas. Those are for “big boy” mills, so the shanks are like 1" and larger. Maybe they will do a custom one with a long, narrower shank? Or maybe you have more search terms to look for what you need?
EDIT: Actually just searched “45 degree top and bottom chamfer end mill” and ended up back at that same site and found this one. More reasonable, (EDIT: Was looking at the wrong size, and it was only $85-ish. Oops!) and might be able to make it work?
Maybe split the nut in two halves and rotate them 90 degrees, essentially milling the threads “top down”
Clear bulk material with your standard ball nose, then finish the threads with a standard v bit.
If you don’t want to use metal fasteners because it’s an all wood project or something, you could dovetail the top faces of the nut to mate them. Slide them together and screw it on, the screw constraints the linear sliding so the nut acts like a single piece…in theory…maybe
Depending on the application, you may not have to get them lined up perfectly.
Unless grain direction is critical, or the pieces are odd shaped & need to fit together.
You could thread one on to the screw that will use the thread until it’s tight against the end or a spacer, then thread the next one up to it, with glue between. Like putting 2 nuts on a screw to keep them locked. The difference being you want a third nut or a spacer to keep the tension on each nut you’re gluing the same direction, as opposed to opposing.
Since these are some honking big threads, can you combine two of the ideas in this thread a little differently.
Can you find a long 45 deg chamfer UP, and a long 45 degree chamfer DOWN, and run two toolpaths (one for the top edge of thread and one for the bottom edge)?
John
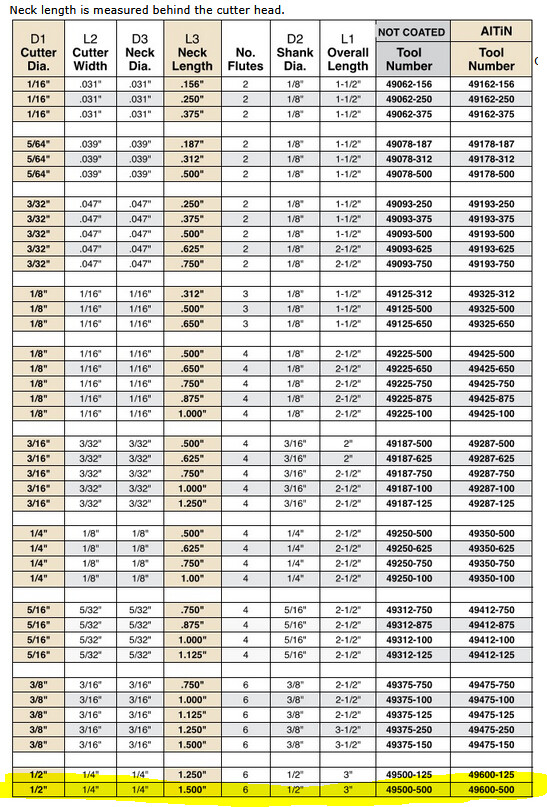
Looking for those endmills before hitting post, I found this McMaster-Carr 3/8 shank 2 7/16 OAL Double chamfer mill
Oh and here is one in HSS rather than Carbide McMaster-Carr
edit --realized that these might not cut deep enough
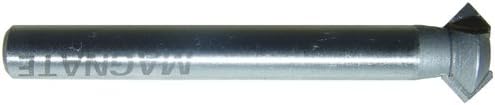
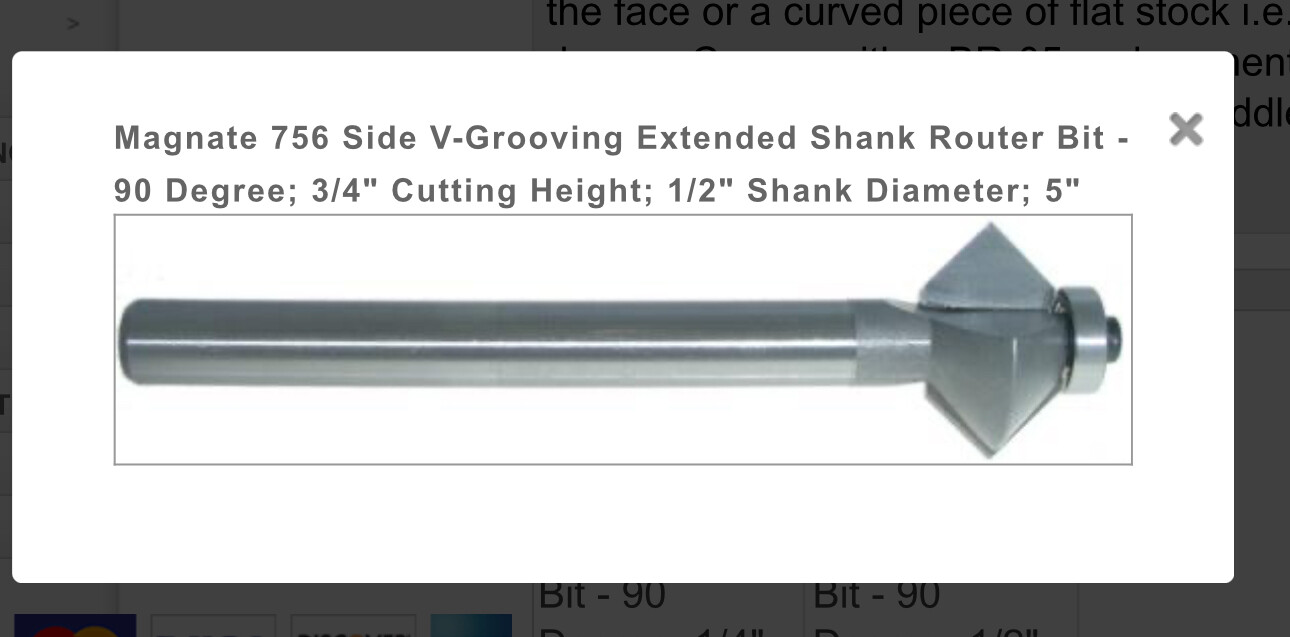
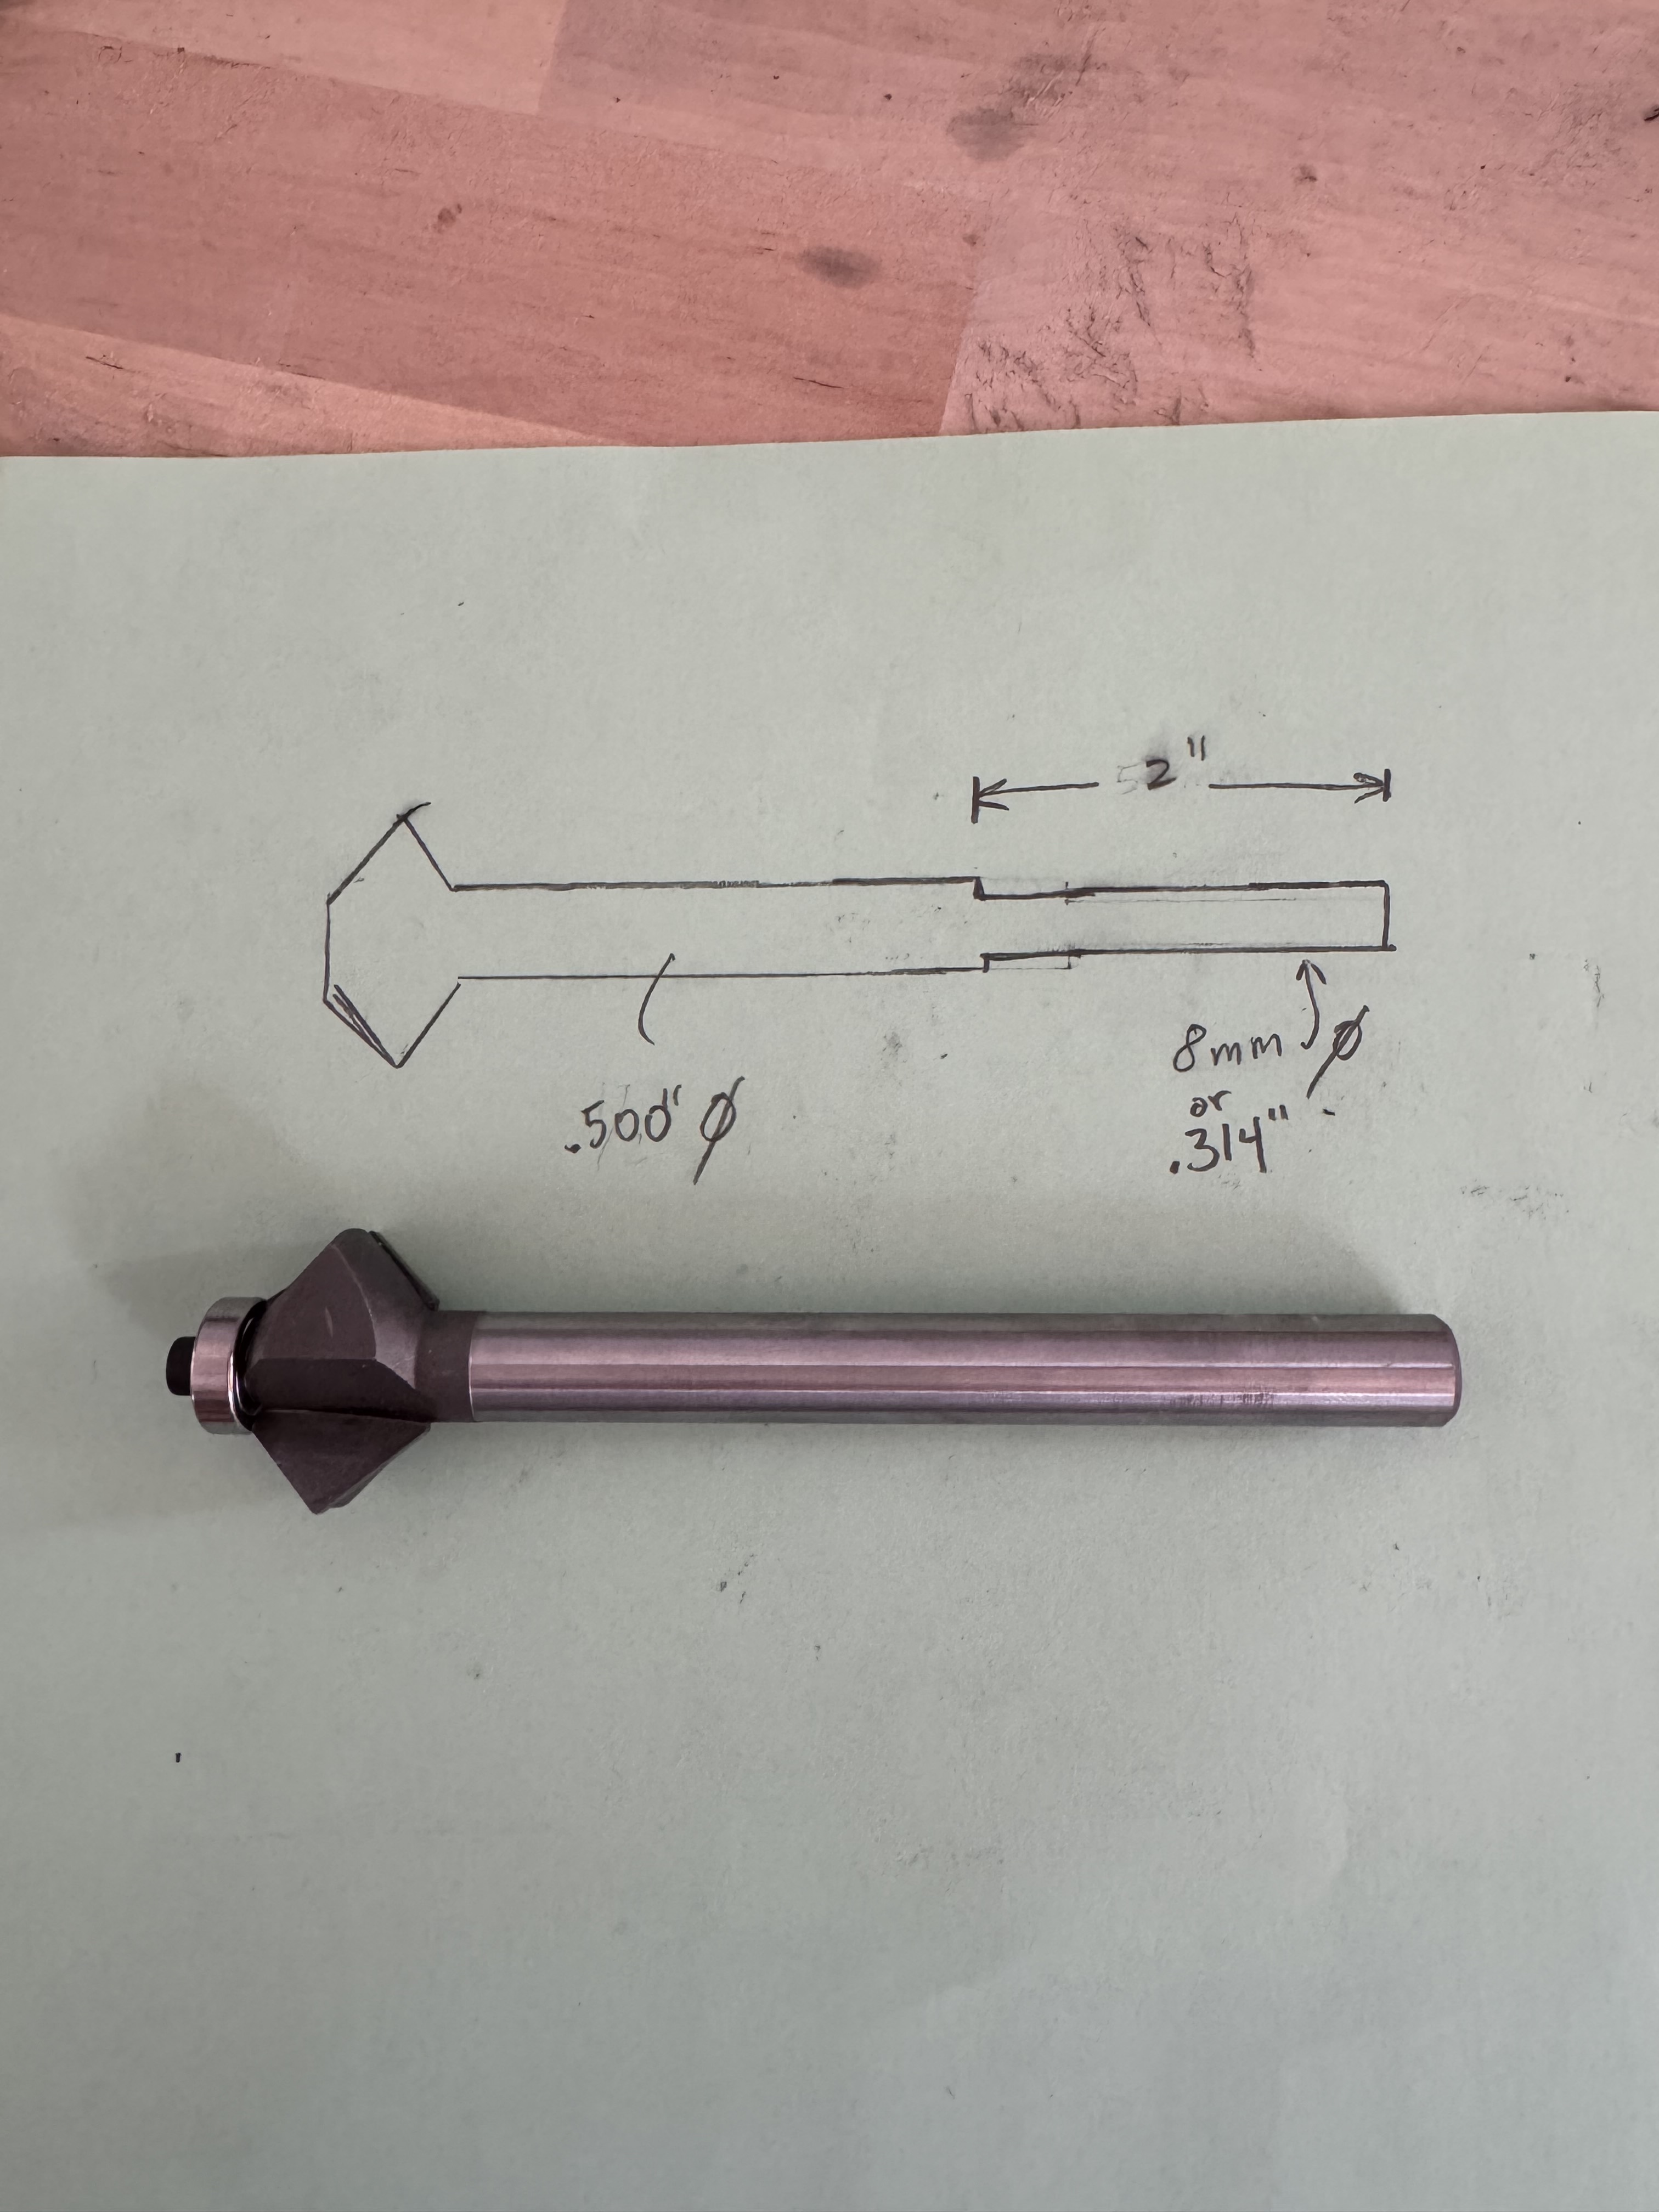
Ok I think I found a solution. Magnate makes a similar bit with a 5” length, but it has a 1/2” shank and a bearing. My spindle is a 1/4”, but I have a buddy with a lathe and he could turn it down for me. Then remove the bearing.
Had a thought ( I know, kinda scary). Why don’t you give Cody at cadence mfg (of Jenny bit fame)
He does the Jenny bits in house, perhaps since there is some market amongst woodworkers or just a one off
Admittedly I have no idea what Jenny Bits was until a few minutes ago. I’m still shaking my head at the fact there isn’t a readily available “wood thread mill”. Anyways thanks for the tip… I will contact him.
Big +1 to Cadence. Some of the nicest tooling I’ve ever bought.
Looks like the number of SKUs has increased quite a bit since I last looked…there goes my budget…worth every penny
Troye,
Had some other thoughts while mowing the lawn this morning.
It occurred to me, that your z travel may be more of a limiting factor. If you have too long of a tool you may not be able to lift if high enough to clear the stock to make the first cuts.
If 1 isn’t a problem- putting some of the other ideas put forth and combining to make it all in one block of wood. The thought is to cut the threads as deep as you can from one end. Then cut a piece with outside threads, thread the end you just cut onto that and then you can cut the other end of the threads. Since you cut the outside threads your are holding the blank with, you know the orientation of the threads relative to that cut piece so you can match them up. (tool clearance (item 1) is still going to be an issue I think, though.
I haven’t given up. I got the router bit but getting it turned down is tricky. Its heat treated high carbon steel so we need the right tooling and work holding may be a challenge.
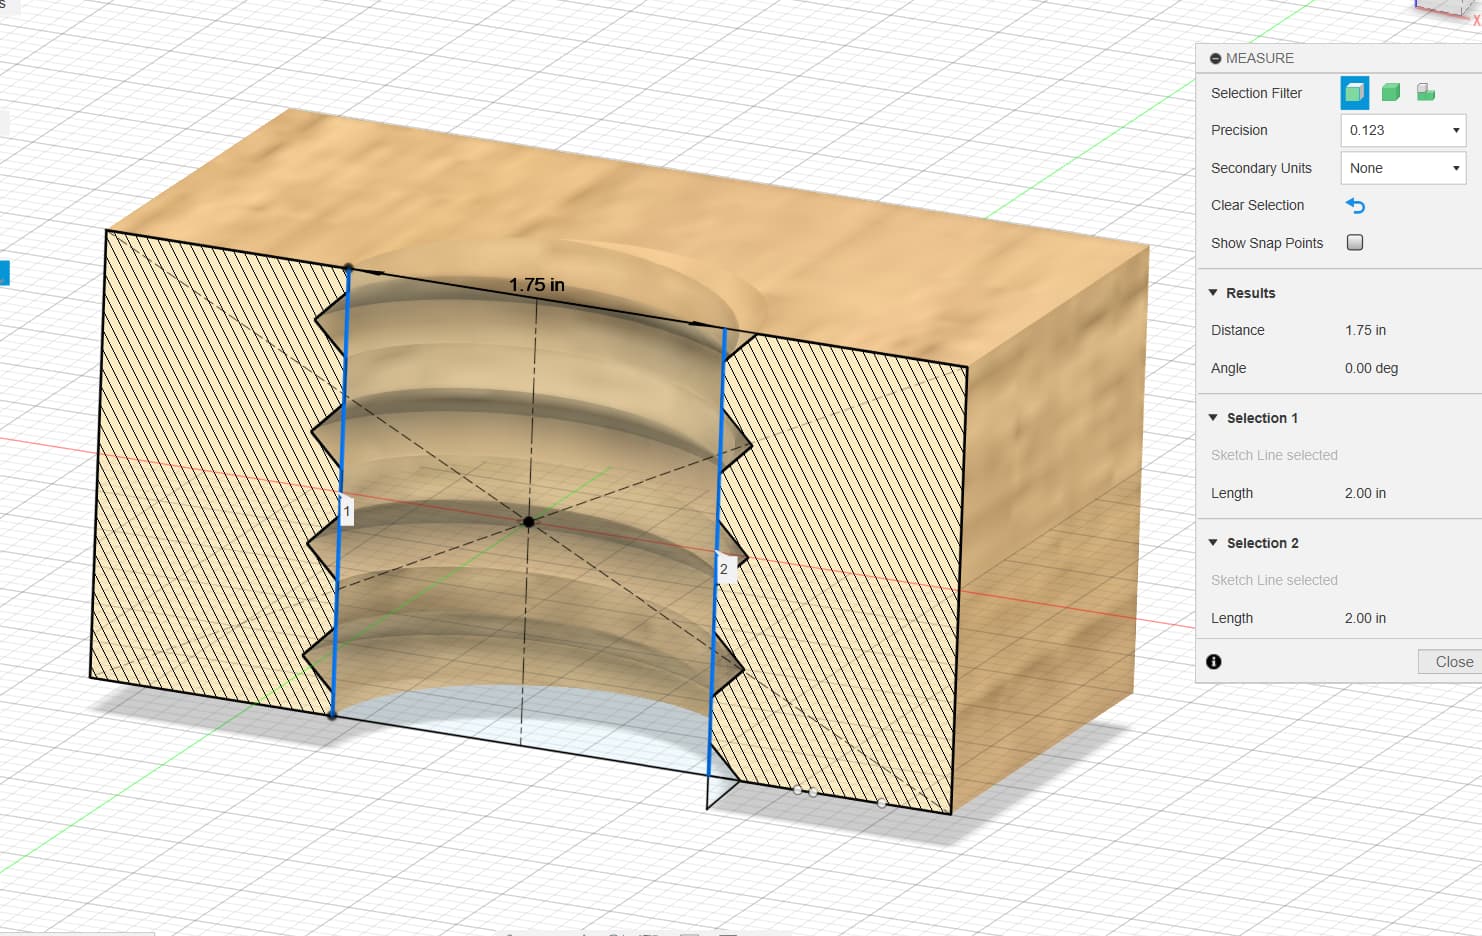
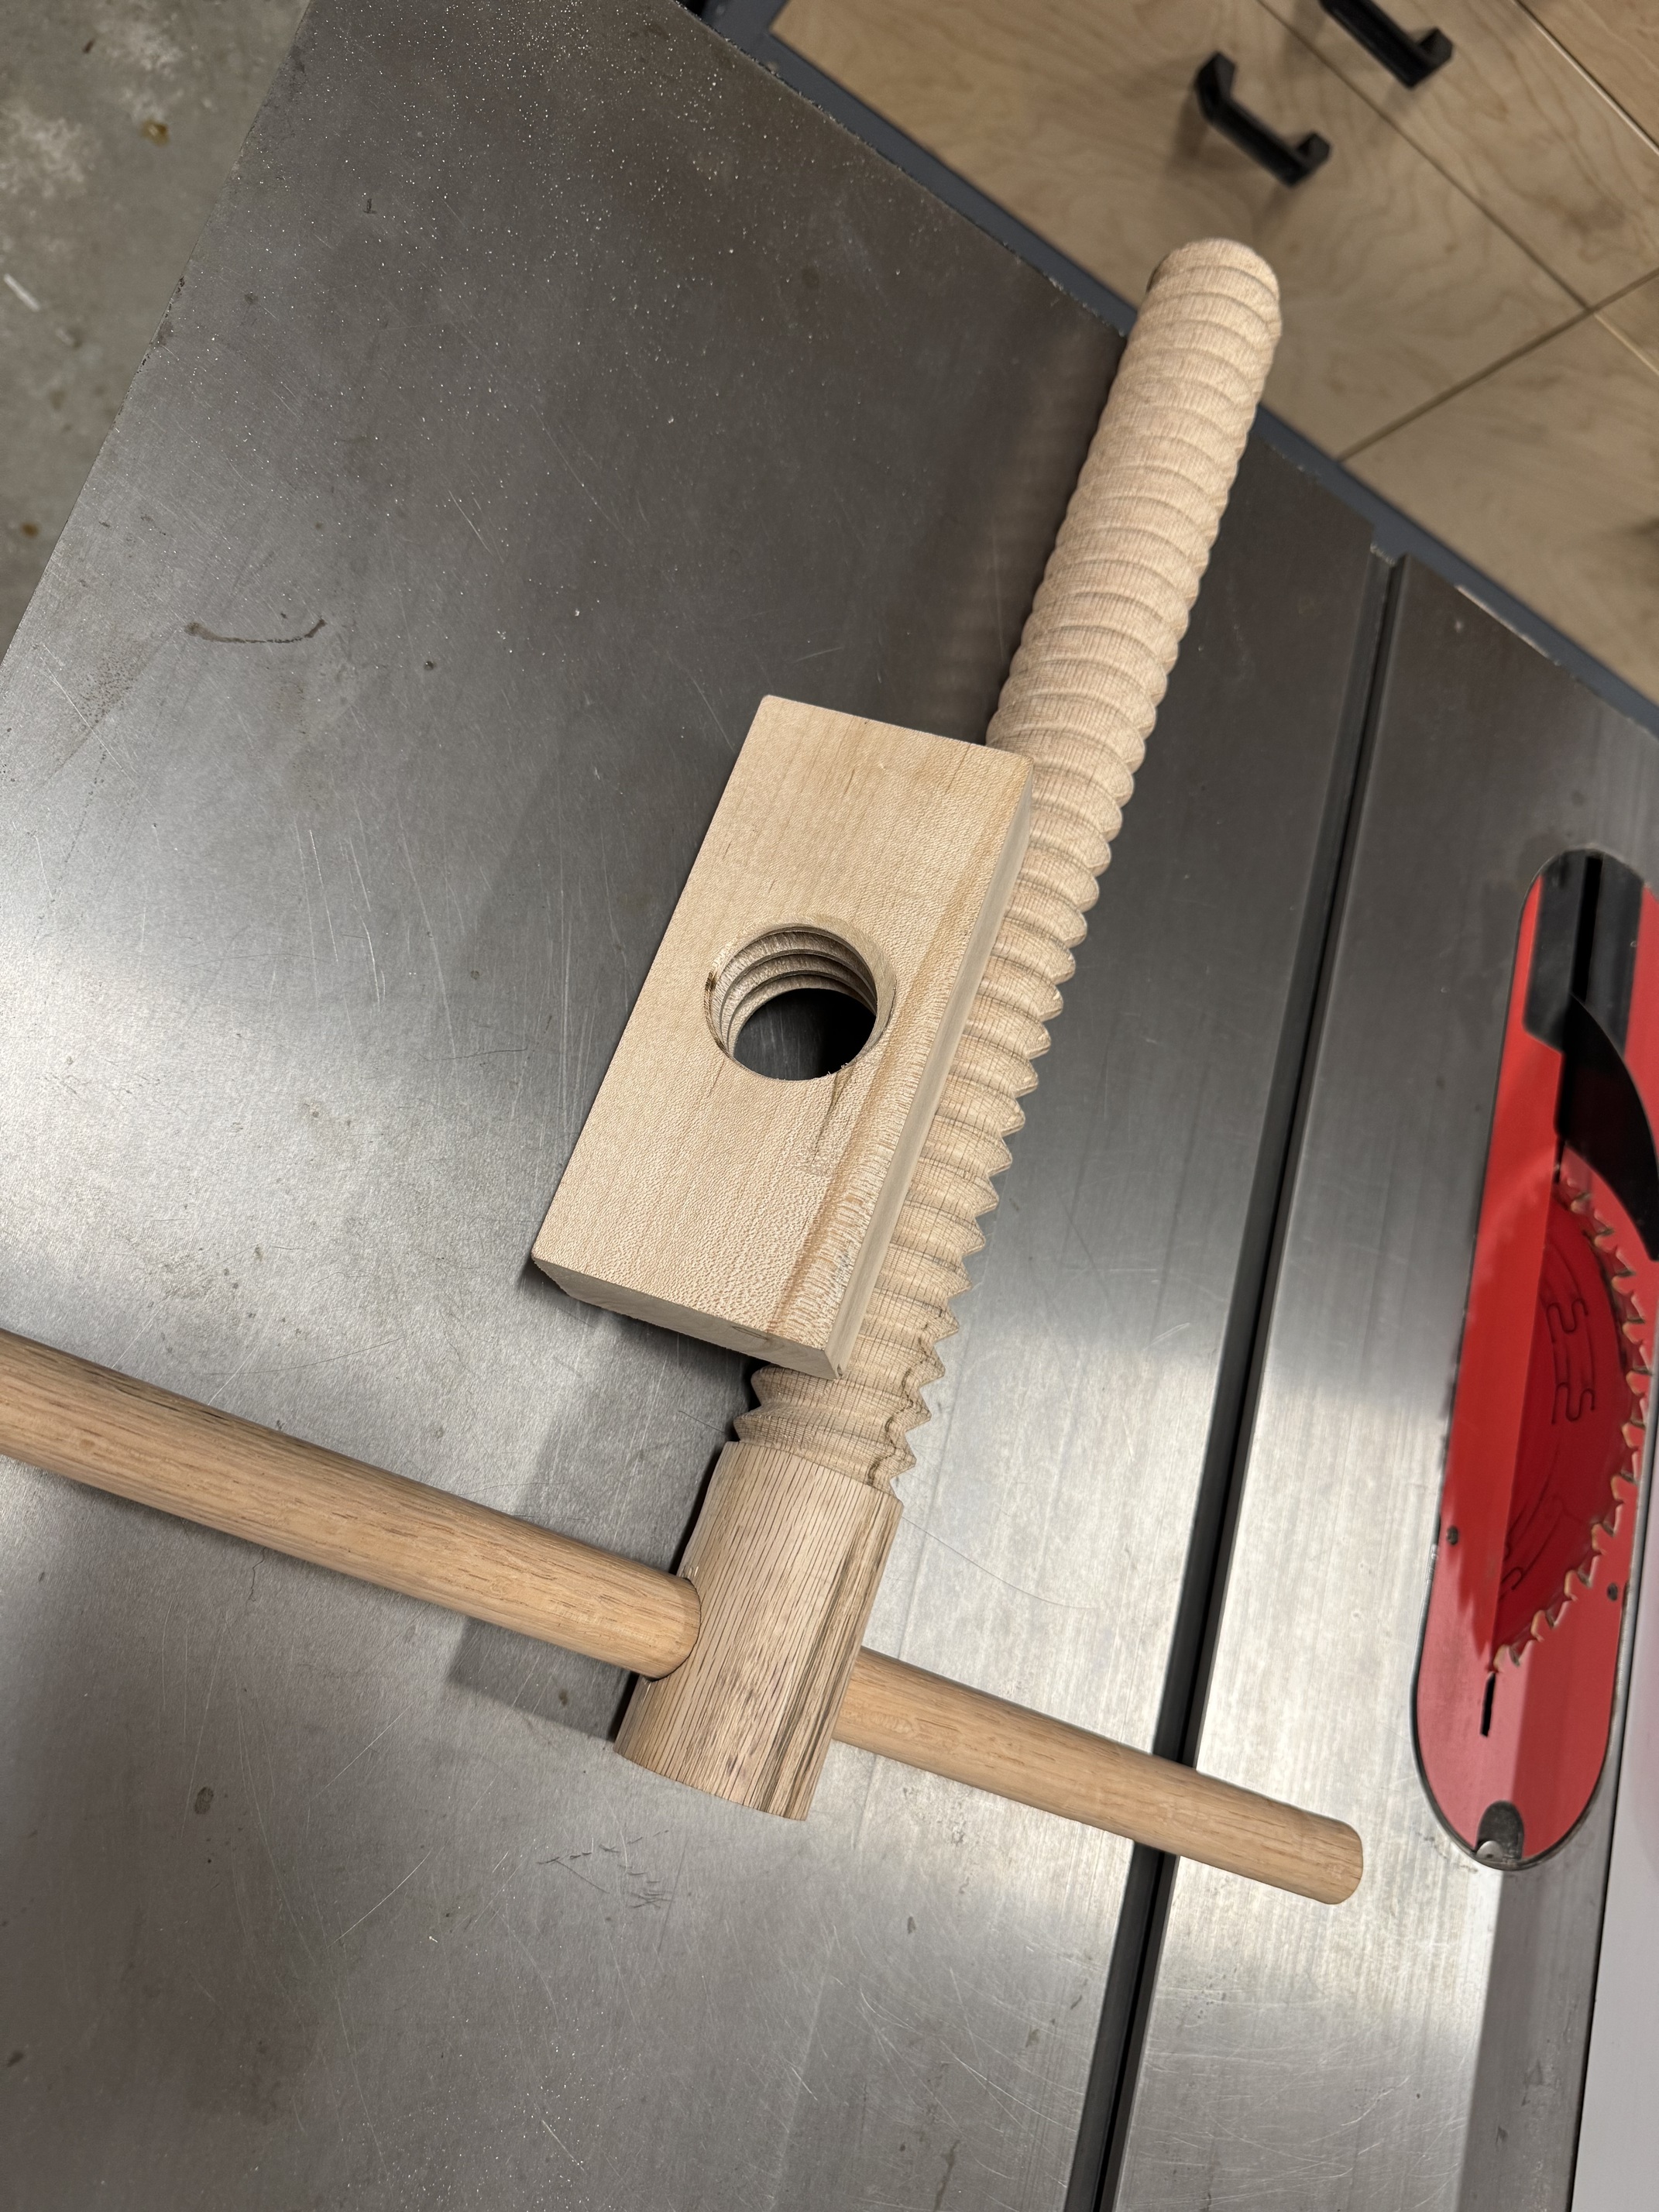
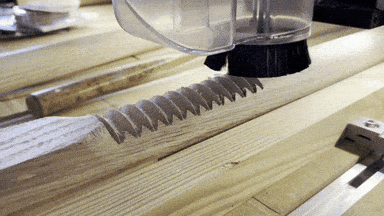
But my goals are to make a 2.5 inch screw with lots of holding power. I cut the screw on the Shapeoko using 4 quadrant setups and a tapered ball mill. Just rotating 90 degrees for each setup.