Does anyone else have a problem with the linear rails gathering so many chips that it makes the machine stall out trying to go back home after an op? On more then one occasion now this has happened to me. I vaccum between ops so its from one setup its happeneing. Im thinking of putting a low pressure air blast on the rails to see if that fixes this problem but was wondering if it is happening to anyone else? I cut exclusively metal on this machine and it makes it a pain having to restart the entire machine between ops to be able to clean the rails of chips. I do not want to stick my hand in there while the machine is running to manually blow them off or vaccum just that spot next to the homing switch. Also wondering if anyone has put accordion covers over top of their y axis screws. Ive had the machine stall out on chips a few times there as well.
I have had it happen once. I’ve just been manually blowing it with an extended reach blower.
An accordion would require you to limit the X novena as when fully compressed it would take up an inch or so on either side.
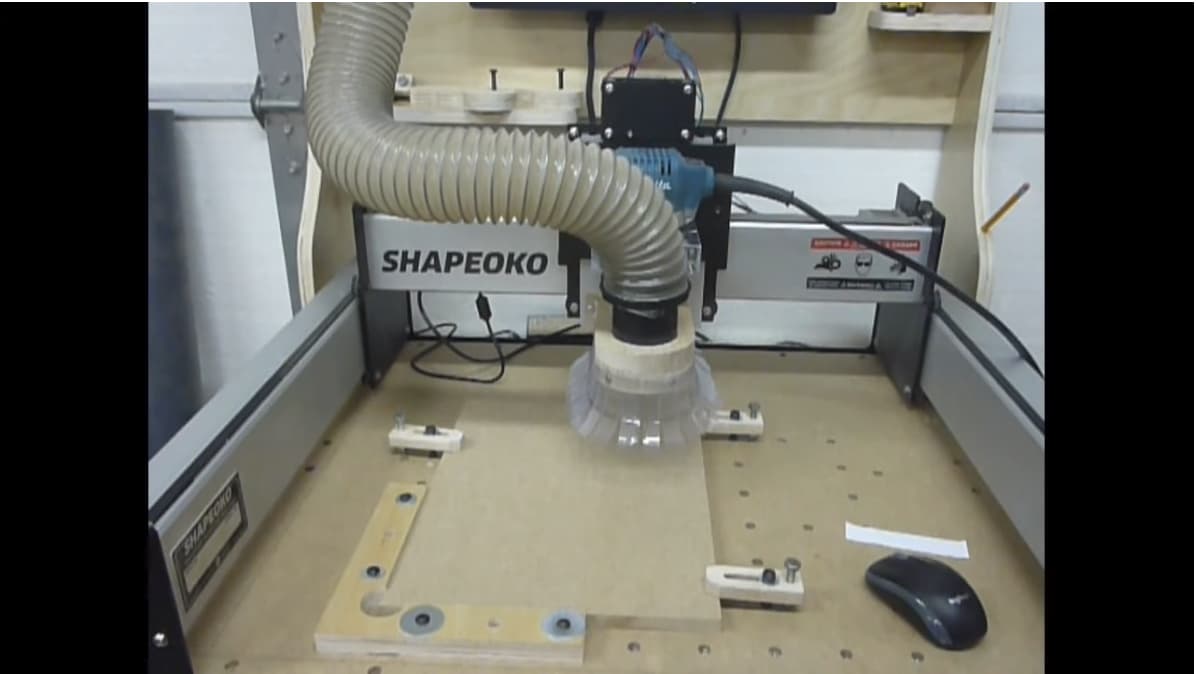
Have you looked into other types of dust collector brushes or perhaps a custom deflector? Maybe a clear square piece of acrylic attached to the router that has long sweeps outside the work area? I found someone on youtube that made something similar to what I was thinking:
I might think about something like a chip deflector. Today I had a full stop on my y axis again. I really am trying to avoid adding on a vaccum. Im trying to think of a way to put retrracting covers over the entire rail. Maybe spandex and 3d printed mounts or something.
I saw this a few years ago. Neat idea for a screw system.
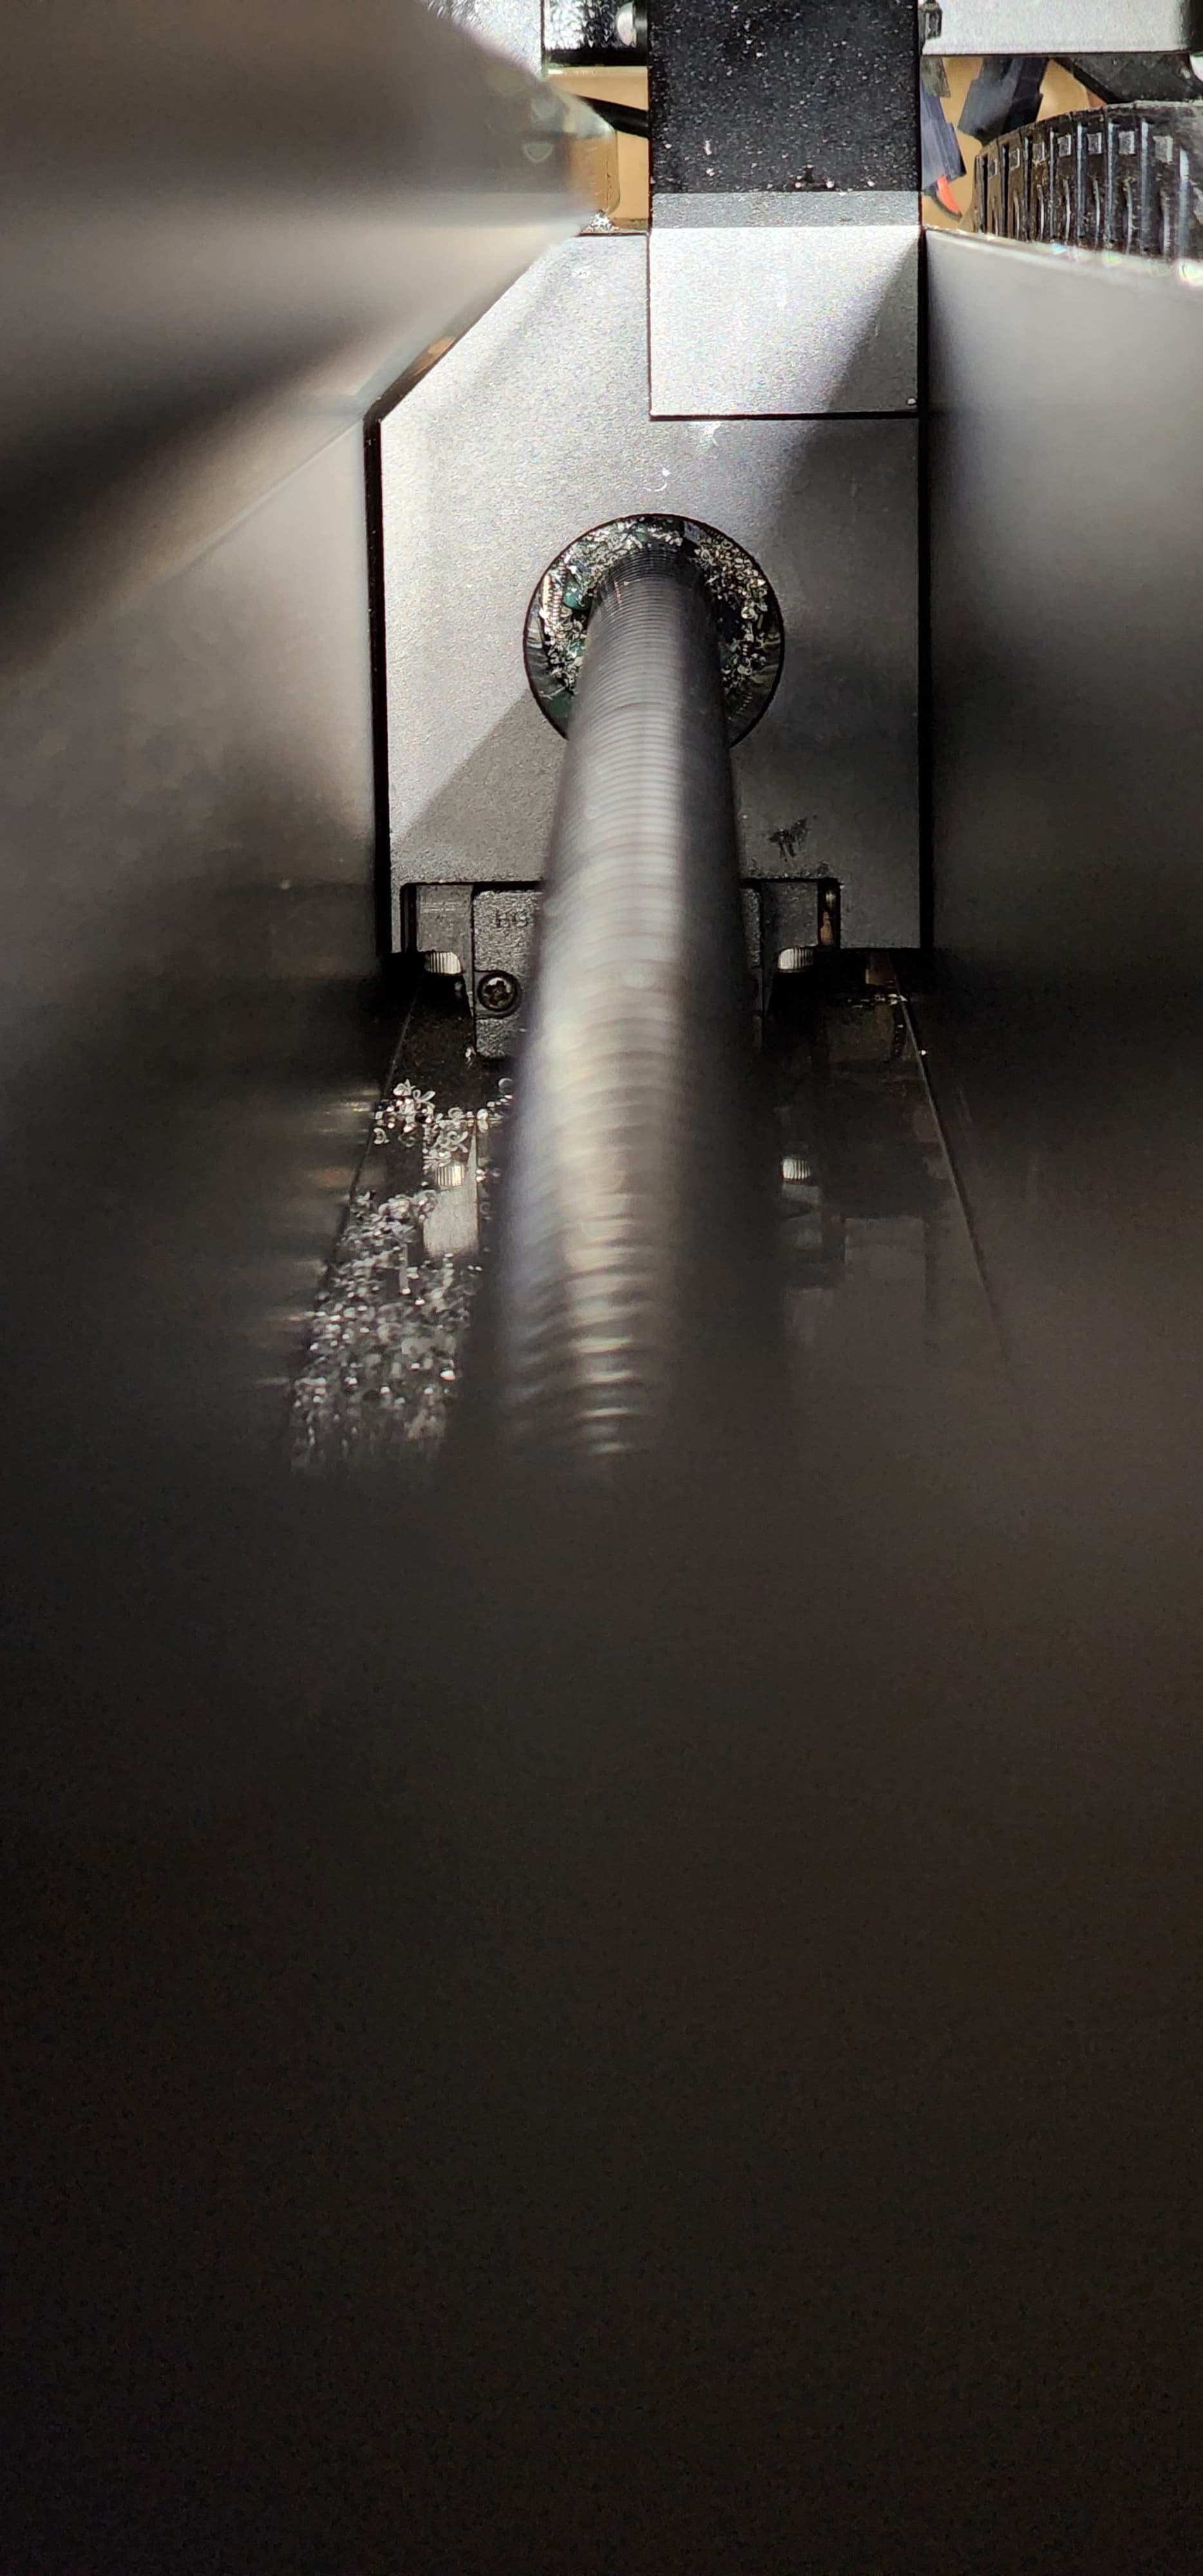
im wondering if chips are building up like here. I tried to vaccum them out but they dont wanna move.
Ive had it happen now on both x and y, I vaccum between ops but it happens mid cycle sometimes. The most recent, it was stopping and going for a tool change and the y axis stalled out.
Ah your title was X axis… those are Y. I do get more build-up in there for sure. But I also blow a I go. I haven’t had it happen while running on the Y either, but have a couple of times when I homed and had build-up.
Building up where the ballnut and wiper are has happened to me. I have a pick I get in there and loosen it up with, then use a smaller attachment on the vacuum to suck up.
I’m thinking of putting the outside HDM plates on my S5Pro and milling some escape windows for chips.
Happened again today when booting up and homing. Got home,when it did the lift off stalled out on the y axis. Aside from the chips in that photo there is nothing on the rails or ball screws ![]() how do we de rack these machines from one side stalling out while the other tries to go still?
how do we de rack these machines from one side stalling out while the other tries to go still?
This seems unusual to me, have you spoken with support@carbide3d.com?
After doing research here and elsewhere on how others have handled this problem. I am going to go the same route @Able Did with his and use garage sweep brushes affixed to my inner covers for my y axis. If that + a very good cleaning out of those wipers doesnt solve the binding ill contact support. either way the brushes are a good addition.
I tried brushes. Mine may have been too long, but they caused issues. Depending on the orientation for the brushes, and if you have an enclosure, you might not gain anything. In my case they defected off the enclosure and the brushes caught more of the rebounds. ![]()
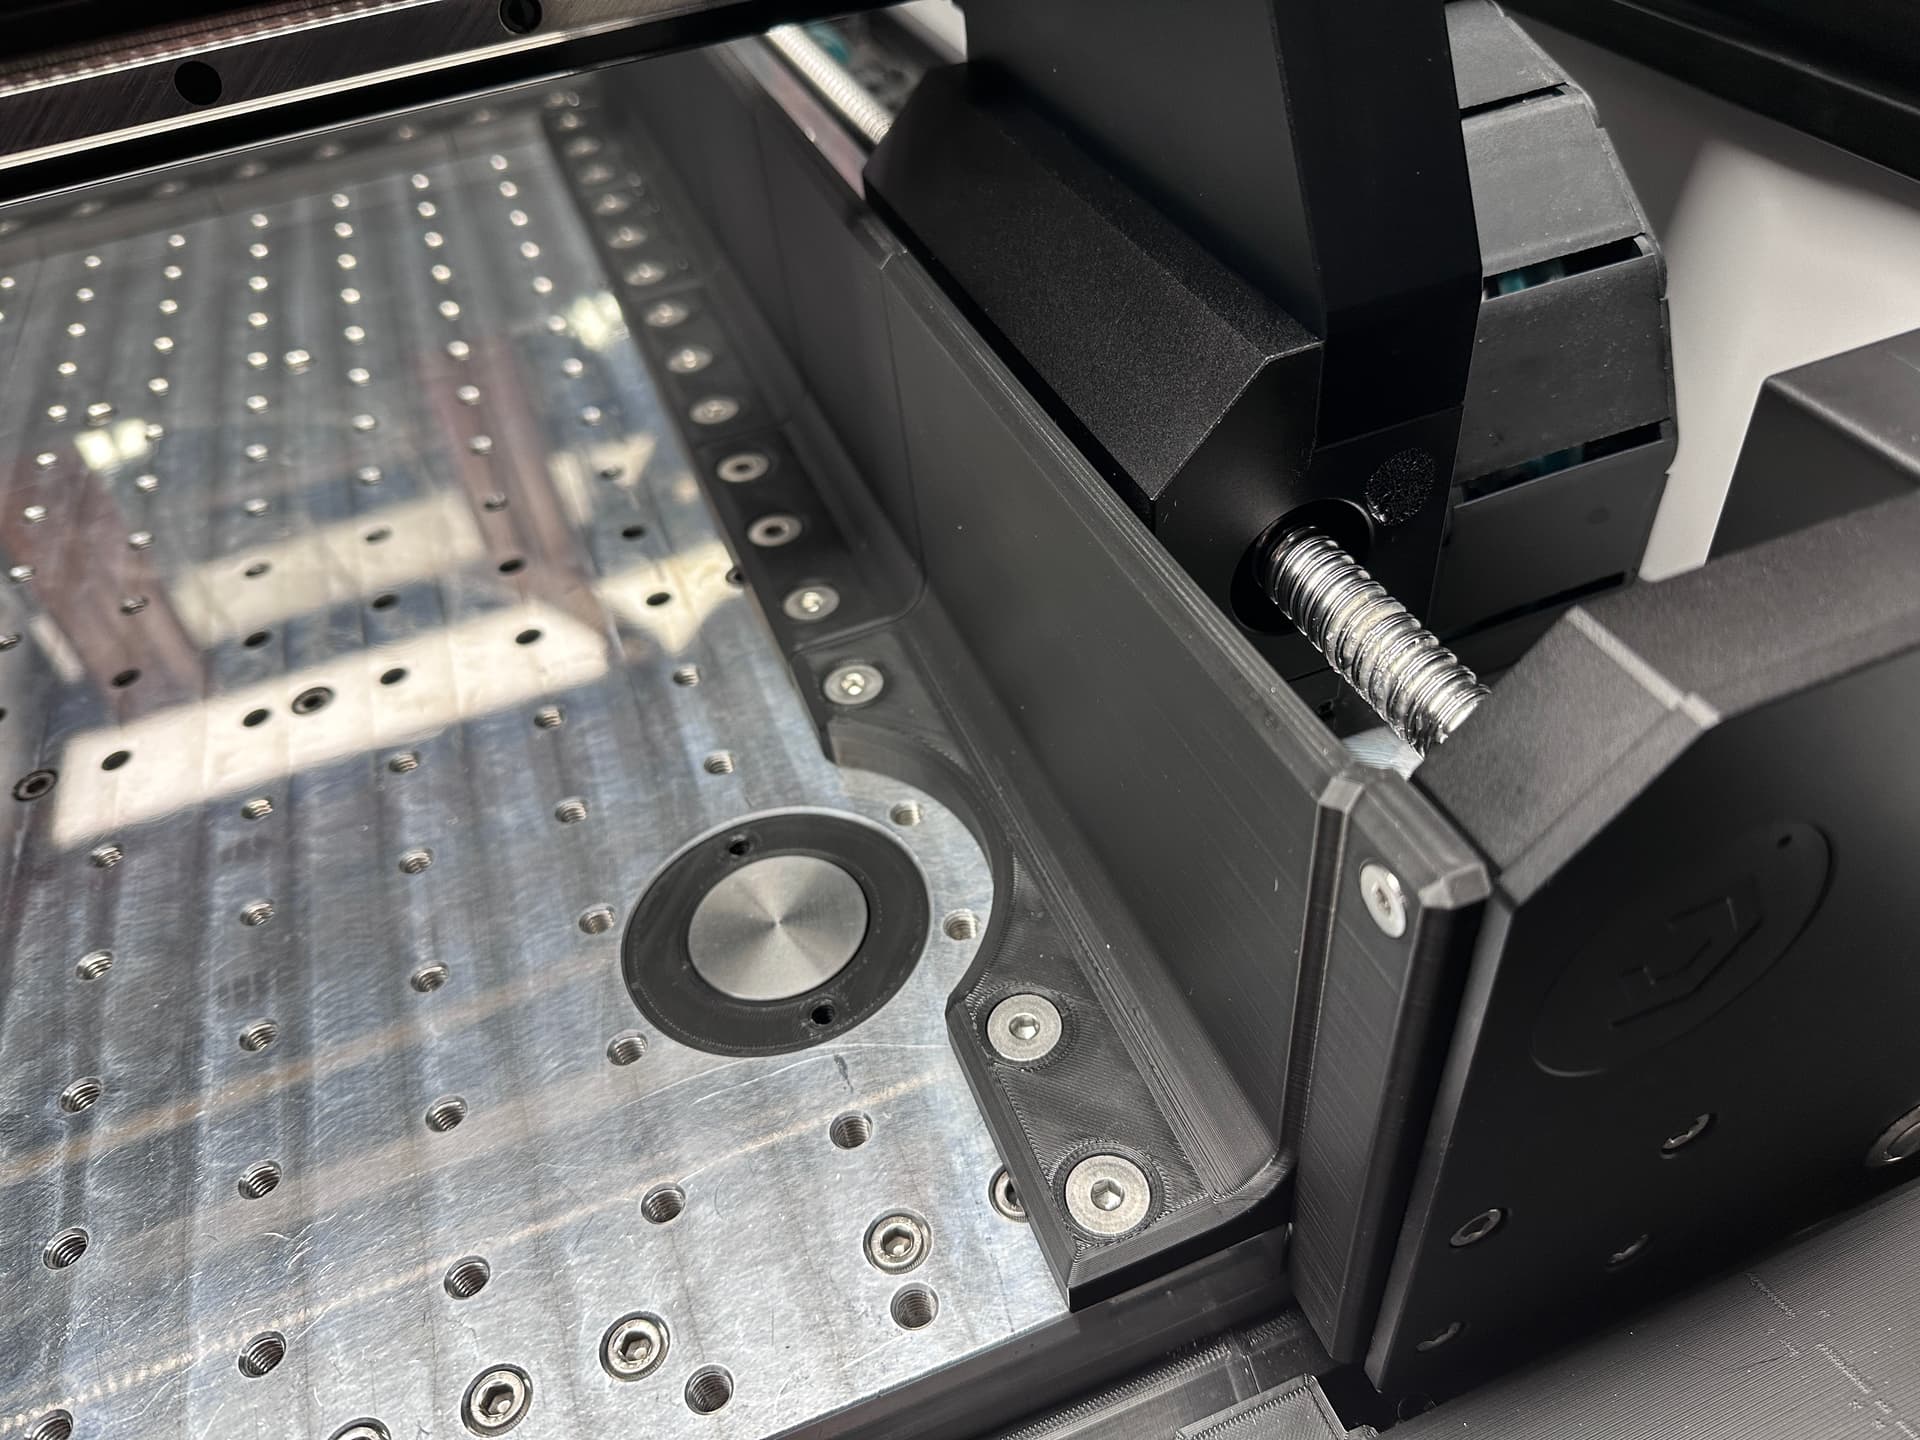
I removed both sides of my rail covers and designed a custom inner chip guard all the way around. Makes having access to the screws much easier for constant cleaning and lubricating.
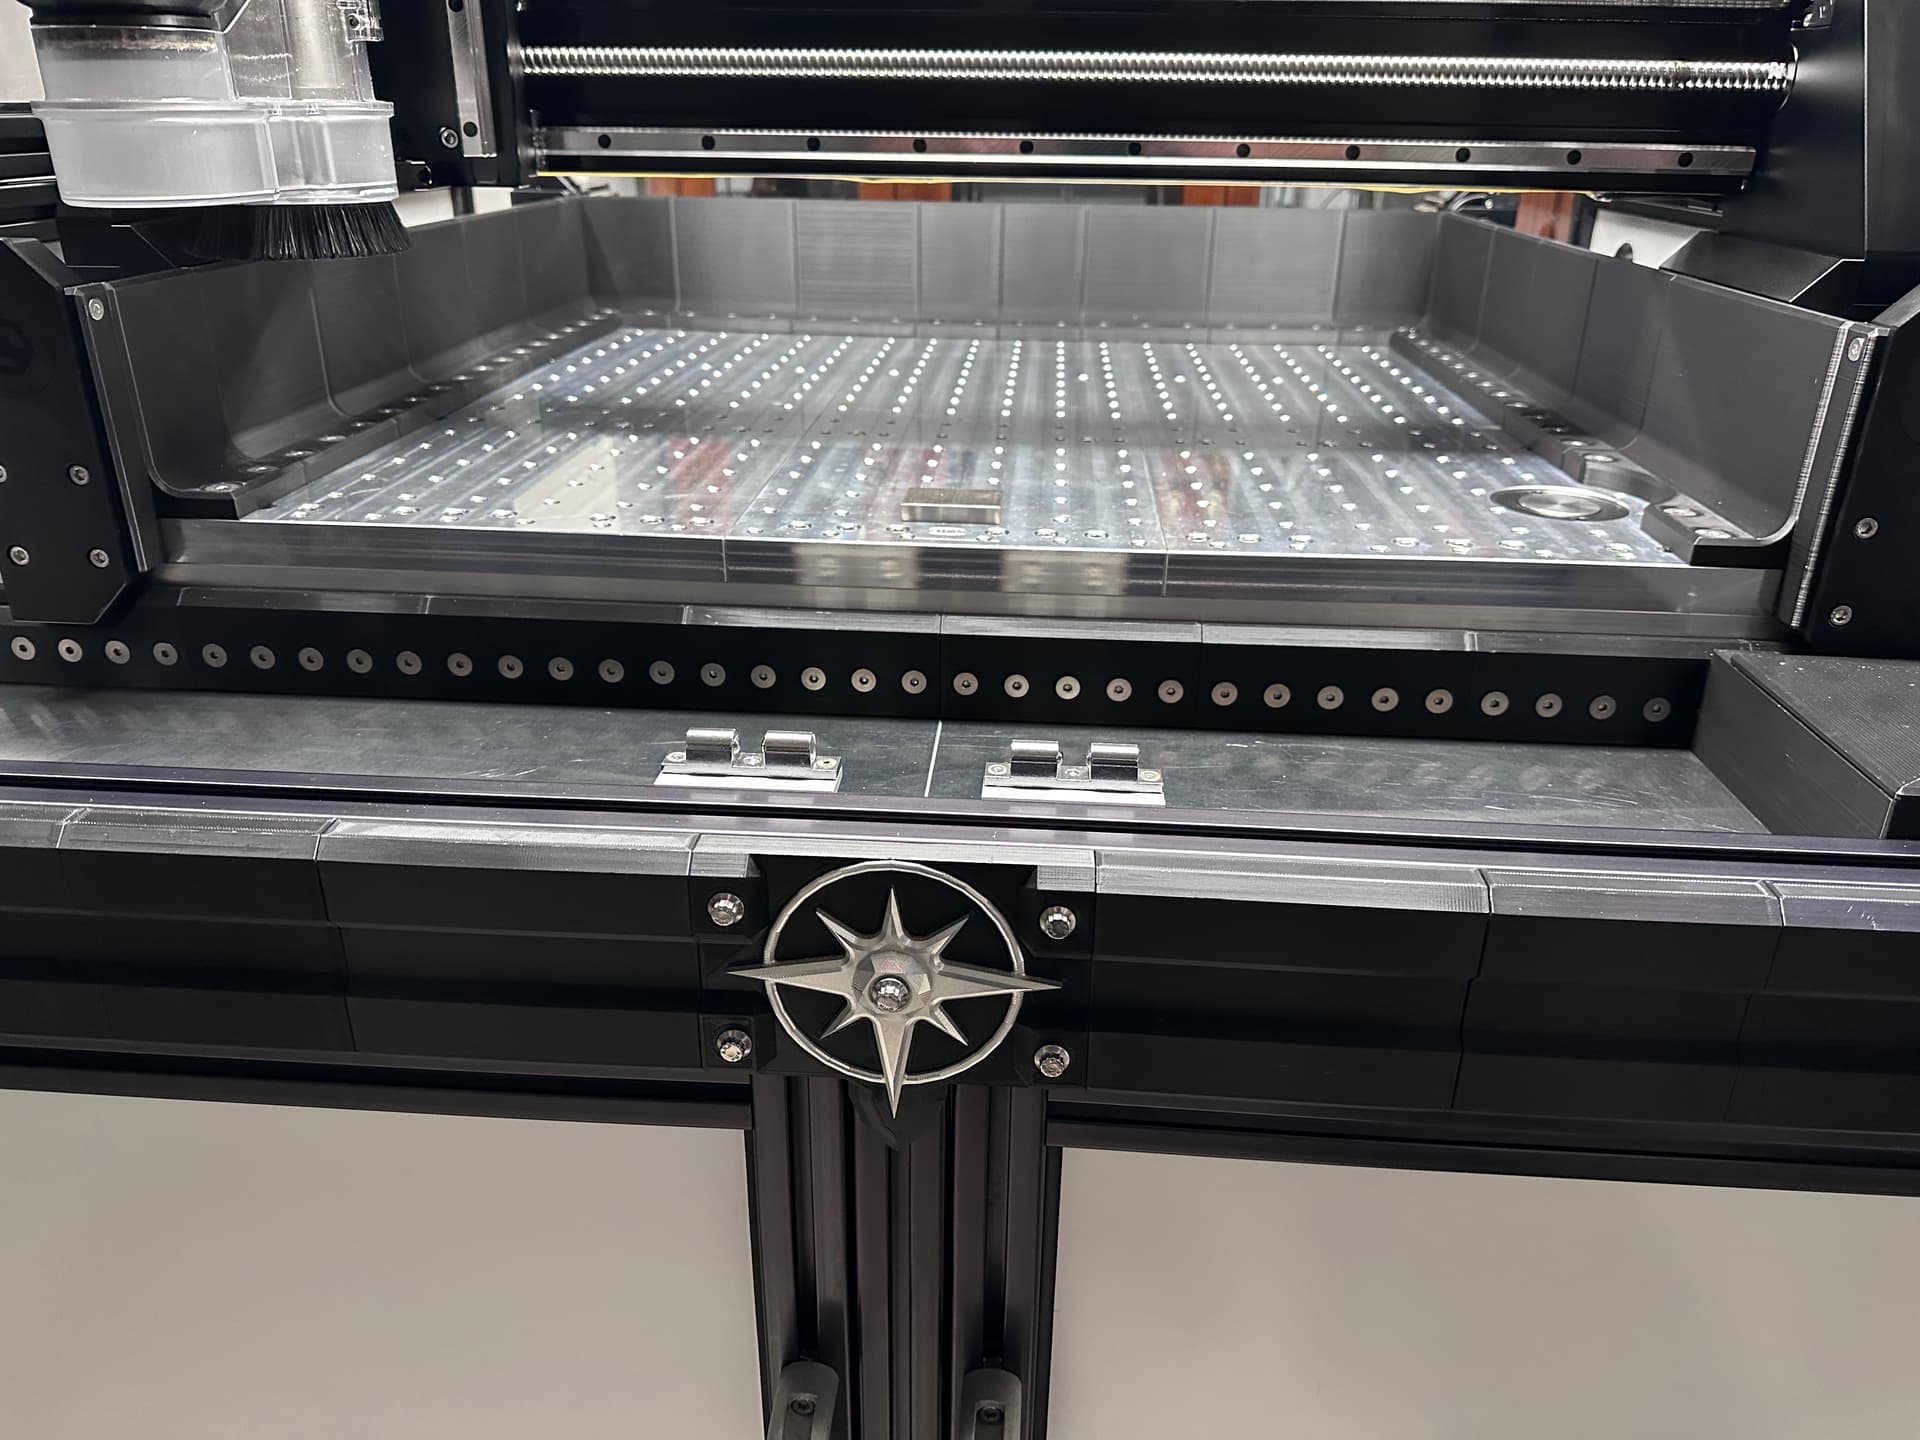
Max B… any chance you might share the guard rails file(s) you designed? Looks exactly what I am looking for as a newbie to the HDM model.
One big issue is that this setup is designed to bolt down to my custom spoilboard which has a 5/16-18 thread on a 1.5" grid. I will share the raw Fusion 360 model, but unfortunately the base will need to be edited to fit your setup.
If he is still using the MDF slats drilling the bed and adding some press in neodymium magnets would be a great solution for easy removal when cleaning as long as they are installed in the right polarity directions. It’s easy to dial in 3d prints to have a tight press in fit.
Just got to experiment with how many magnets and what size to use per panel.
This topic was automatically closed 30 days after the last reply. New replies are no longer allowed.