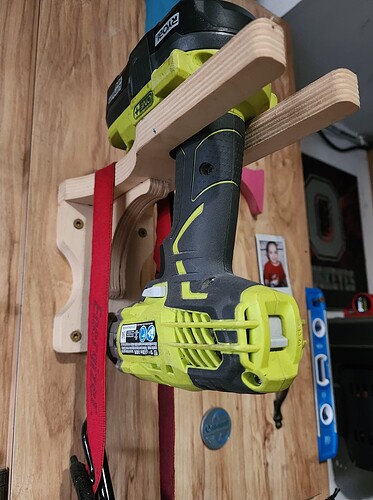
From Facebook group
No dimensions, so I’ll use my DeWalt. Bottom of handle is about 1.5" dia. Horizontal distance from handle to tip is just under 6". I’ll assume 0.75 thick plywood.
So I want the total length of the top piece to be 0.75 + 6.0 + 1.5 + a bit more. Let’s round up to 10"
I’ll keep 3/4" on each side of the handle for strength, and my battery is about 3" wide.
I’ll also assume I’m making this from a single piece of 3" wide stock.
Start by setting your job to 18.75 x 3 x 0.75
Make a 10 x 3 rectangle
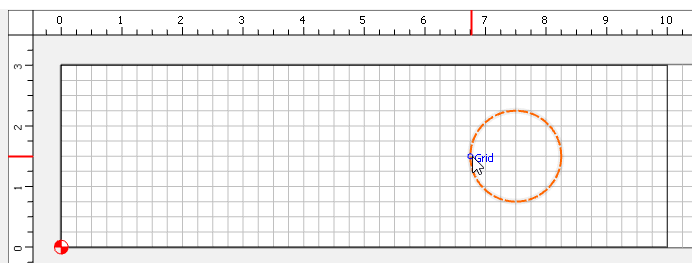
Make a 0.75 radius circle, and place the left edge node at 6.75
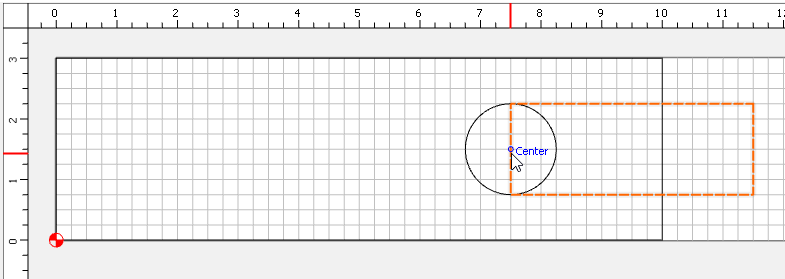
Make a 4 x 1.5 rectangle and place the left midpoint at the center of the circle
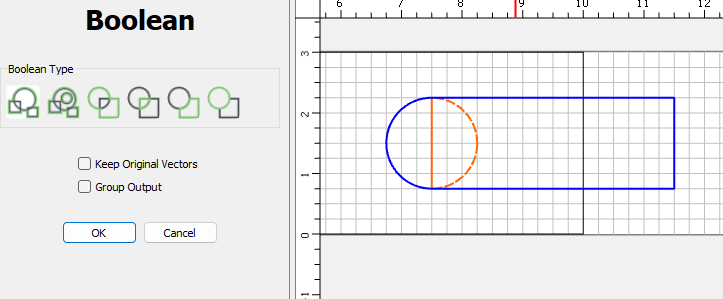
Select the circle & small rectangle, and Boolean Weld or Union
Select the large rectangle, and then the vector we just created, and boolean subtract
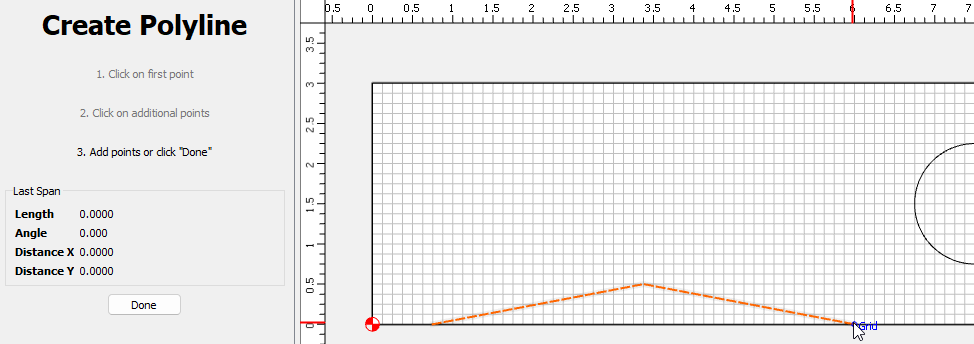
I’m going to guess the indent on the side is about 5.25 (our 6.75 minus 0.75 on each end), and about 1/2" deep. So create a polyline or a curve from the points (0.75, 0.0) (3.375, 0.5) (6.0, 0.0)
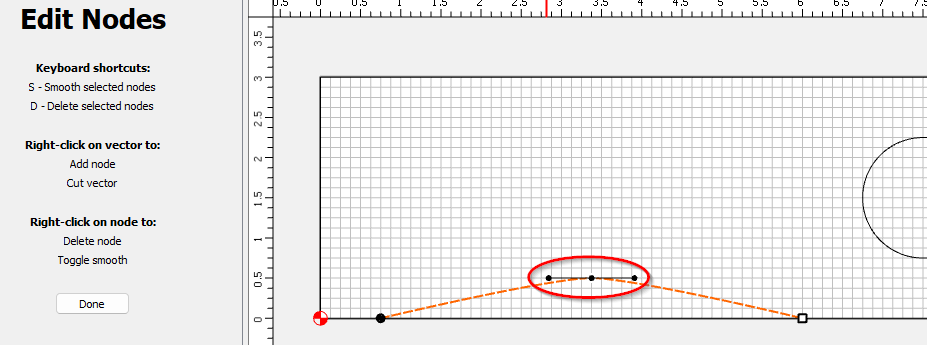
Node edit, select the center node, and hit the S key until you see the slope indicator
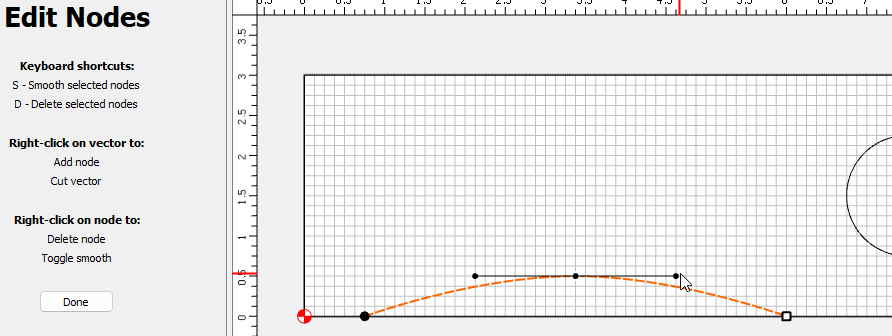
Drag one of the ends of the slope indicator until it looks like an arc
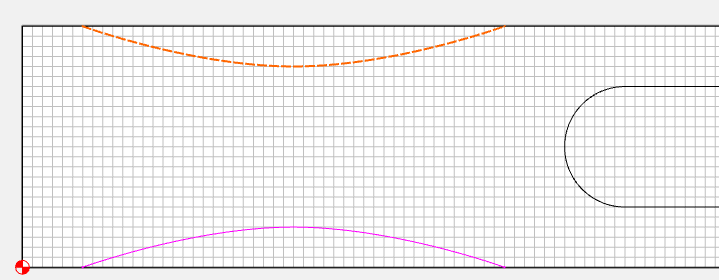
Duplicate, or copy/paste the arc, then select the Mirror Vertical button, and drag it to the opposite side
Select All (CTRL-A), and select the Trim Vector button. Select the 2 straight line segments between the ends of the arc.
While all the vectors are still highlighted, select the Join button.
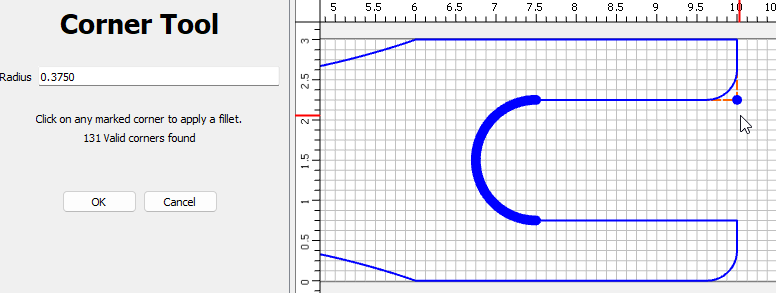
While the vector is still selected, select the Corner Tool. It only selected 3 of the corners we want to radius, but that’s OK, it’s a quick fix. Round off the 2 bottom corners at 0.375.
Copy/Paste (or duplicate) the vector, paste it off to the side somewhere, and mirror it vertically. Now move it back to workpiece right on top of the other vector.
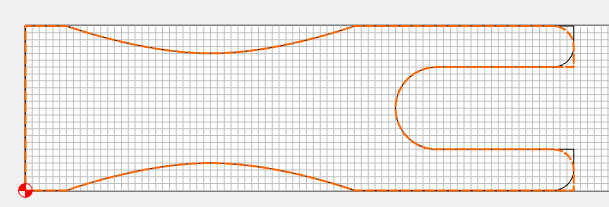
Select both vectors & use the Boolean Intersection
Follow a similar process to make the other 2 parts. Leave 0.375 between them for pocket machining.
I made the base 5 x 3, and the cornice 3 x 3.
