I purchased a Leatherman holster a few years ago from a company called DeadSkin and I just love the look, functionality and durability of it. Seriously, I wear it every work day and it has some scuffs, but is otherwise good as new.
I also carry a flashlight, and the Nite-ize holster is. . . terrible.. I use my flashlight a lot. It is in and out of the holster 10 times or more a day. The nylon on the inside of the holster is shredded after a couple of months. The flashlight slowly sinks down into the holster over time, and the bottom of the flashlight is exposed. The on/off switch is on the tail-cap, so sometimes sitting down in a chair will cause the flashlight to turn on when it hits the arm of the chair.
I looked around and did not find a holster that really got my attention. I had specific requirements in mind, such as:
- The holster has to extend below the end of the flashlight so it can’t be turned on accidentally
- The holster has to cover the top edge of the flashlight so if I bump into anything painted (cars mainly, but also walls and door frames) the metal bezel doesn’t damage whatever my fat a** runs into.
- The holster should not have a cover flap. I really like them on my Leatherman case, but for some reason I have never liked them on flashlight holsters.
- The holster needs to have the chamfered corners and stitching and be black like the Leatherman holster.
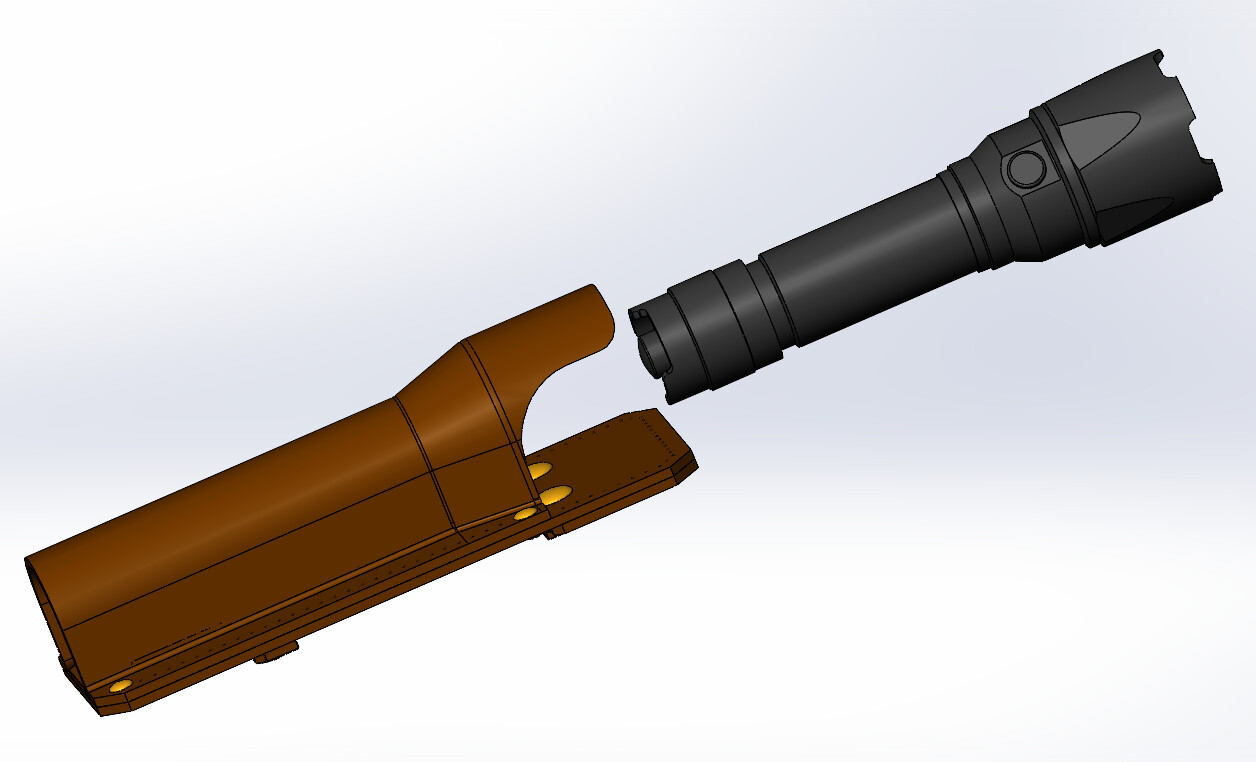
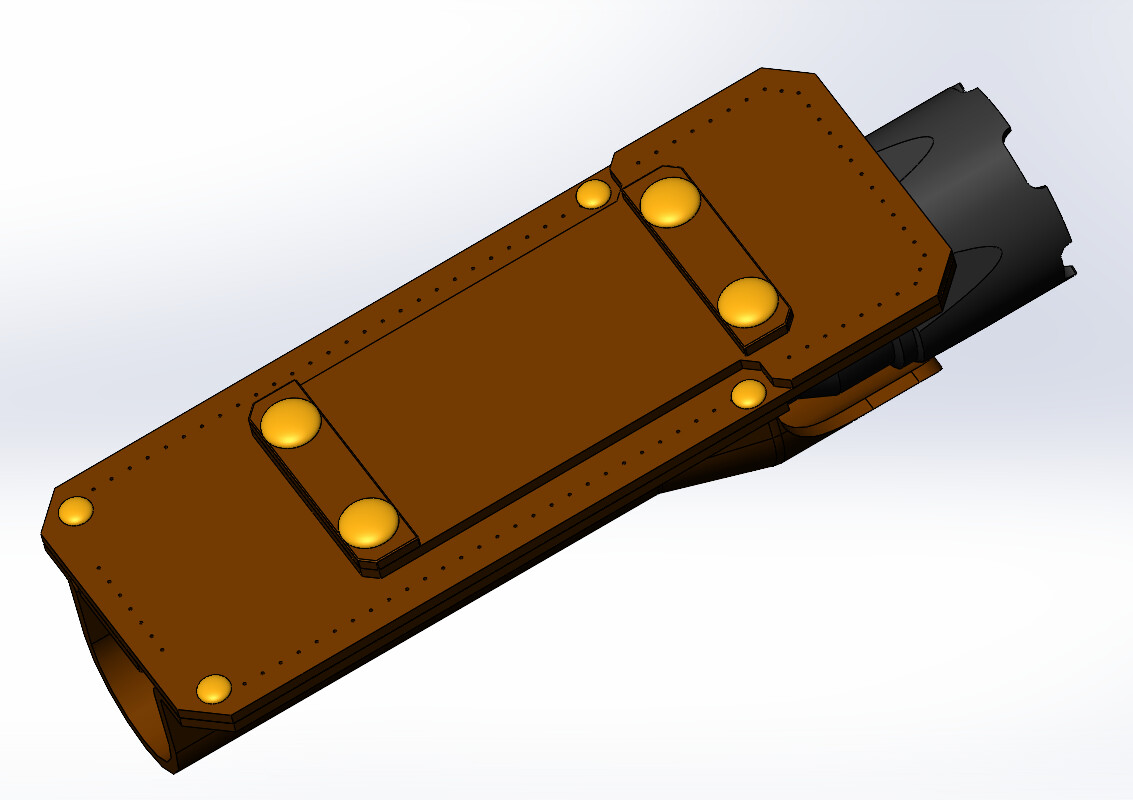
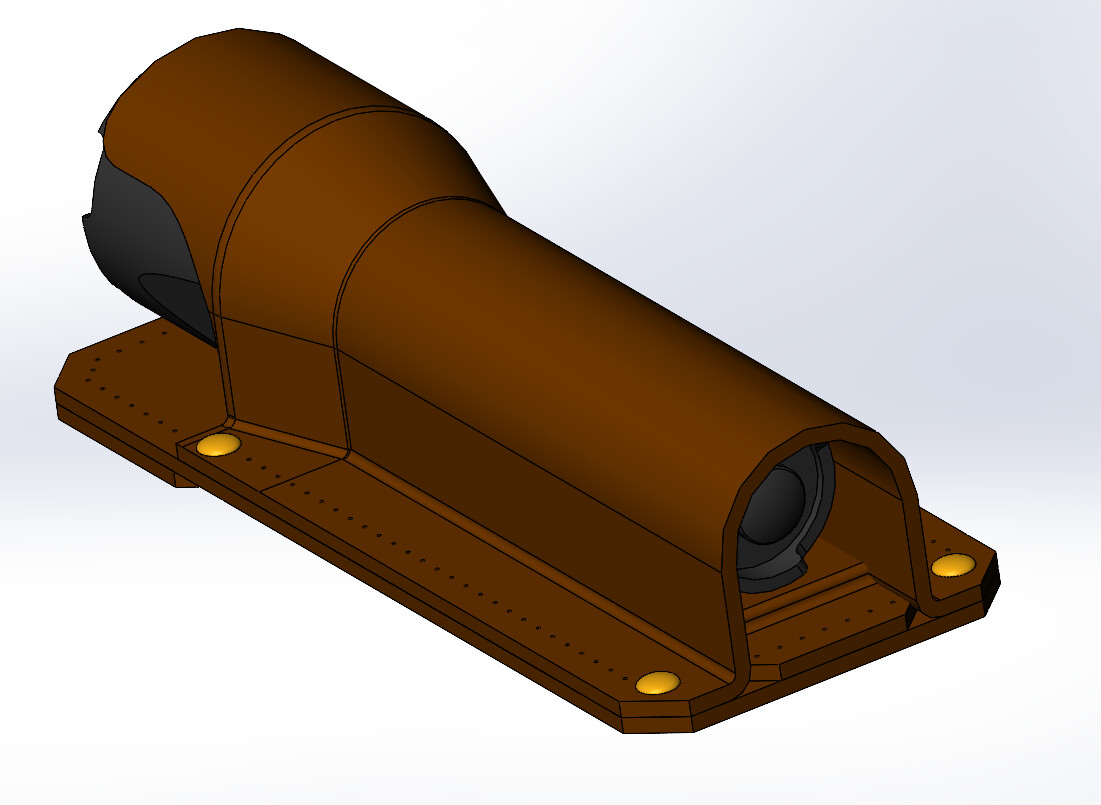
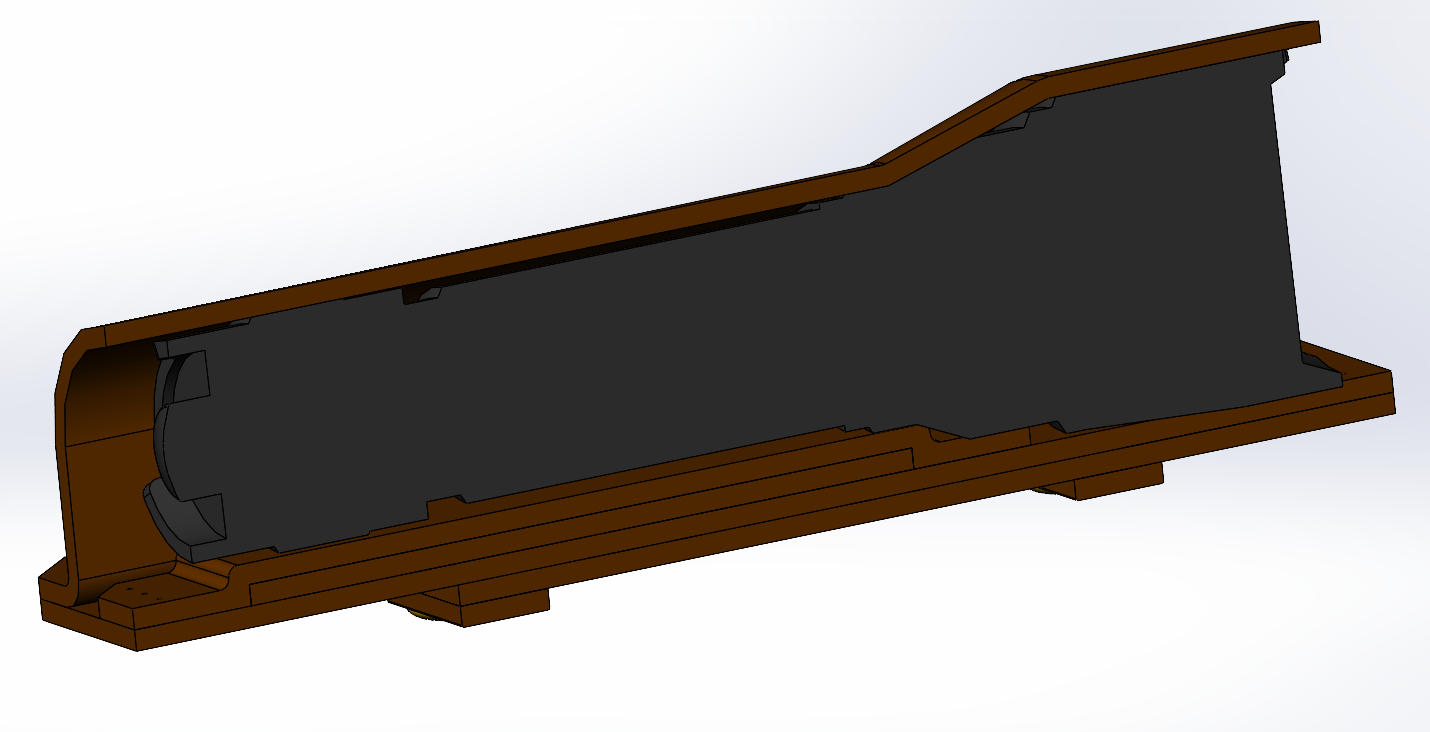
Well, with a list like that, there seemed to be only one option at this point. Make my own holster. So, I decided to start by designing it in SolidWorks and see what happens.
After a couple of weeks of design, I ended up with this holster.[Short video of the holster rotating.]
So while designing it, I went online to figure out how to actually make it. I went with some veg tan leather that is about 0.1" (2.54mm) thick. I believe it is 6-7oz leather here in the US.
I 3D printed all of the parts and flashlight, and assembled them with CA glue to check fit. It all fit together nicely, so I went forward with the next step.
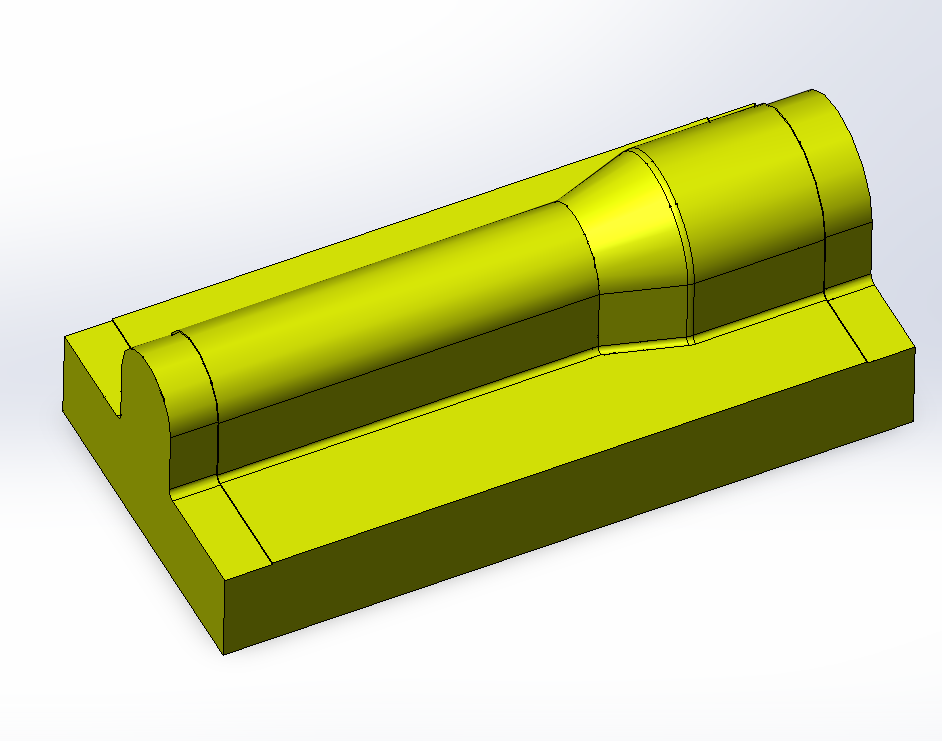
I thought I’d design and 3D print a positive and negative mold to shape the one piece that needs to be formed, so I did that as well. Here is the positive part of the mold.
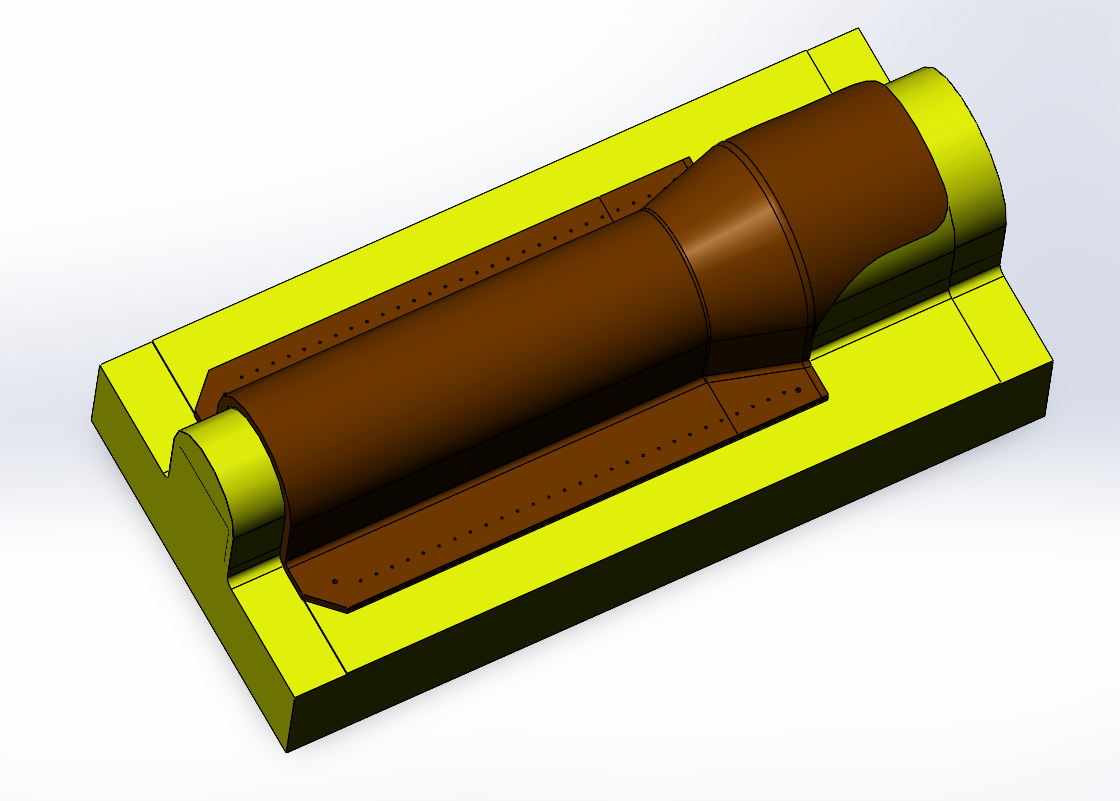
Here is the positive part of the mold with the finished leather piece on it.
Then I used a 0.10" (2.54mm) offset for the thickness of the leather and made a negative mold to press the leather into the positive mold.
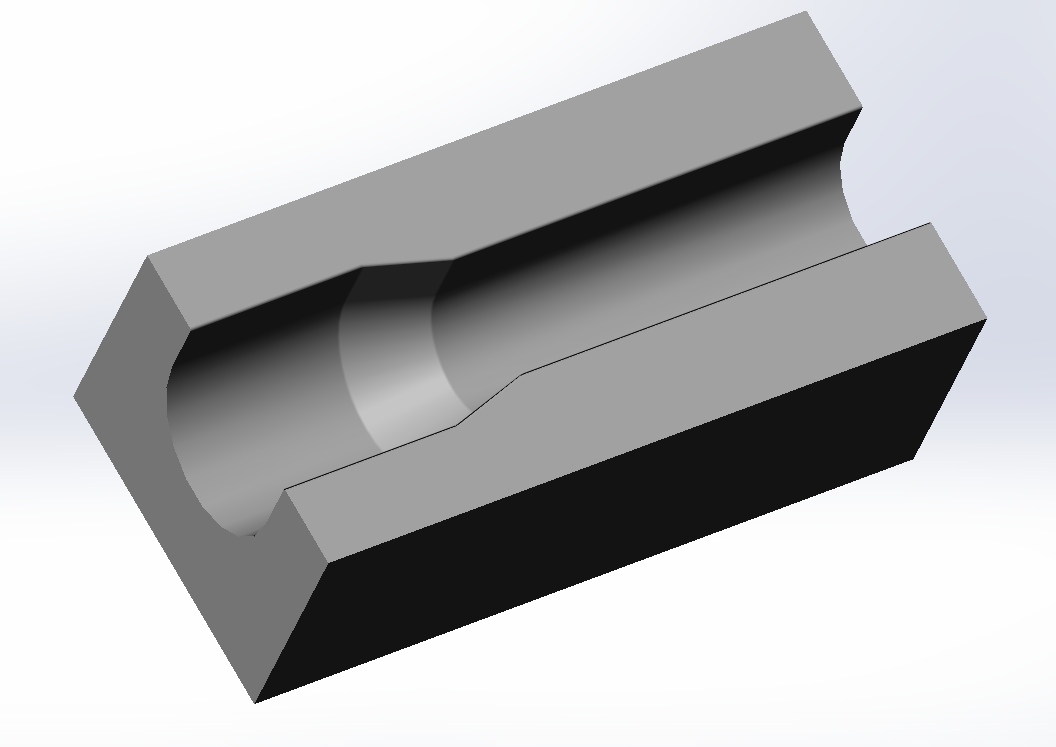
I printed those two mold halves - with too much infill I might add. They each weigh over 1 pound (0.5Kg)

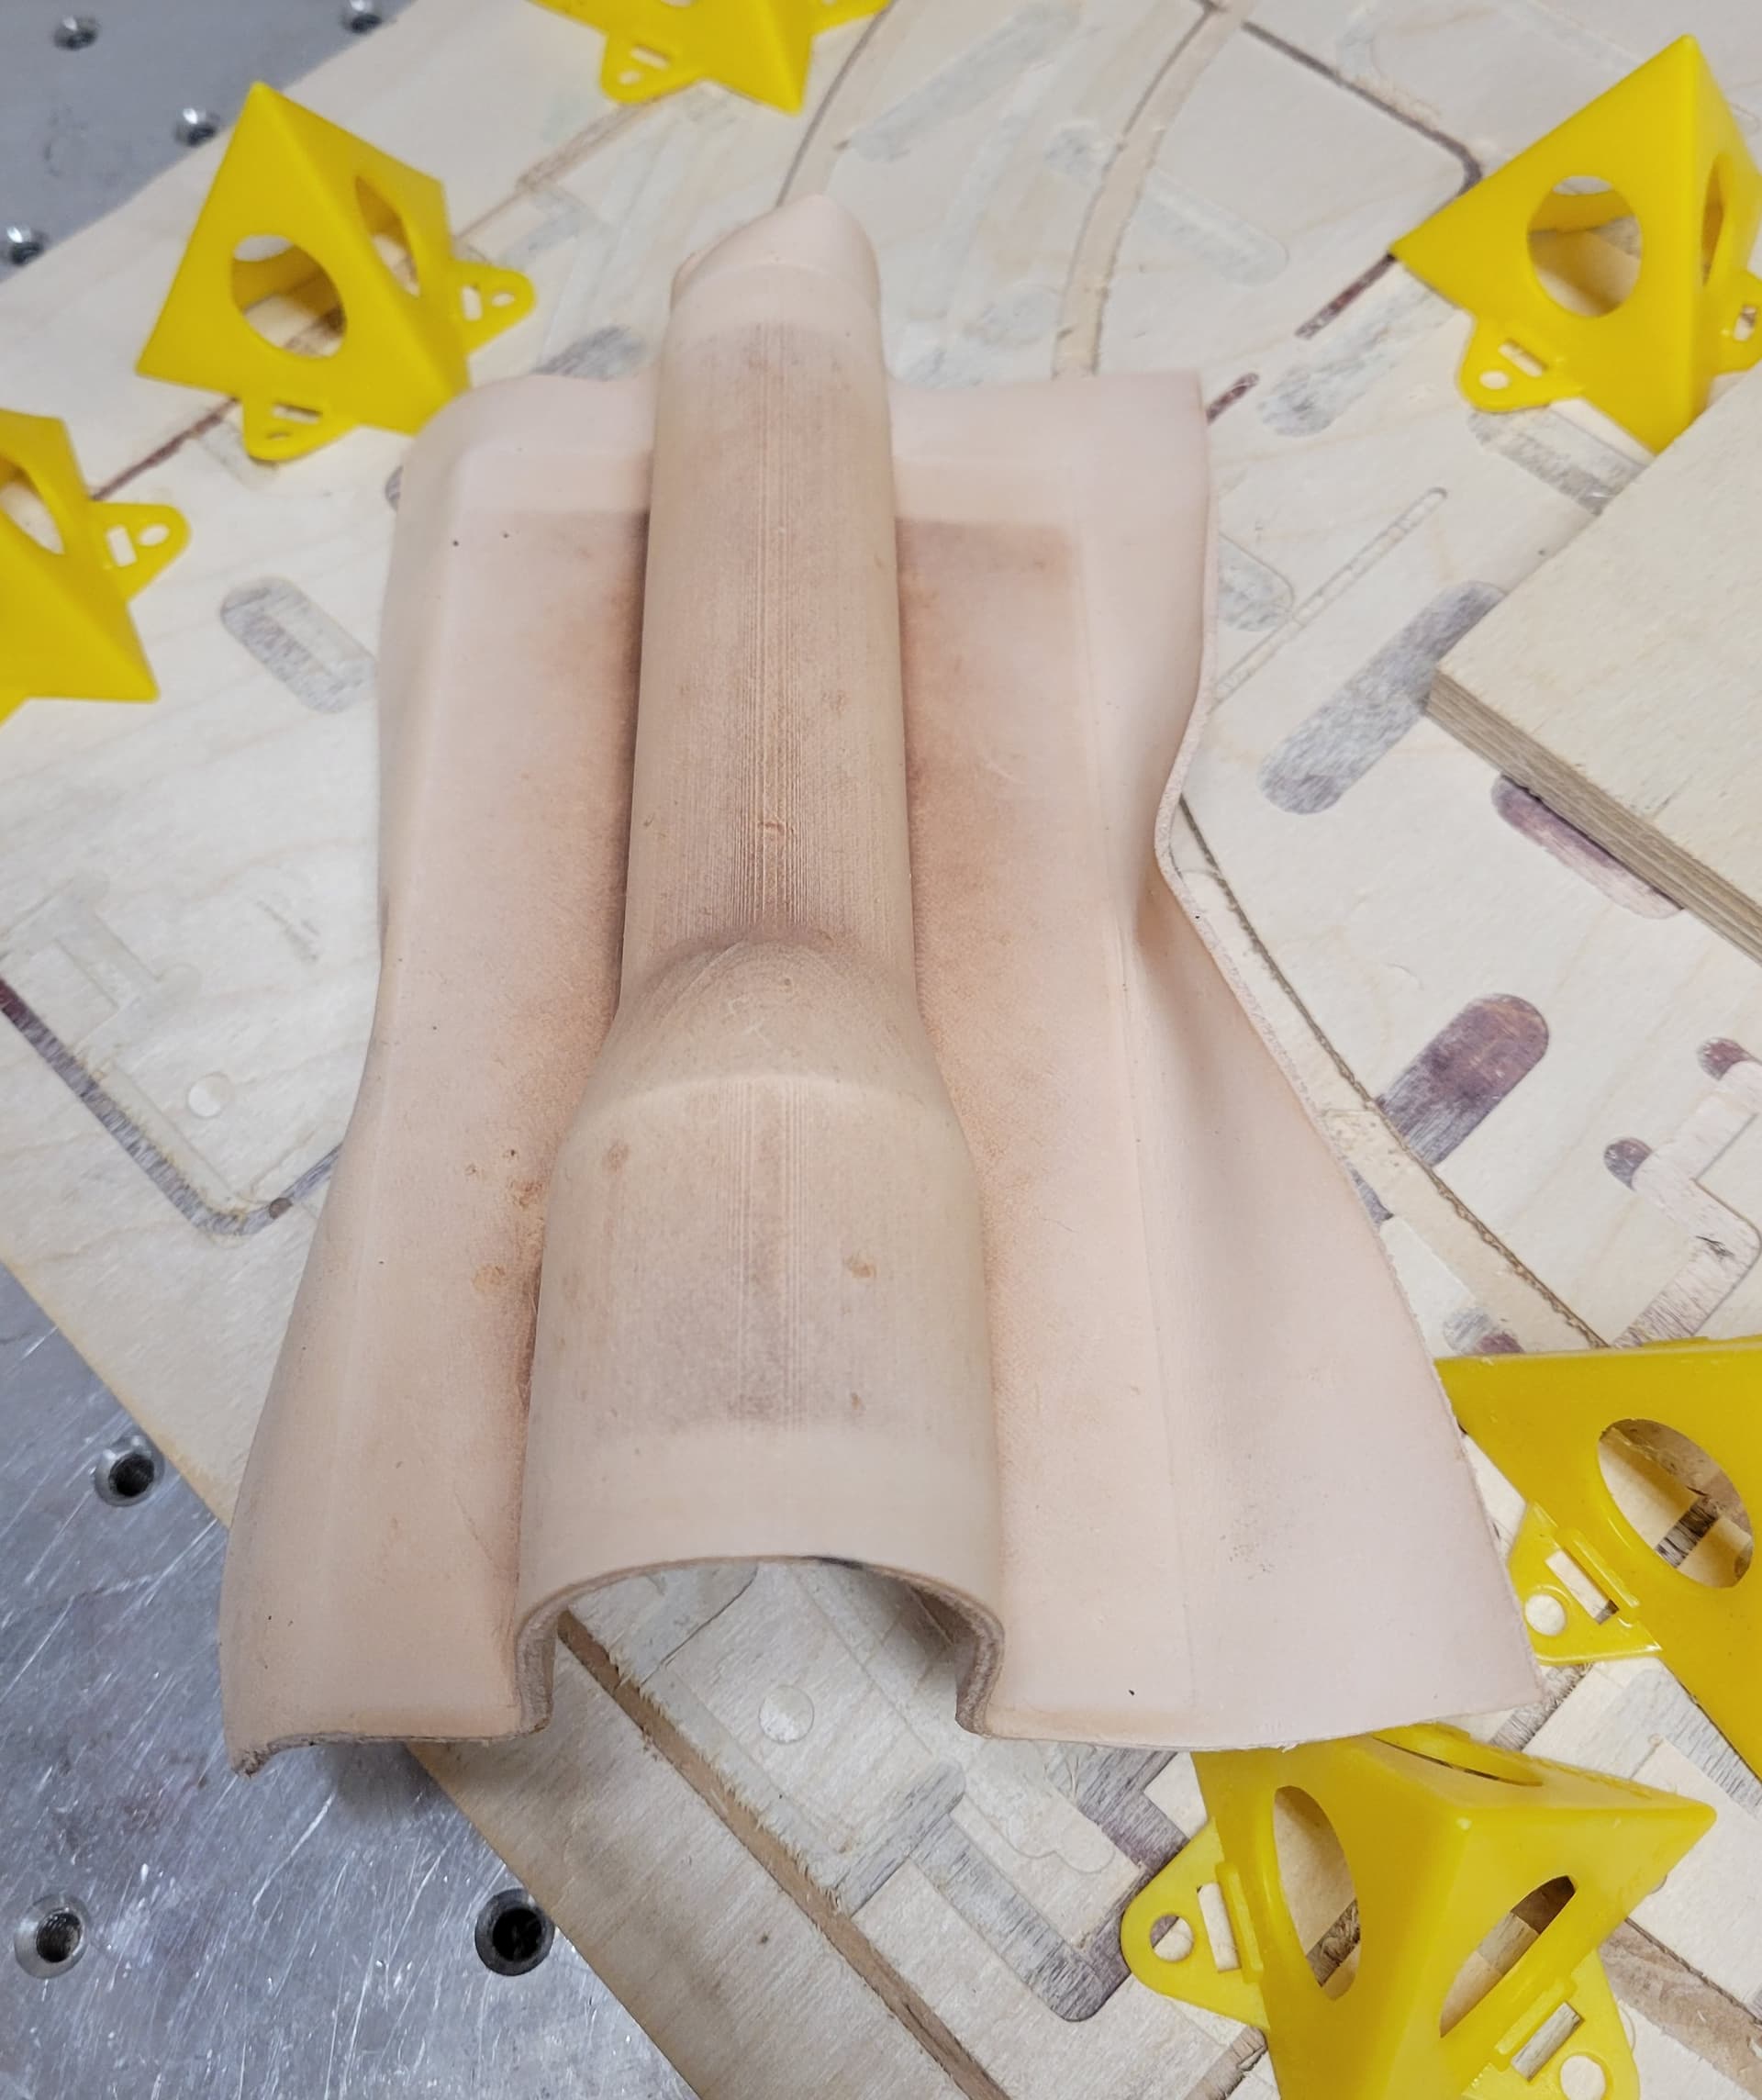
And finally! I have the first piece of my holster. It was still wet, which is why it is discolored. Also, I need to re-wet it and smooth out the layer lines that were transferred to the leather.
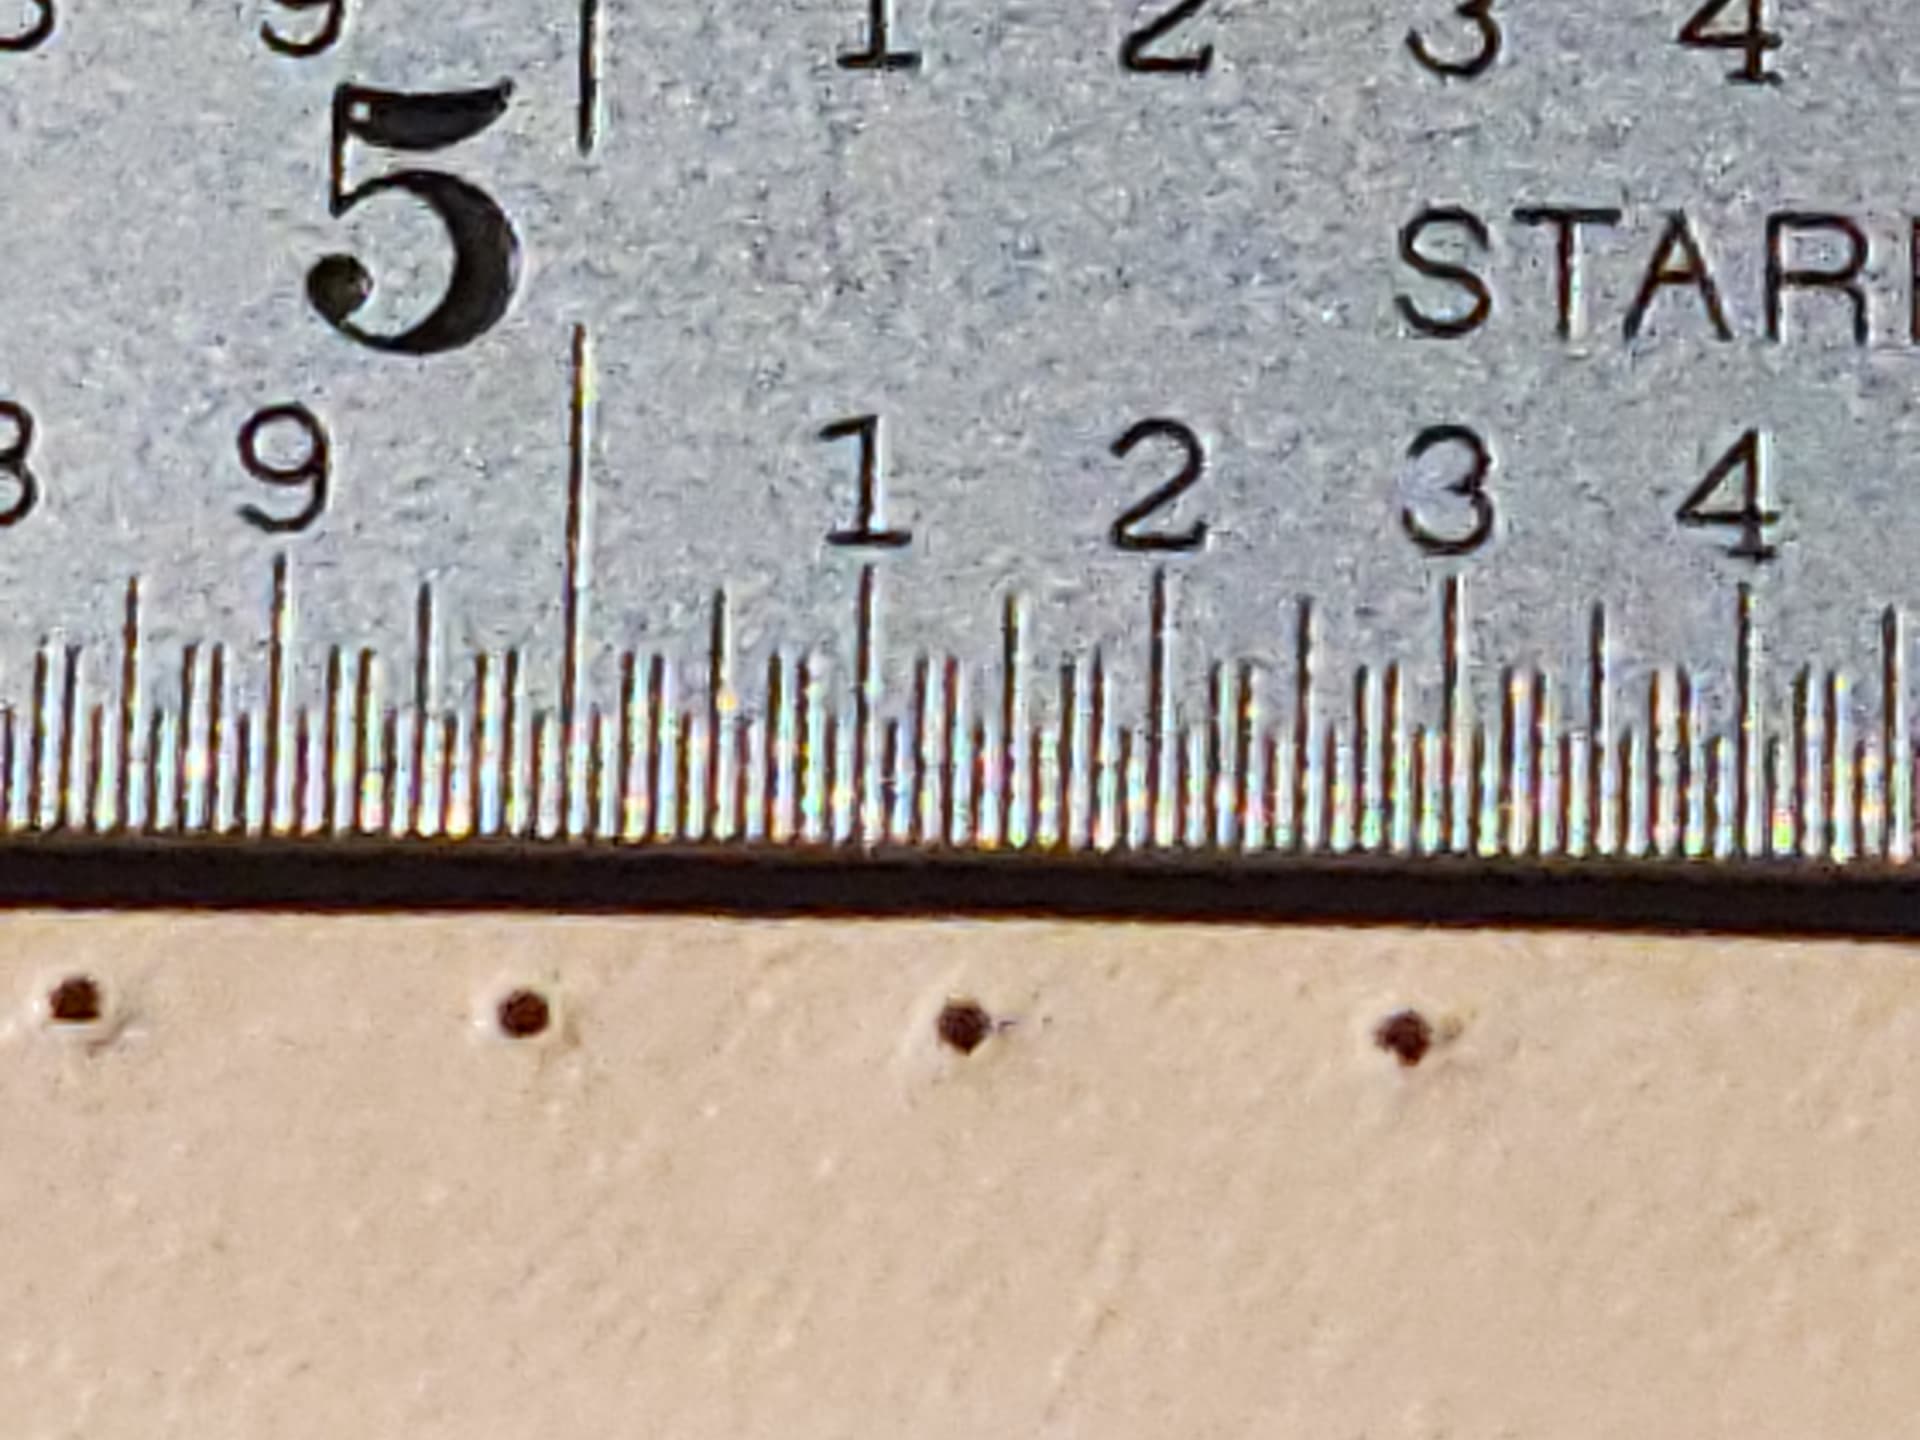
And what does this have anything to do with a ShapeOko you ask? Well, up to this point, nothing. But here’s where it gets good (I hope). I picked up some drill bits to drill out the holes for the lacing. I didn’t want giant holes, since that would weaken the leather. I went with 0.0236" (.6mm) drill bits to punch the stitching holes in the leather pieces.
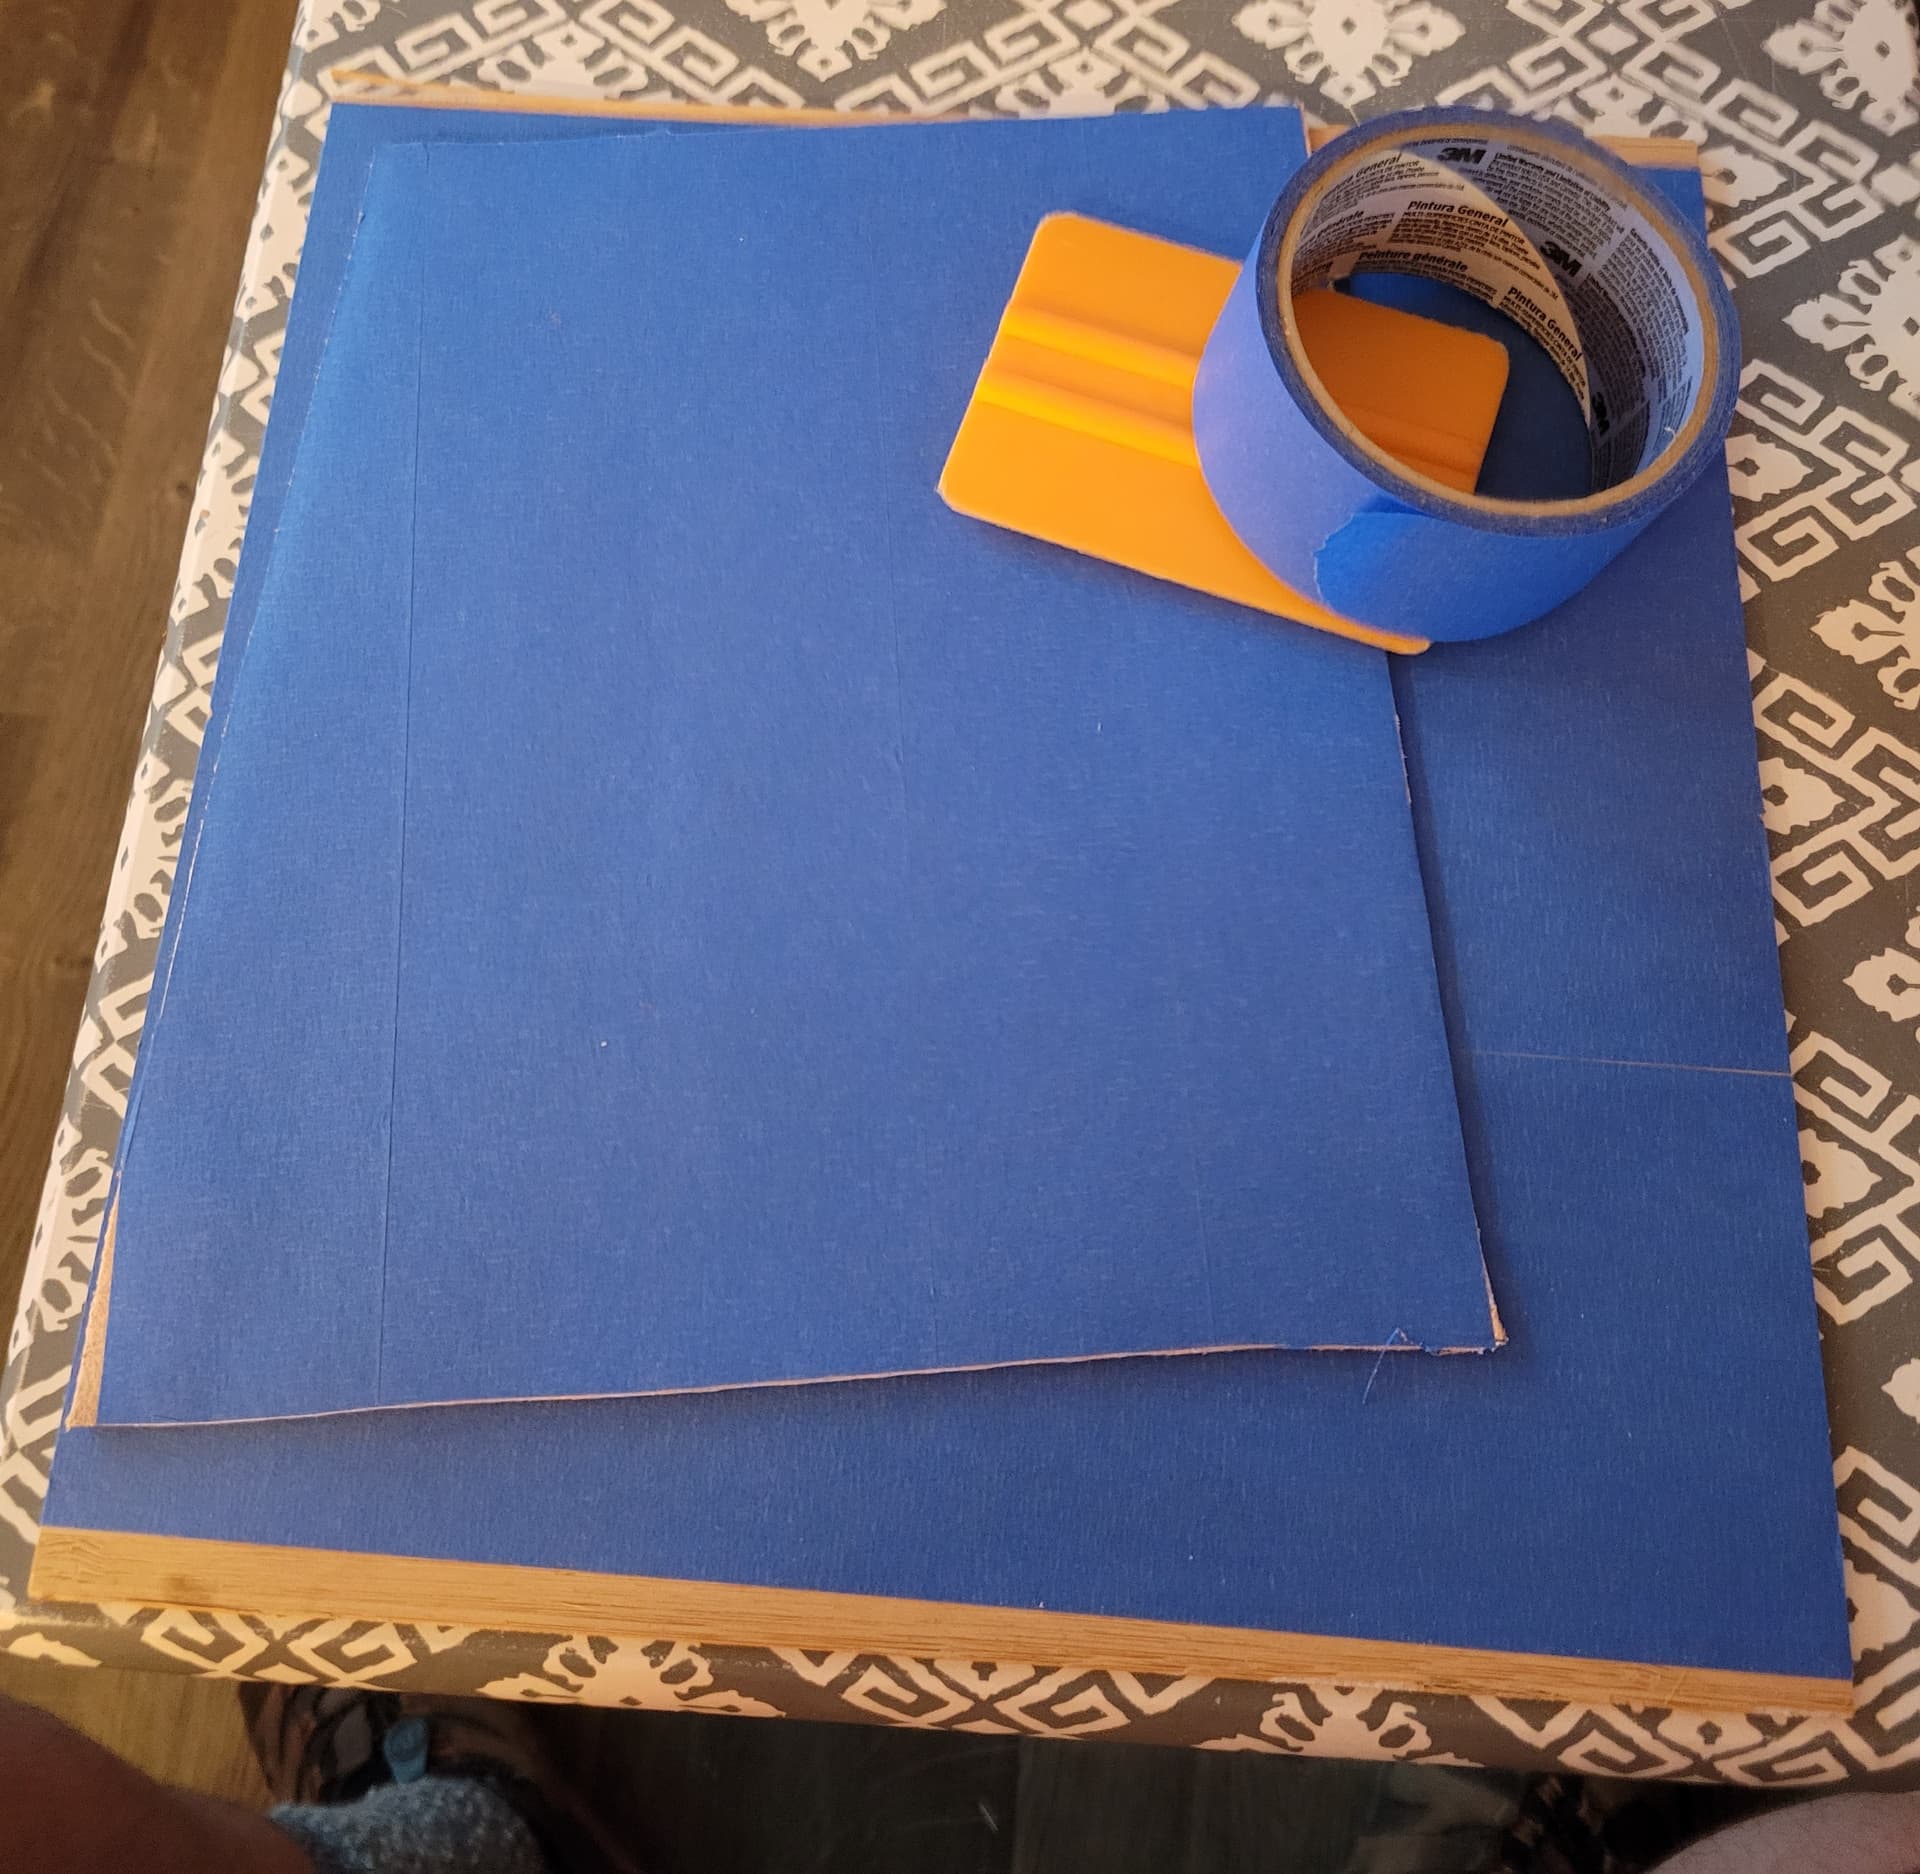
I cut a corner off of the side of leather I bought and put blue tape on the entire back surface of it, and CA glued it to a wasteboard.
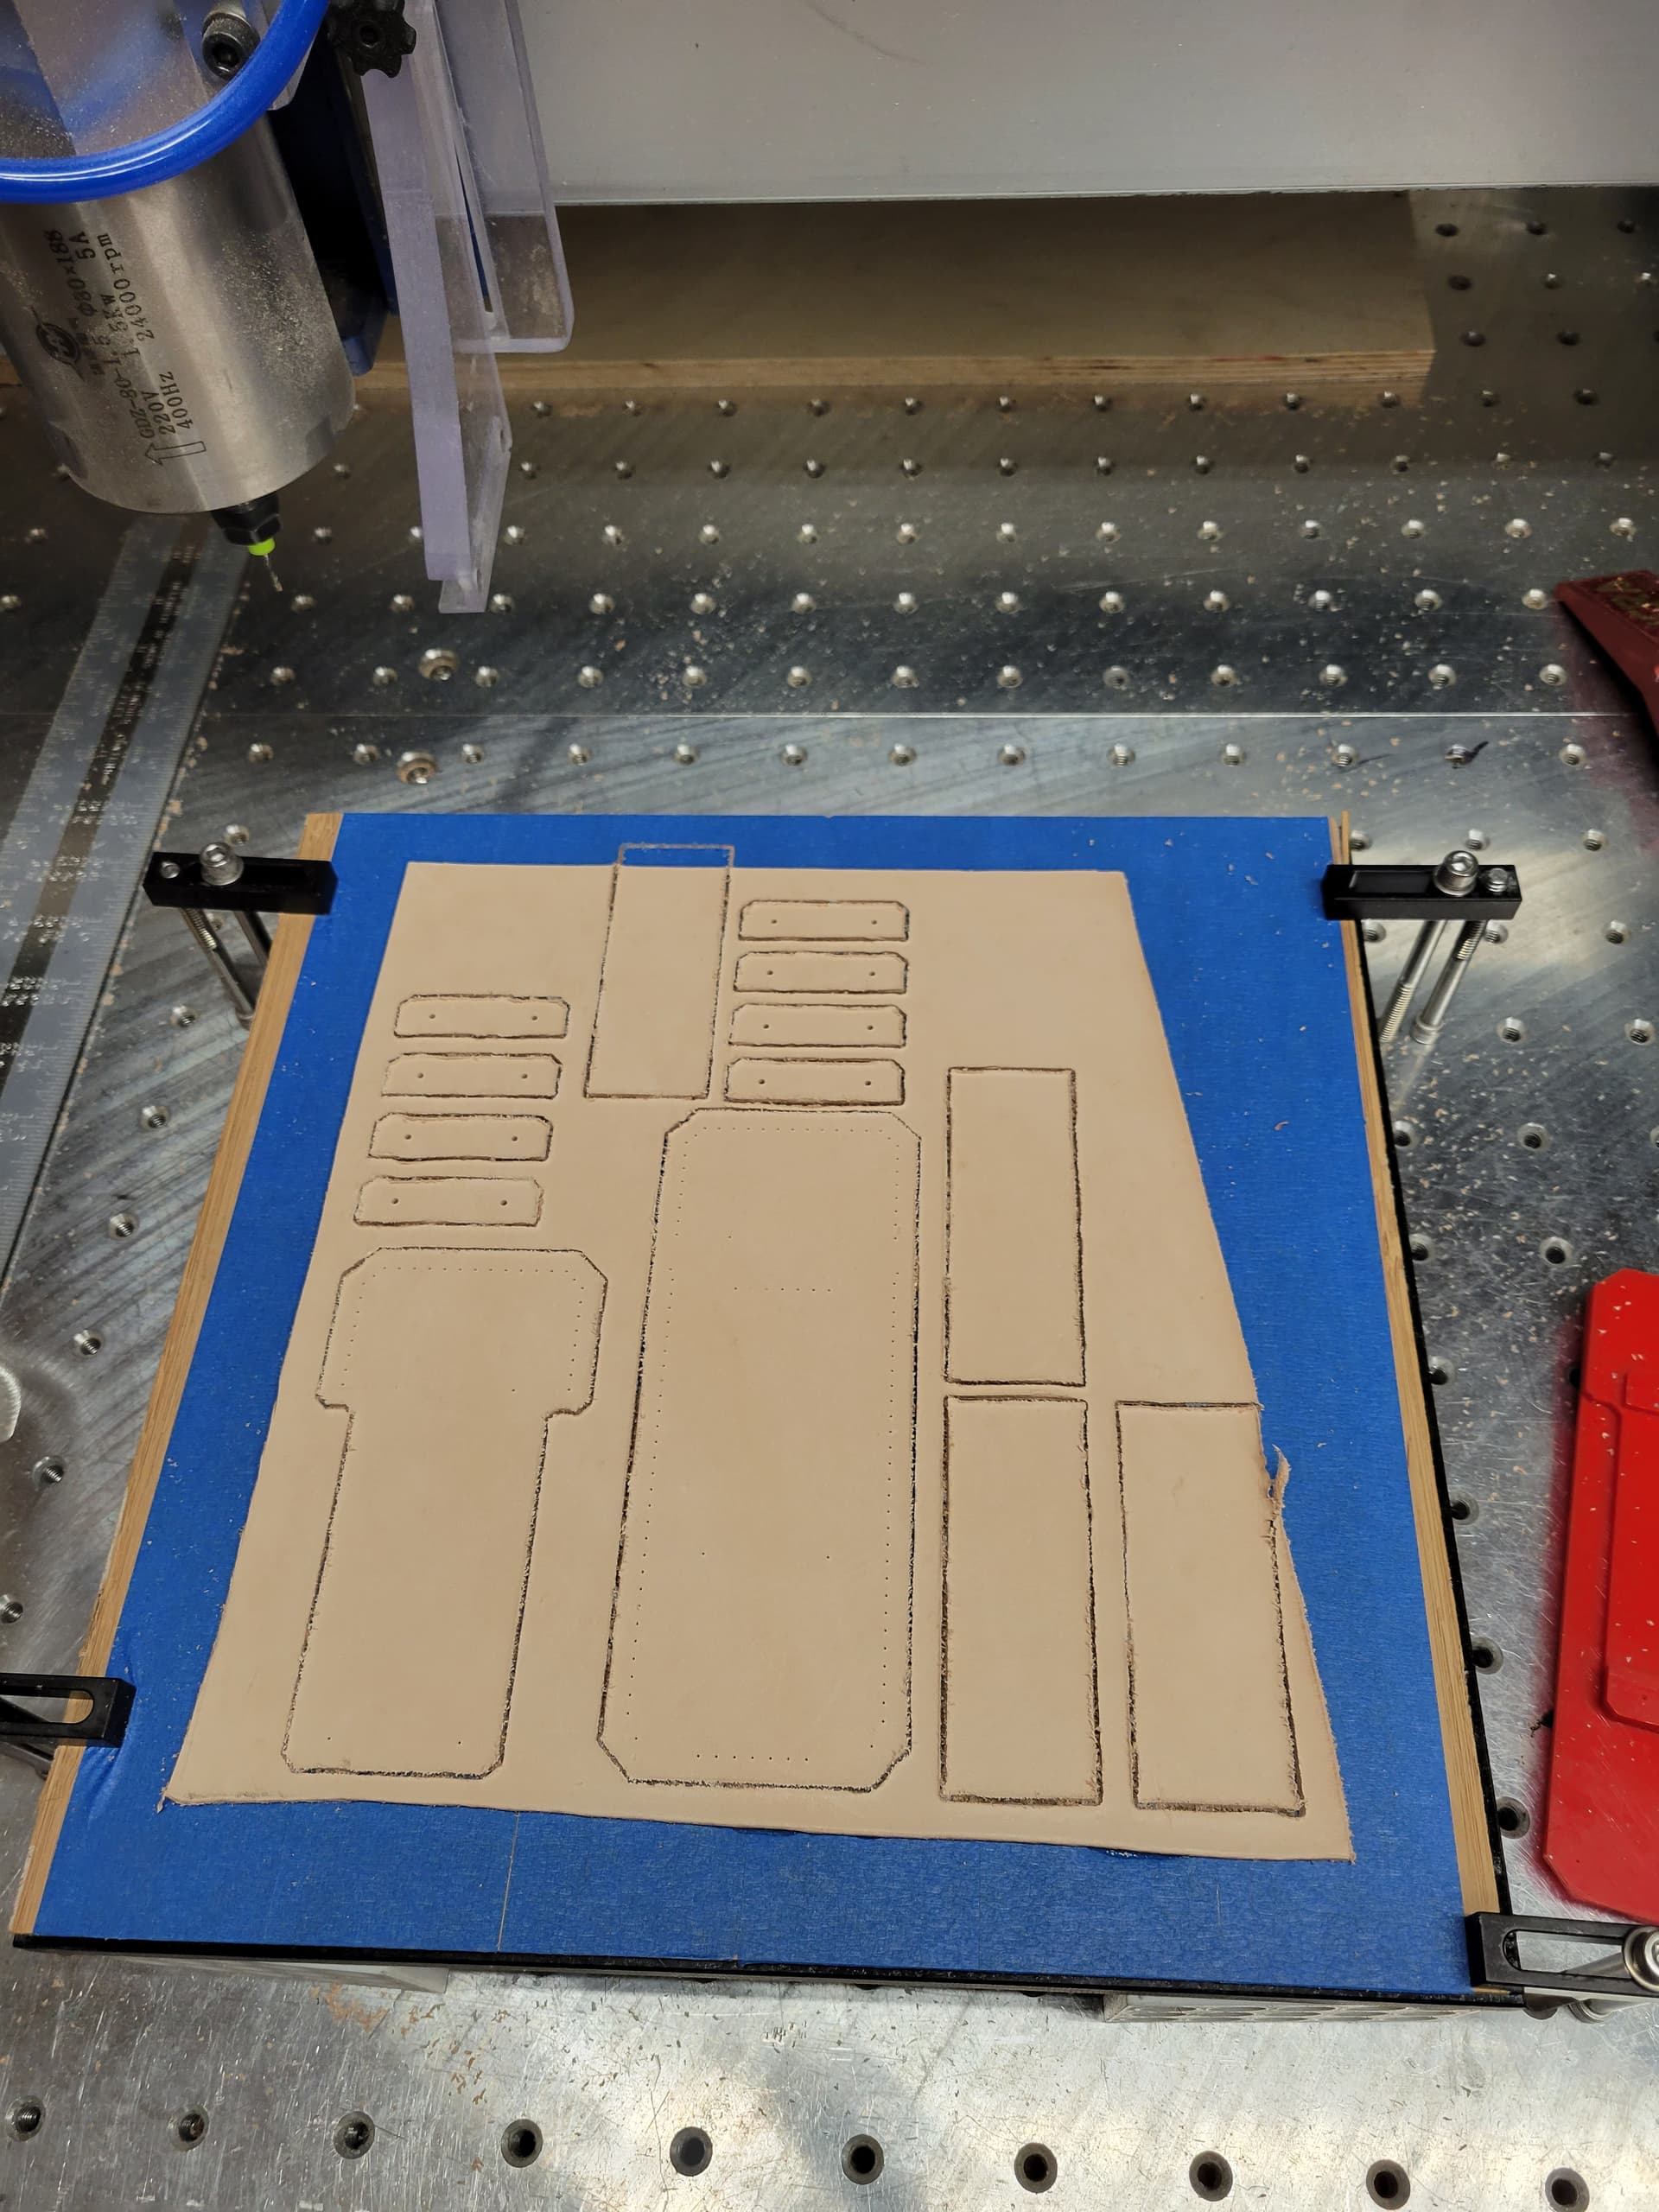
Here is the first piece being cut out of the leather.[40s video of the first piece being cut out]
And here are the holes being drilled. This is the second time drilling them because for some reason I had them drilling only half way though the leather the first time.
And the piece after cutting out a bunch of test pieces and extras that I am sure I will need in this adventure.
It turns out that the 0.0236" (0.60mm) holes are too small, so I ordered some 0.0312" (.79mm) drills as well as some 0.0400" (1.02mm) drills to see what size works best without getting too big.

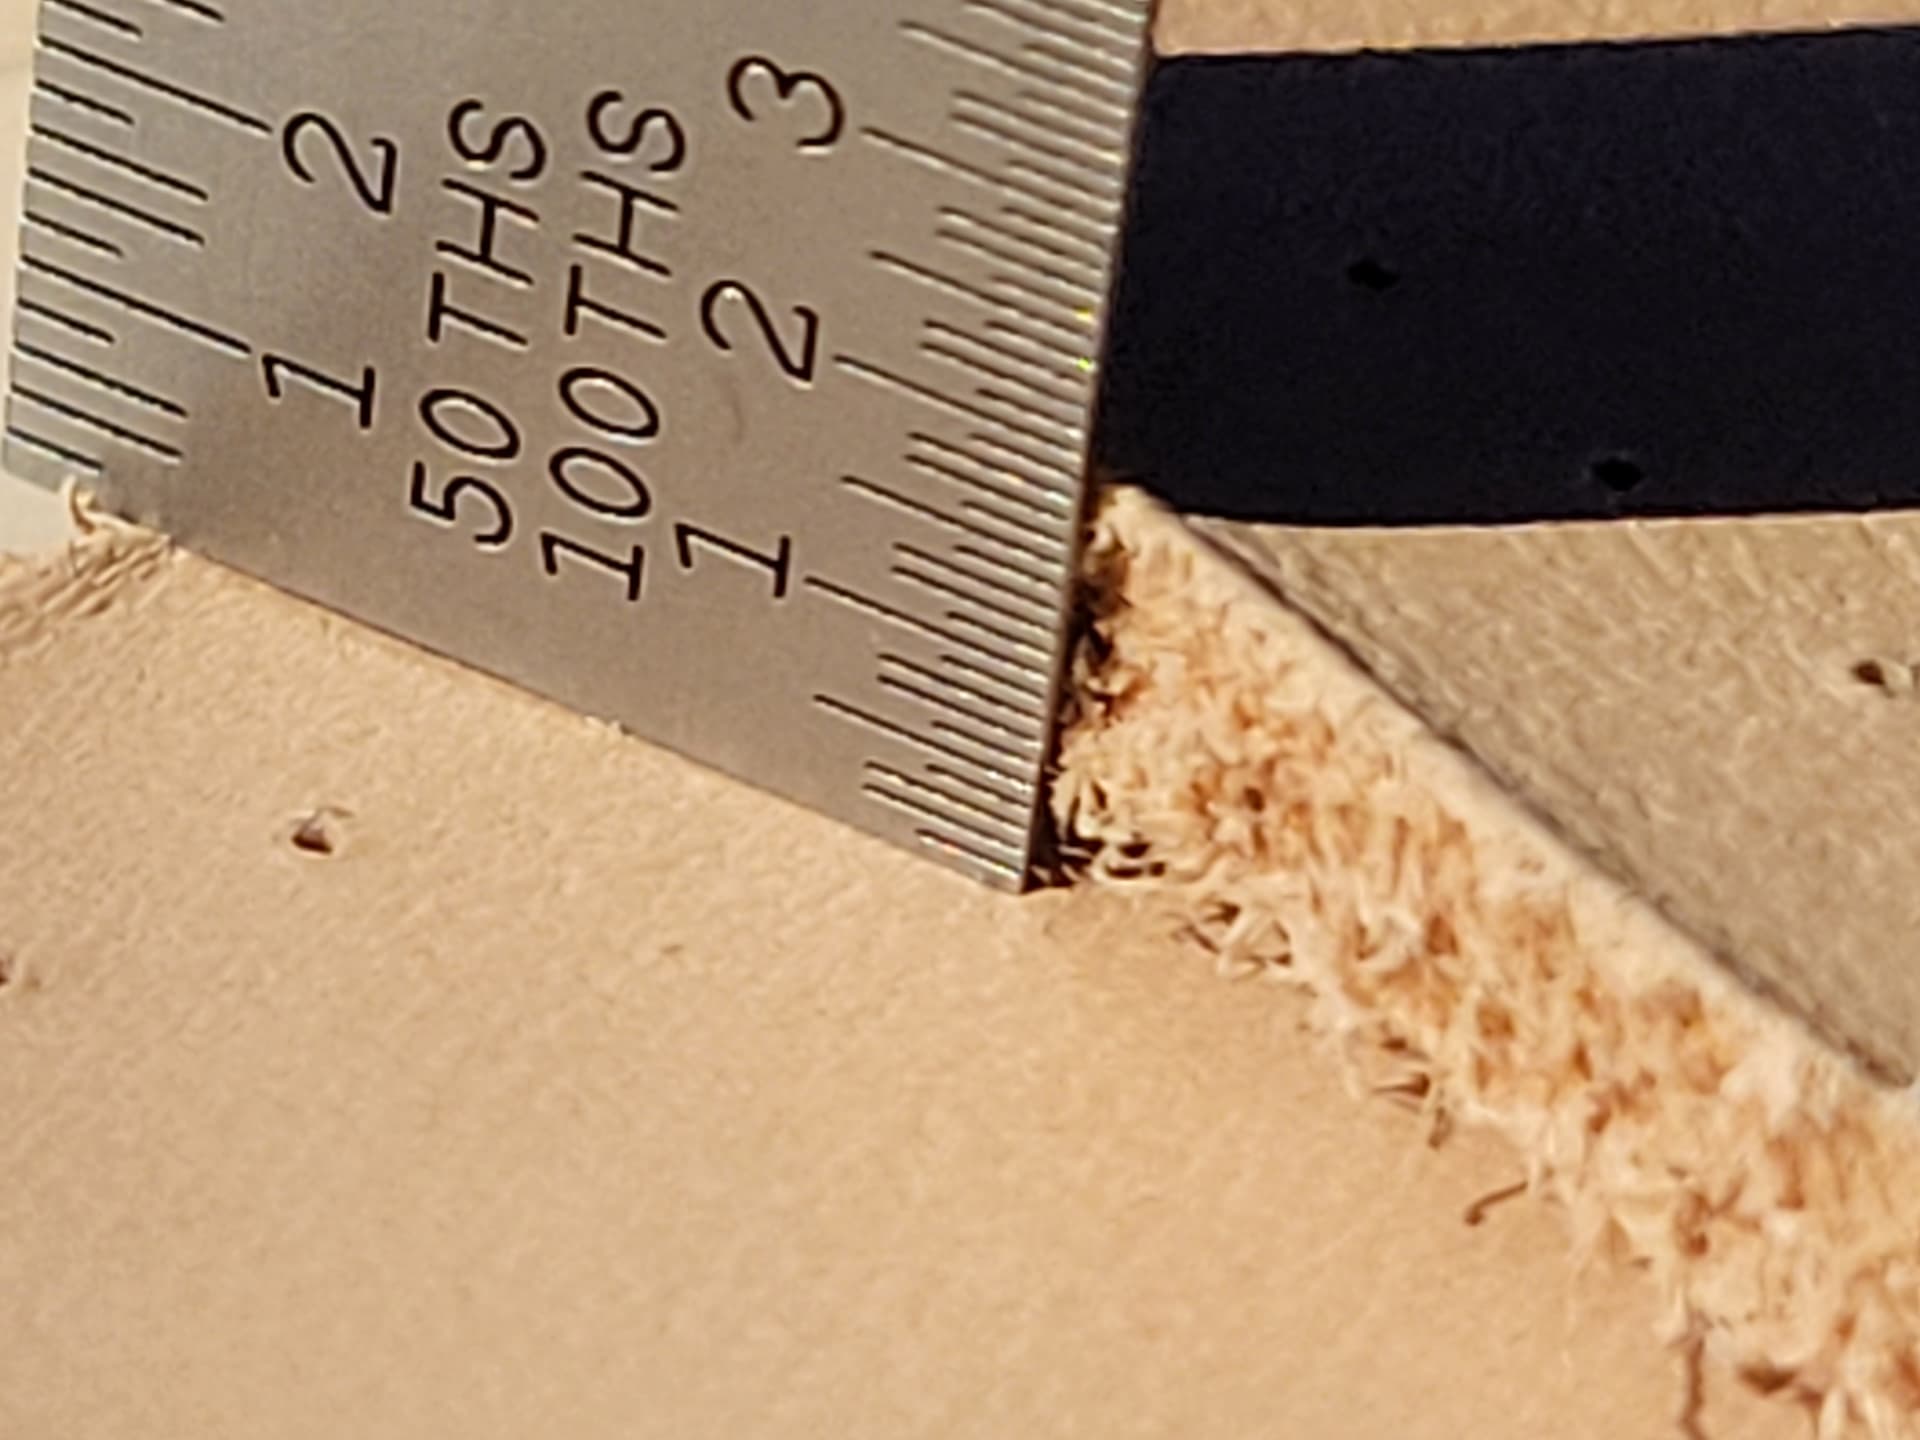
Also, I do not like the ragged edge of the leather pieces I cut out with a standard 2 flute upcut 0.0625" (1.59mm) bit, so I ordered a few 0.0625" (1.59mm) down cut bits to see if I can get a better edge.
I am designing a clamp to hold the shaped leather piece to trim it symmetrically, and drill the holes. So far, it is designed to be clamped with a small clamp to my SO3 bed and hold the formed leather in place while it is cut.
I just need to create an X, Y and Z zero point on it so I can locate it after it is jigged up and cut the leather accurately and repeatably. Not sure how many of these I am going to make.
