There are a few other dimensions which may come into play:
finish floor thickness at the bottom of the run
finish floor thickness at the top of the run
(if those two values are different)
as well as a final consideration of where/how the stairs will be secured at the top, which will probably require:
sub floor thickness at the top of the run
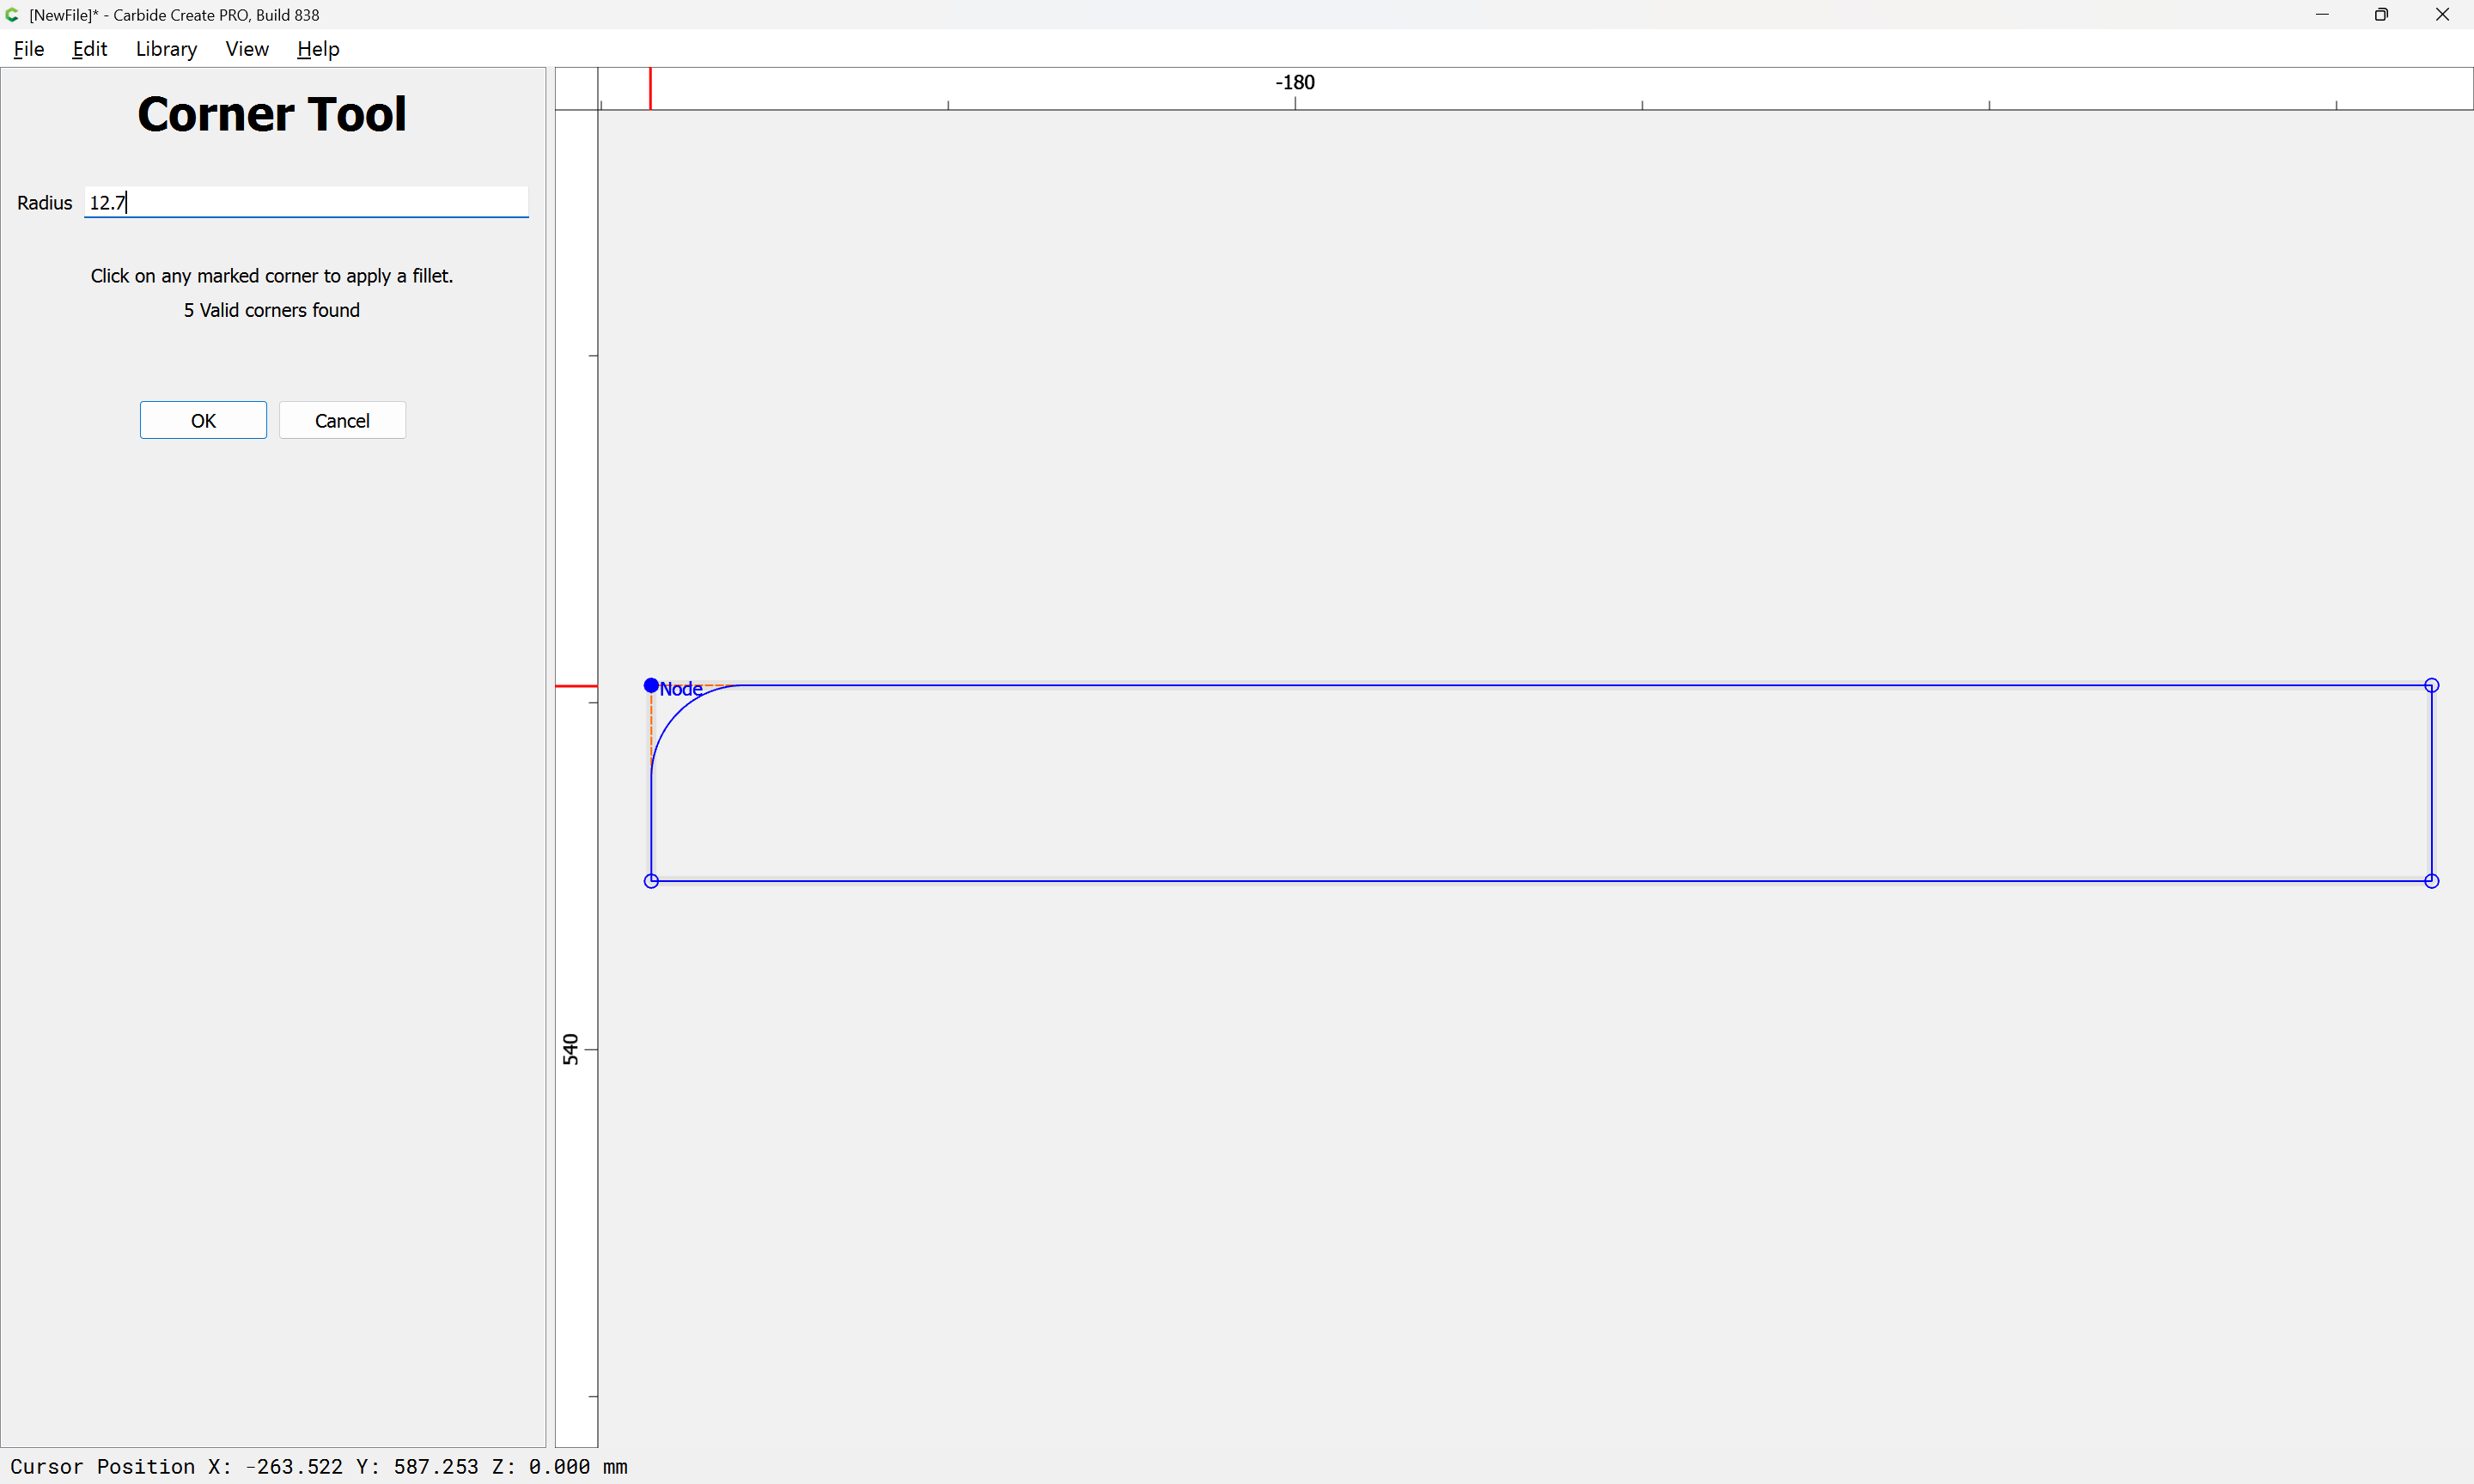
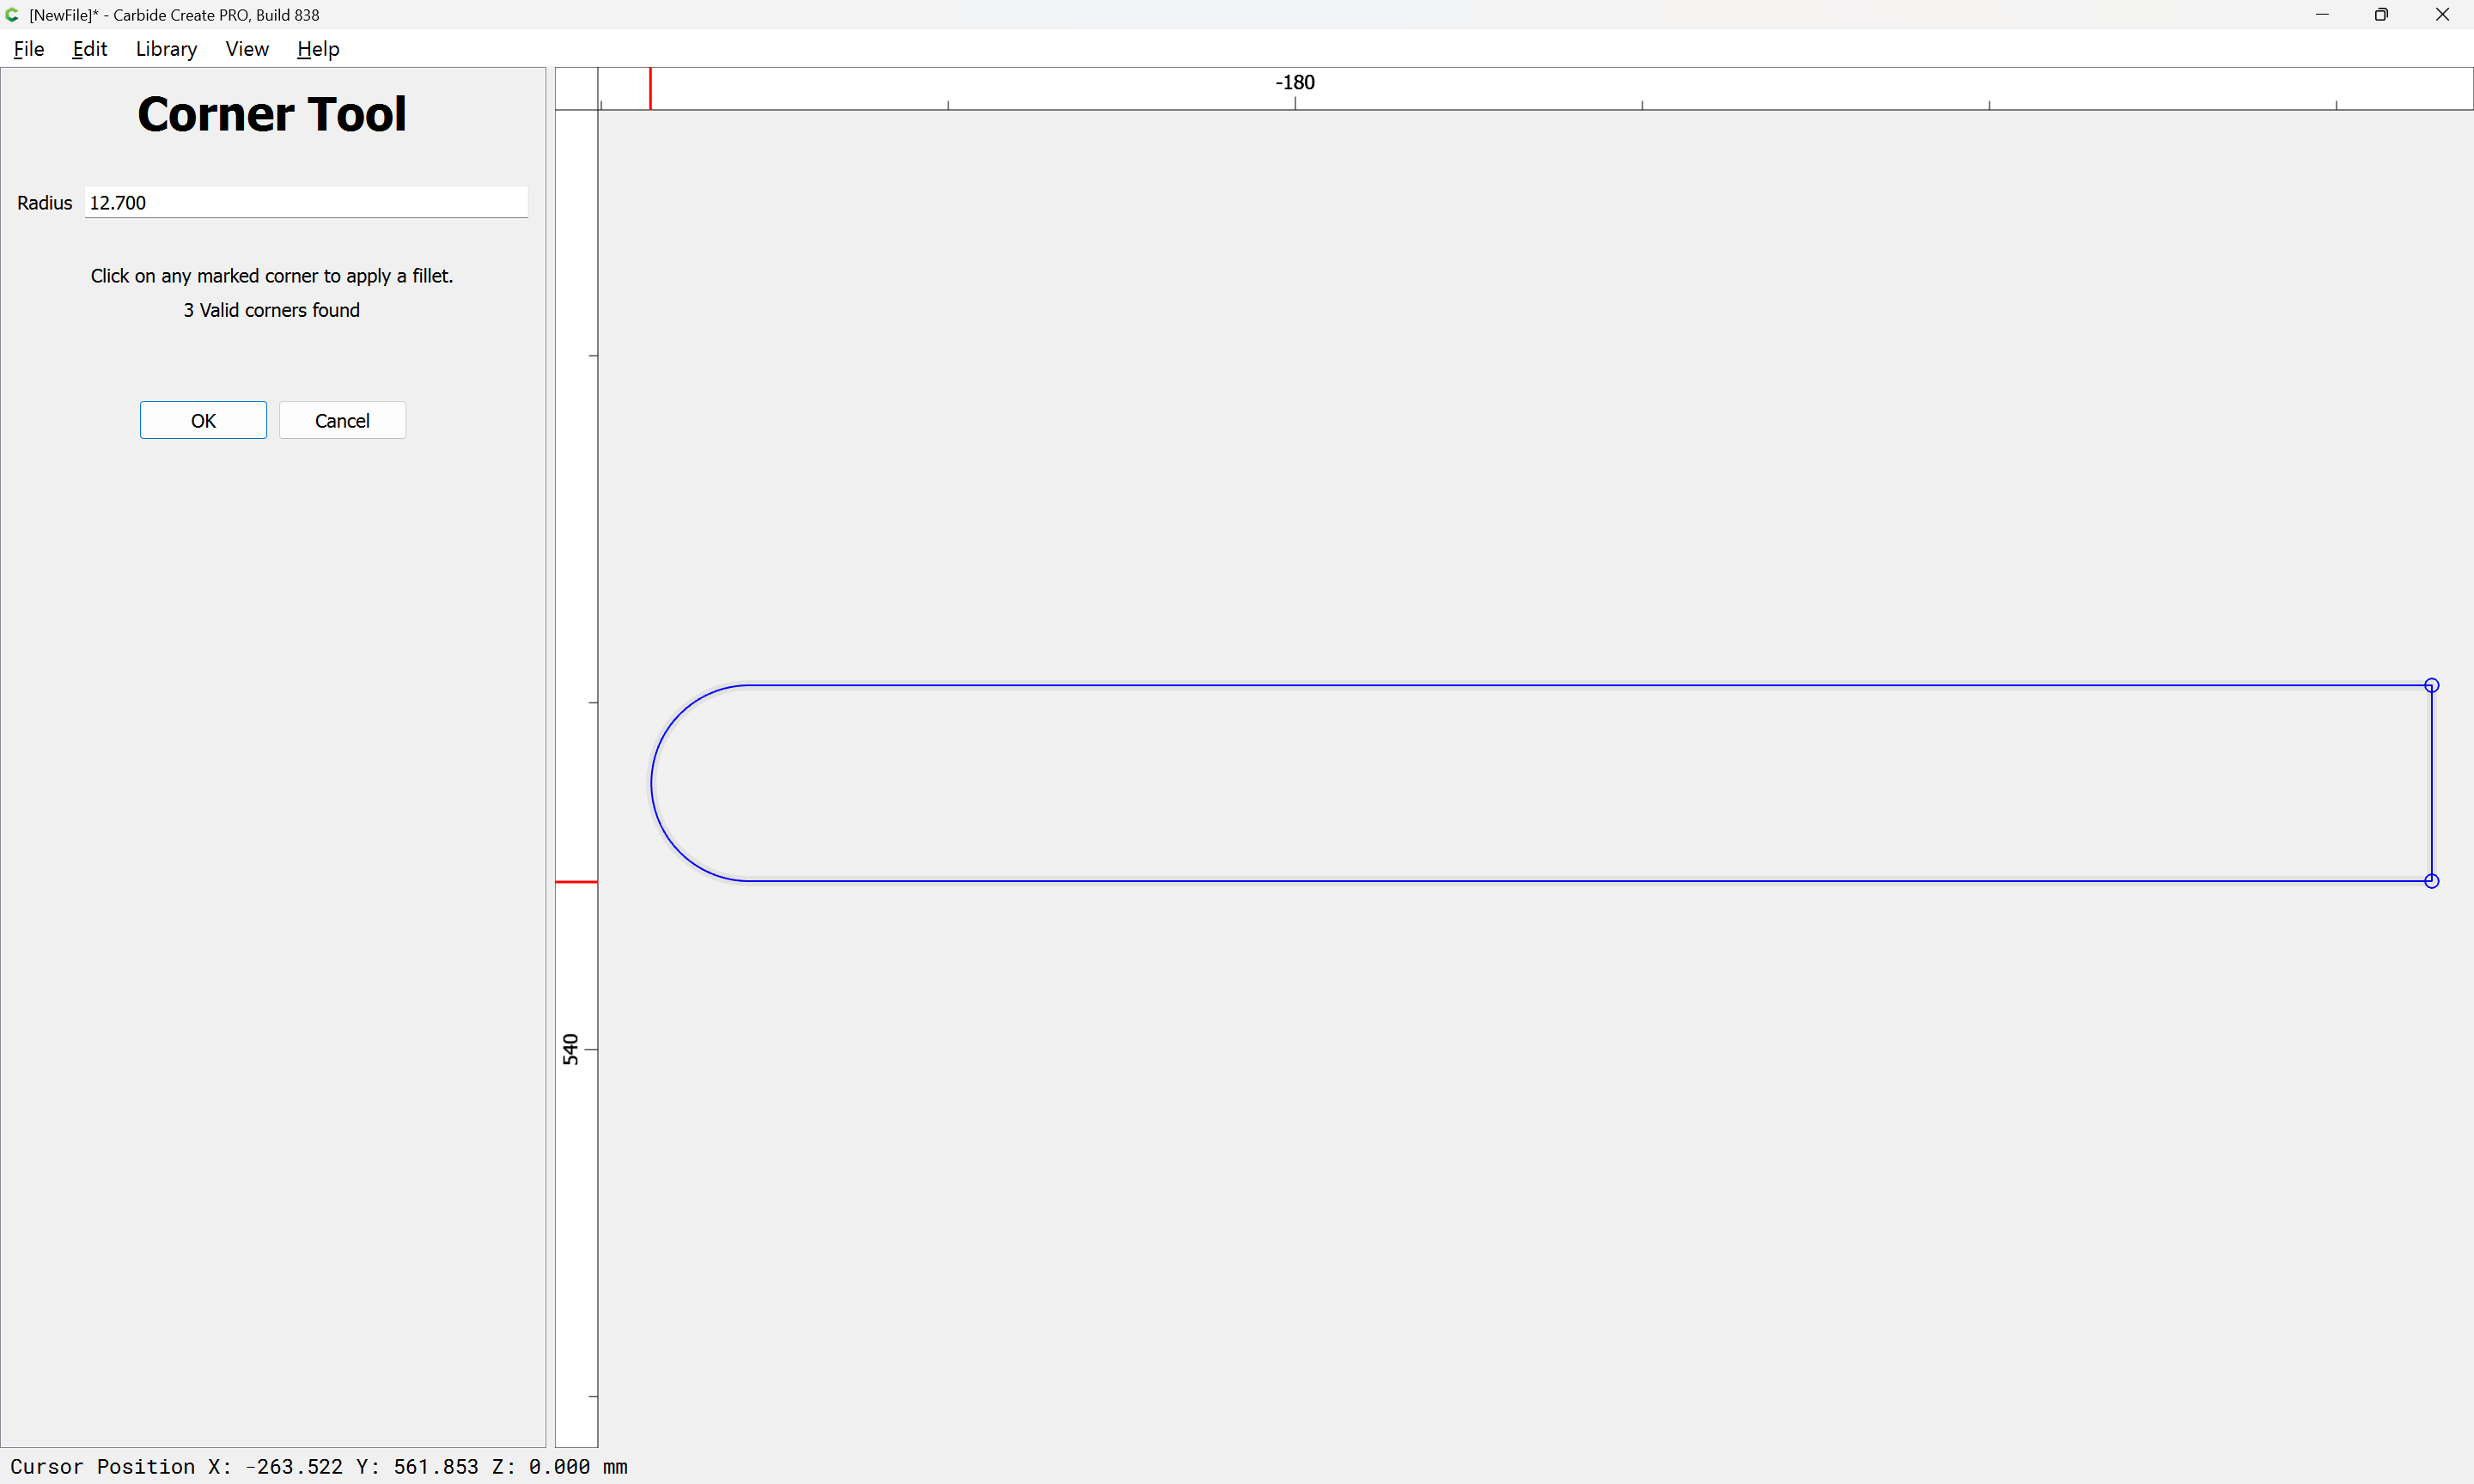
Lastly, there is the matter of tread overhang and any additional hardware such as stair corners.
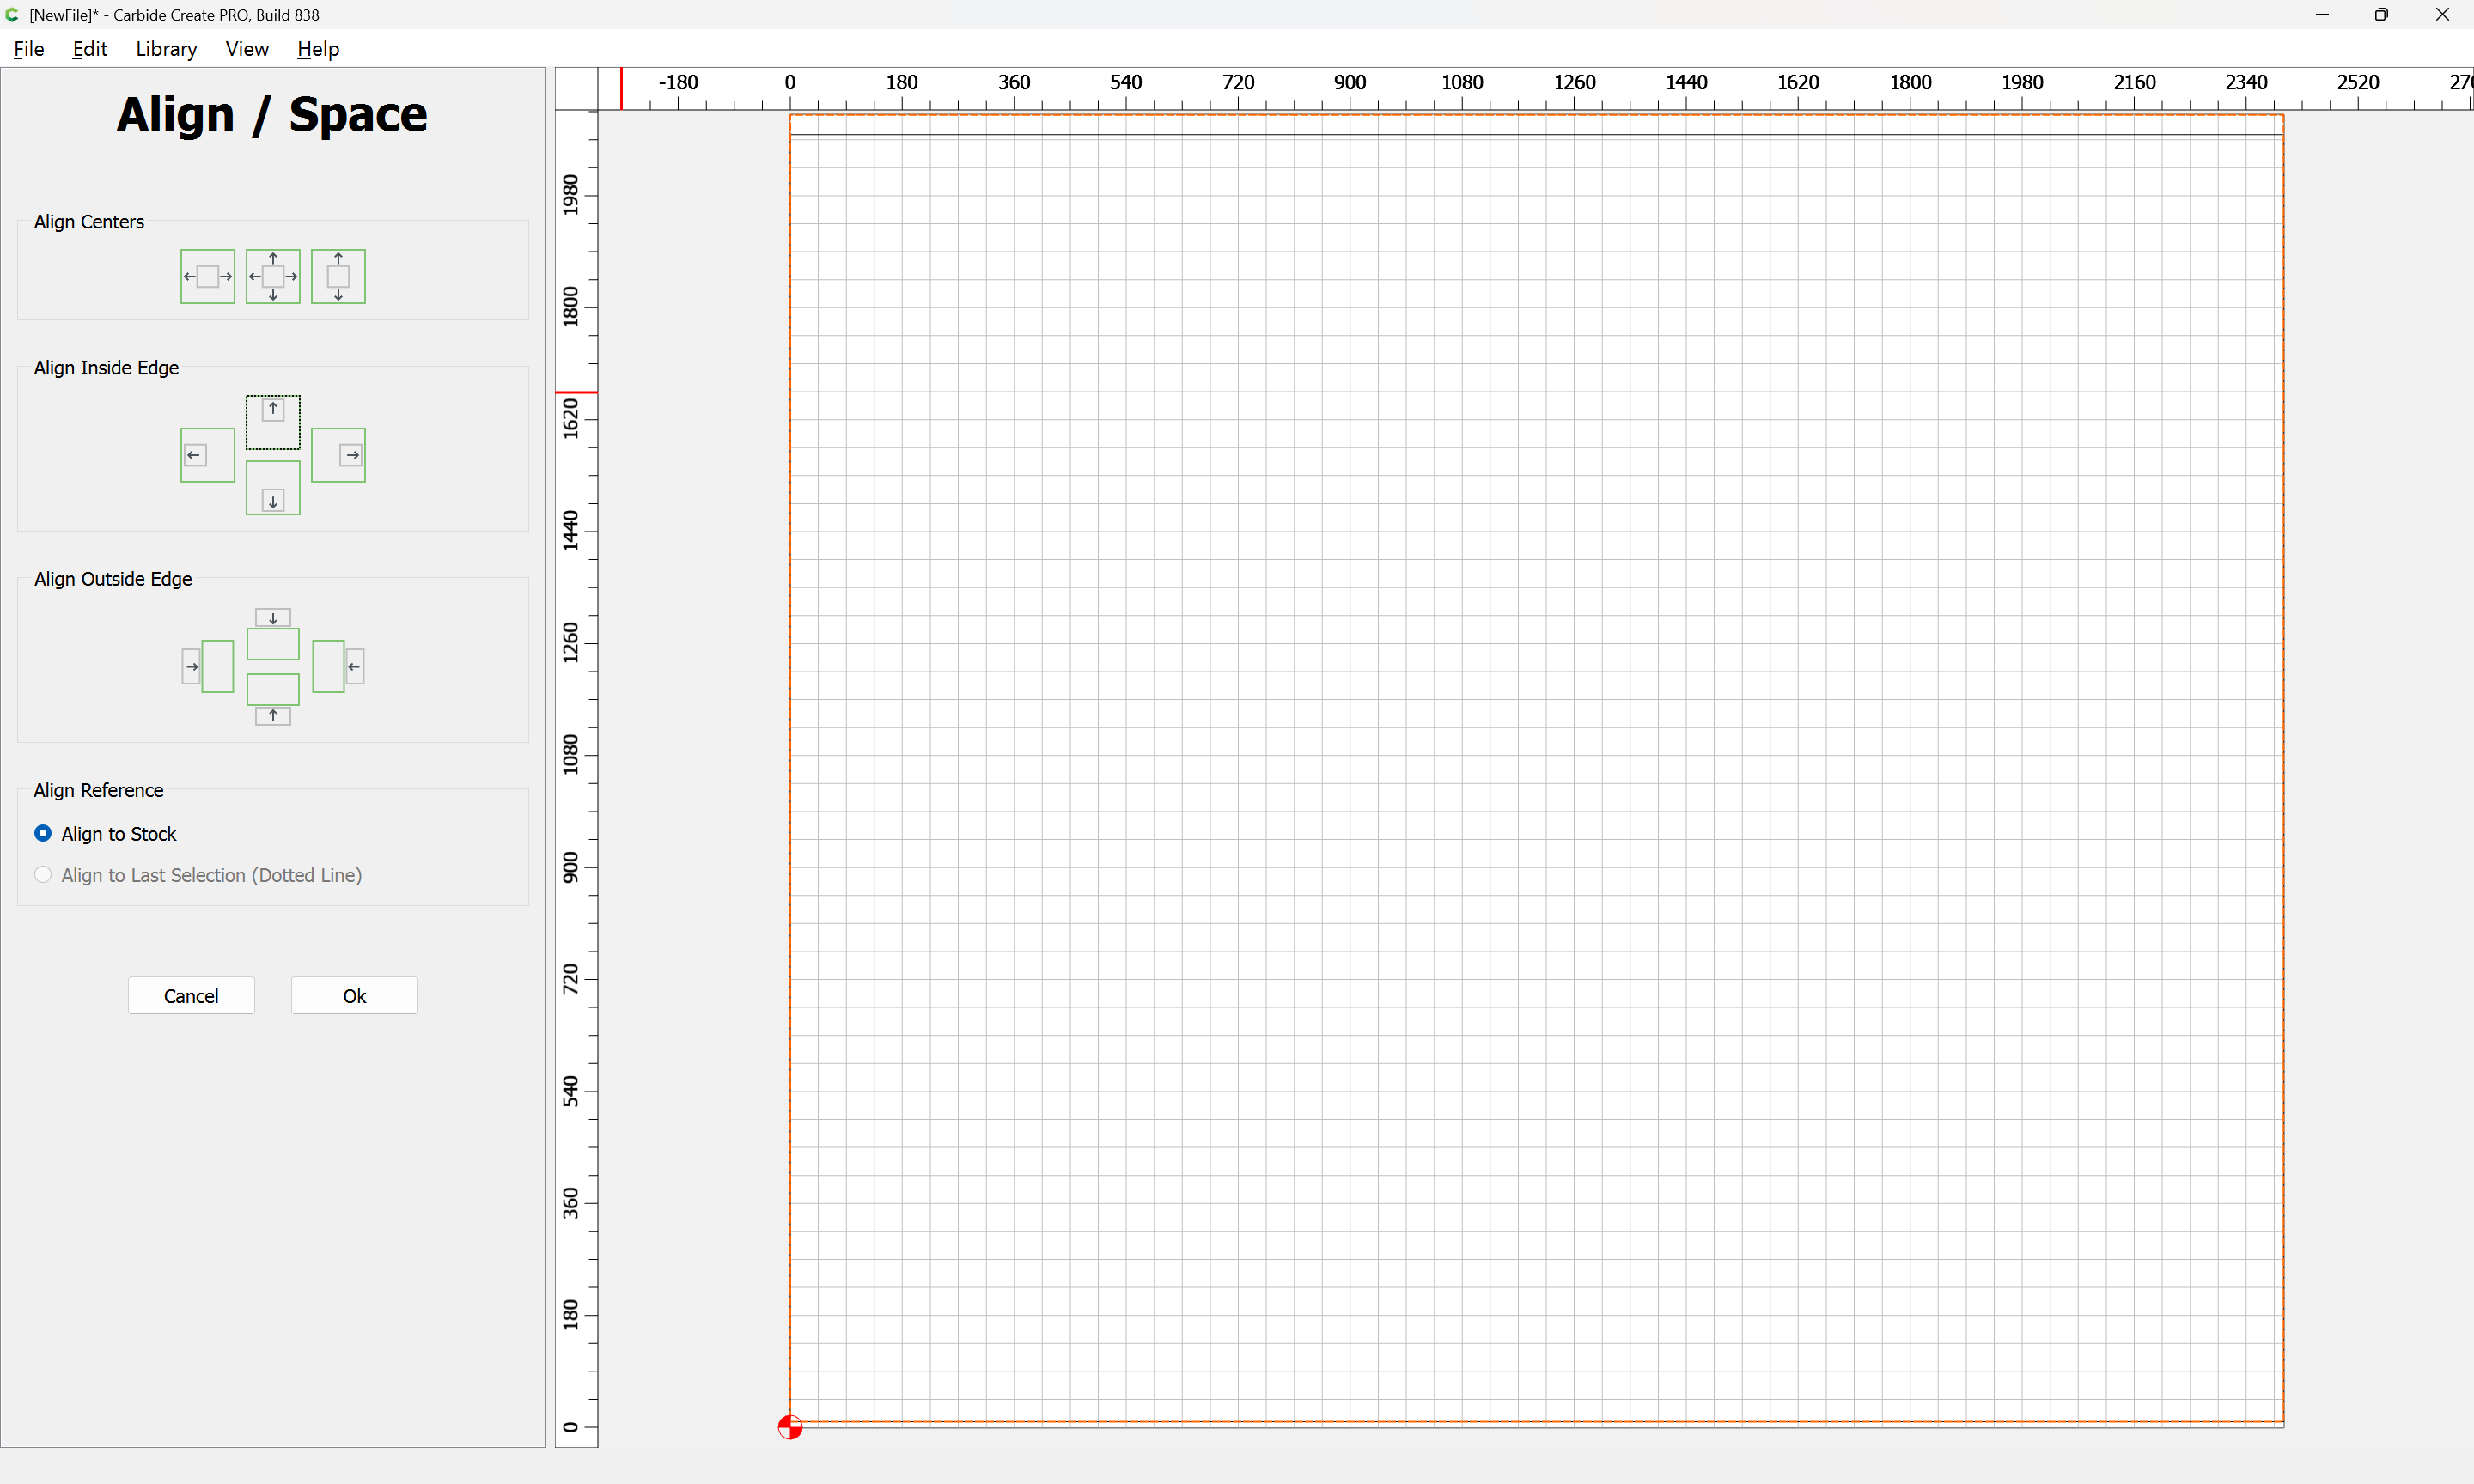
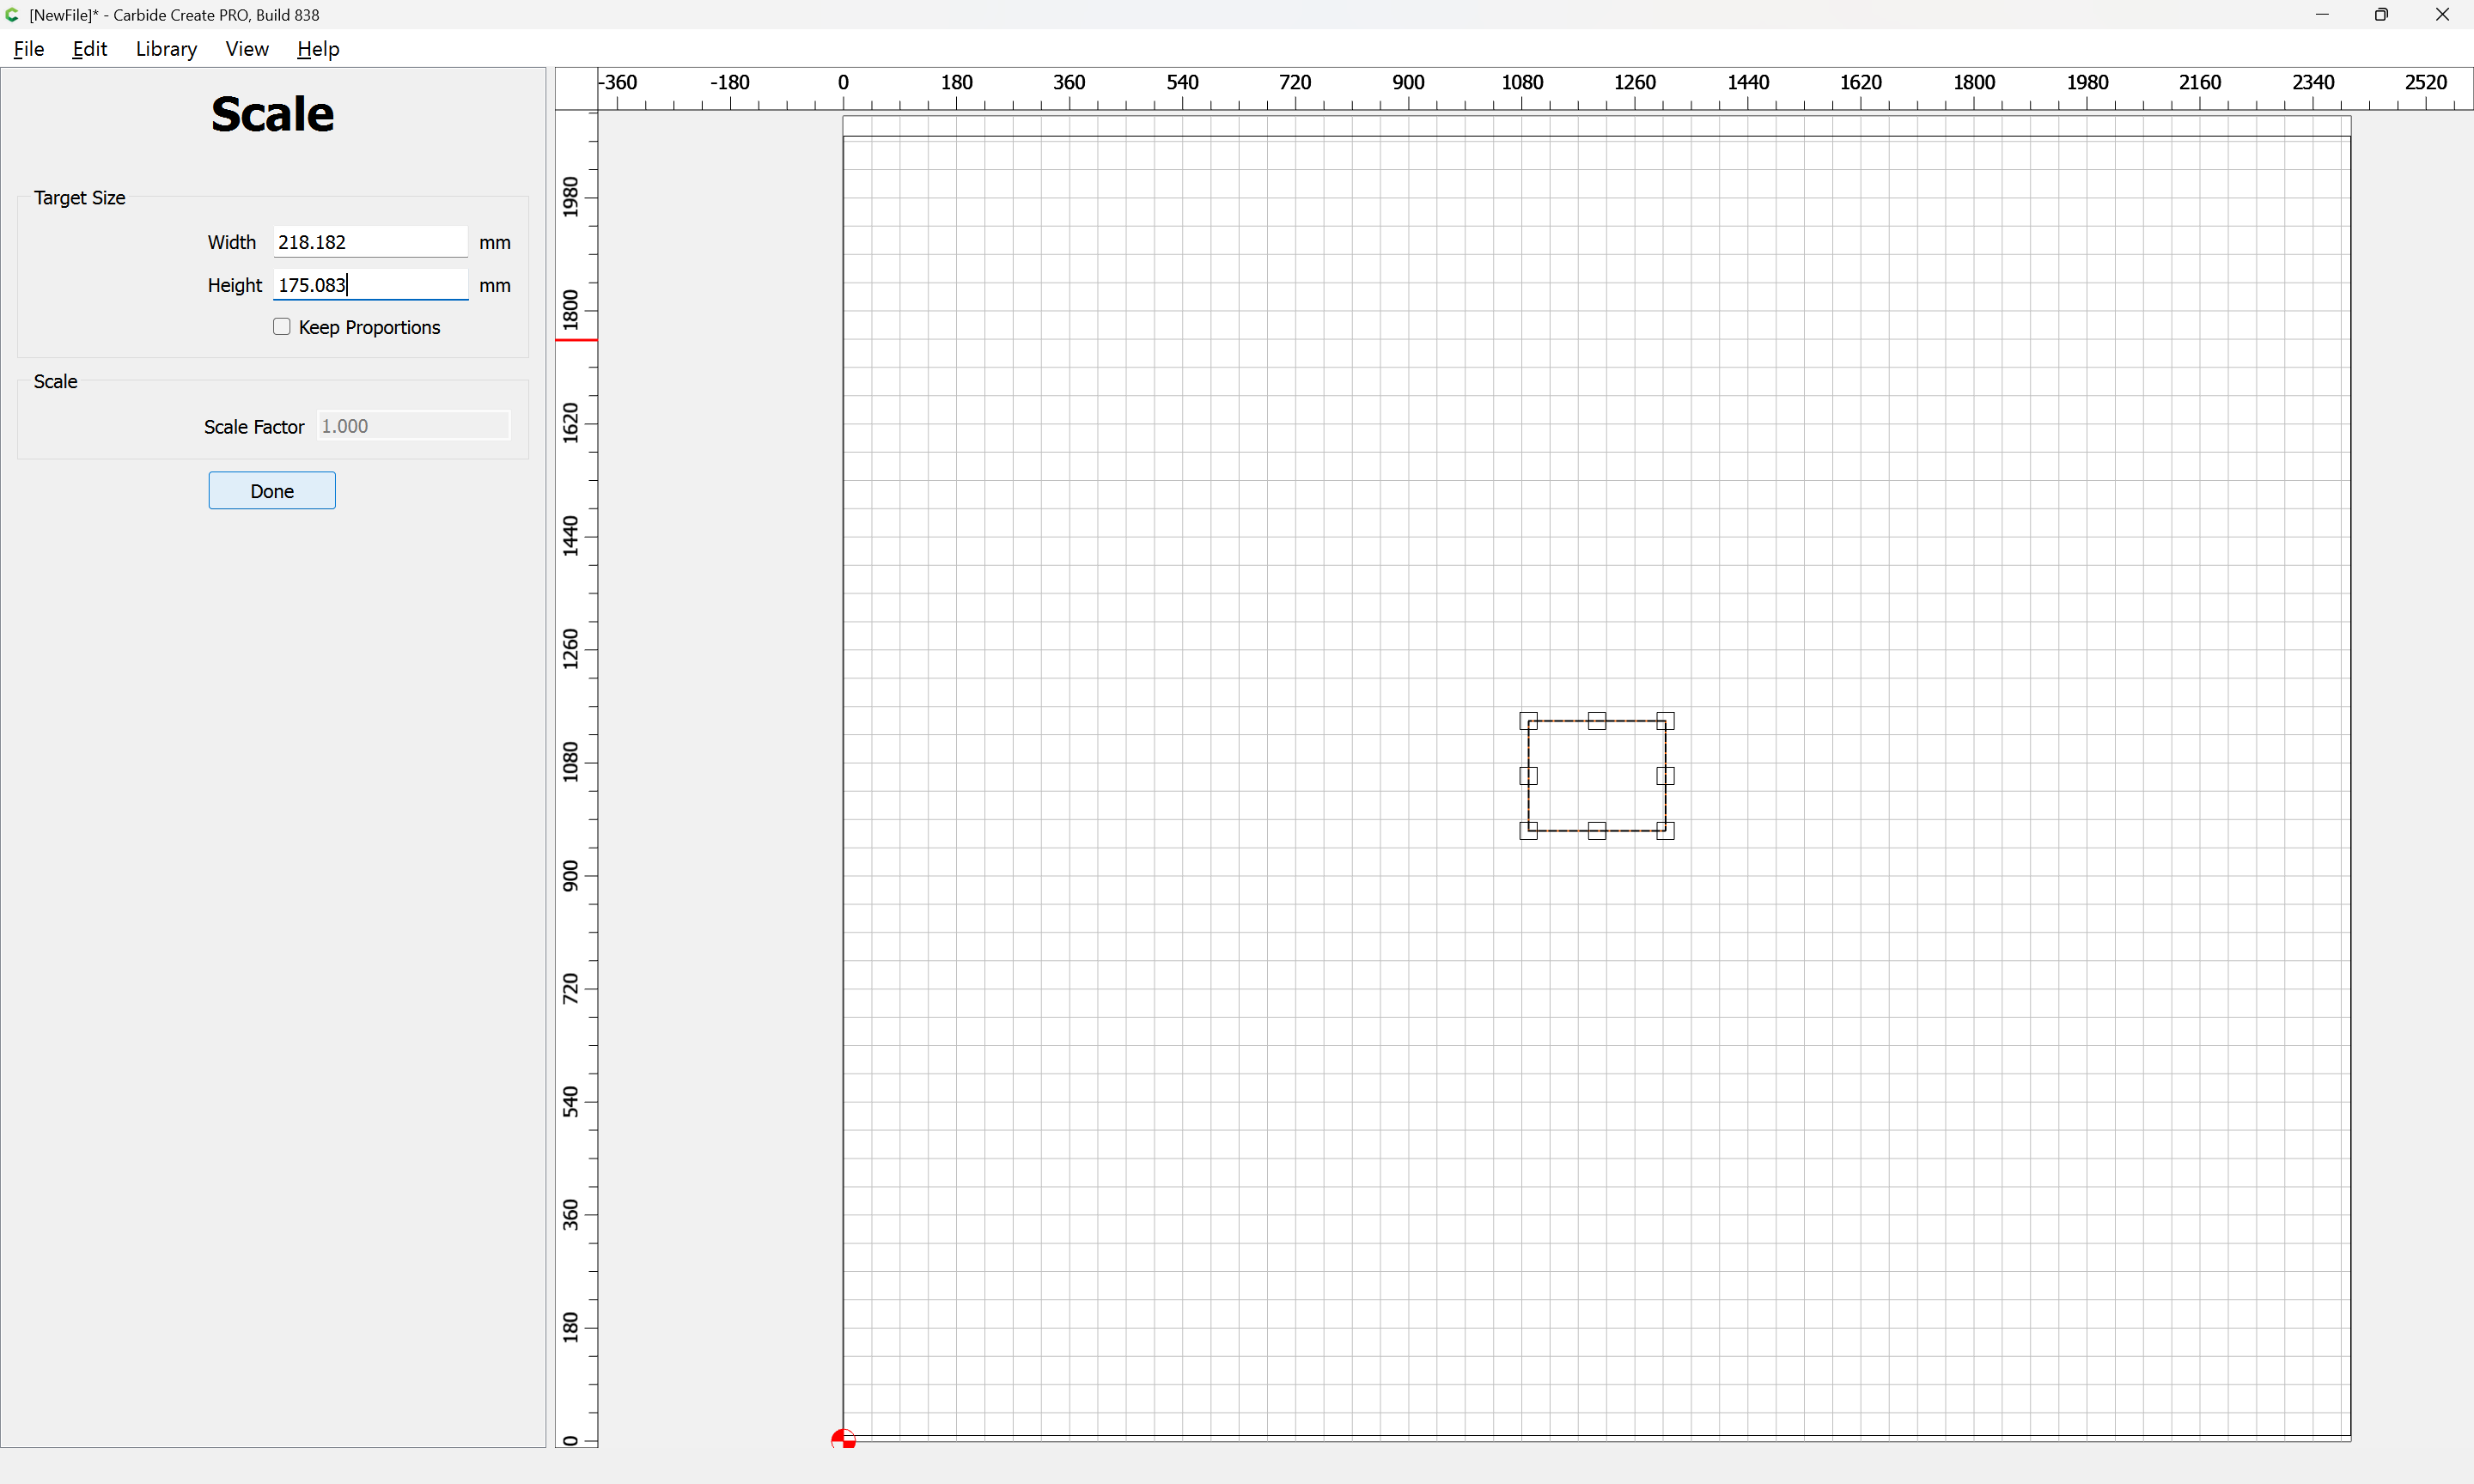
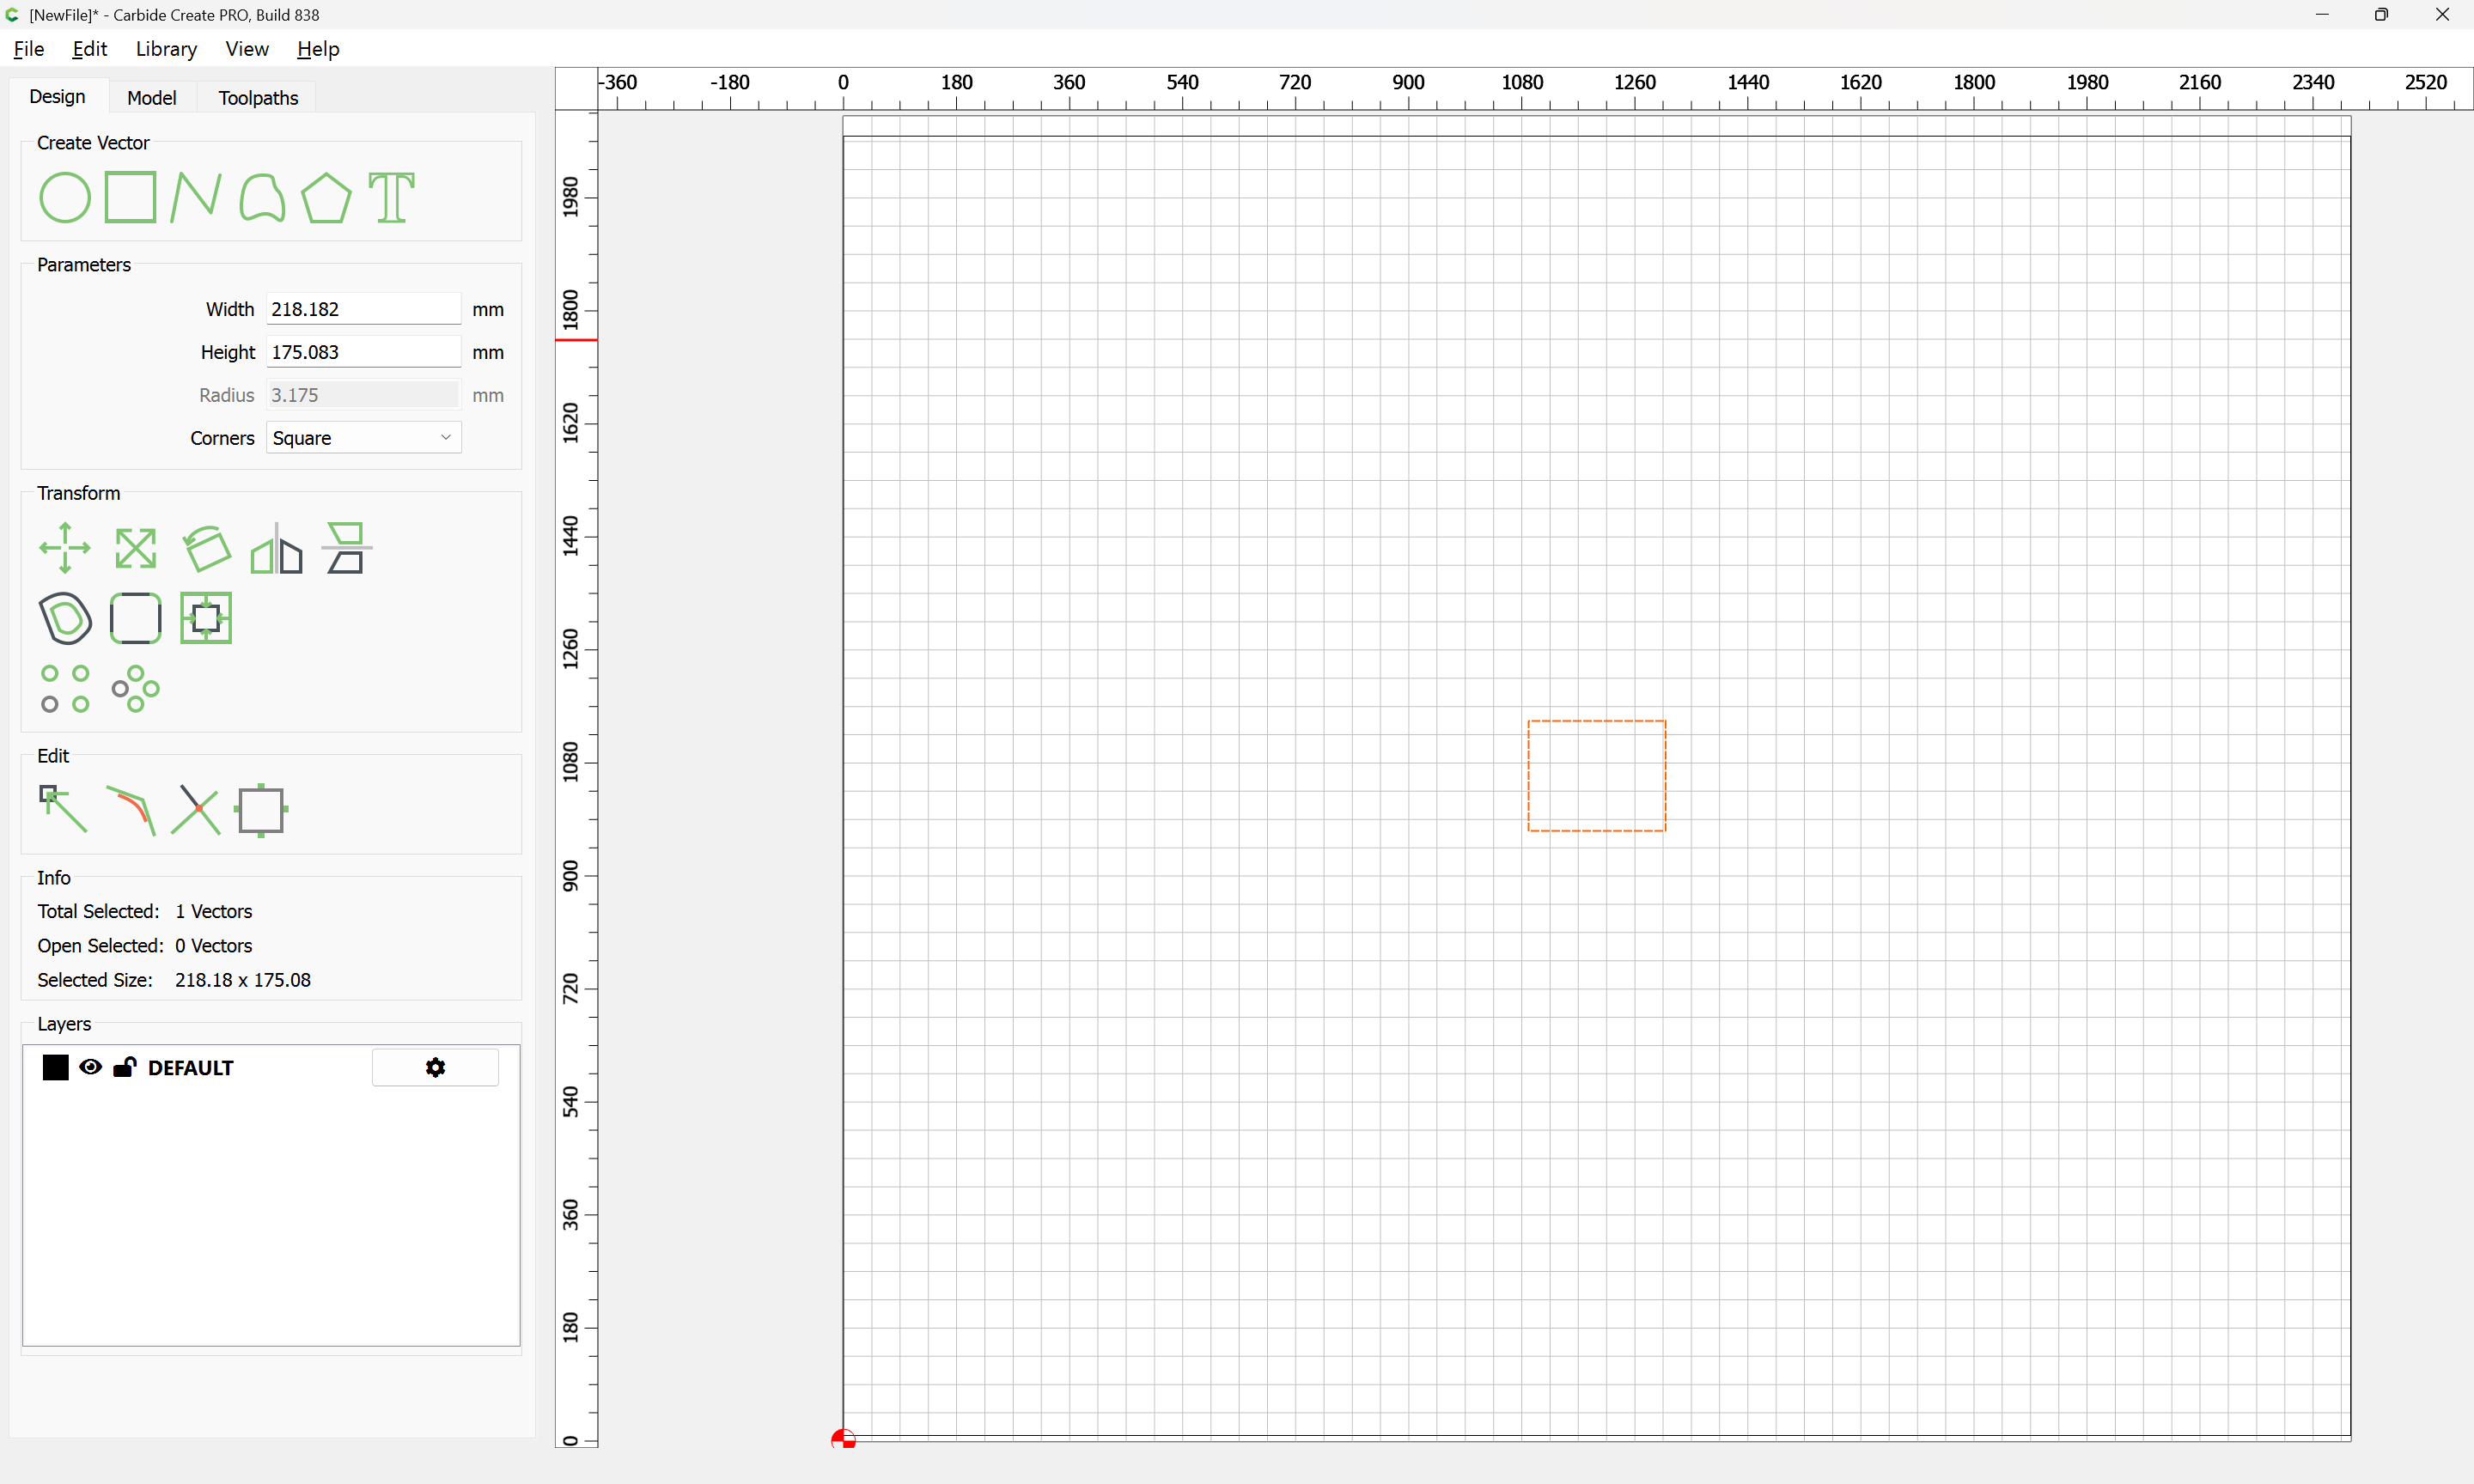
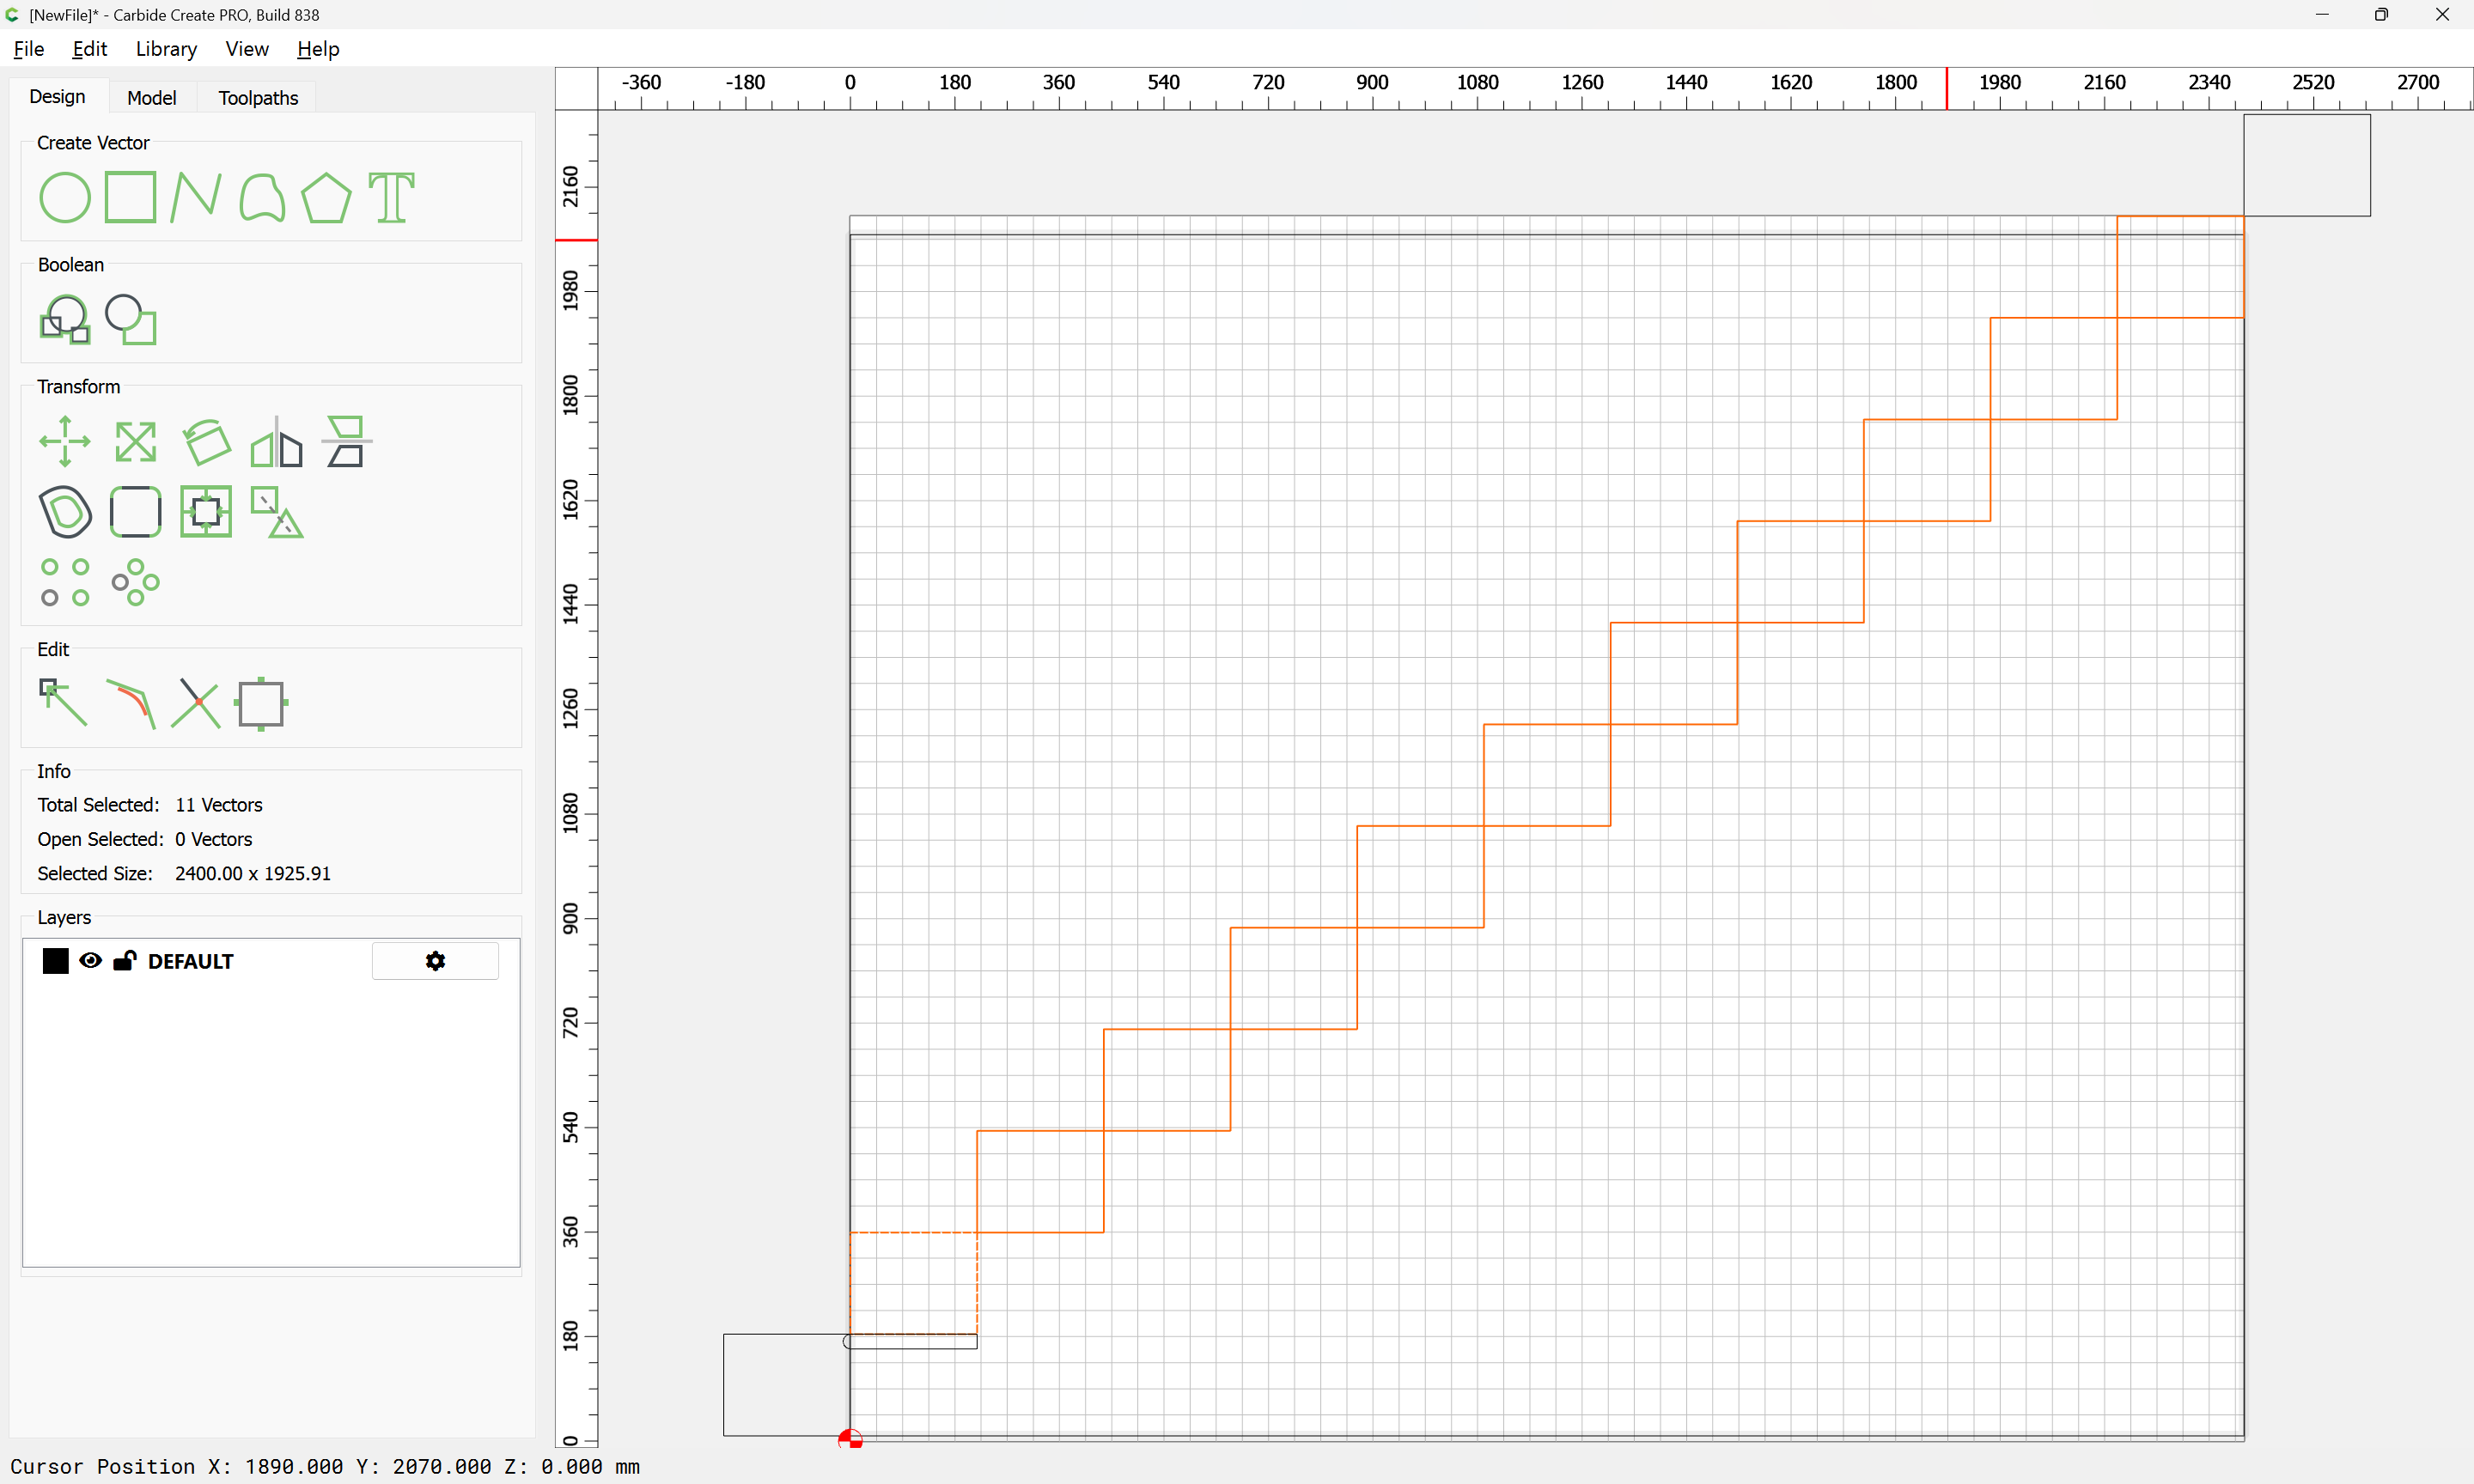
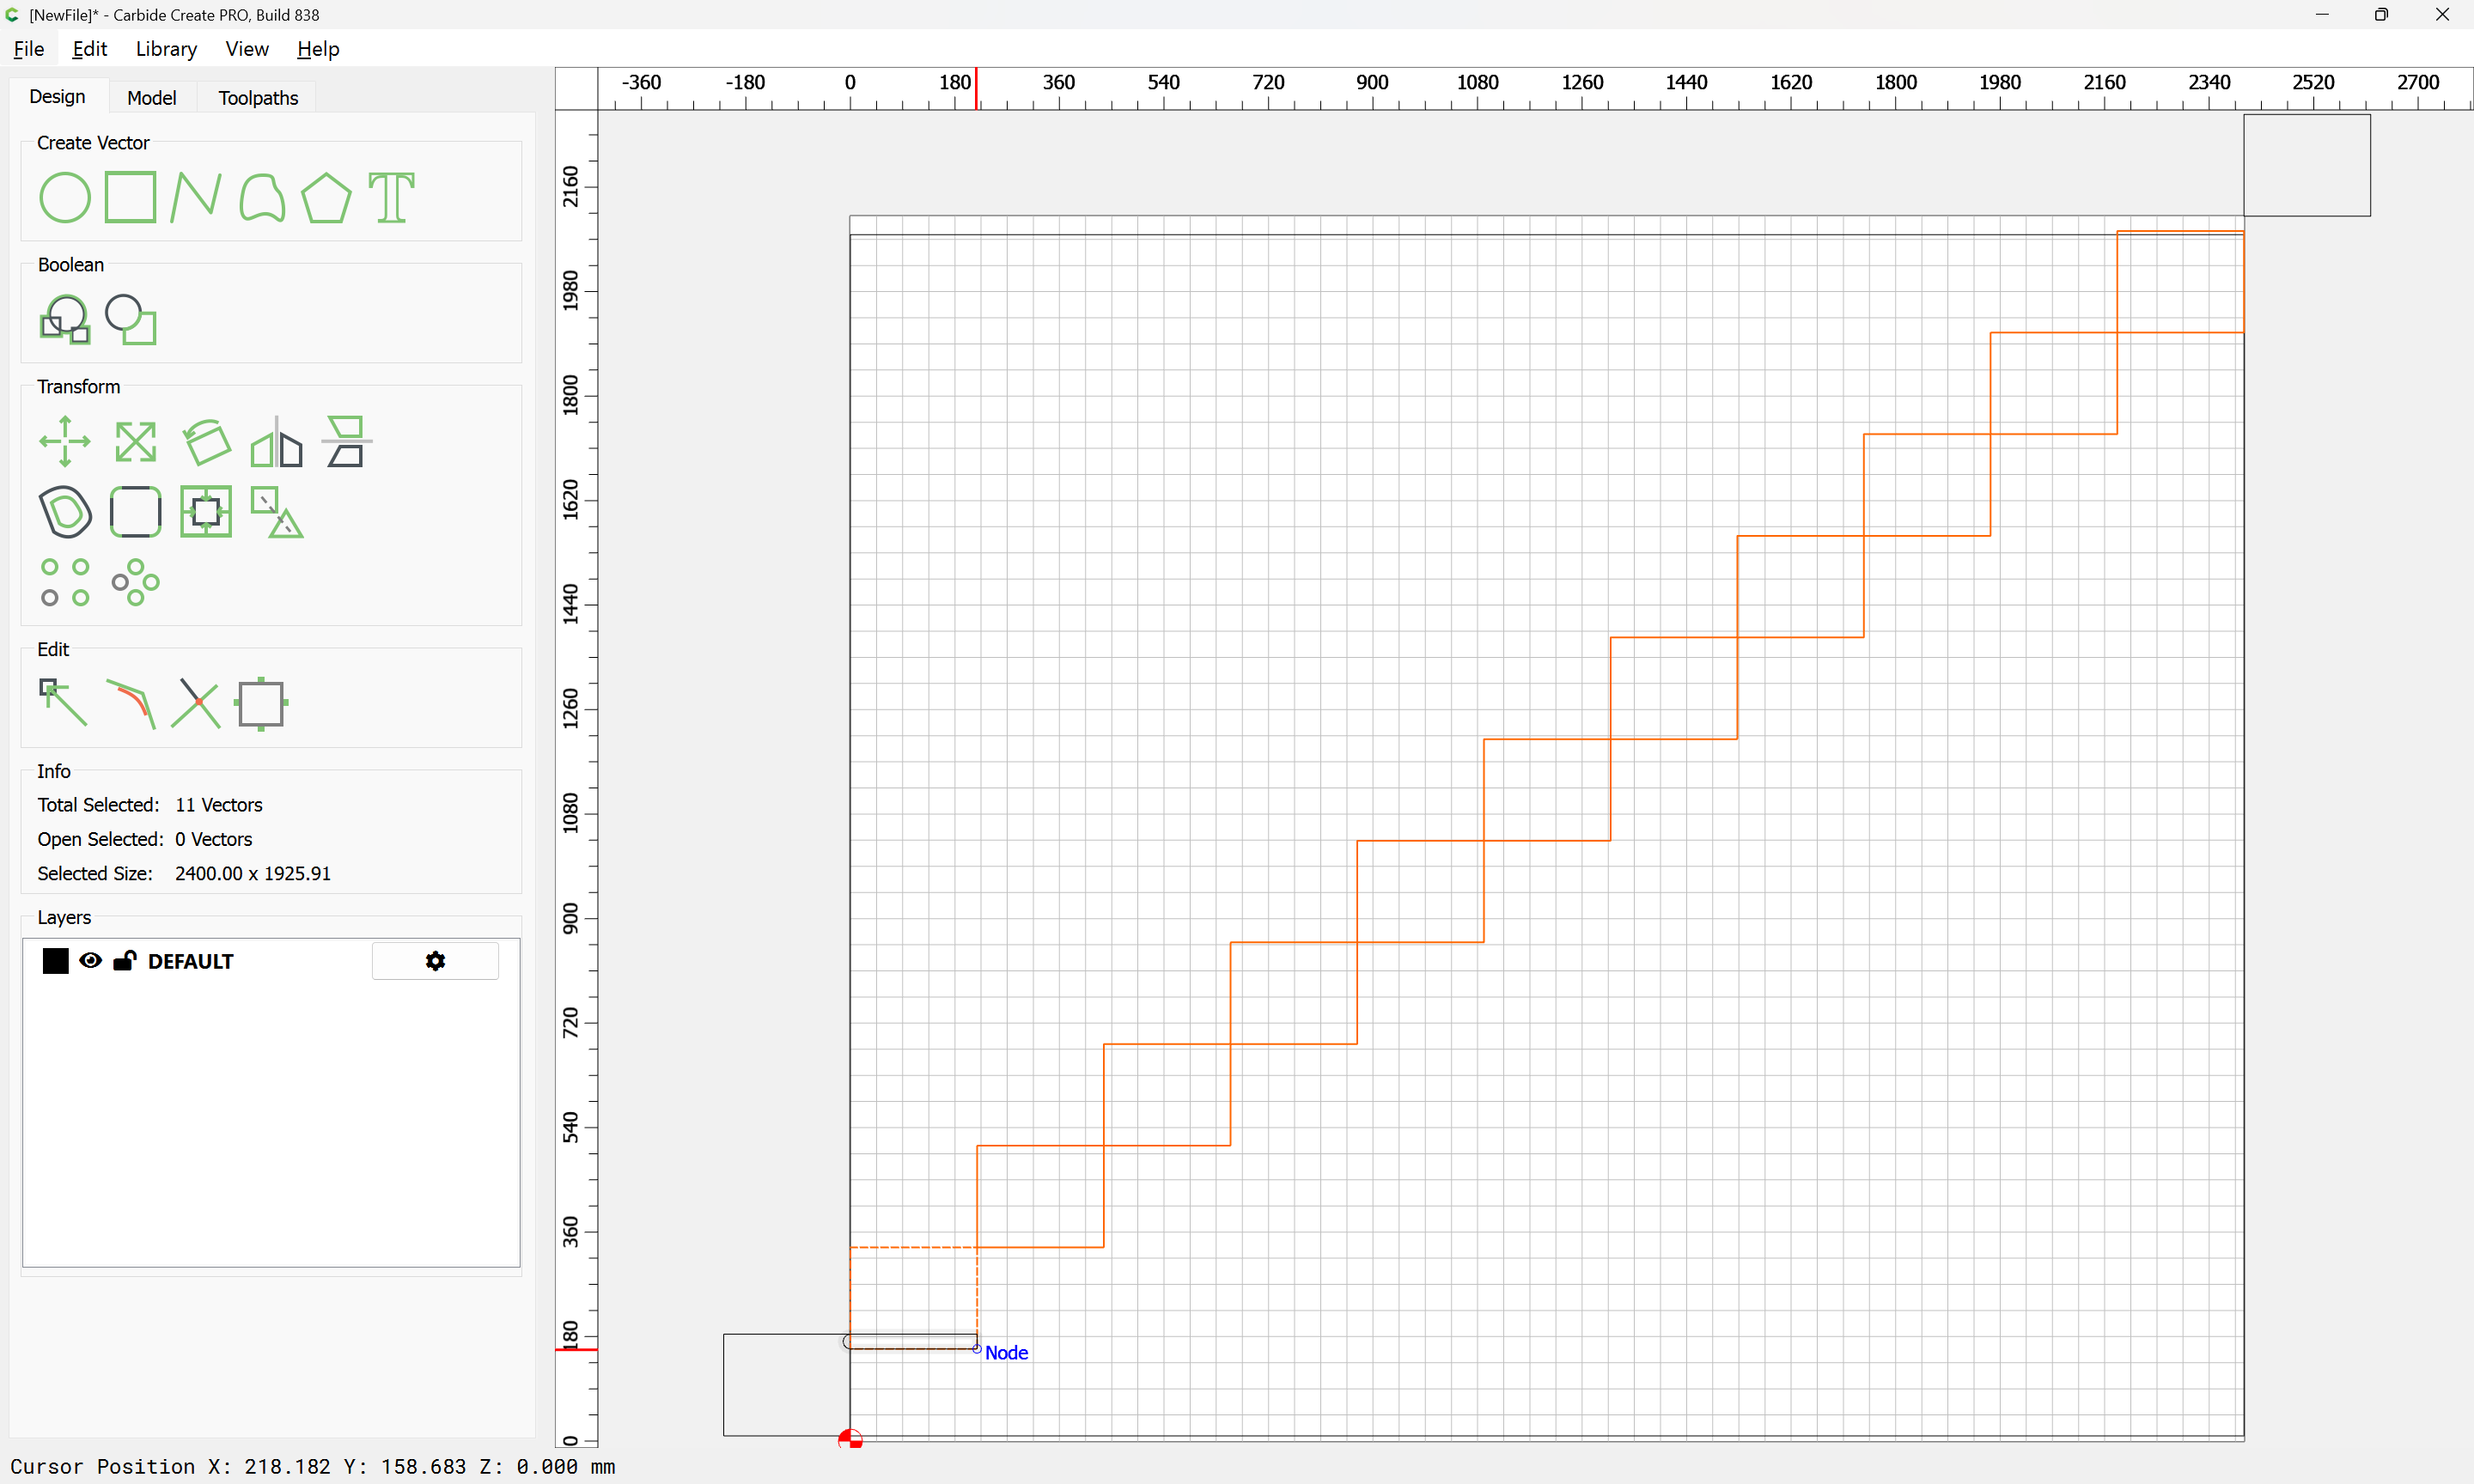
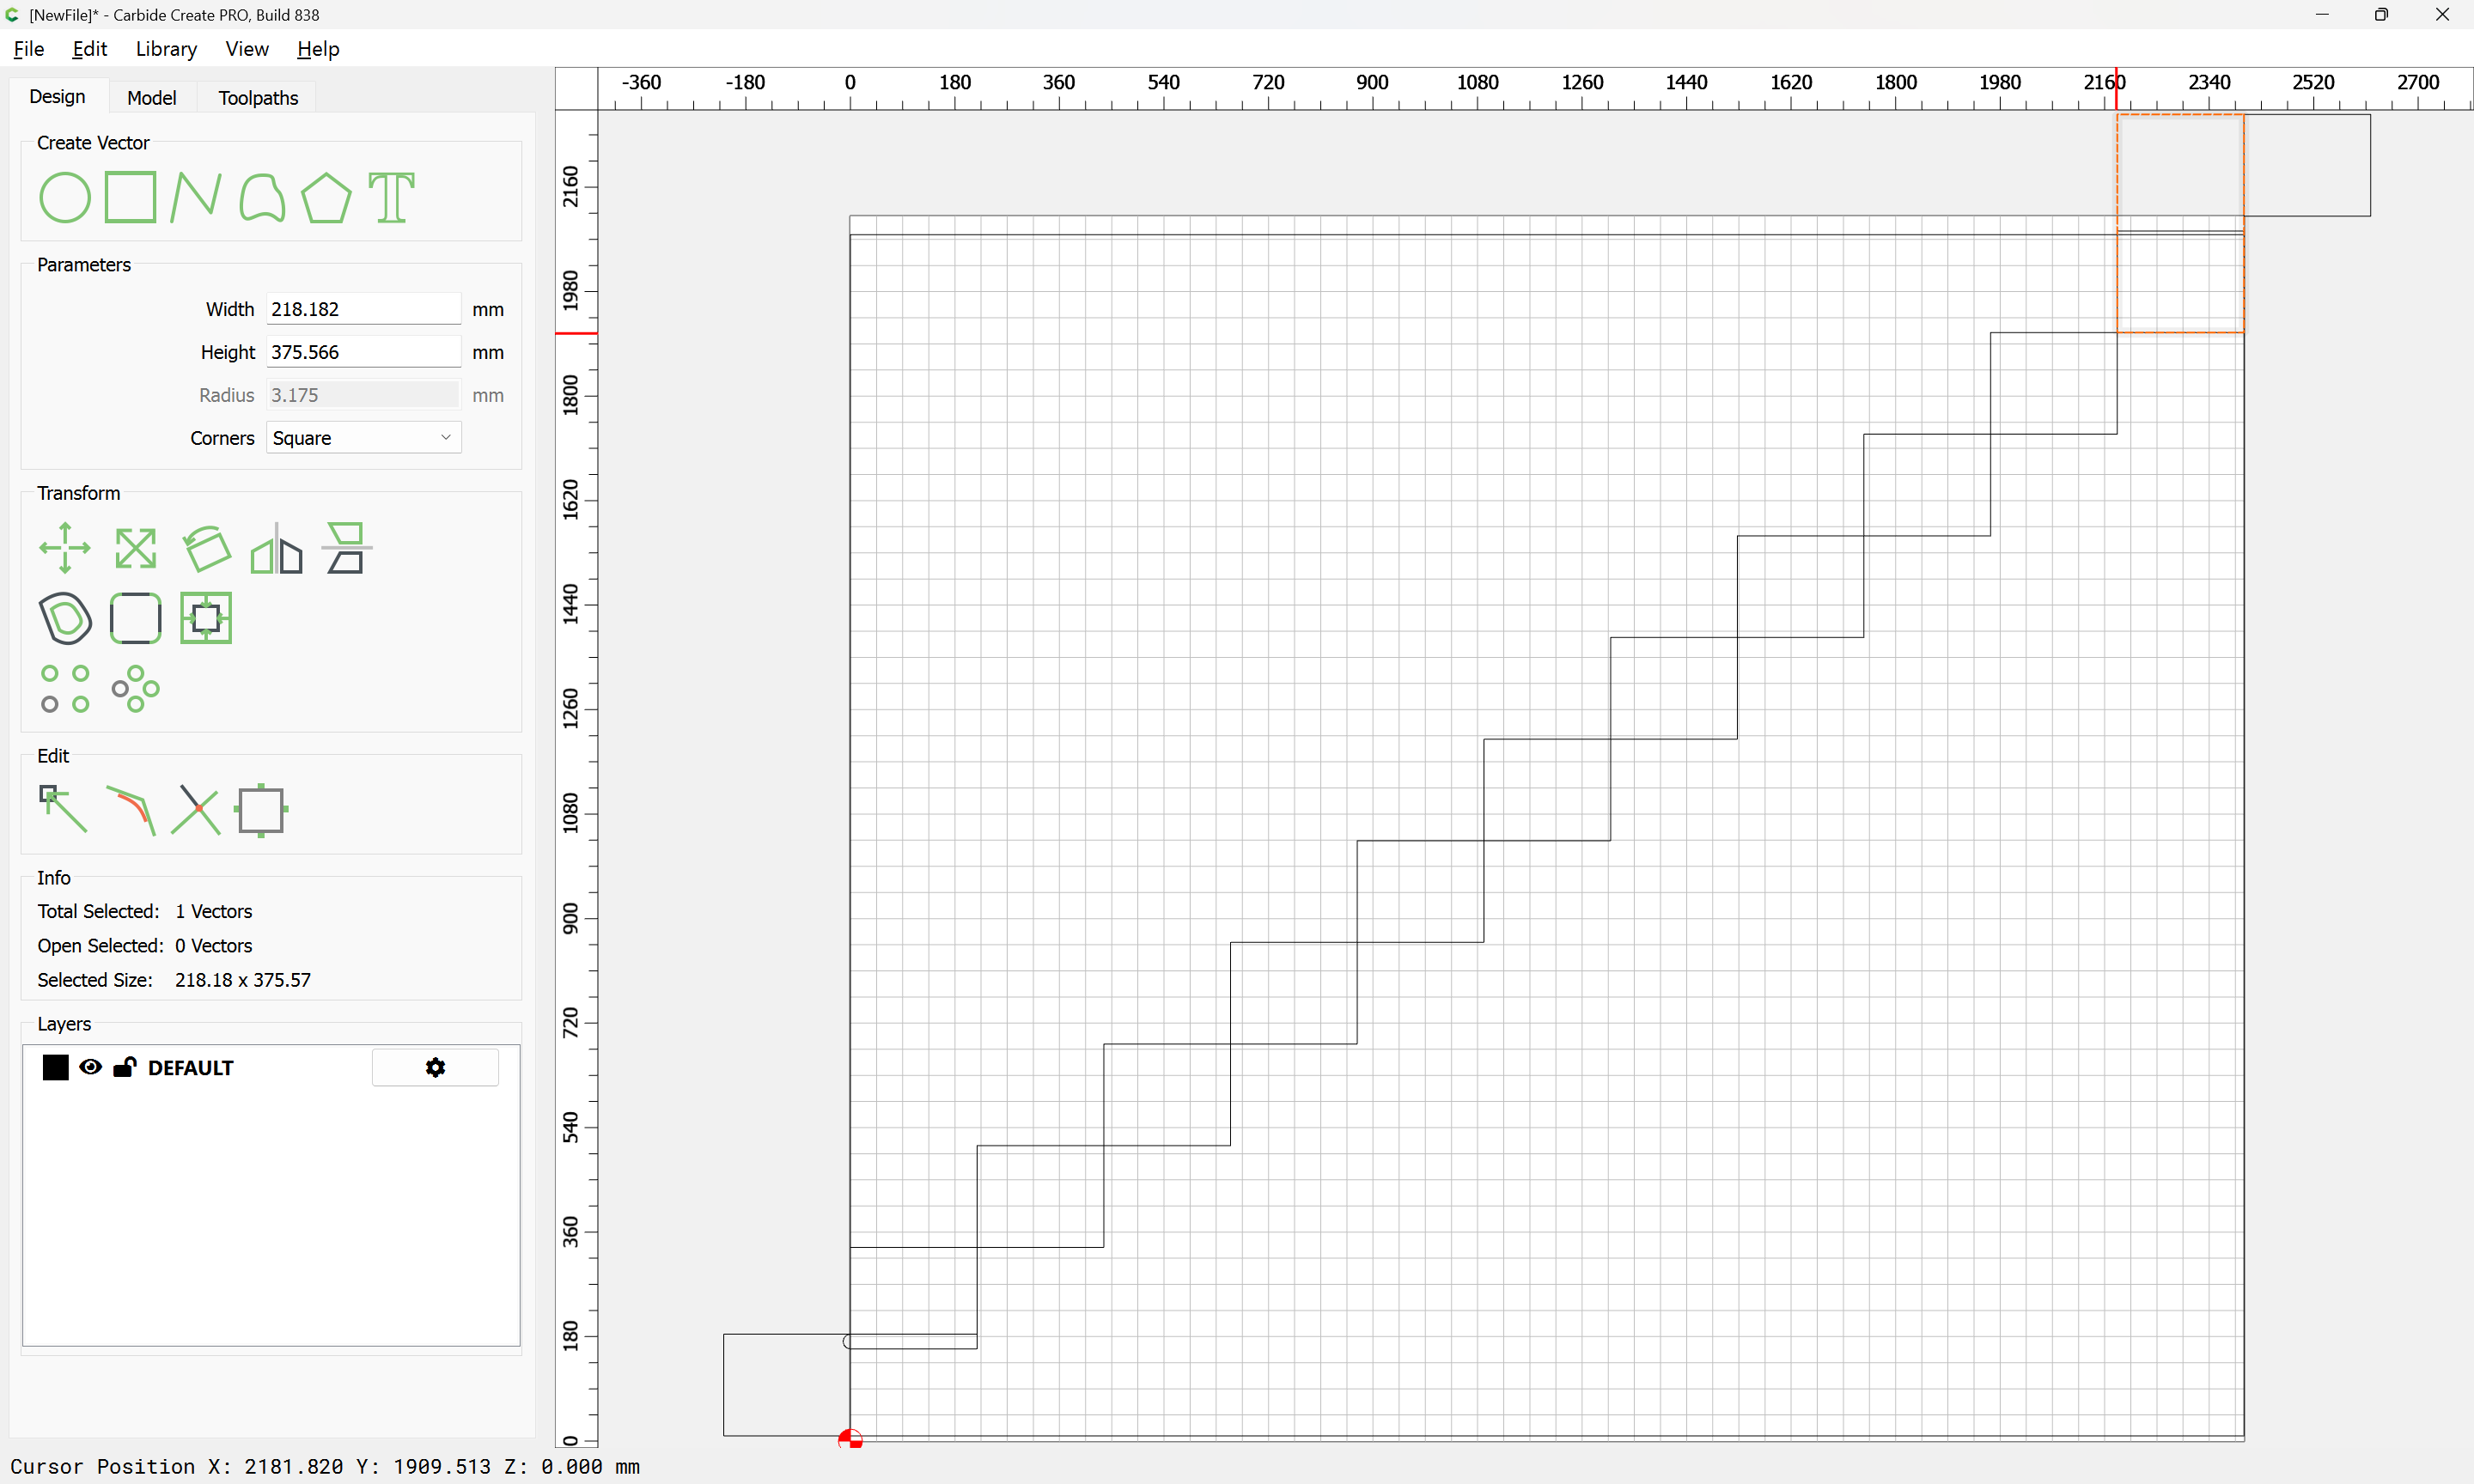
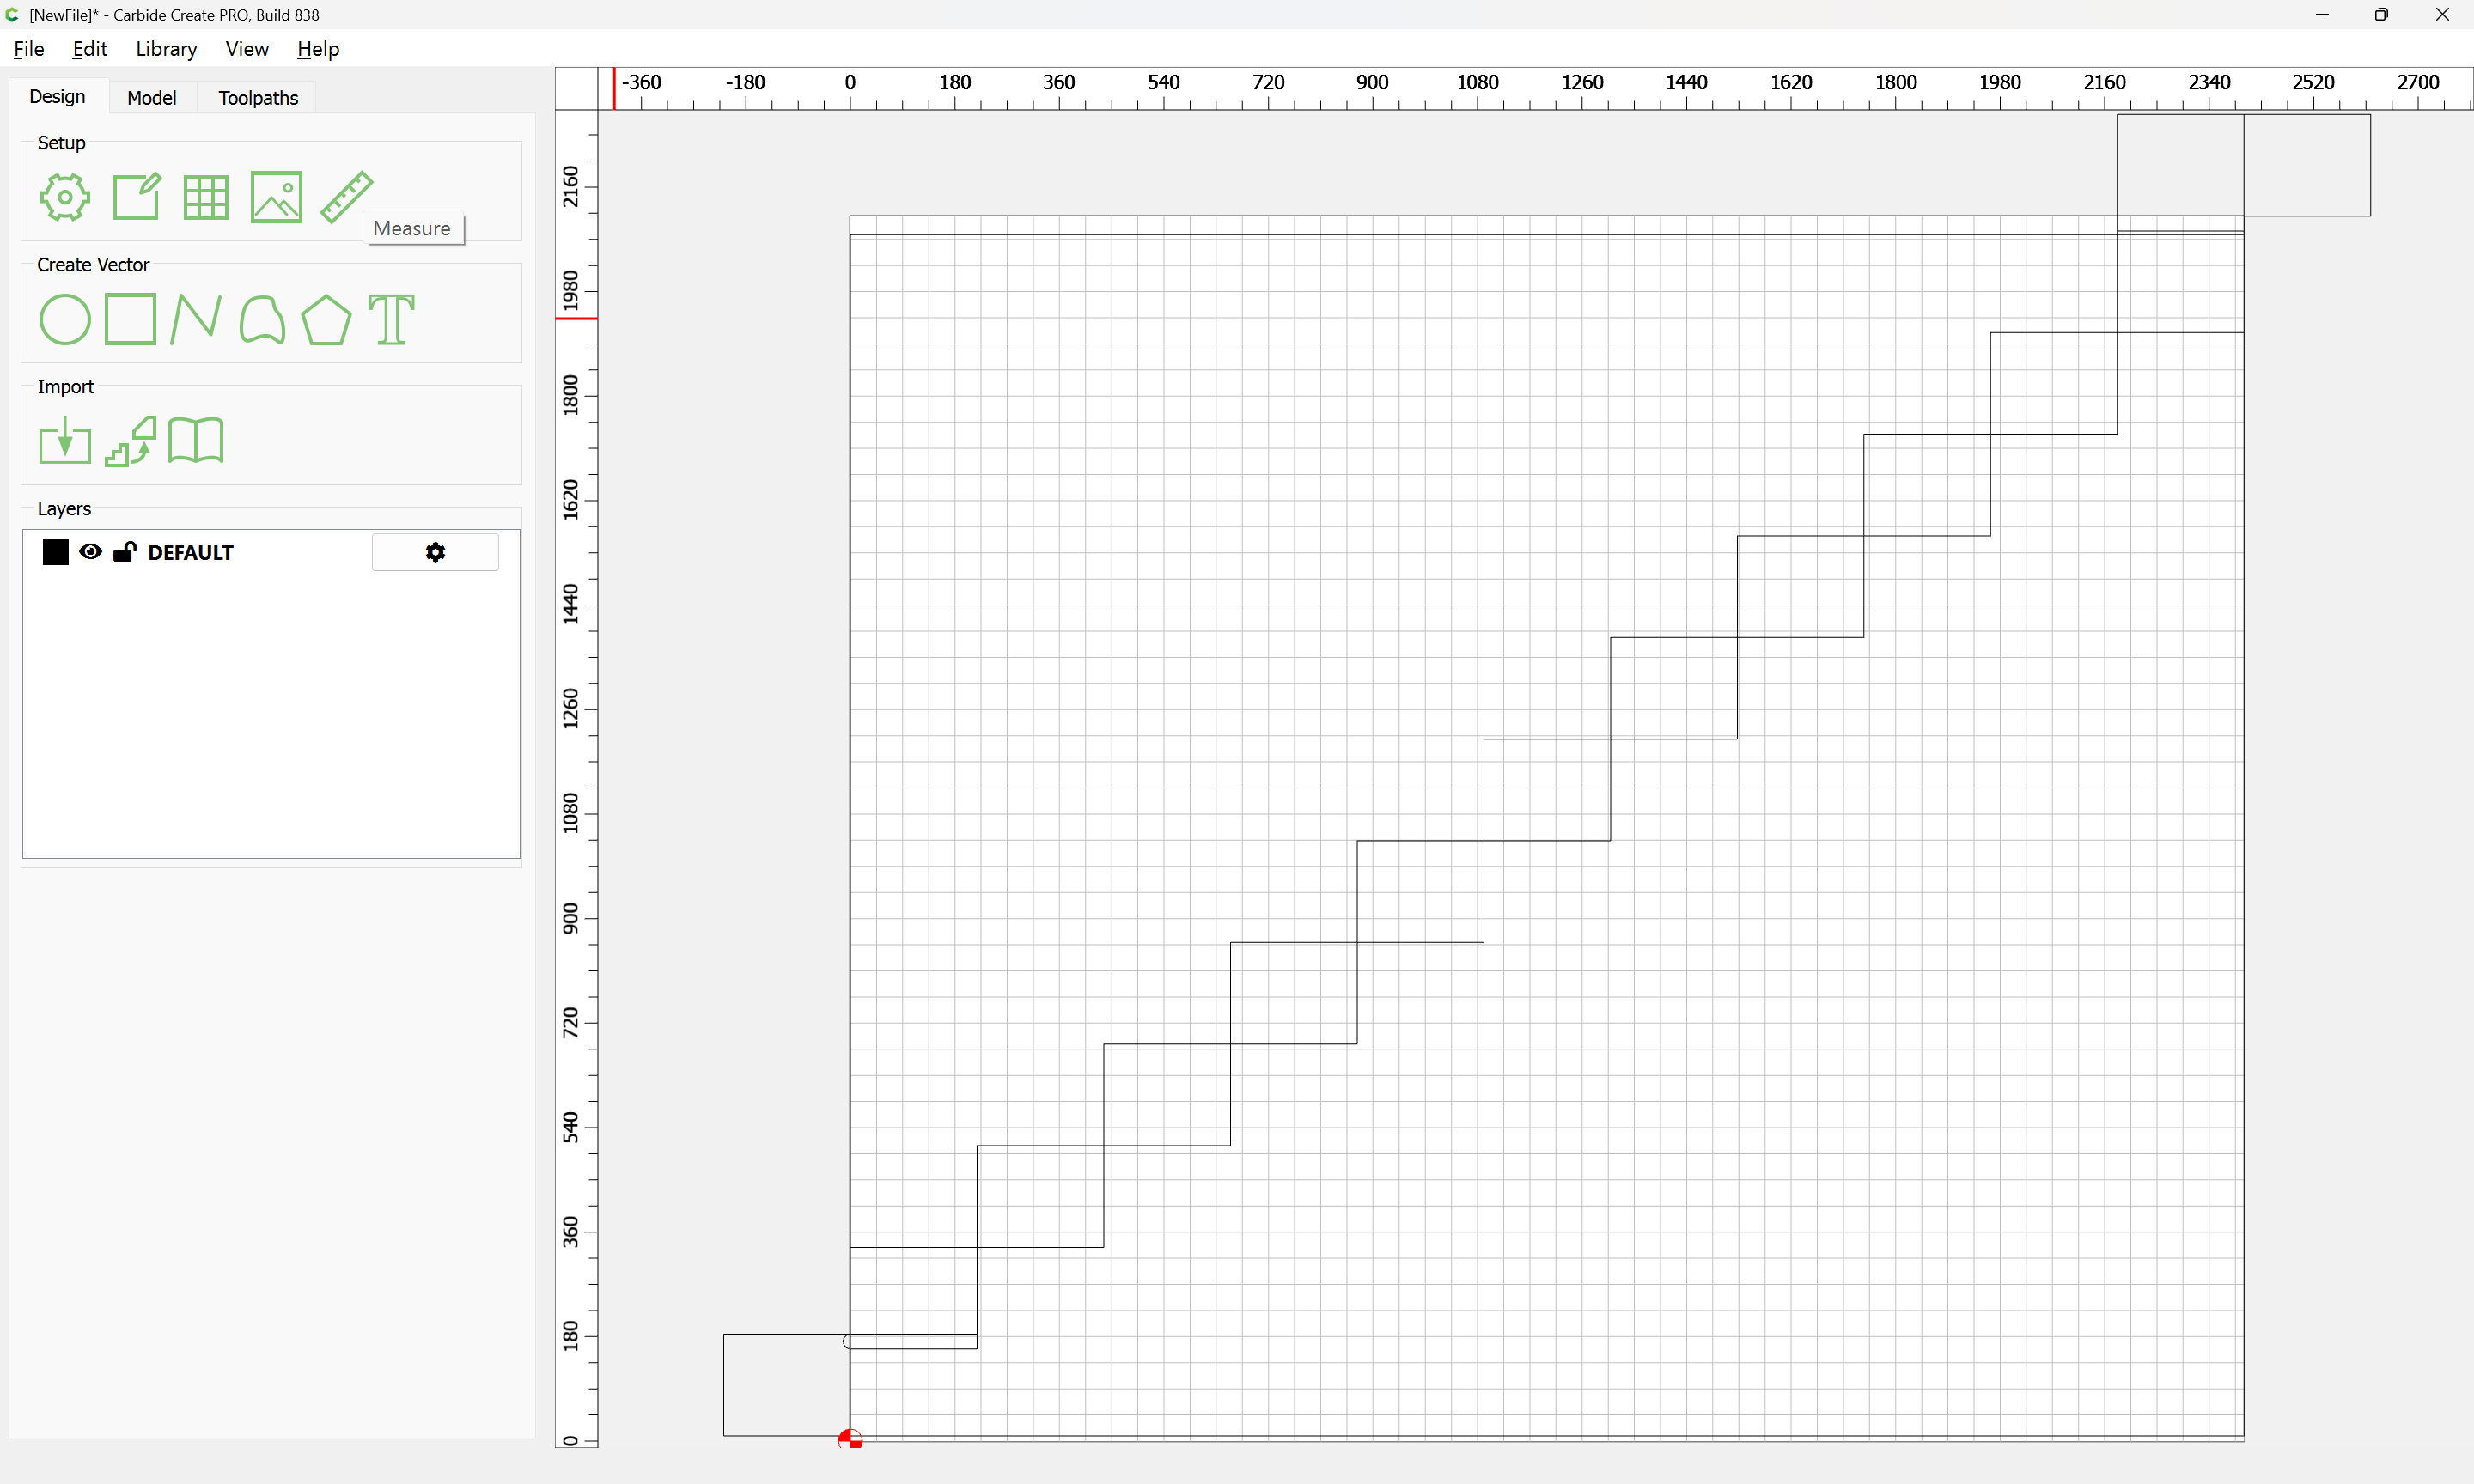
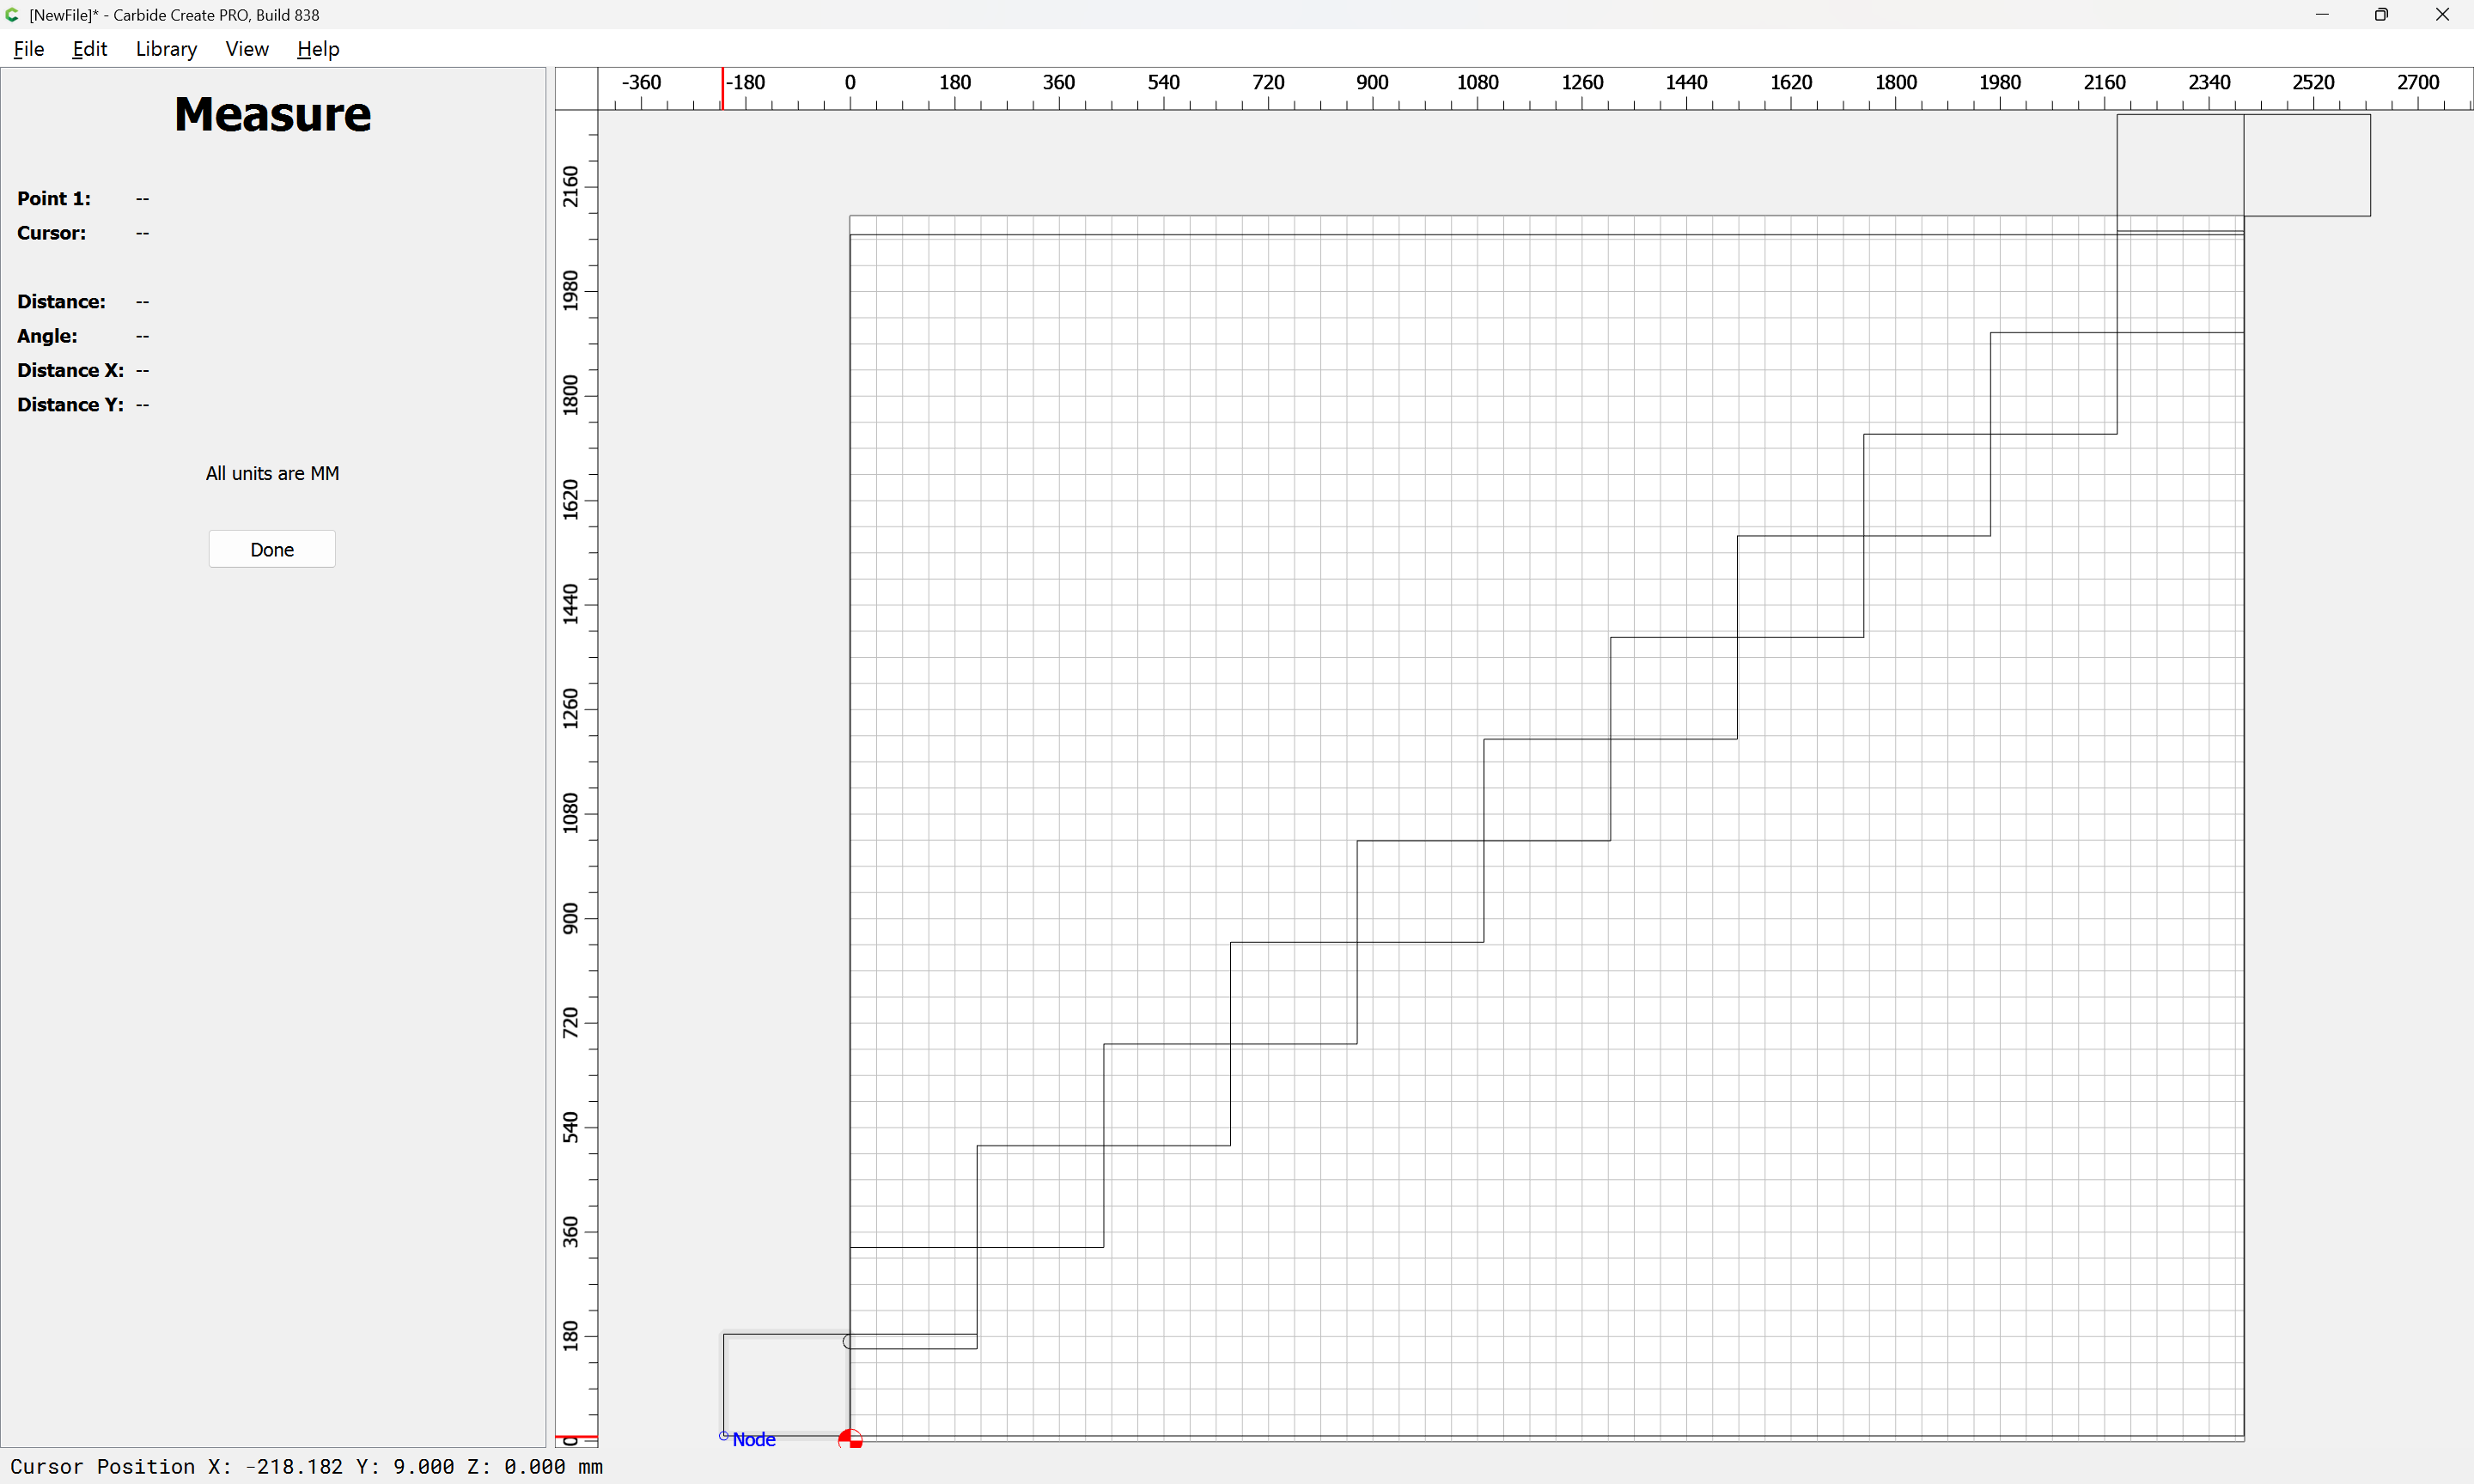
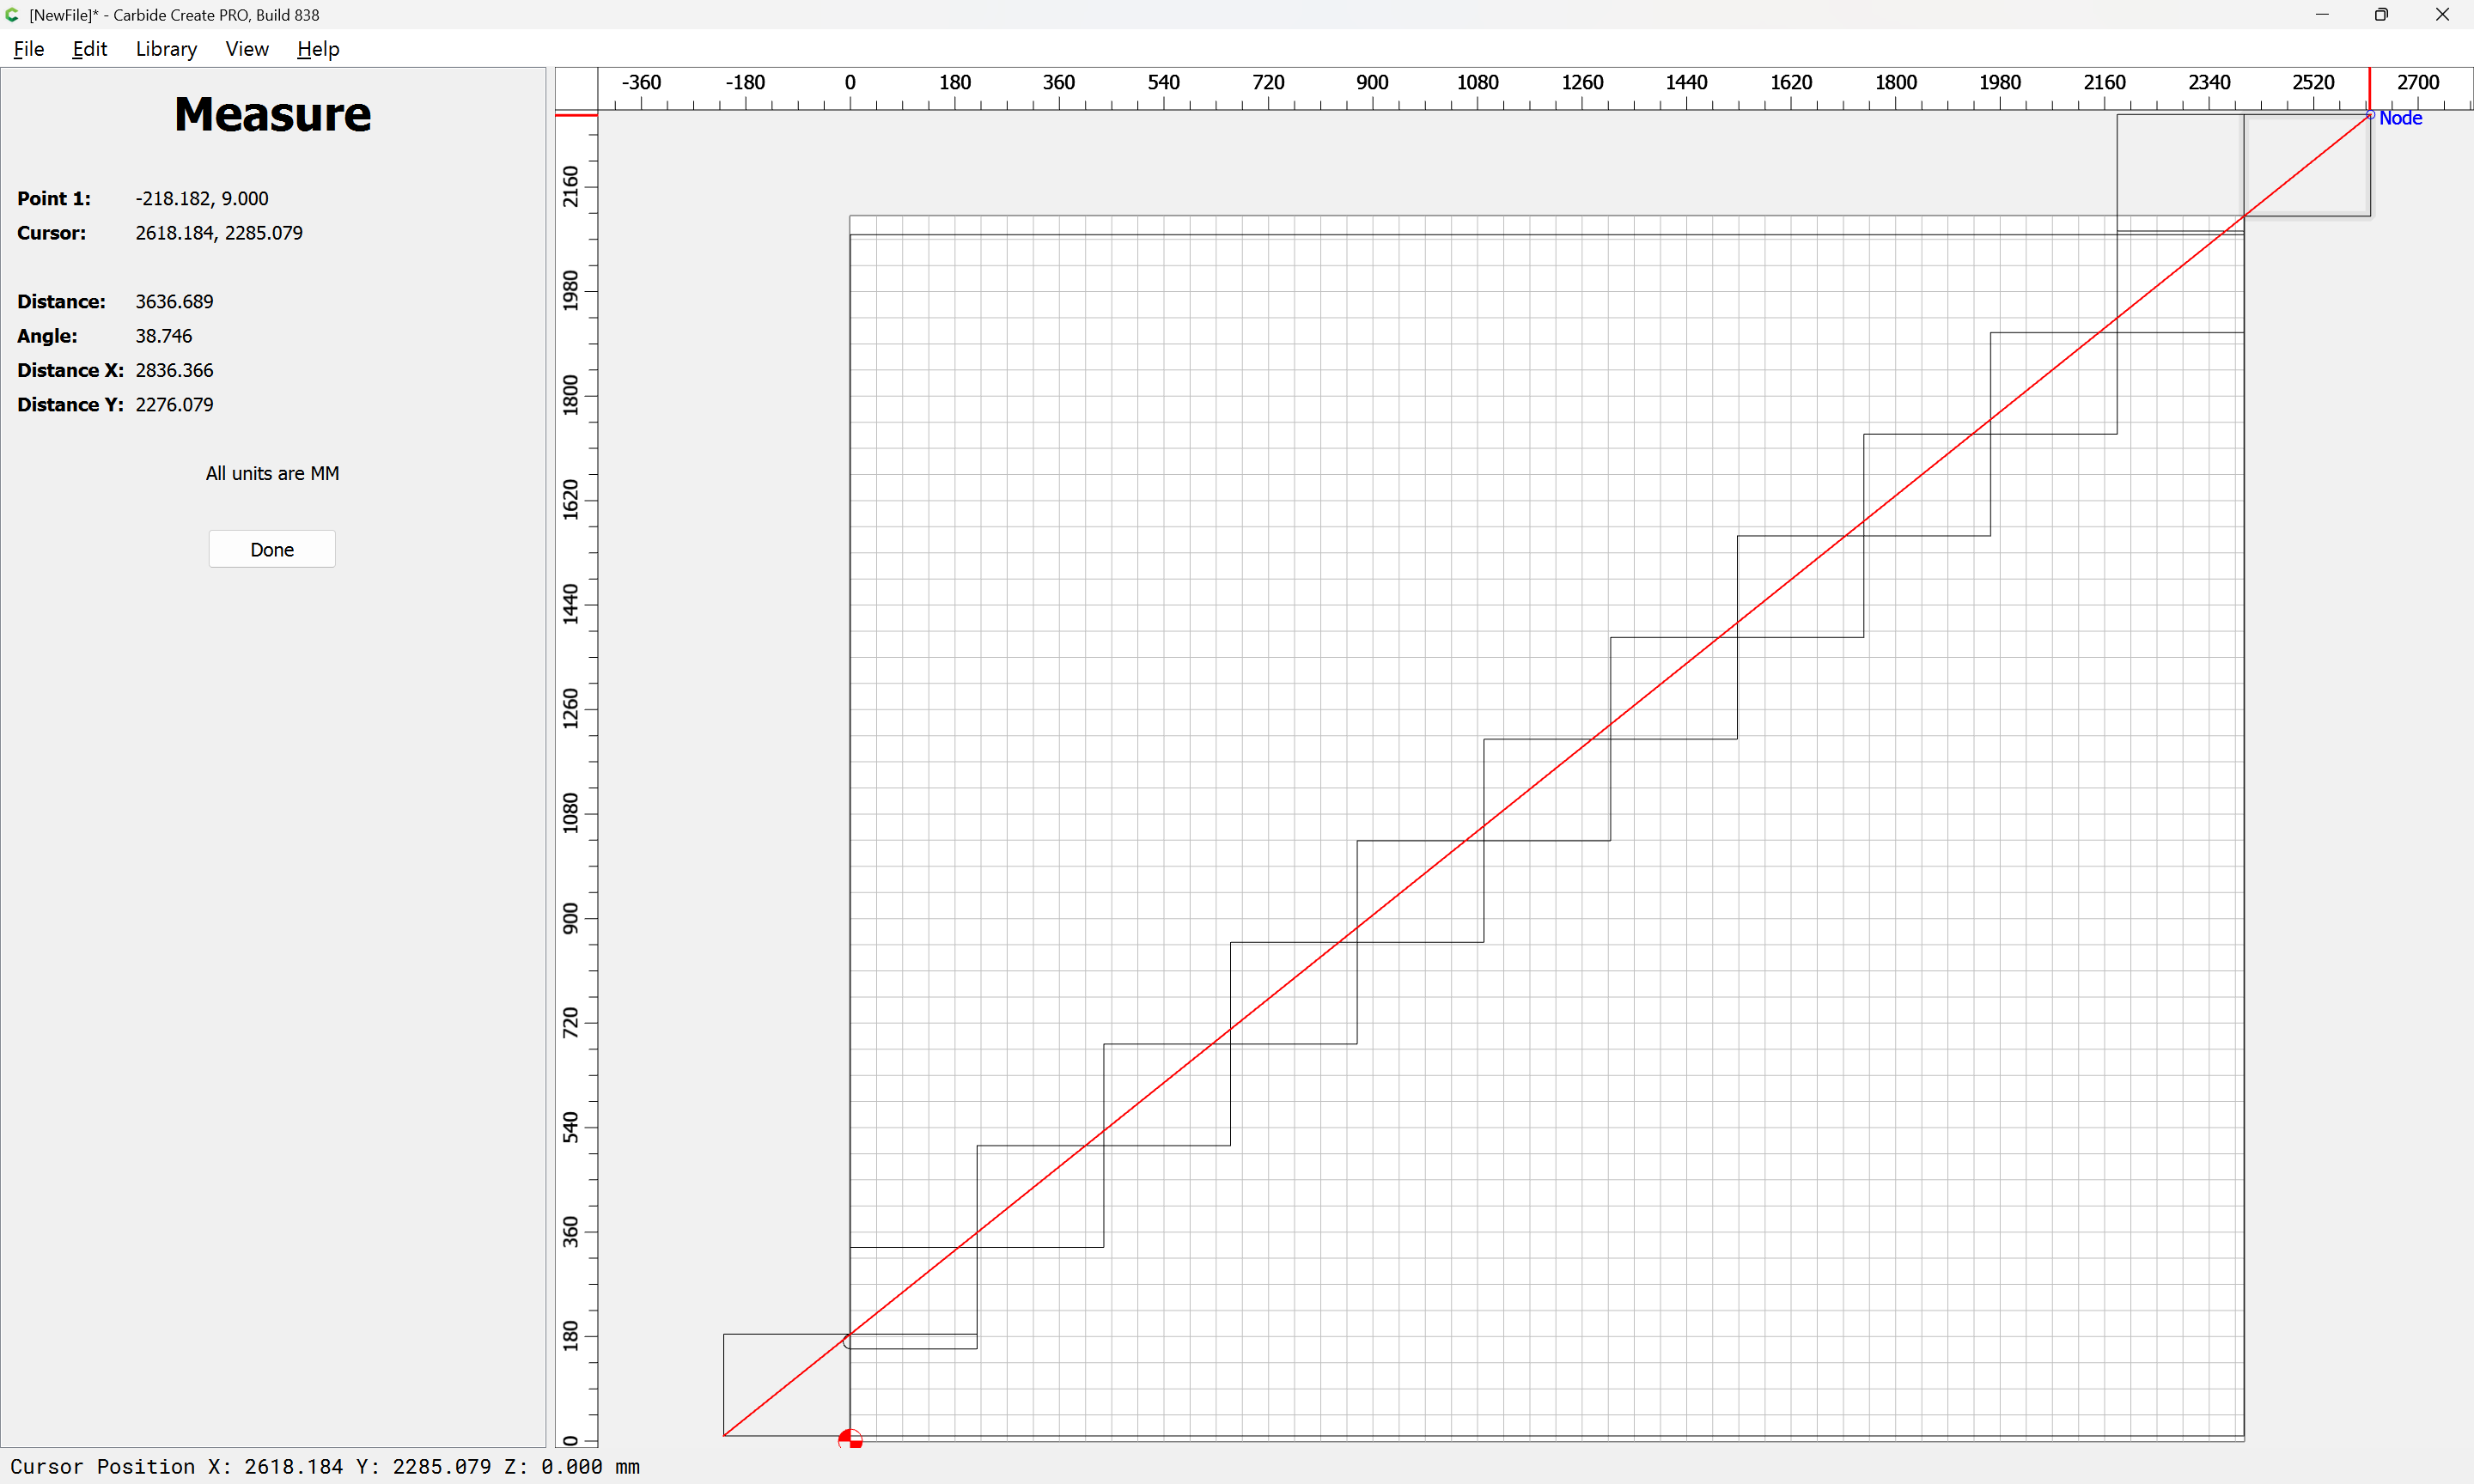
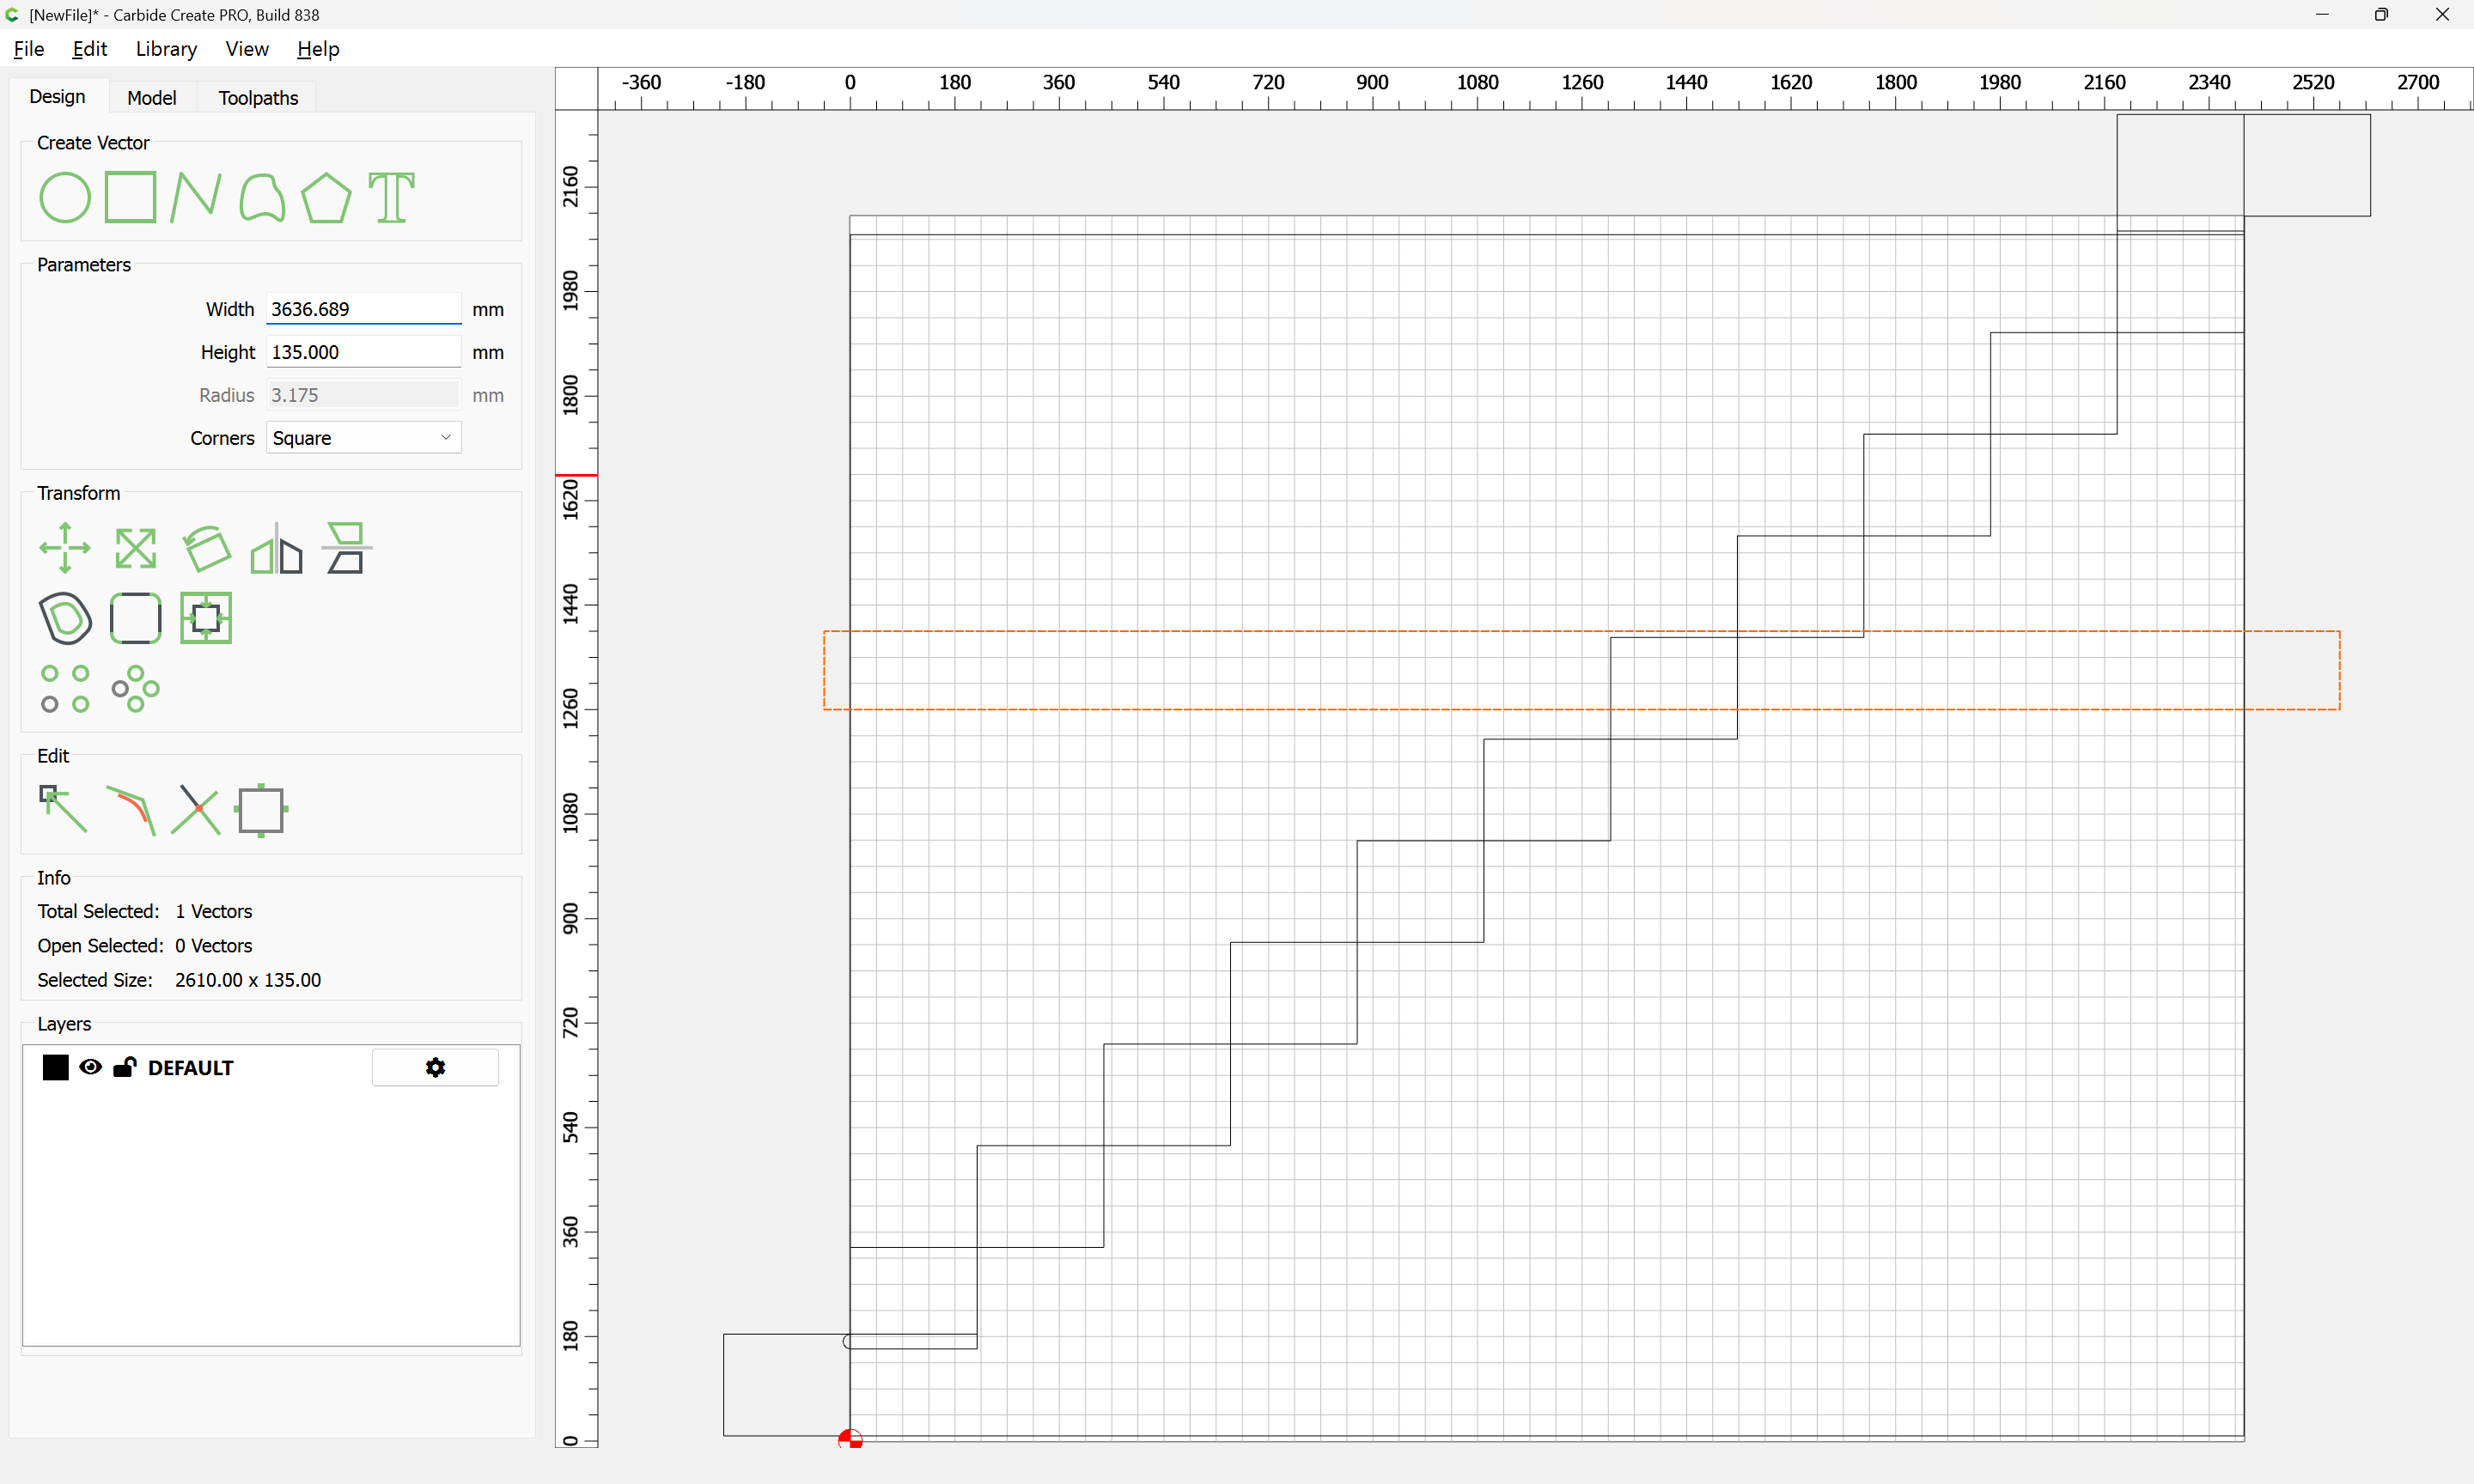
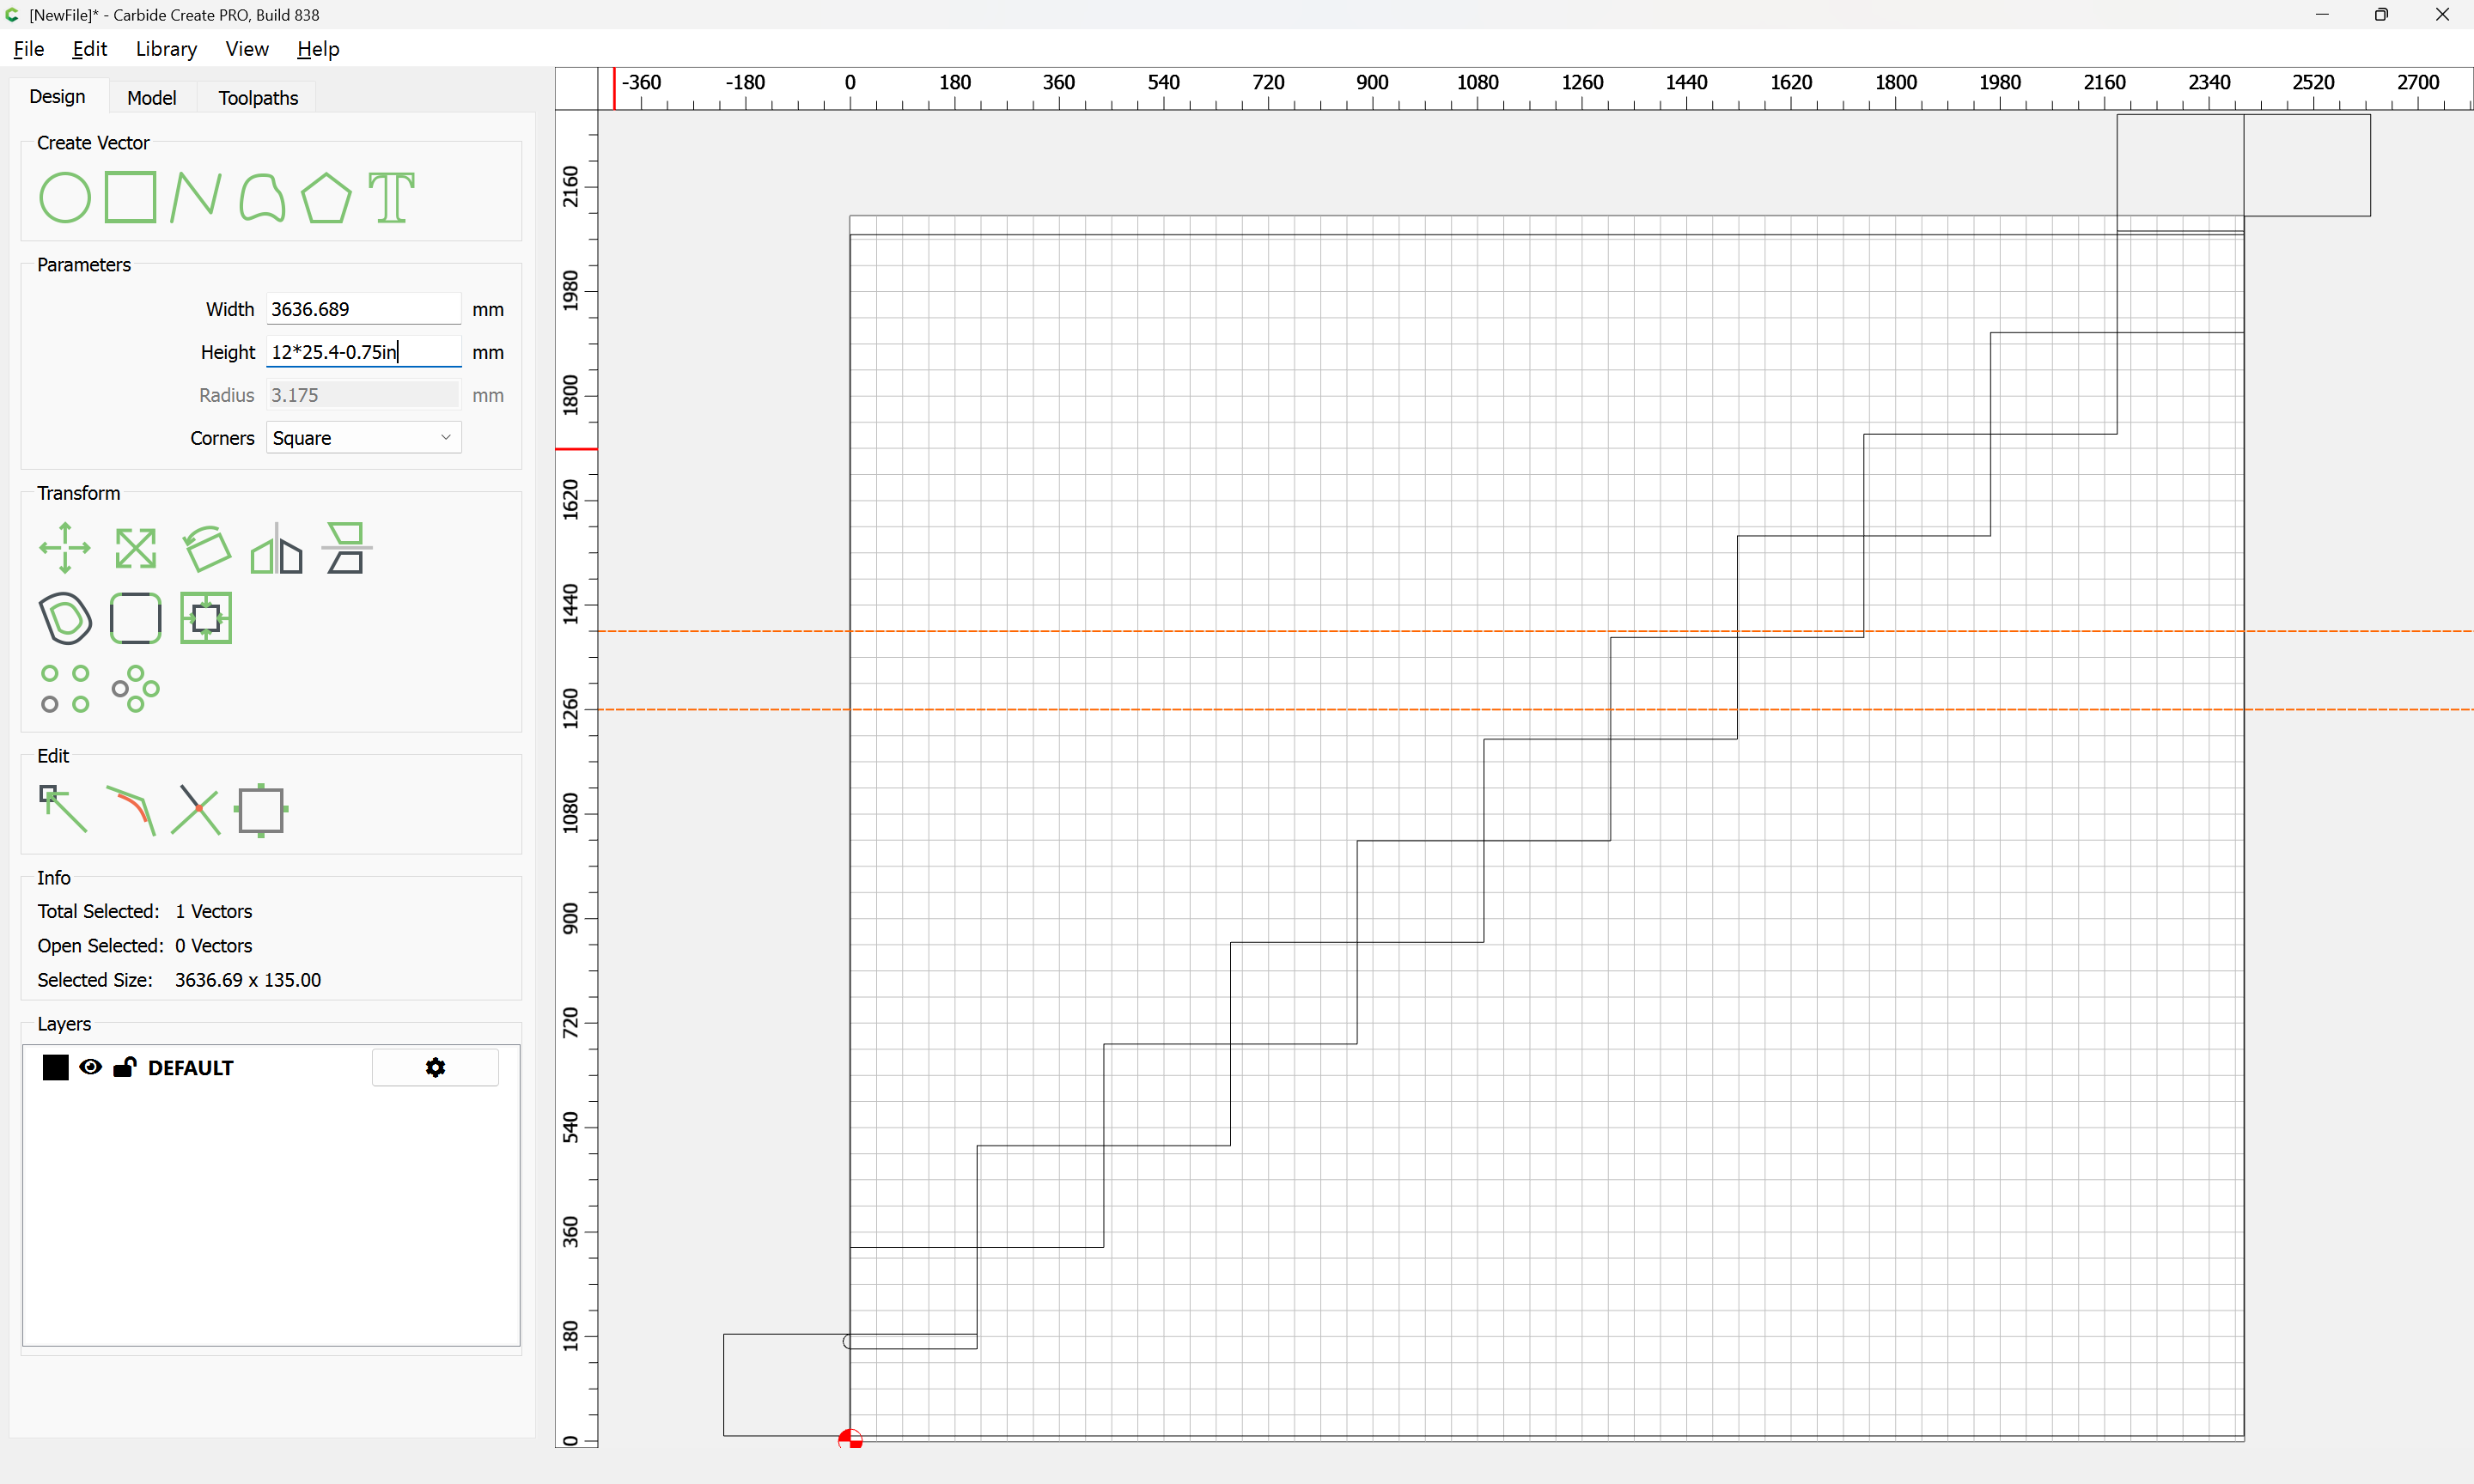
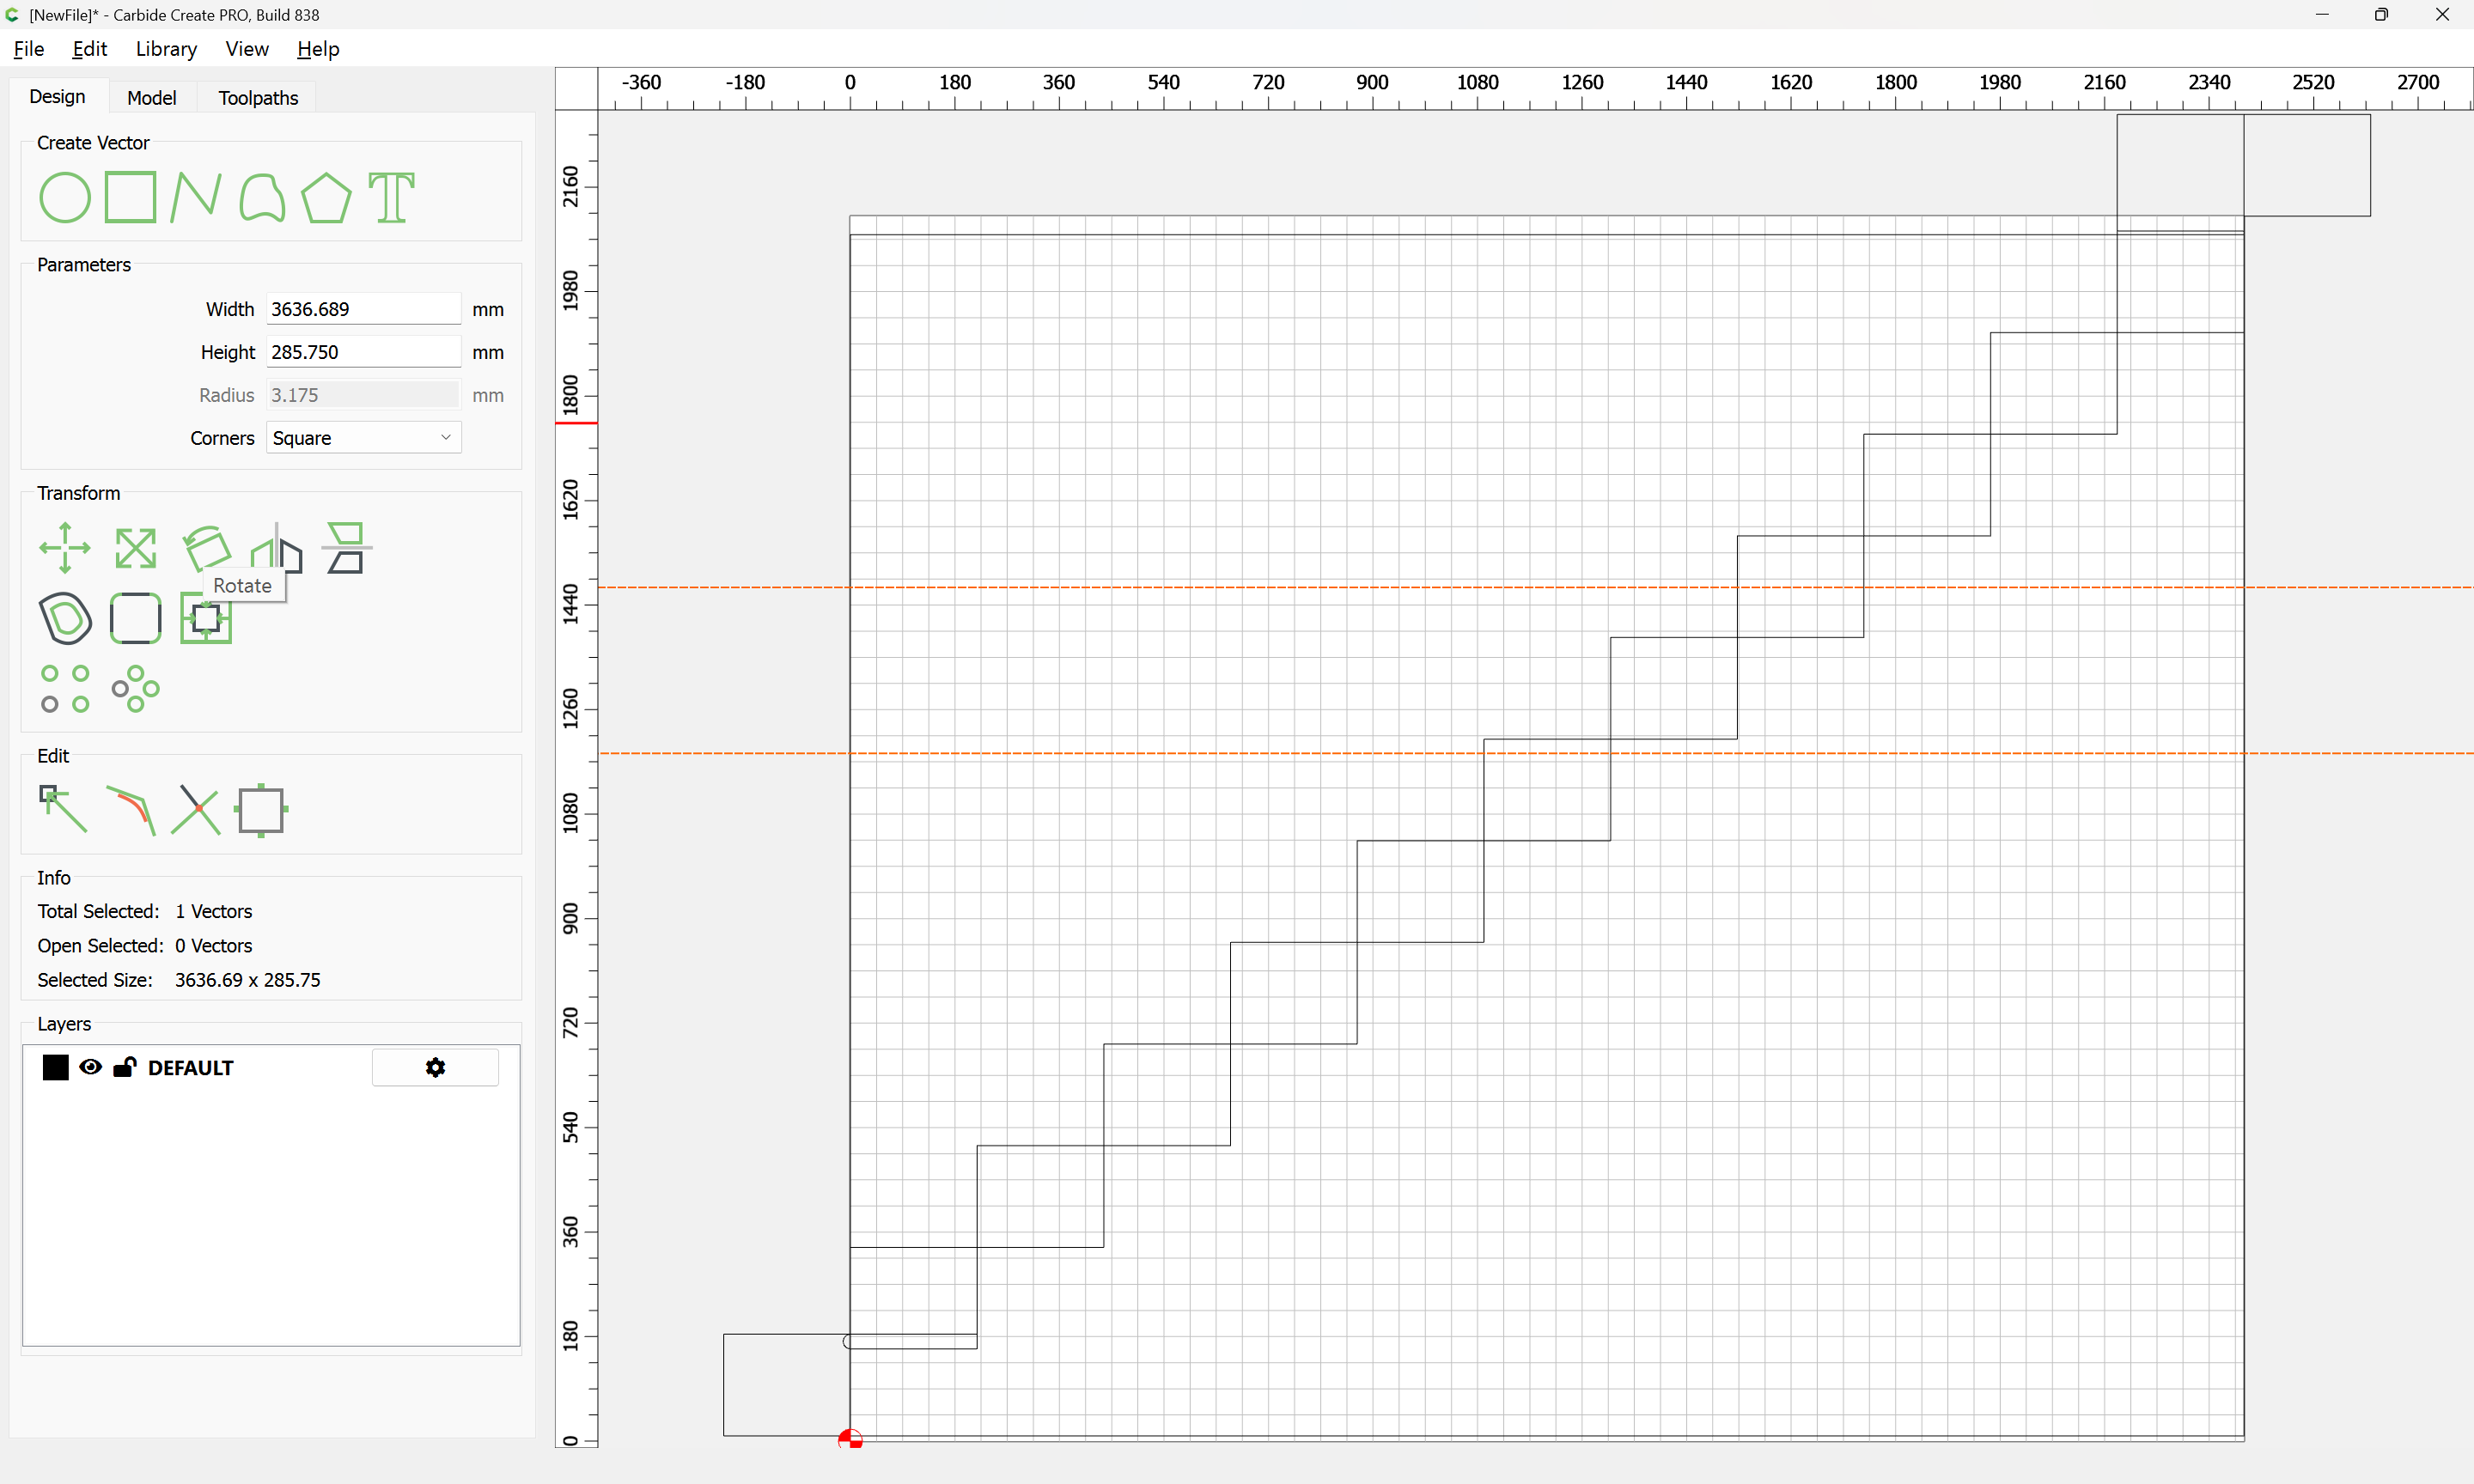
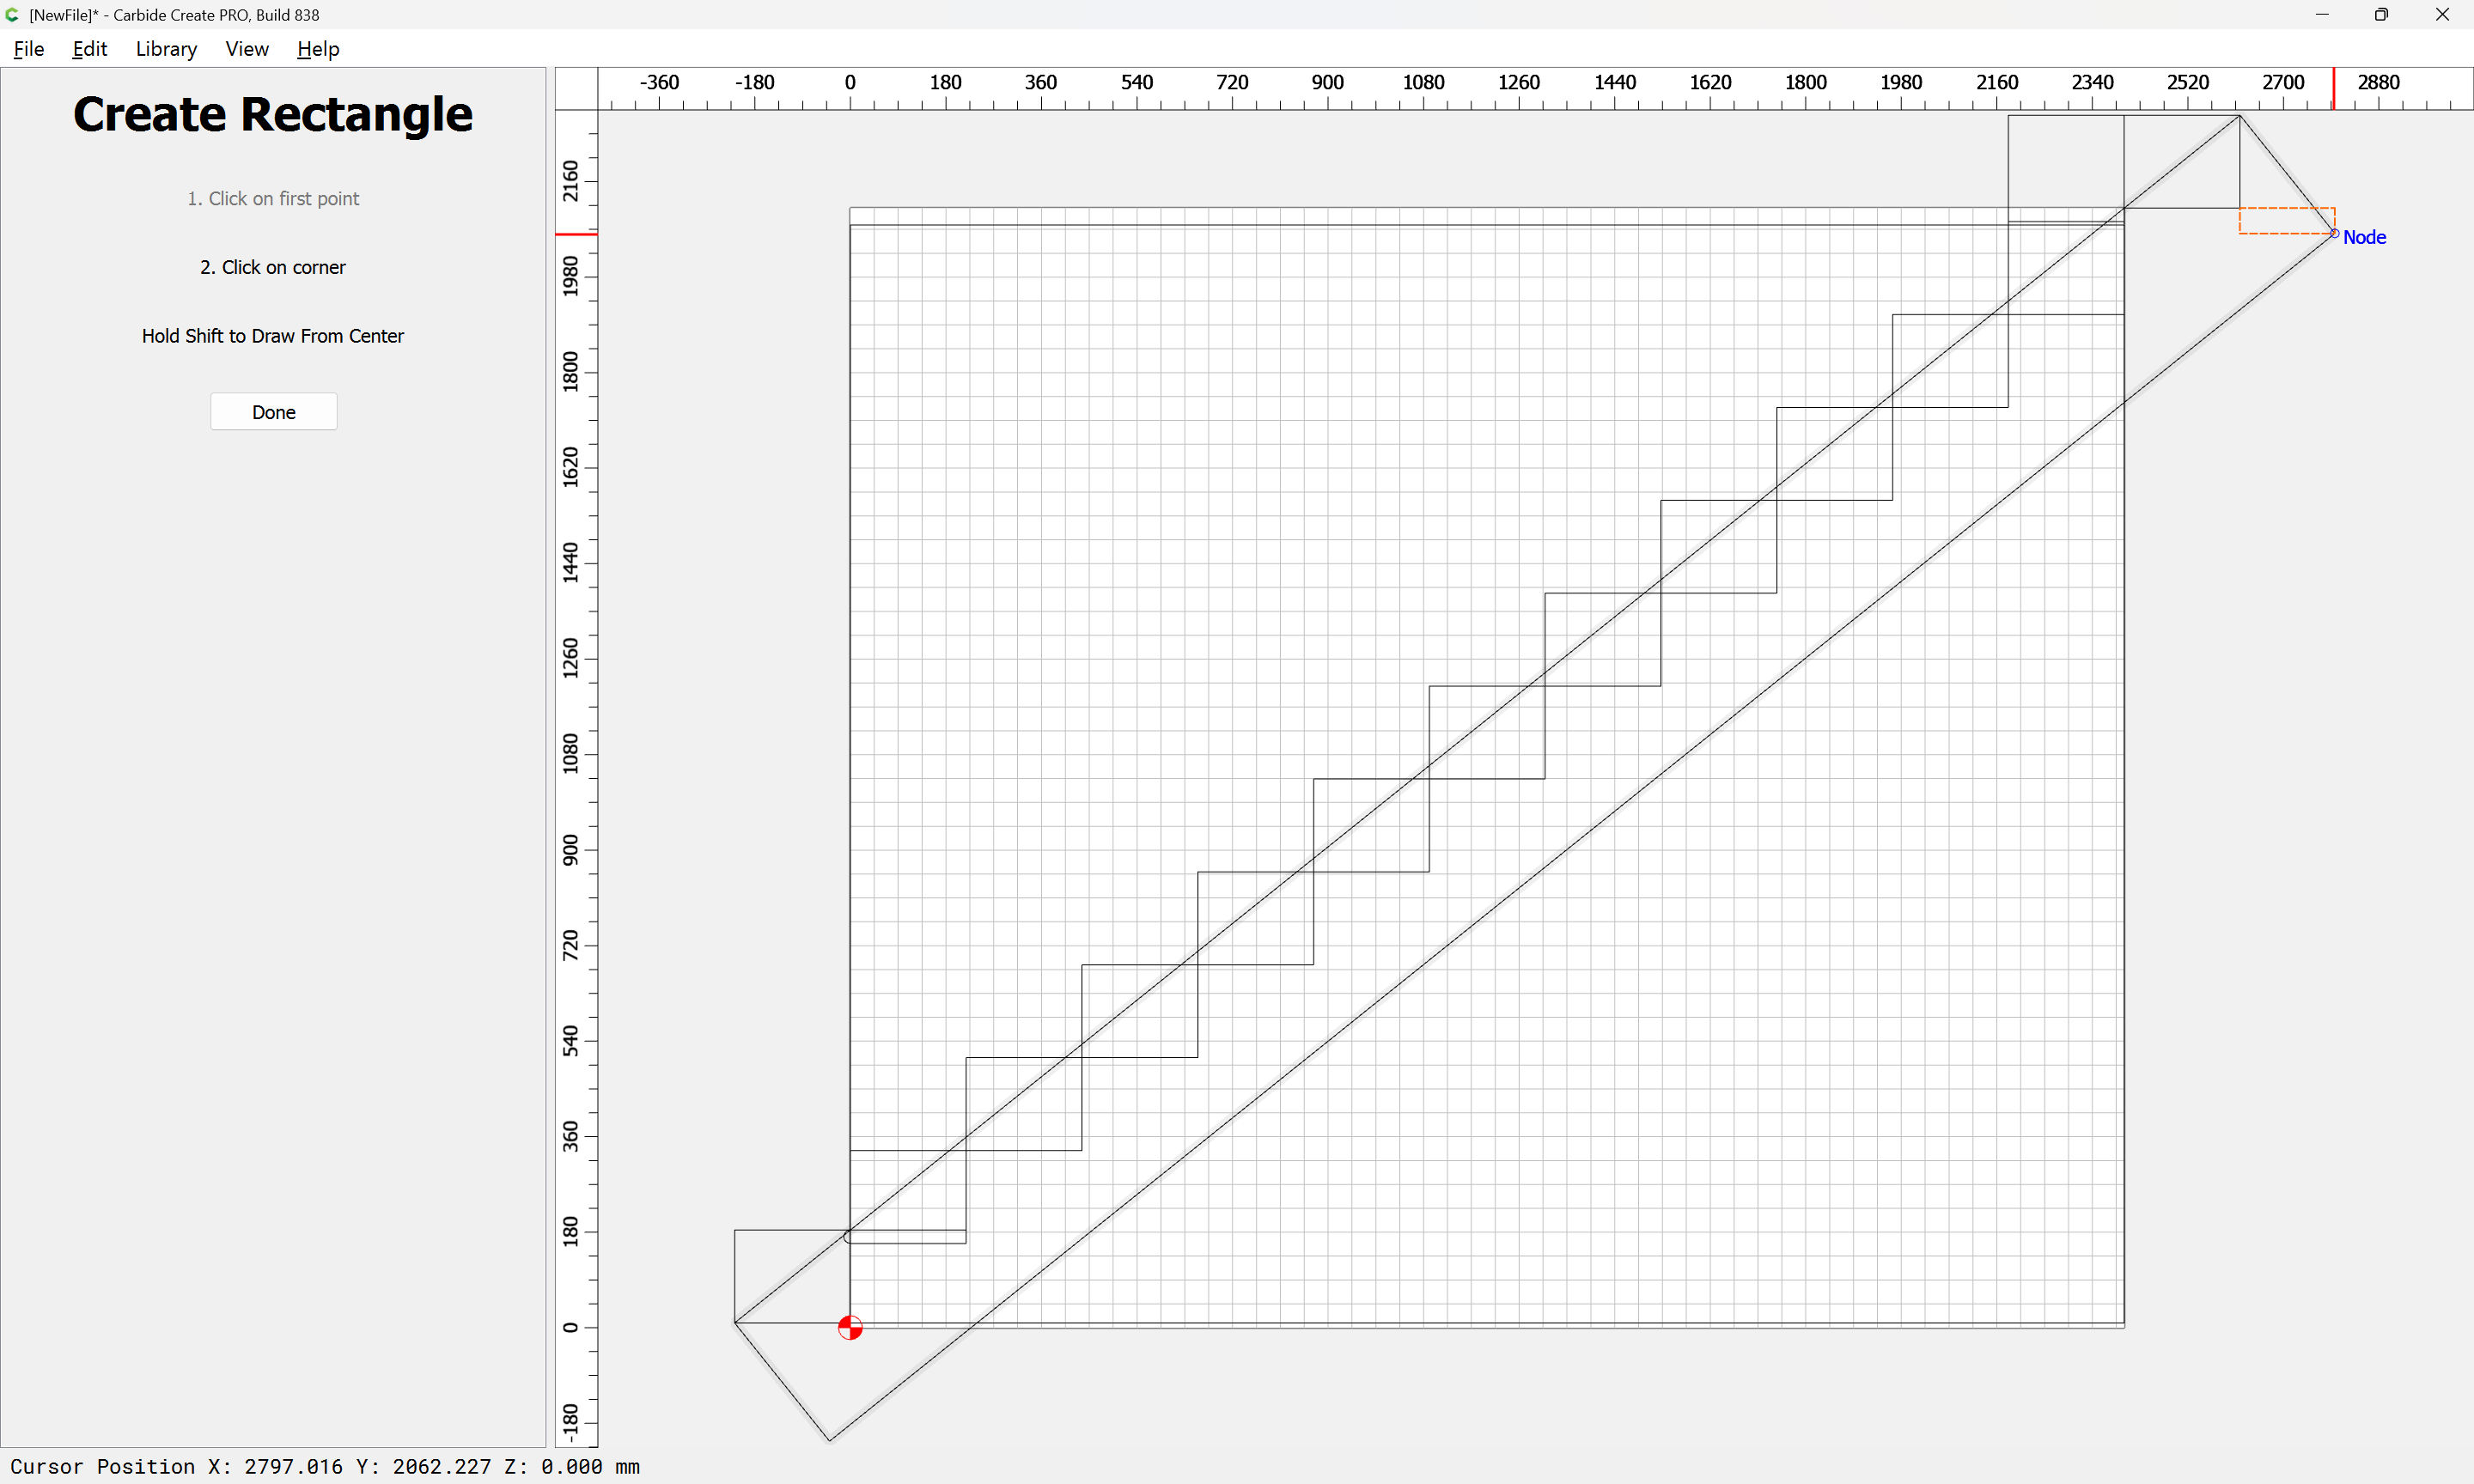
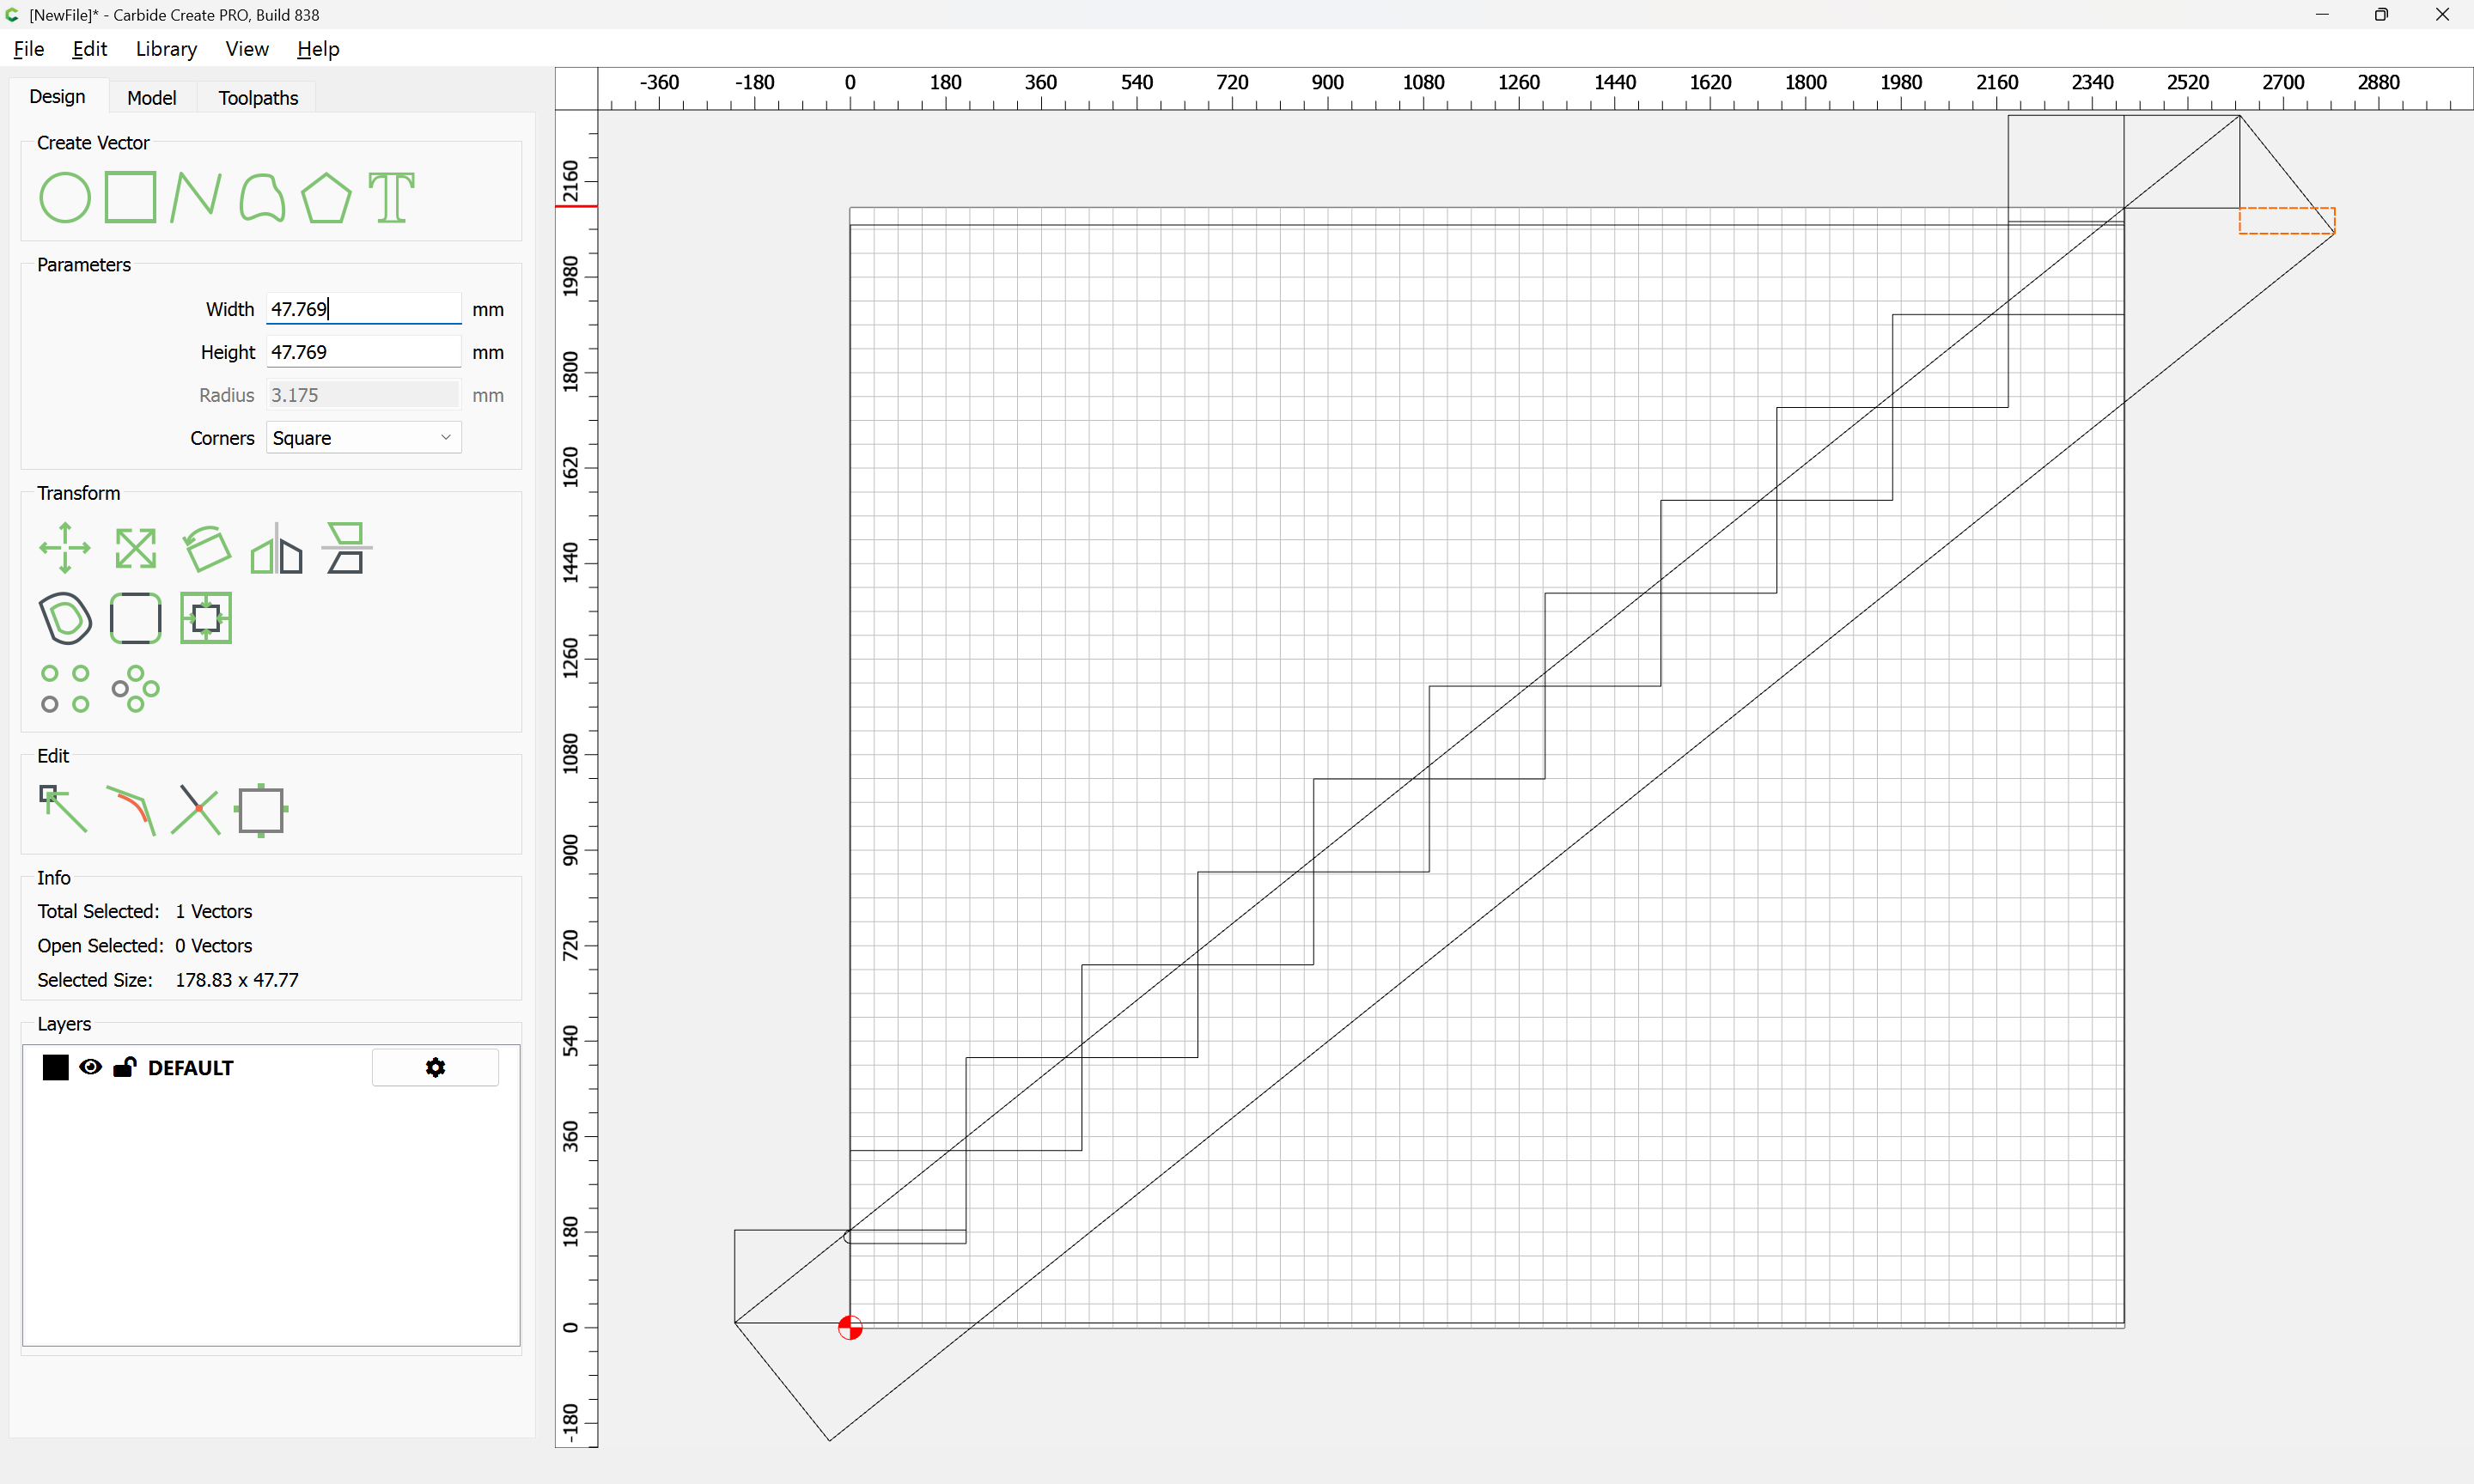
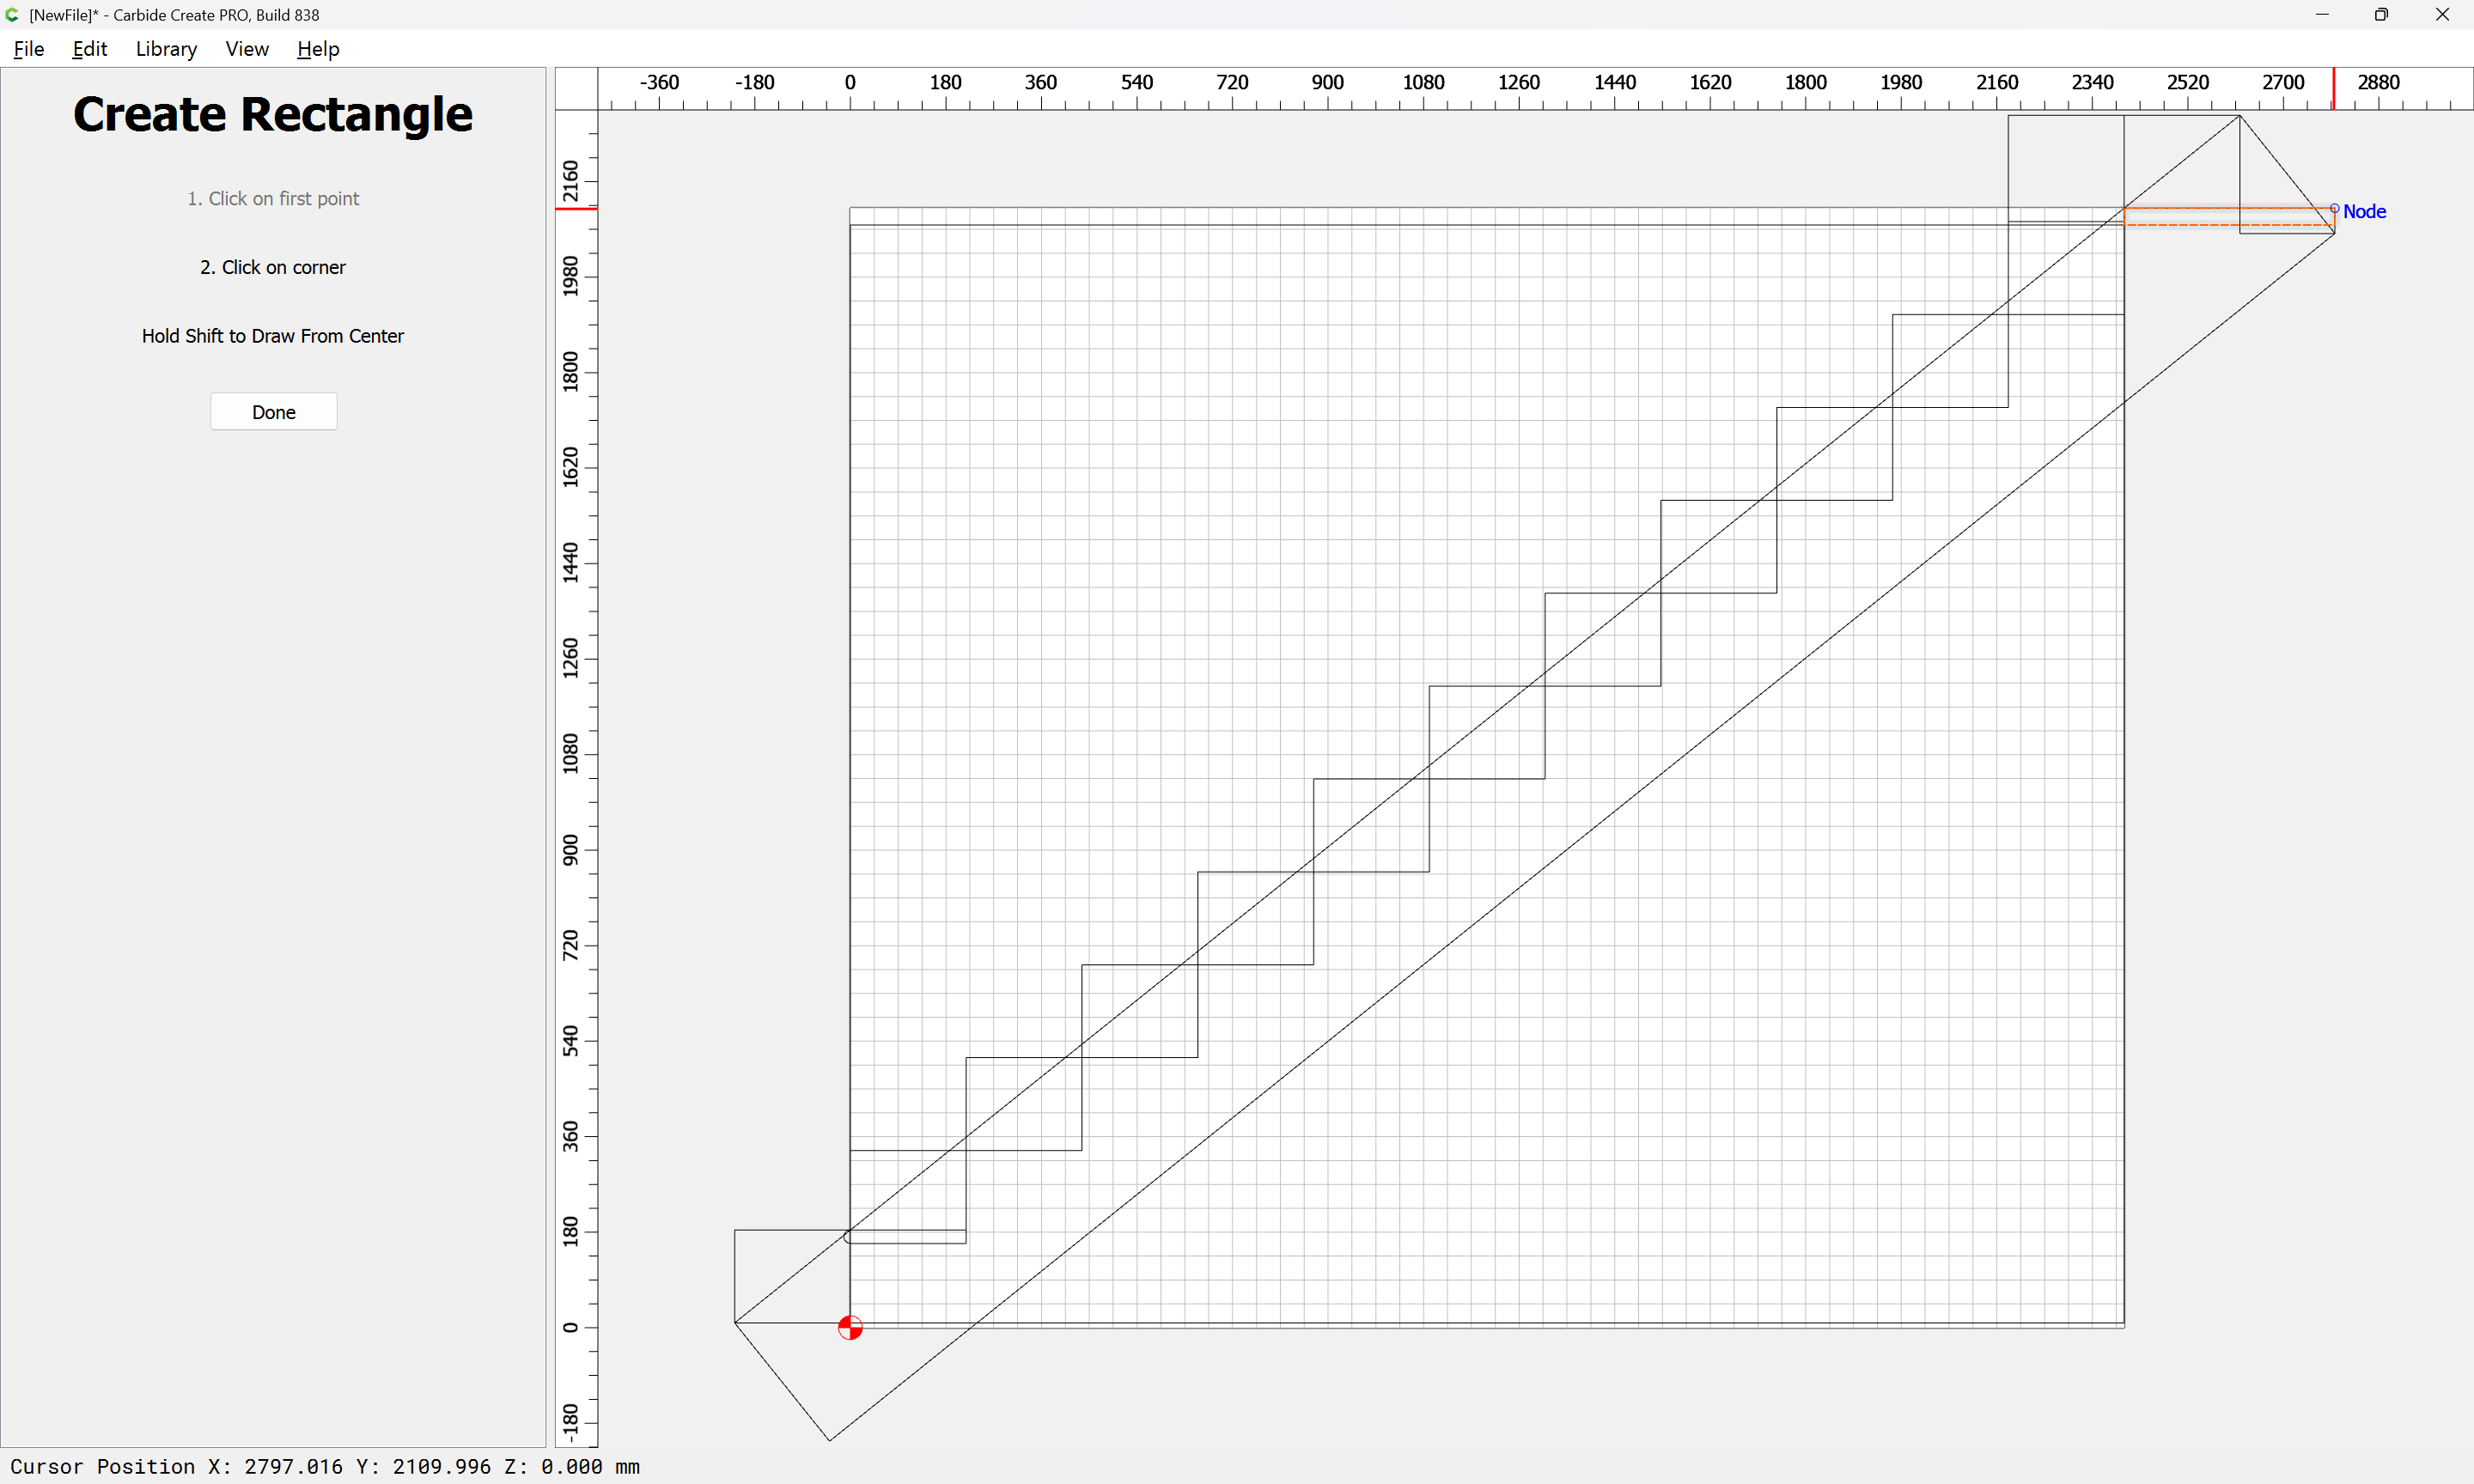
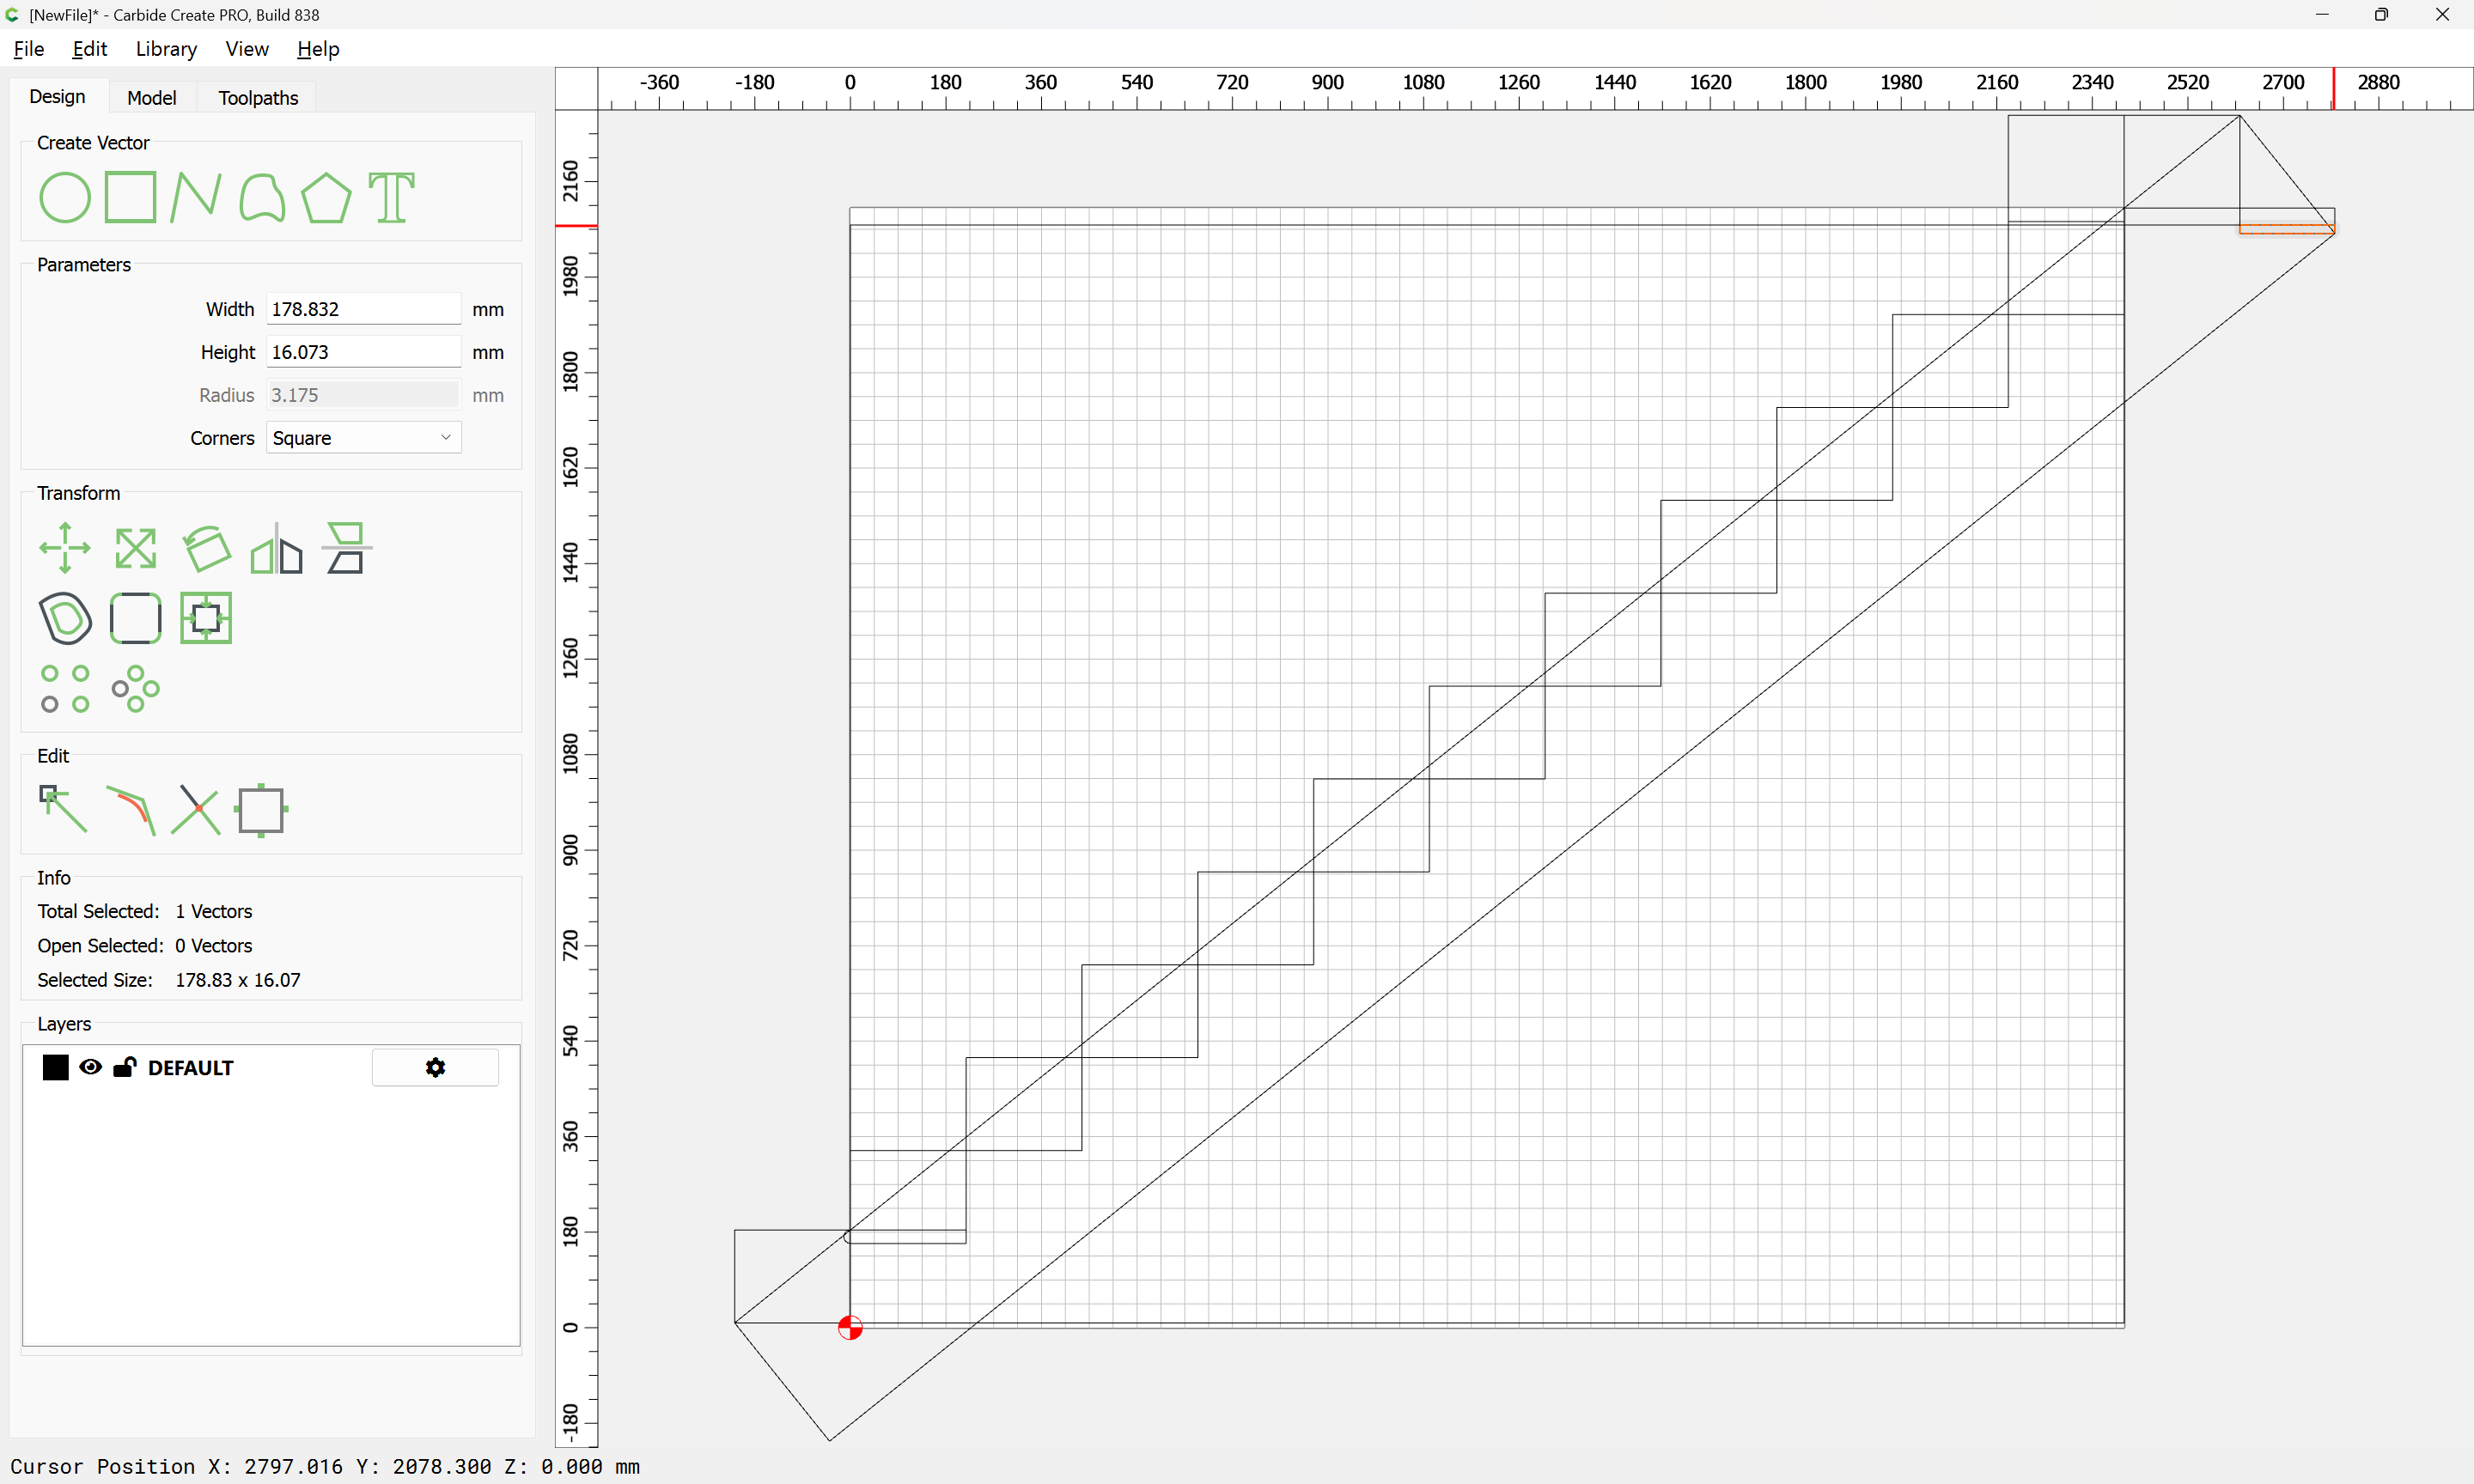
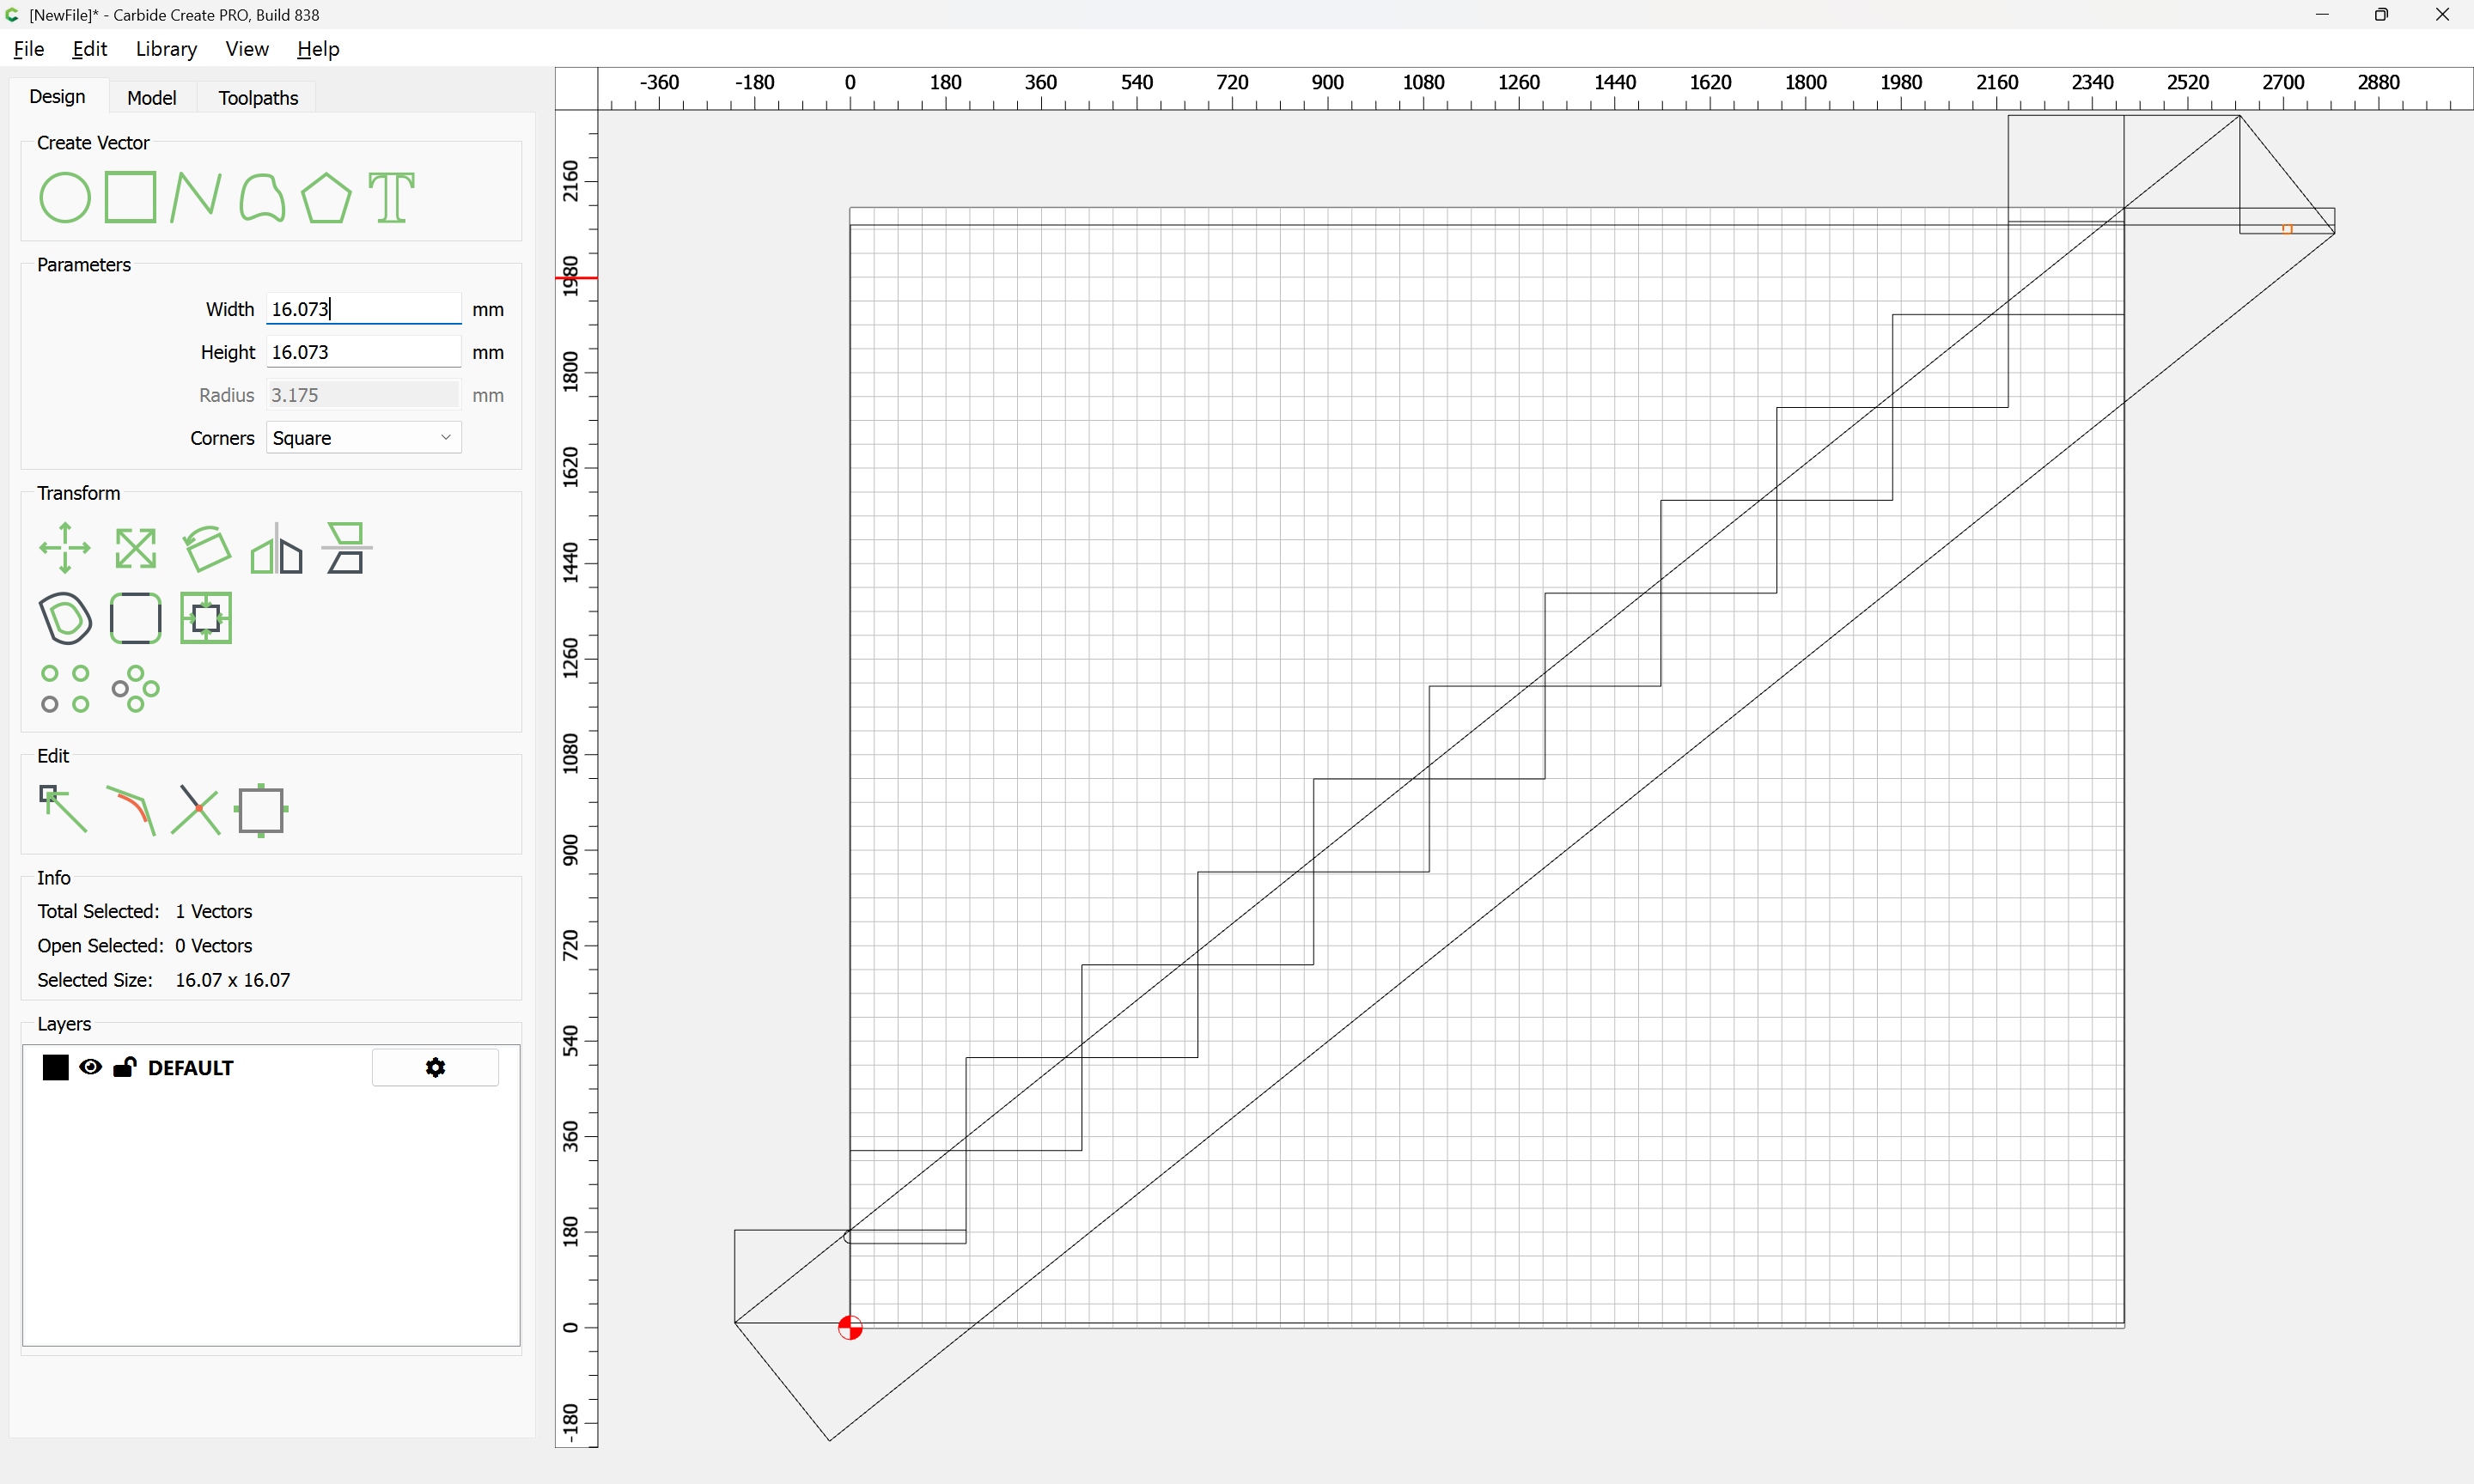
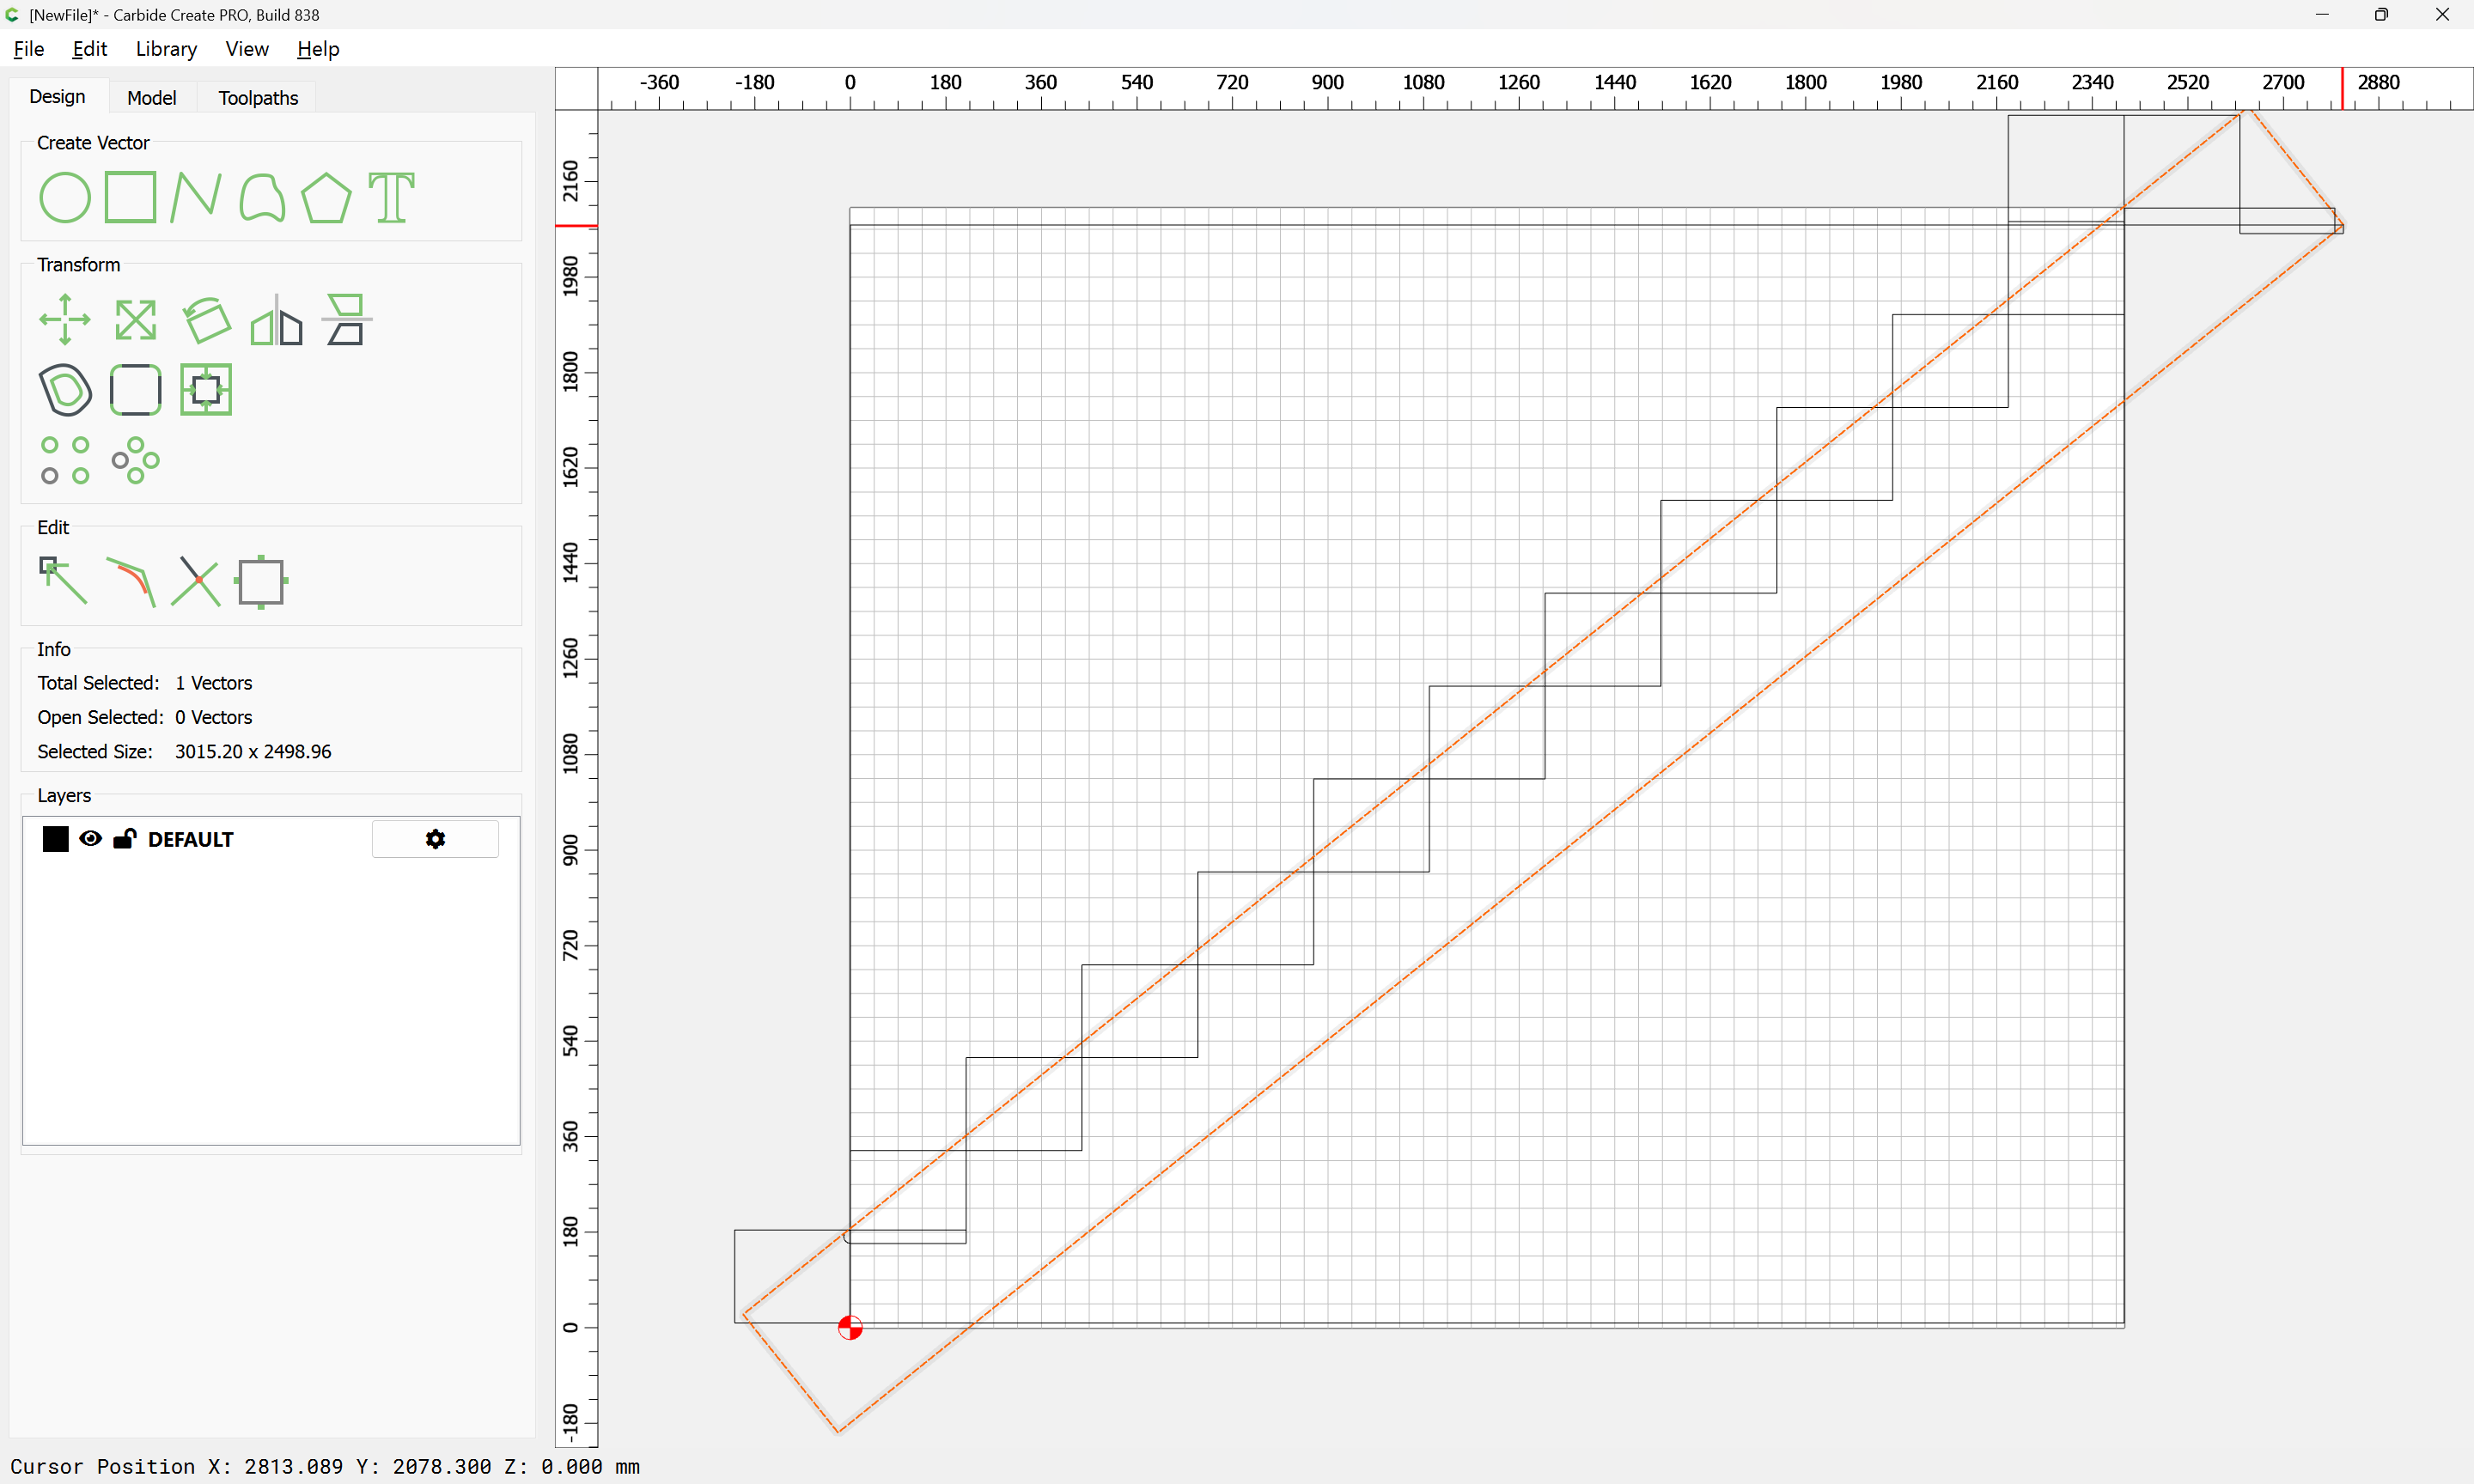
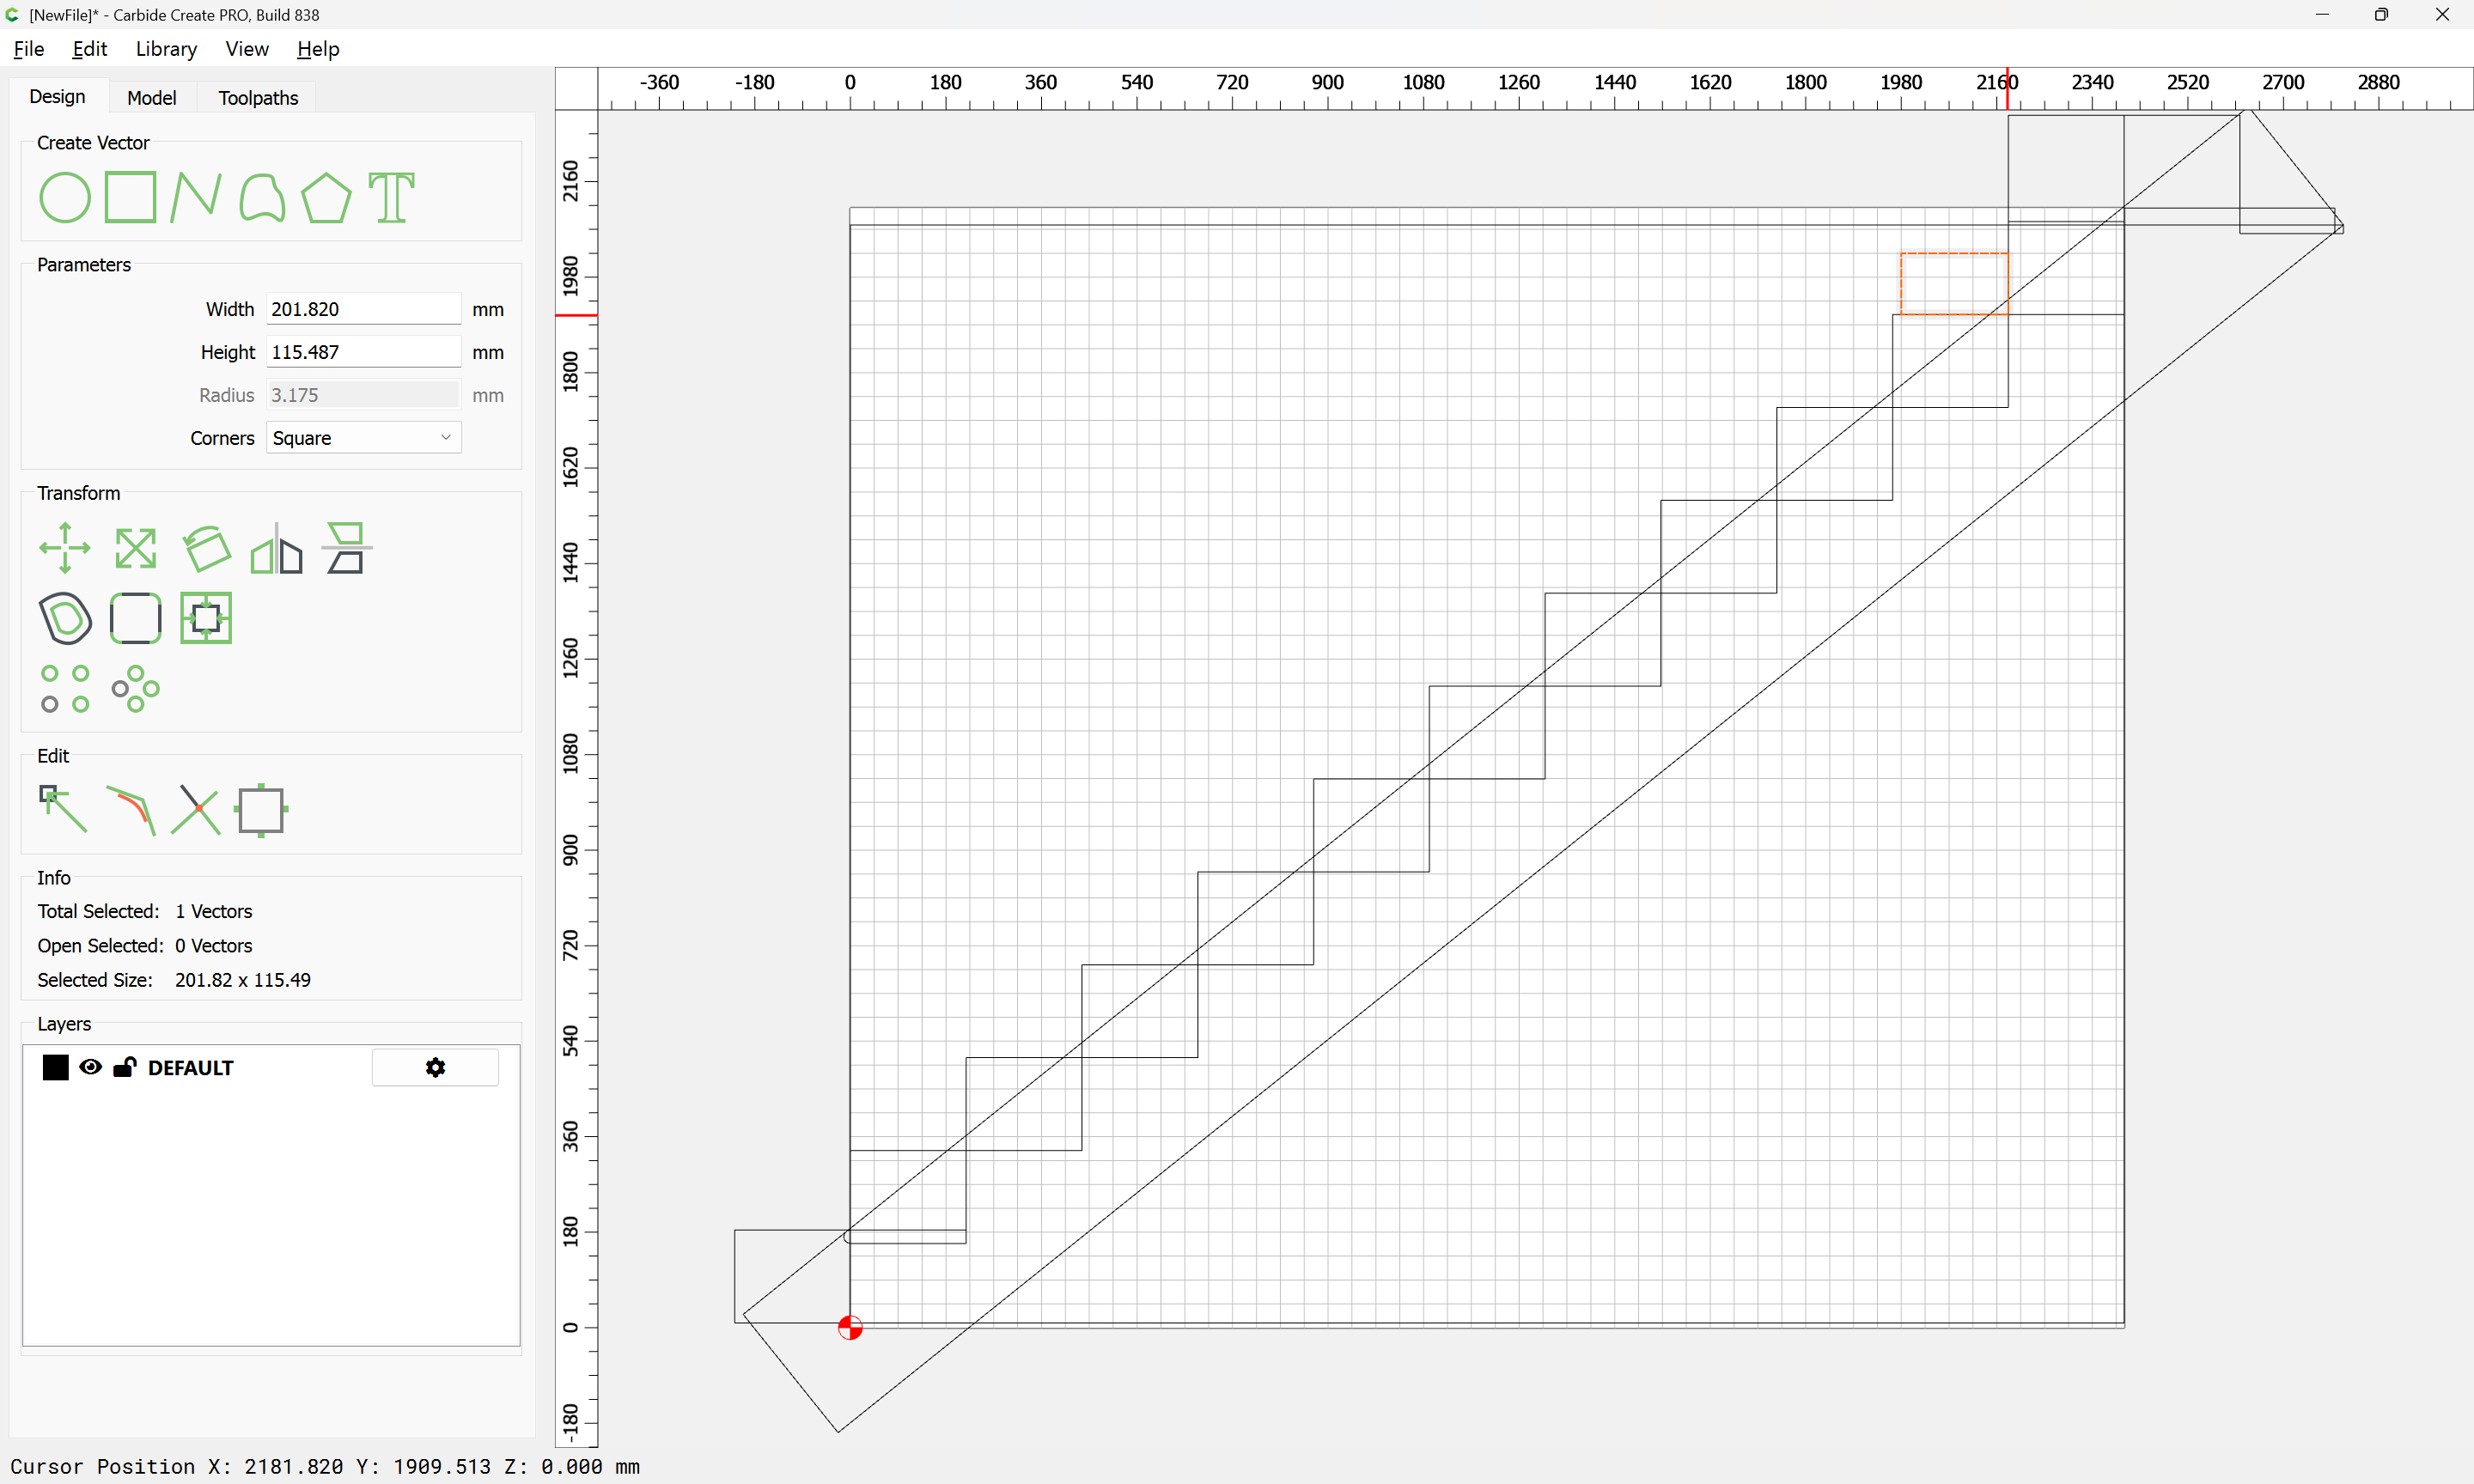
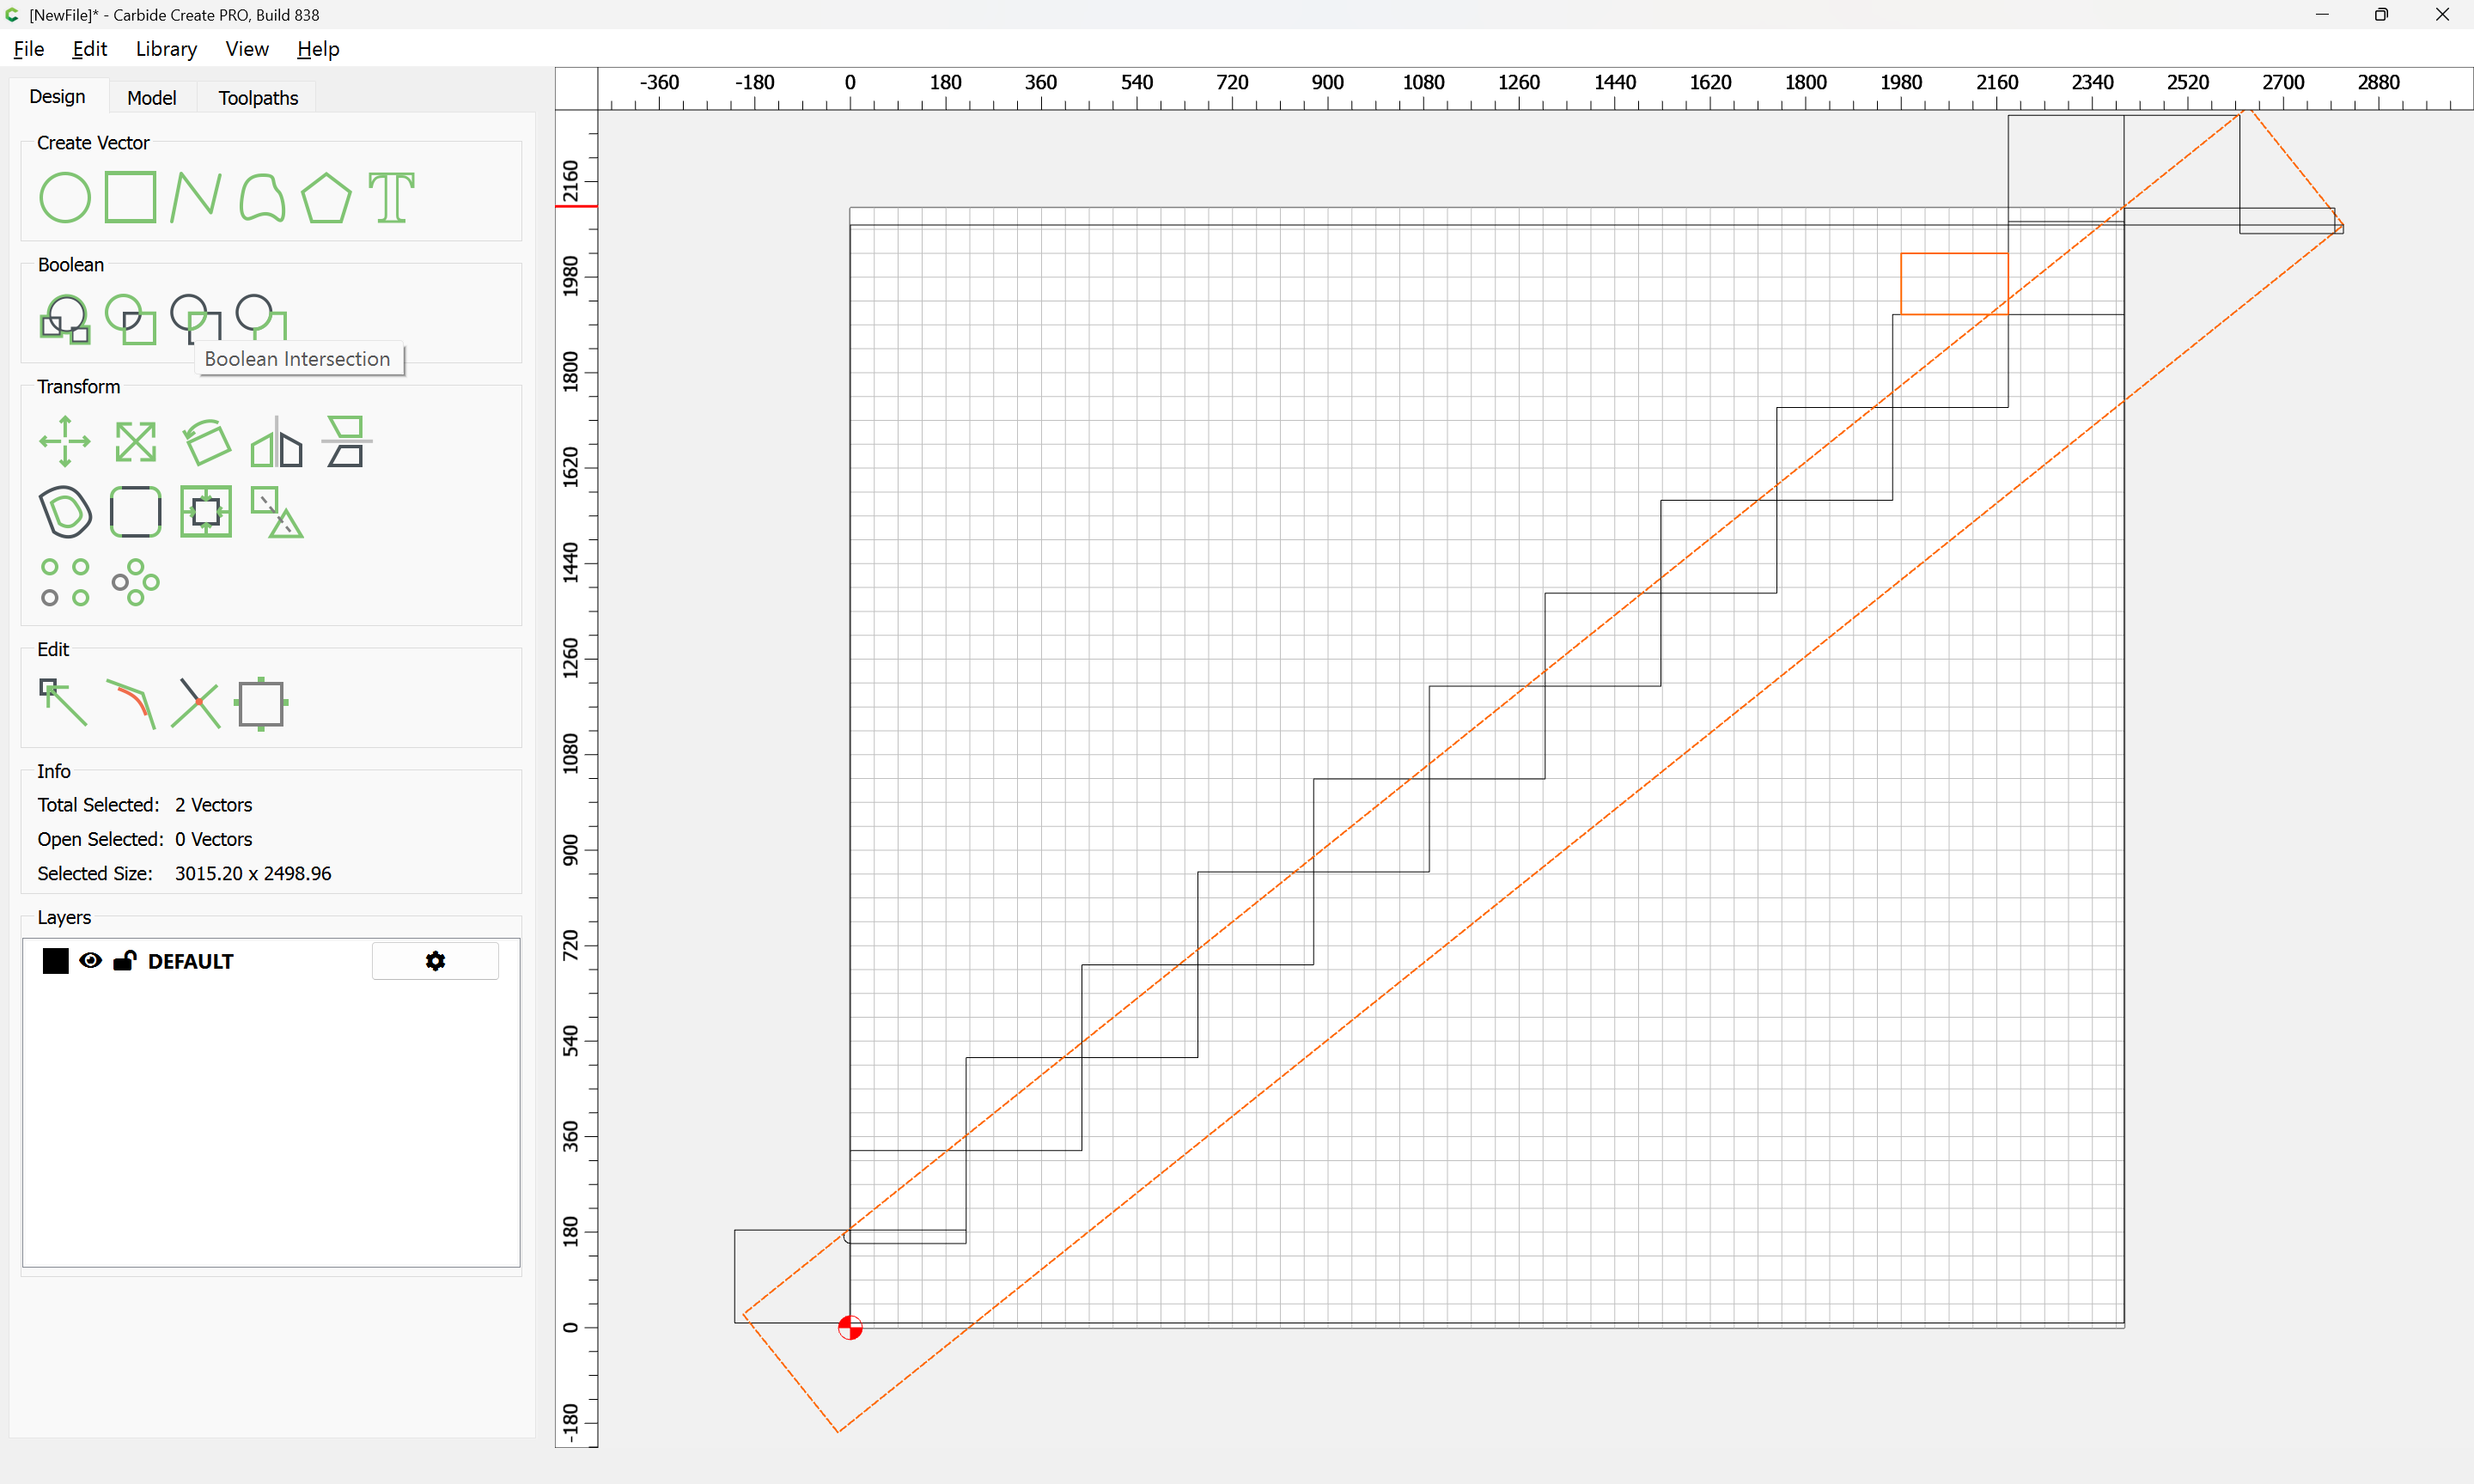
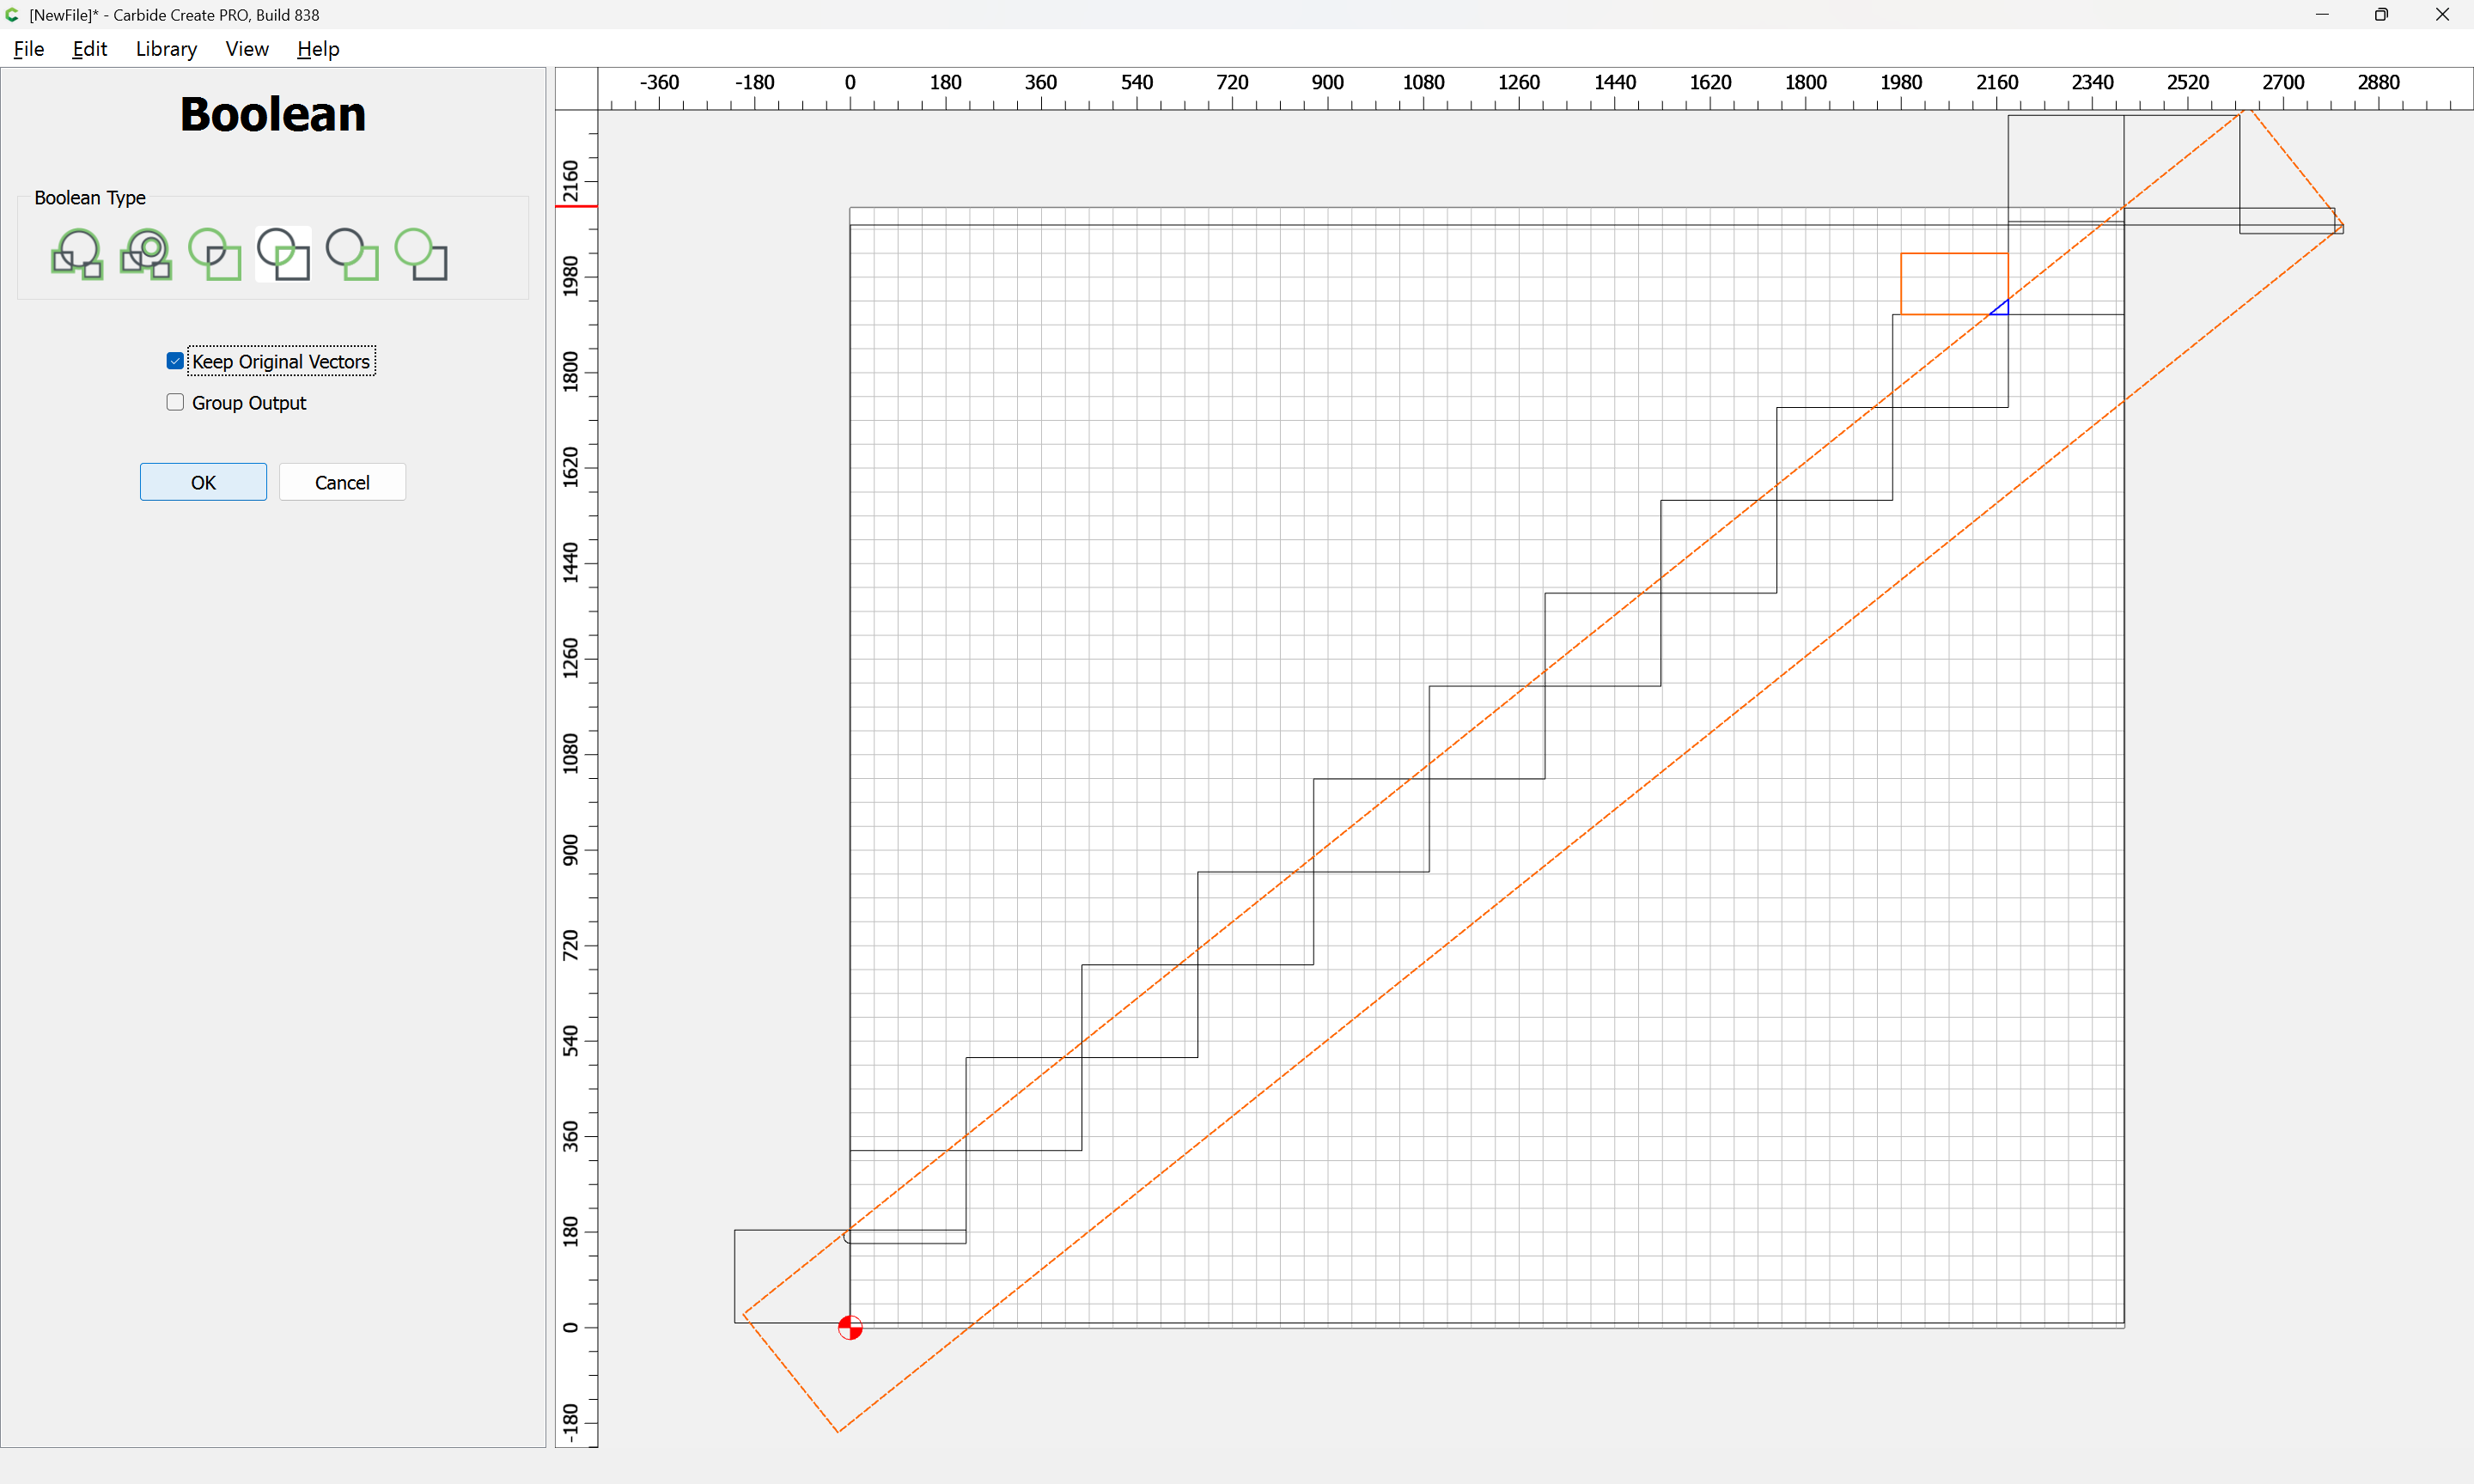
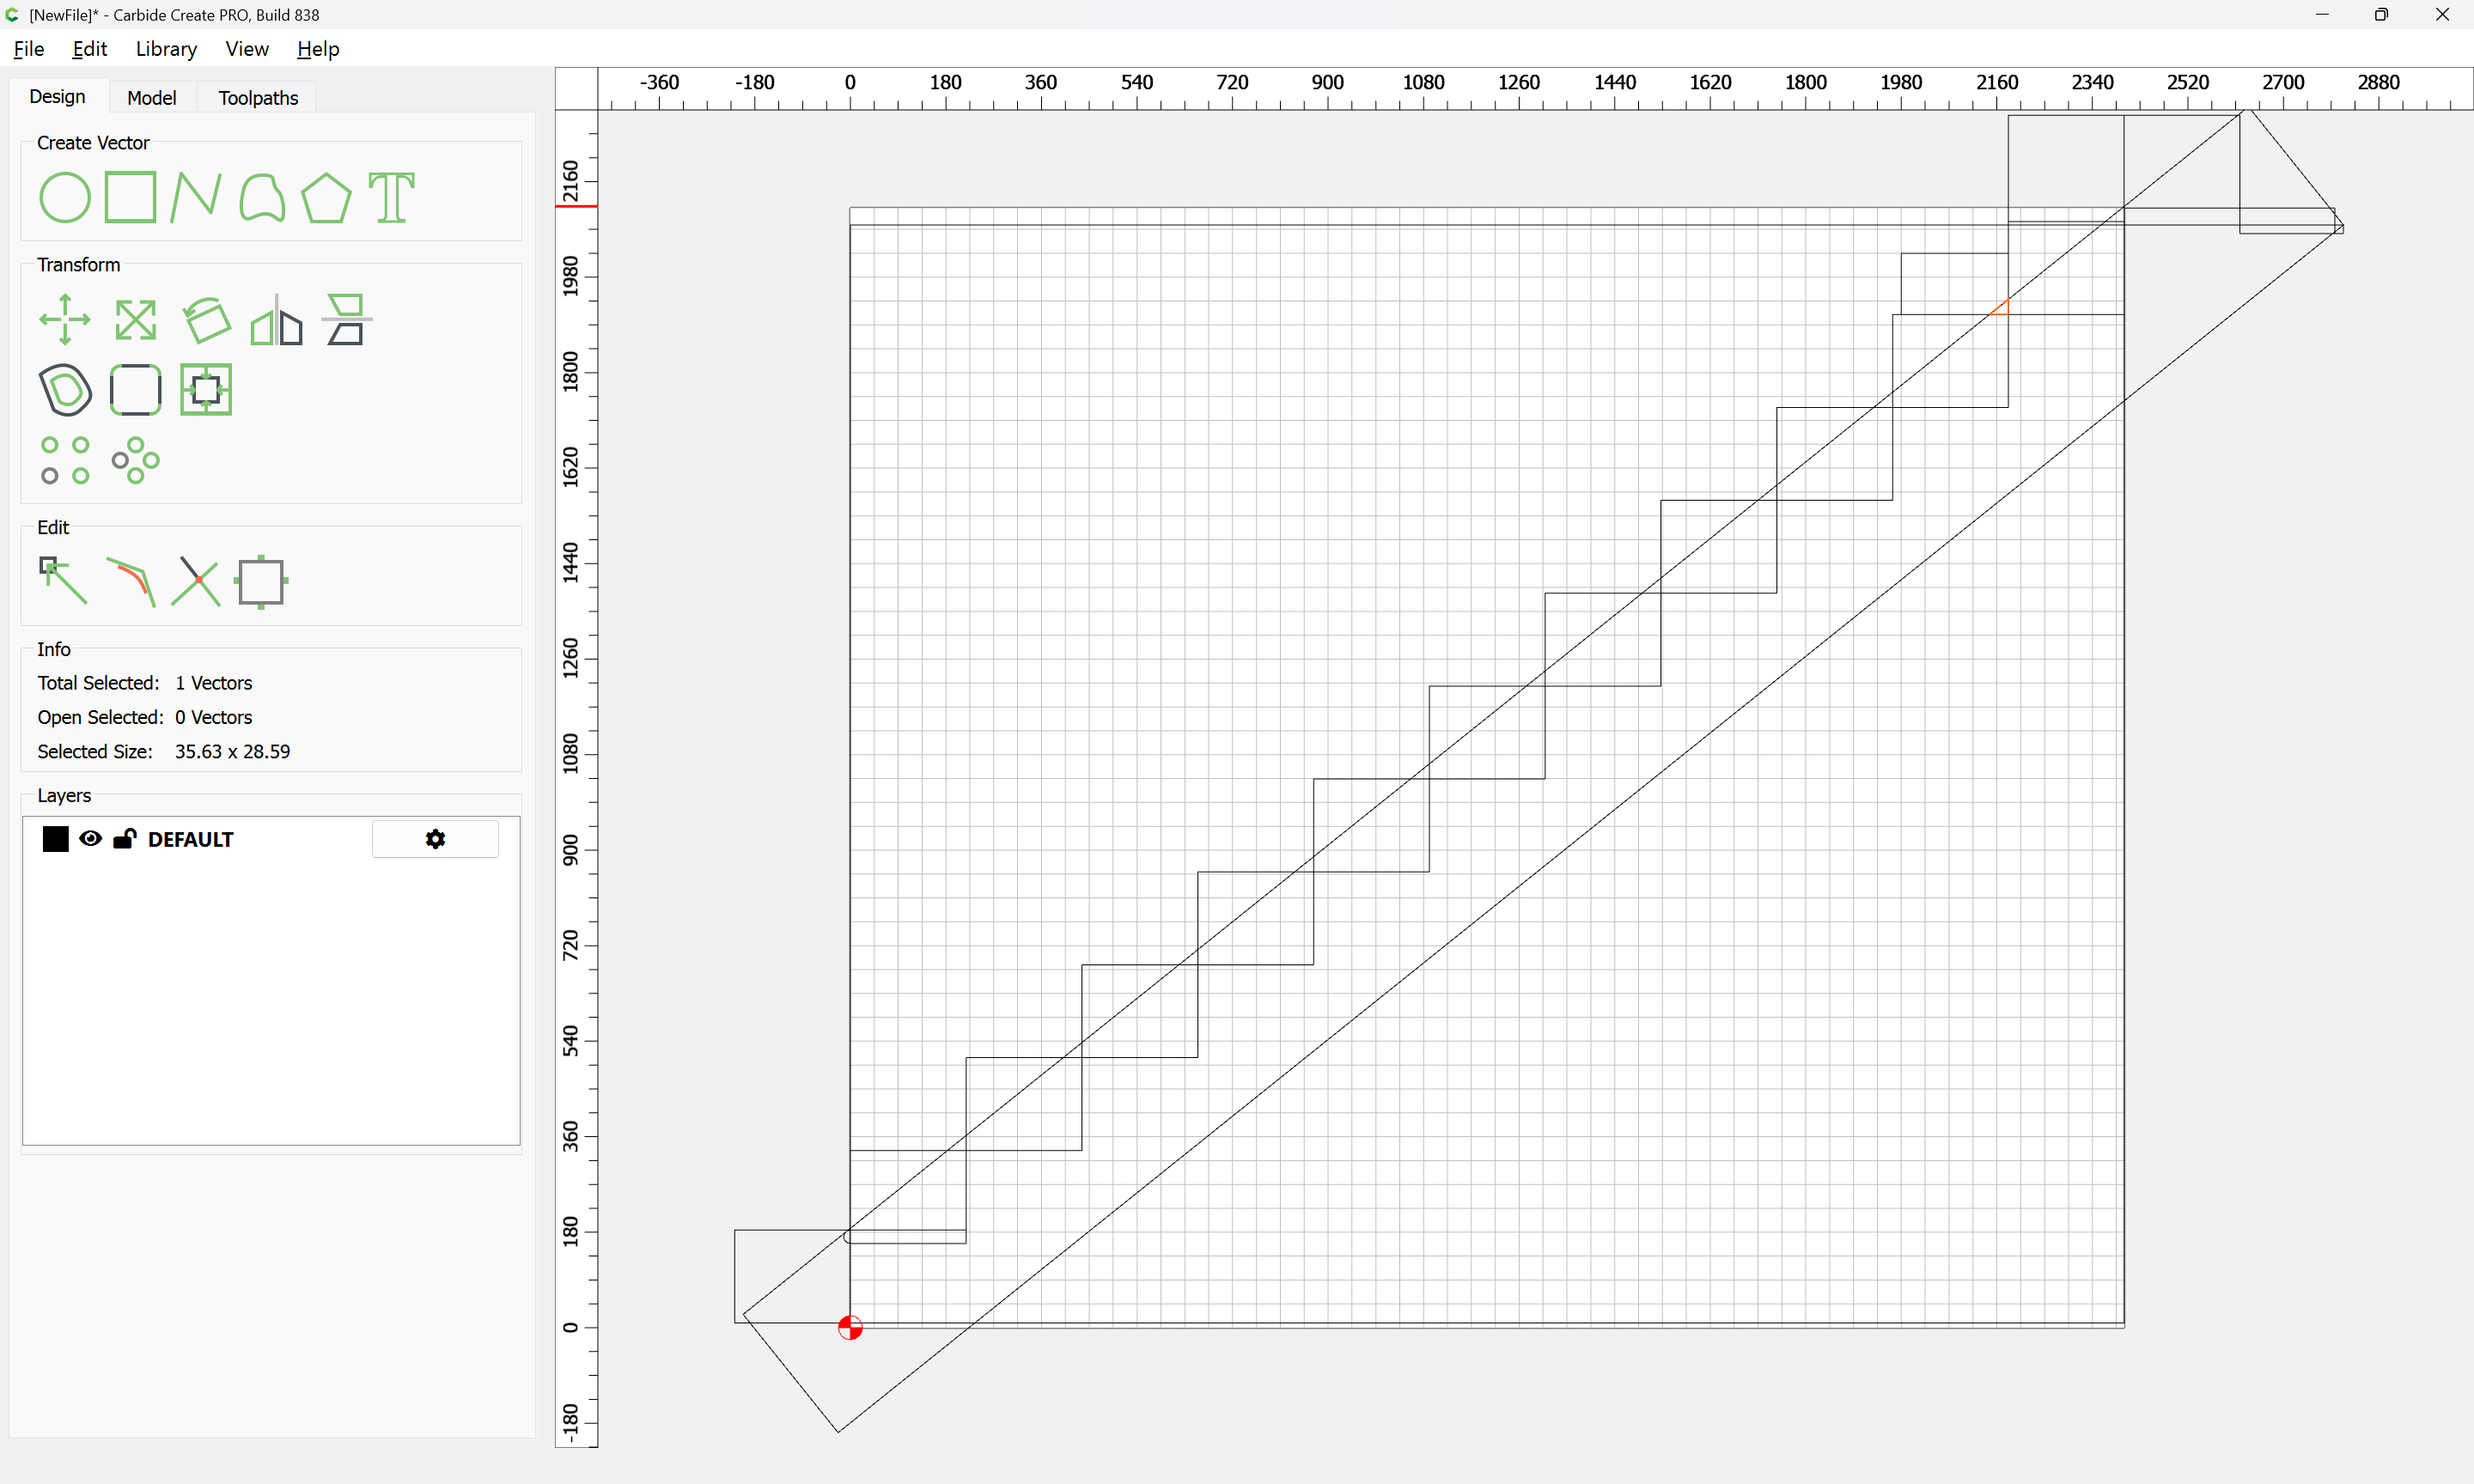
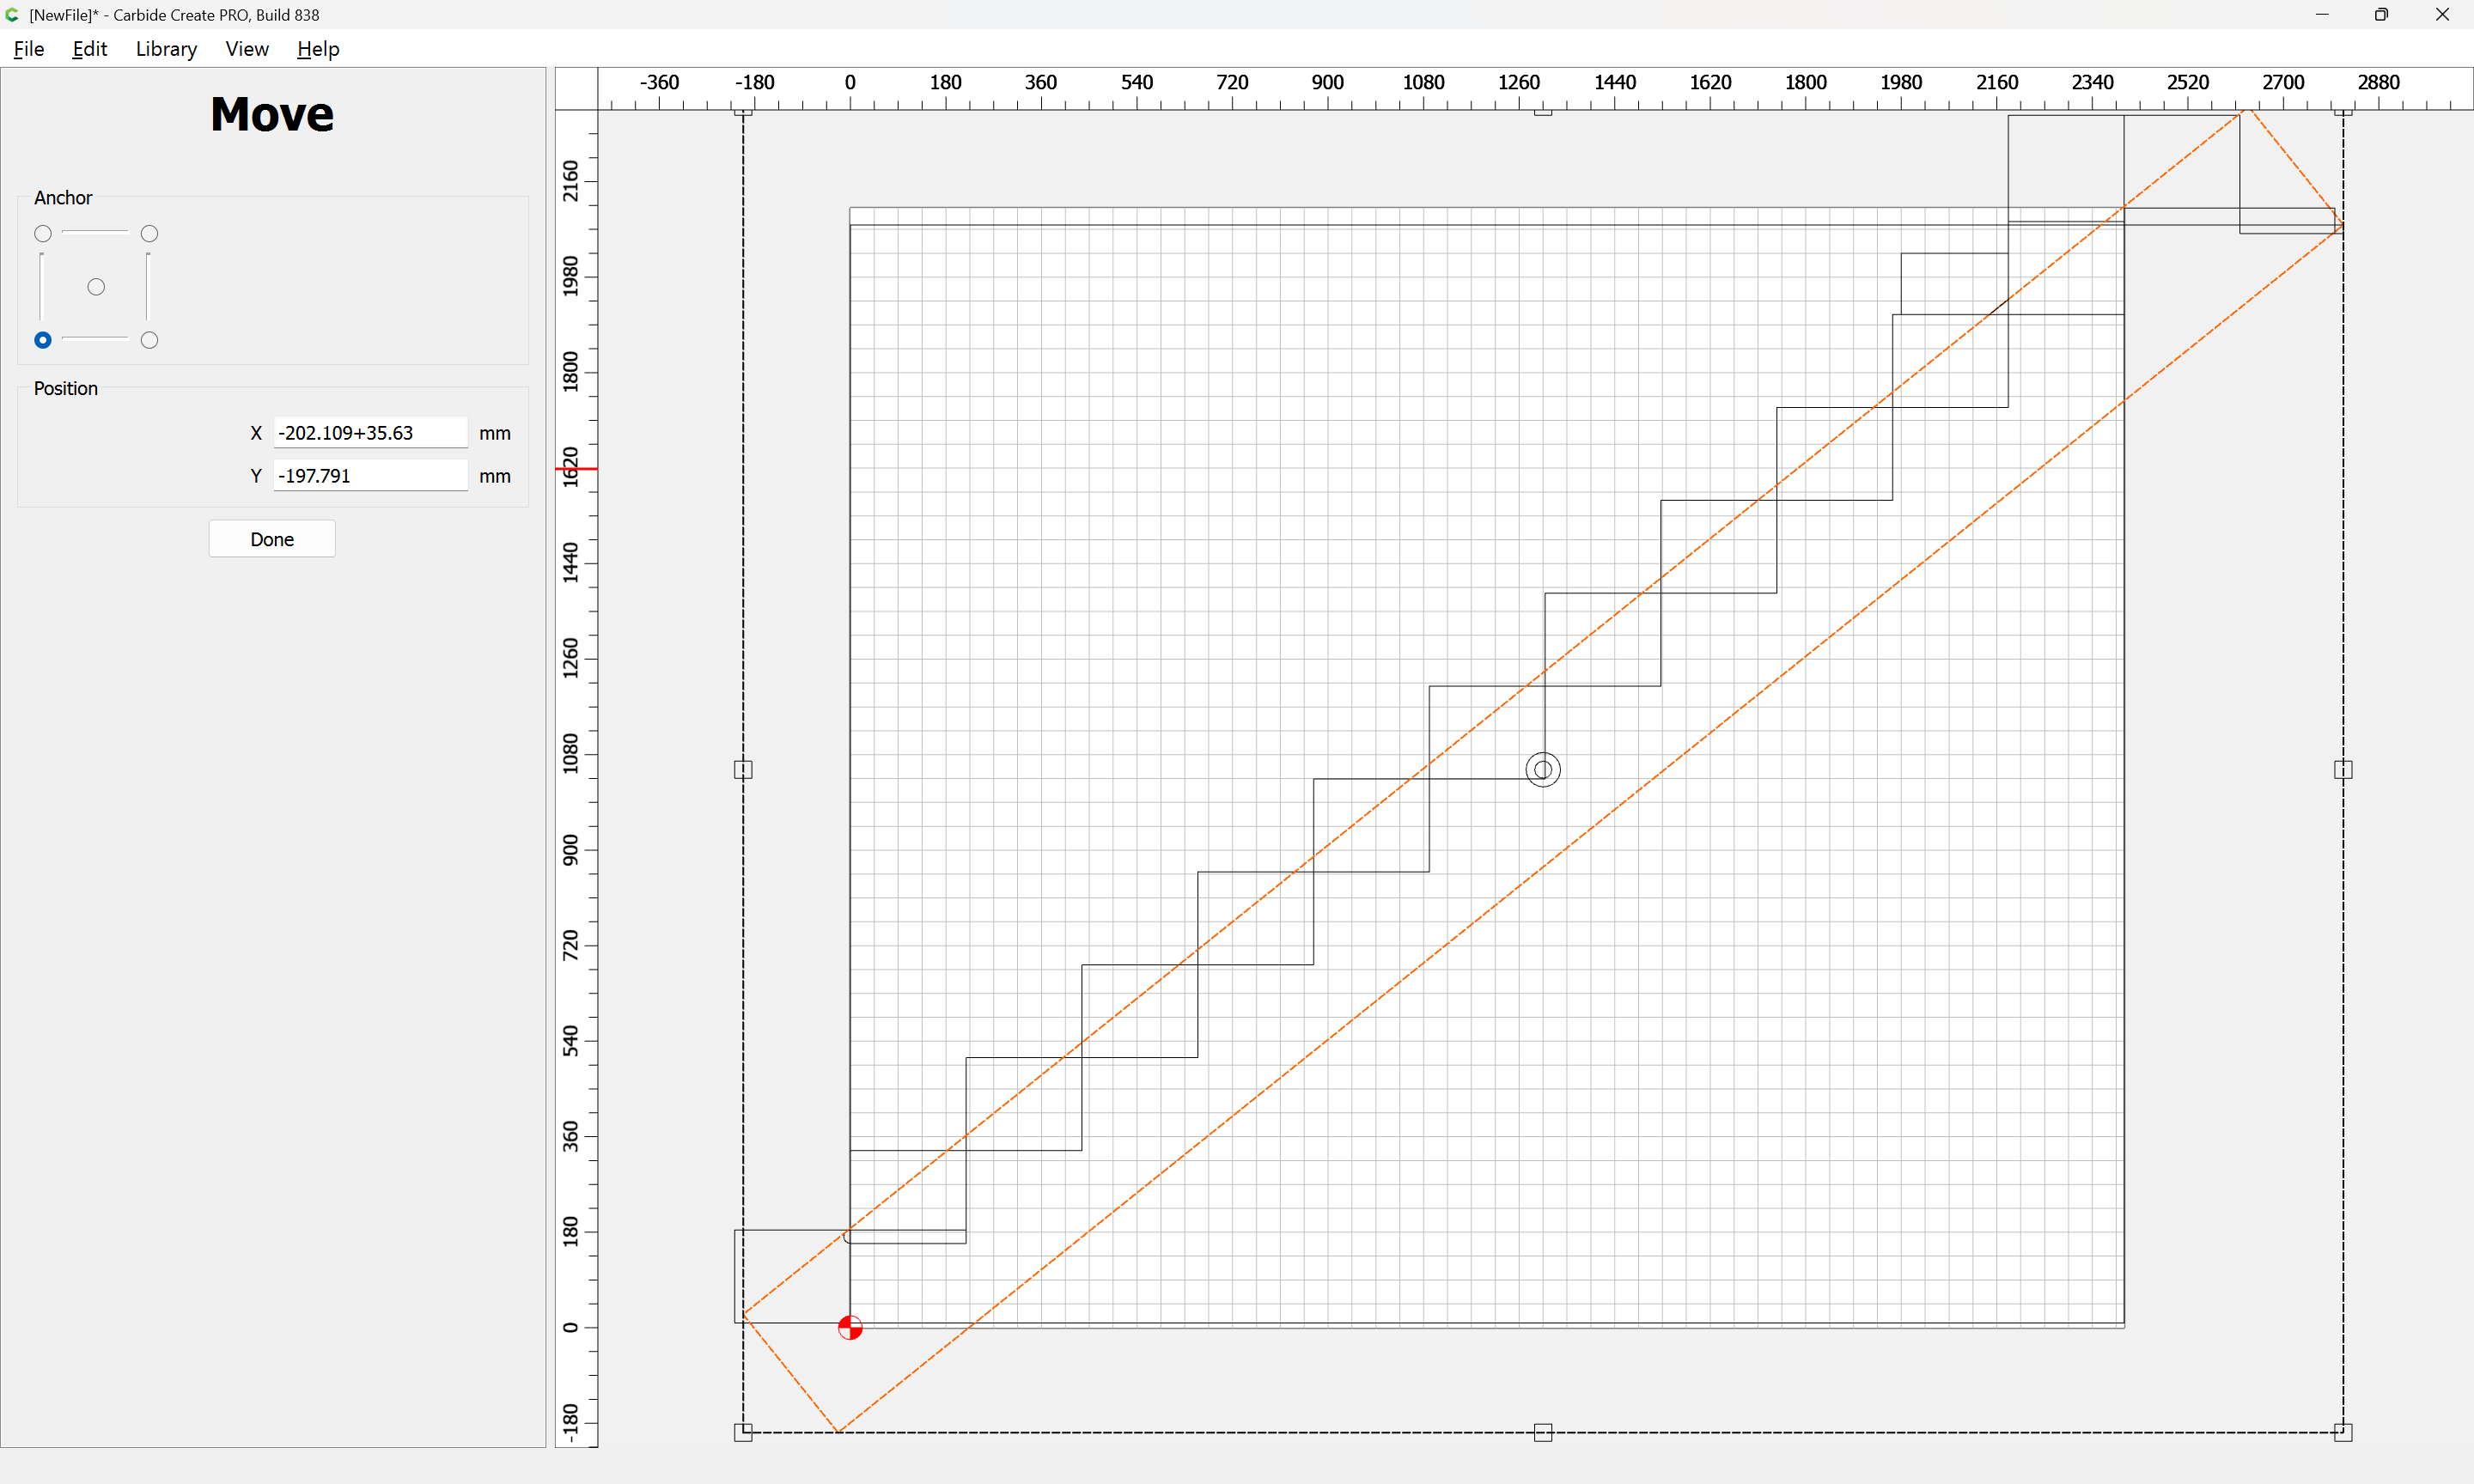
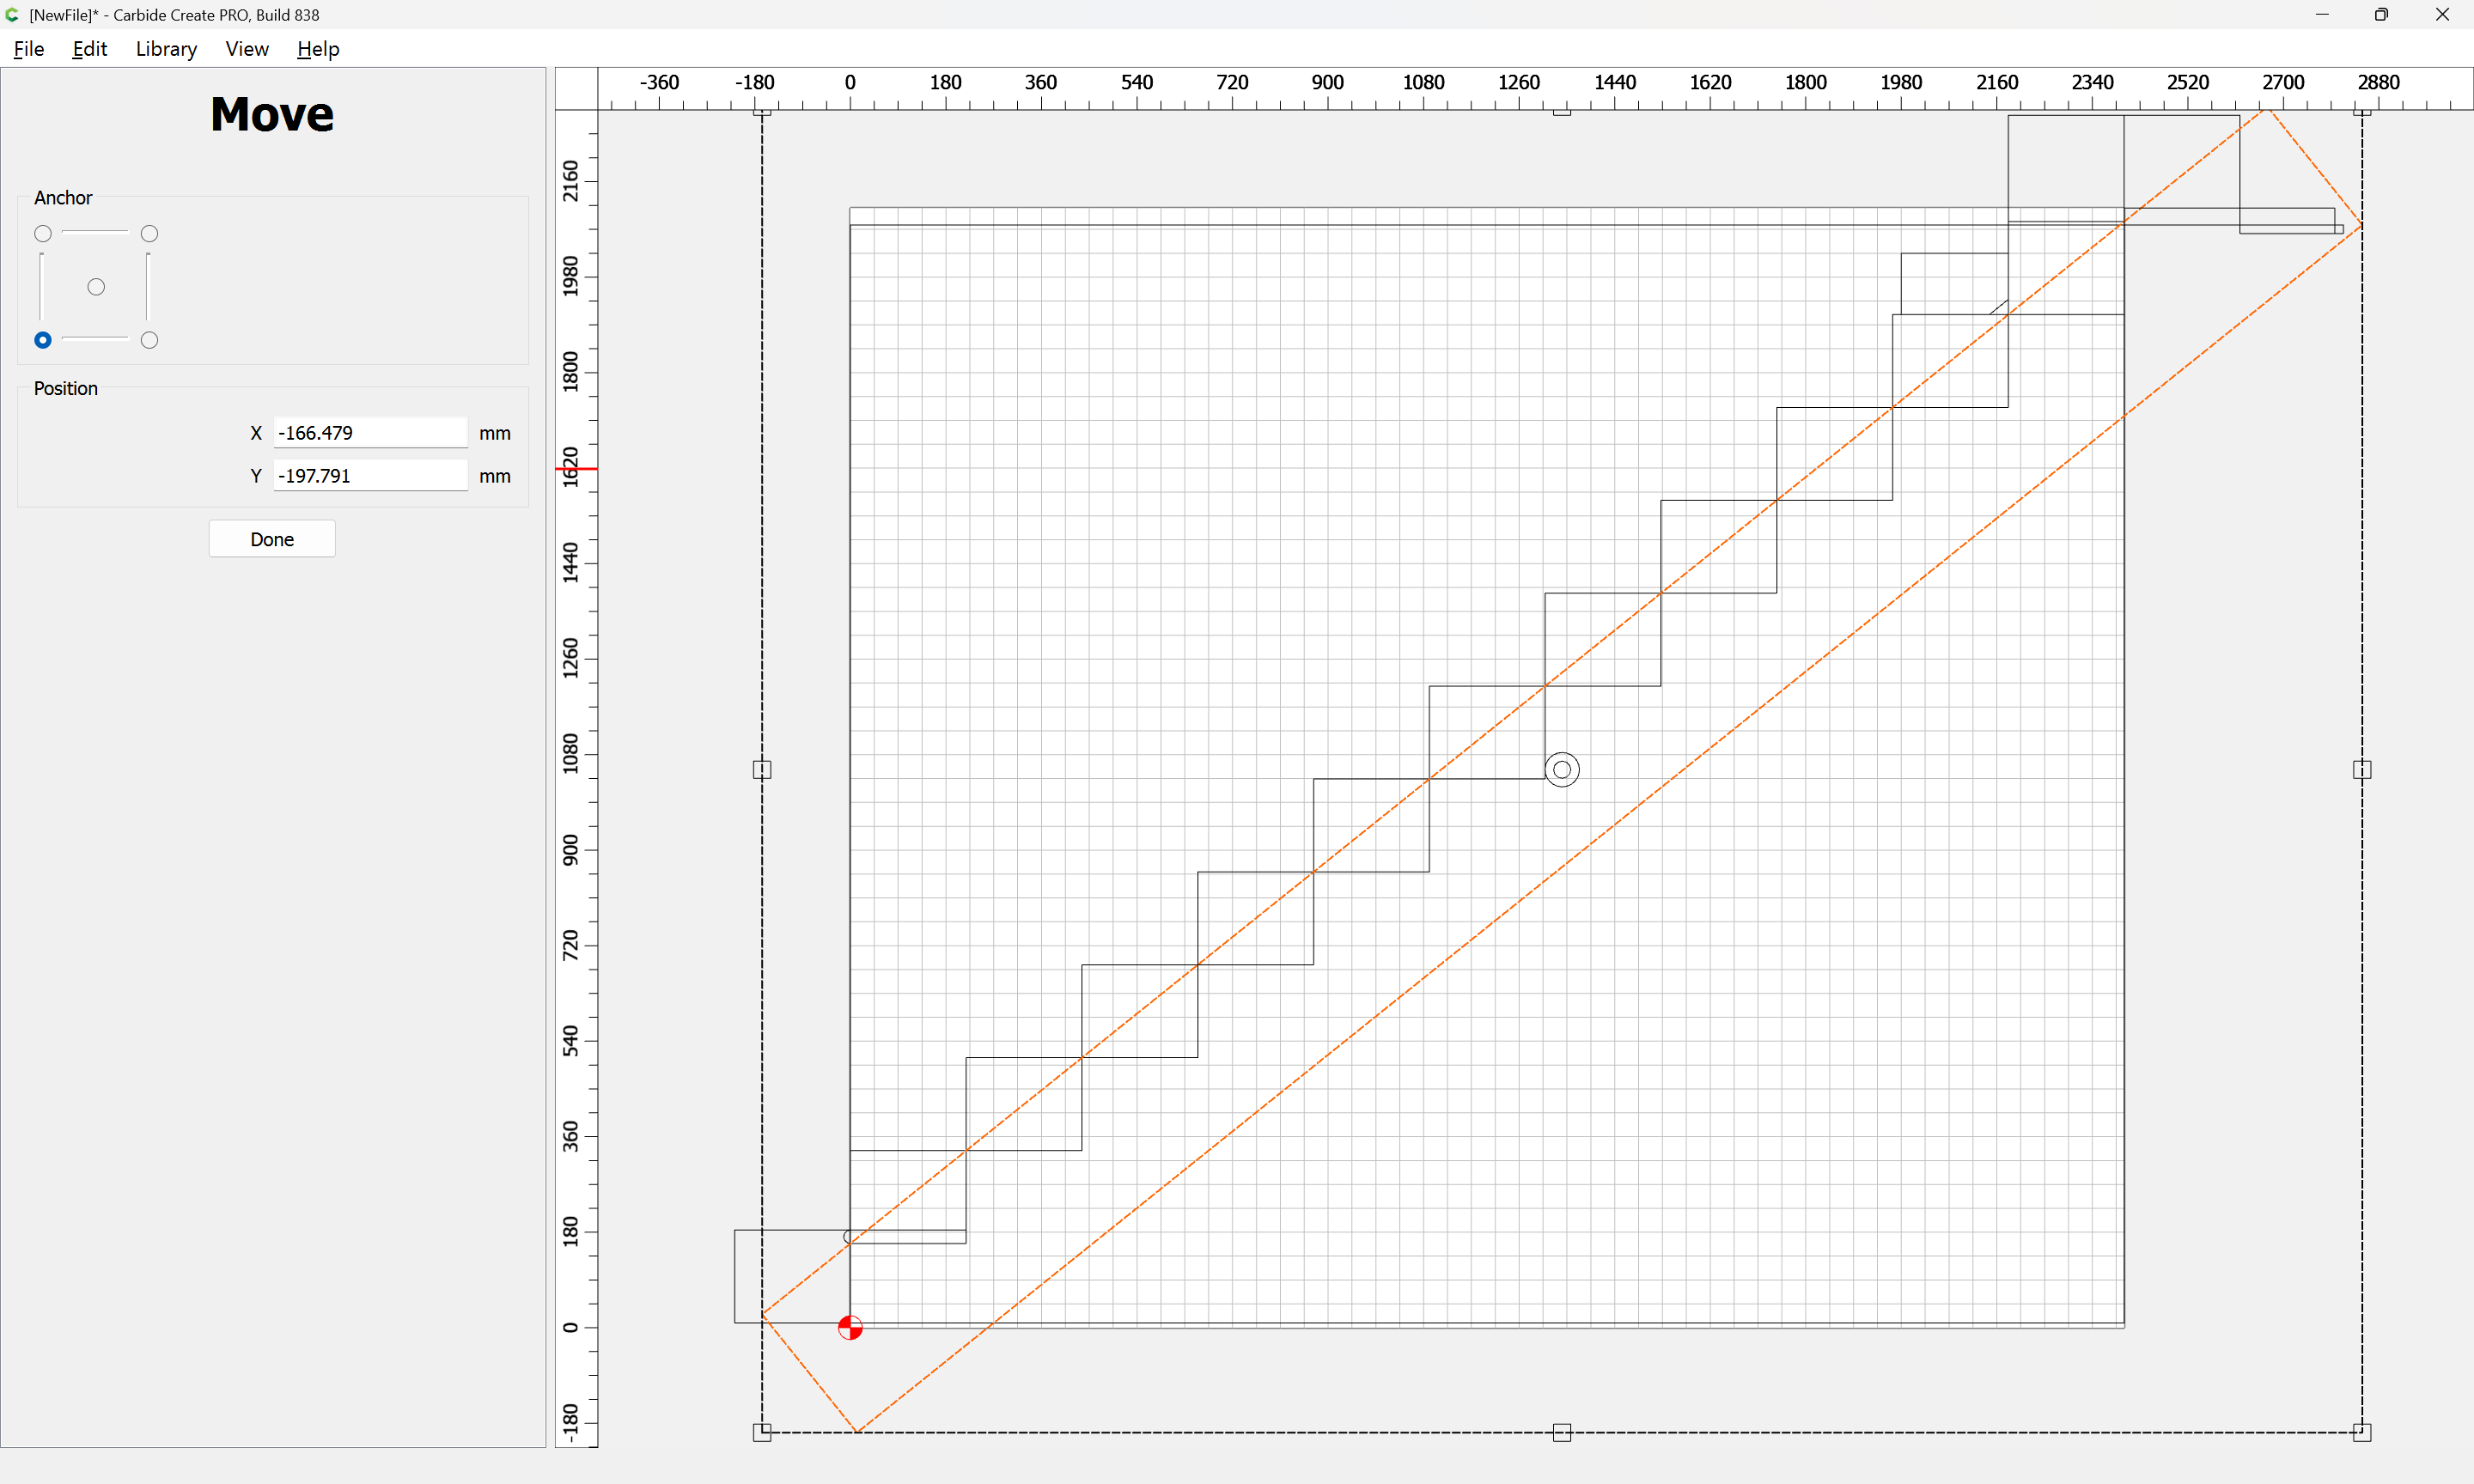
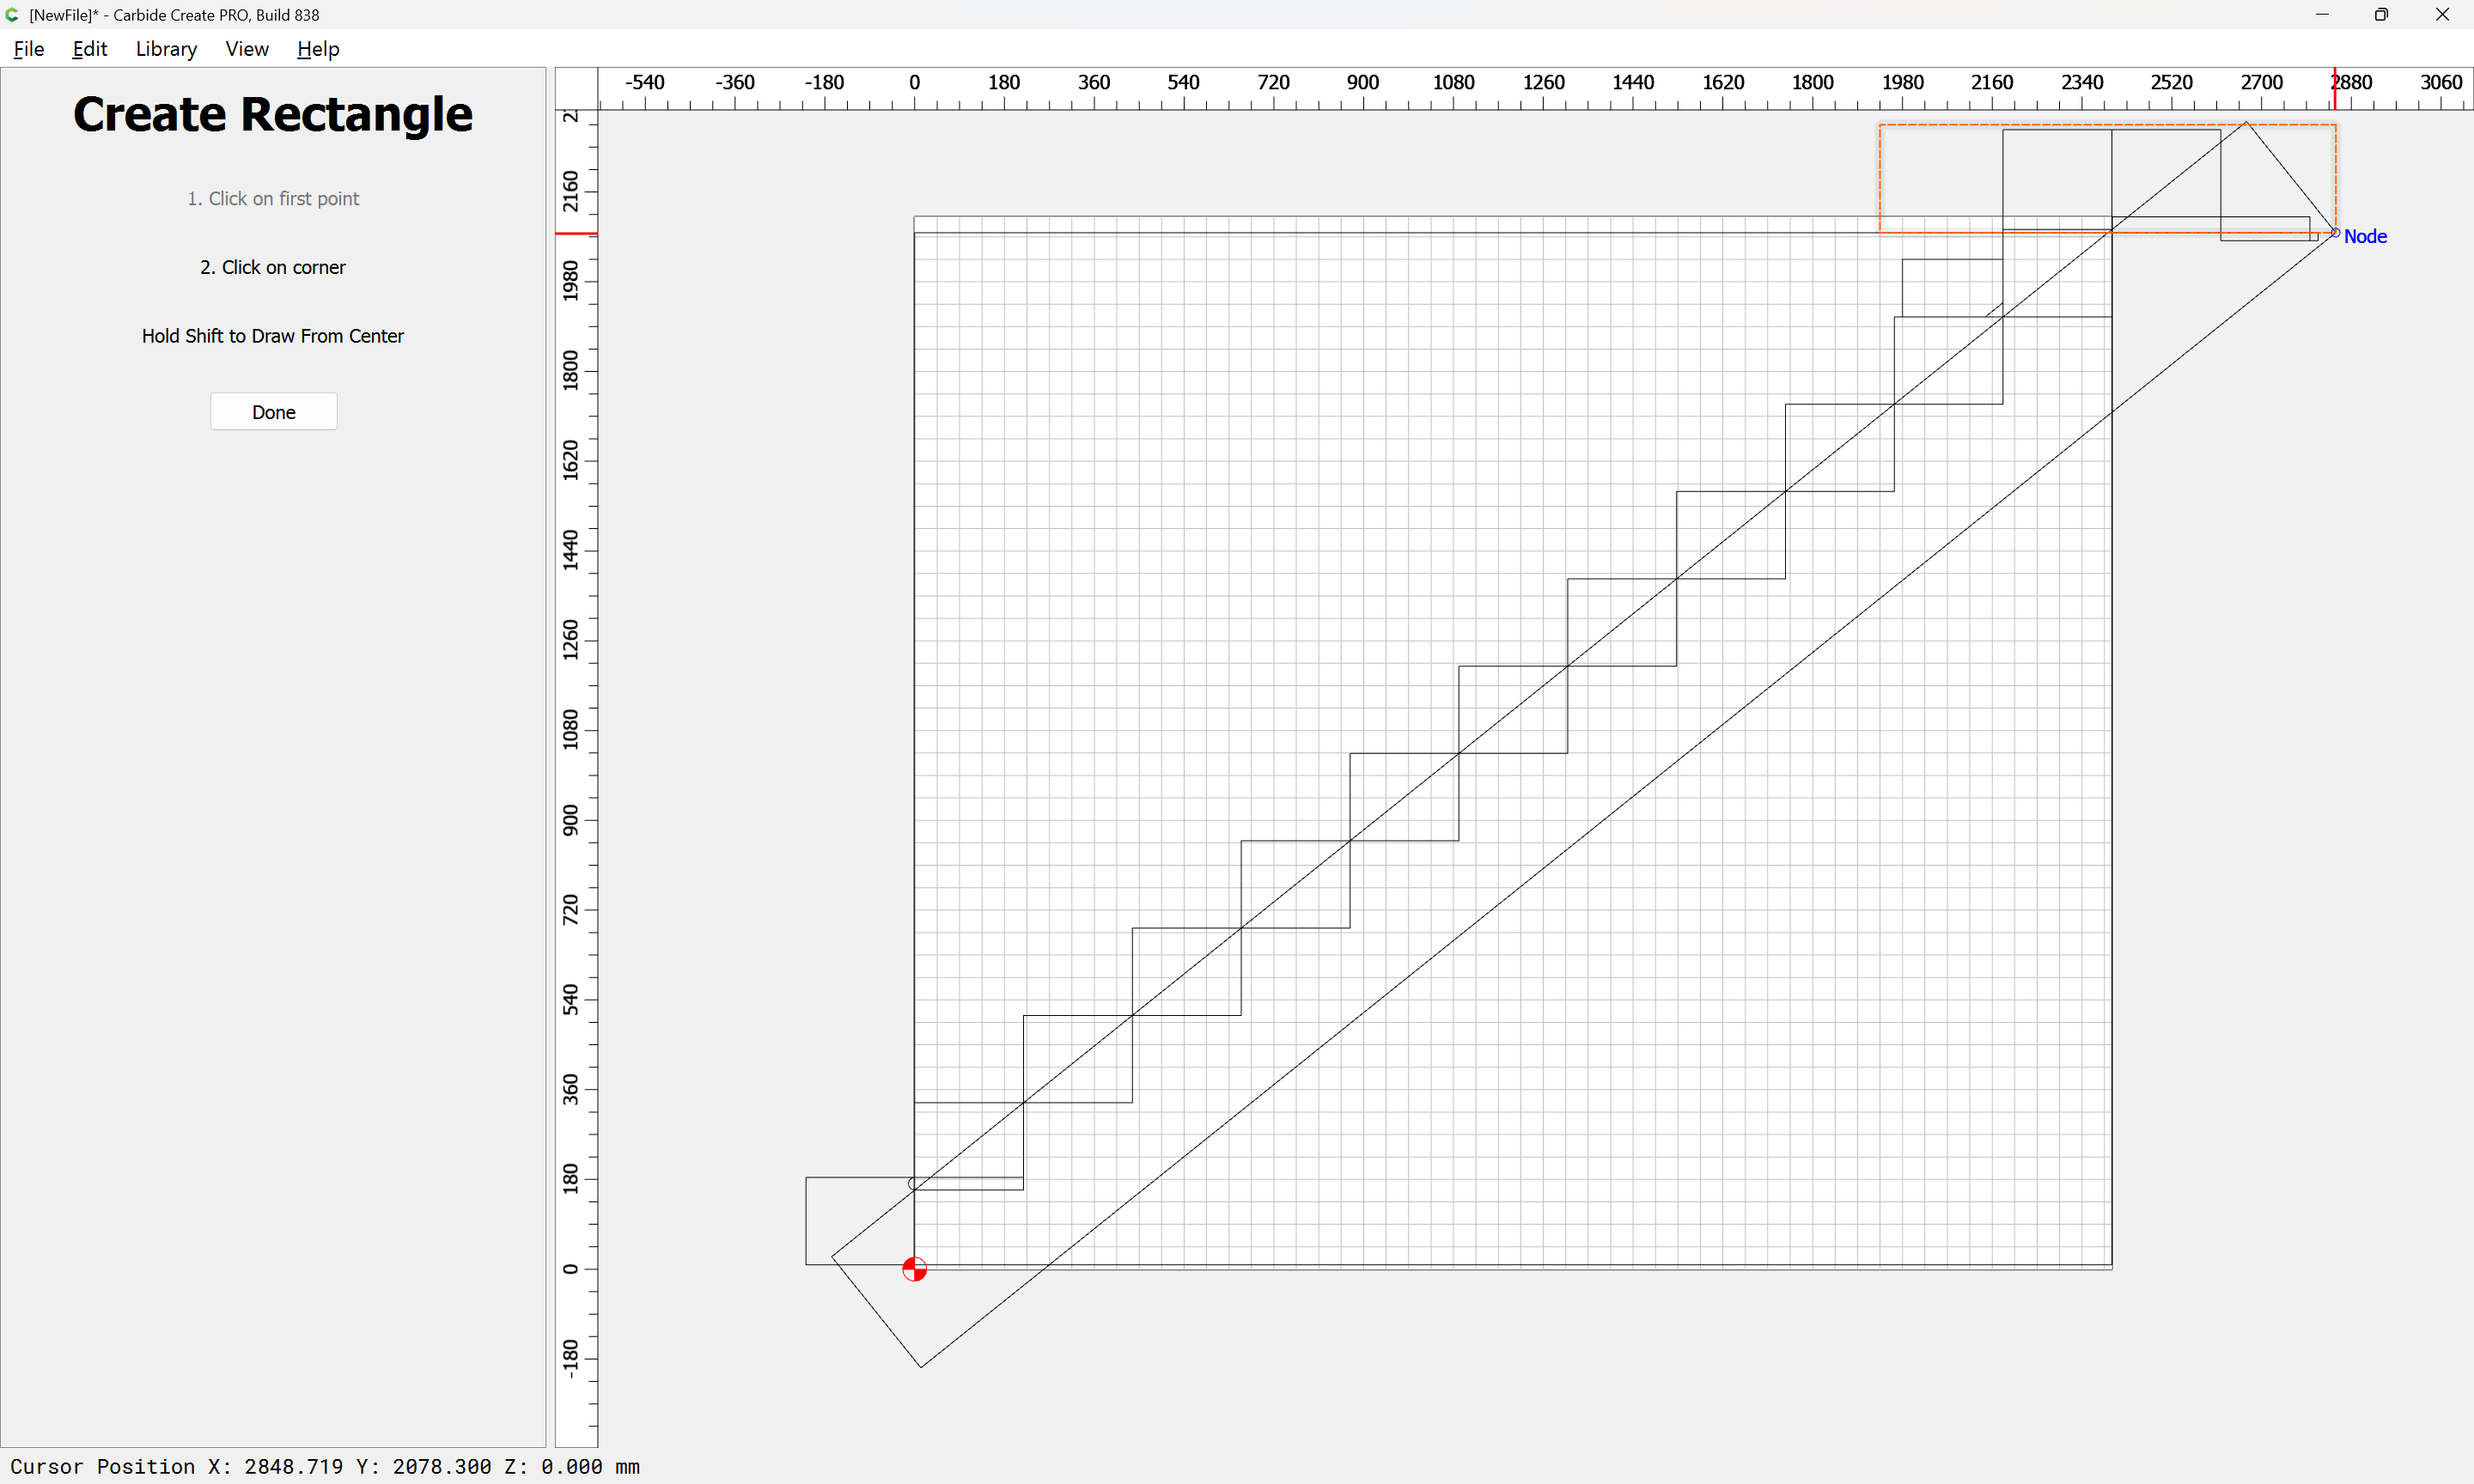
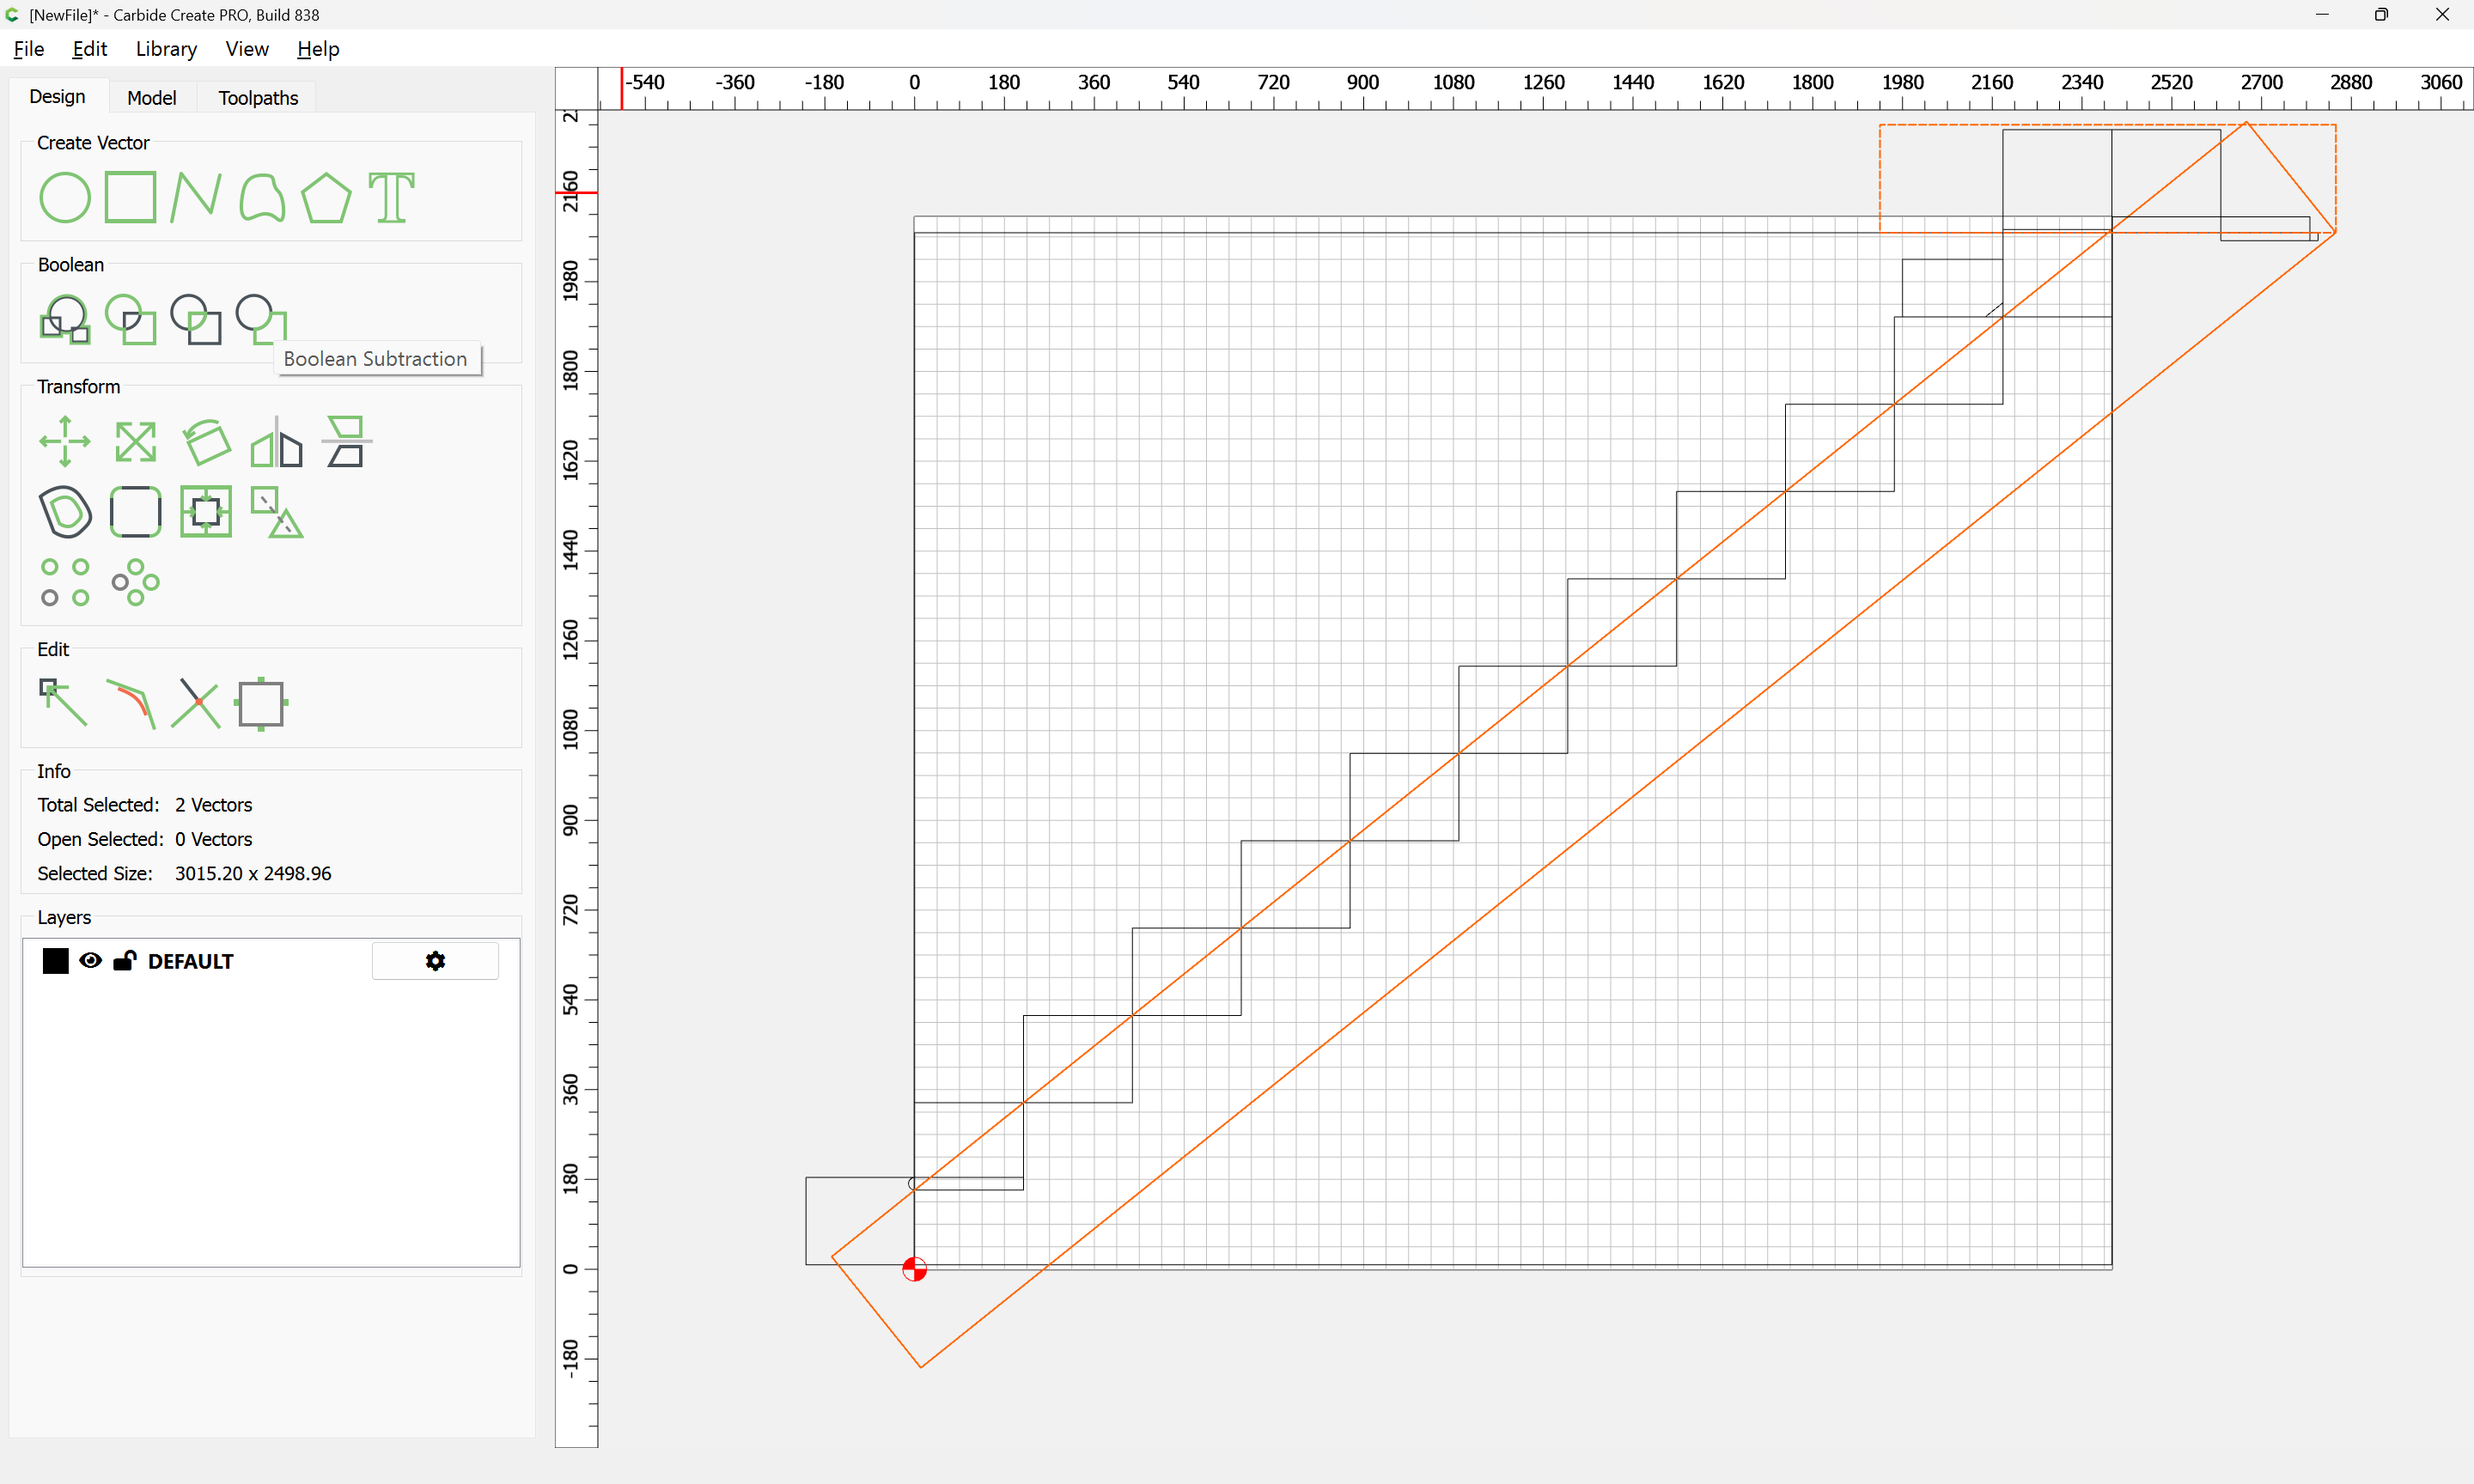
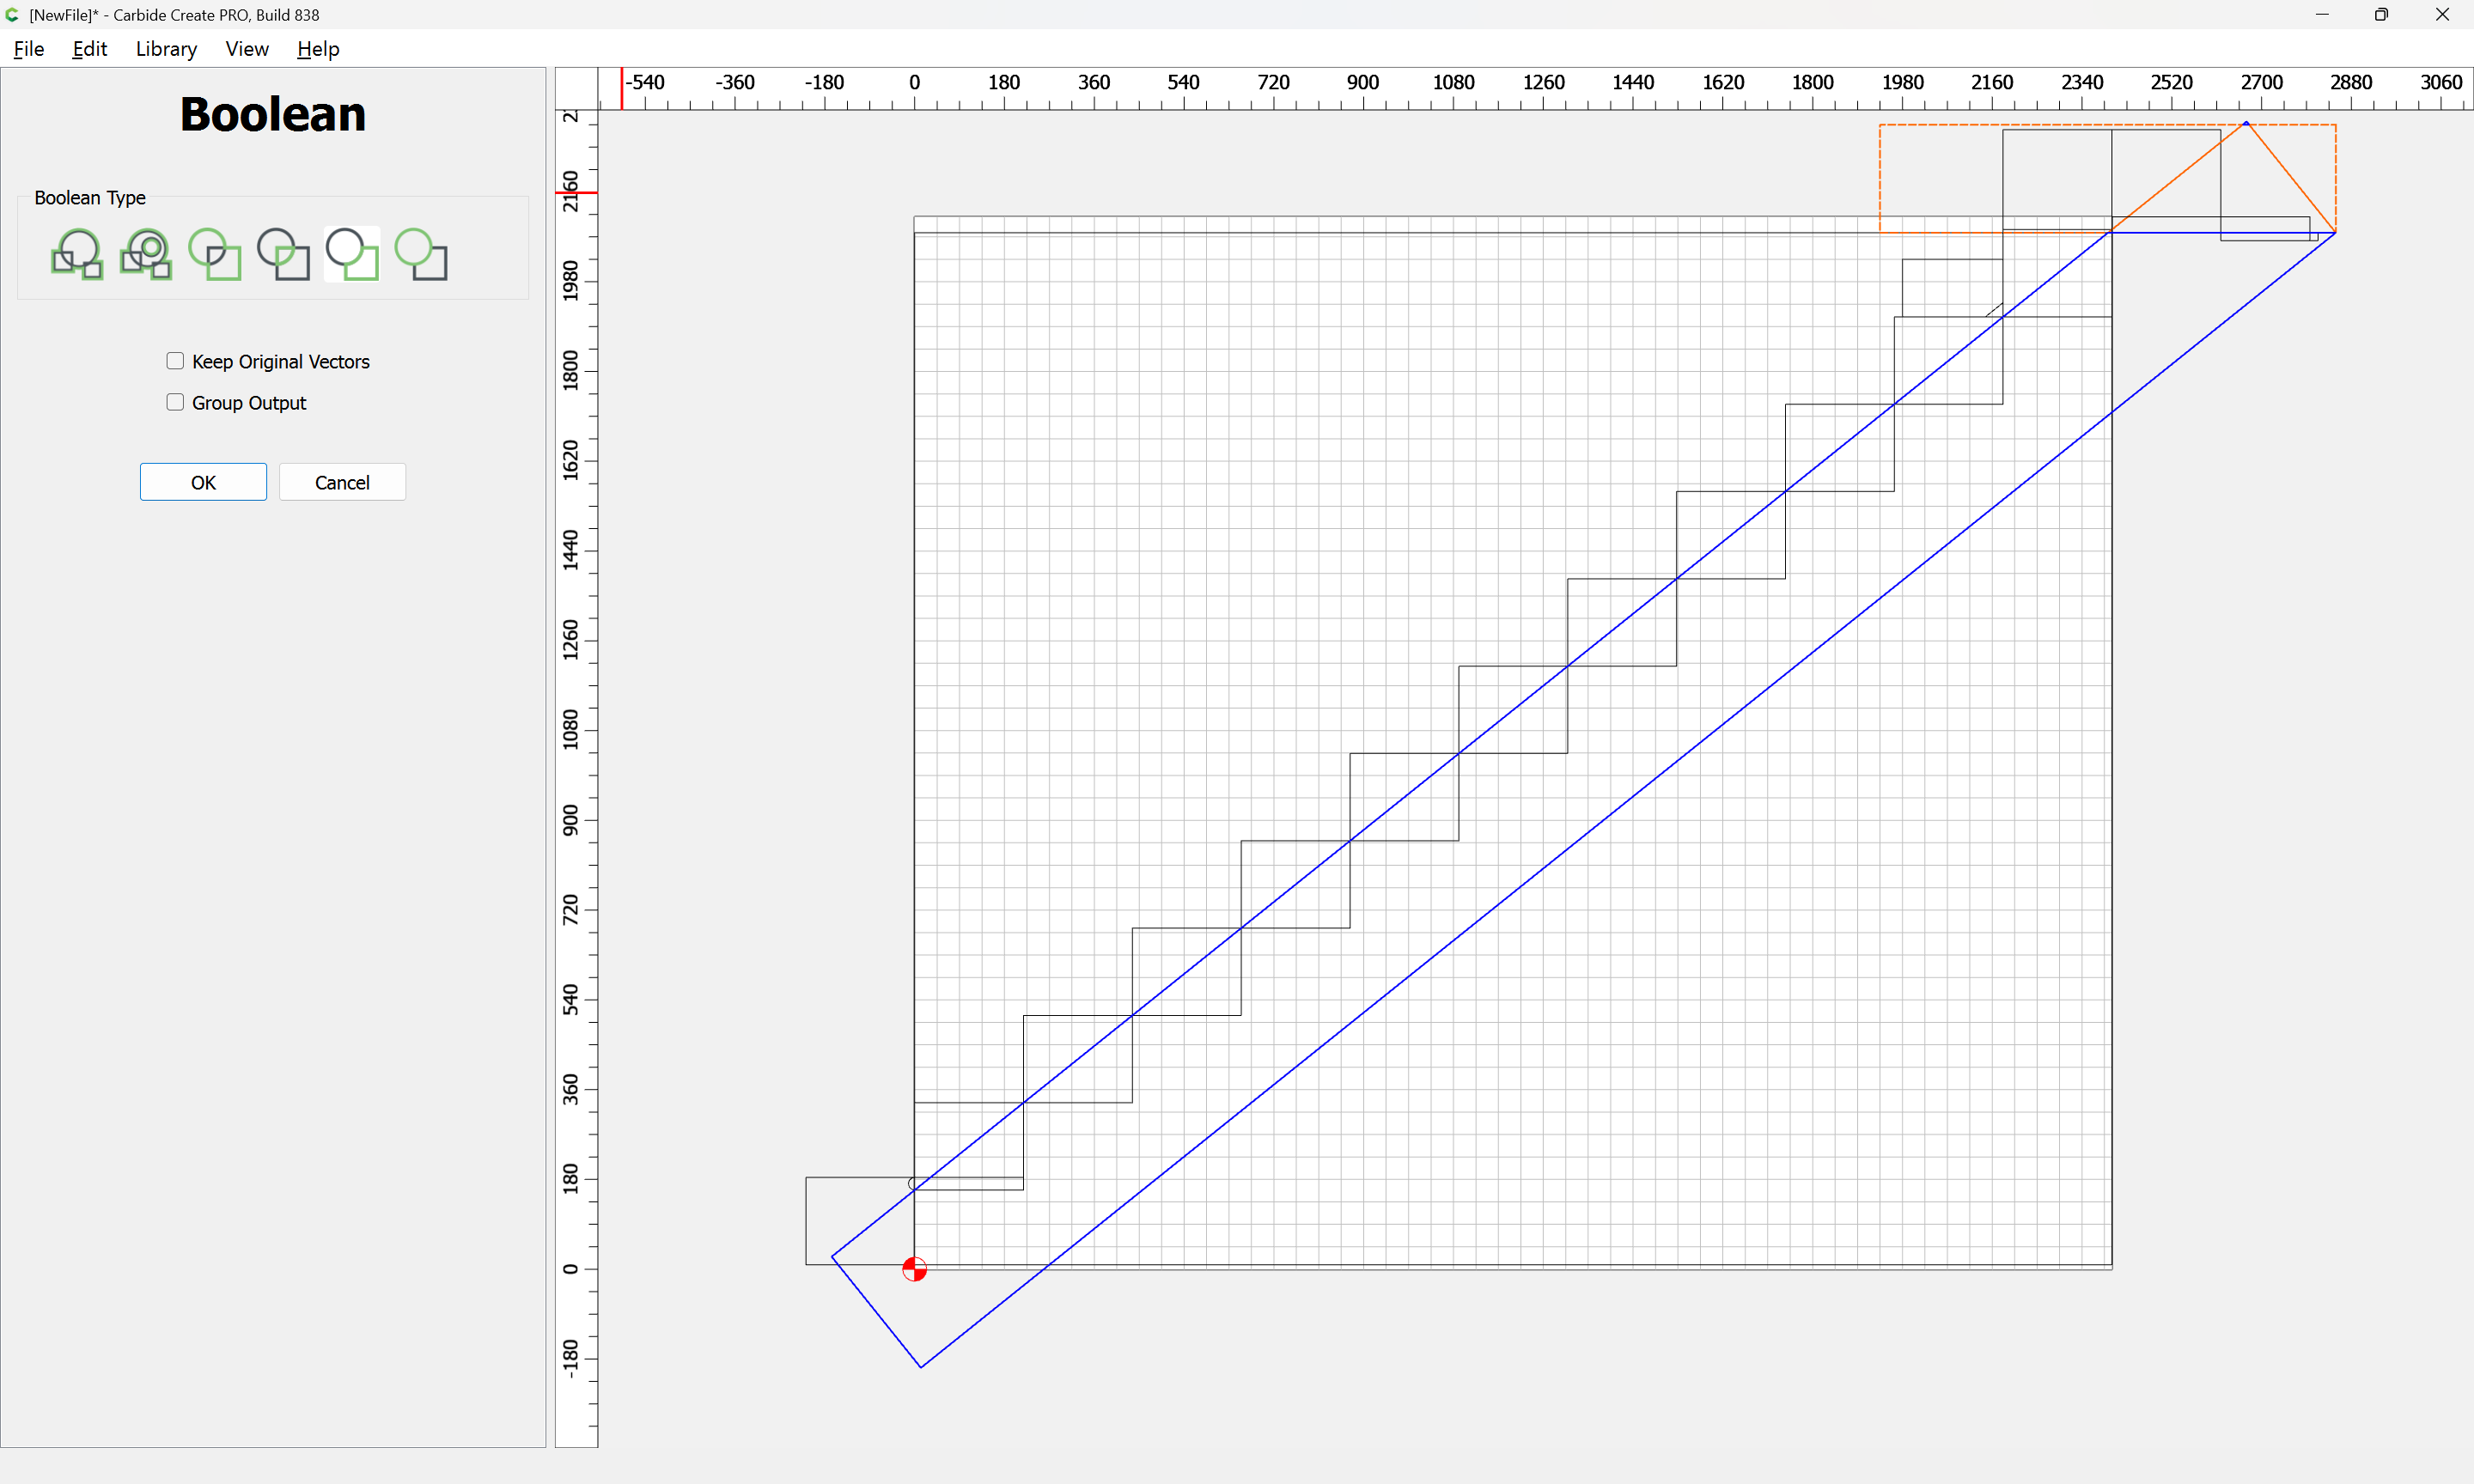
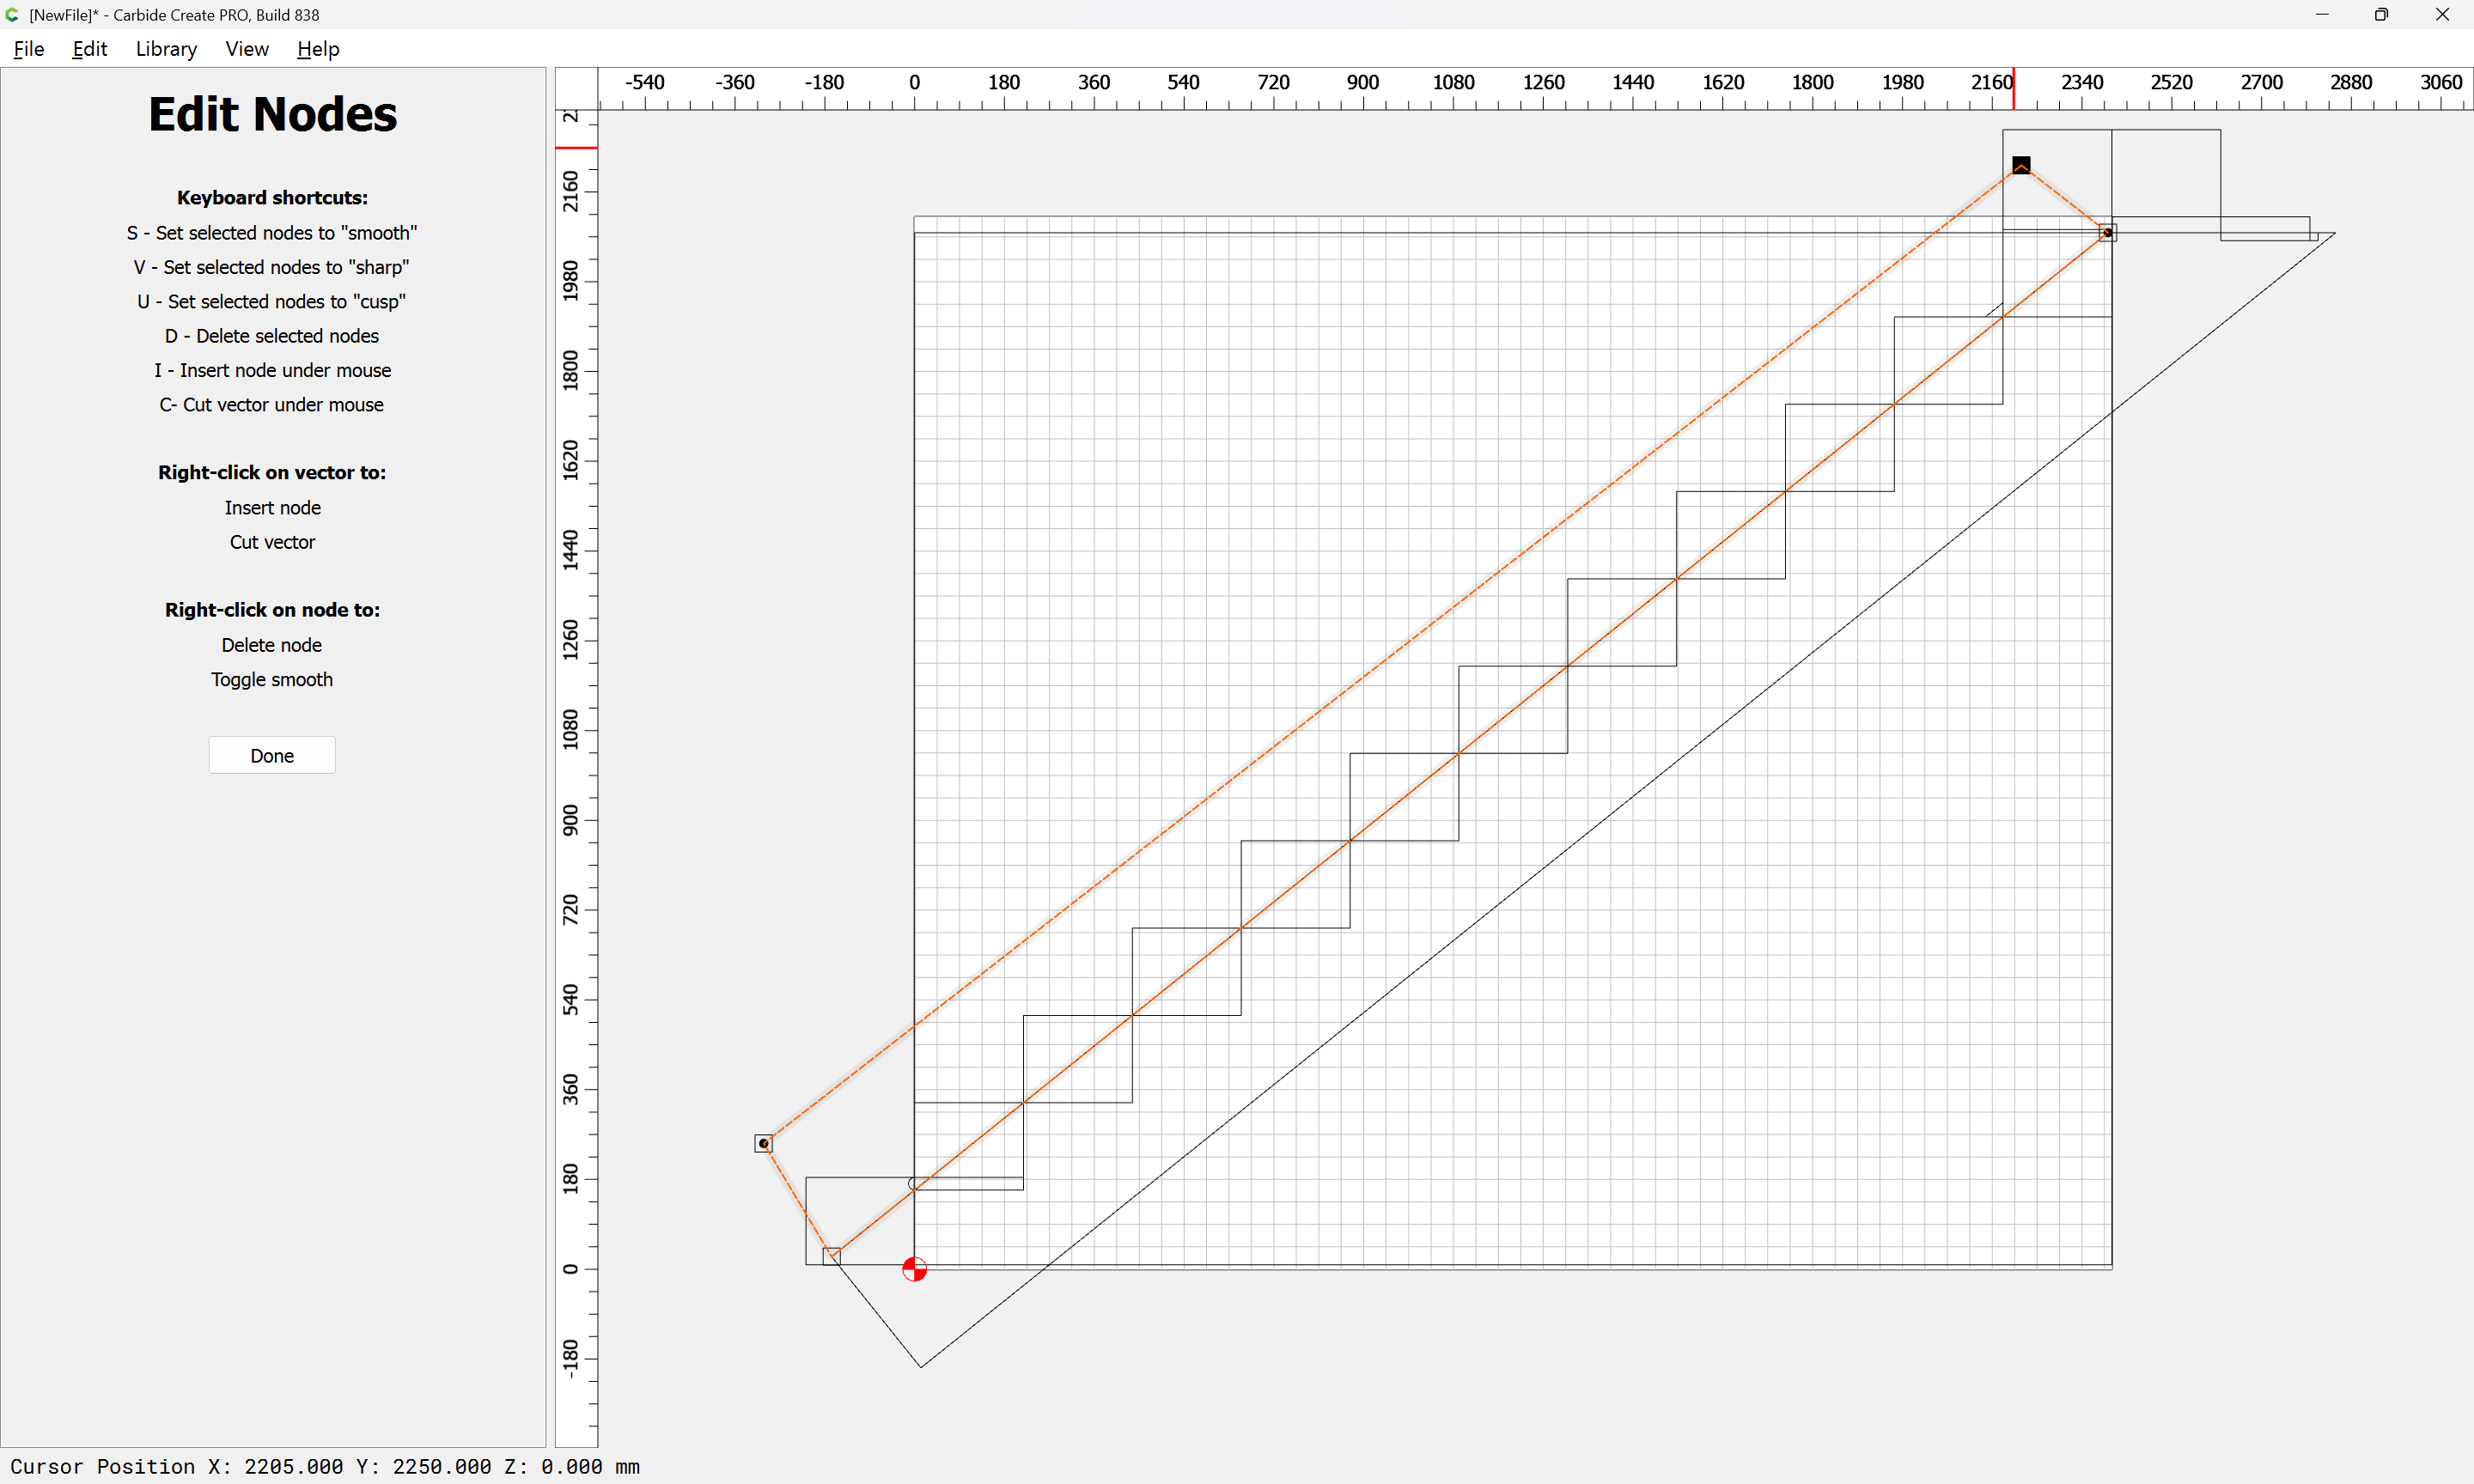
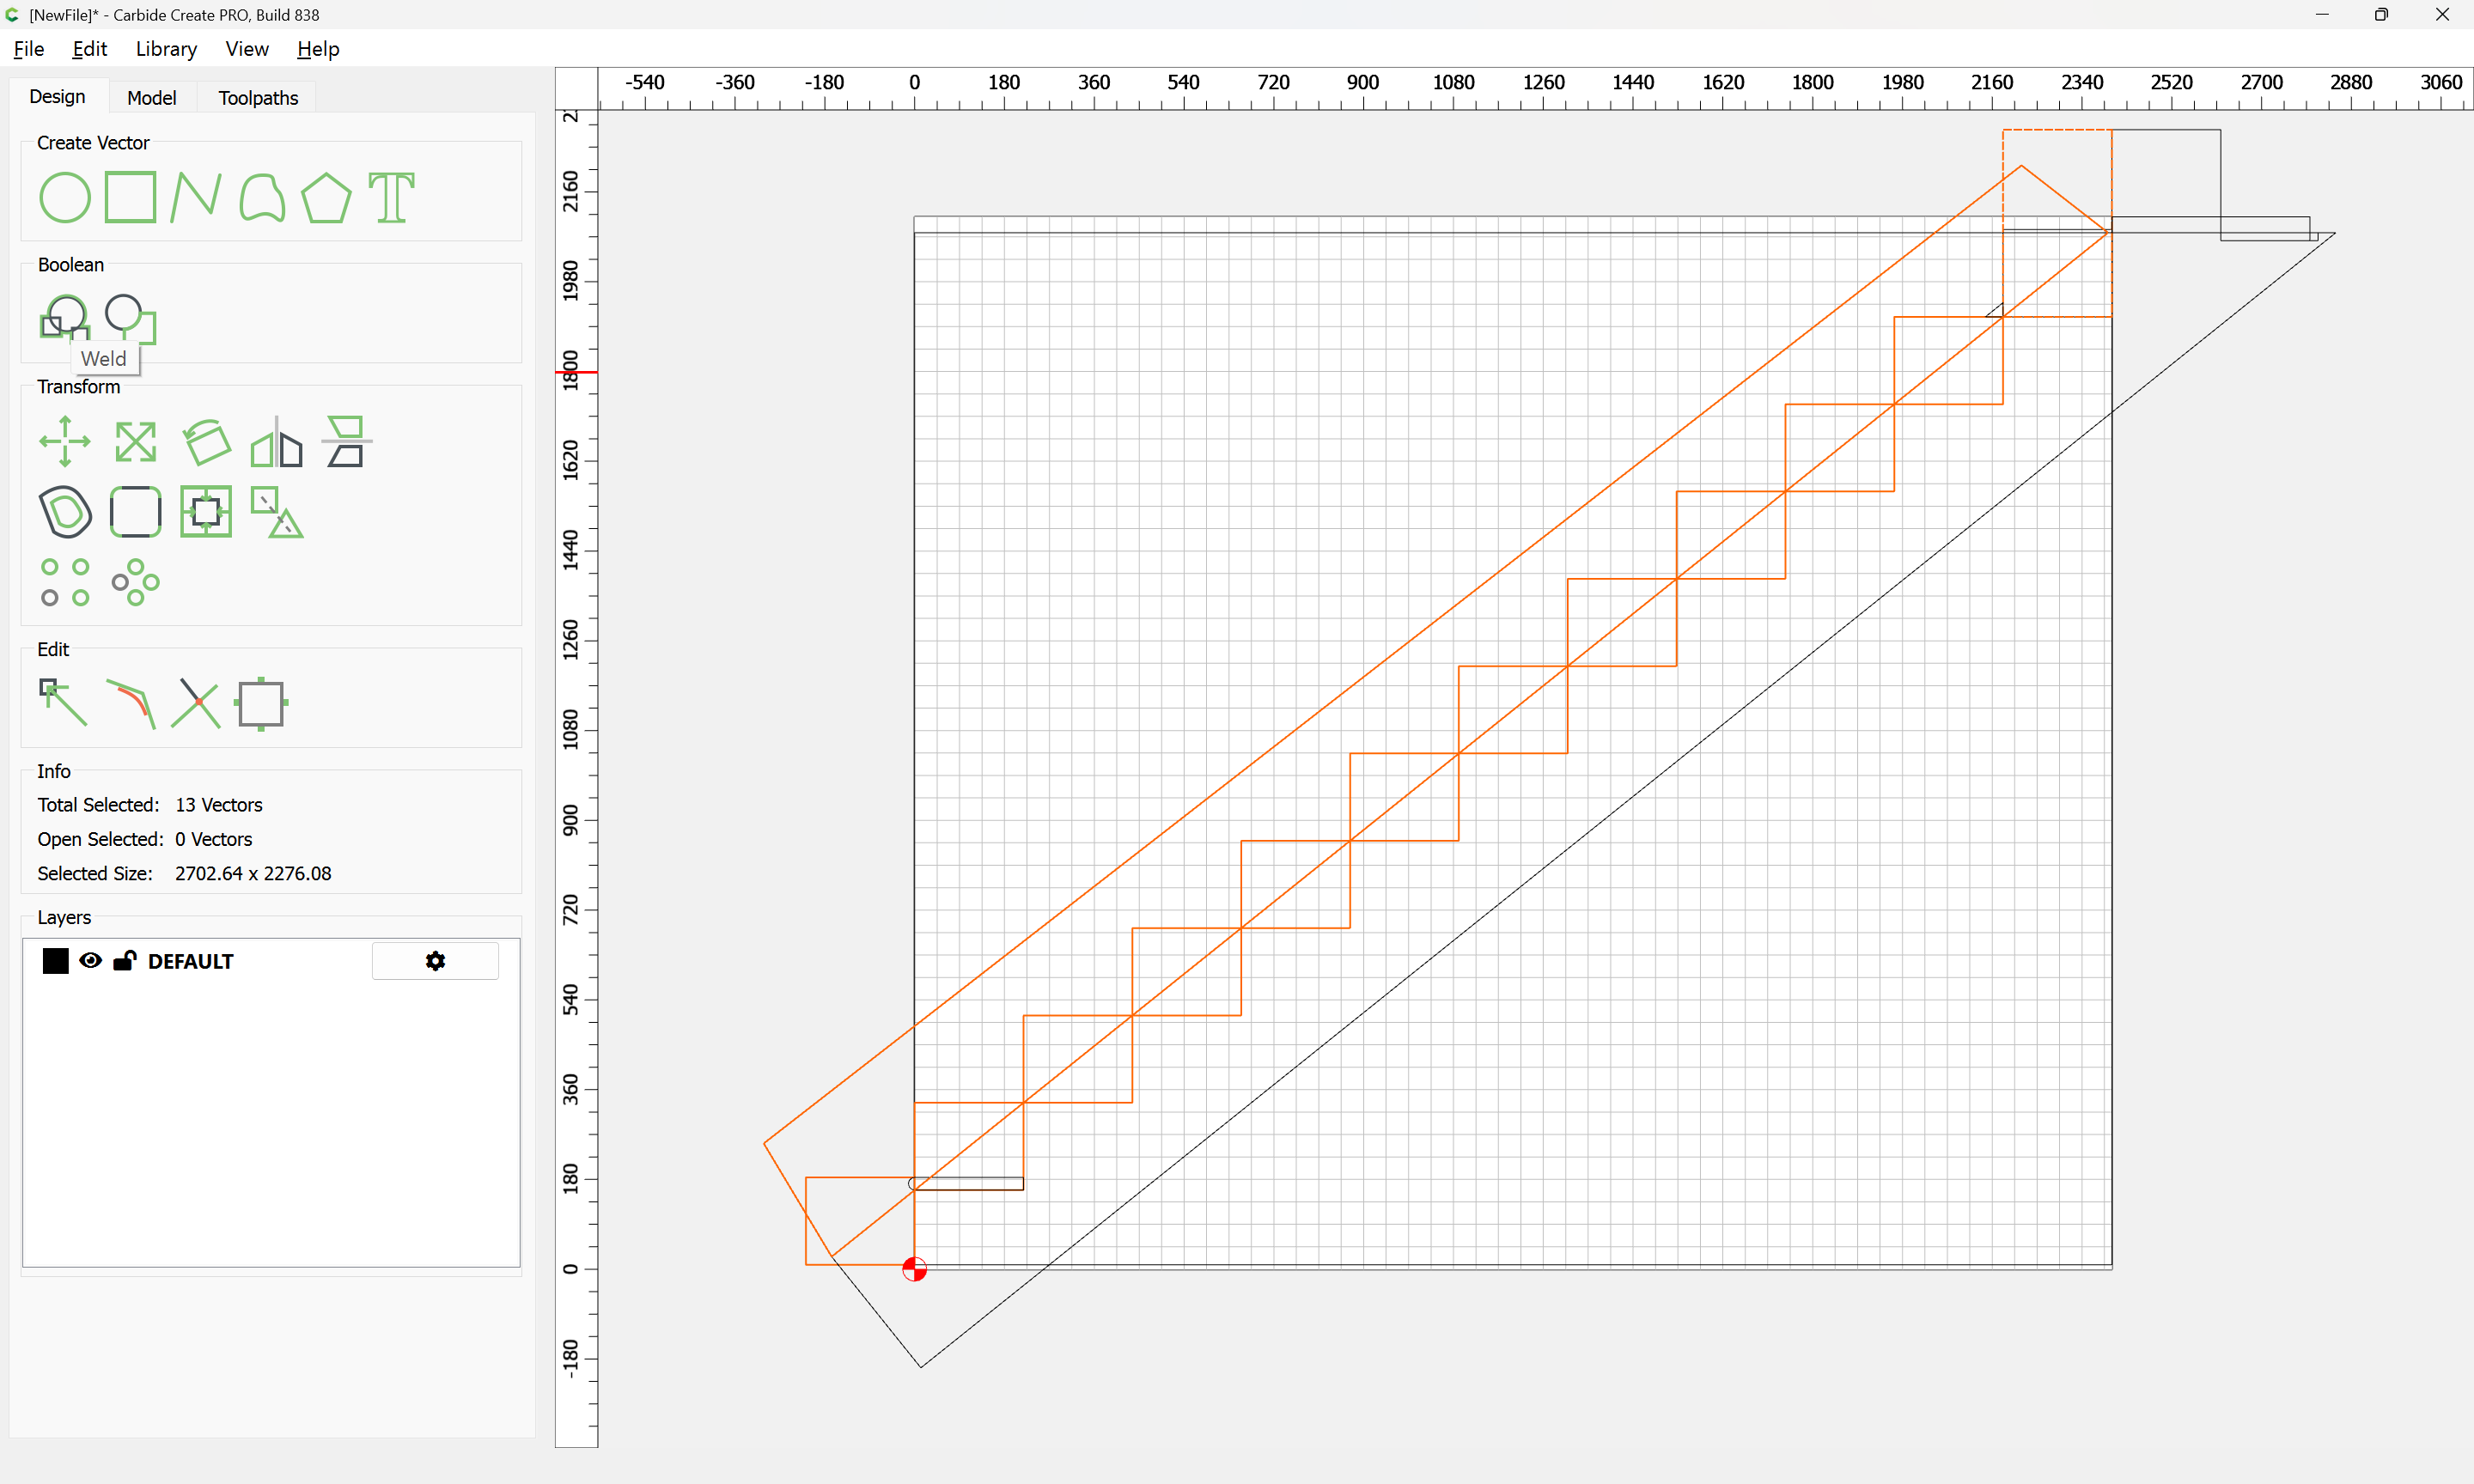
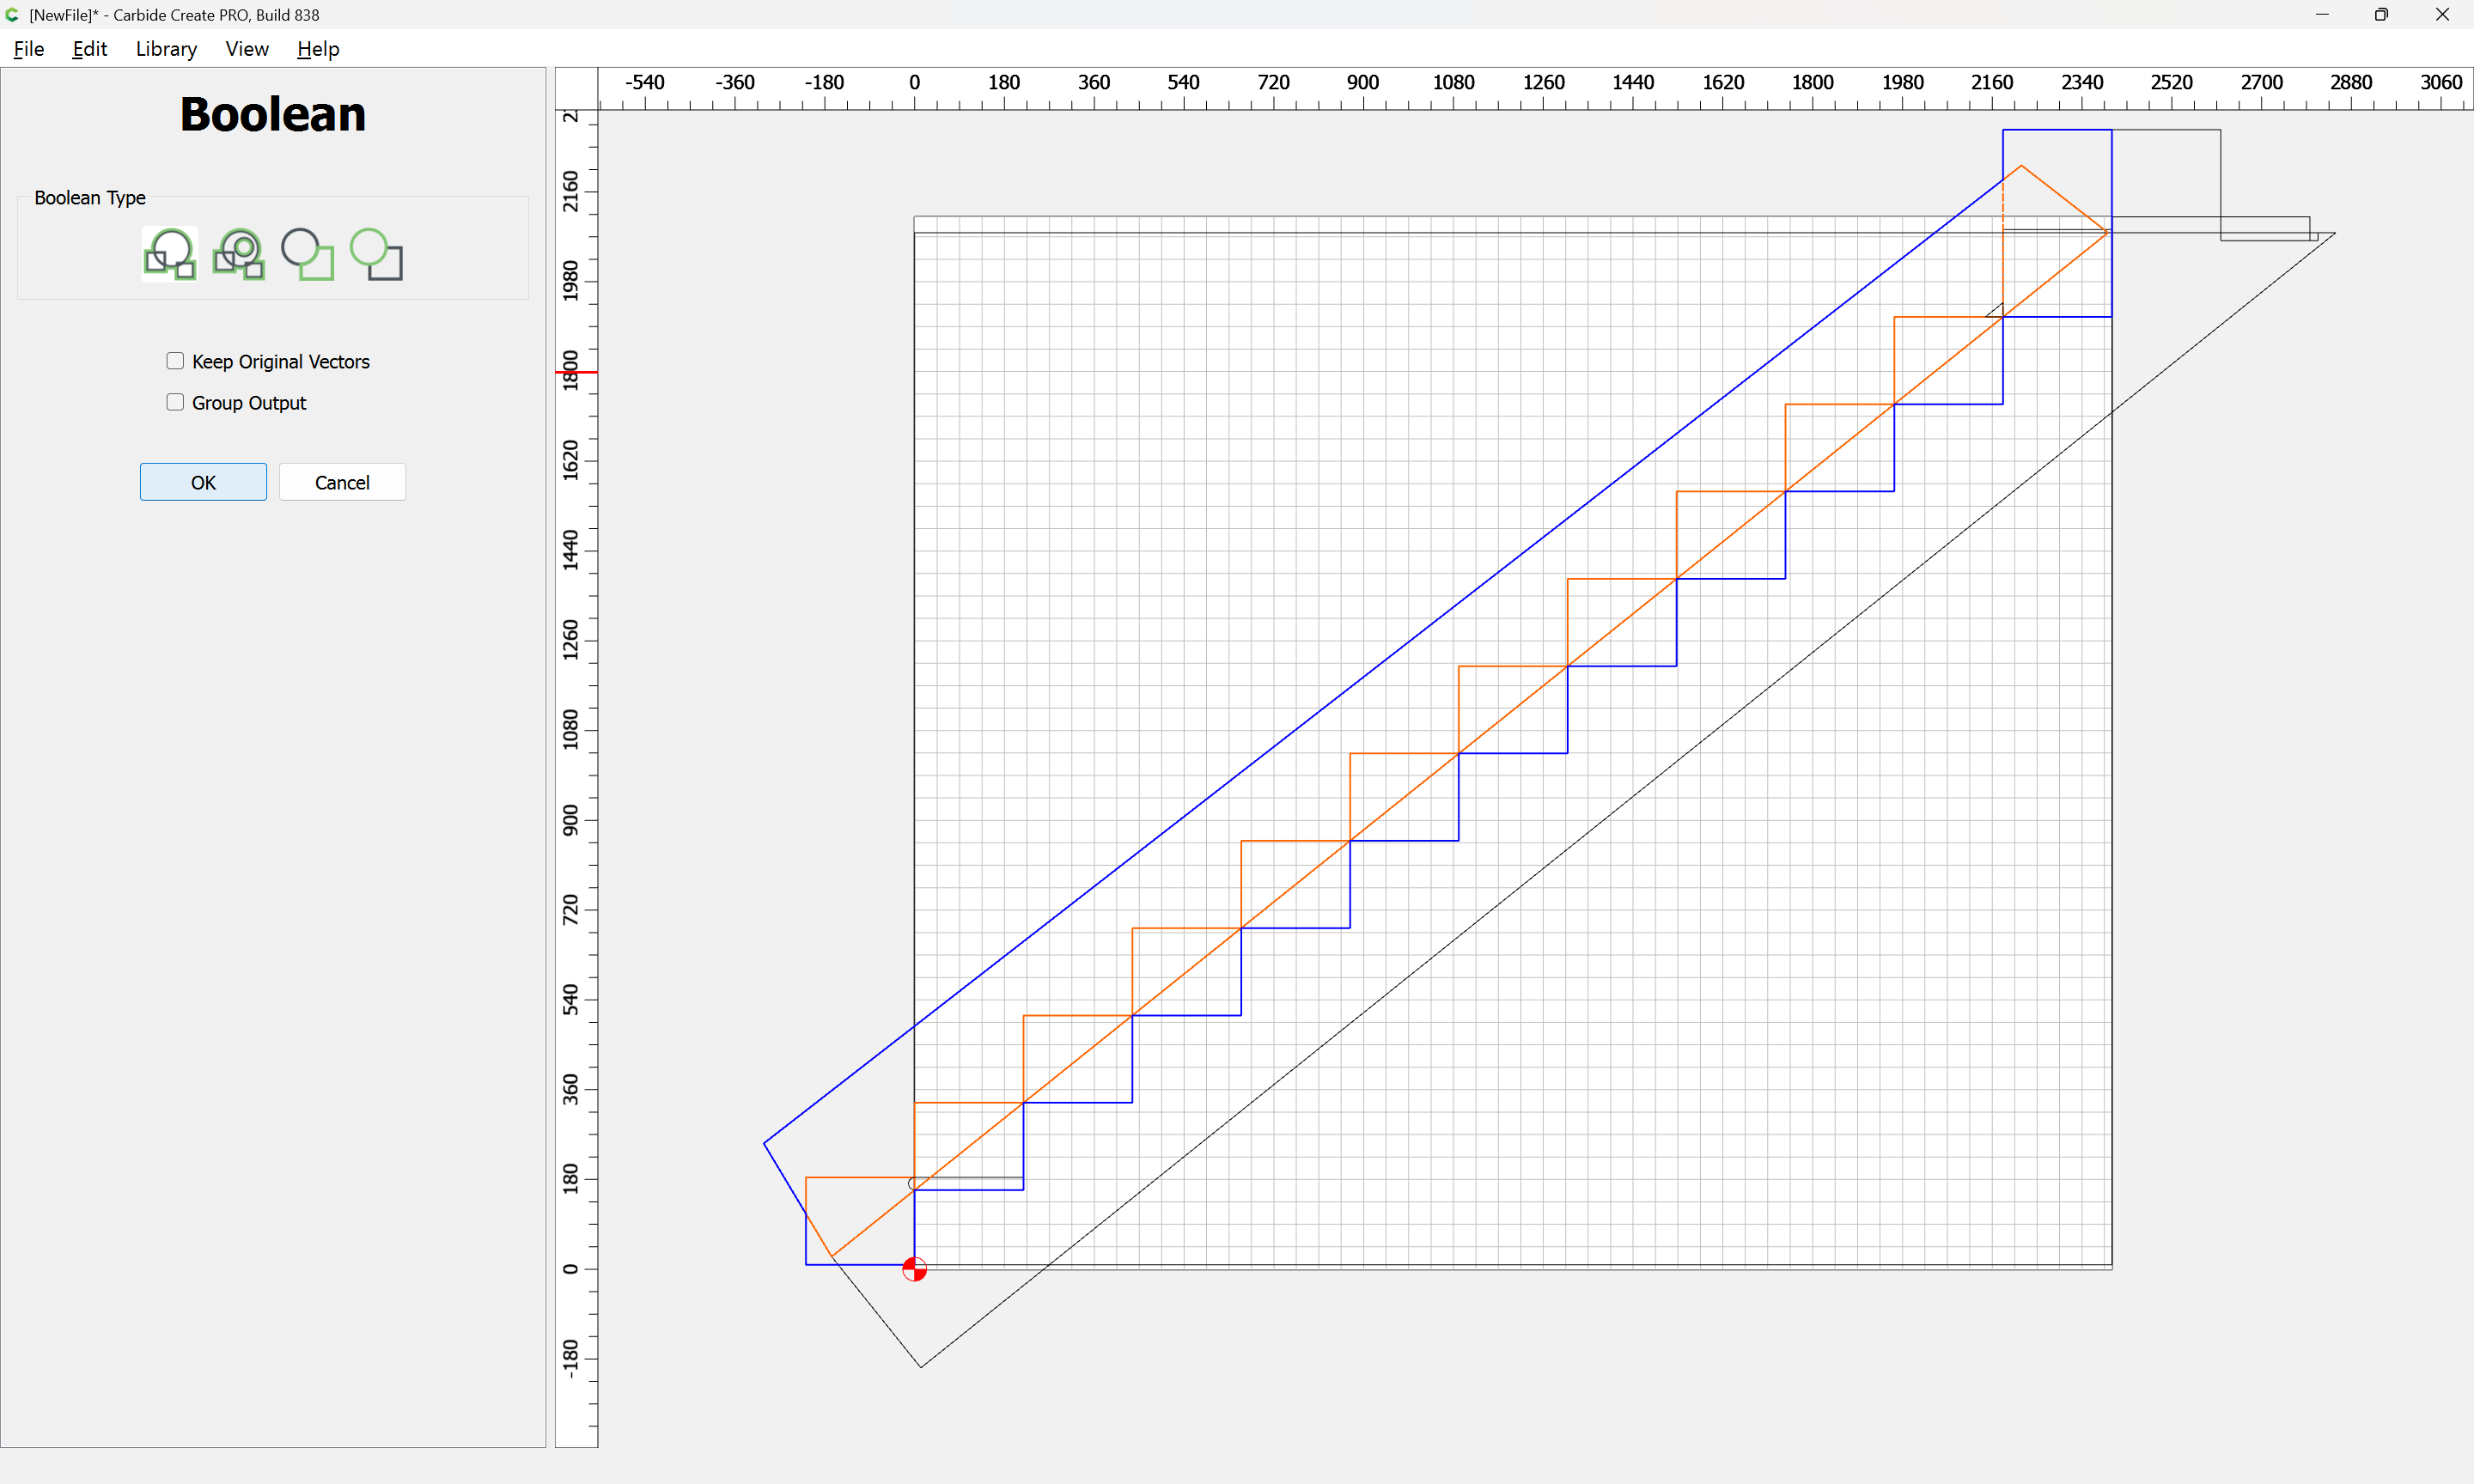
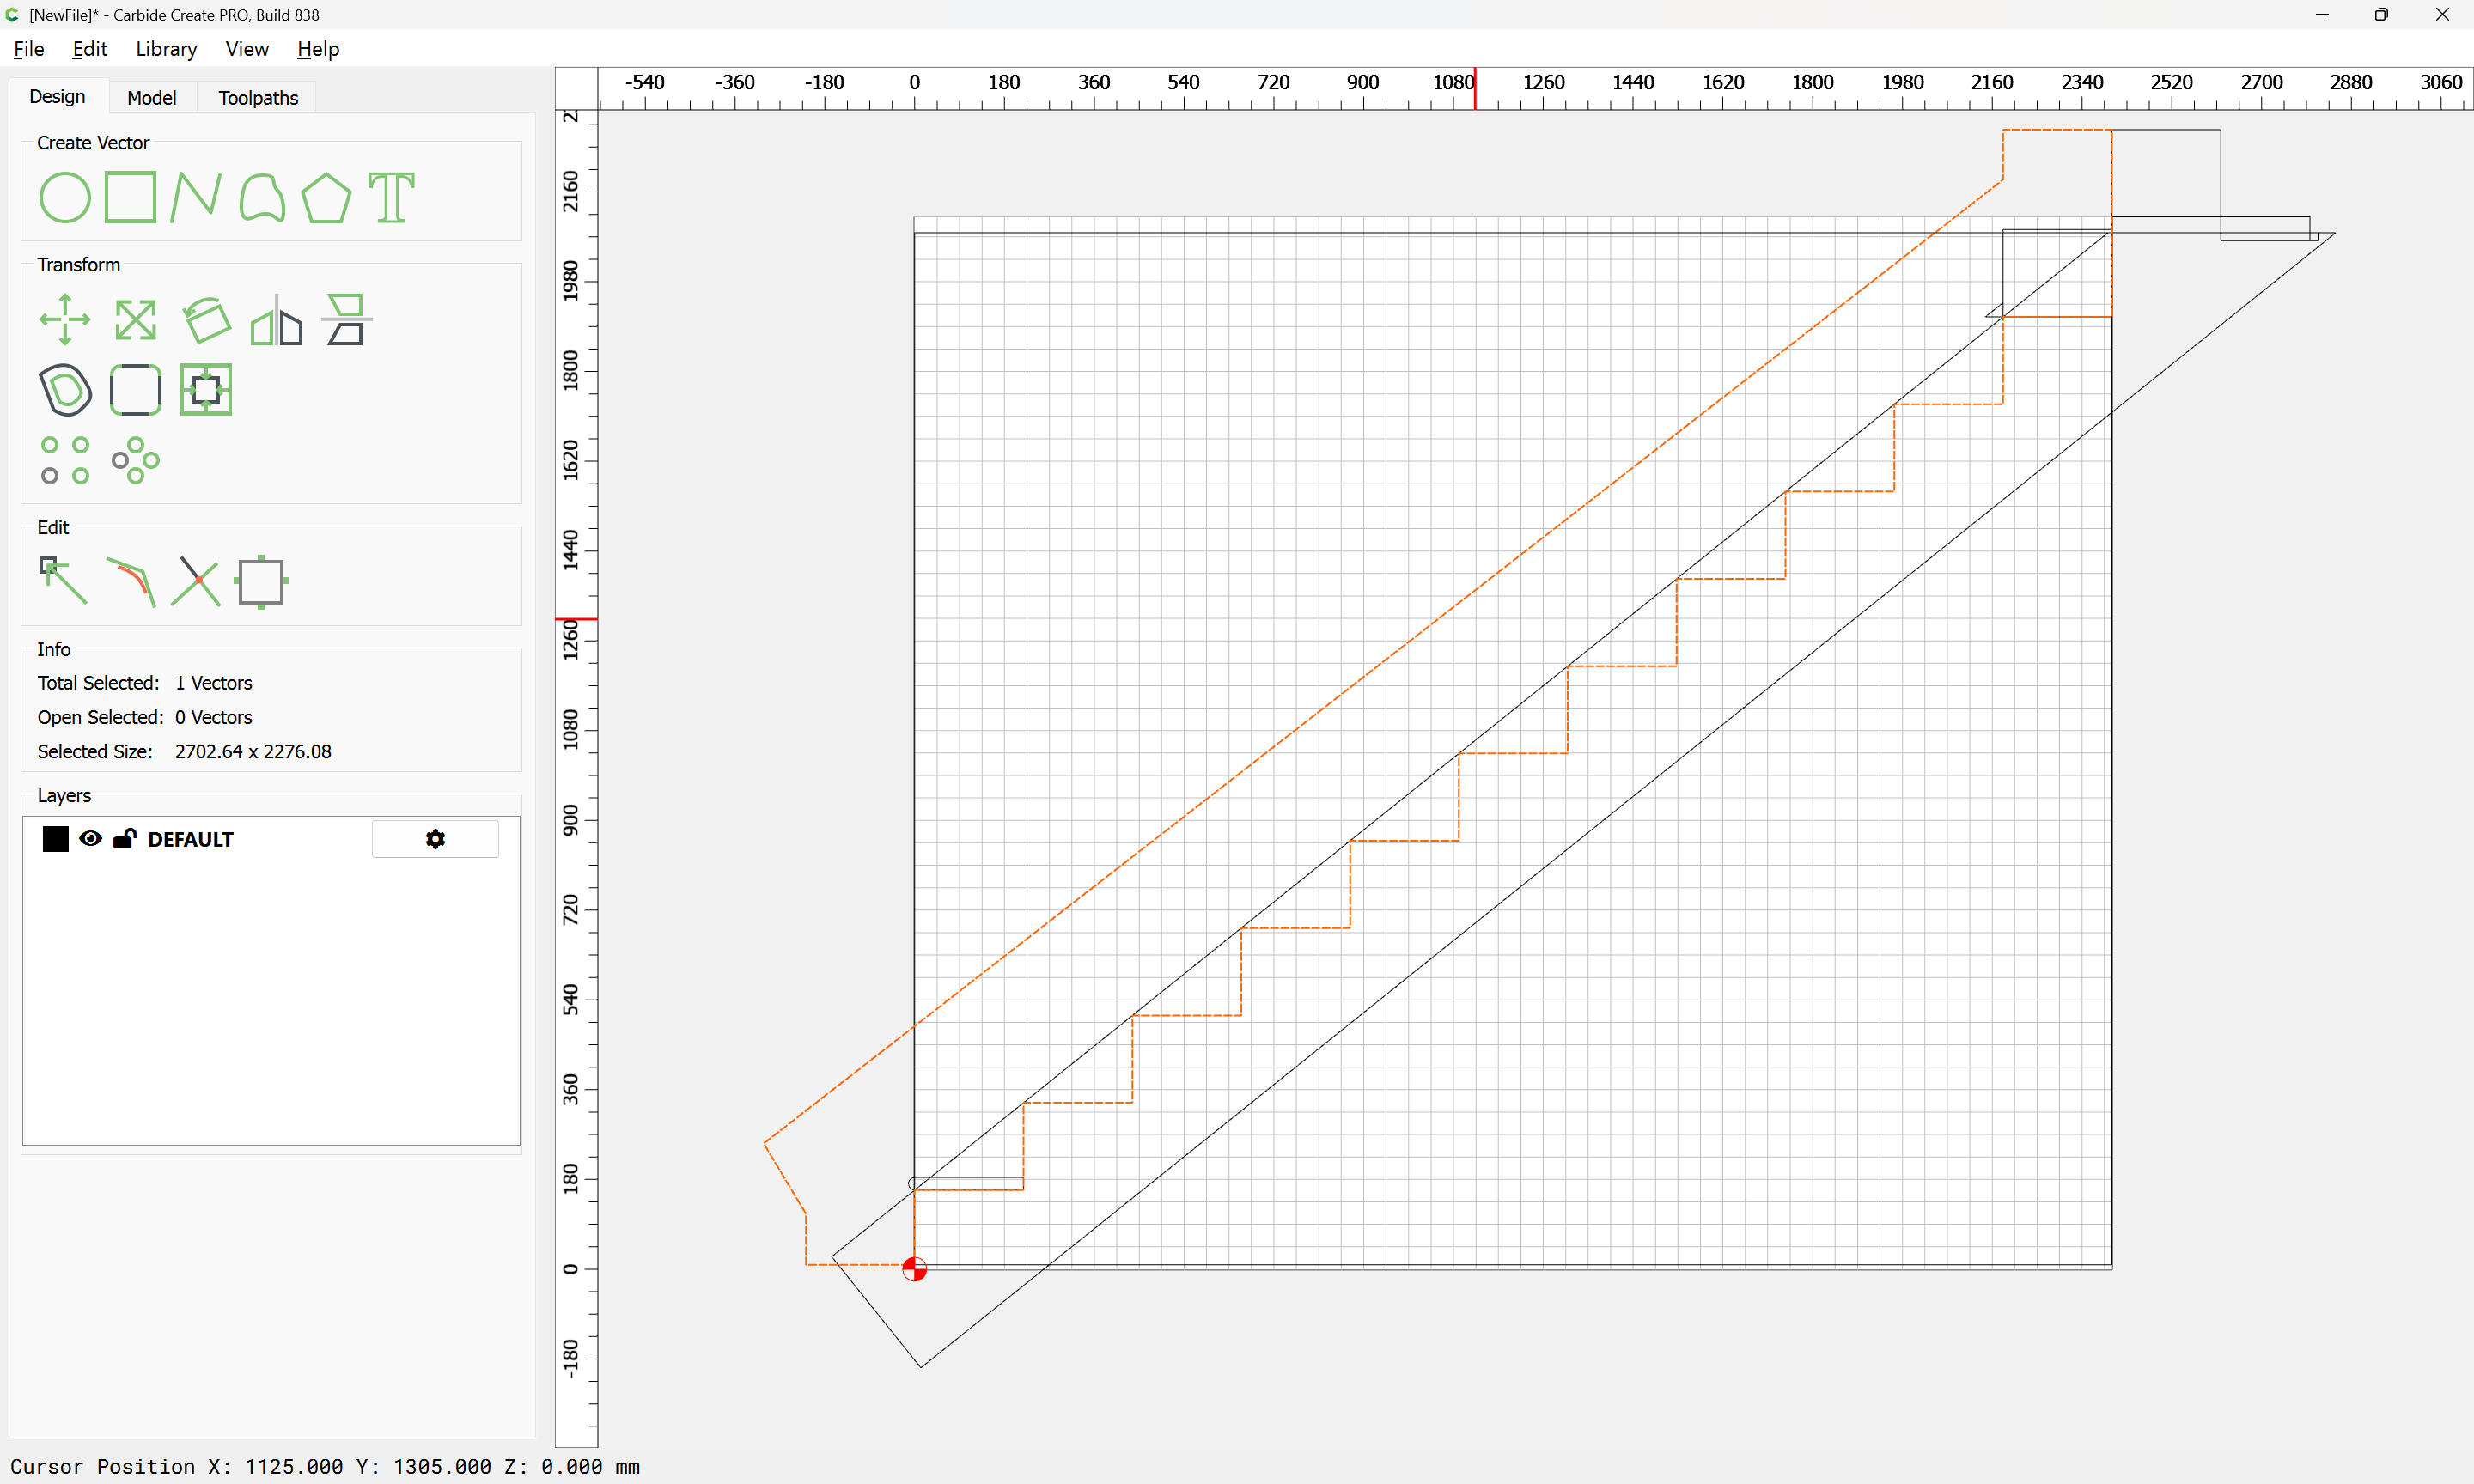
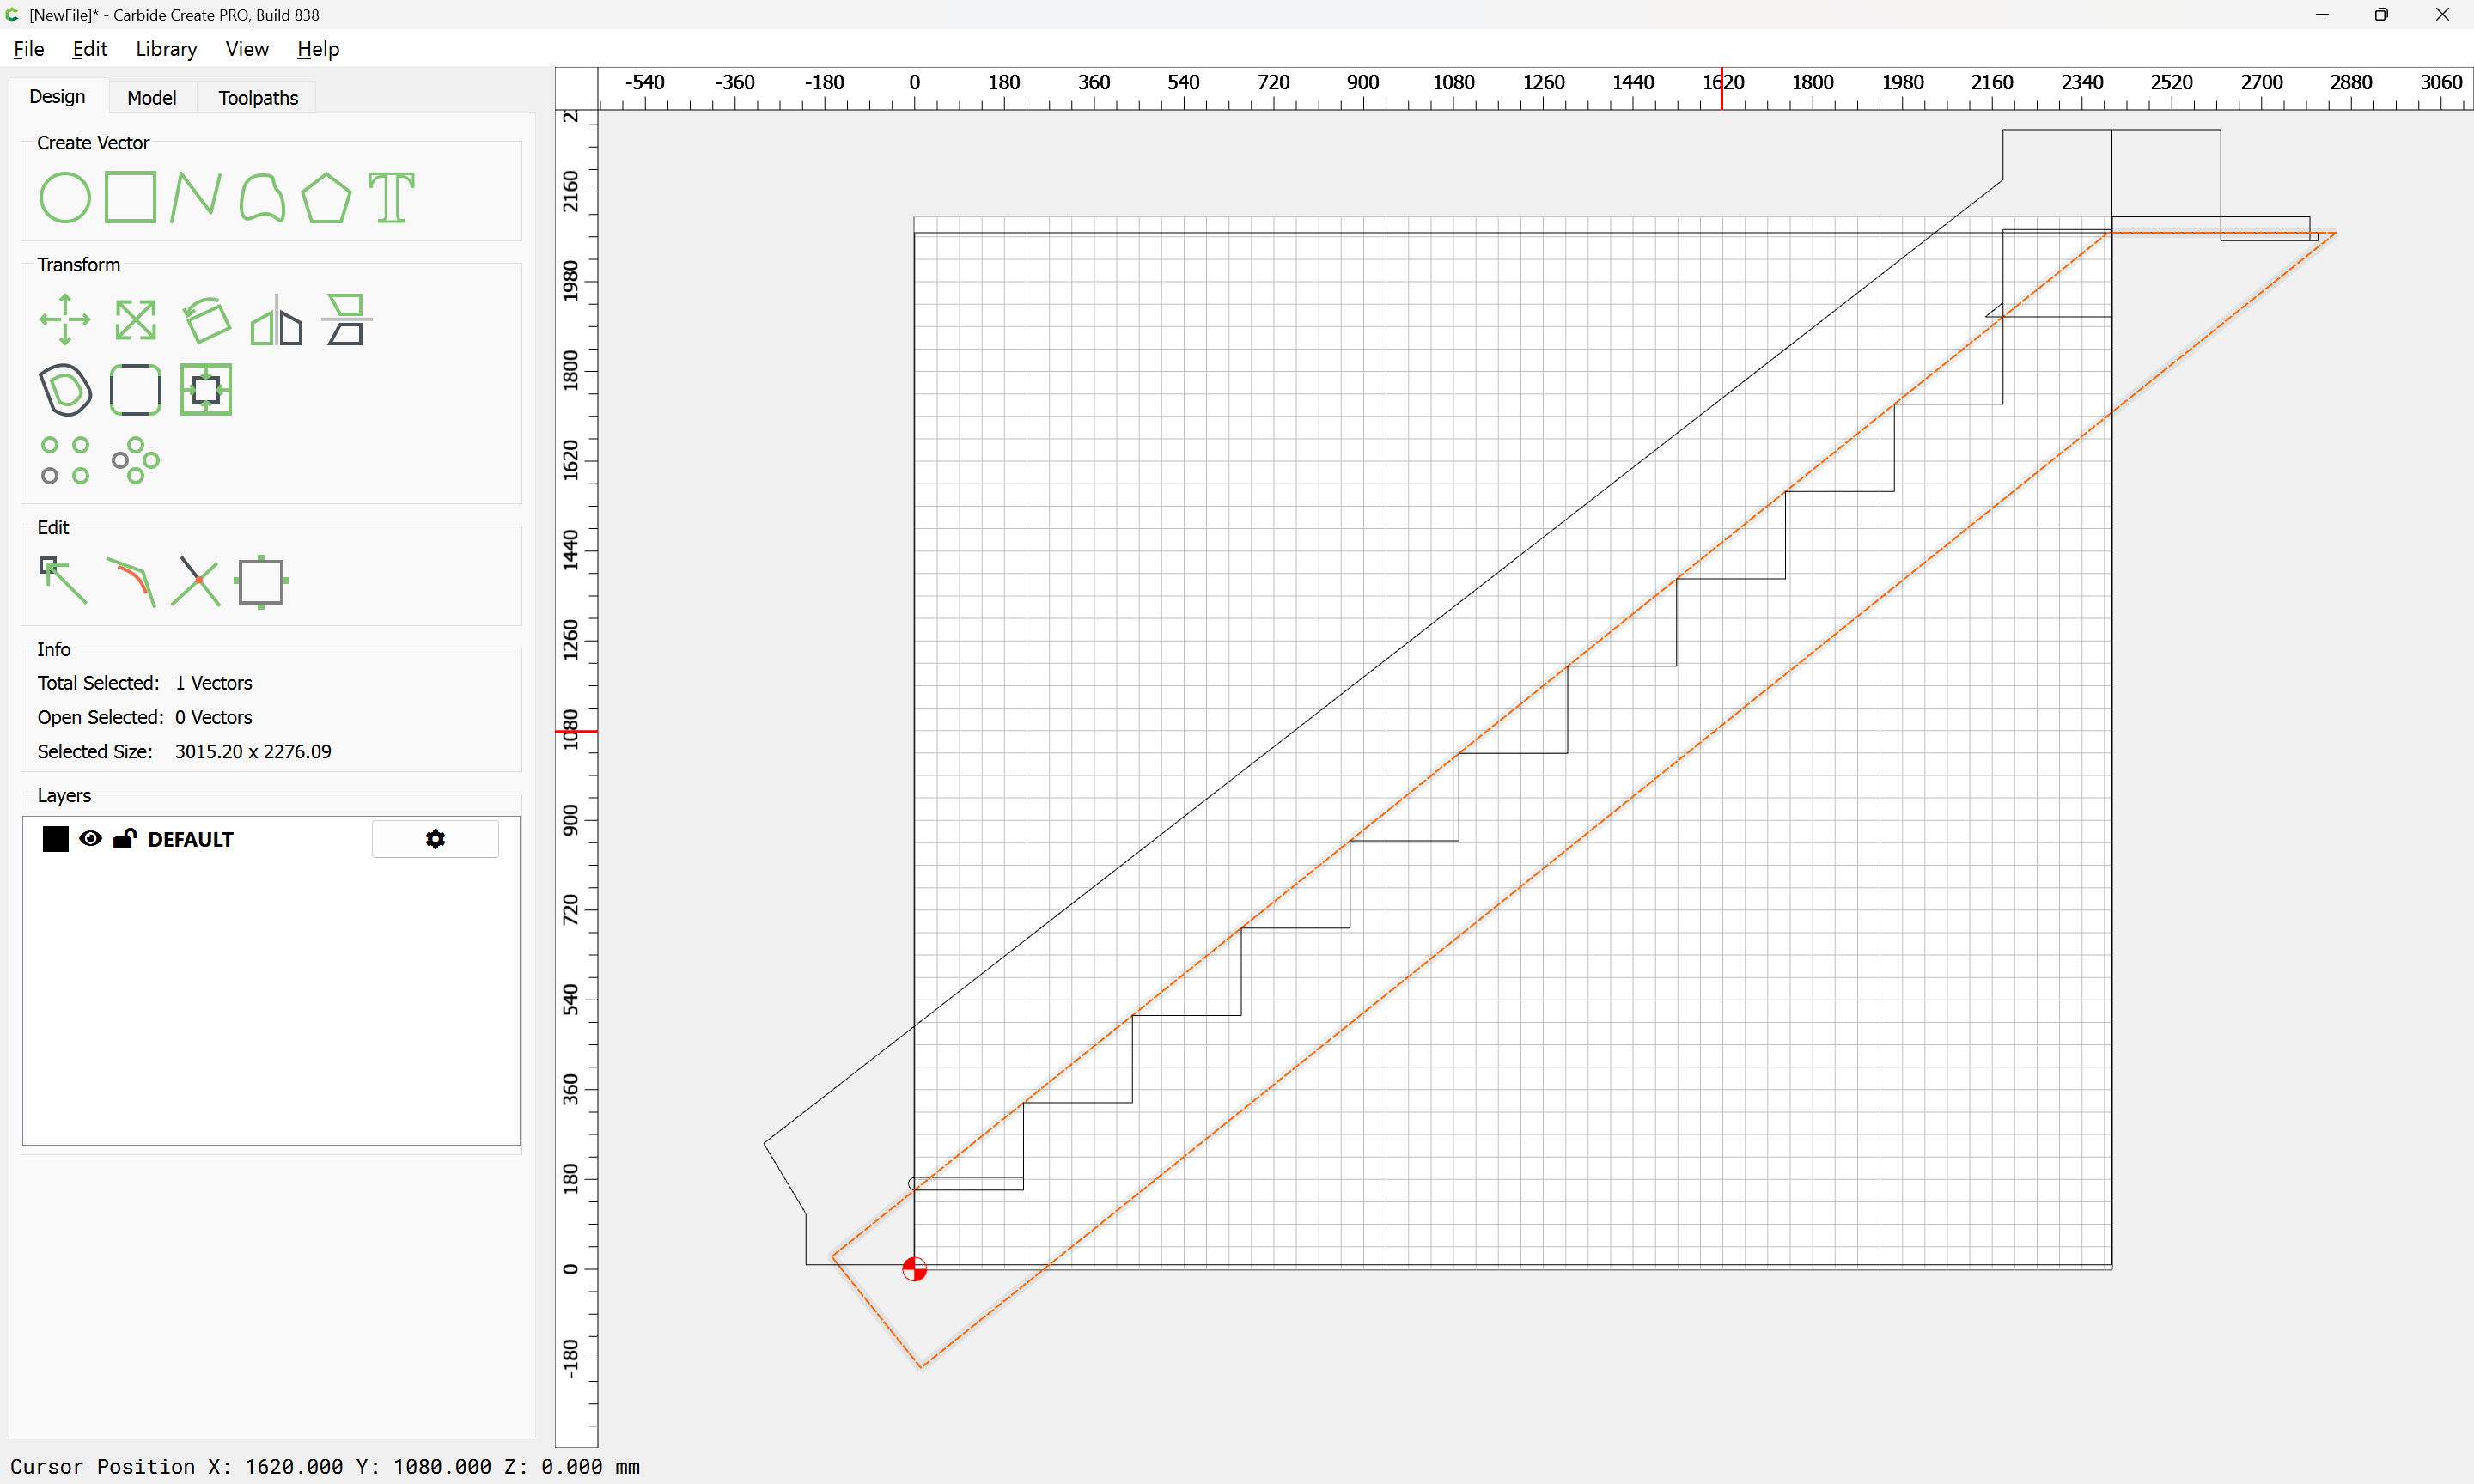
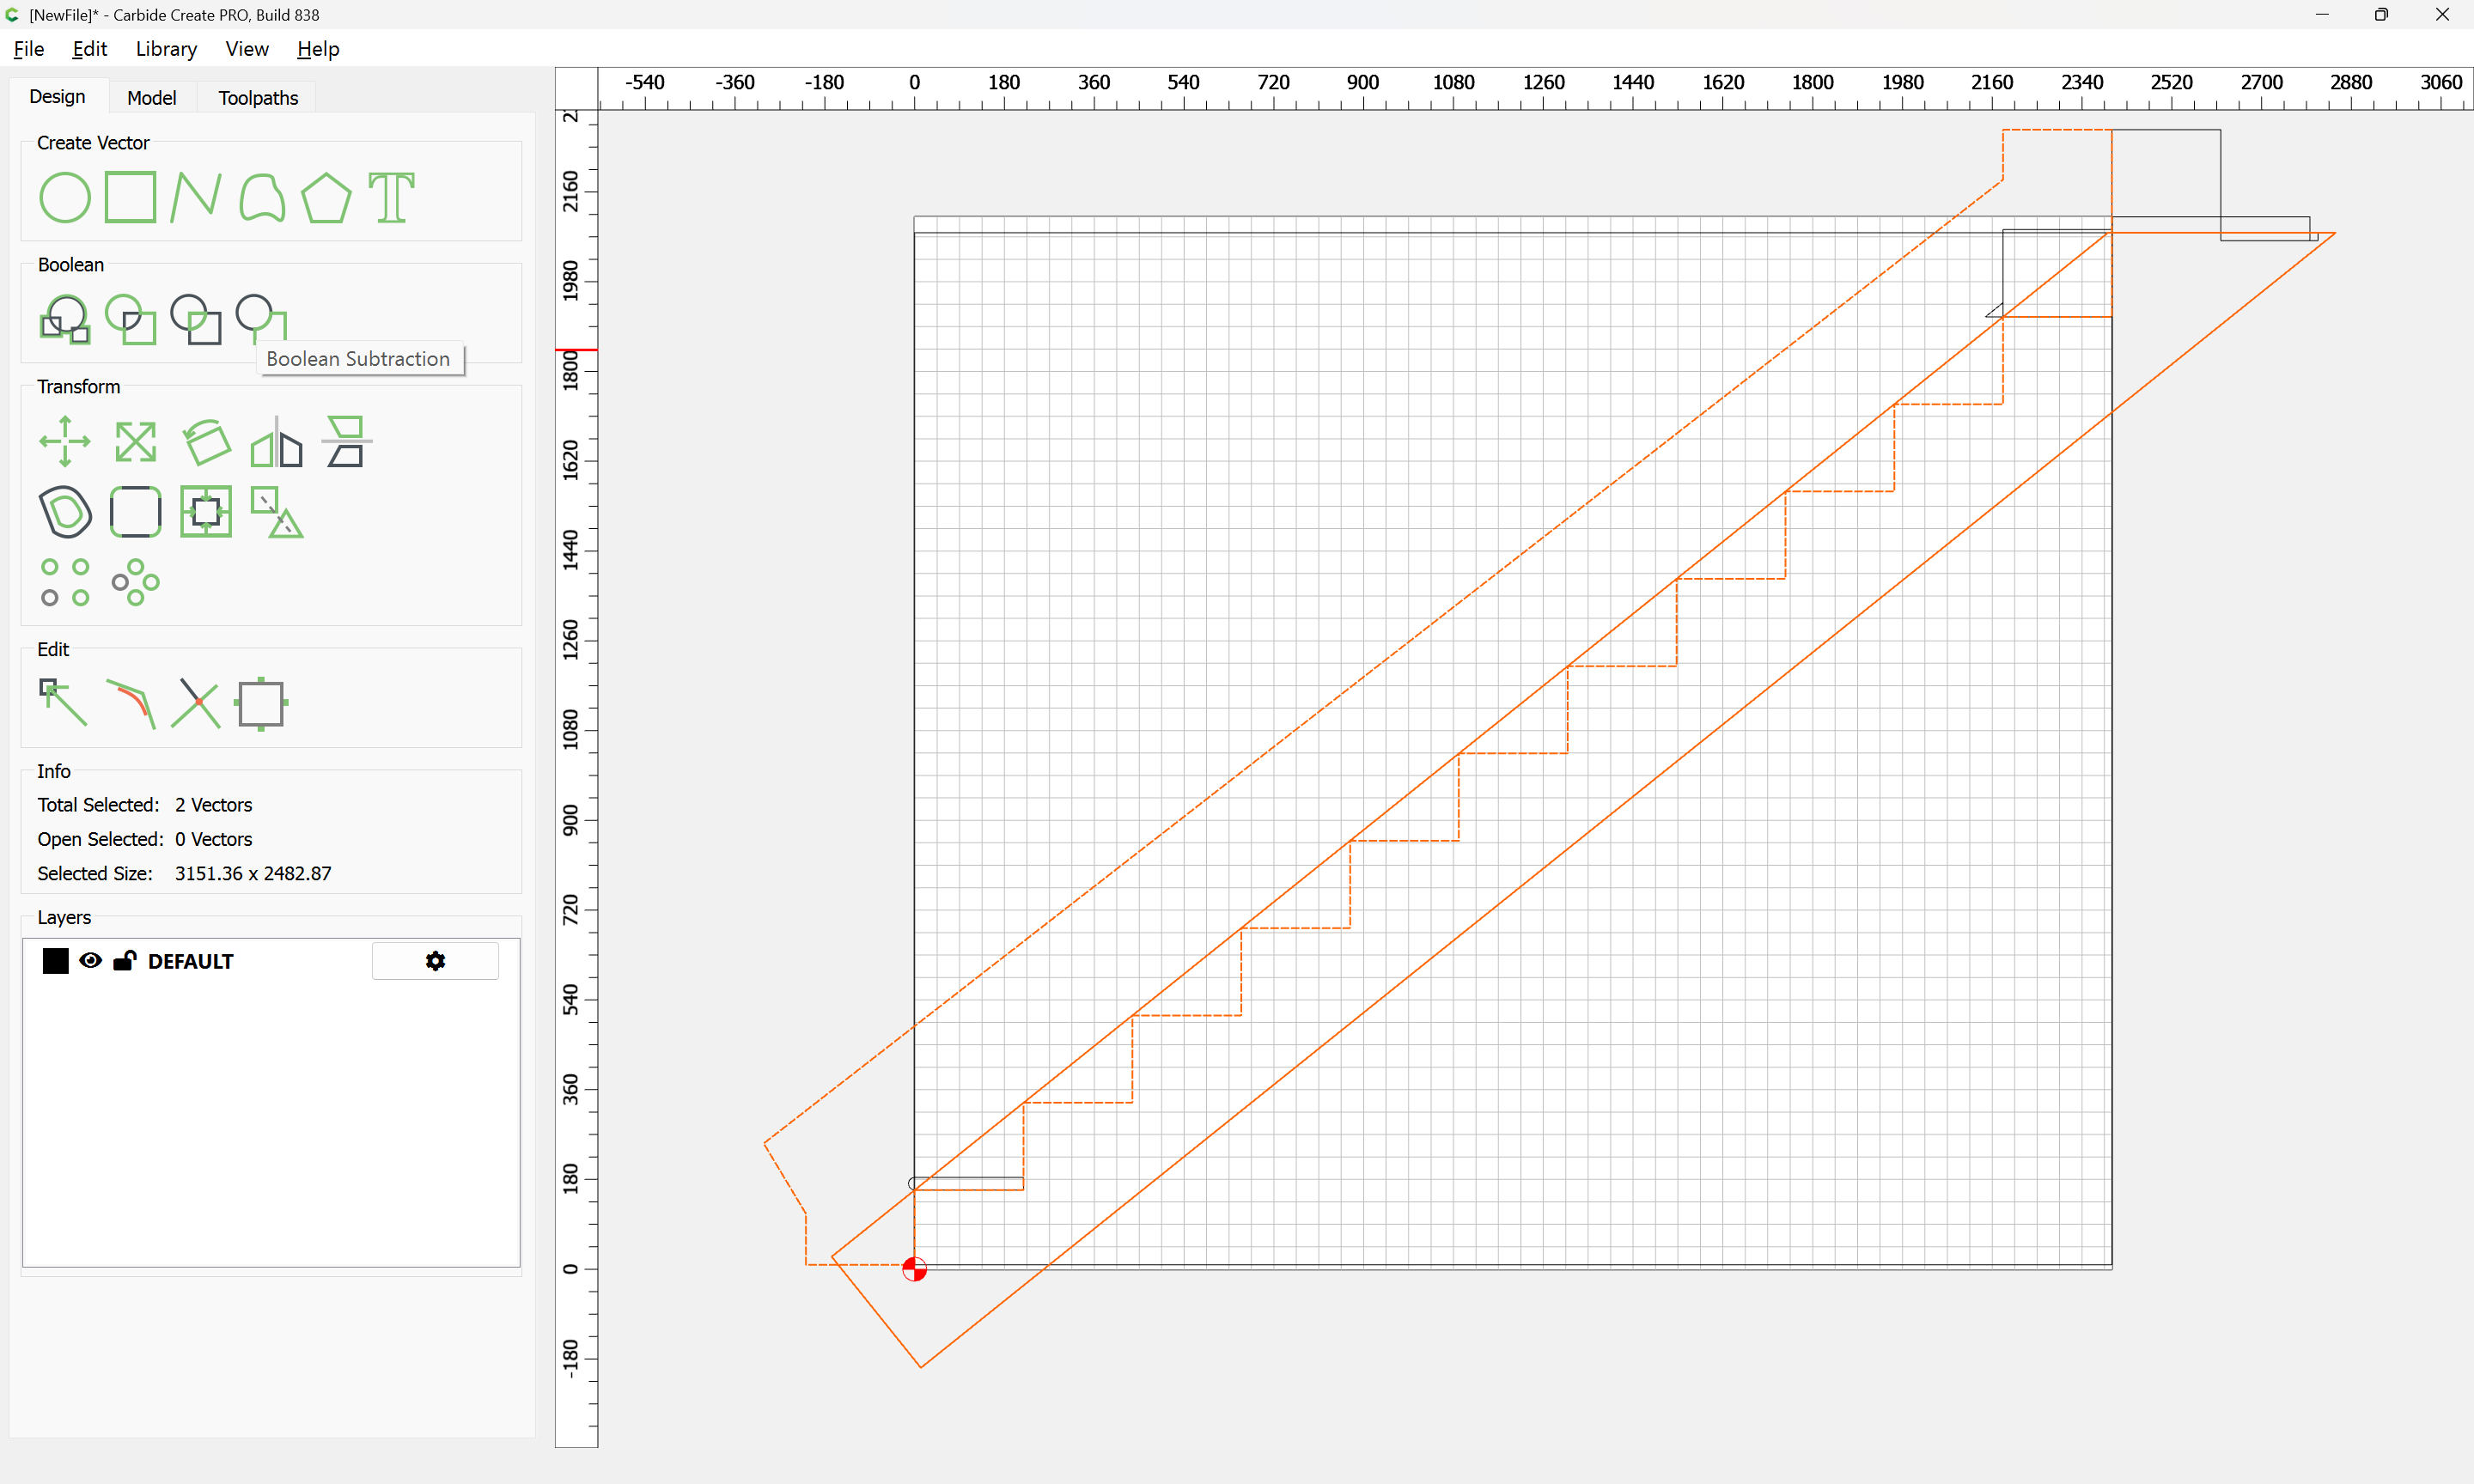
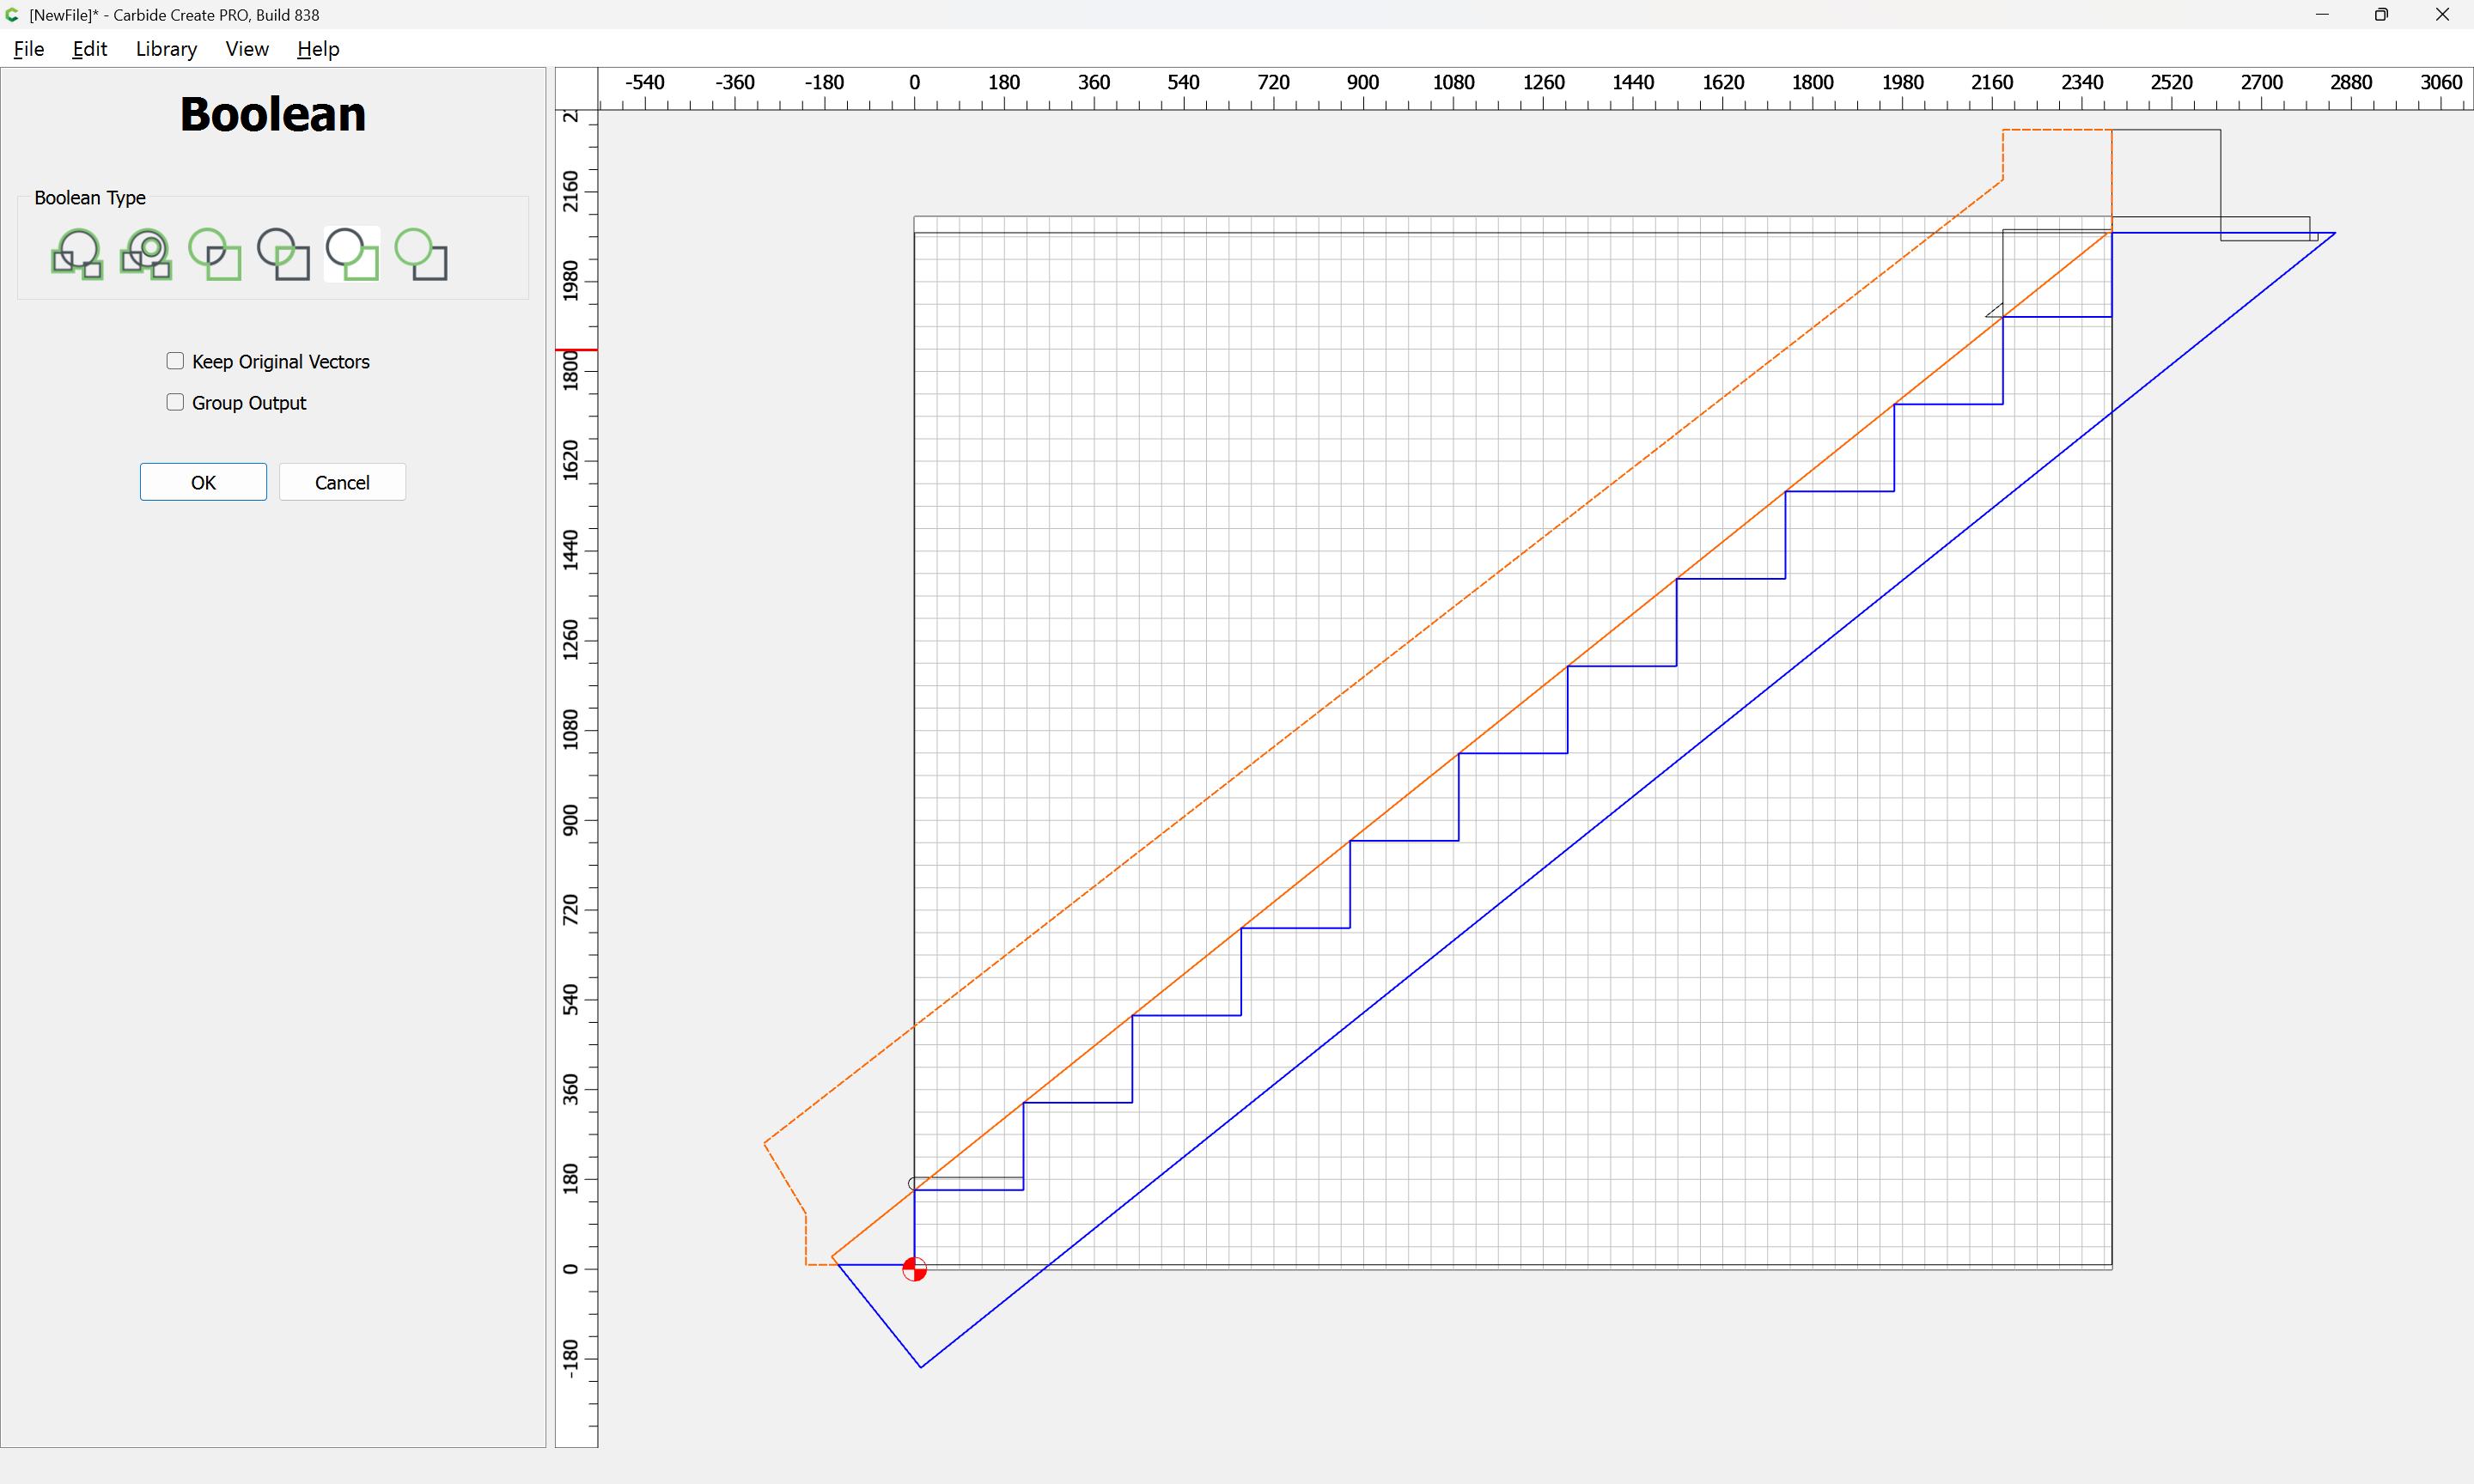
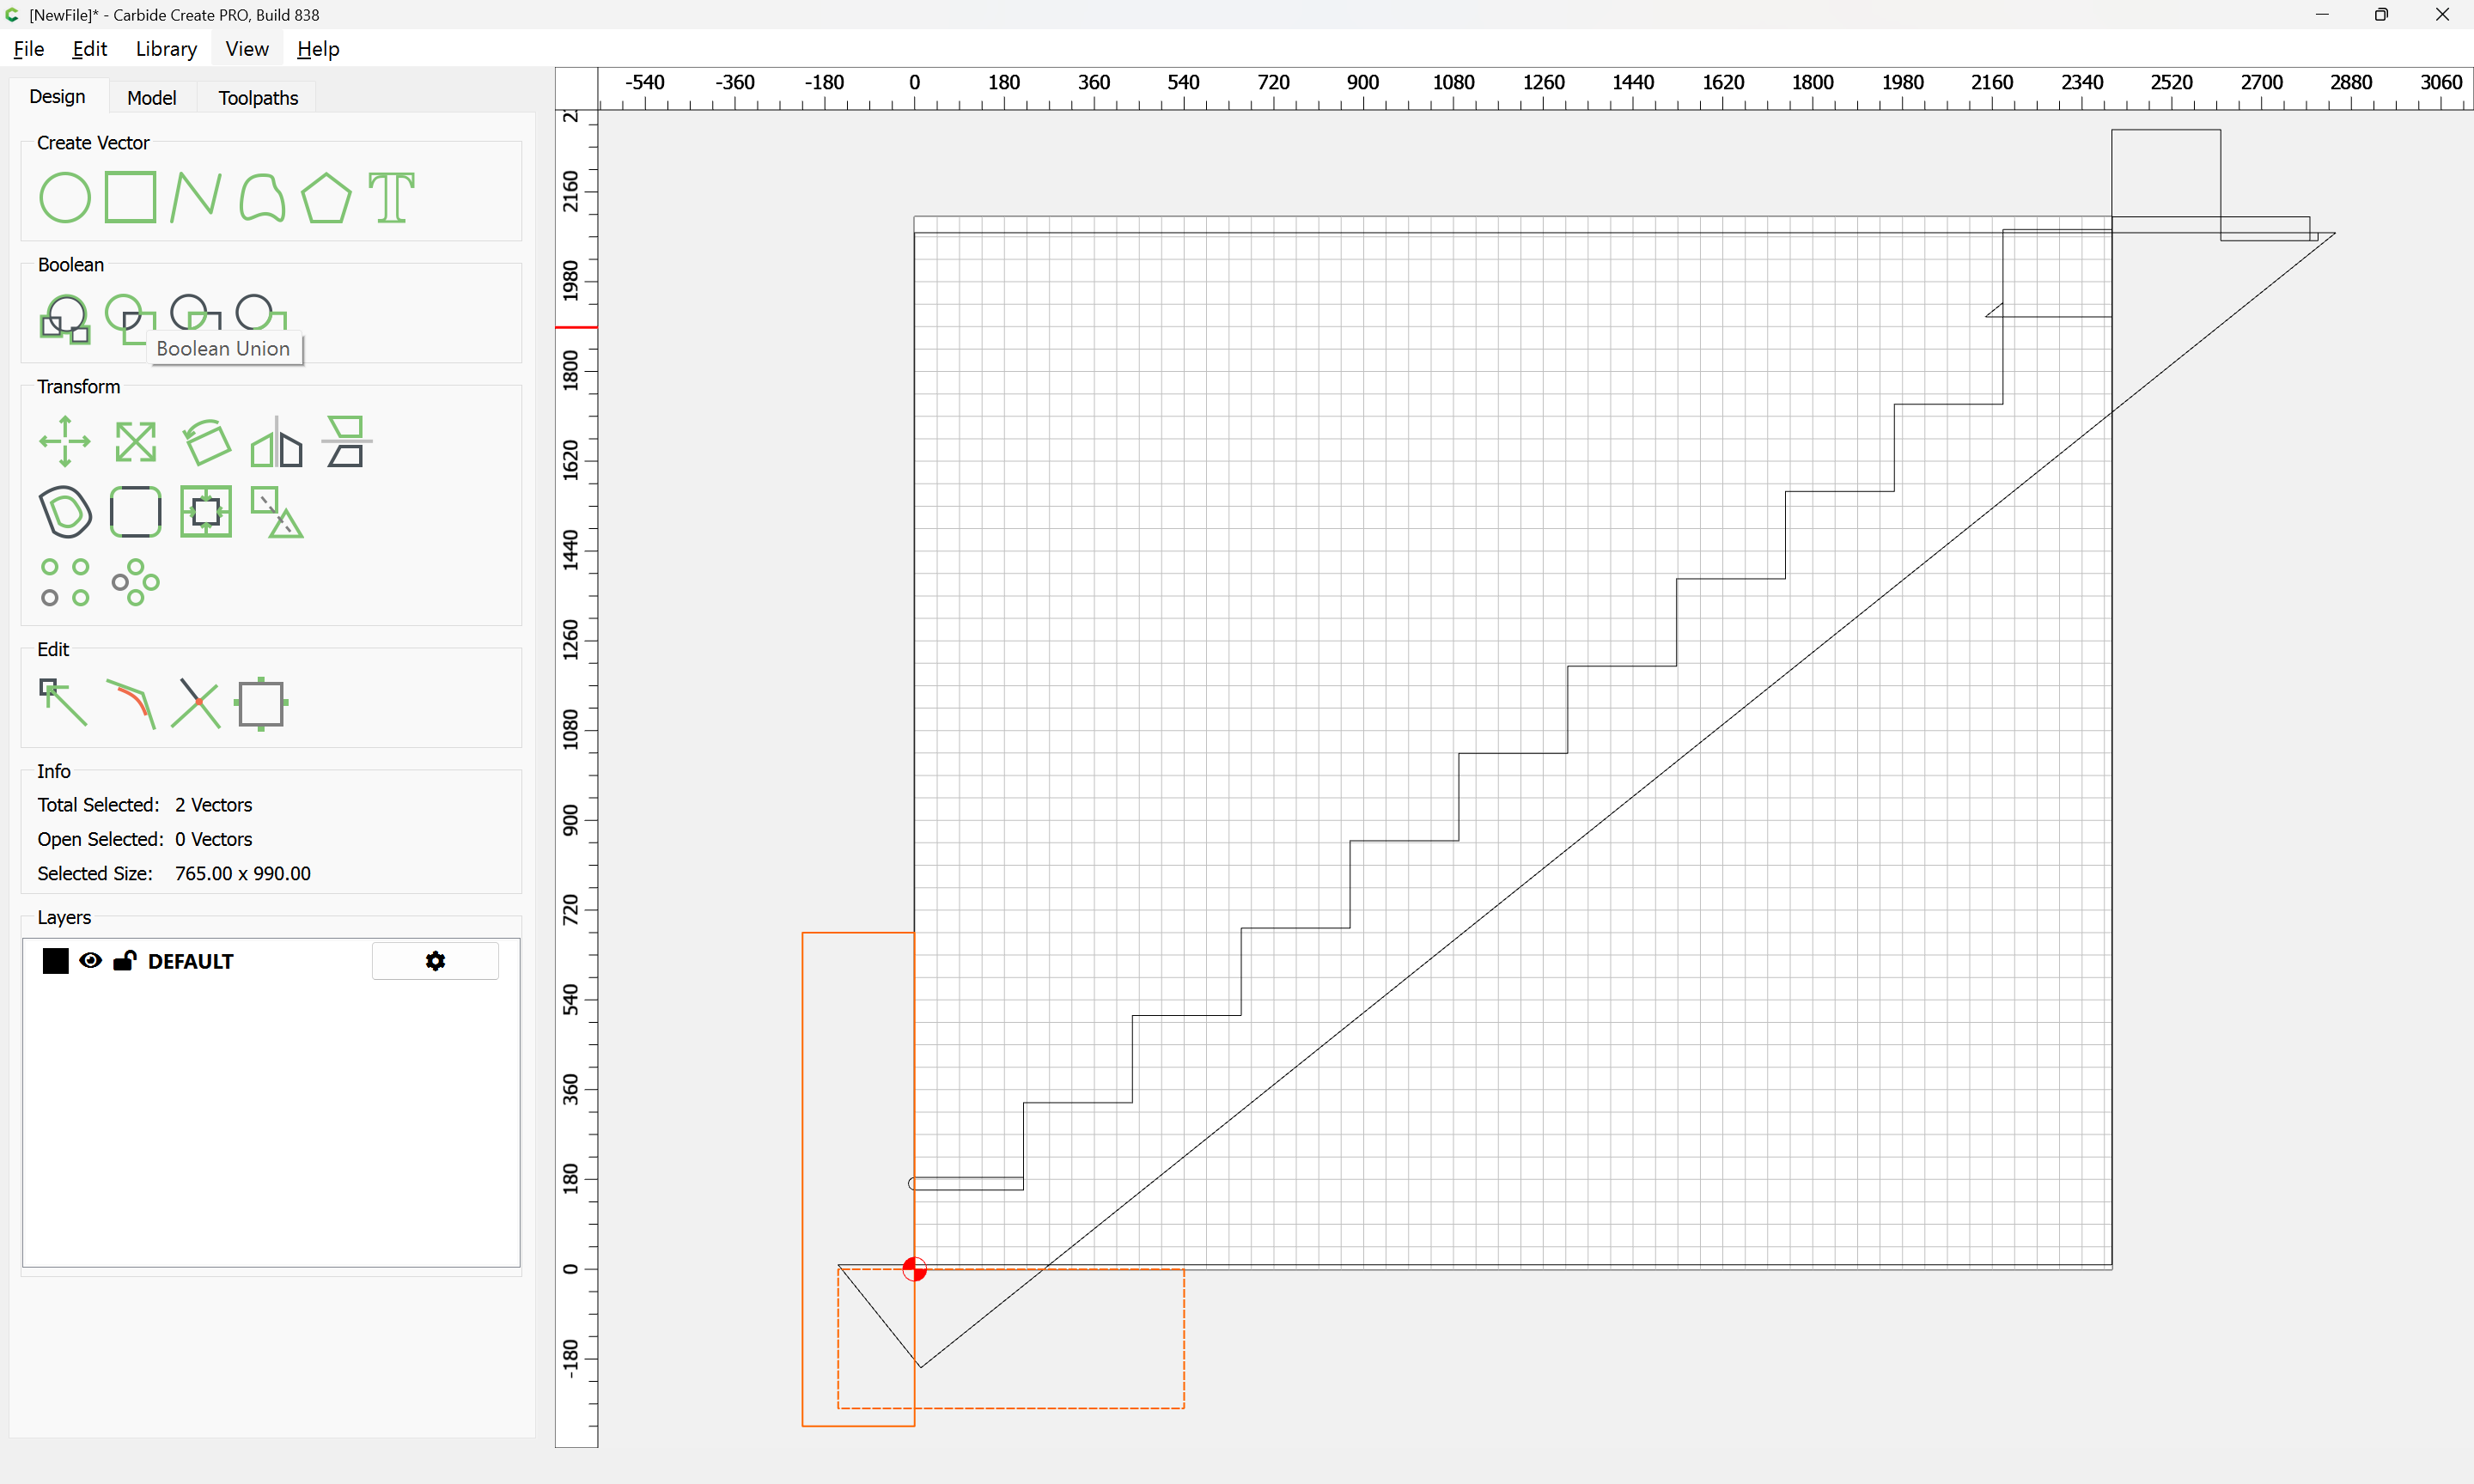
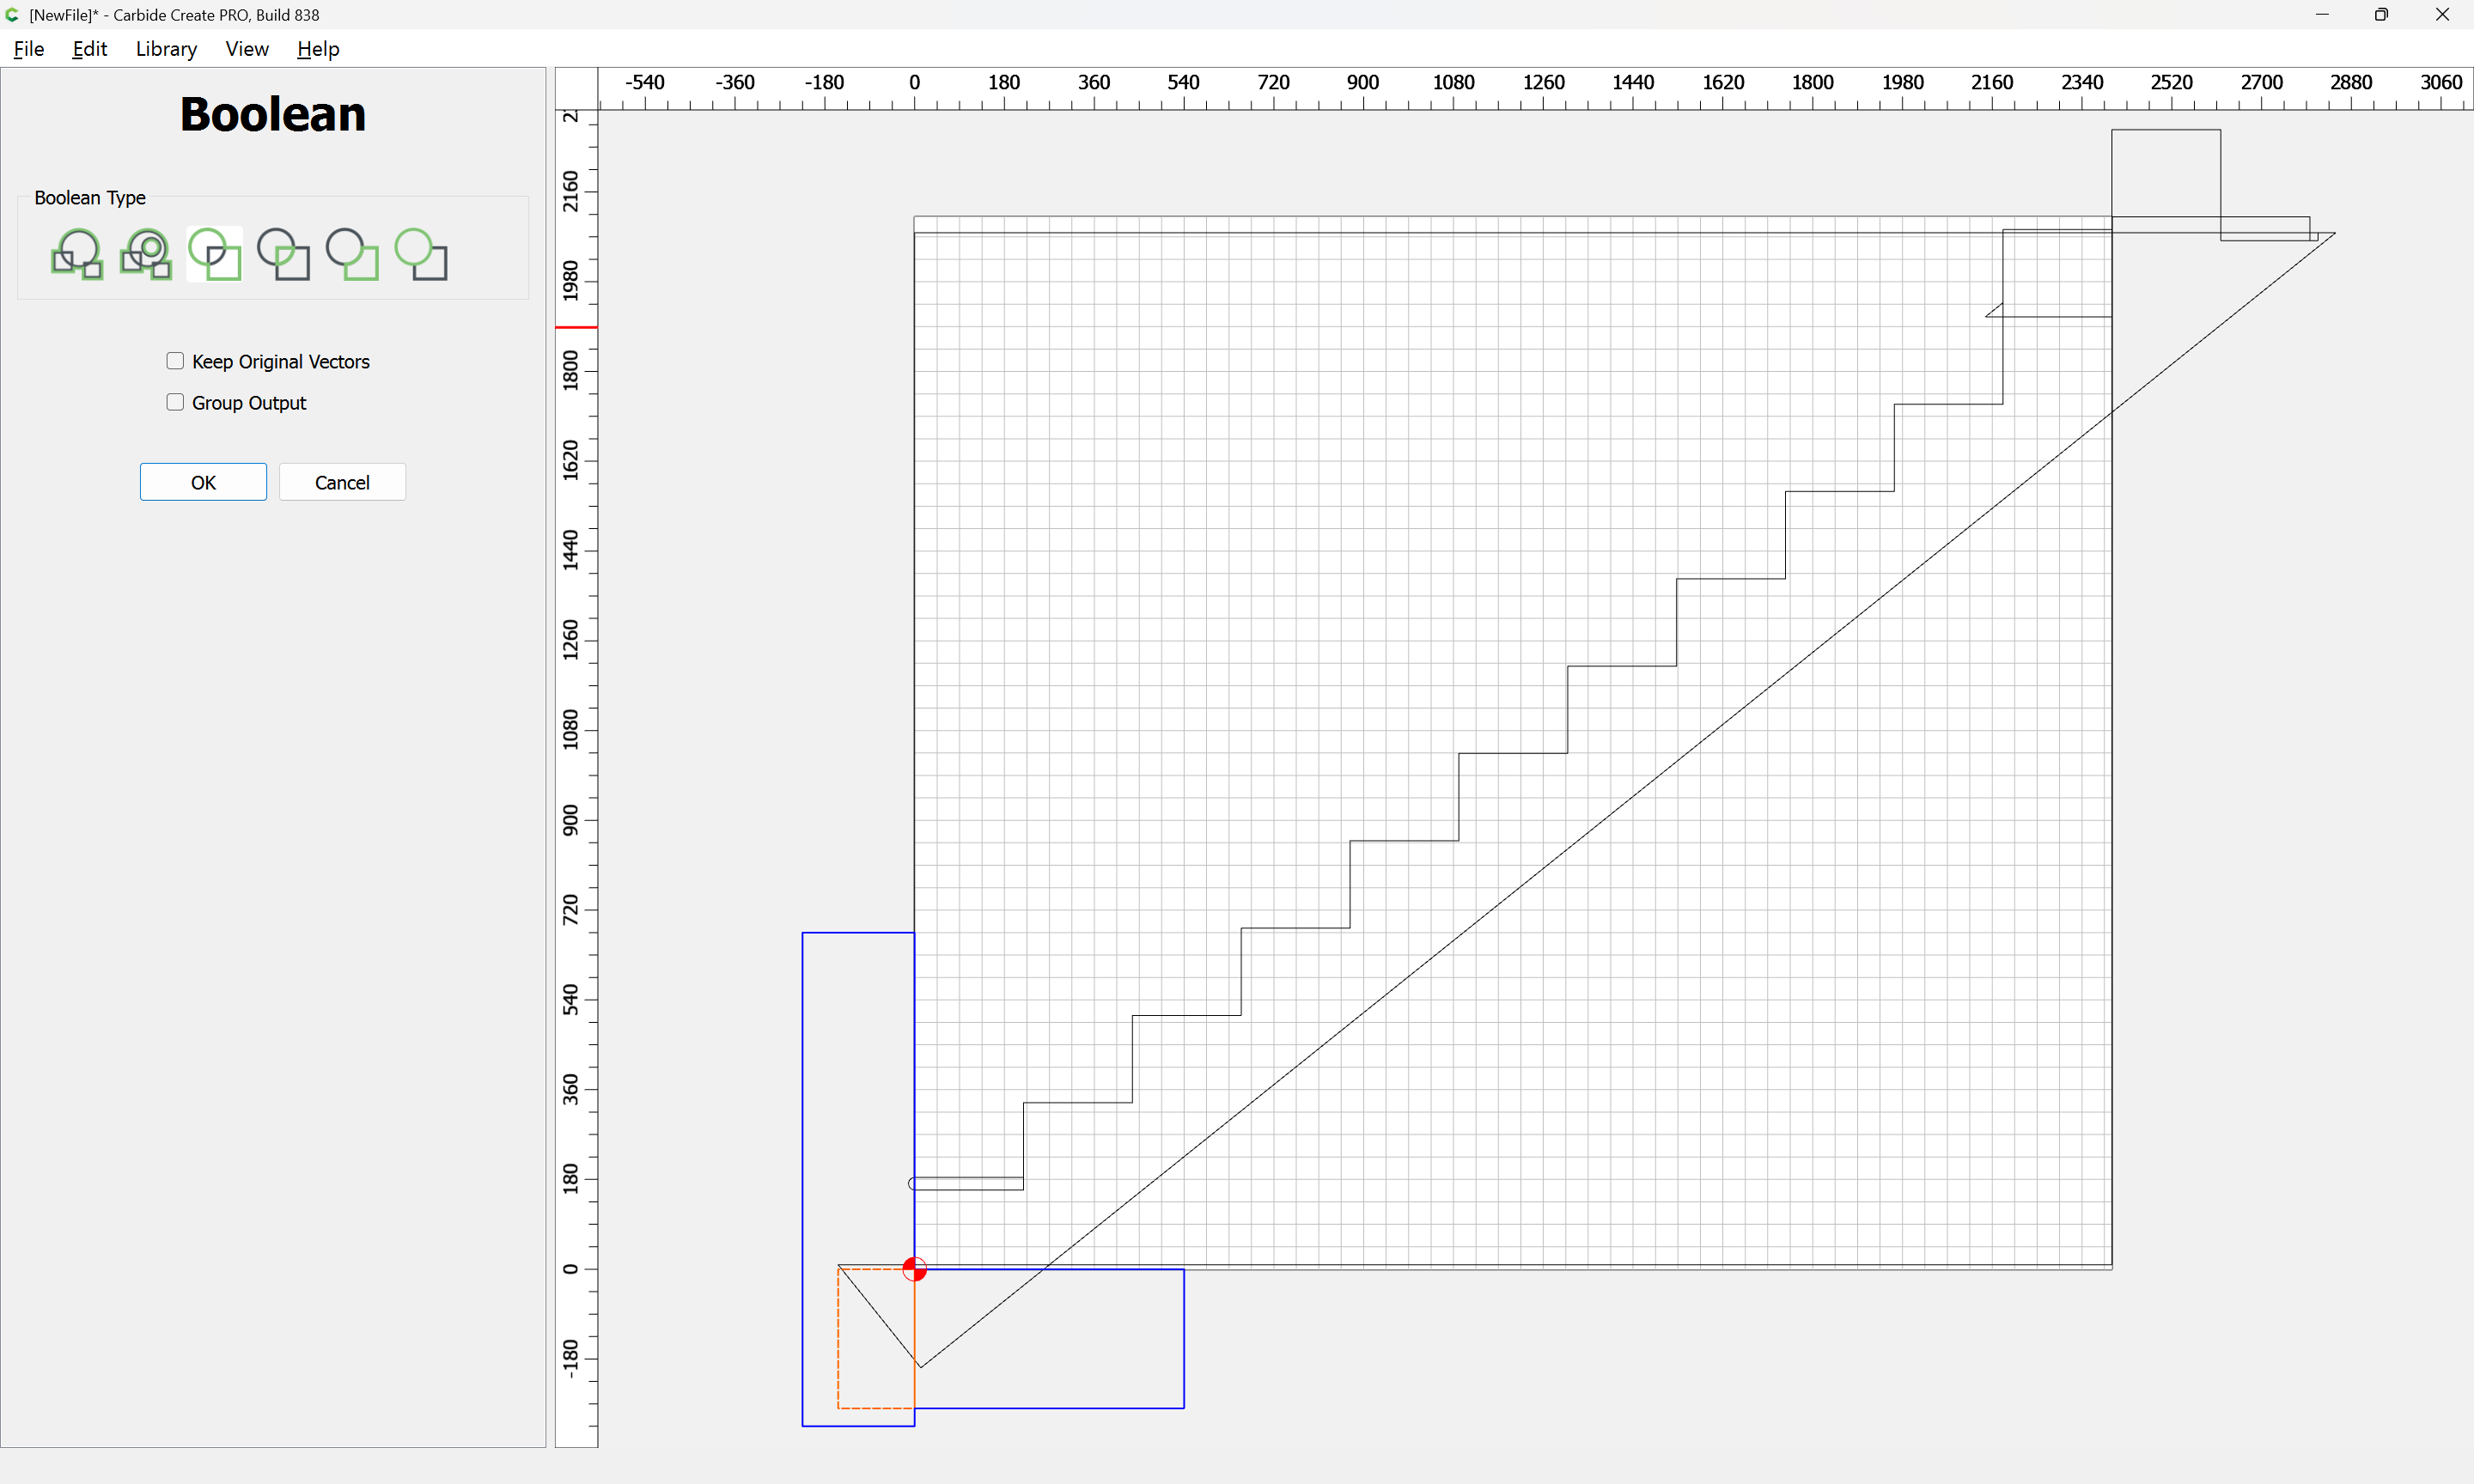
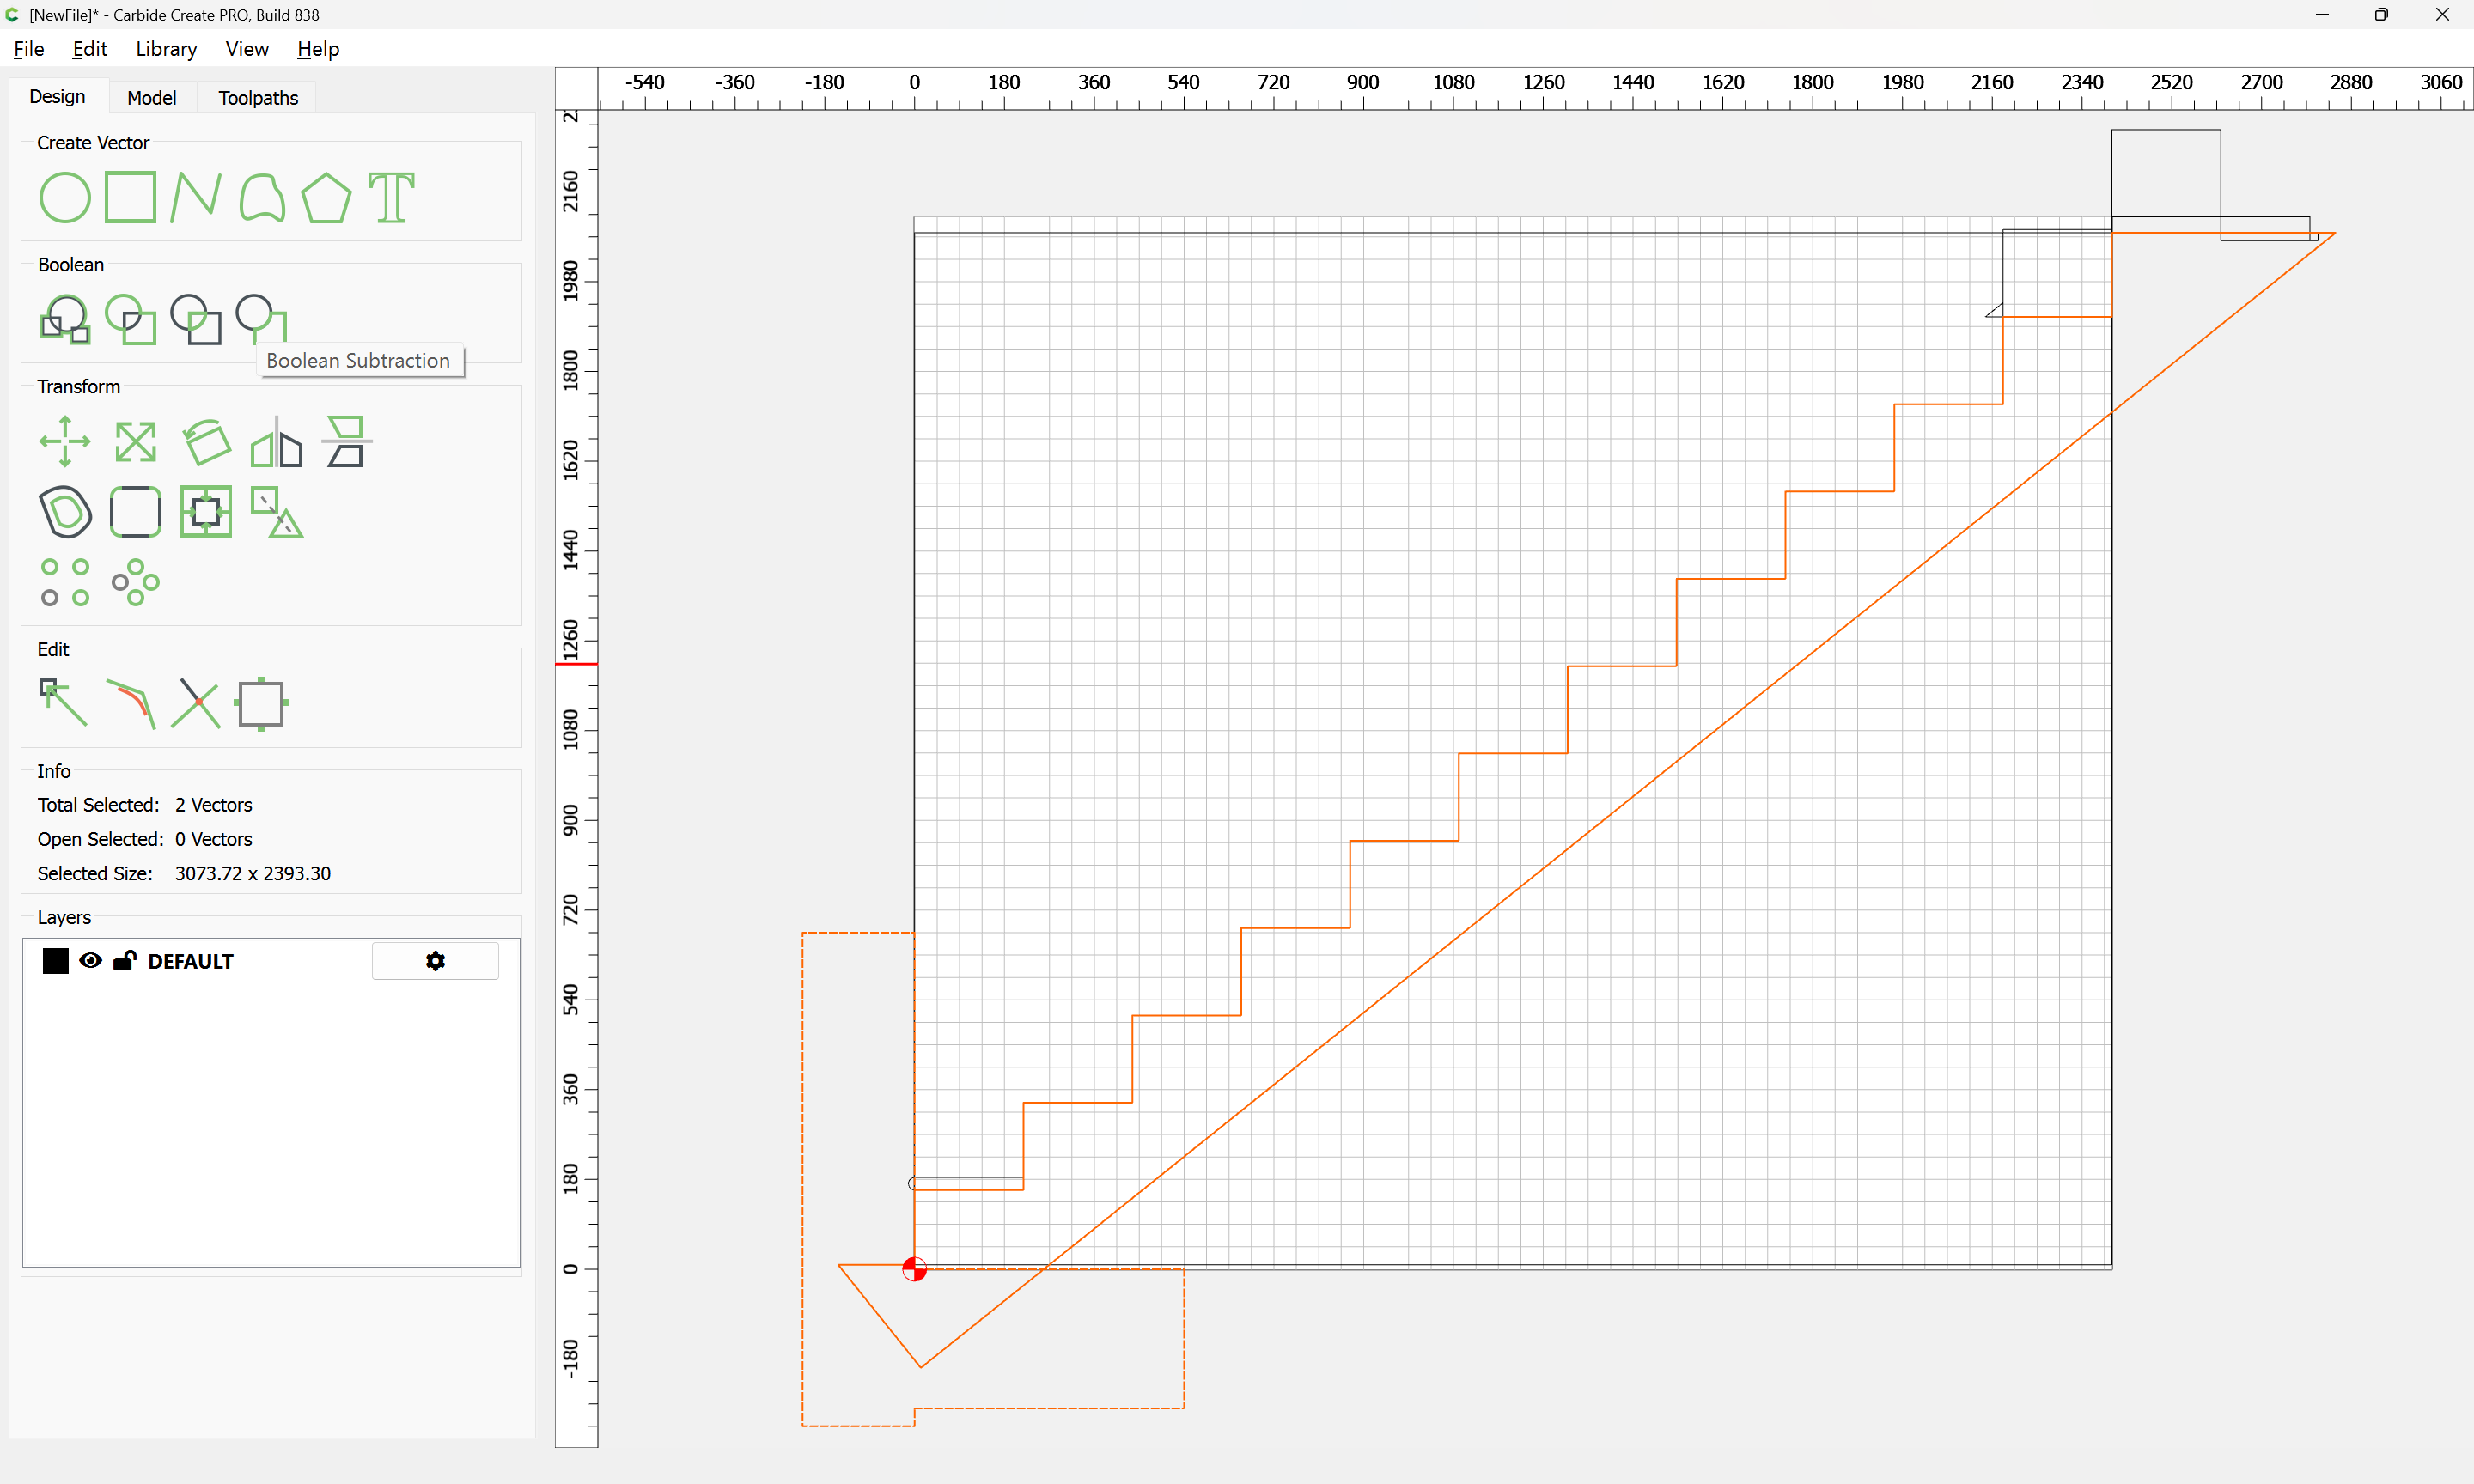
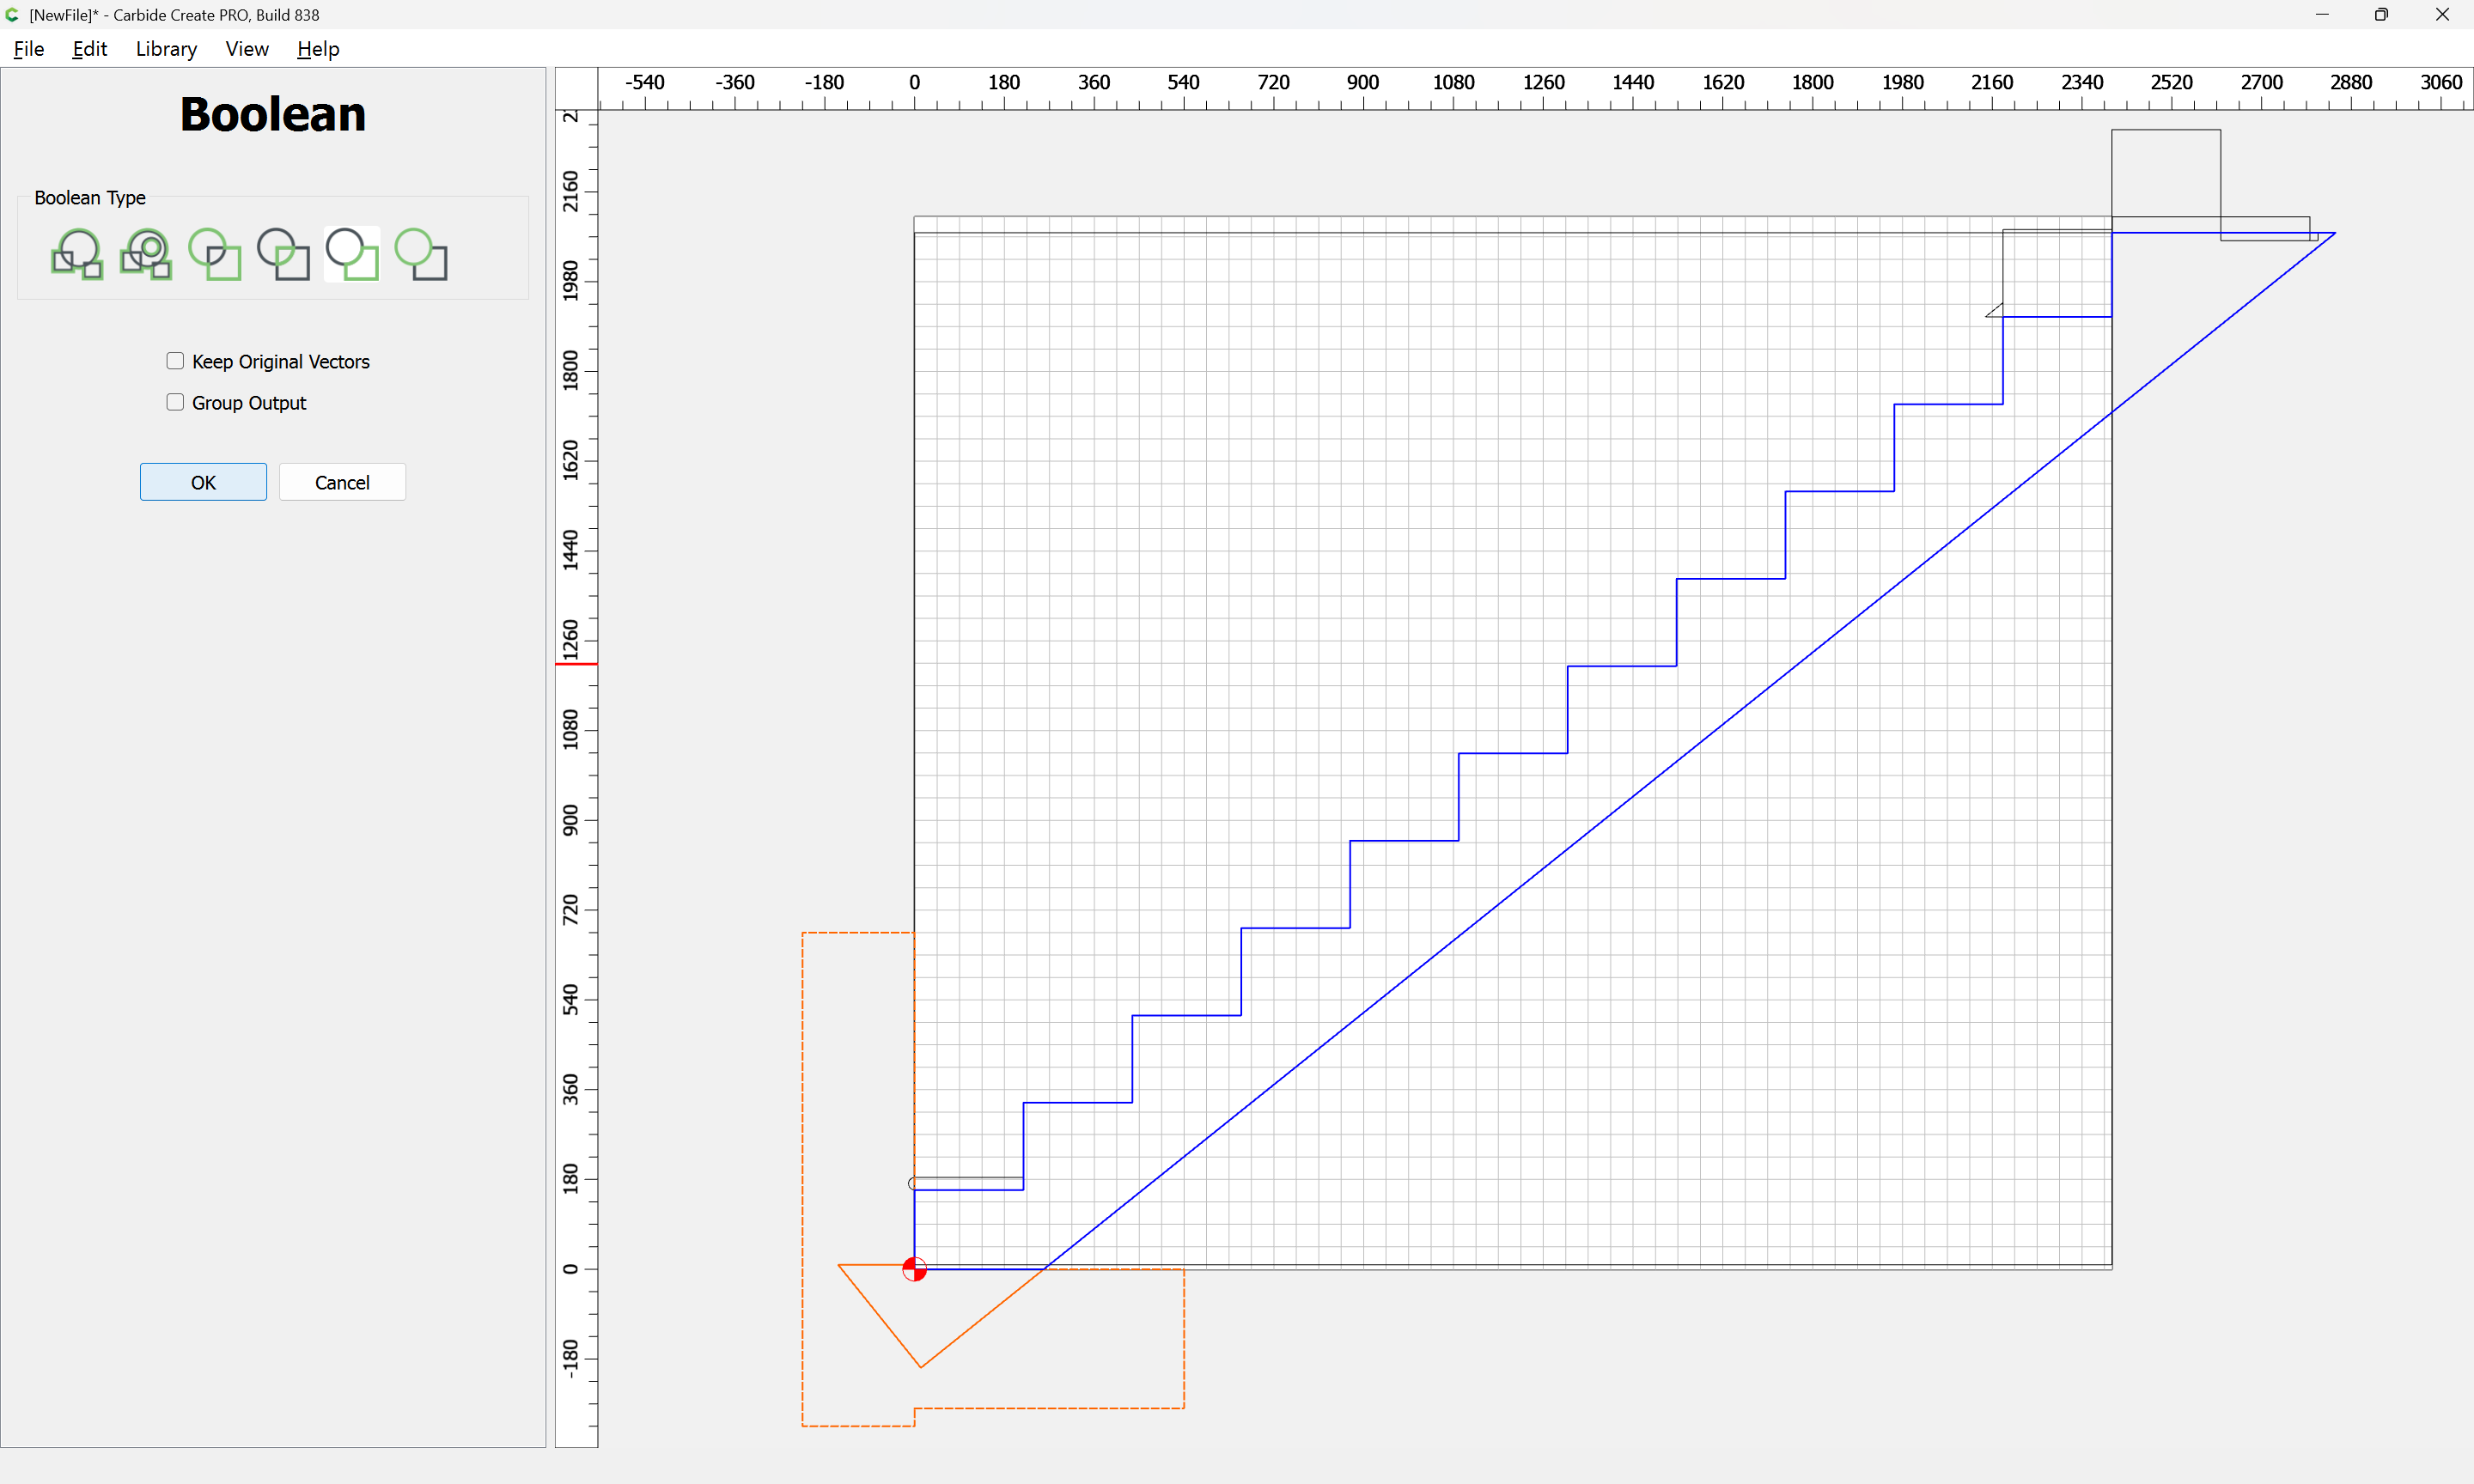
Given all these, it should be pretty straight-forward to just draw up the profile of the stairs and the matching structure, use the Measure tool to get some dimensions, then use Linear Array to duplicate Stair Treads (or a proxy for same), then finally, use the measure tool to get the angle of rotation for a 2x12 and Boolean subtract the stair treads (and the space above) so as to arrive at a stair stringer which may then be measured and cut traditionally, or if one wishes to go the full monte, cut on the machine using tiling if need be (but of course that would then require a bit of adjustment in the stair treads (rounding over the bottom edge to match the radius of the tool used) as well as sourcing a “long reach” tool to cut through 2" construction lumber.
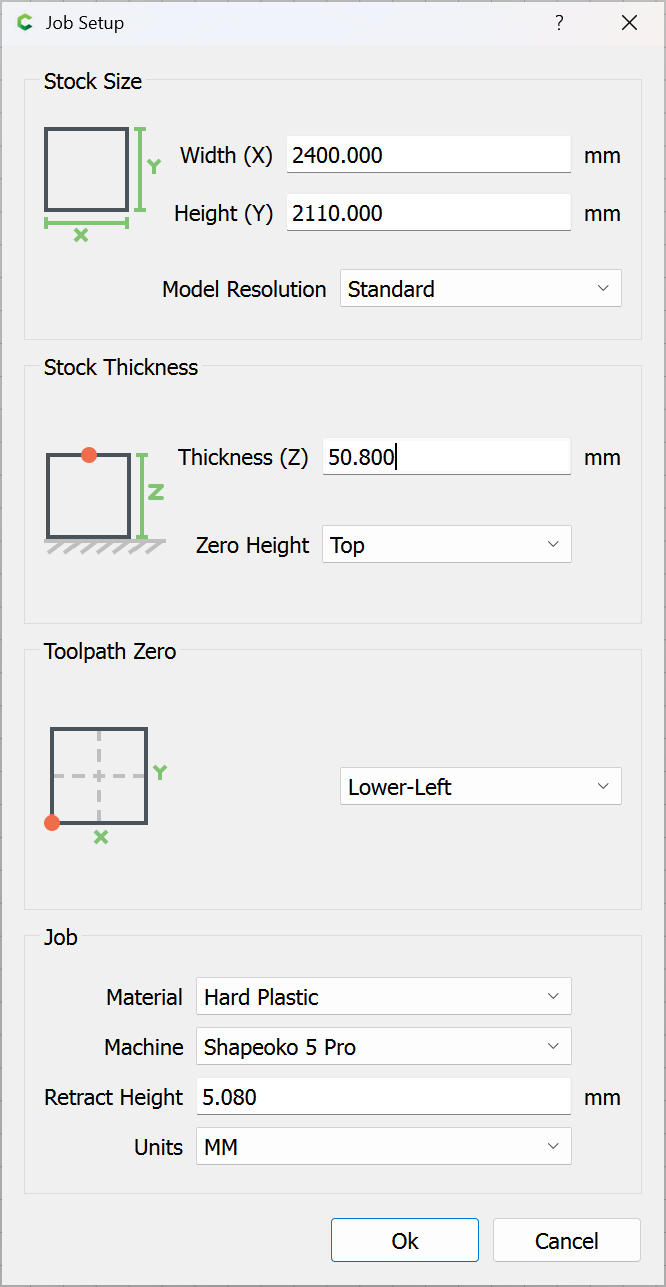
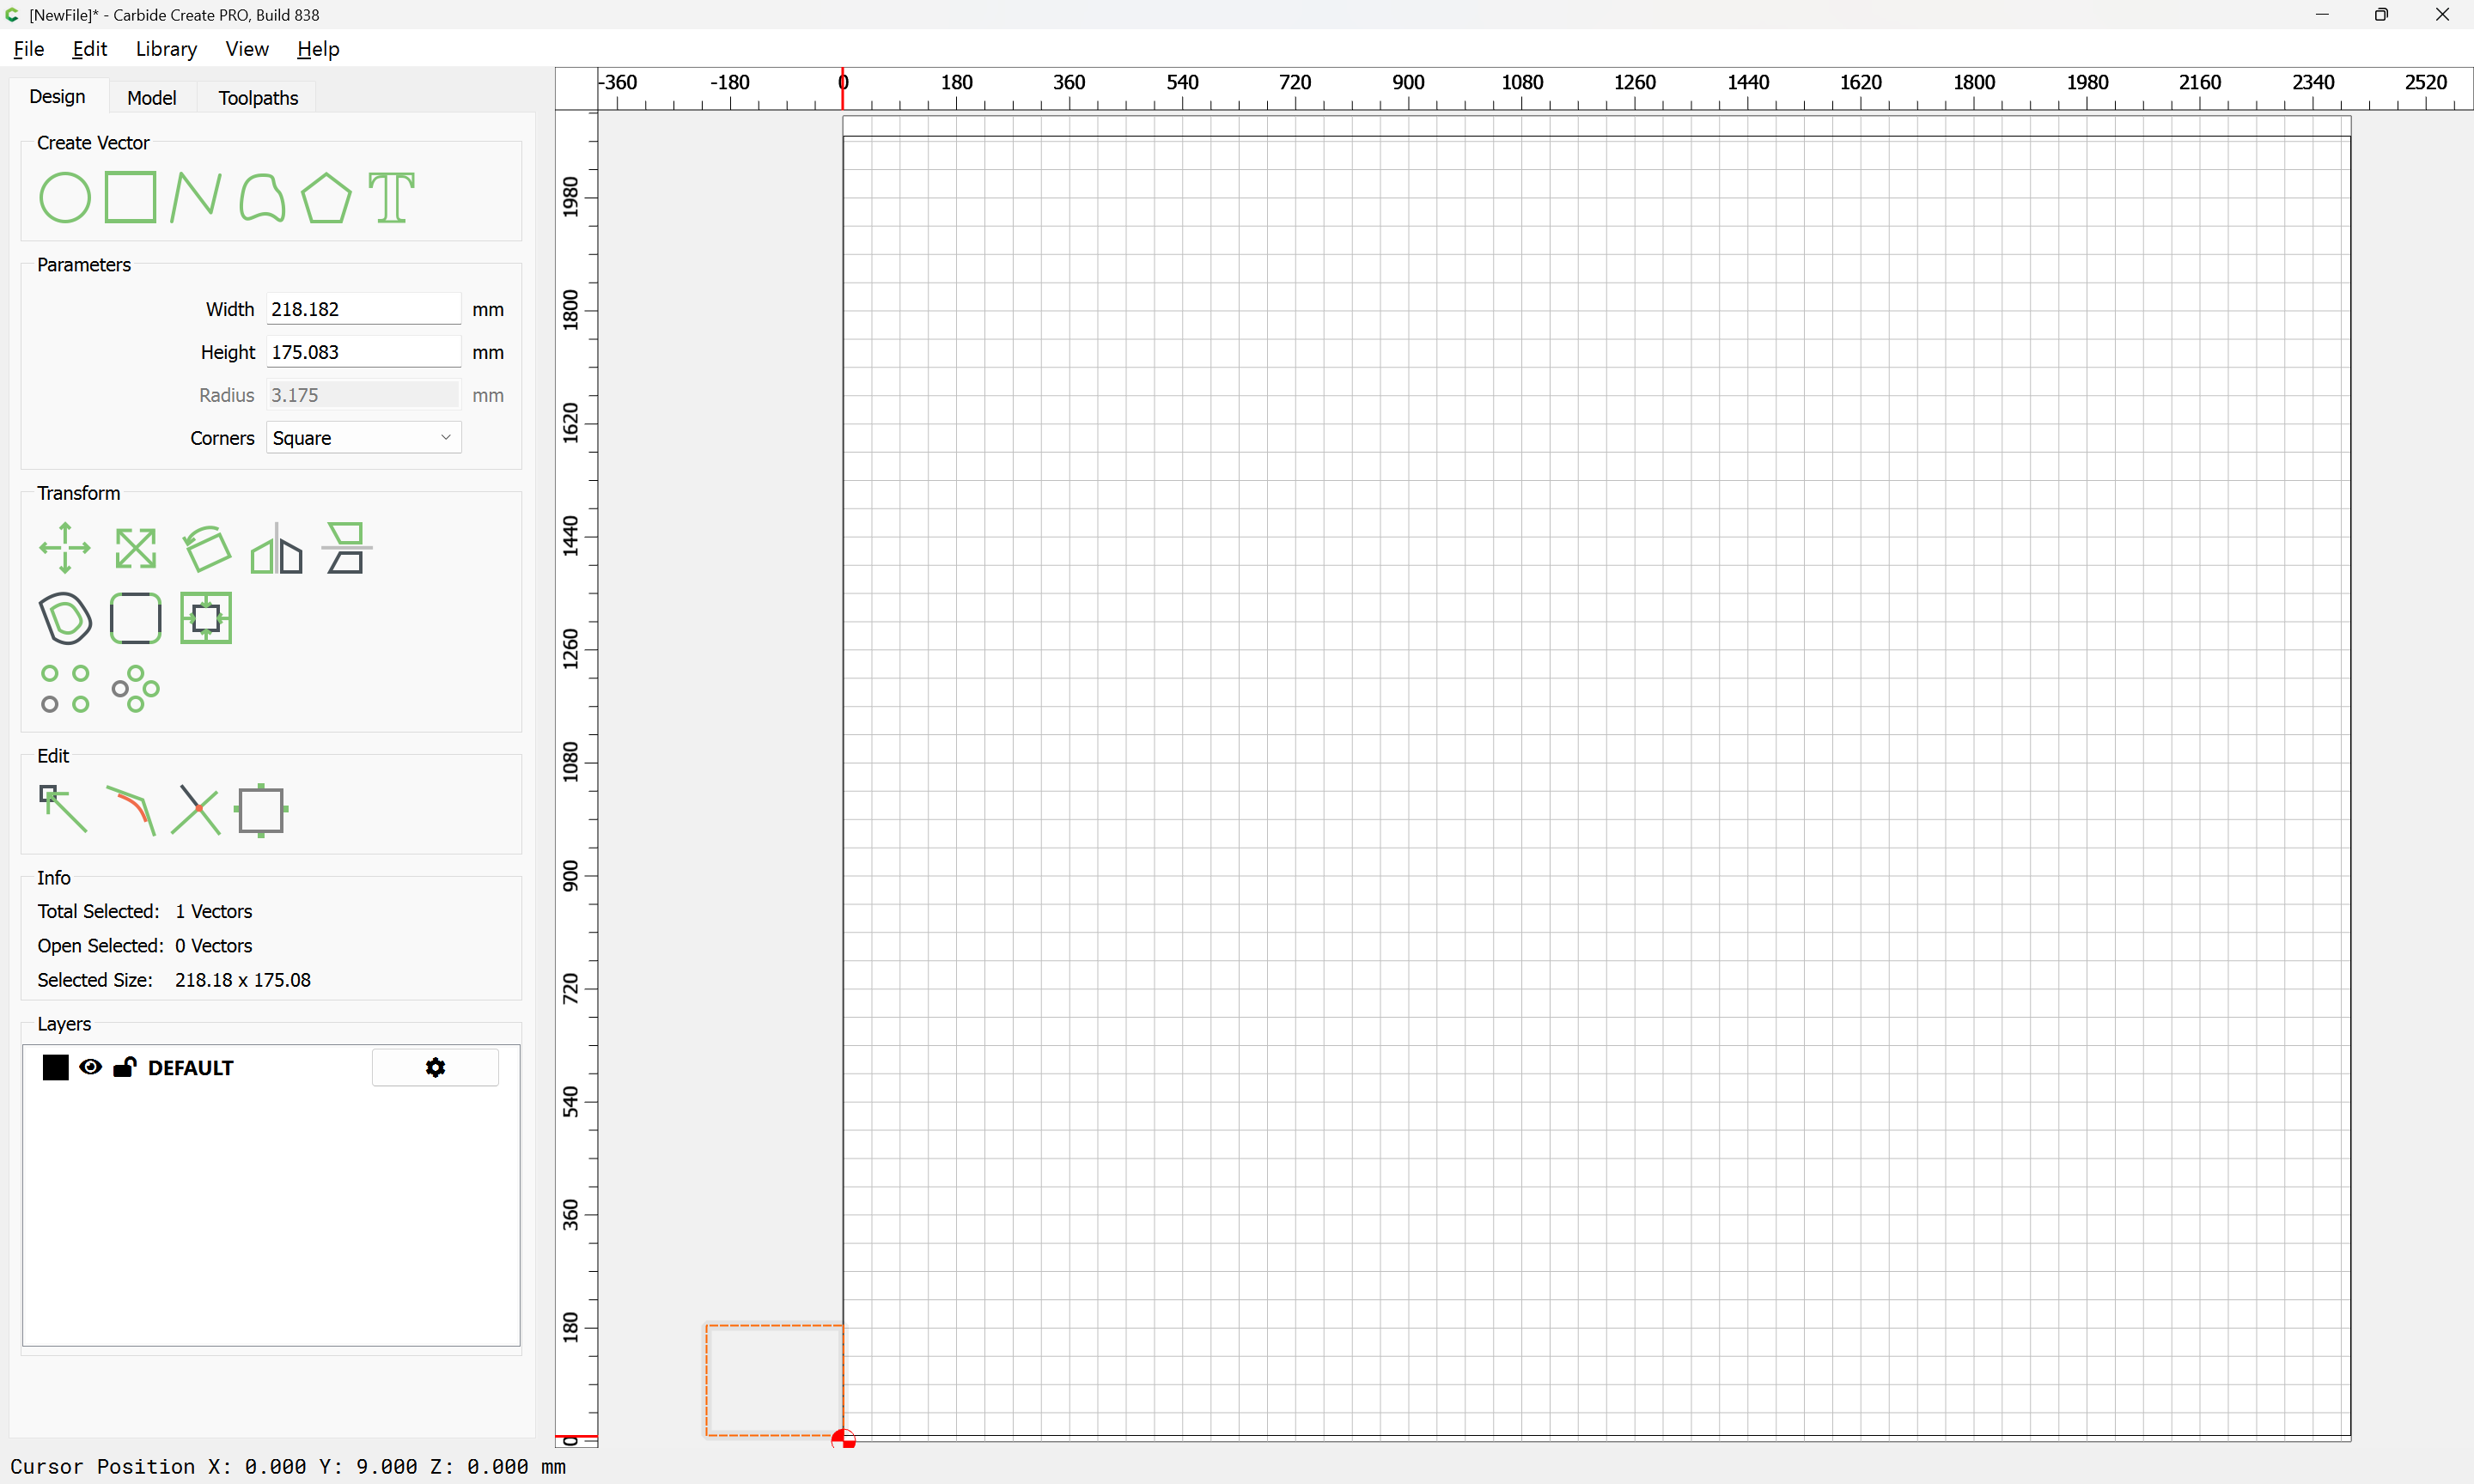
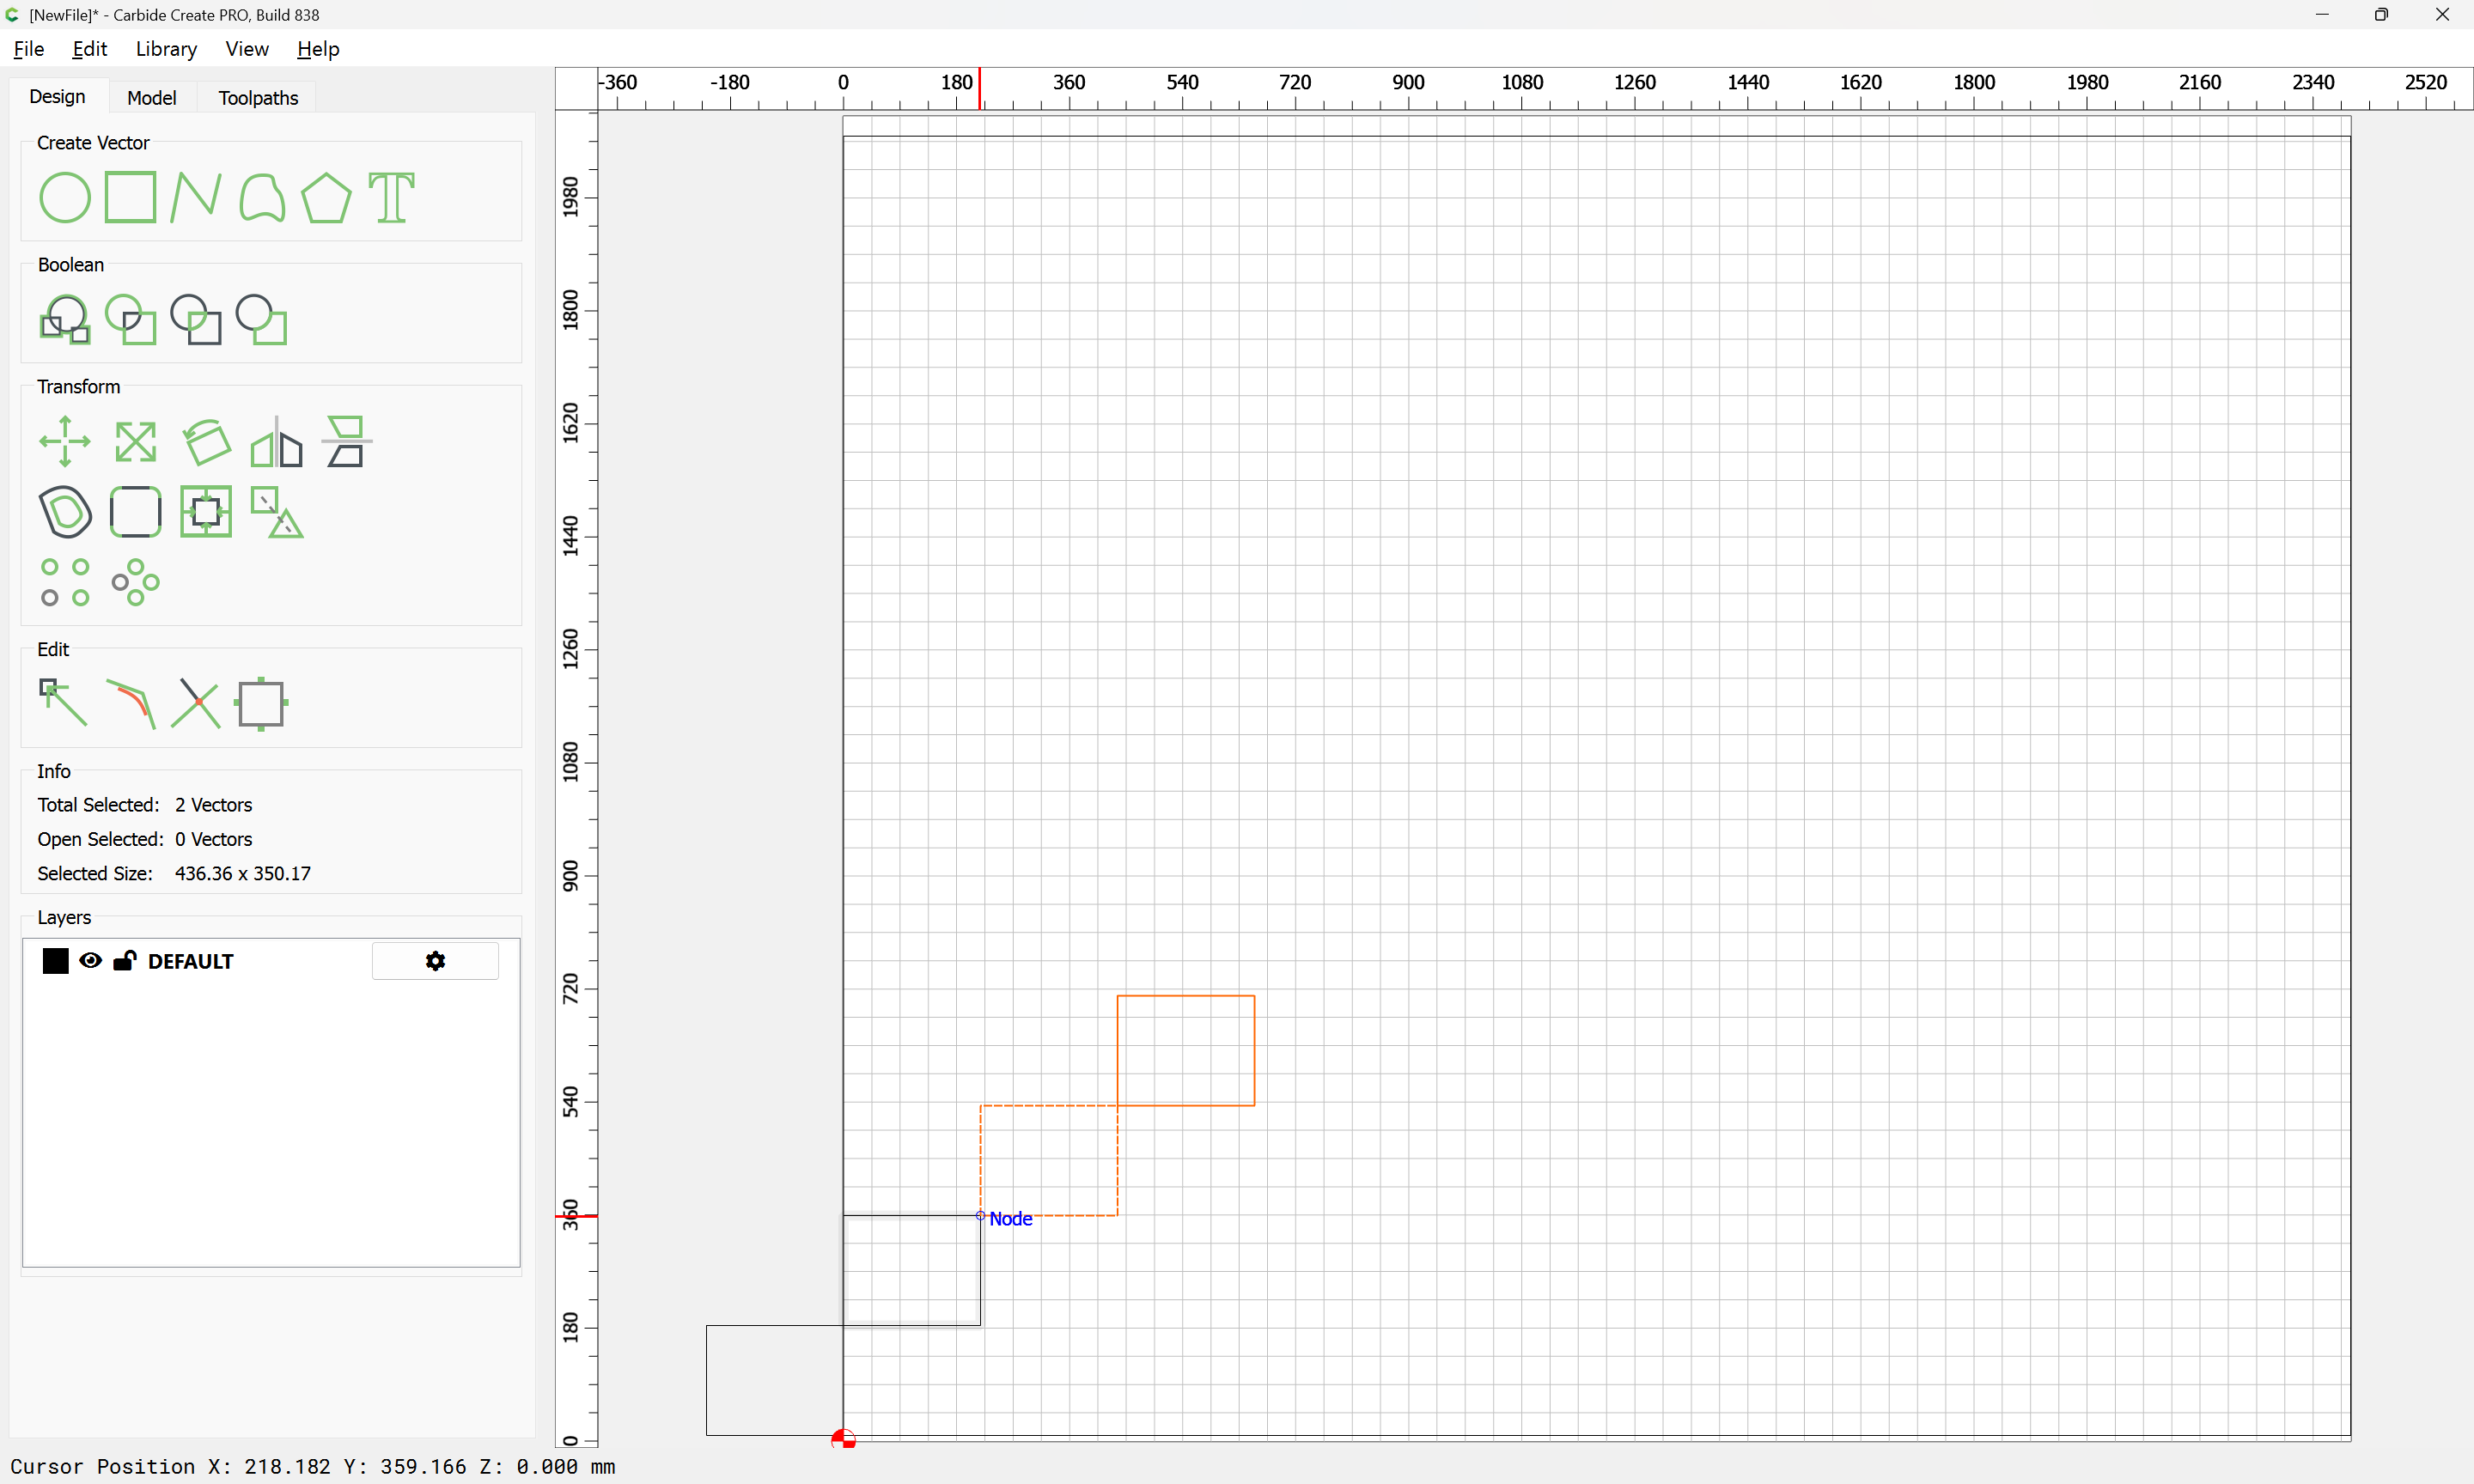
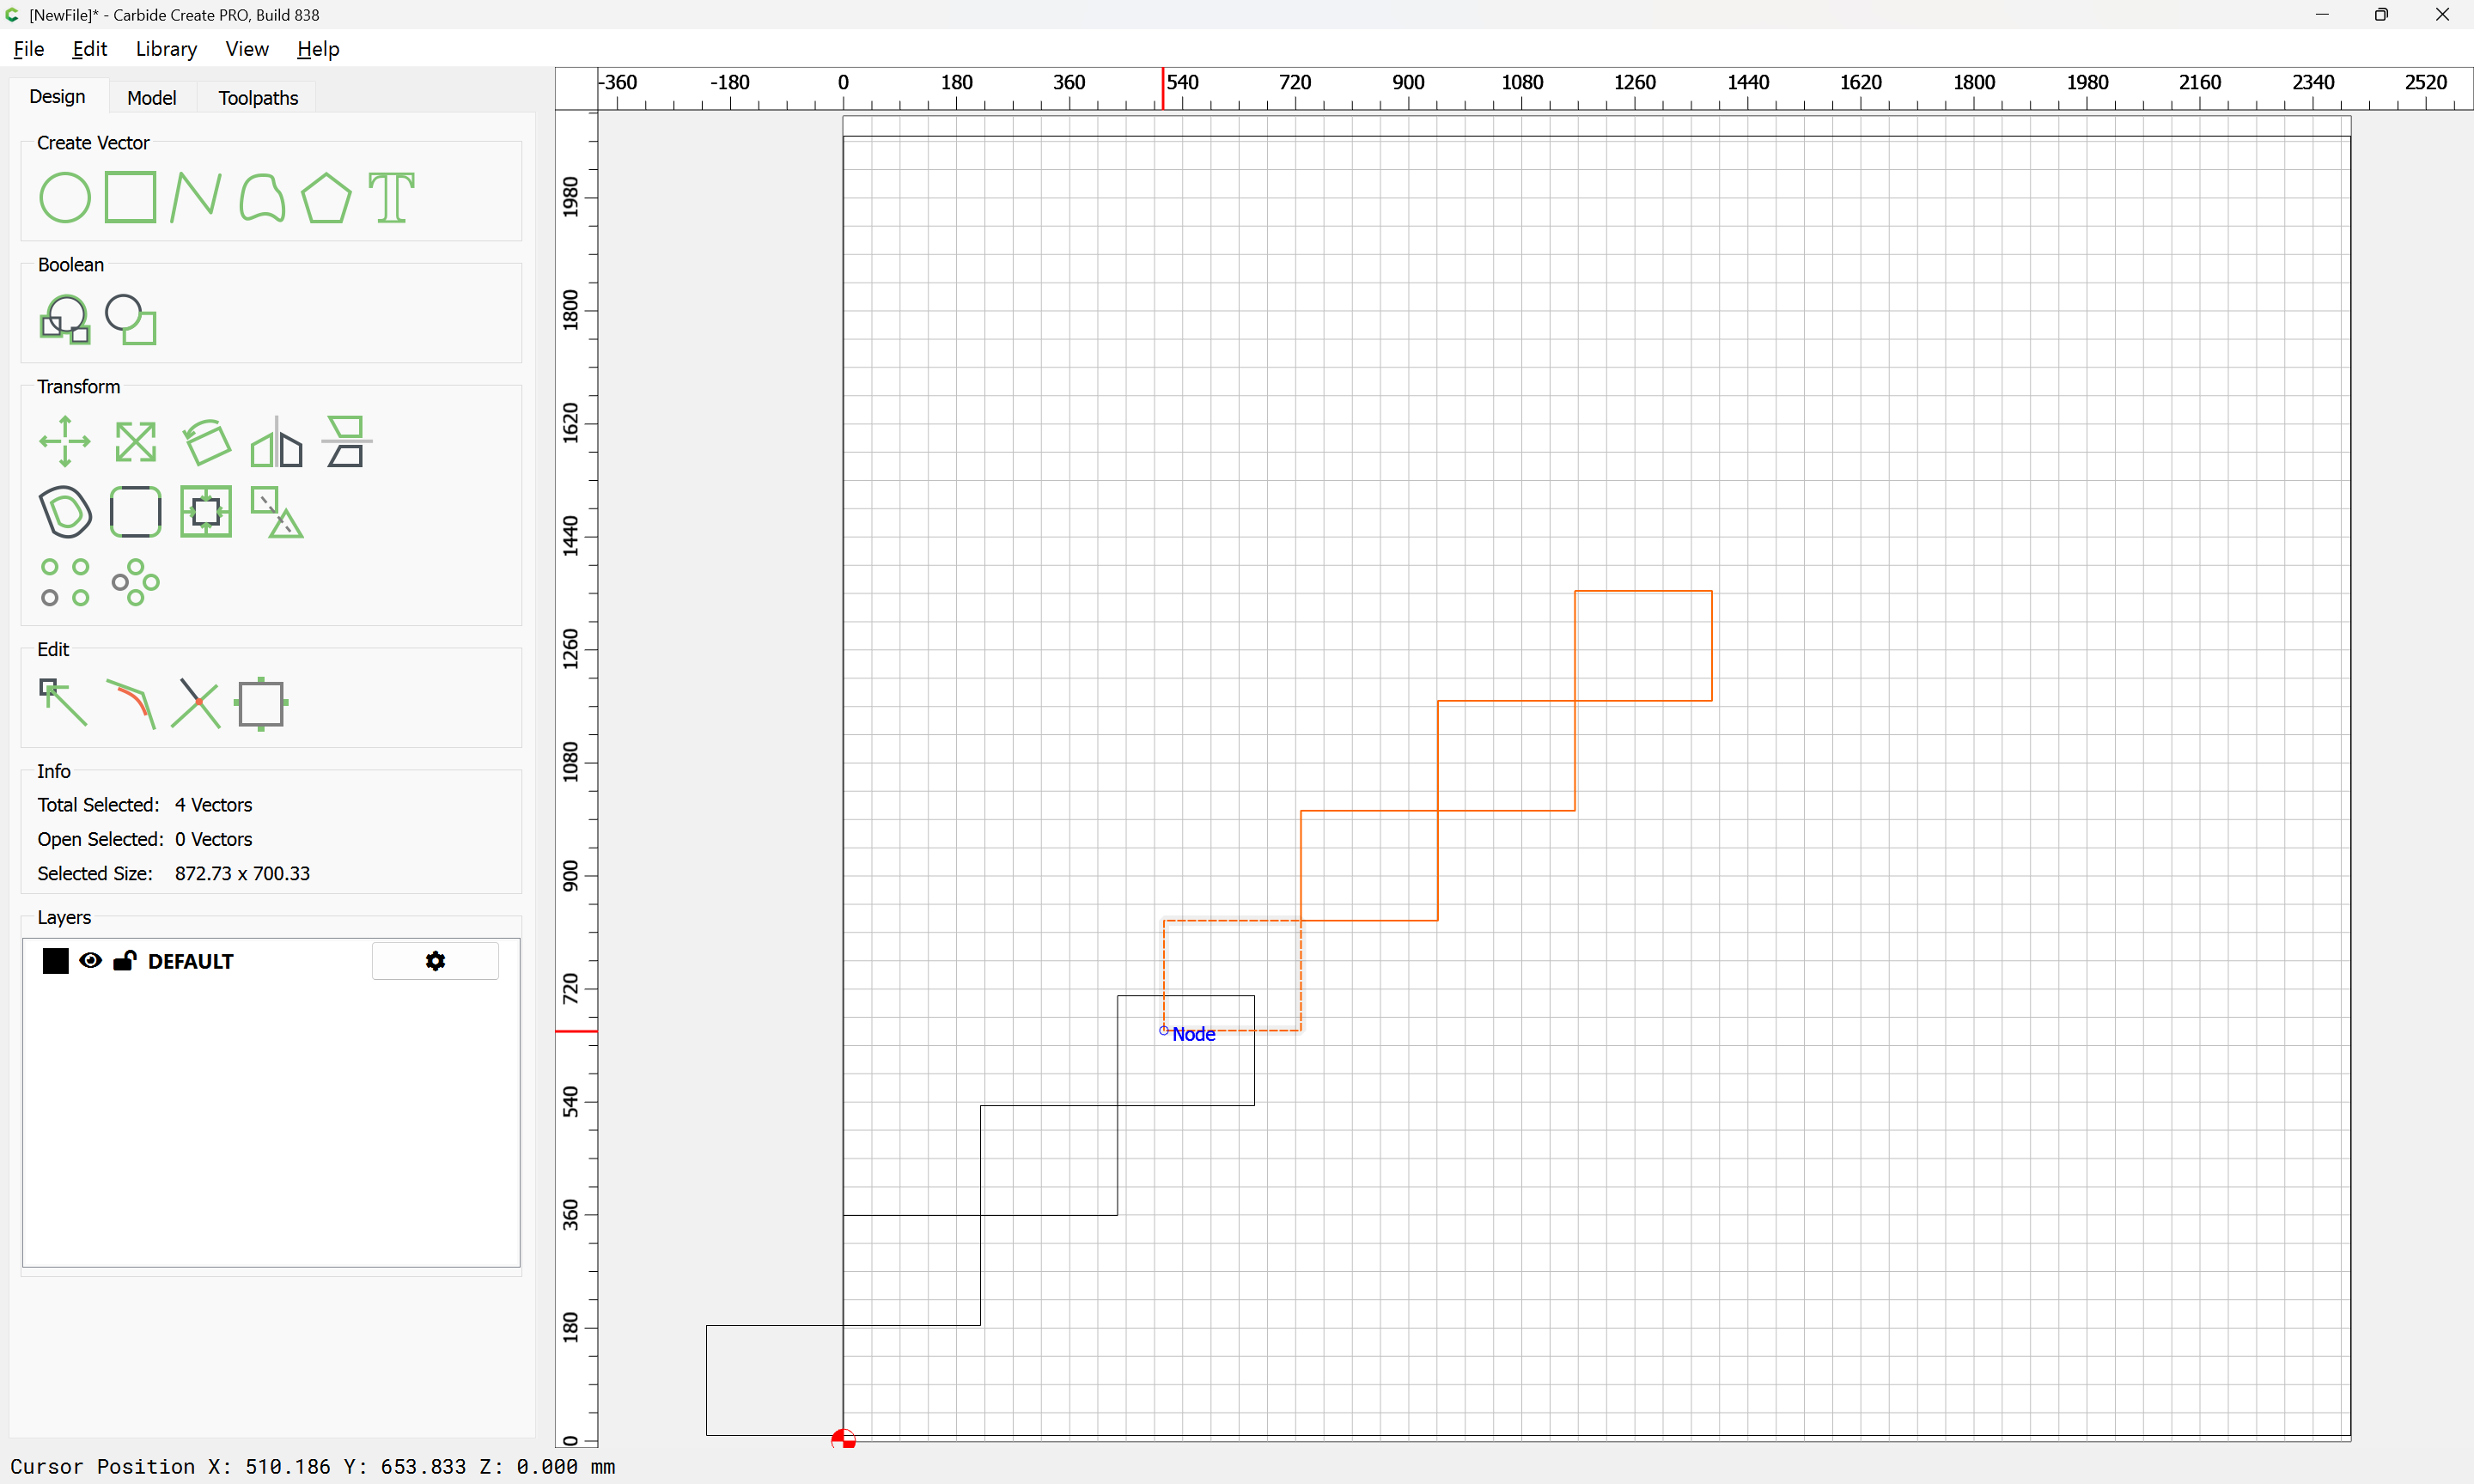
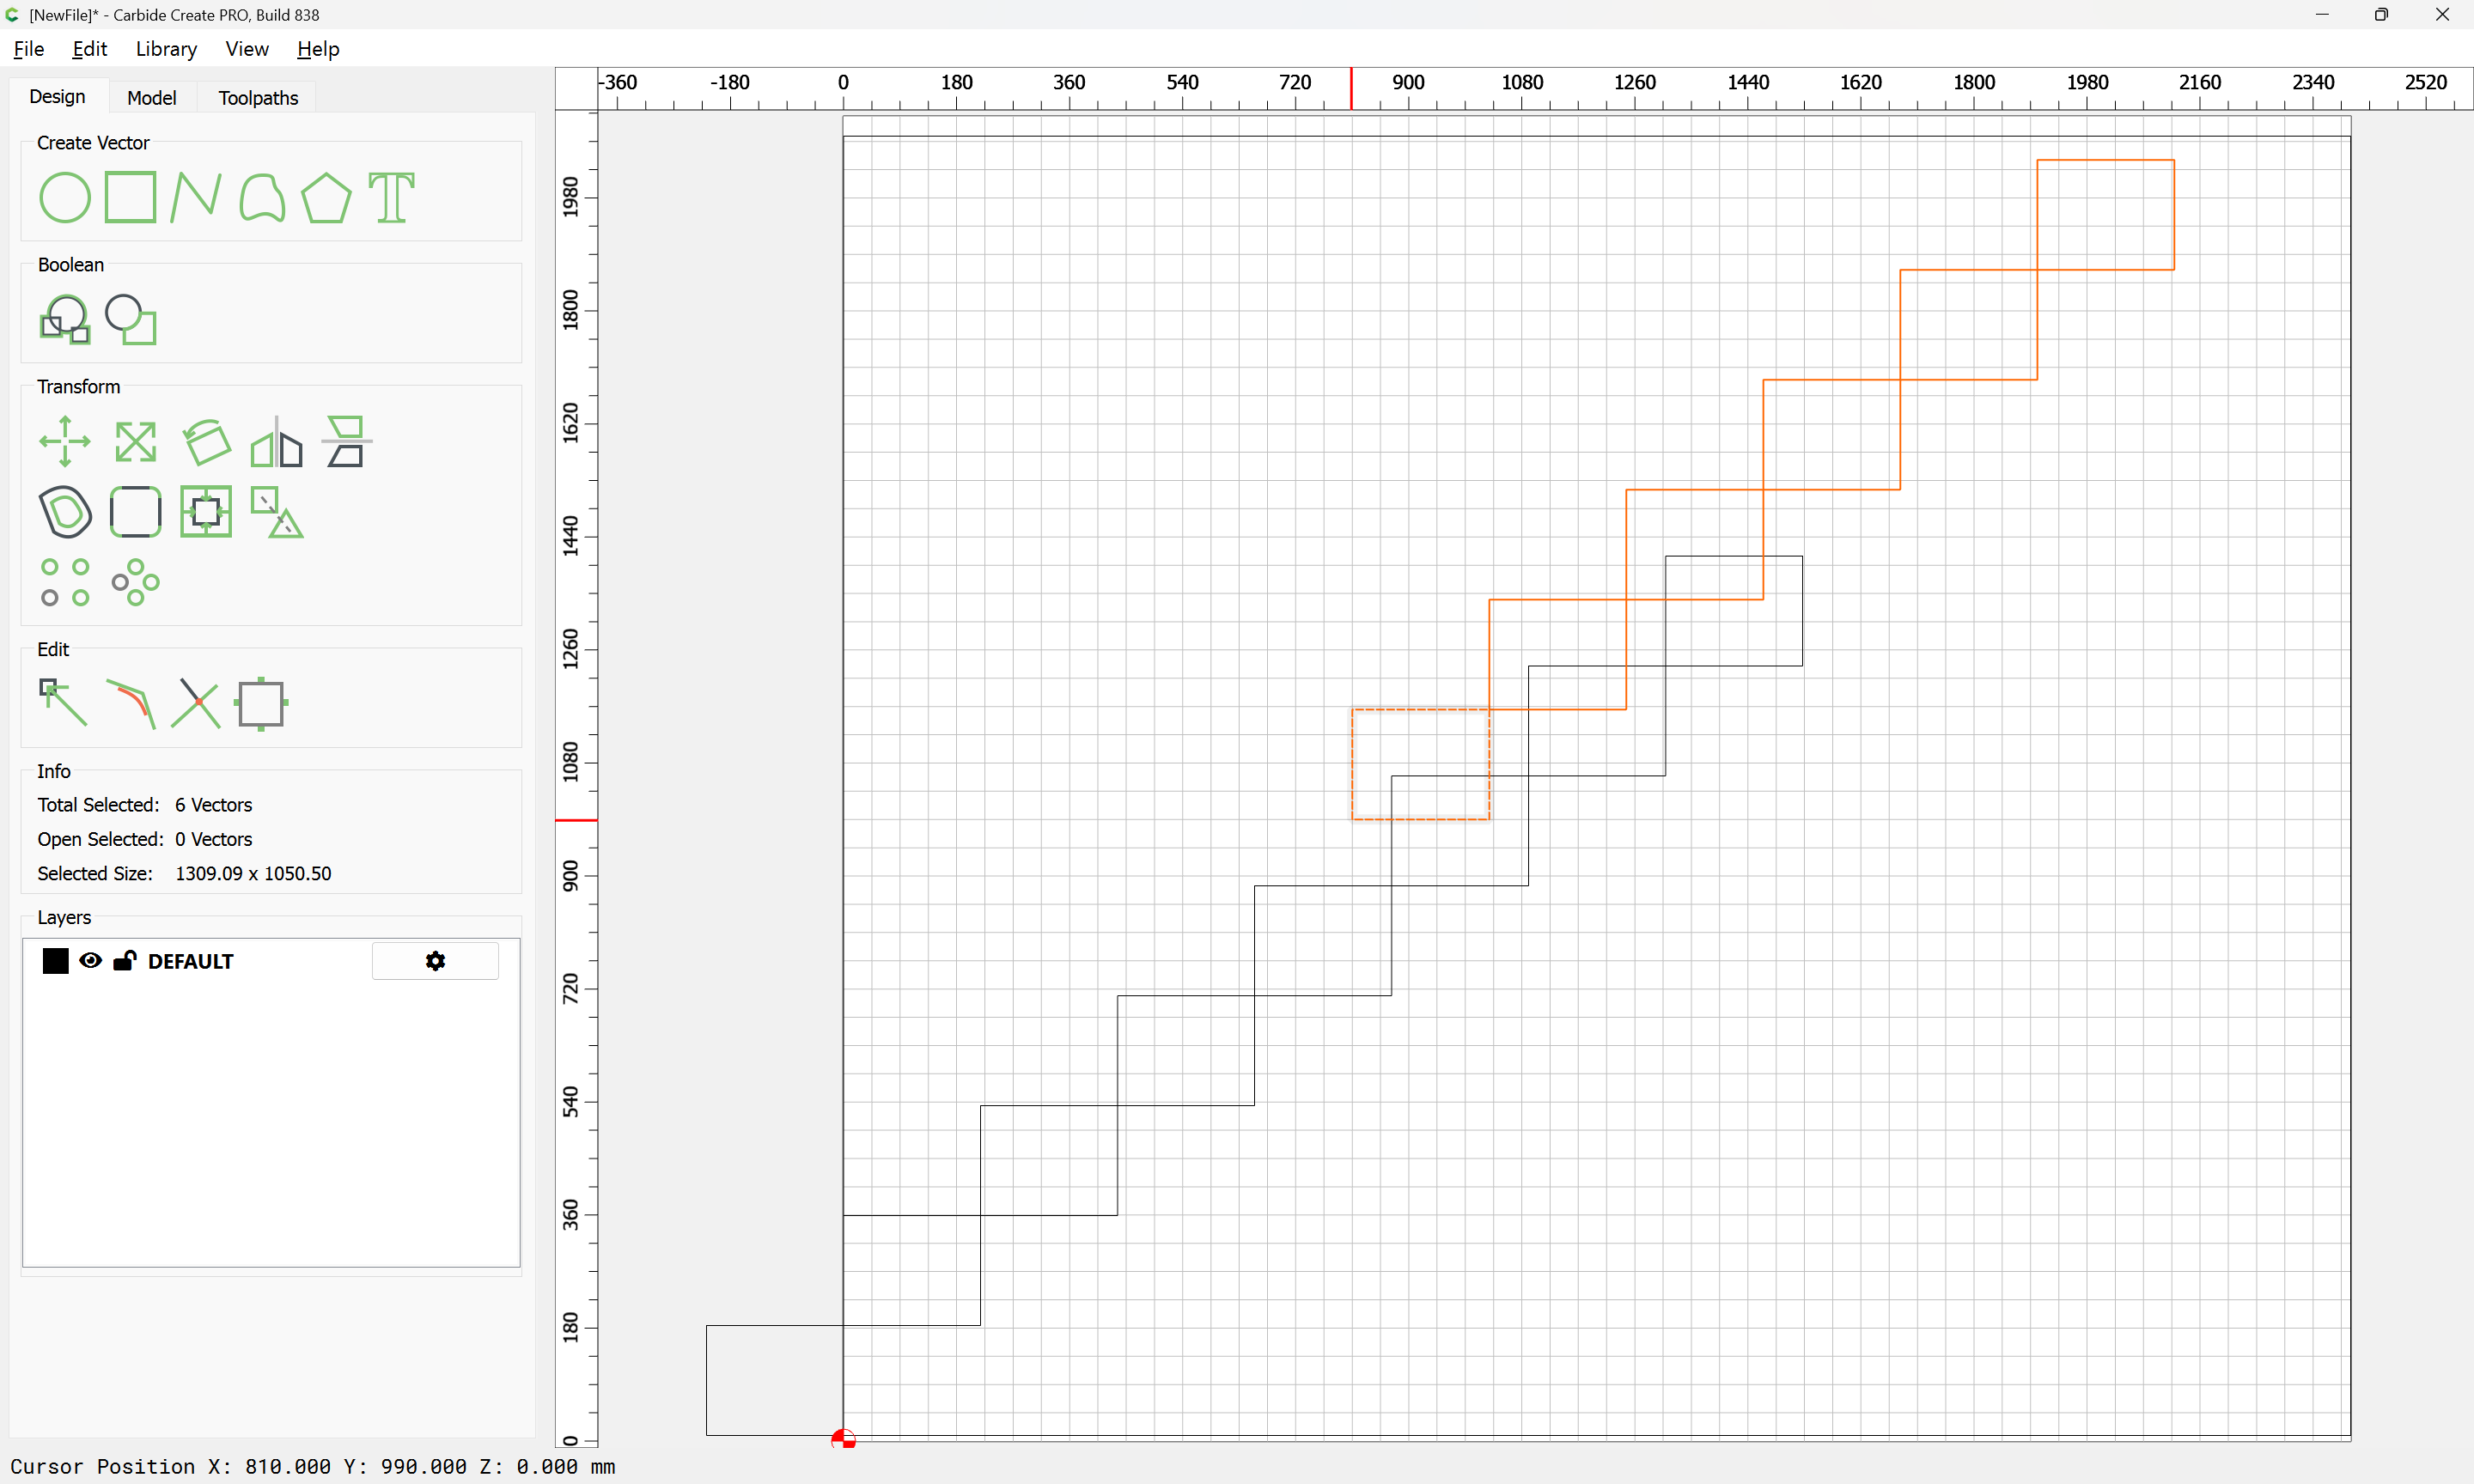
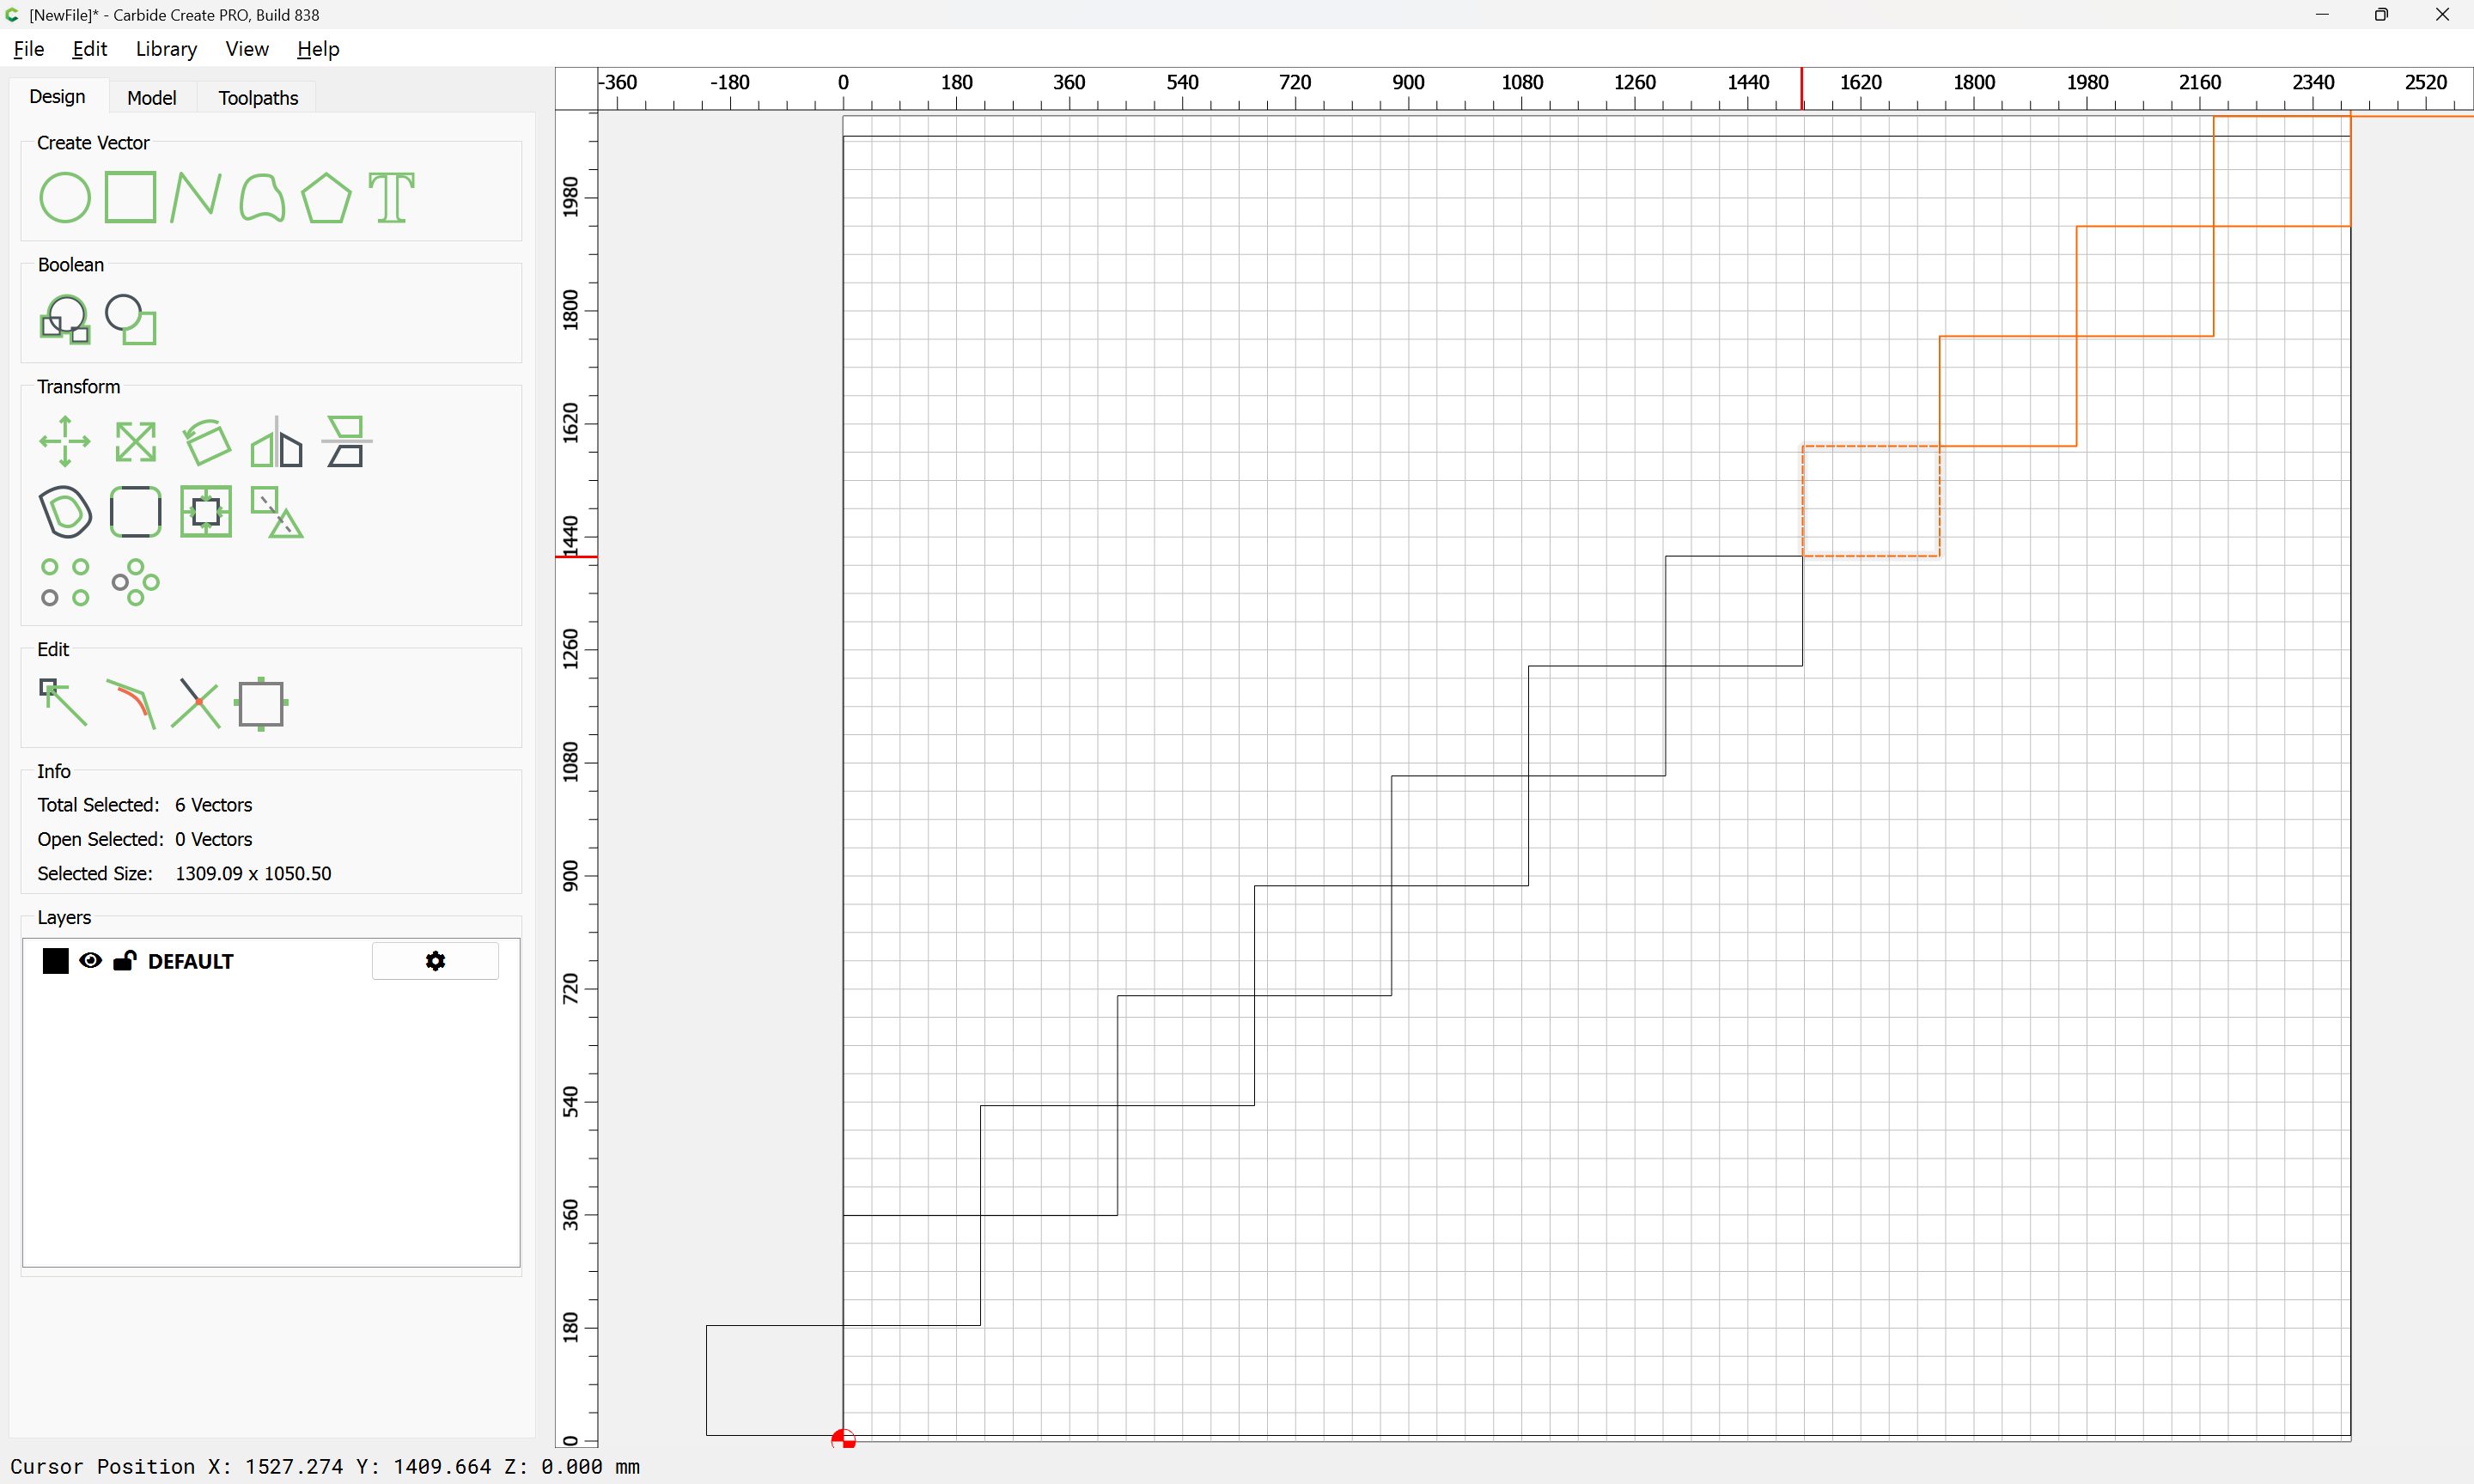
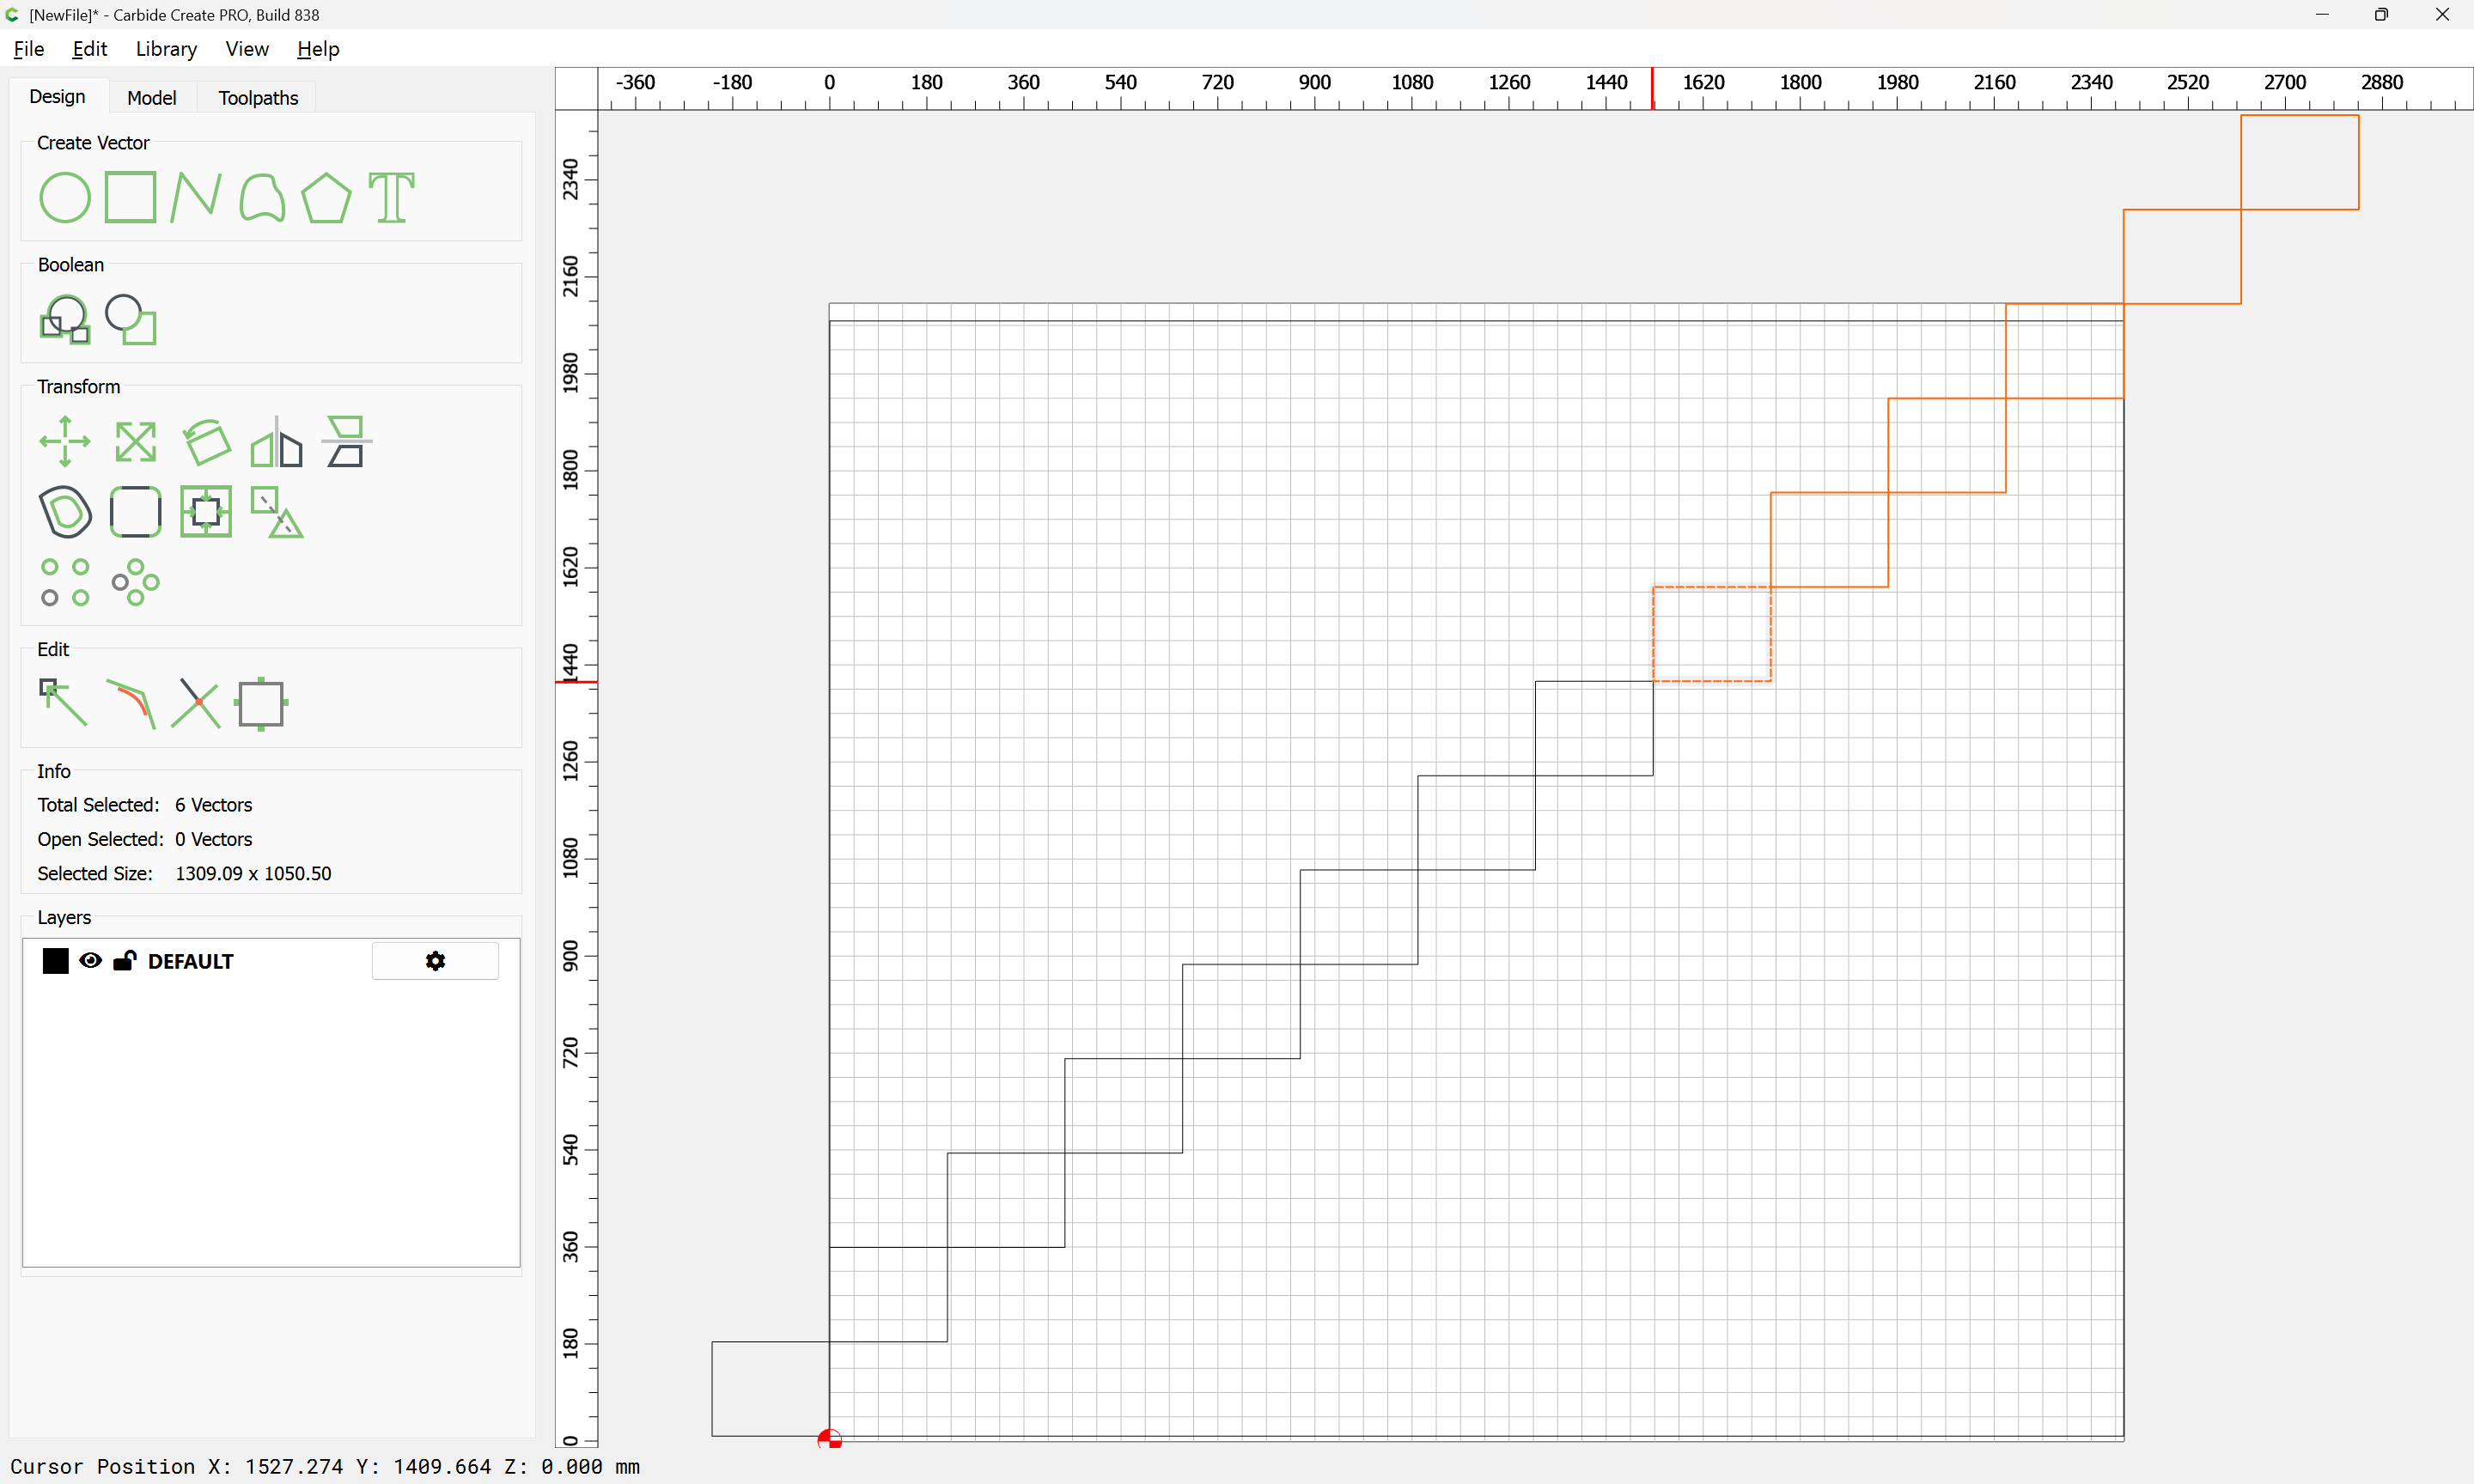
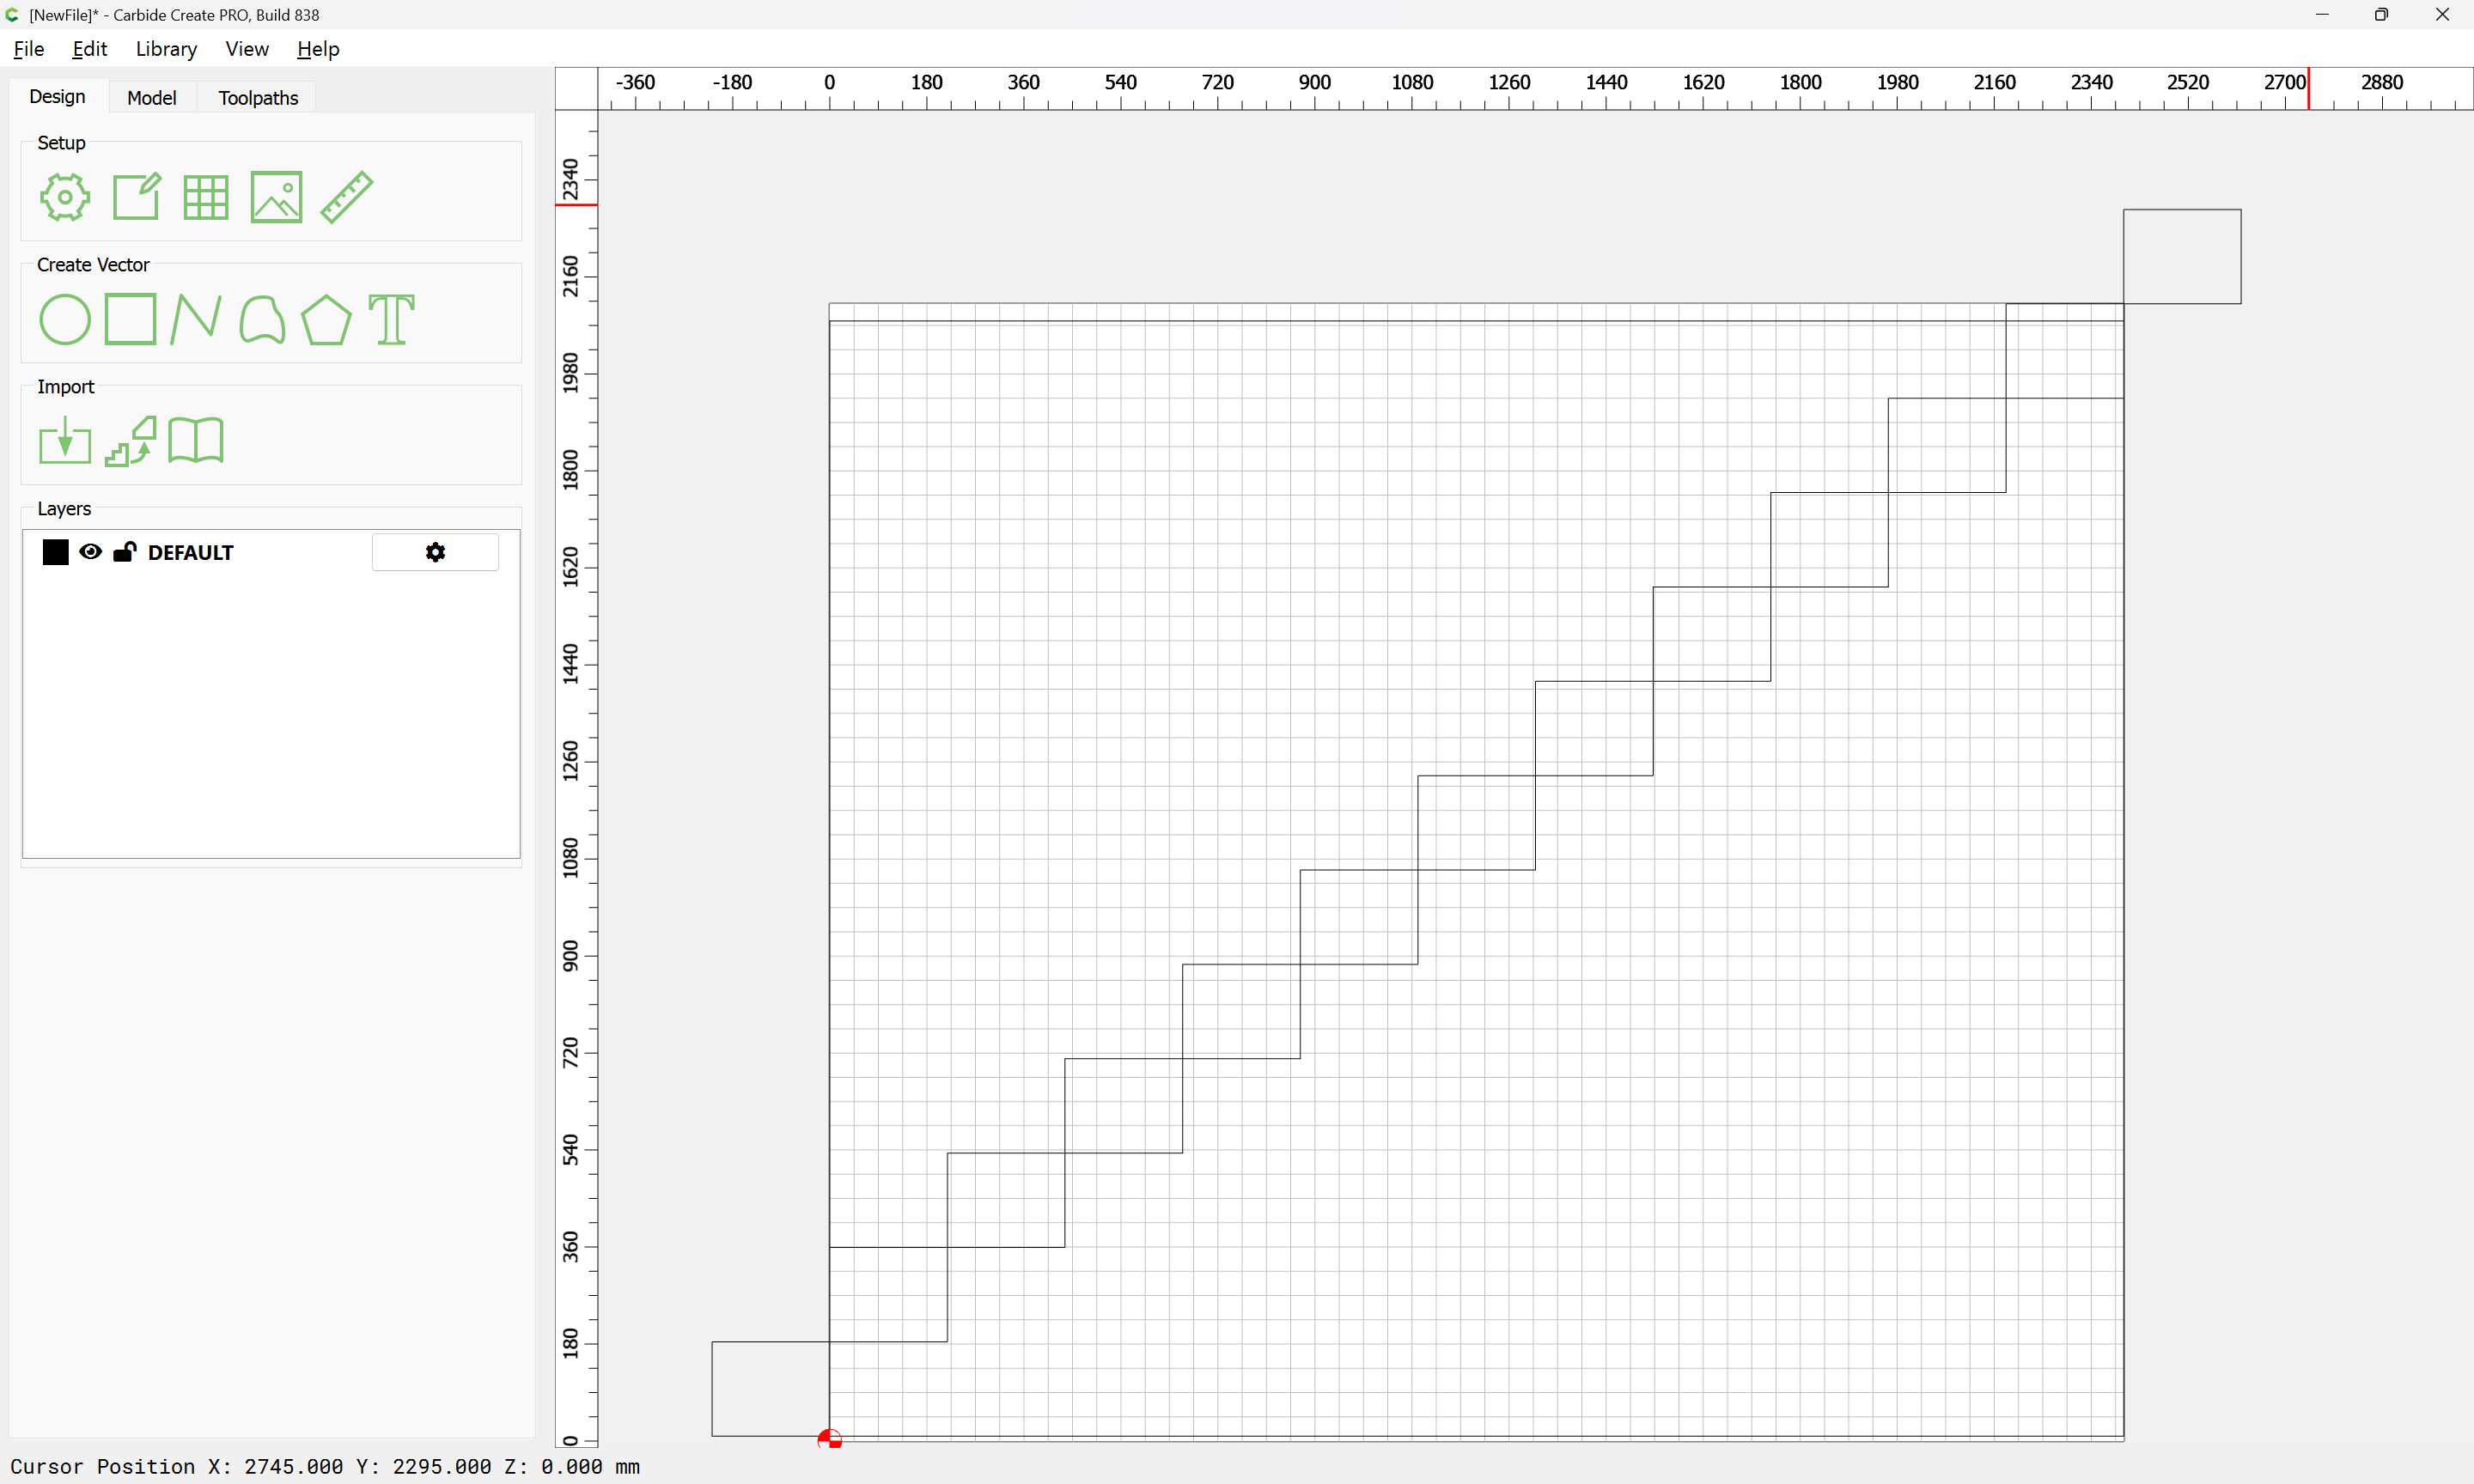
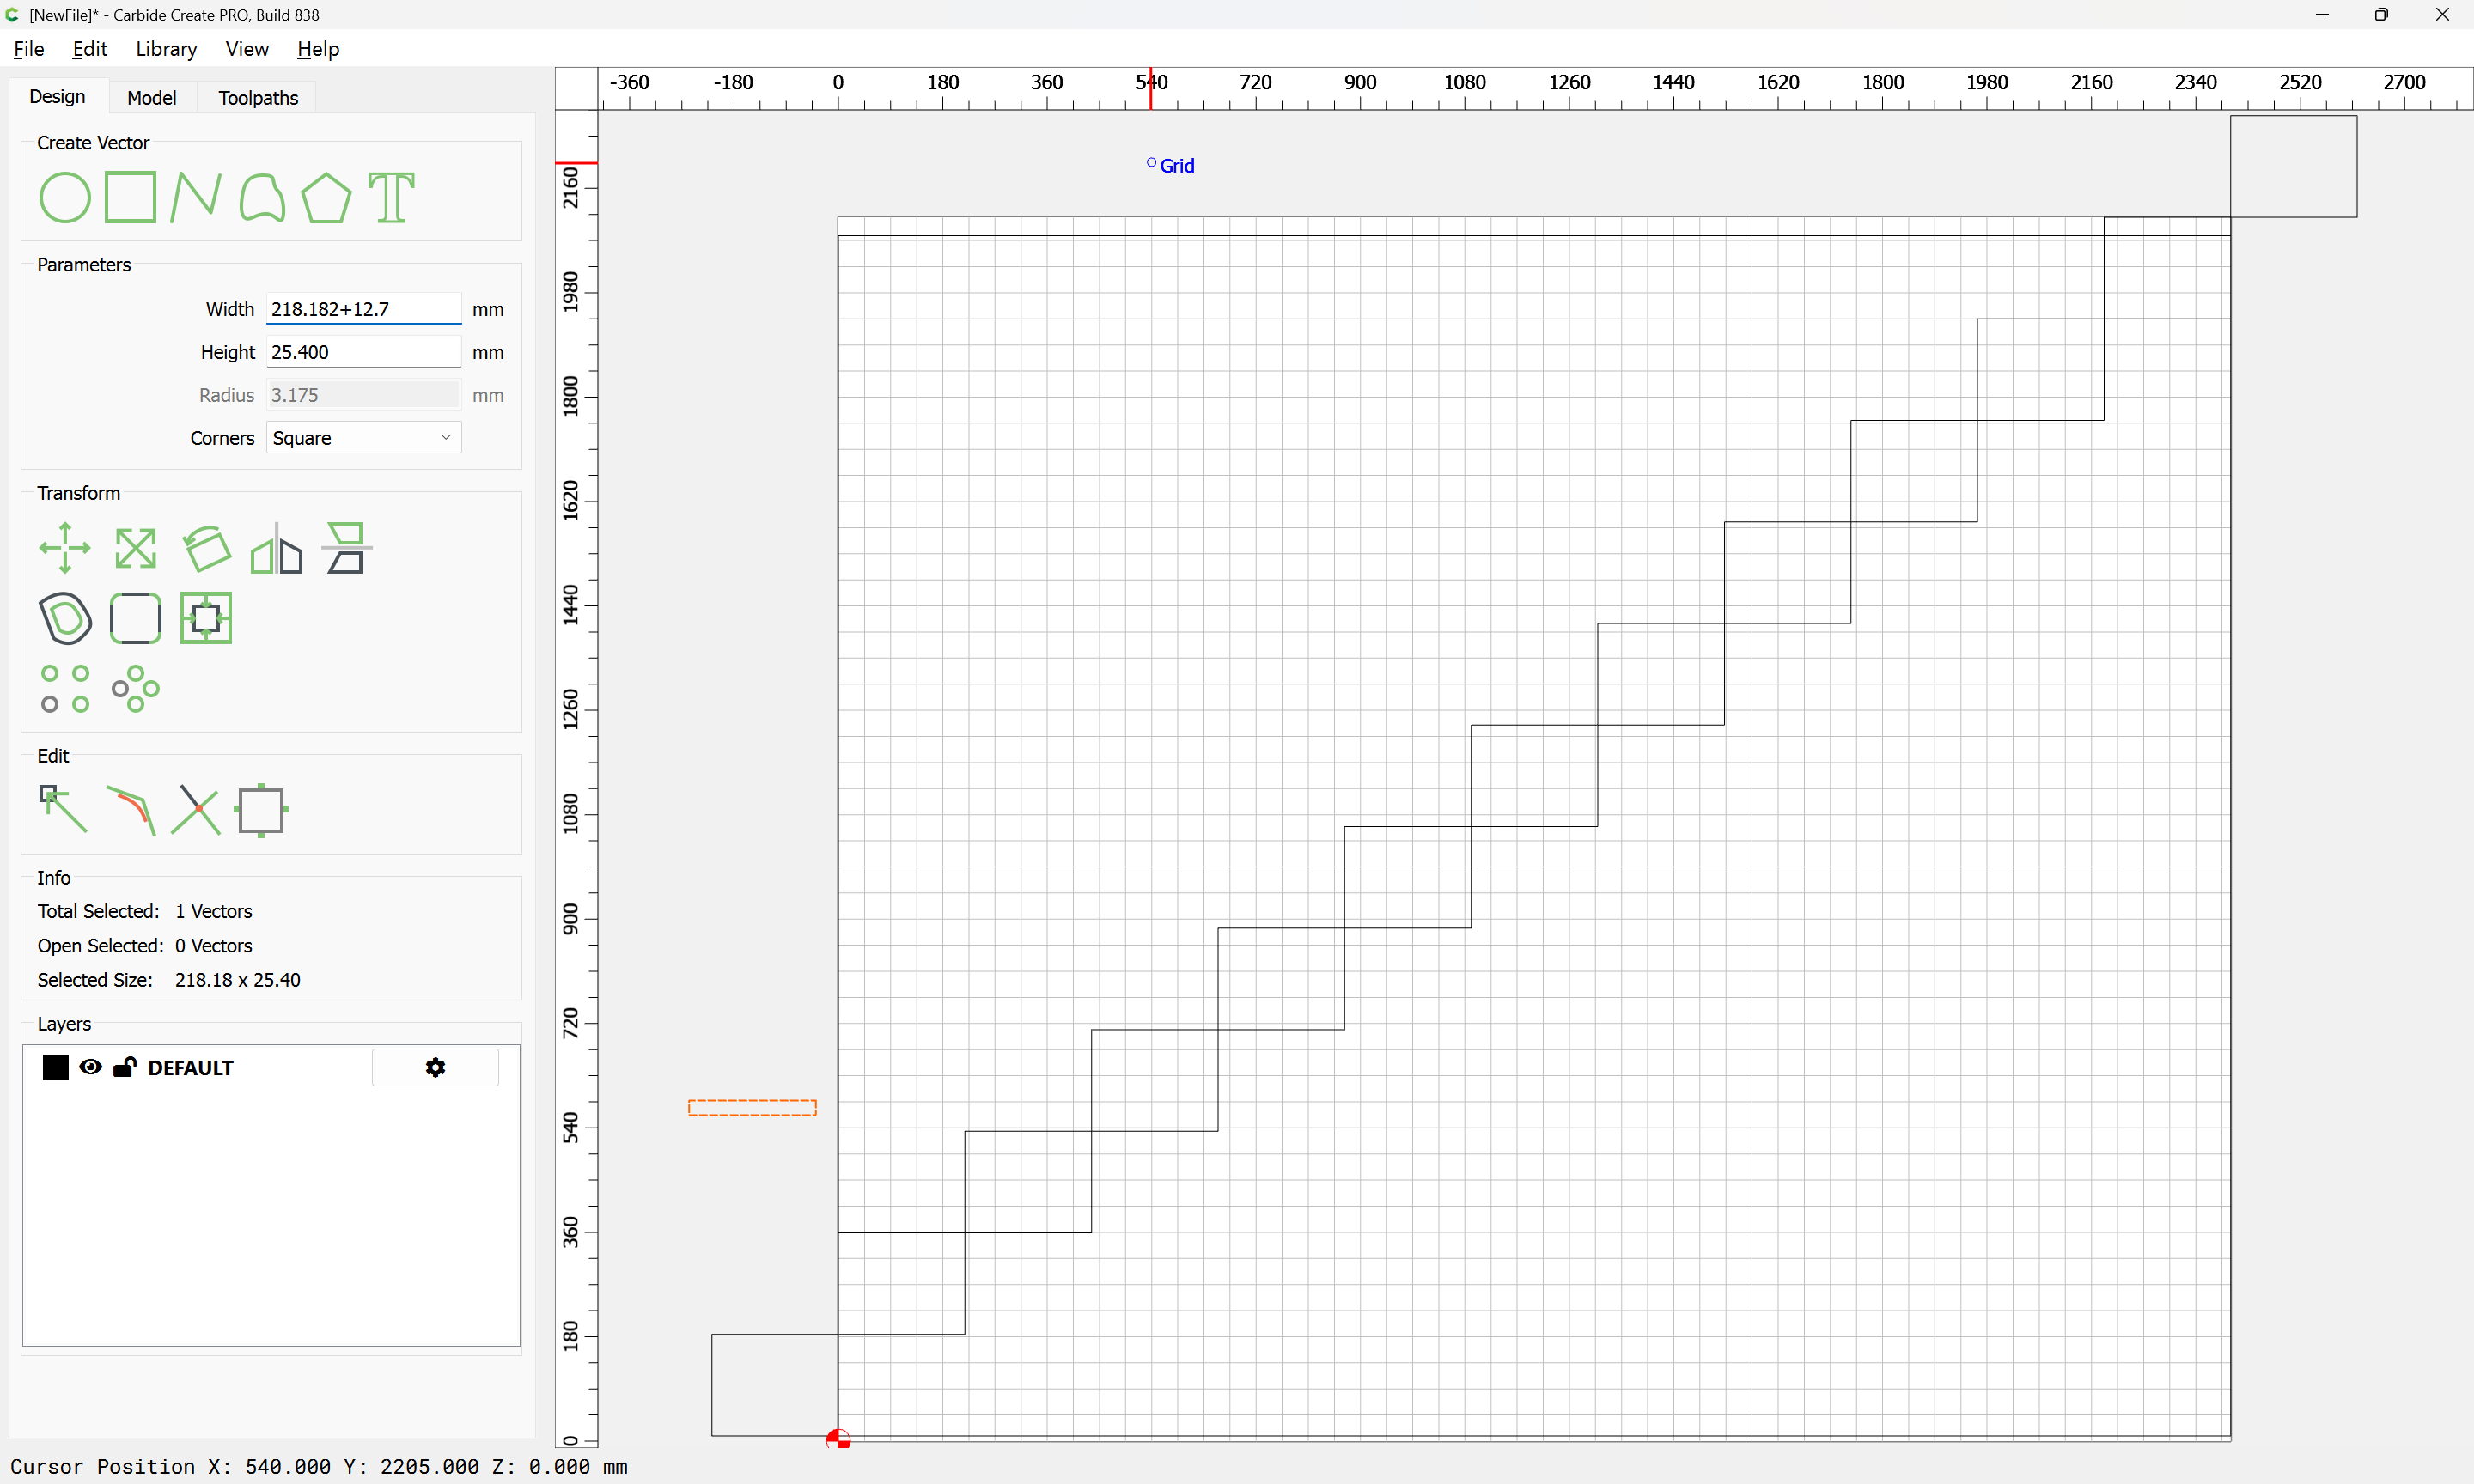
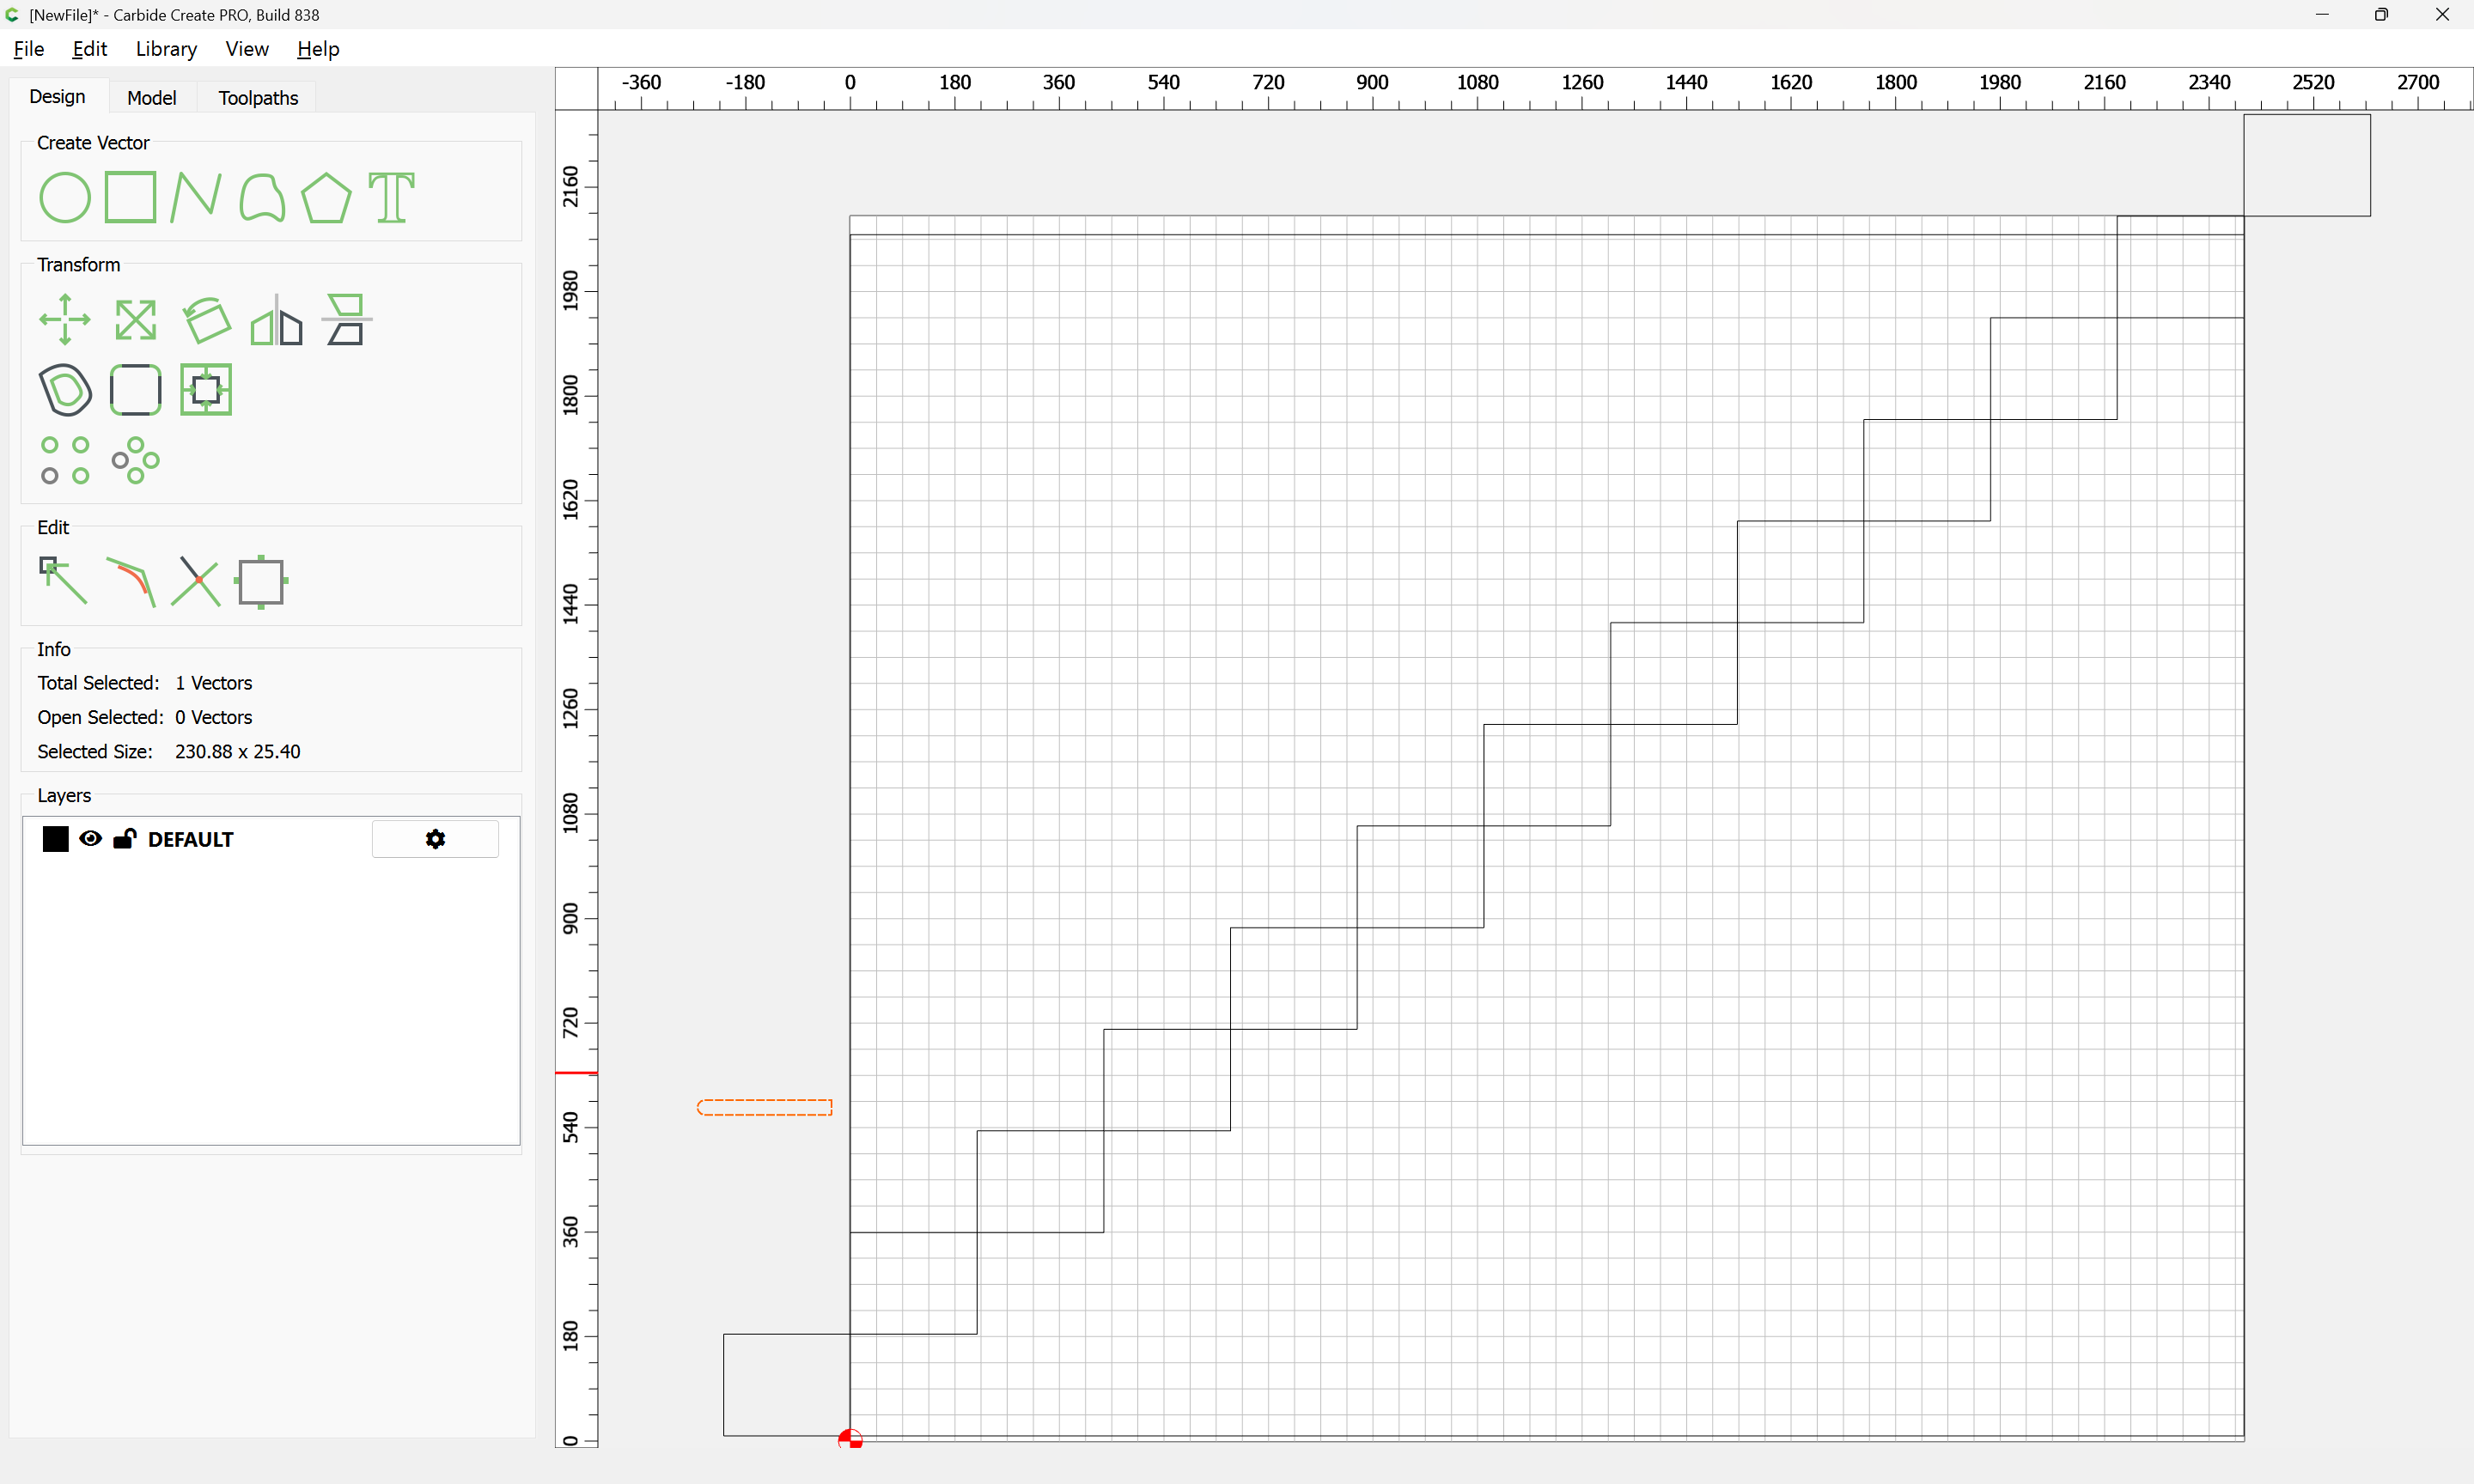
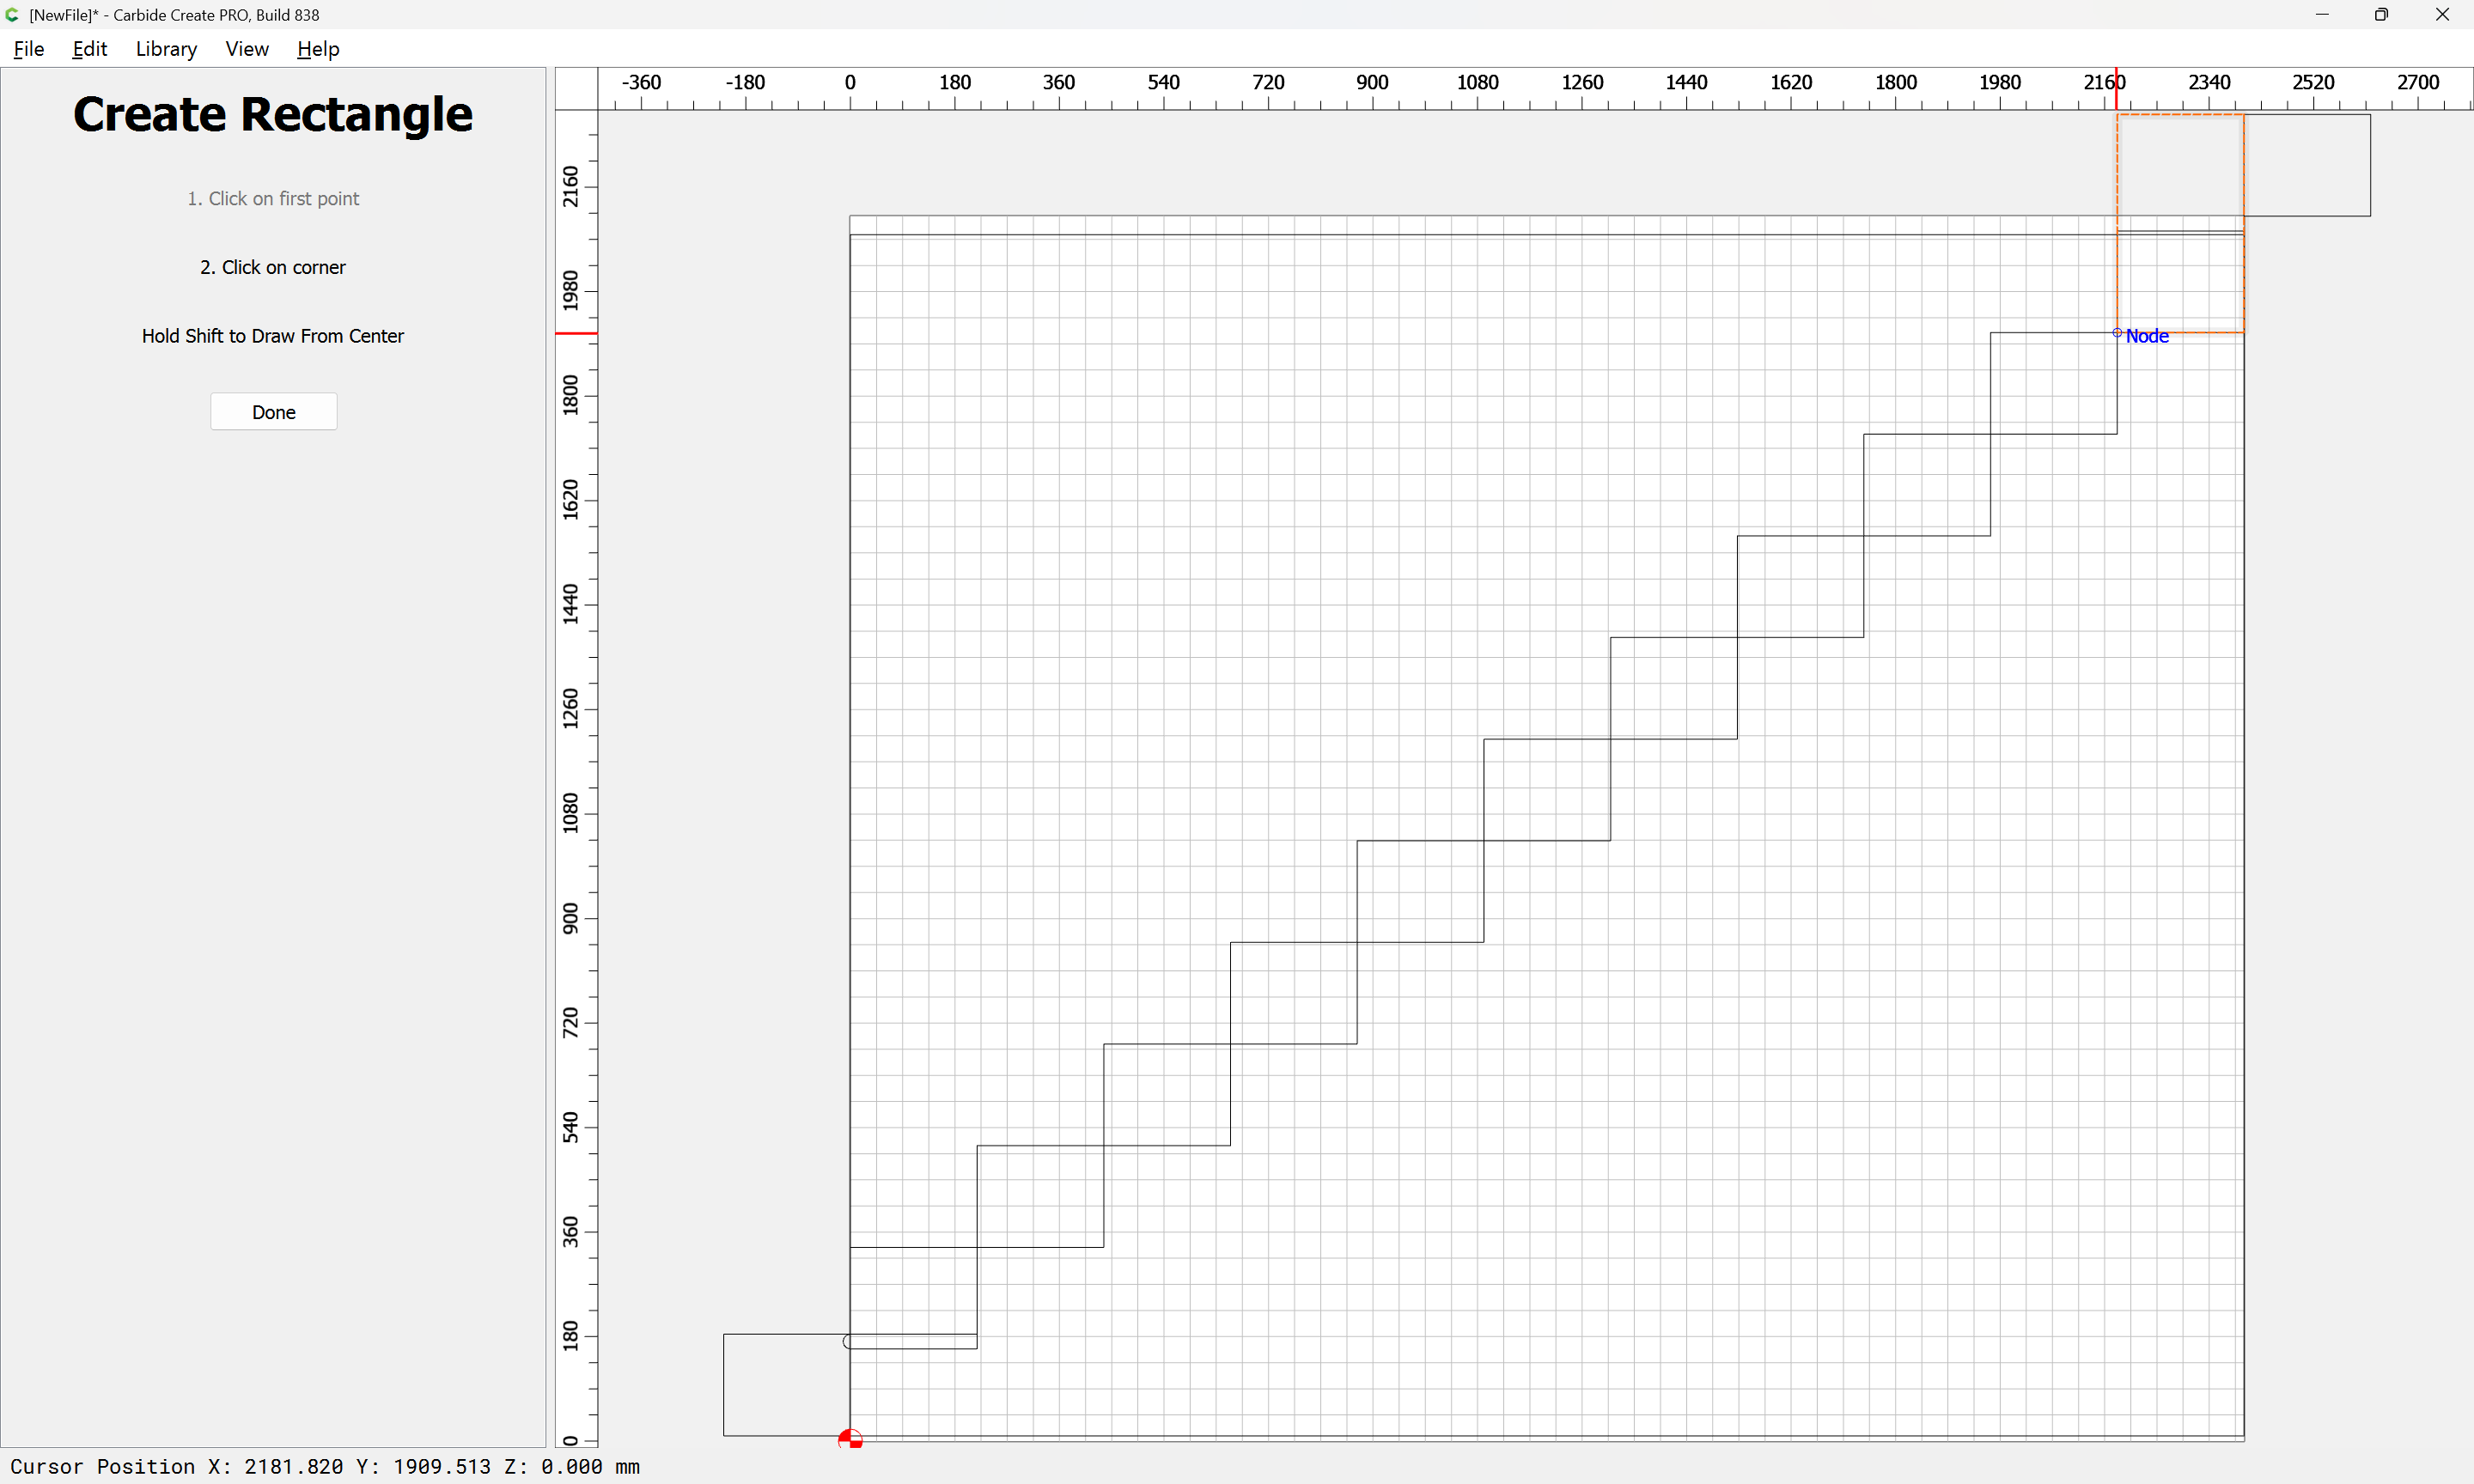
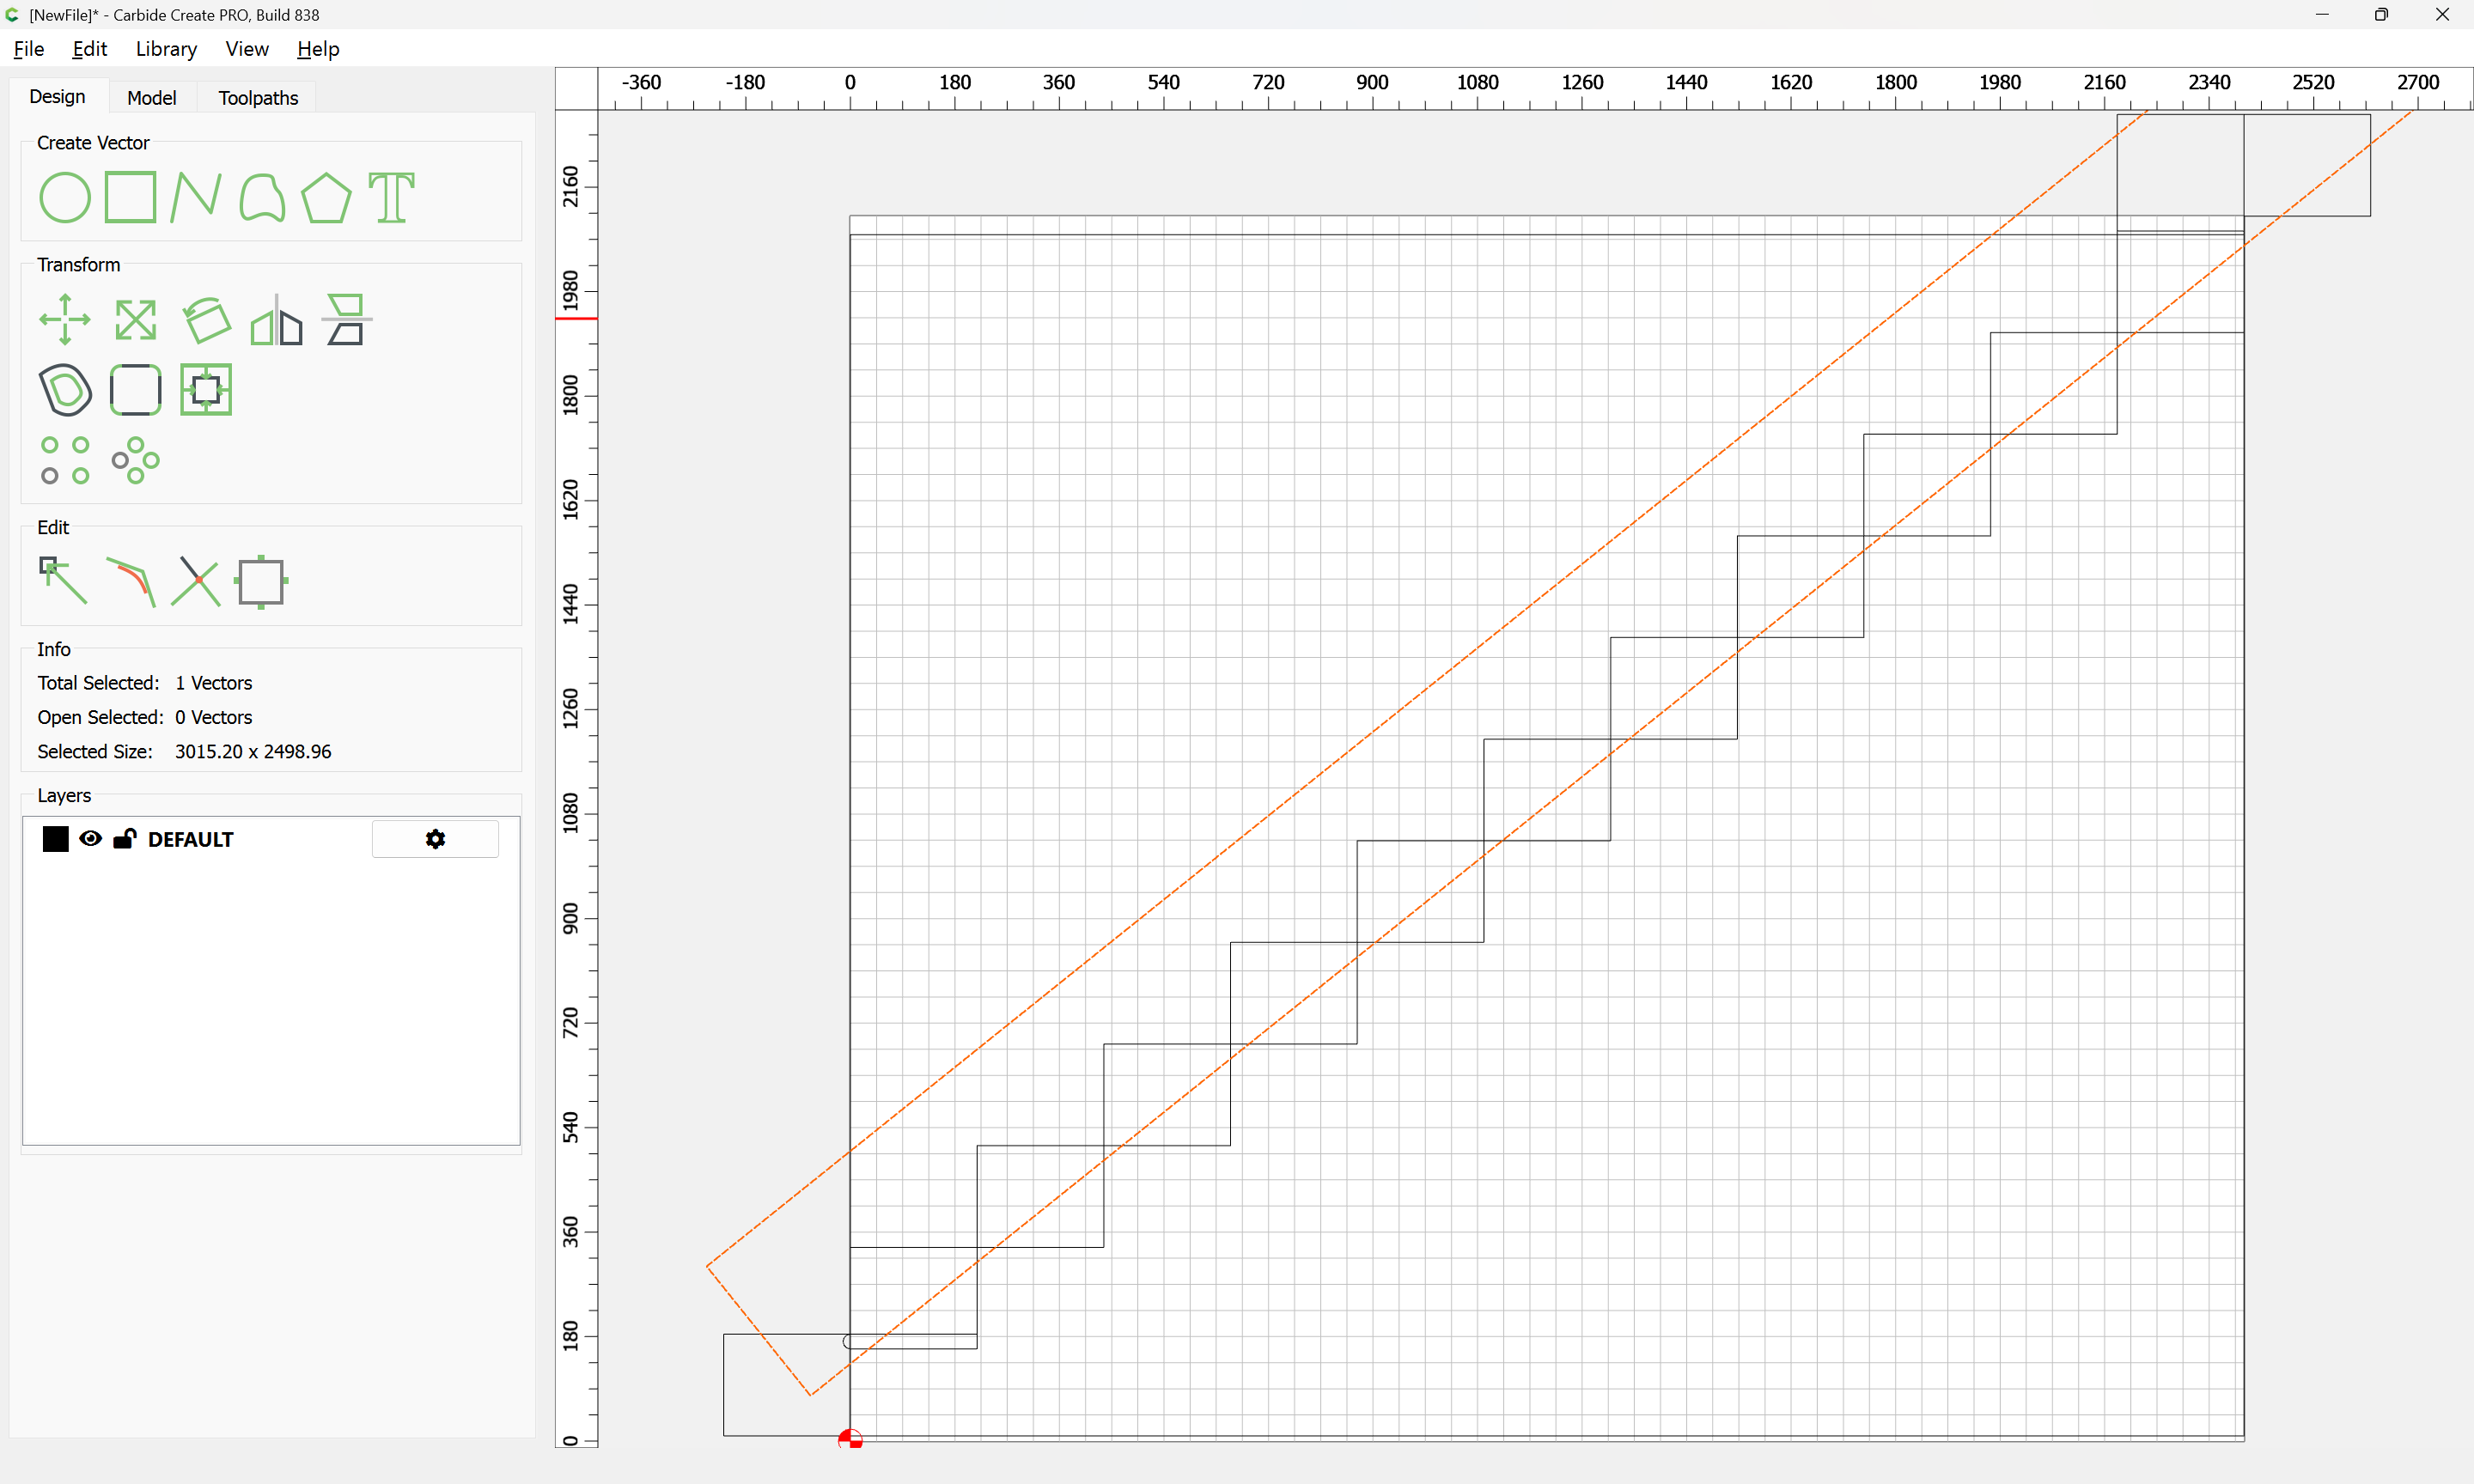
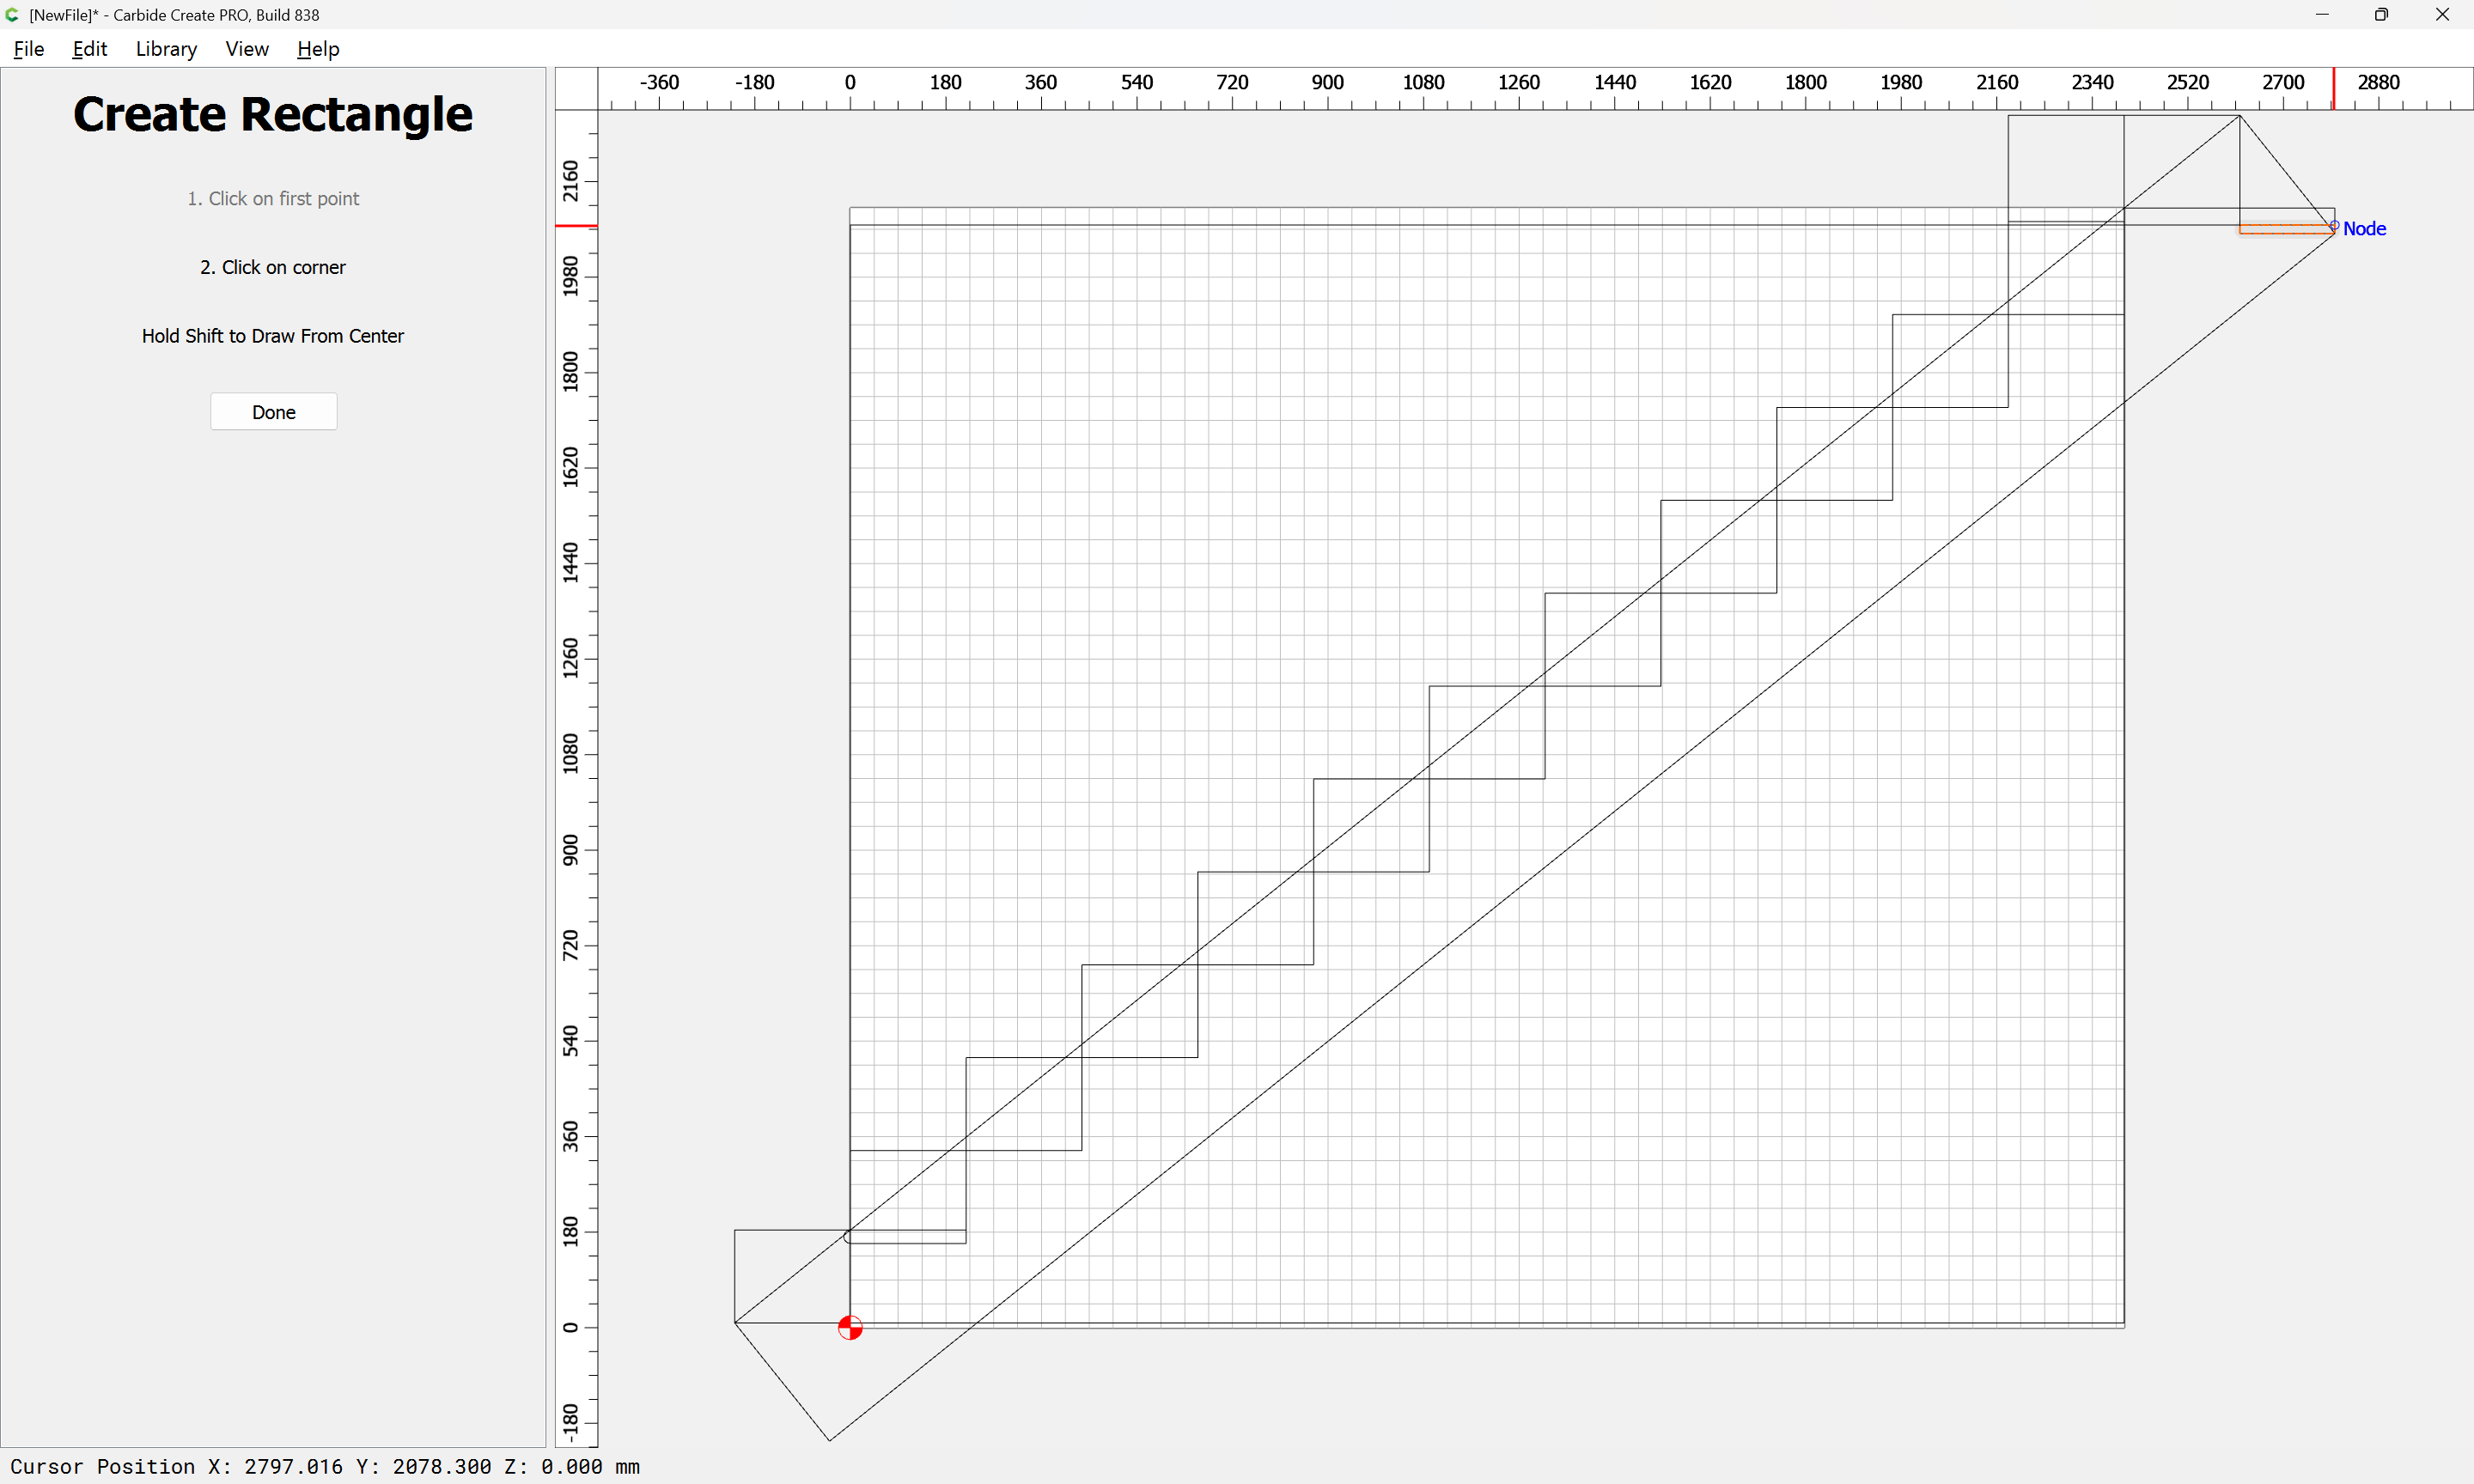
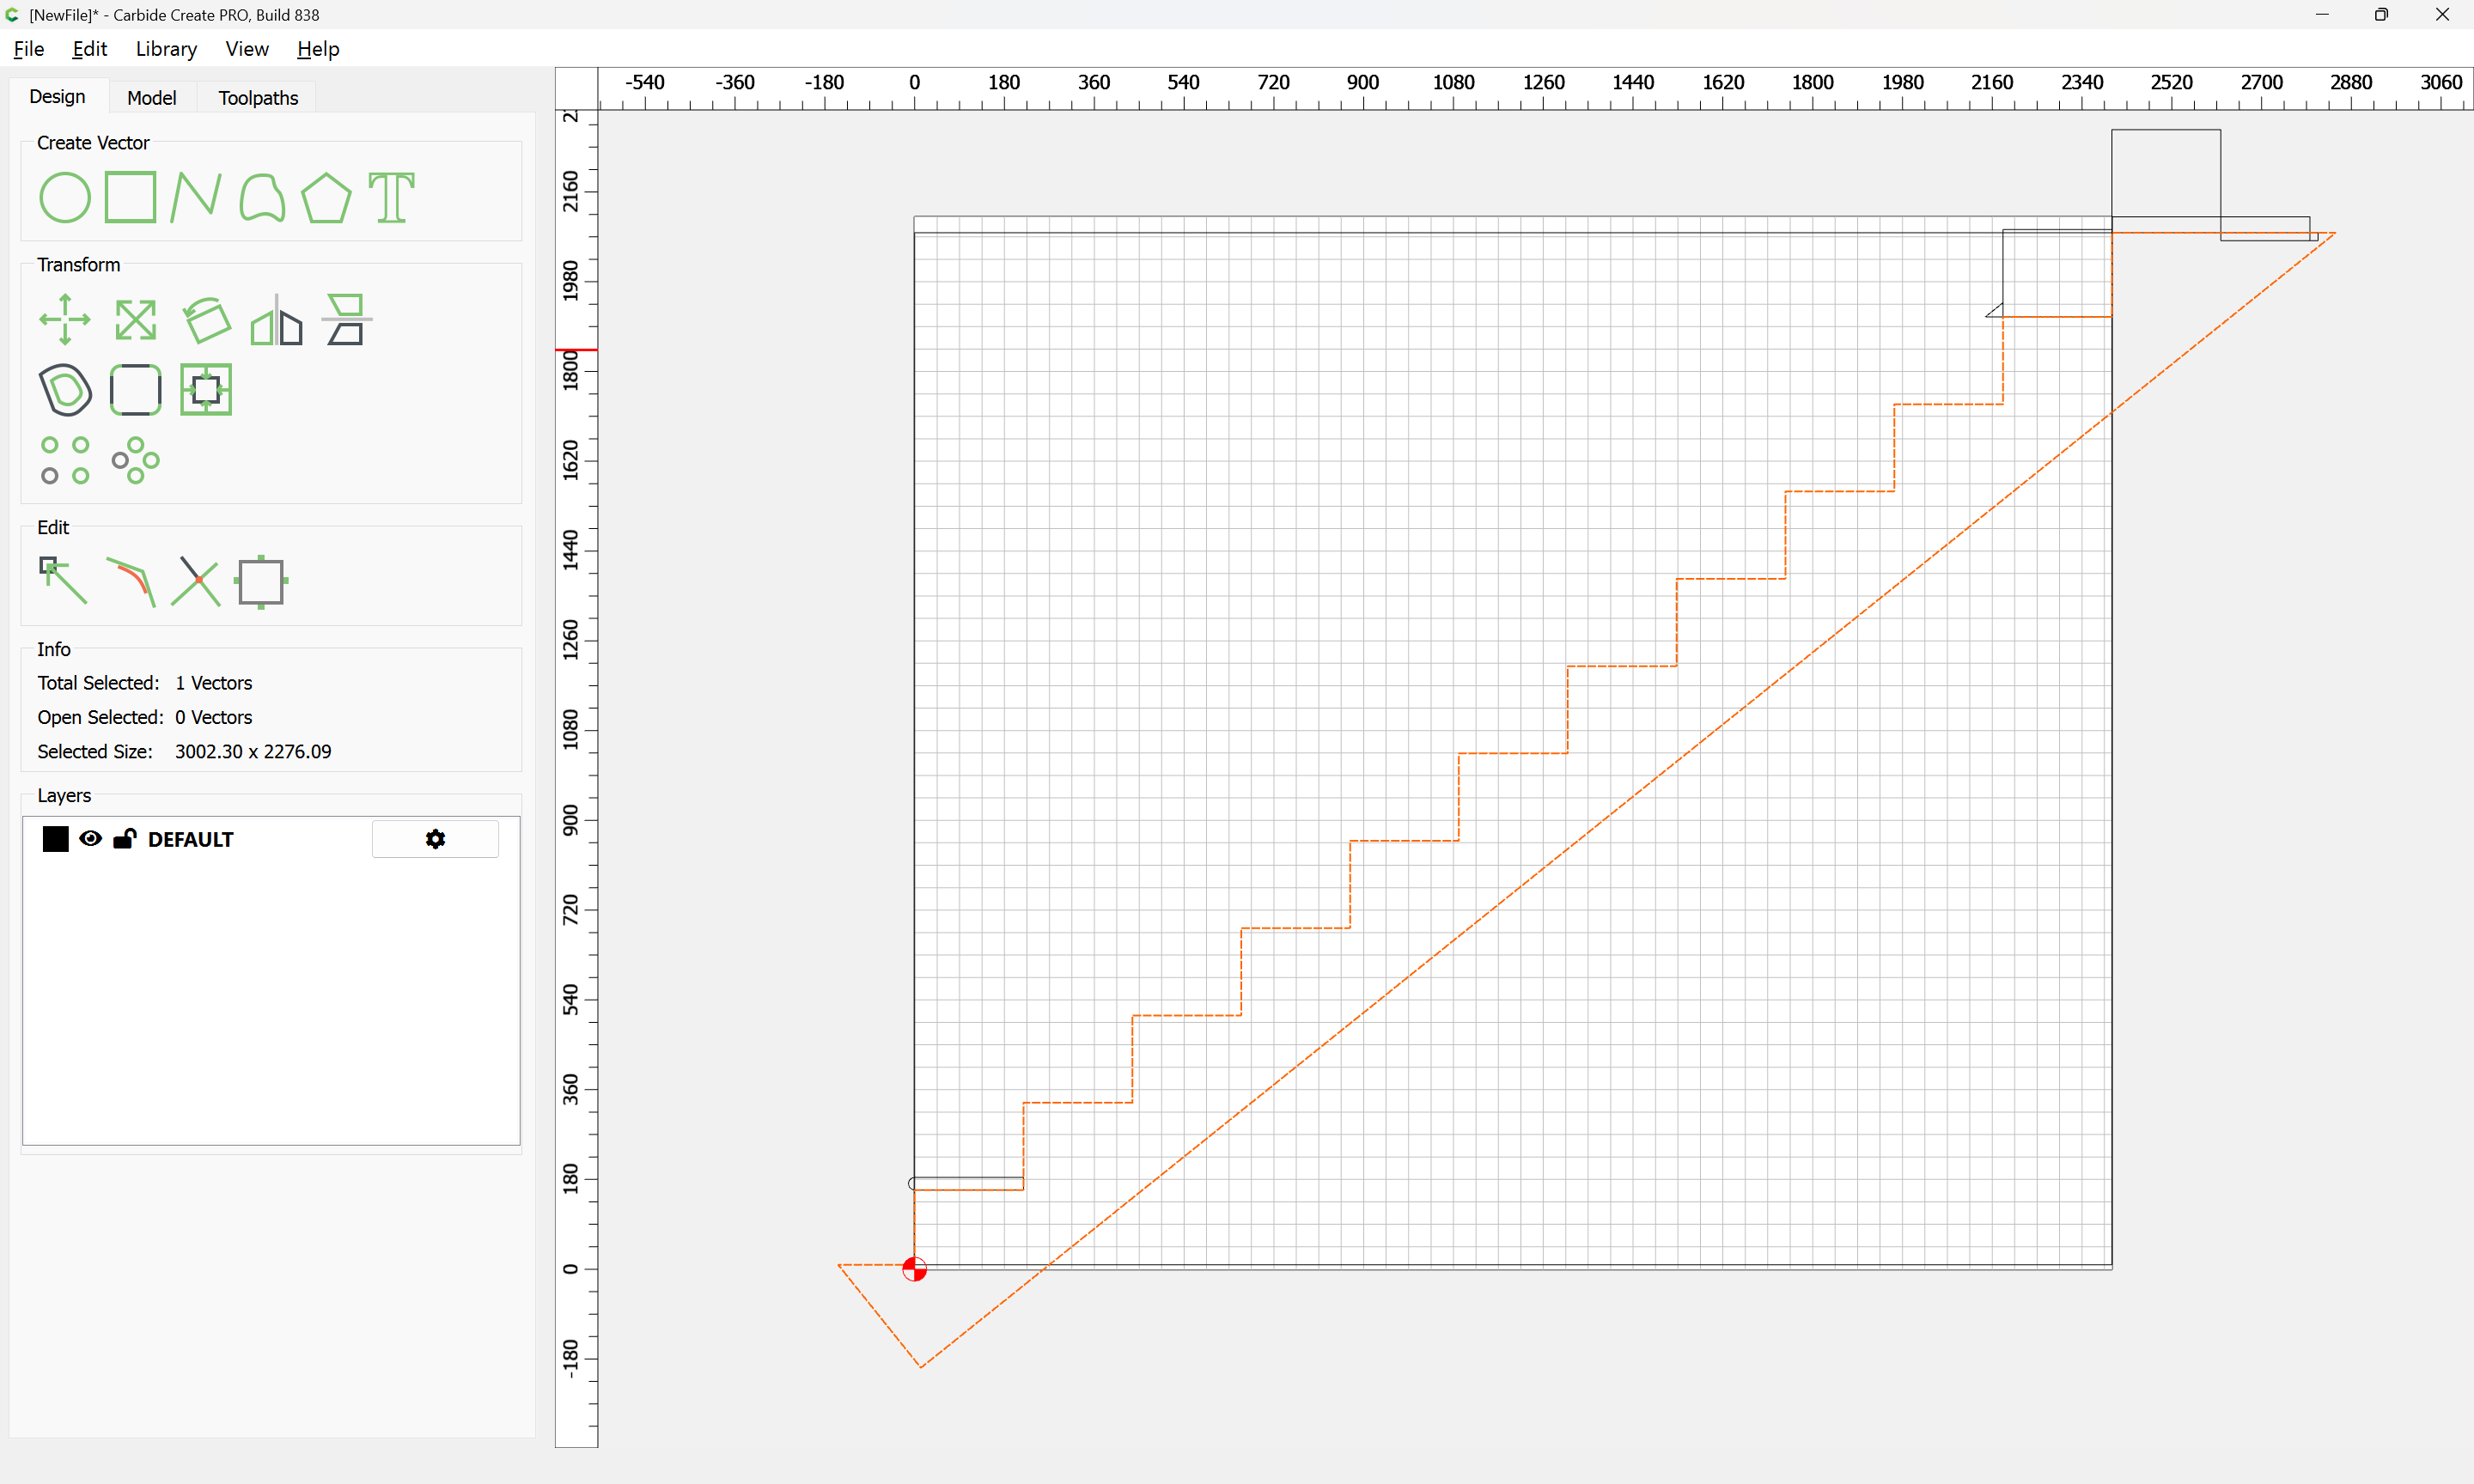
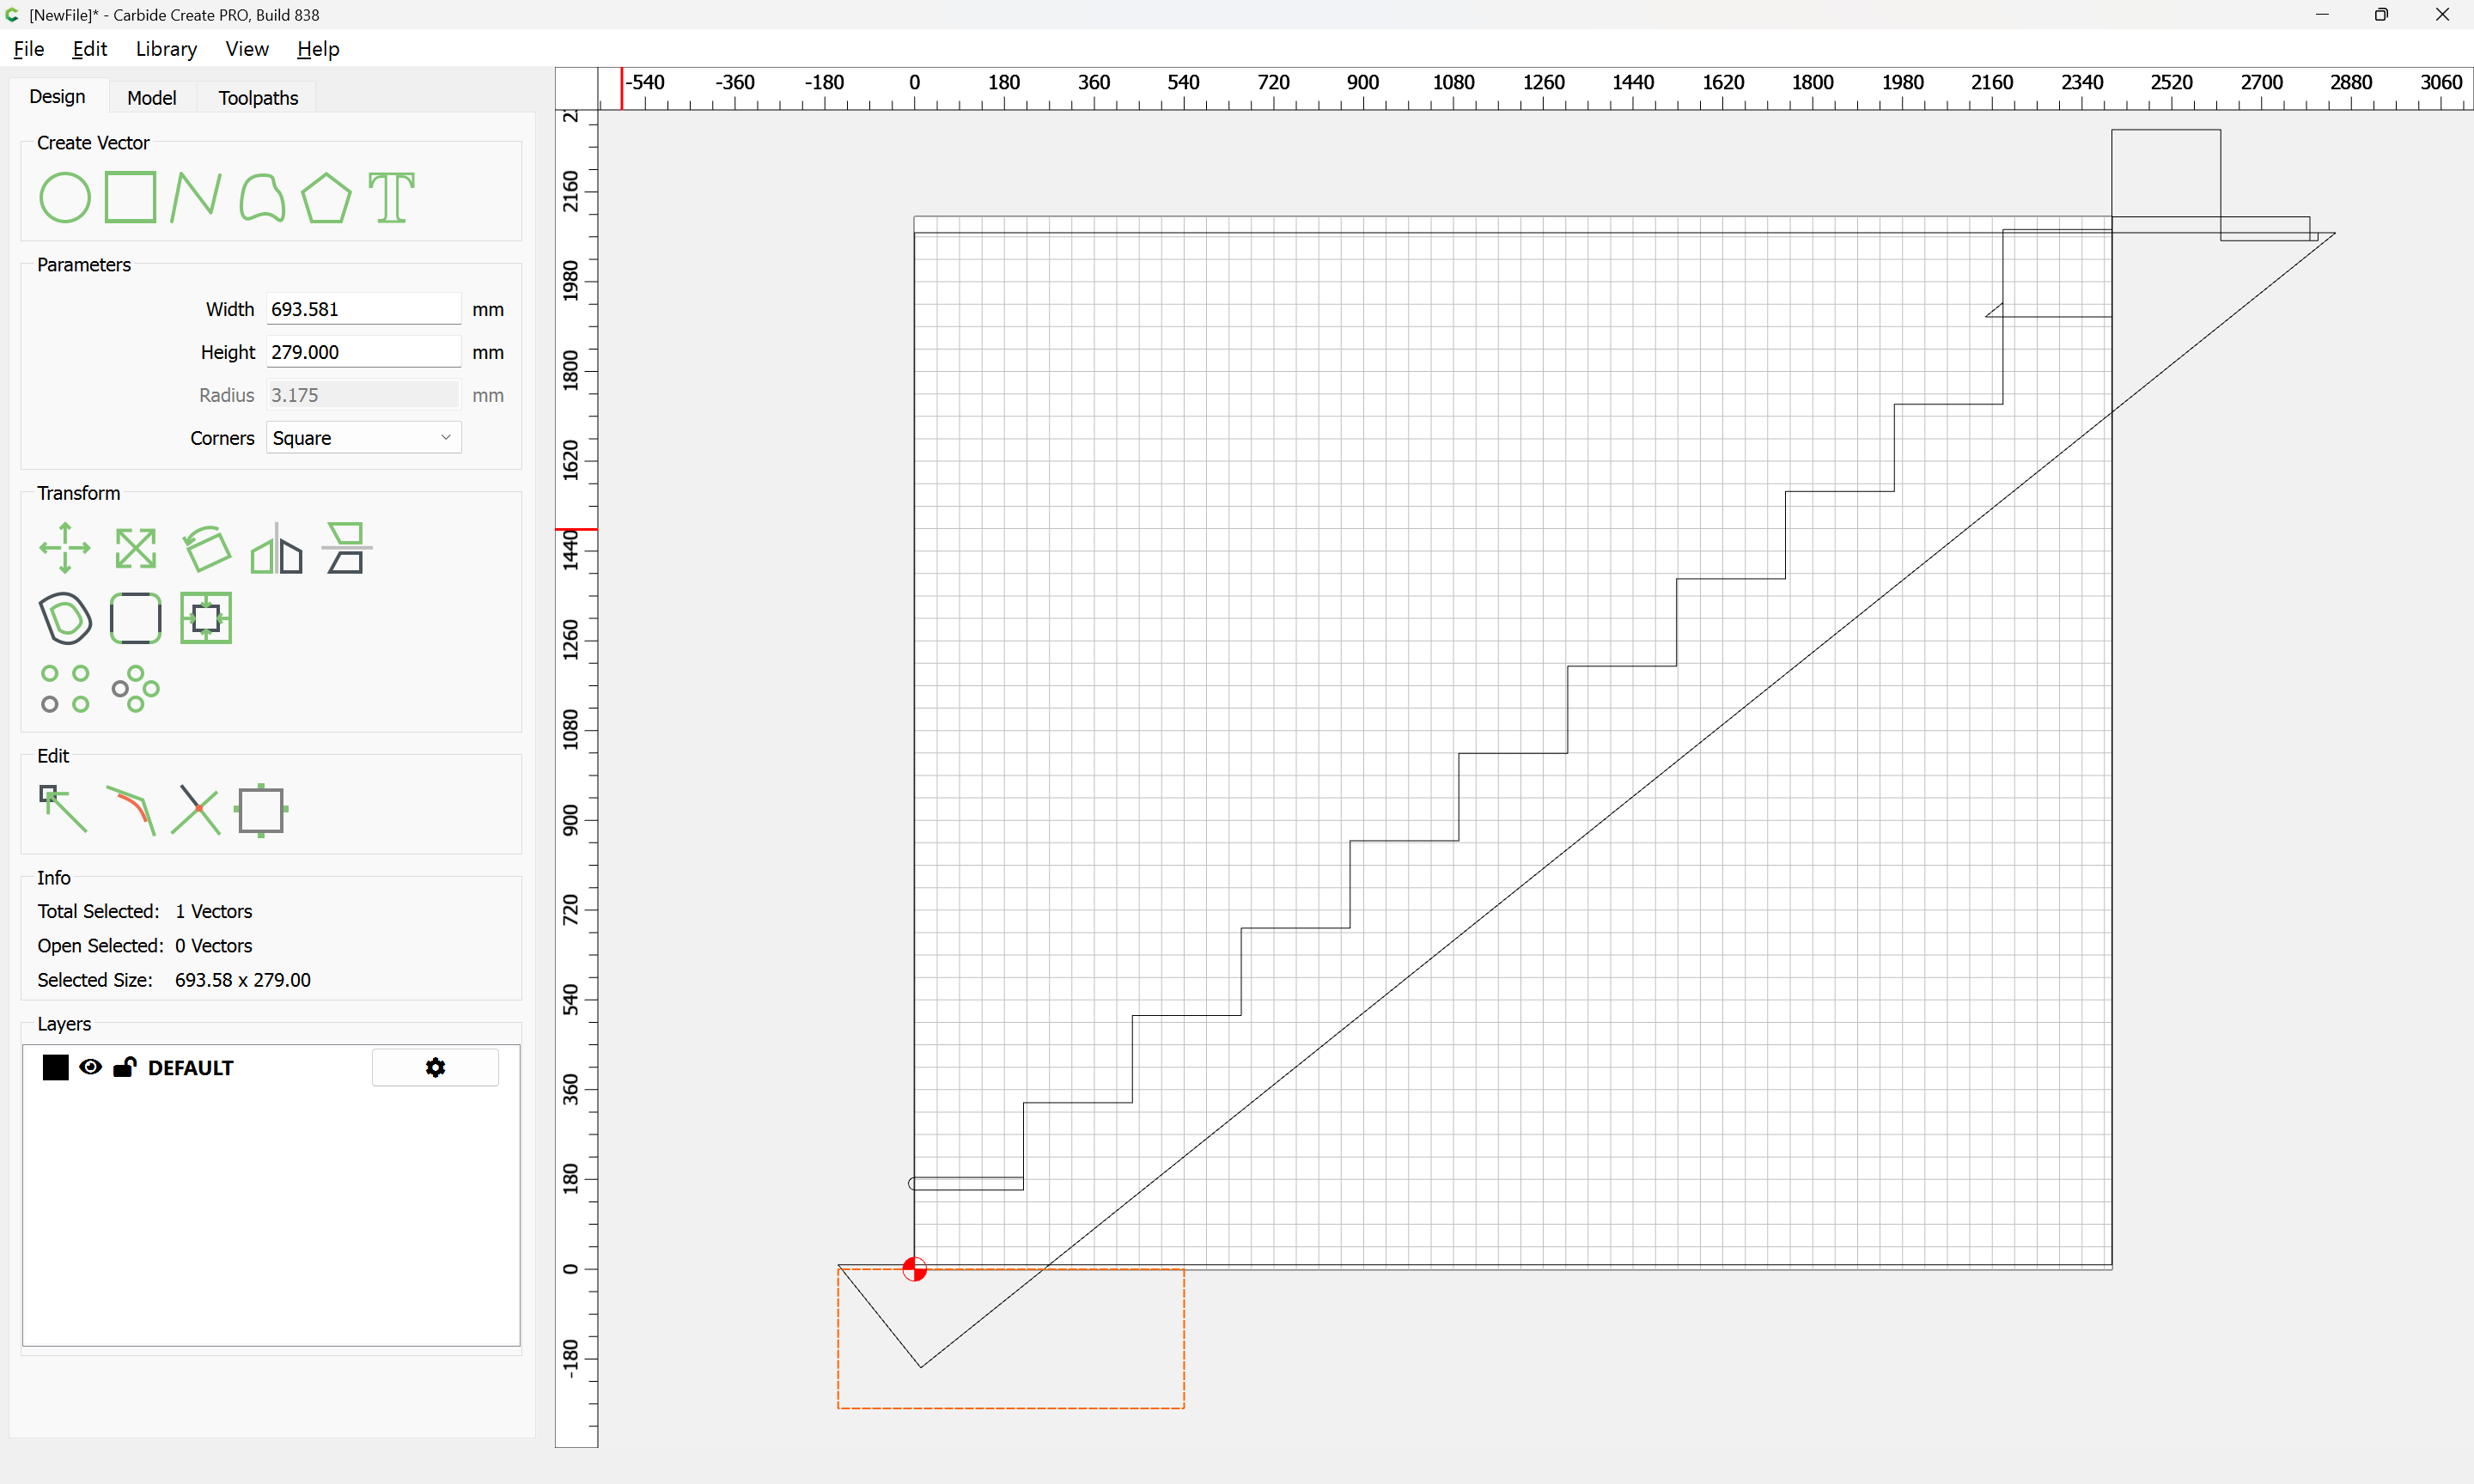
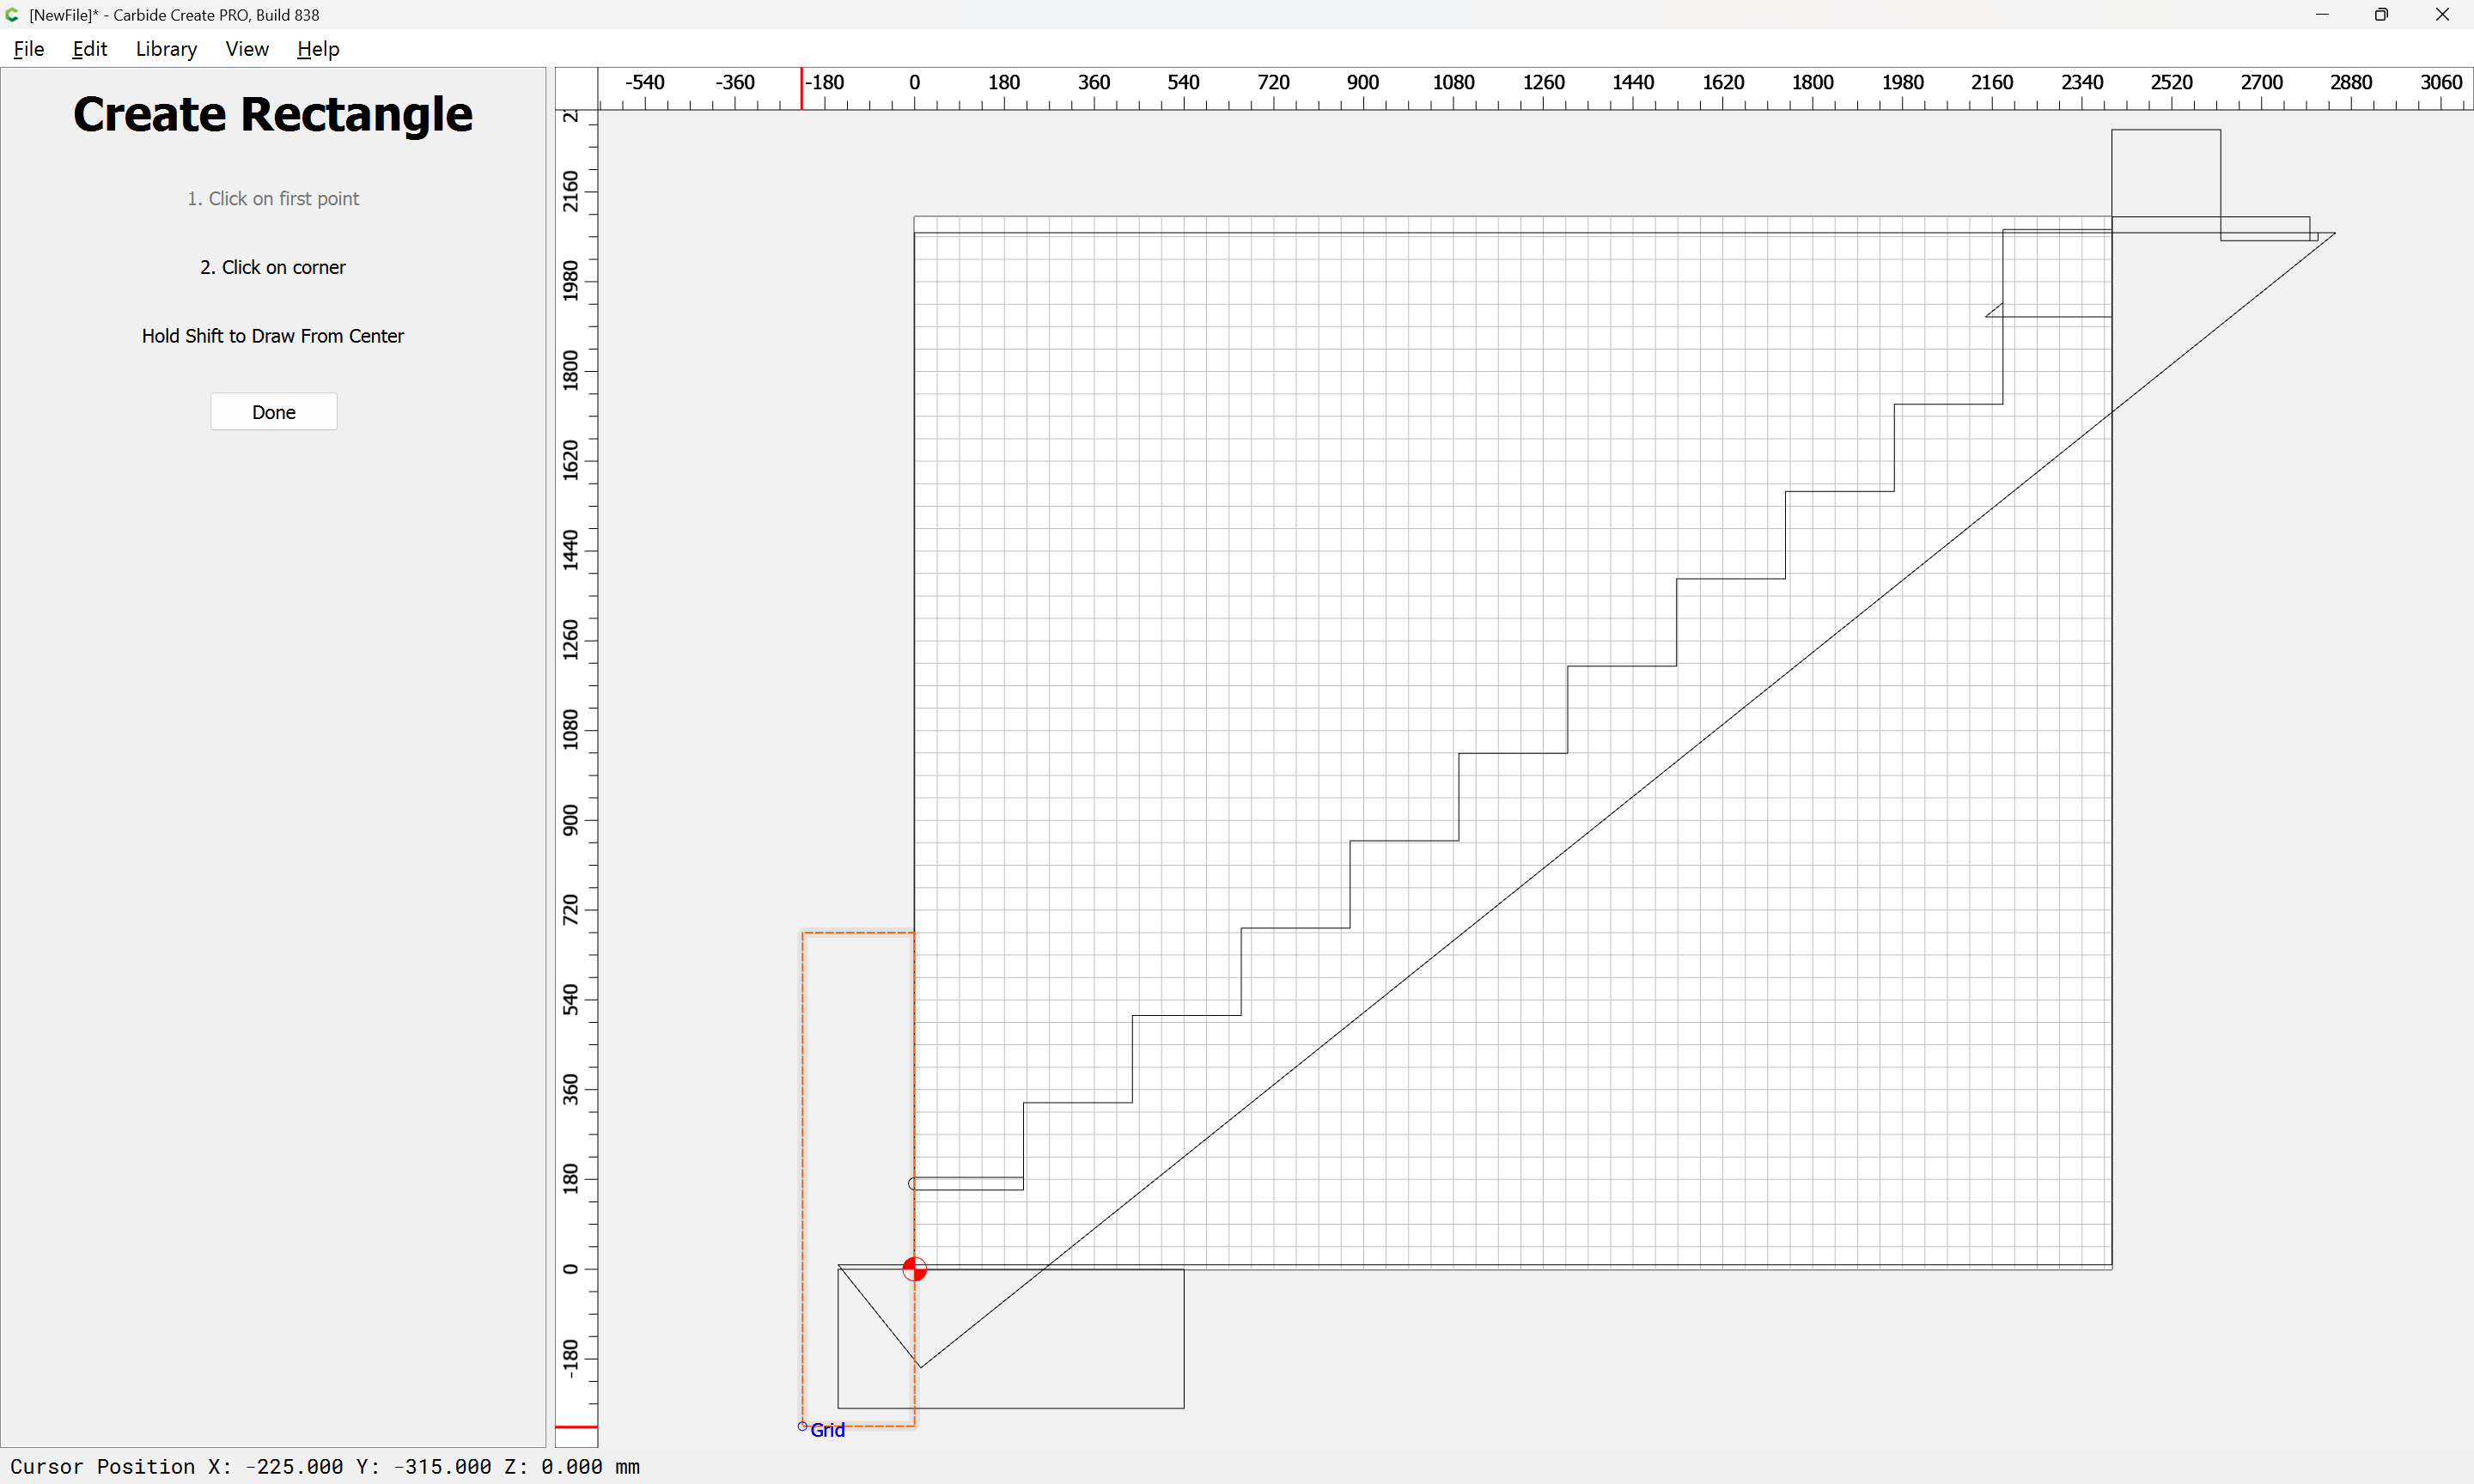
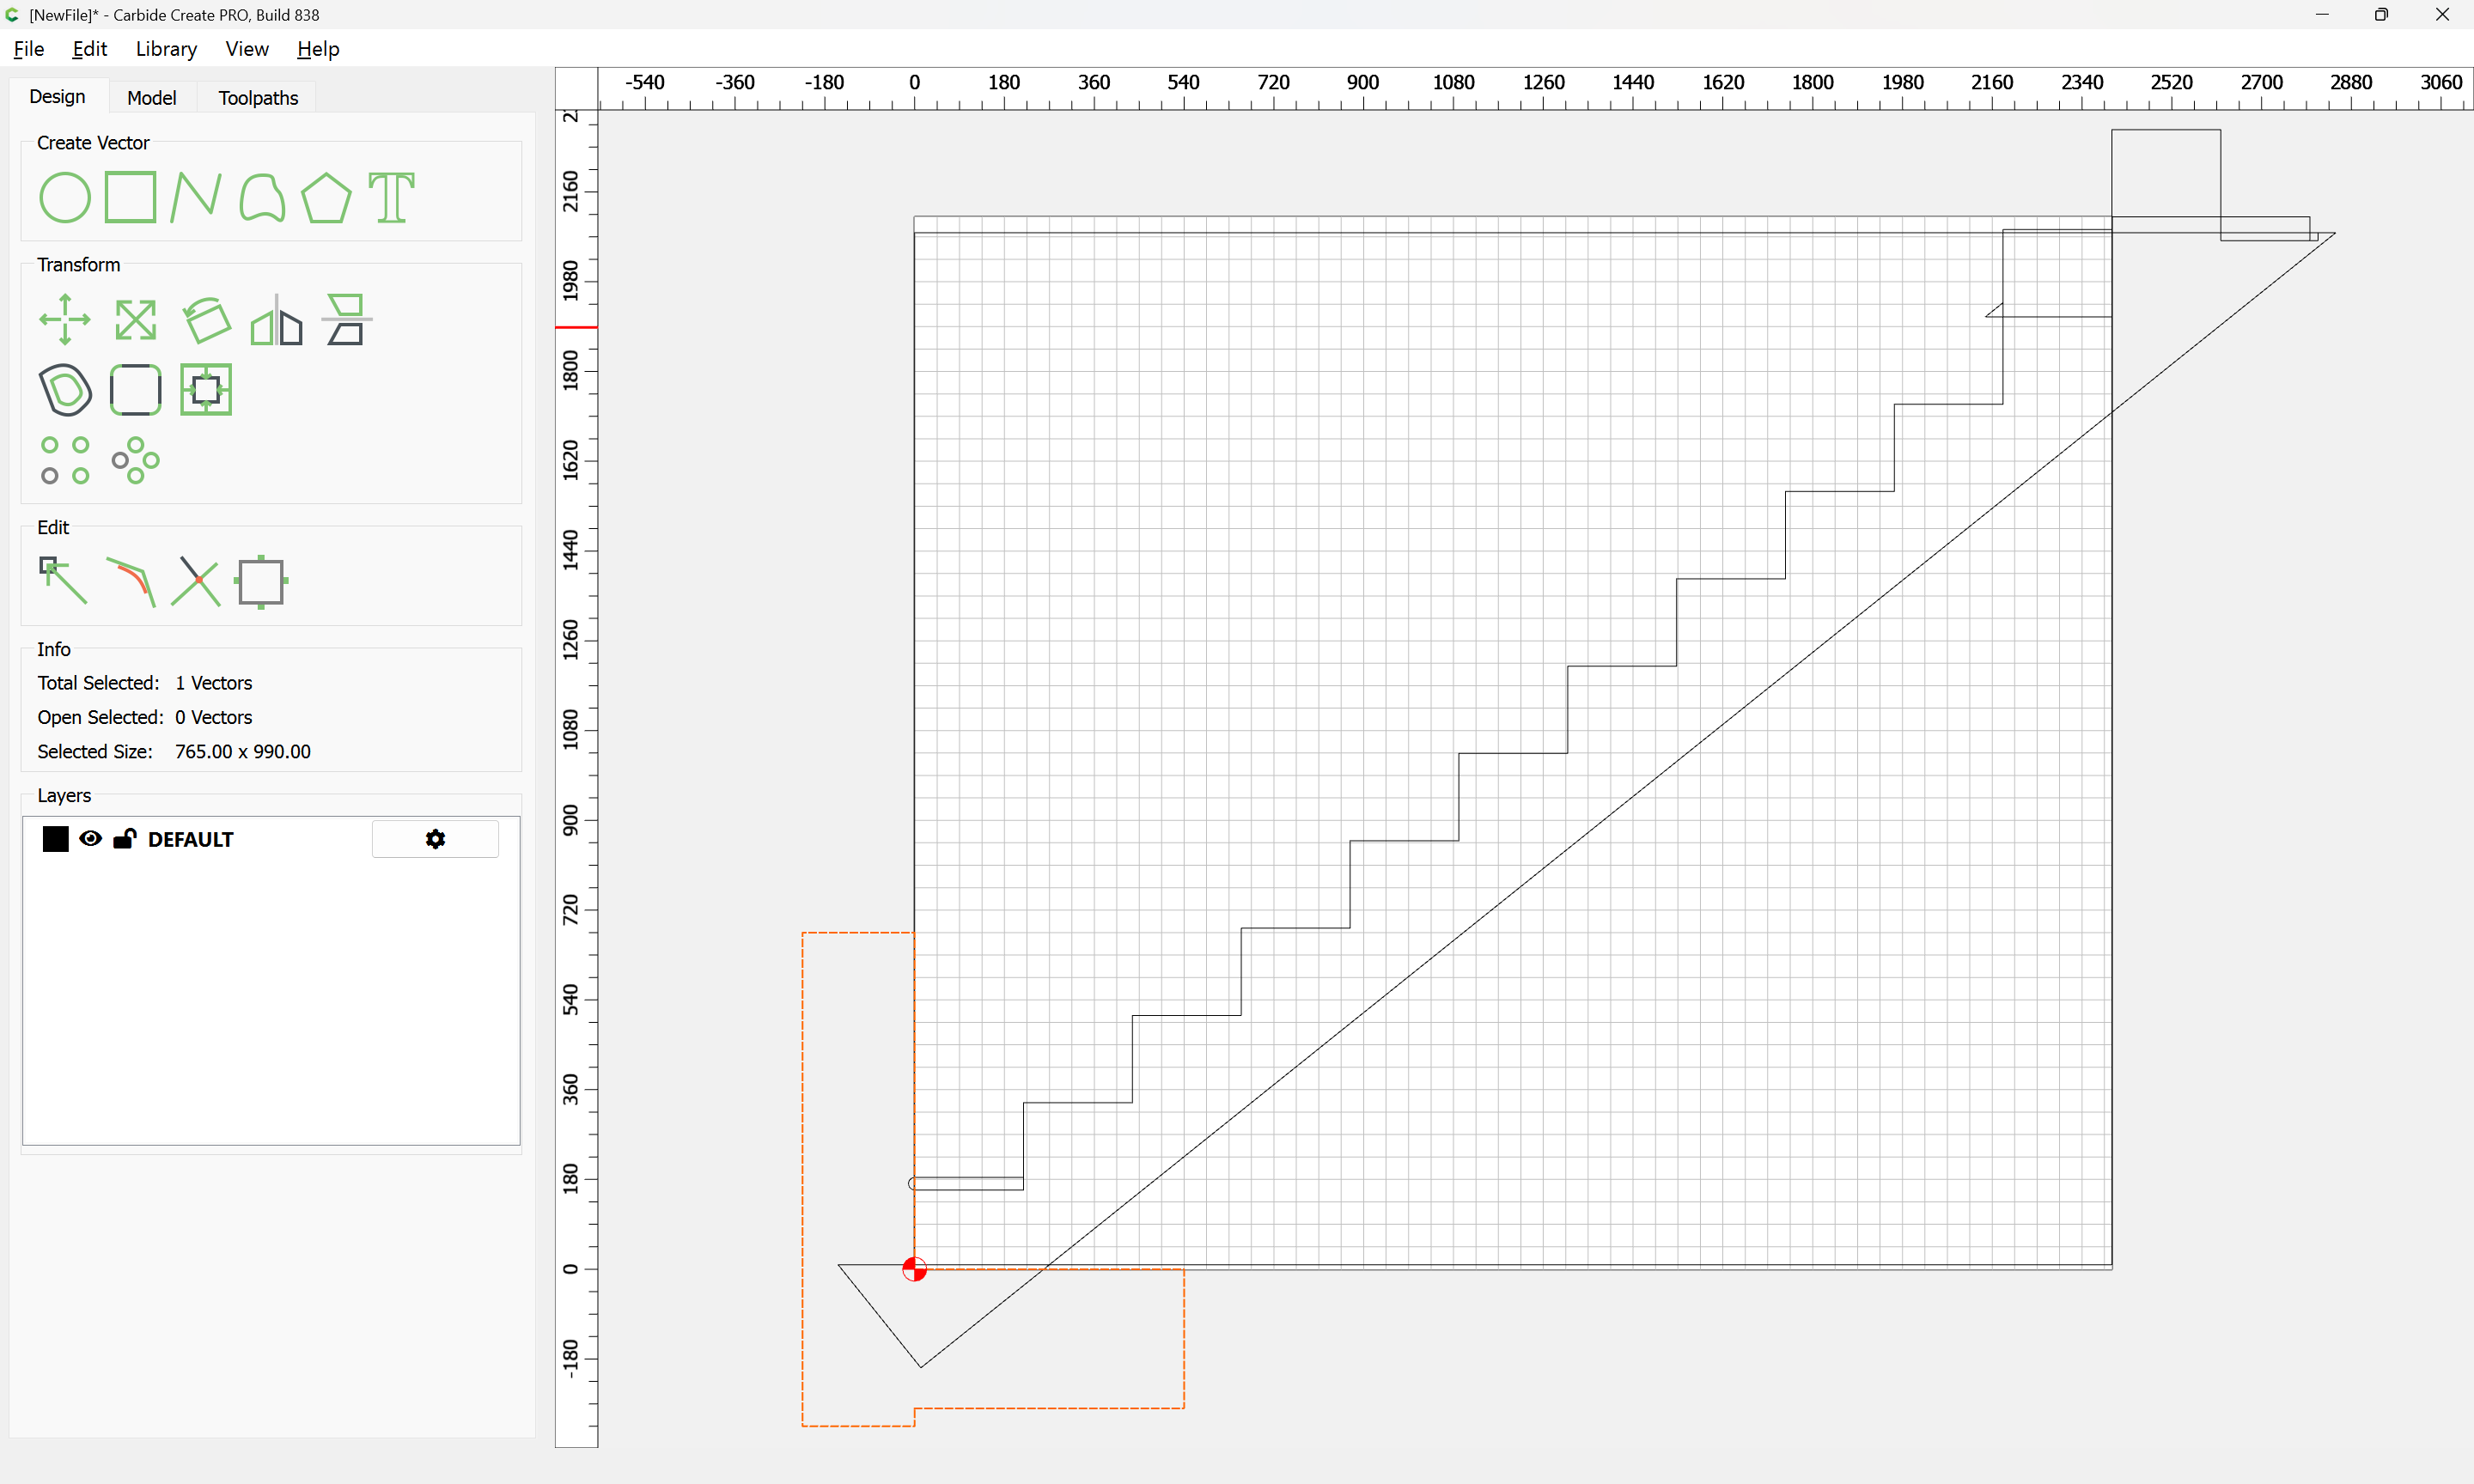
First, draw up the profile of the area where the stairwell will be installed — I will use the dimensions of the stairs down to my basement (note that this is an old house, originally built w/ an unfinished basement, and I’m pretty sure the stairs in question were replaced as part of a modification to add a linen closet):
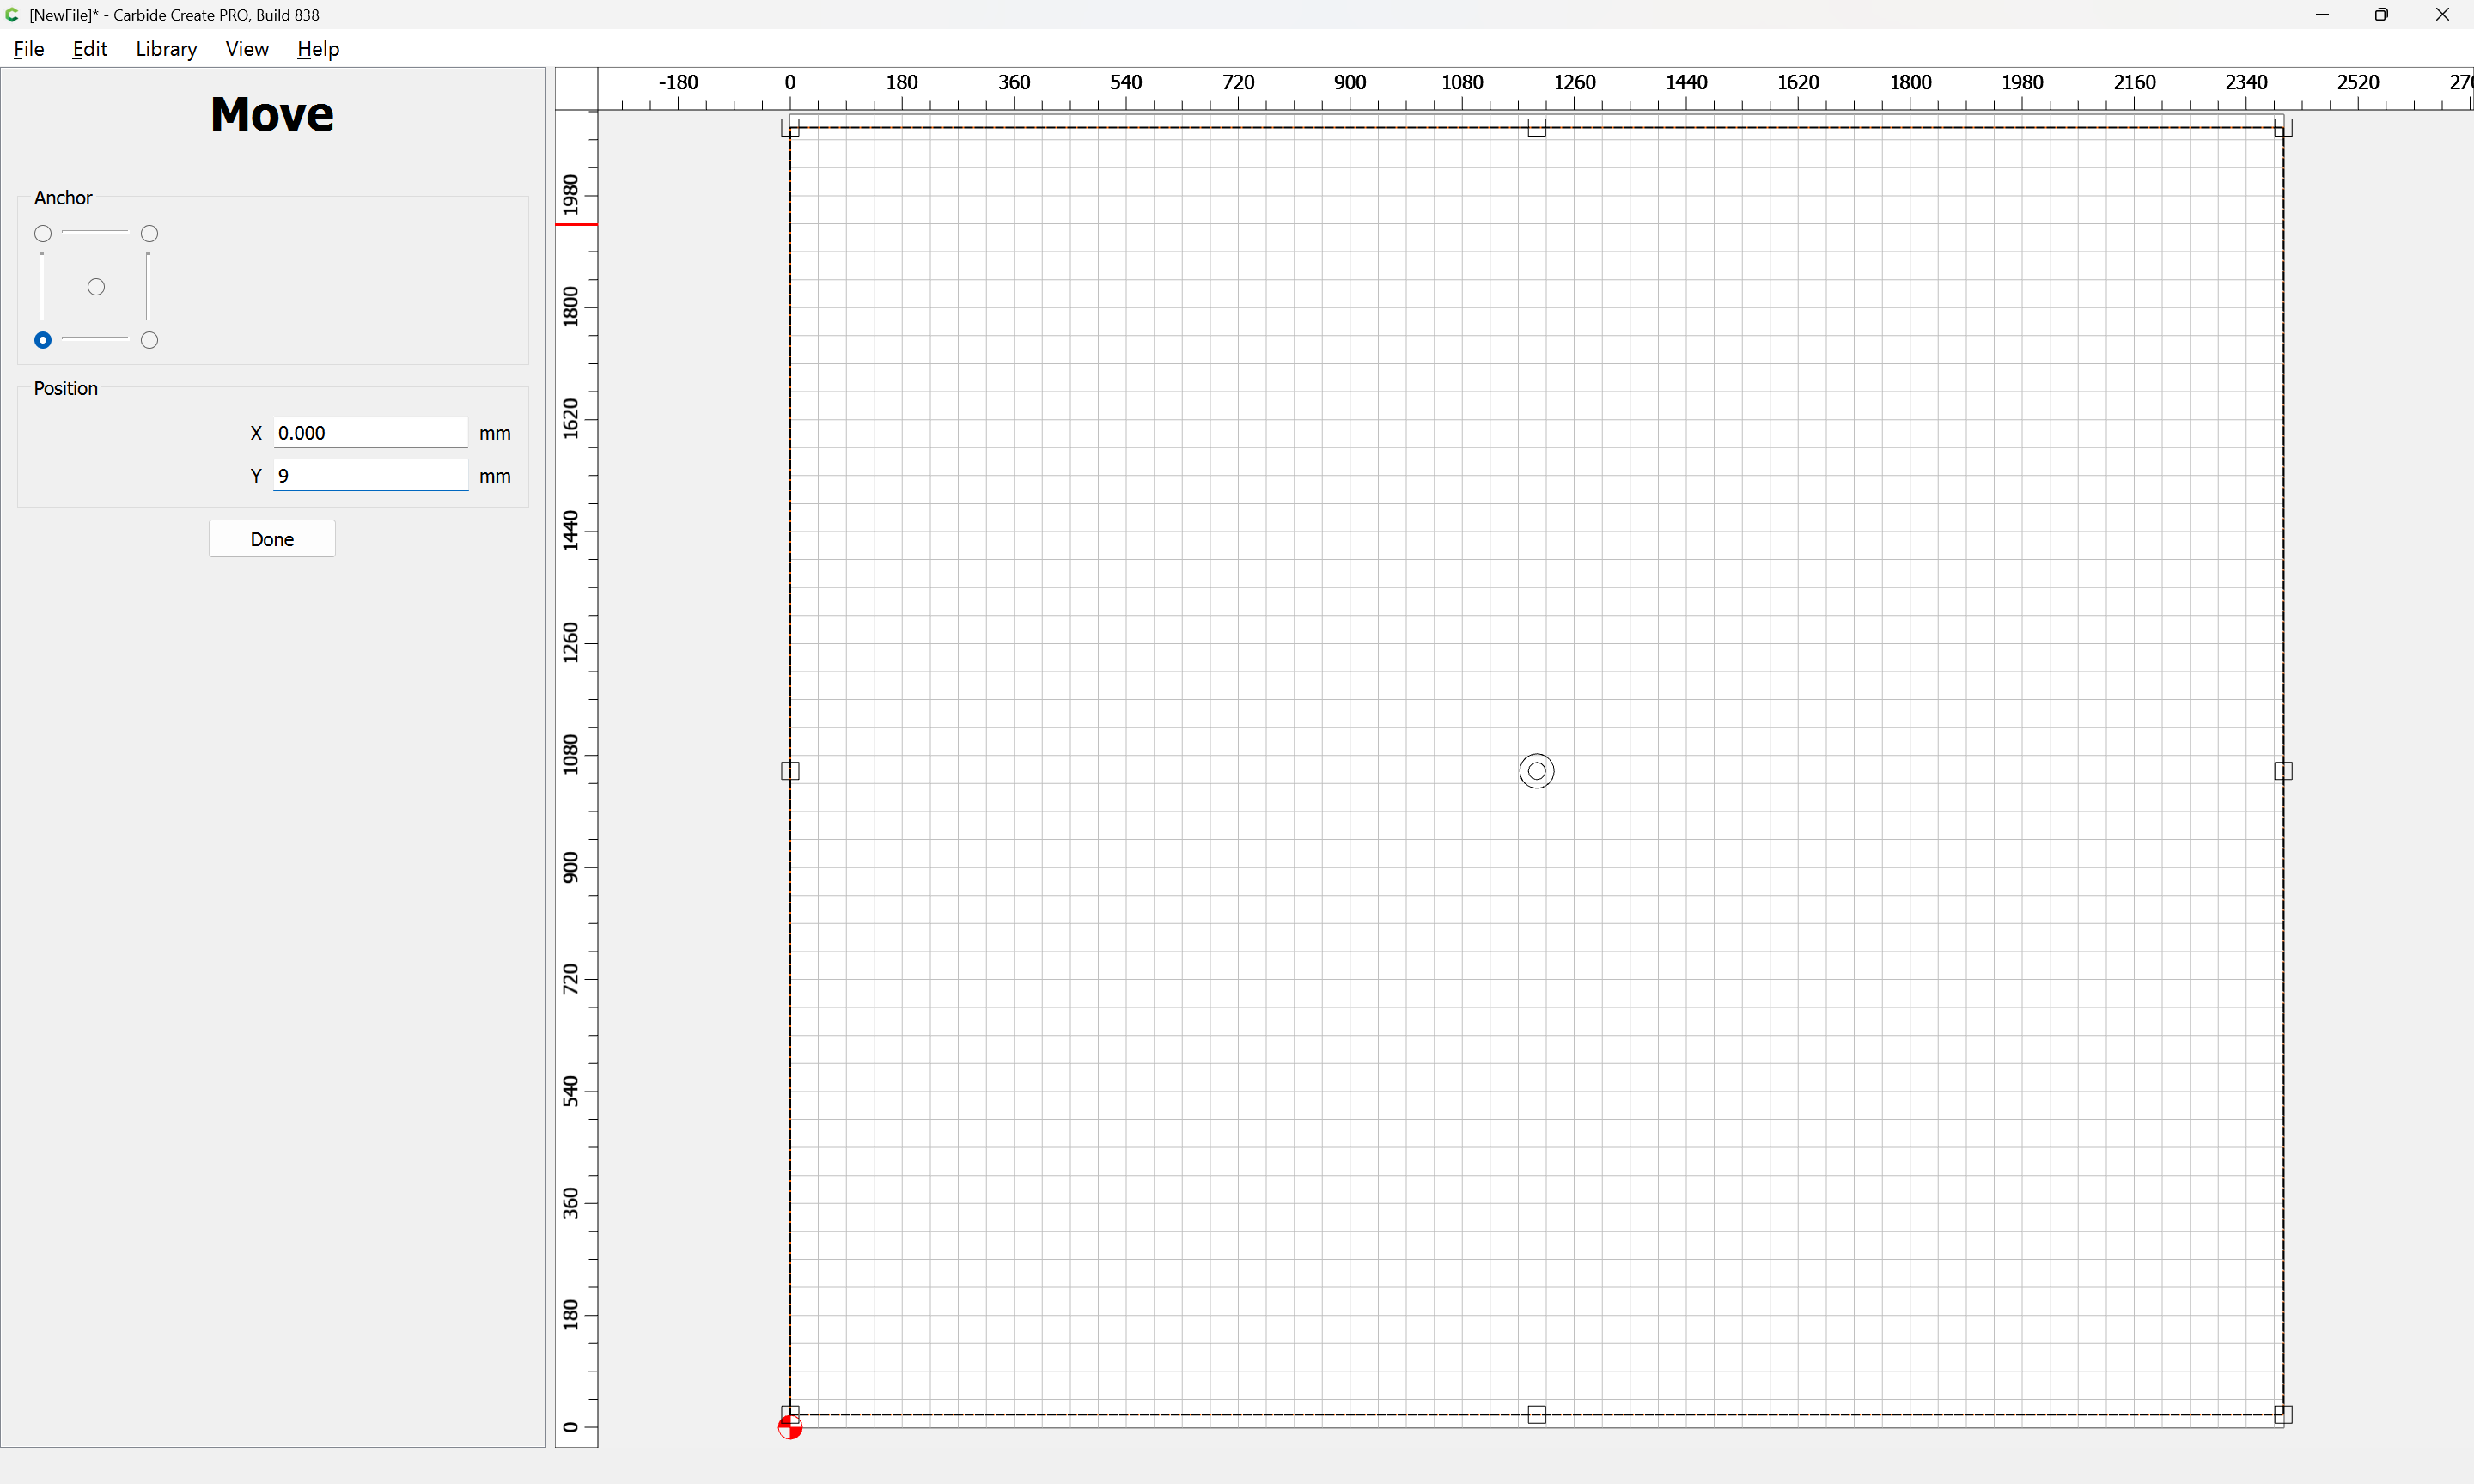
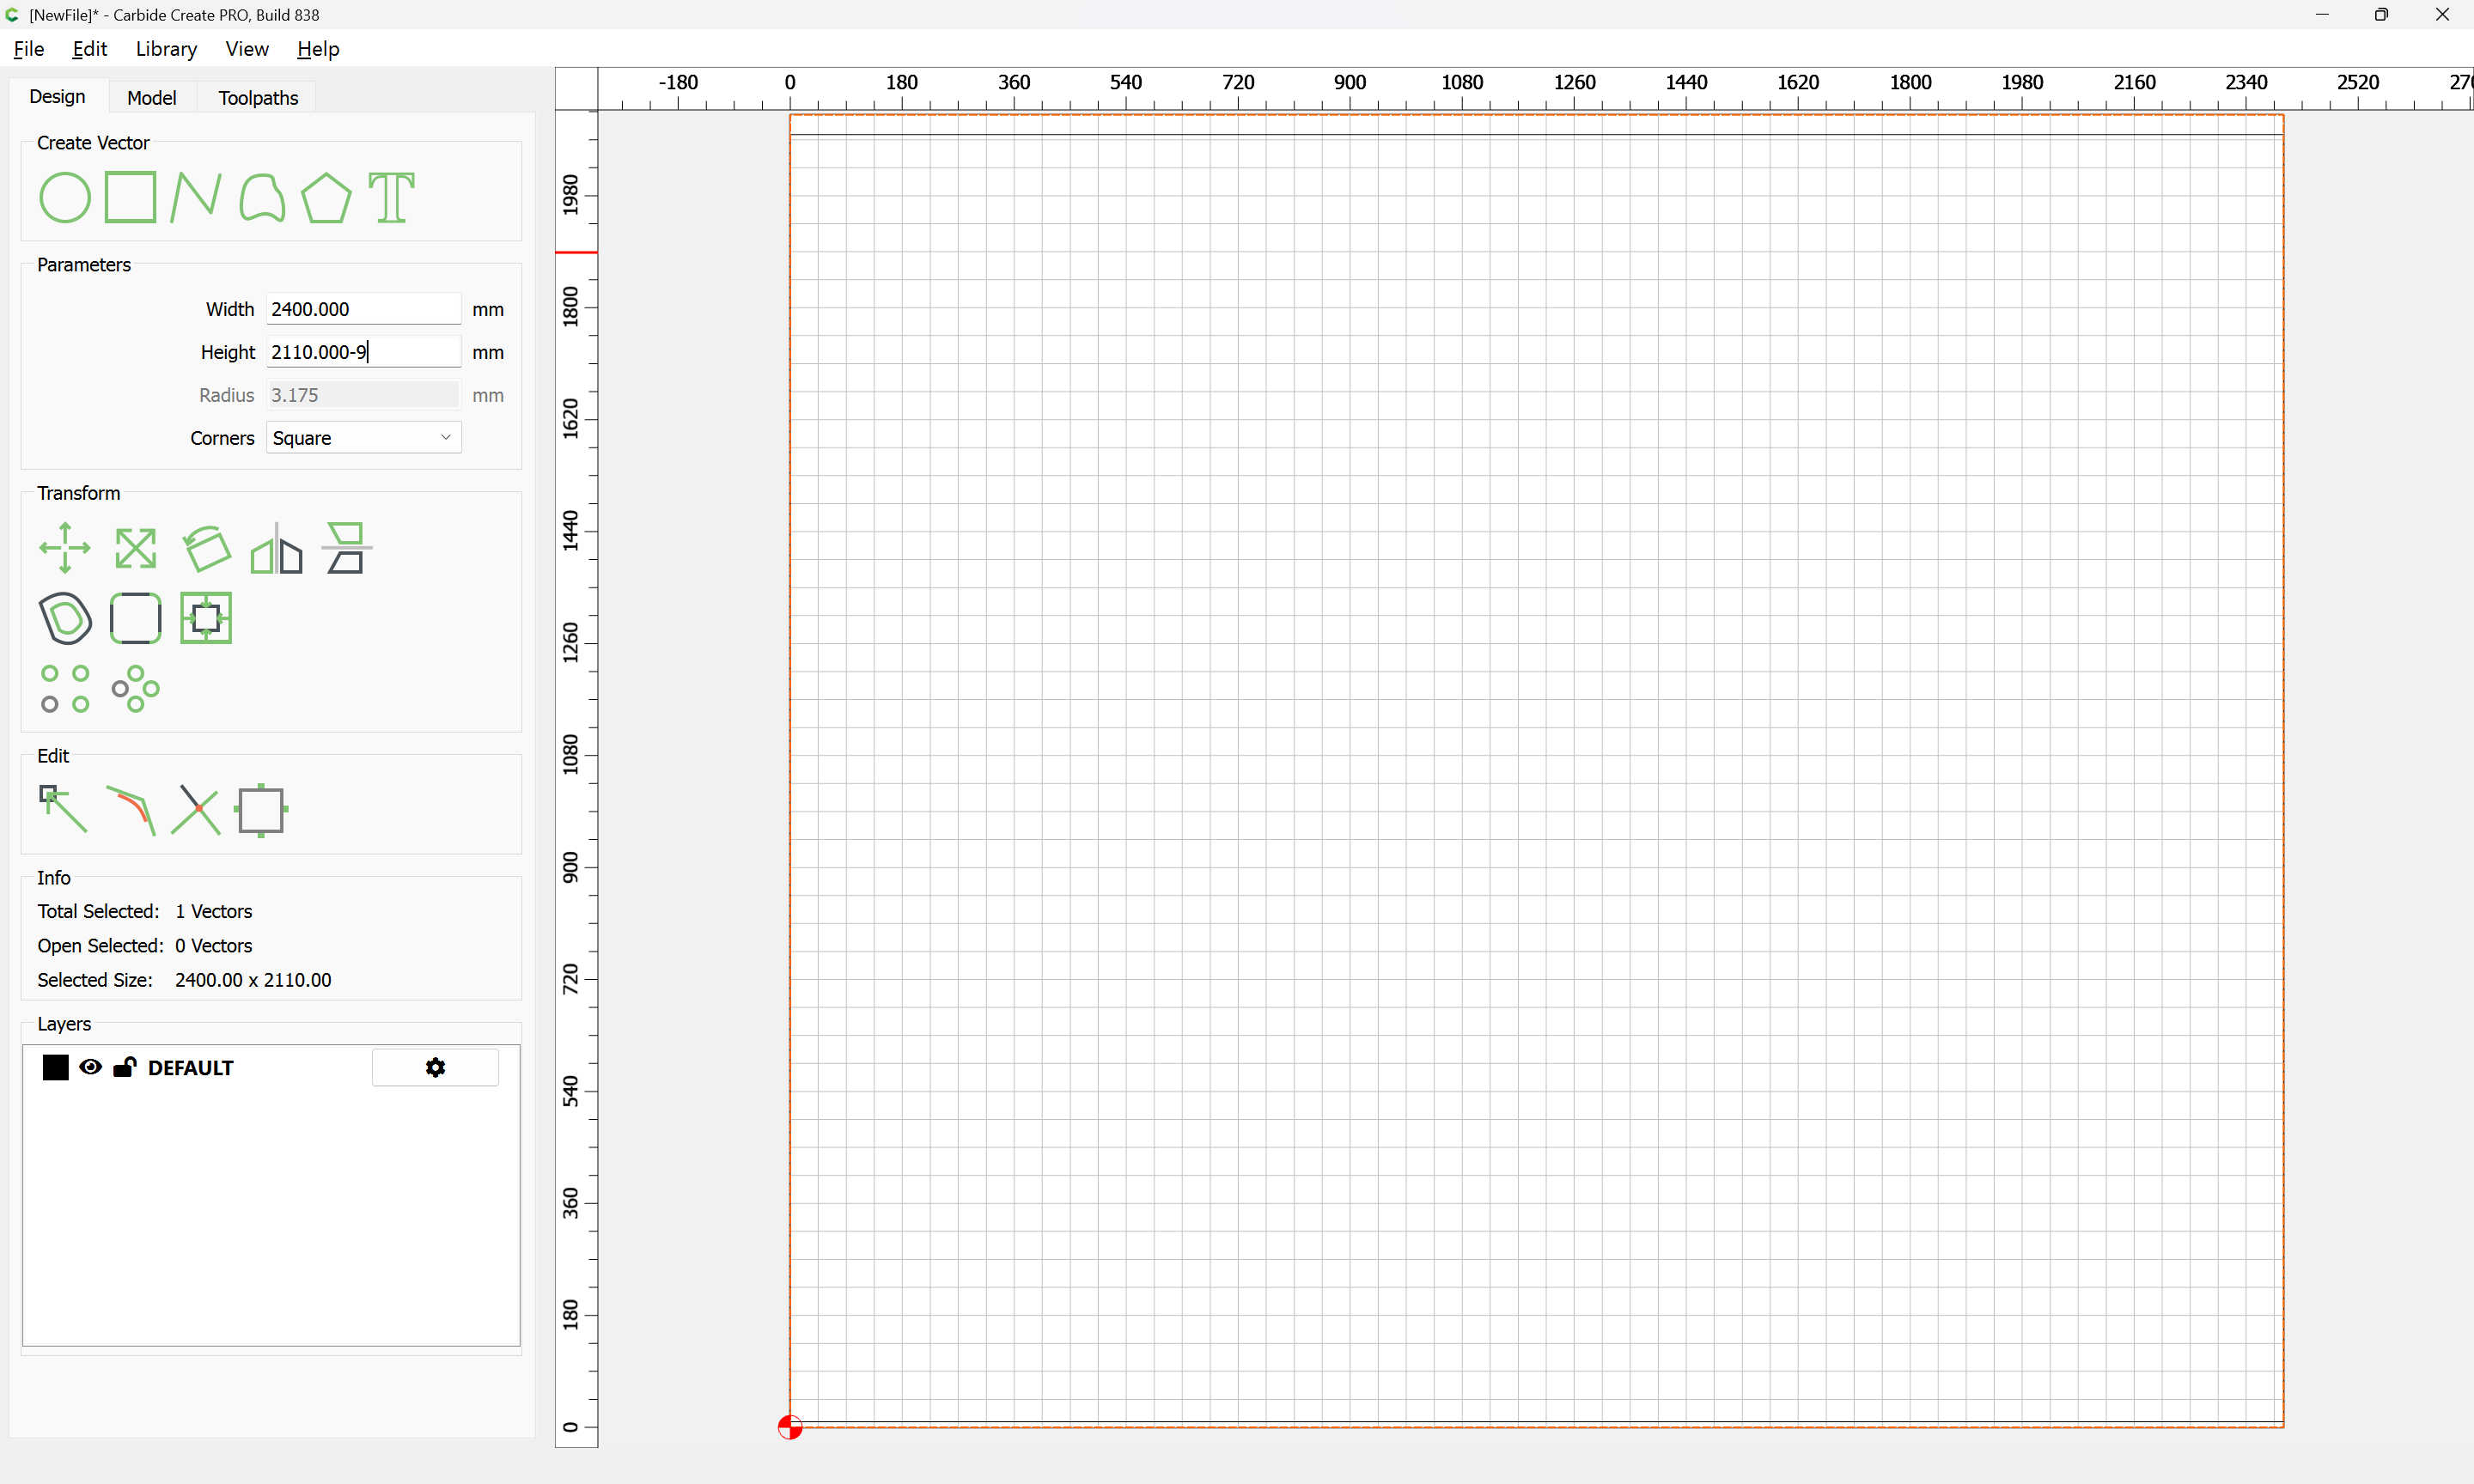
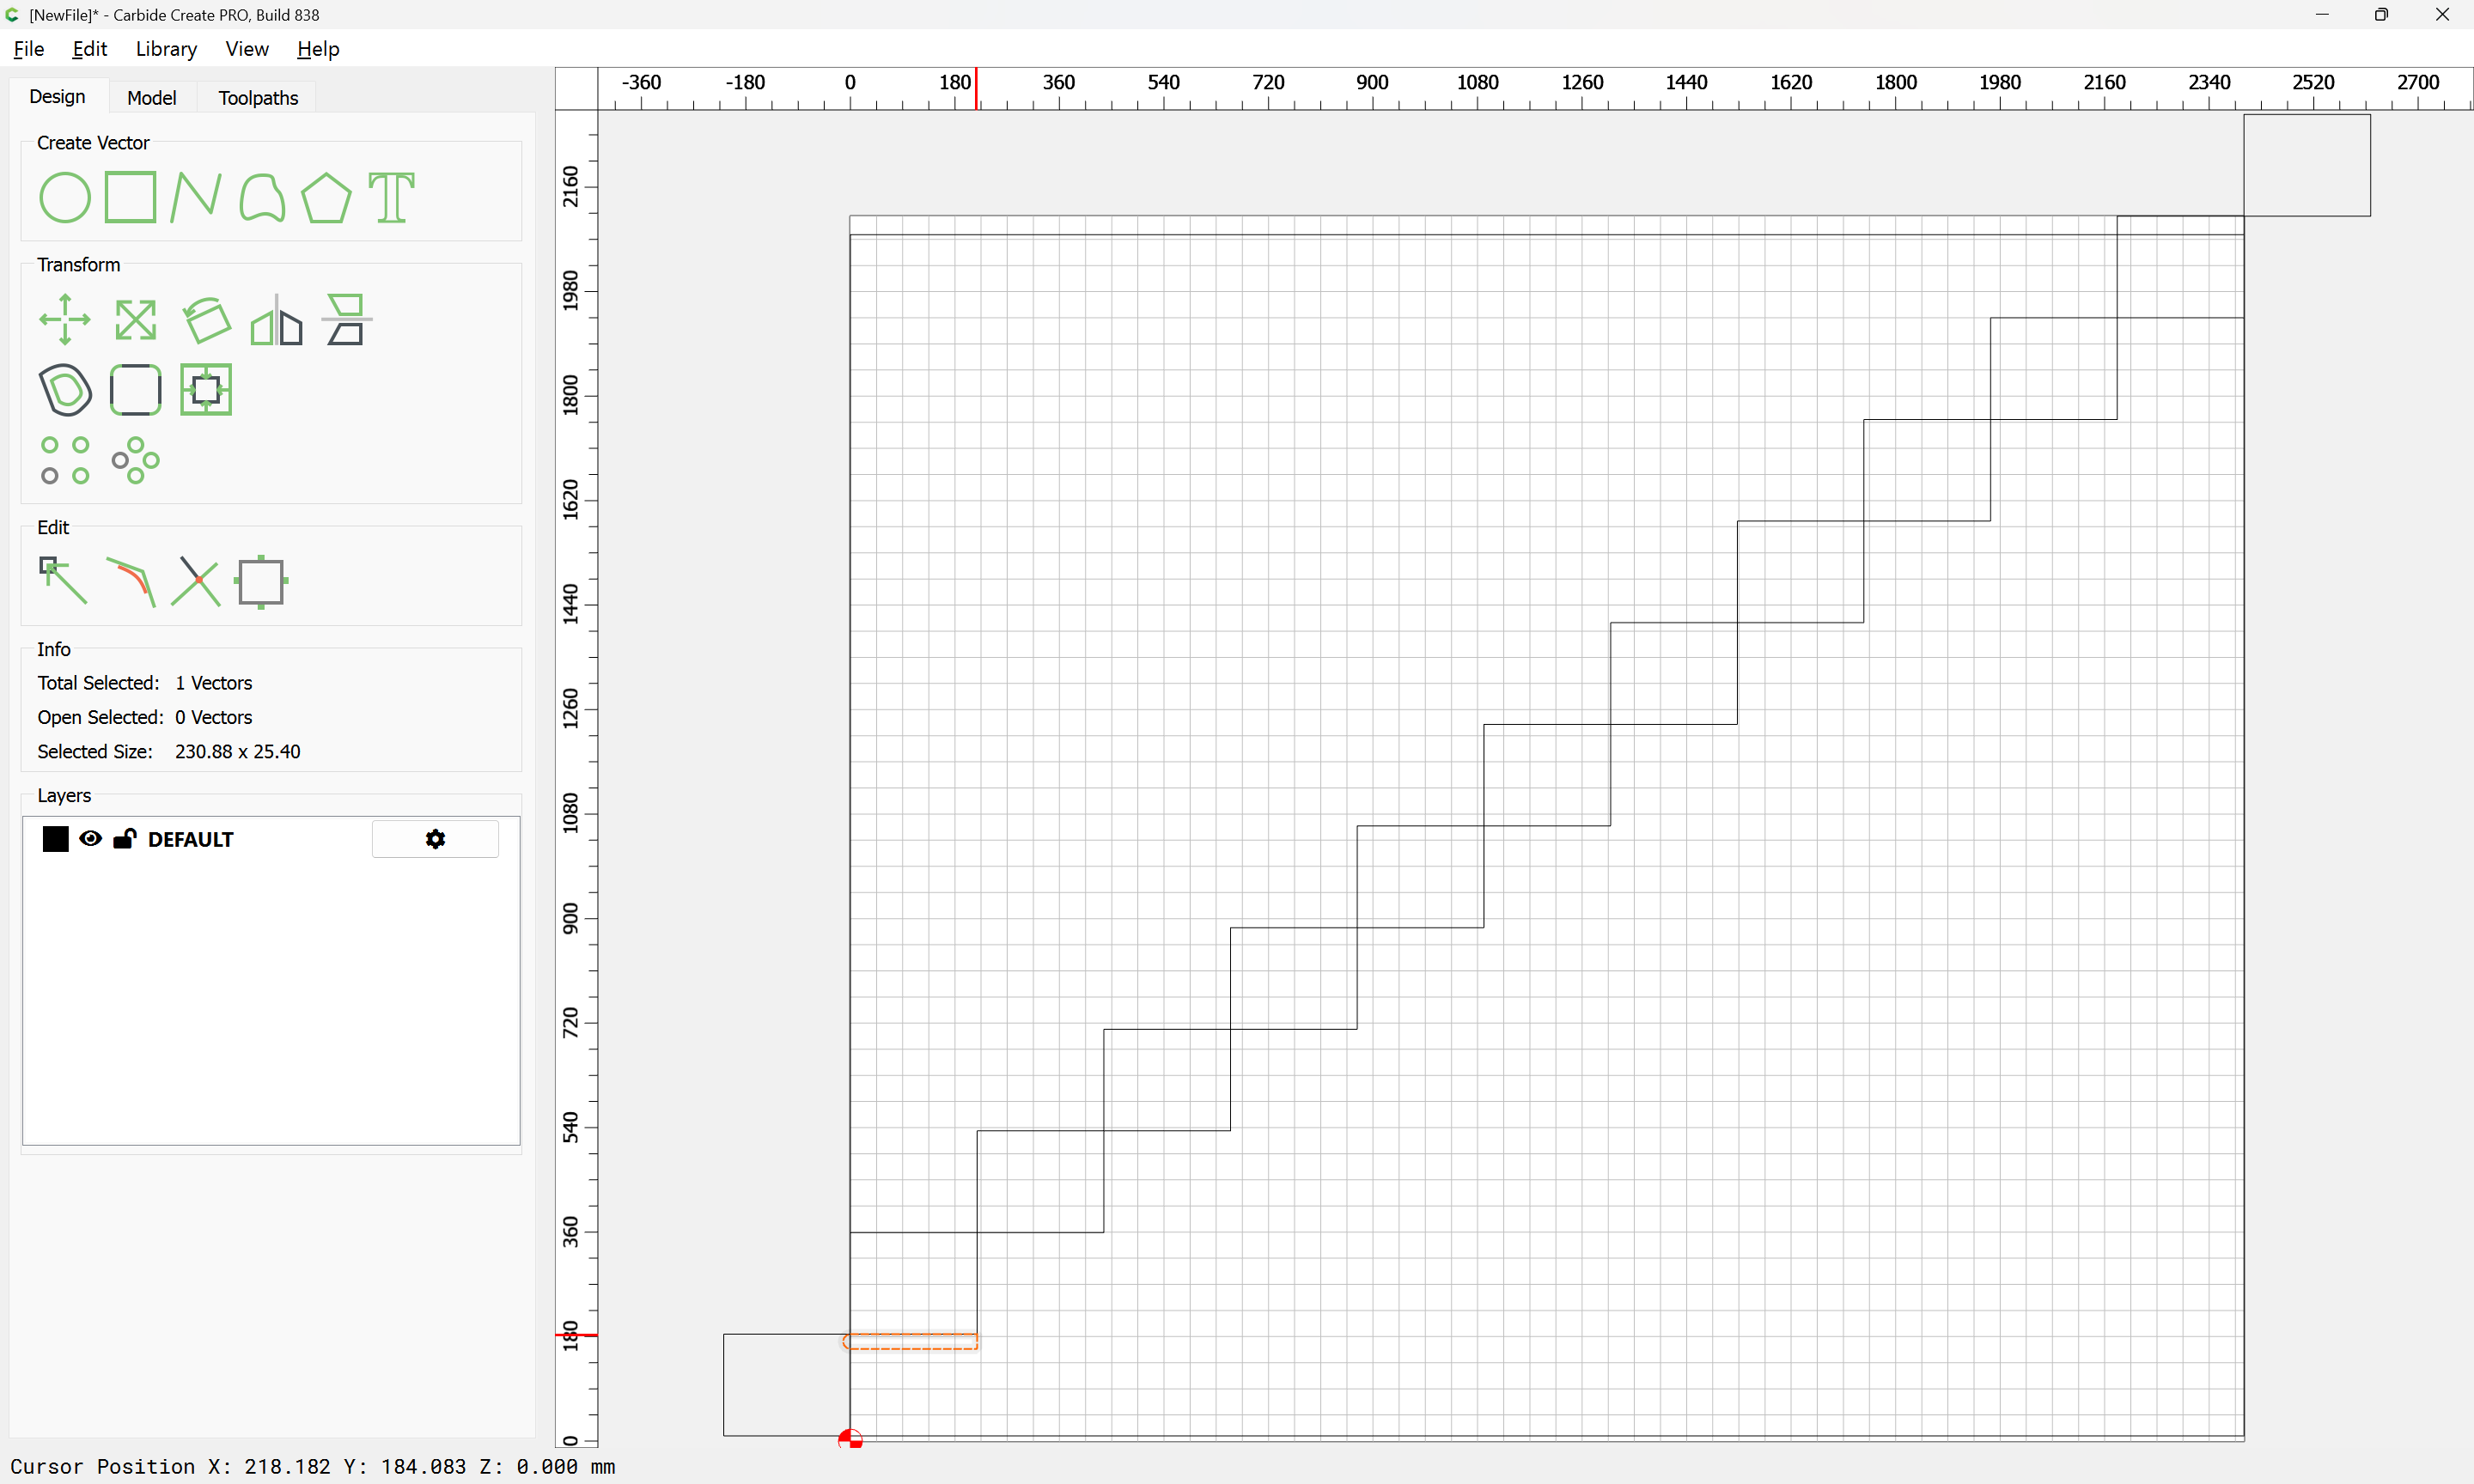
finish floor thickness at bottom of run: ~9mm (vapour barrier, pad, and carpet)
finish floor thickness at top of run: ~19mm (white oak)
sub floor thickness at top of run: 1/2" plywood, so 12.7mm
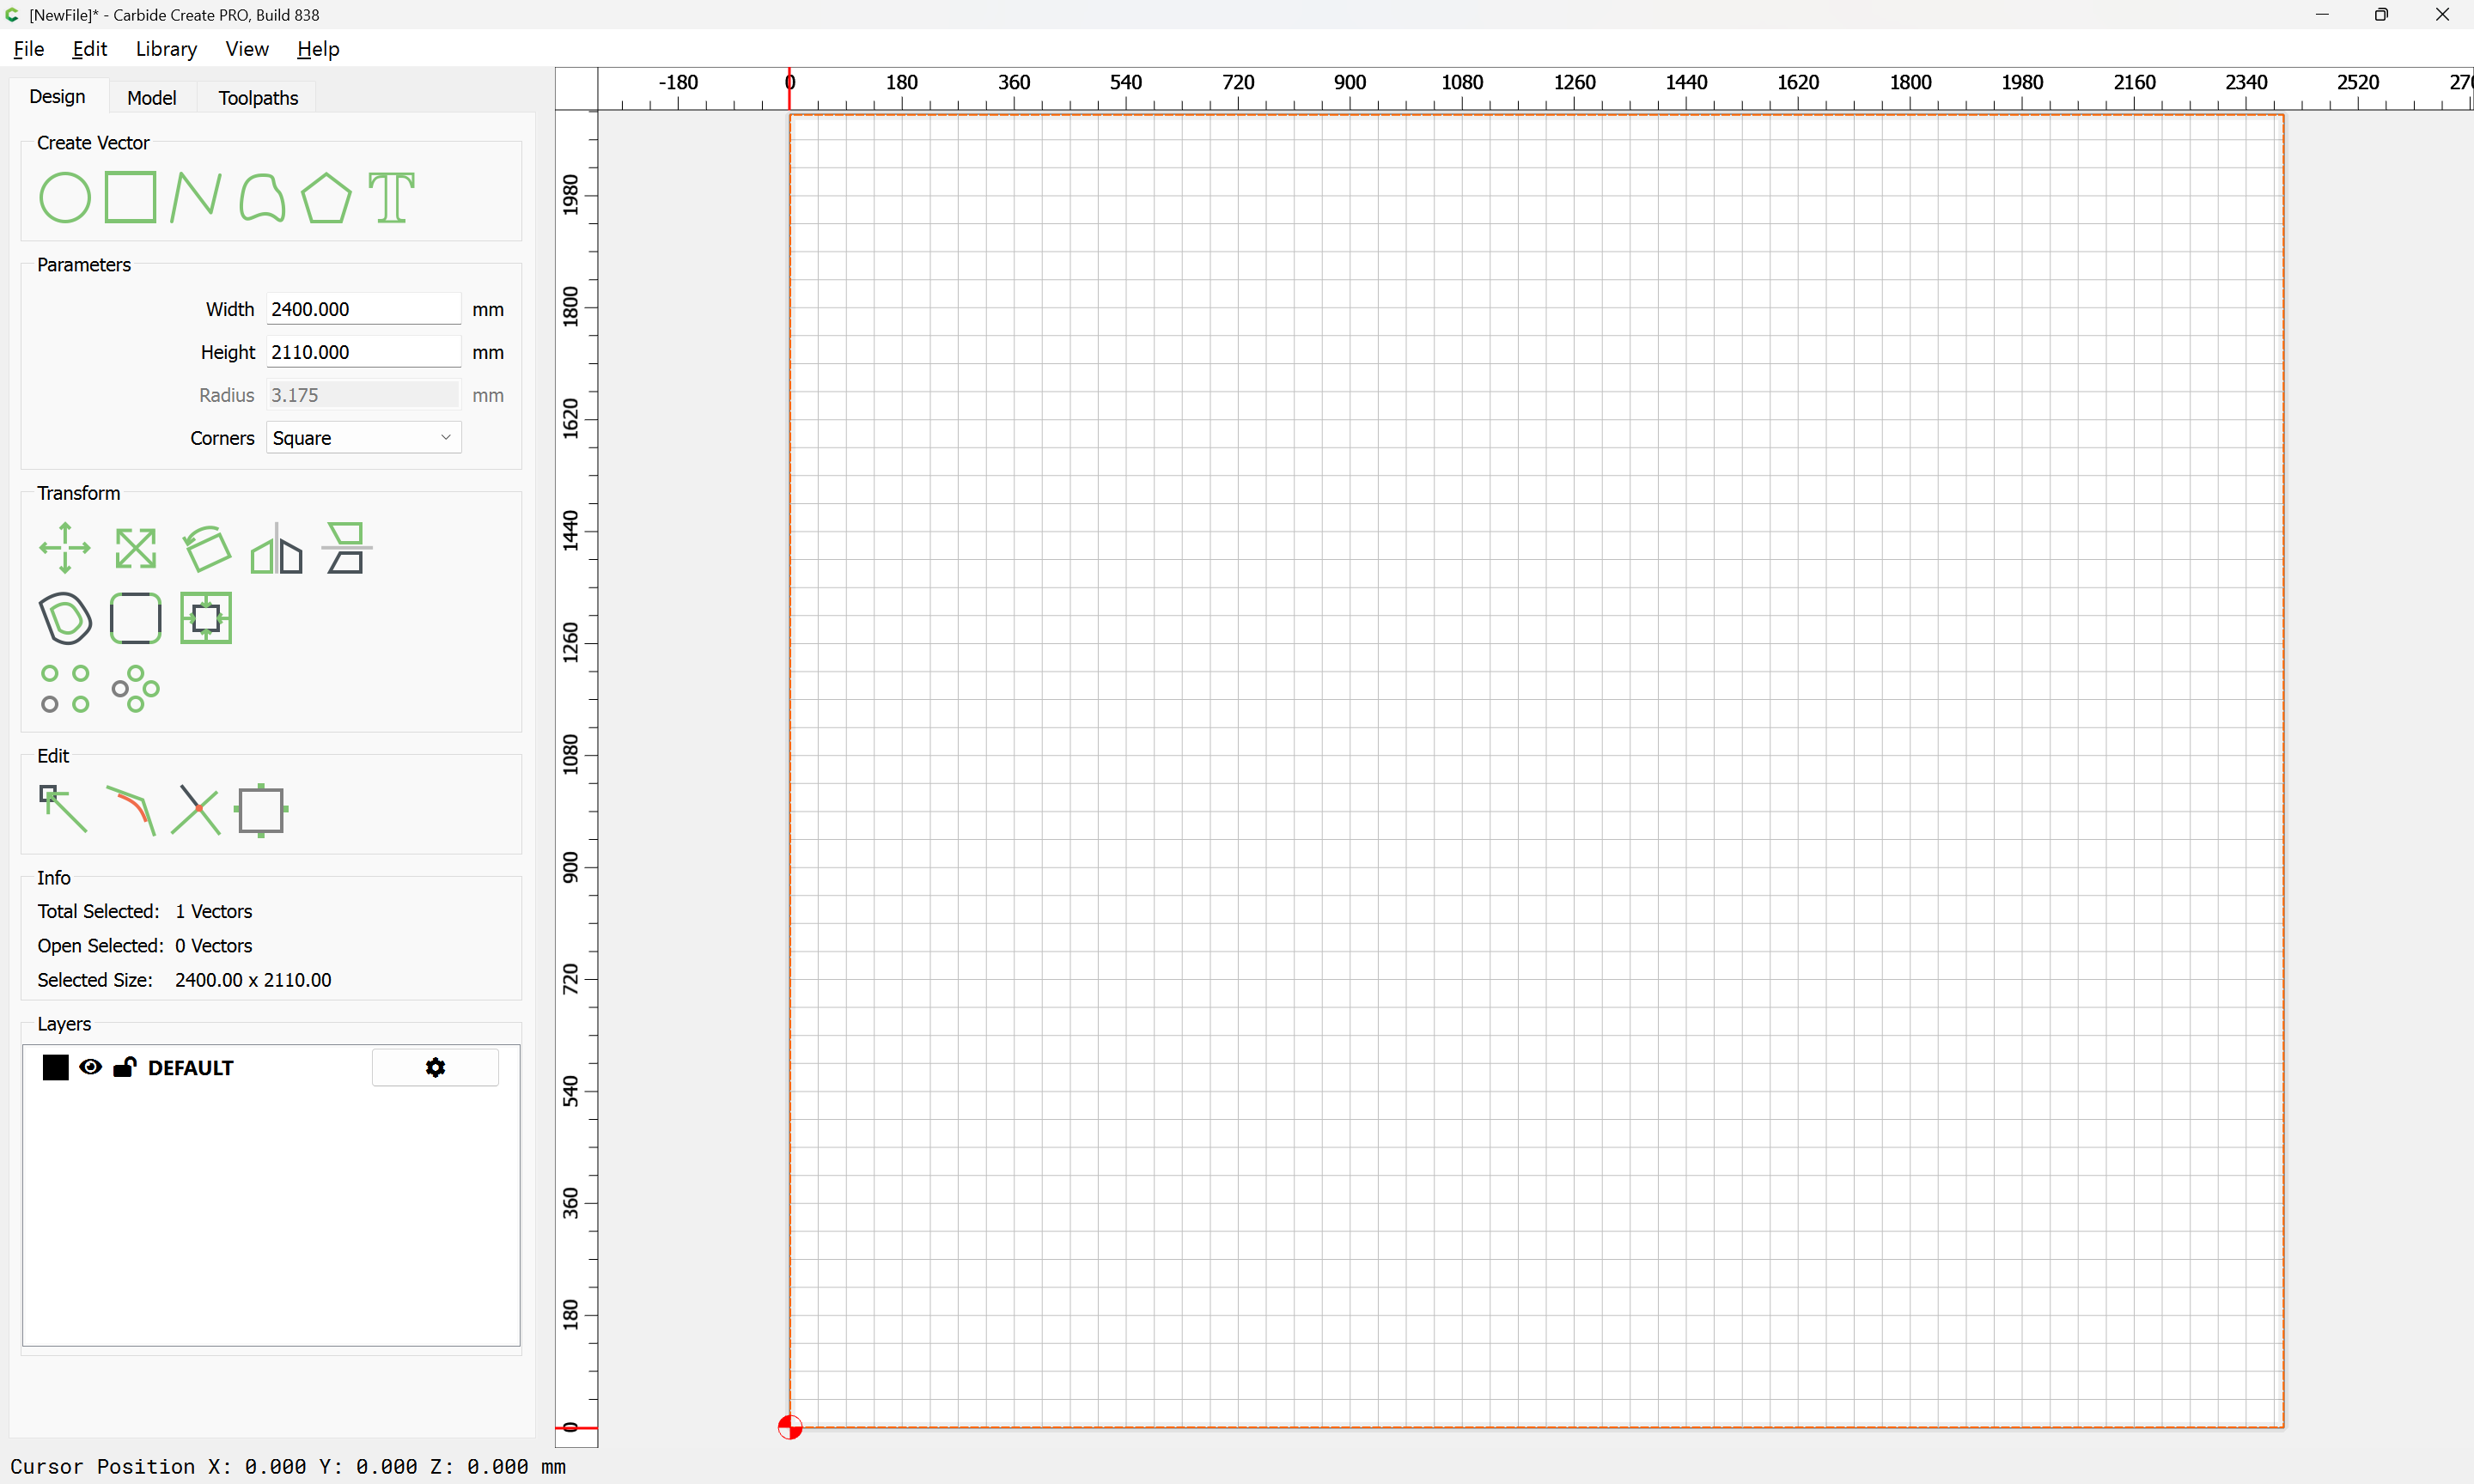
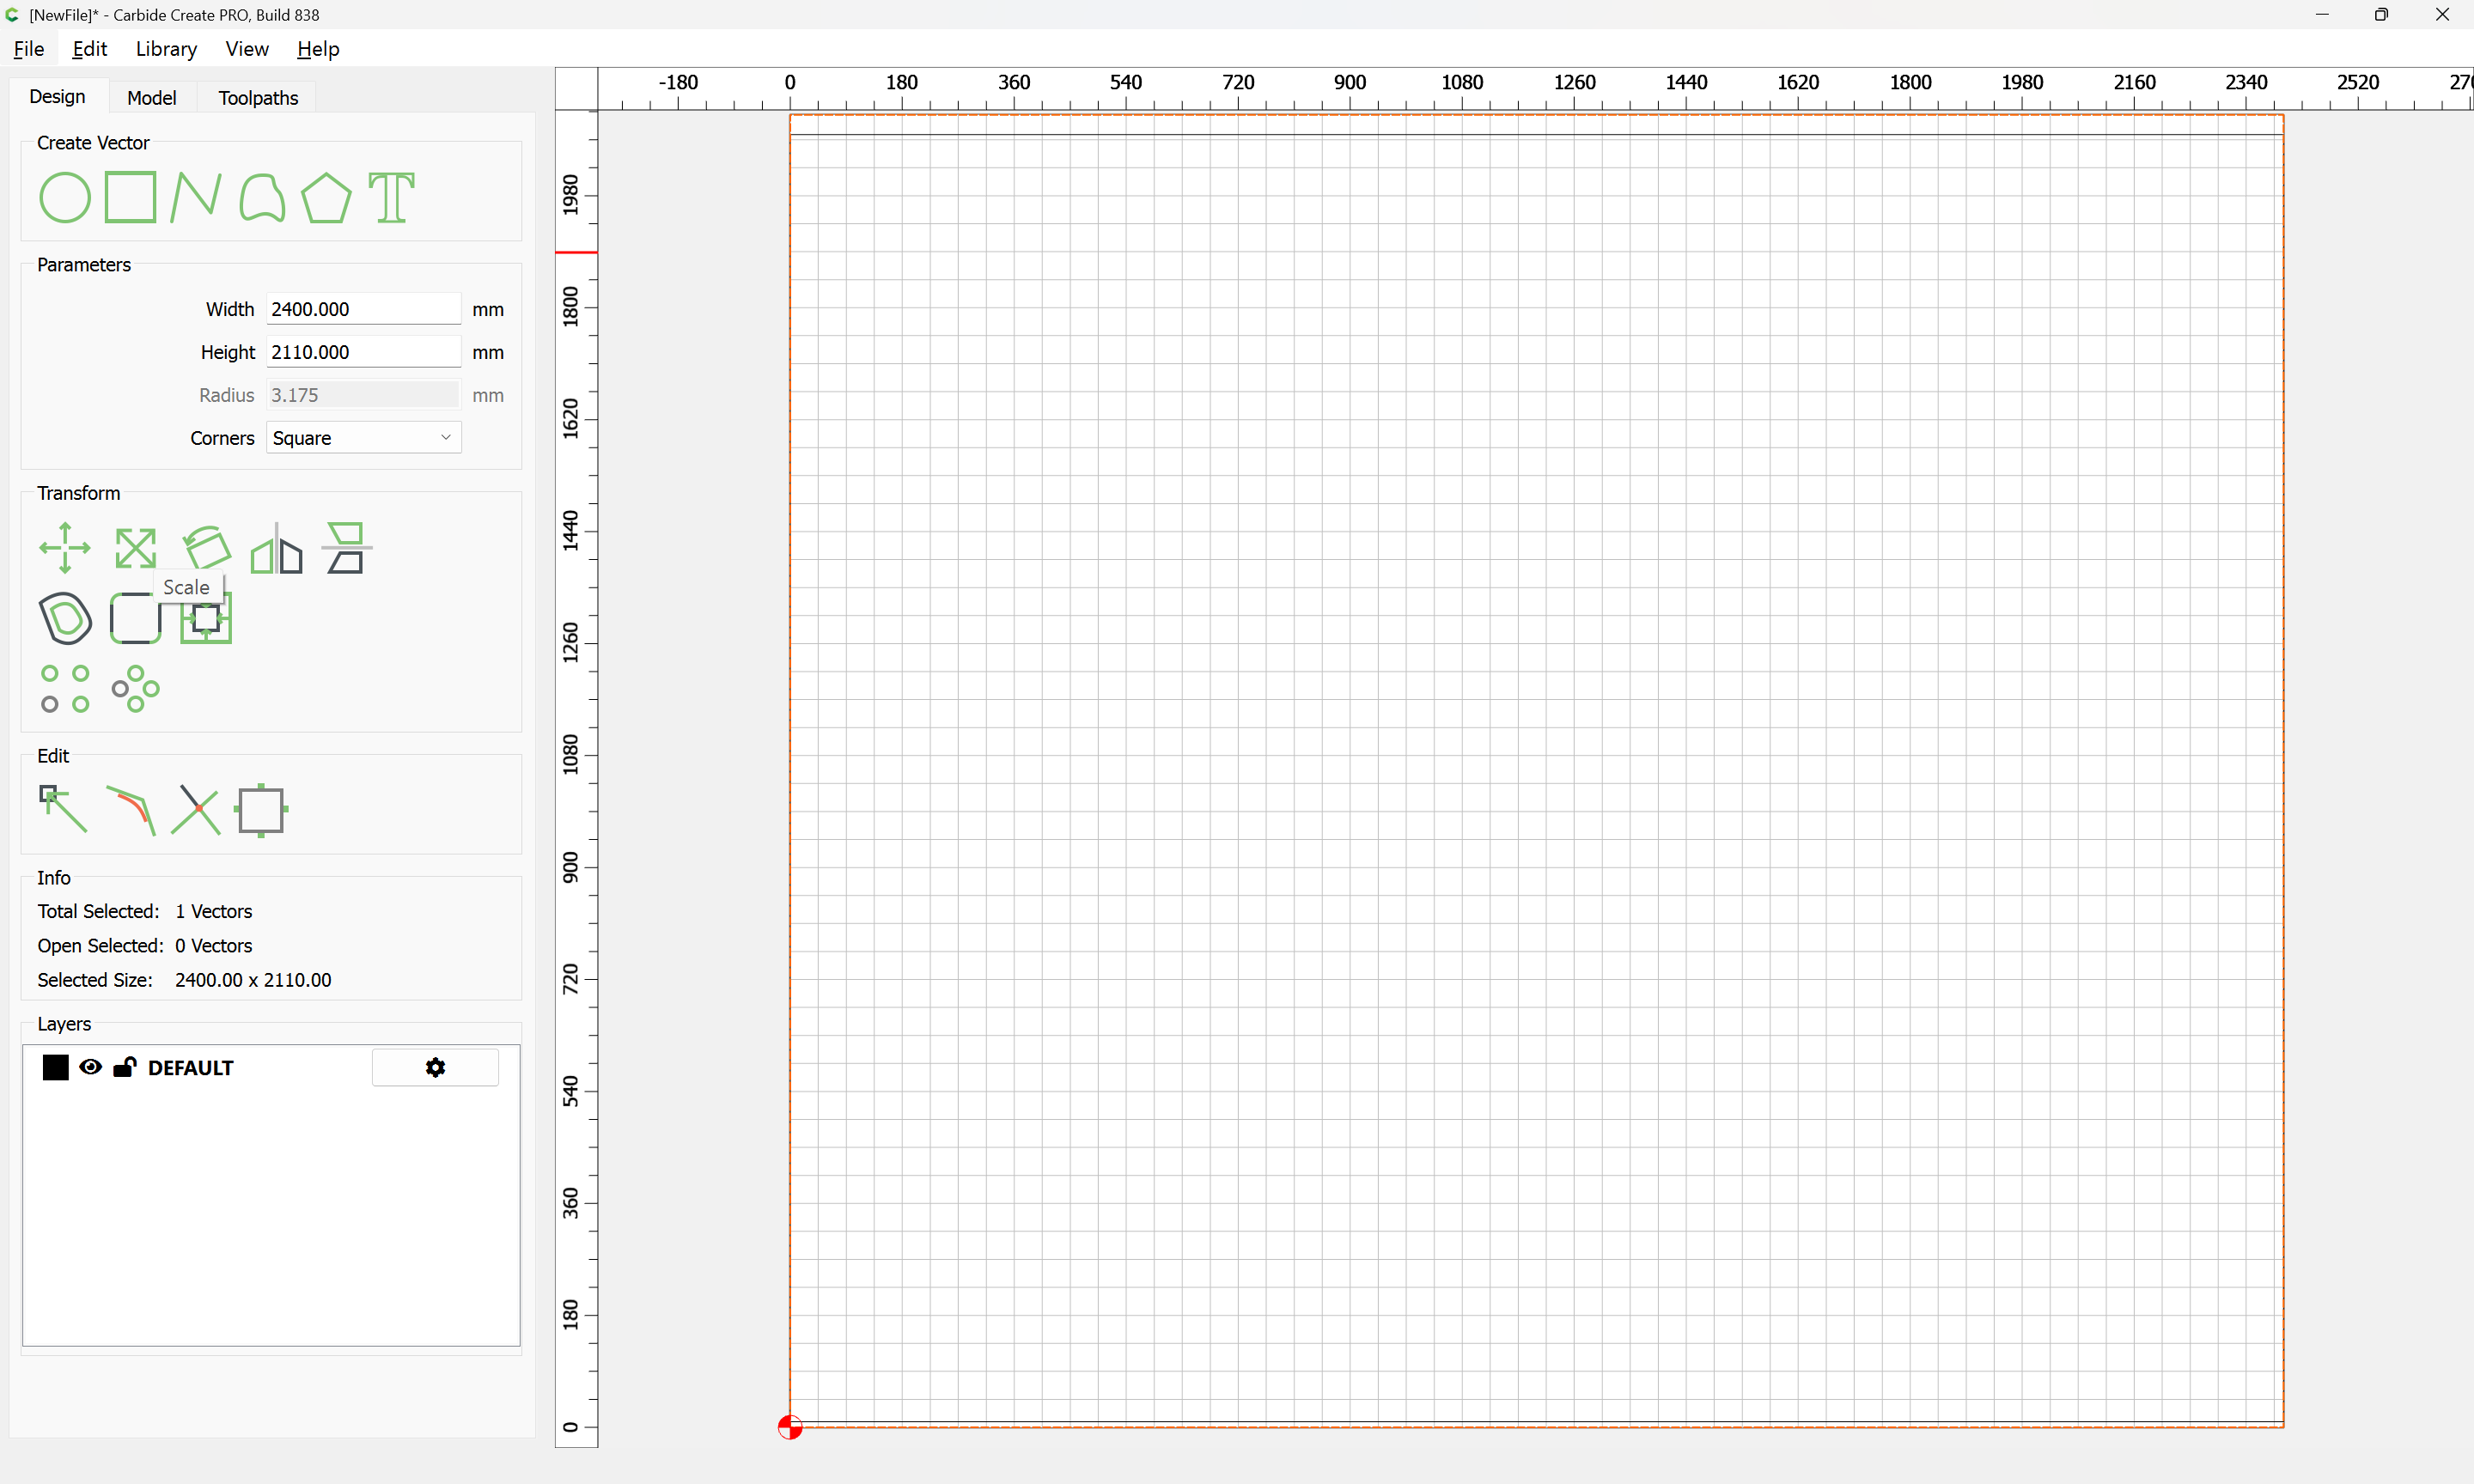
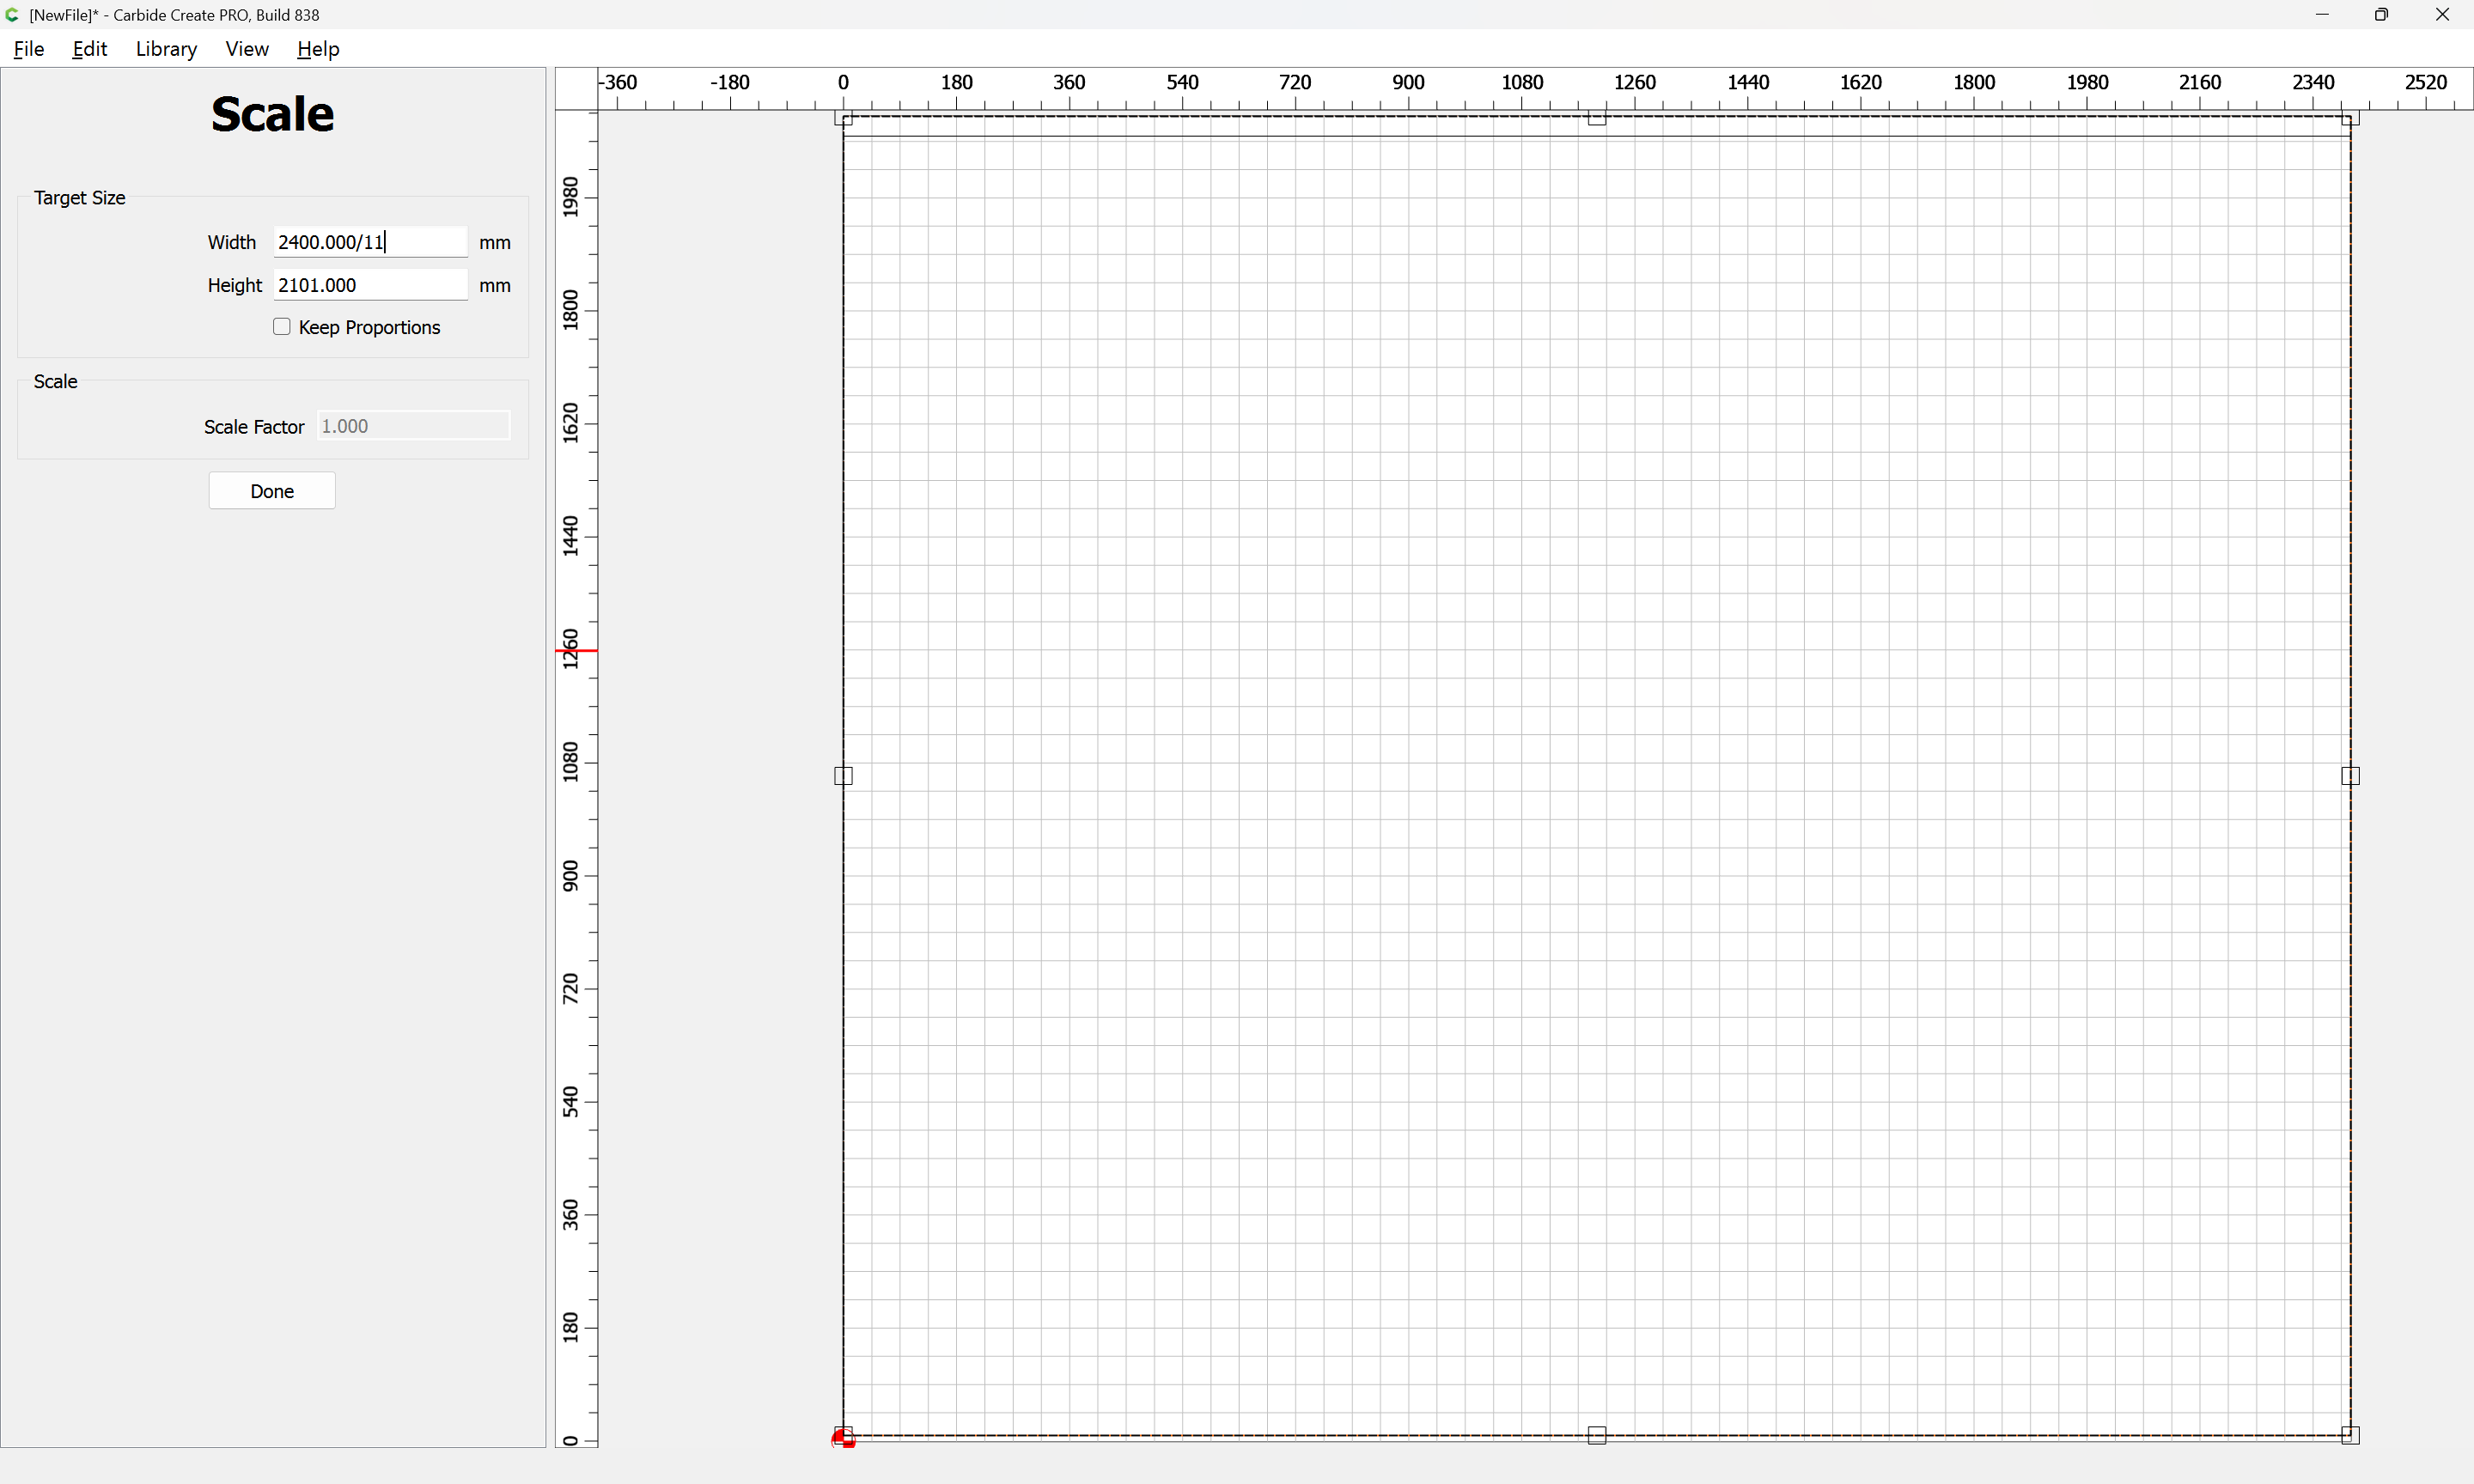
total rise: ~2110mm
total run: ~2400mm
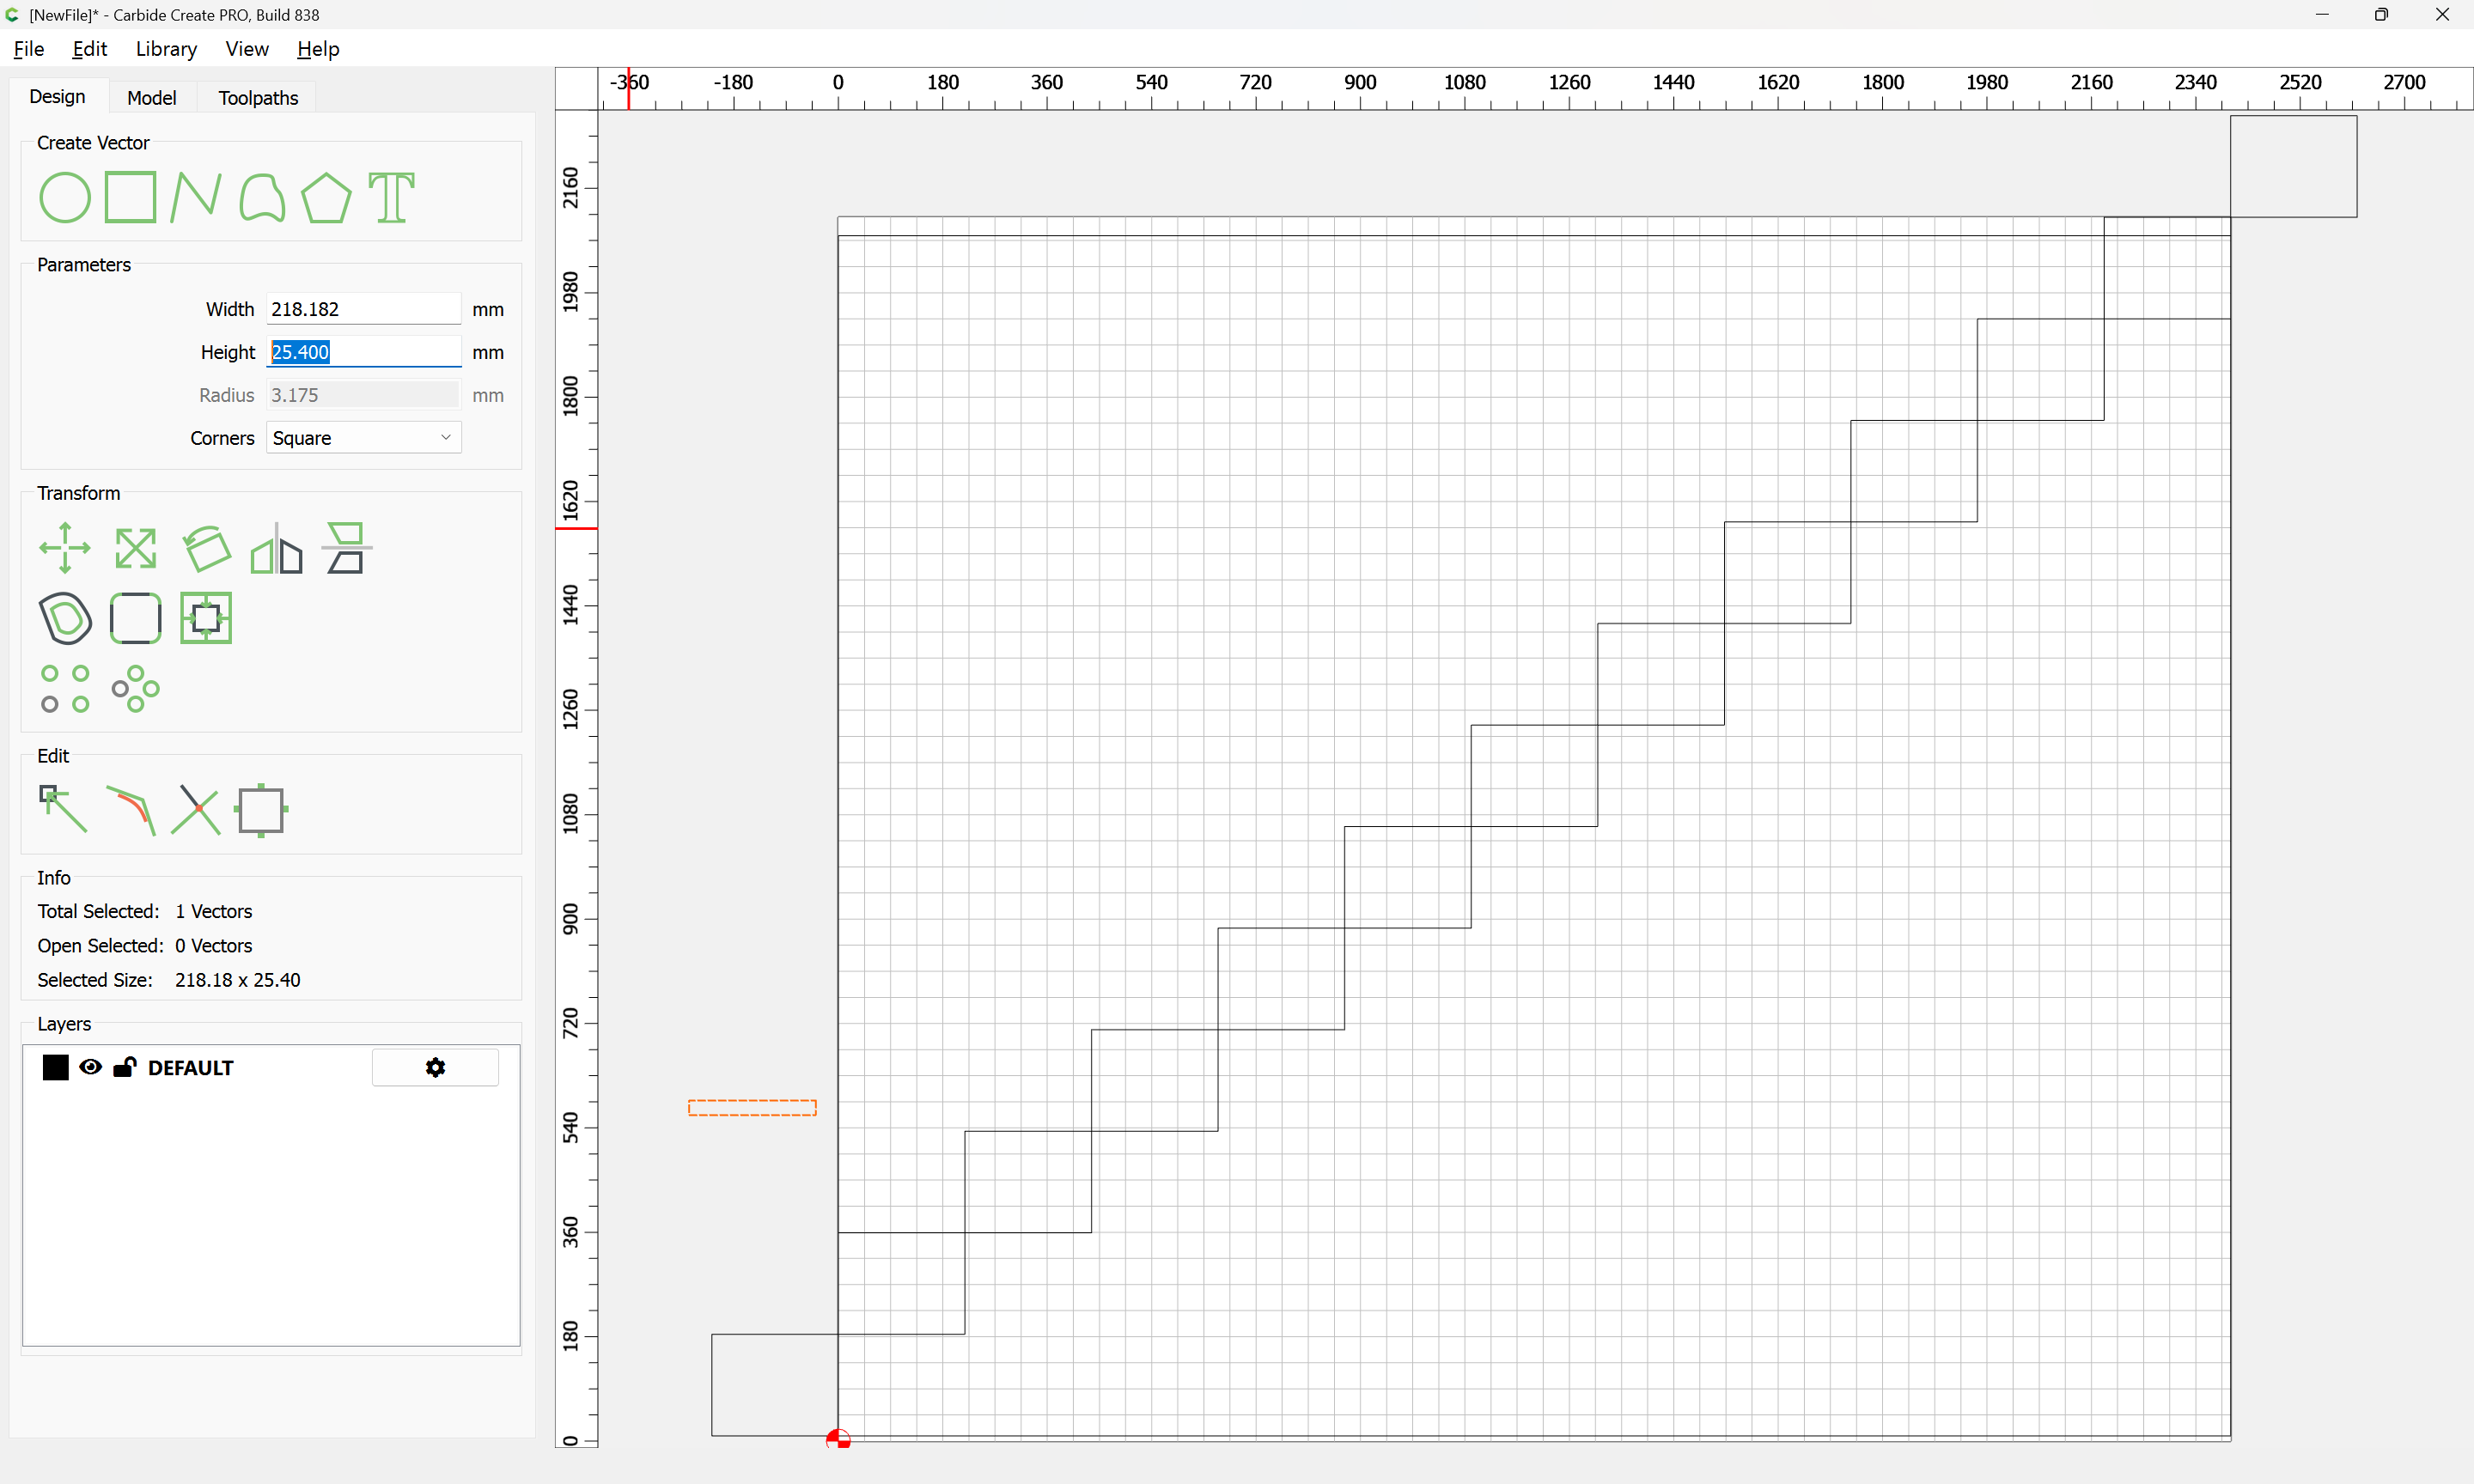
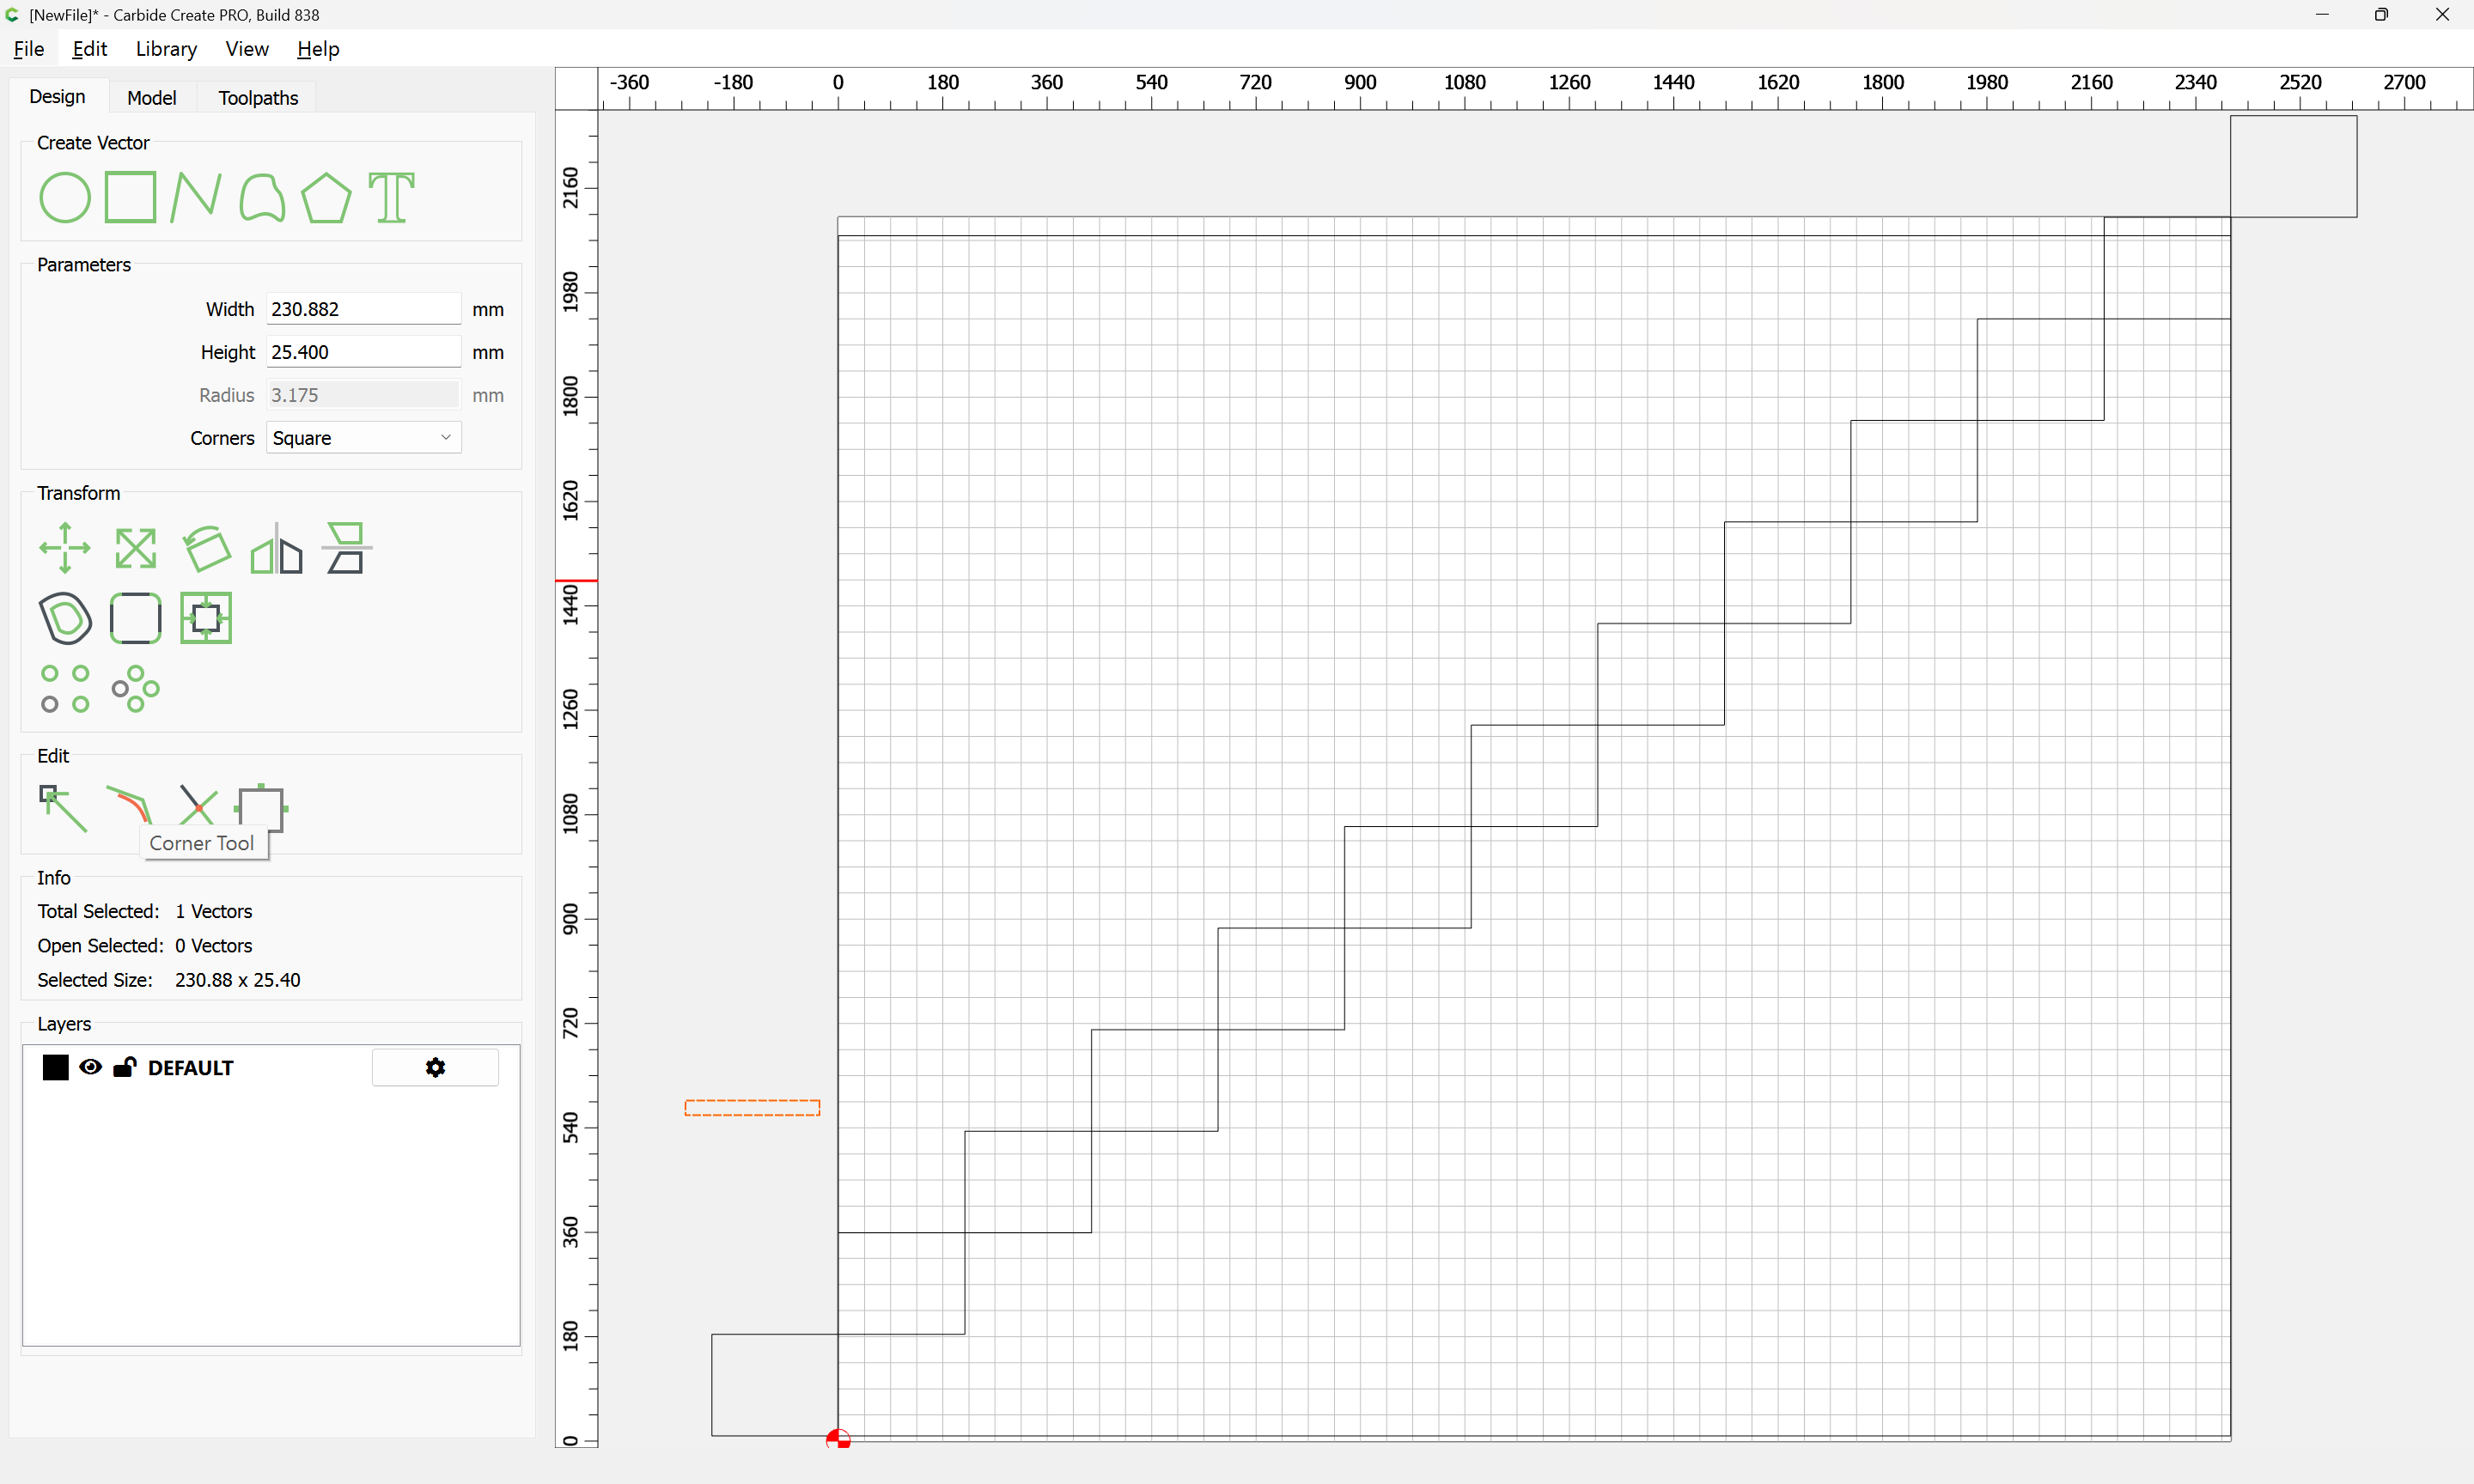
tread thickness: 25.4mm (from the above Home Depot link)
We will determine the riser height and tread depth (which I would not recommend emulating) from the above.