I posted to facebook and got a few people asking the process so I’ll try and document here.
I’ve wanted to make one of these for quite a while, and it’s actually what got me into CNCing stuff, as I wanted the ghost, but didn’t want another plastic thing on the desk and started looking at not 3d printing.
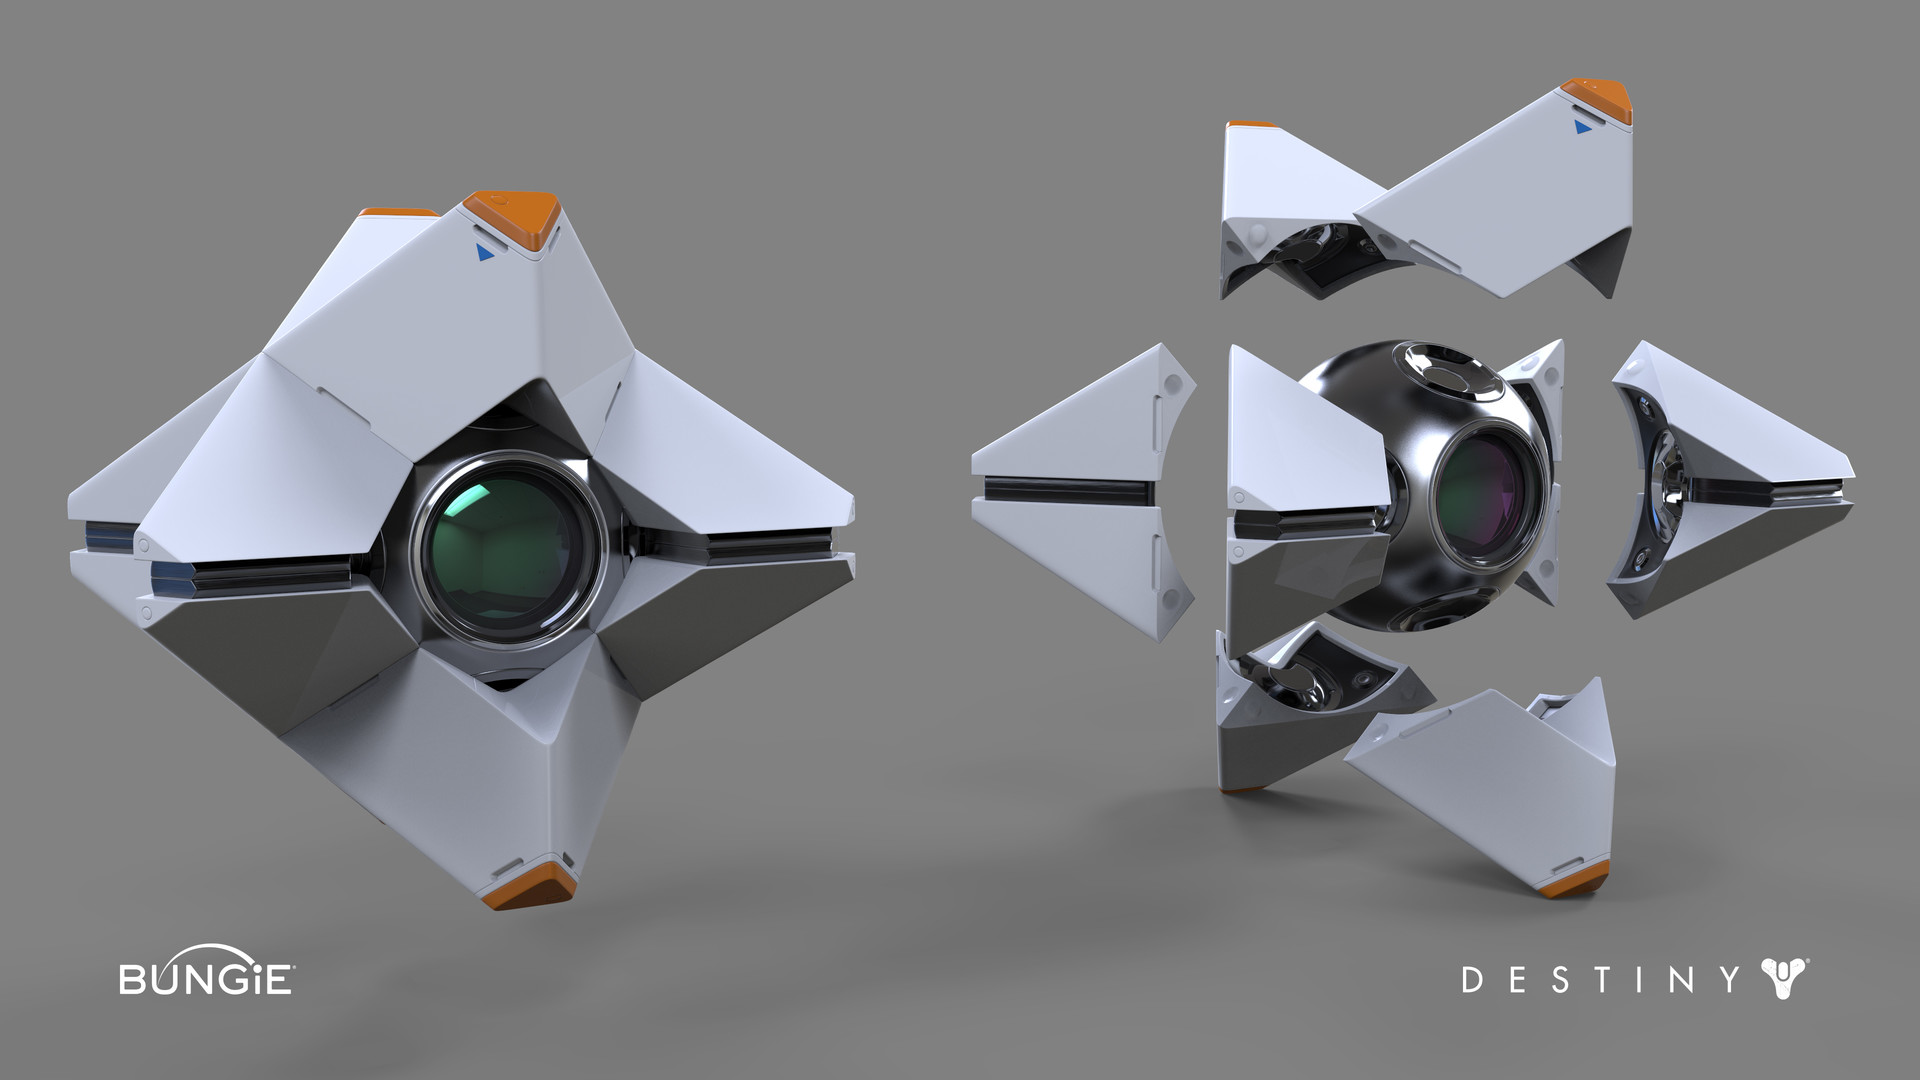
Here’s what the ghost looks like in game.

I used the .stl files provided here:
Setup in fusion was to lay out a pair of winglets side by side. I added 2 support struts that ran length wise in Fusion.
Then I cut stock down to size and added holes for the flip pins in both the stock and wasteboard.
Used pins to put the stock down (and painters tape and superglue).
Set zero once for the nomad. Zero wouldn’t change for any operations.
Then we start making some dust:


That’s it for the first side, then we flip it over and start making more dust:


Trying to make wood inserts (and all of them broke)

Finish and sliding the 3d print bit in:

I don’t have a picture, but I had to make a jig to help me use the drill press to drill out the magnet holes on the winglets, since they were at a weird angle they didn’t get machined fully.
I had a lot of false starts throughout this process. Trying to figure out the best way to do things. My first try was to do the ghost in half parts, but wood grain made it look not as ideal. Then I had to play with proper wood orientation. I had a piece of oak that I did a test run on and the grain went perpendicular to shown setup (endgrain running left to right instead of front to back), and it looked like butts.
Also had other projects to do while I actually learned the machine. This was a super terrible first project, but it was a fun challenge.
I’ve had a few people on reddit/imgur ask about me making one, which I’m happy to do. If I get enough I think I’ll try and do roughing operations on the shapeoko and then finishing operations on the nomad. I think all in I’m at ~30 hours of machine time between the CNC and 3d printer.


