Update:
Since the machine was already physically in square, but still cutting parallelograms, I was able to use the homing switch adjustment to get the Pro 5 machine fully into square. About 1.5 turns forward on the right back switch removed the ~1mm difference in diagonal.
Orginal Post below:
Hi all,
Trying to dial in squareness on my Shapeoko 5 Pro 2x2. It looks square (as accurate as I can measure the machine), but does not cut square.
I cut a 545mm square using a 1/8" bit (that has a 1/4 shaft) and measured both diagonals with a meter stick (front-left to back-right, and front-right to back-left). Front-left to back-right consistently comes out about 1mm longer (than the other diagonal).
I’ve now run this test four separate times. As far as I can tell everything else about the machine measures square, dimensions are accurate, so this really does seem to be just a small squareness offset rather than anything else going on.
My question is how to translate that into an actual micro adjustment. Do I adjust the homing switch? I don’t have a good sense of how much physical movement on the switch screw(s) corresponds to how much correction in the cut.
Squareness should be audited mechanically the machine. Not electronically.
I’d suggest looking at the set up manual before the aluminum slats are installed for directions on how to square.
I would like to point out how small of an issue you have. And this information is only as accurate as you and the tool you are using to make the measurement.
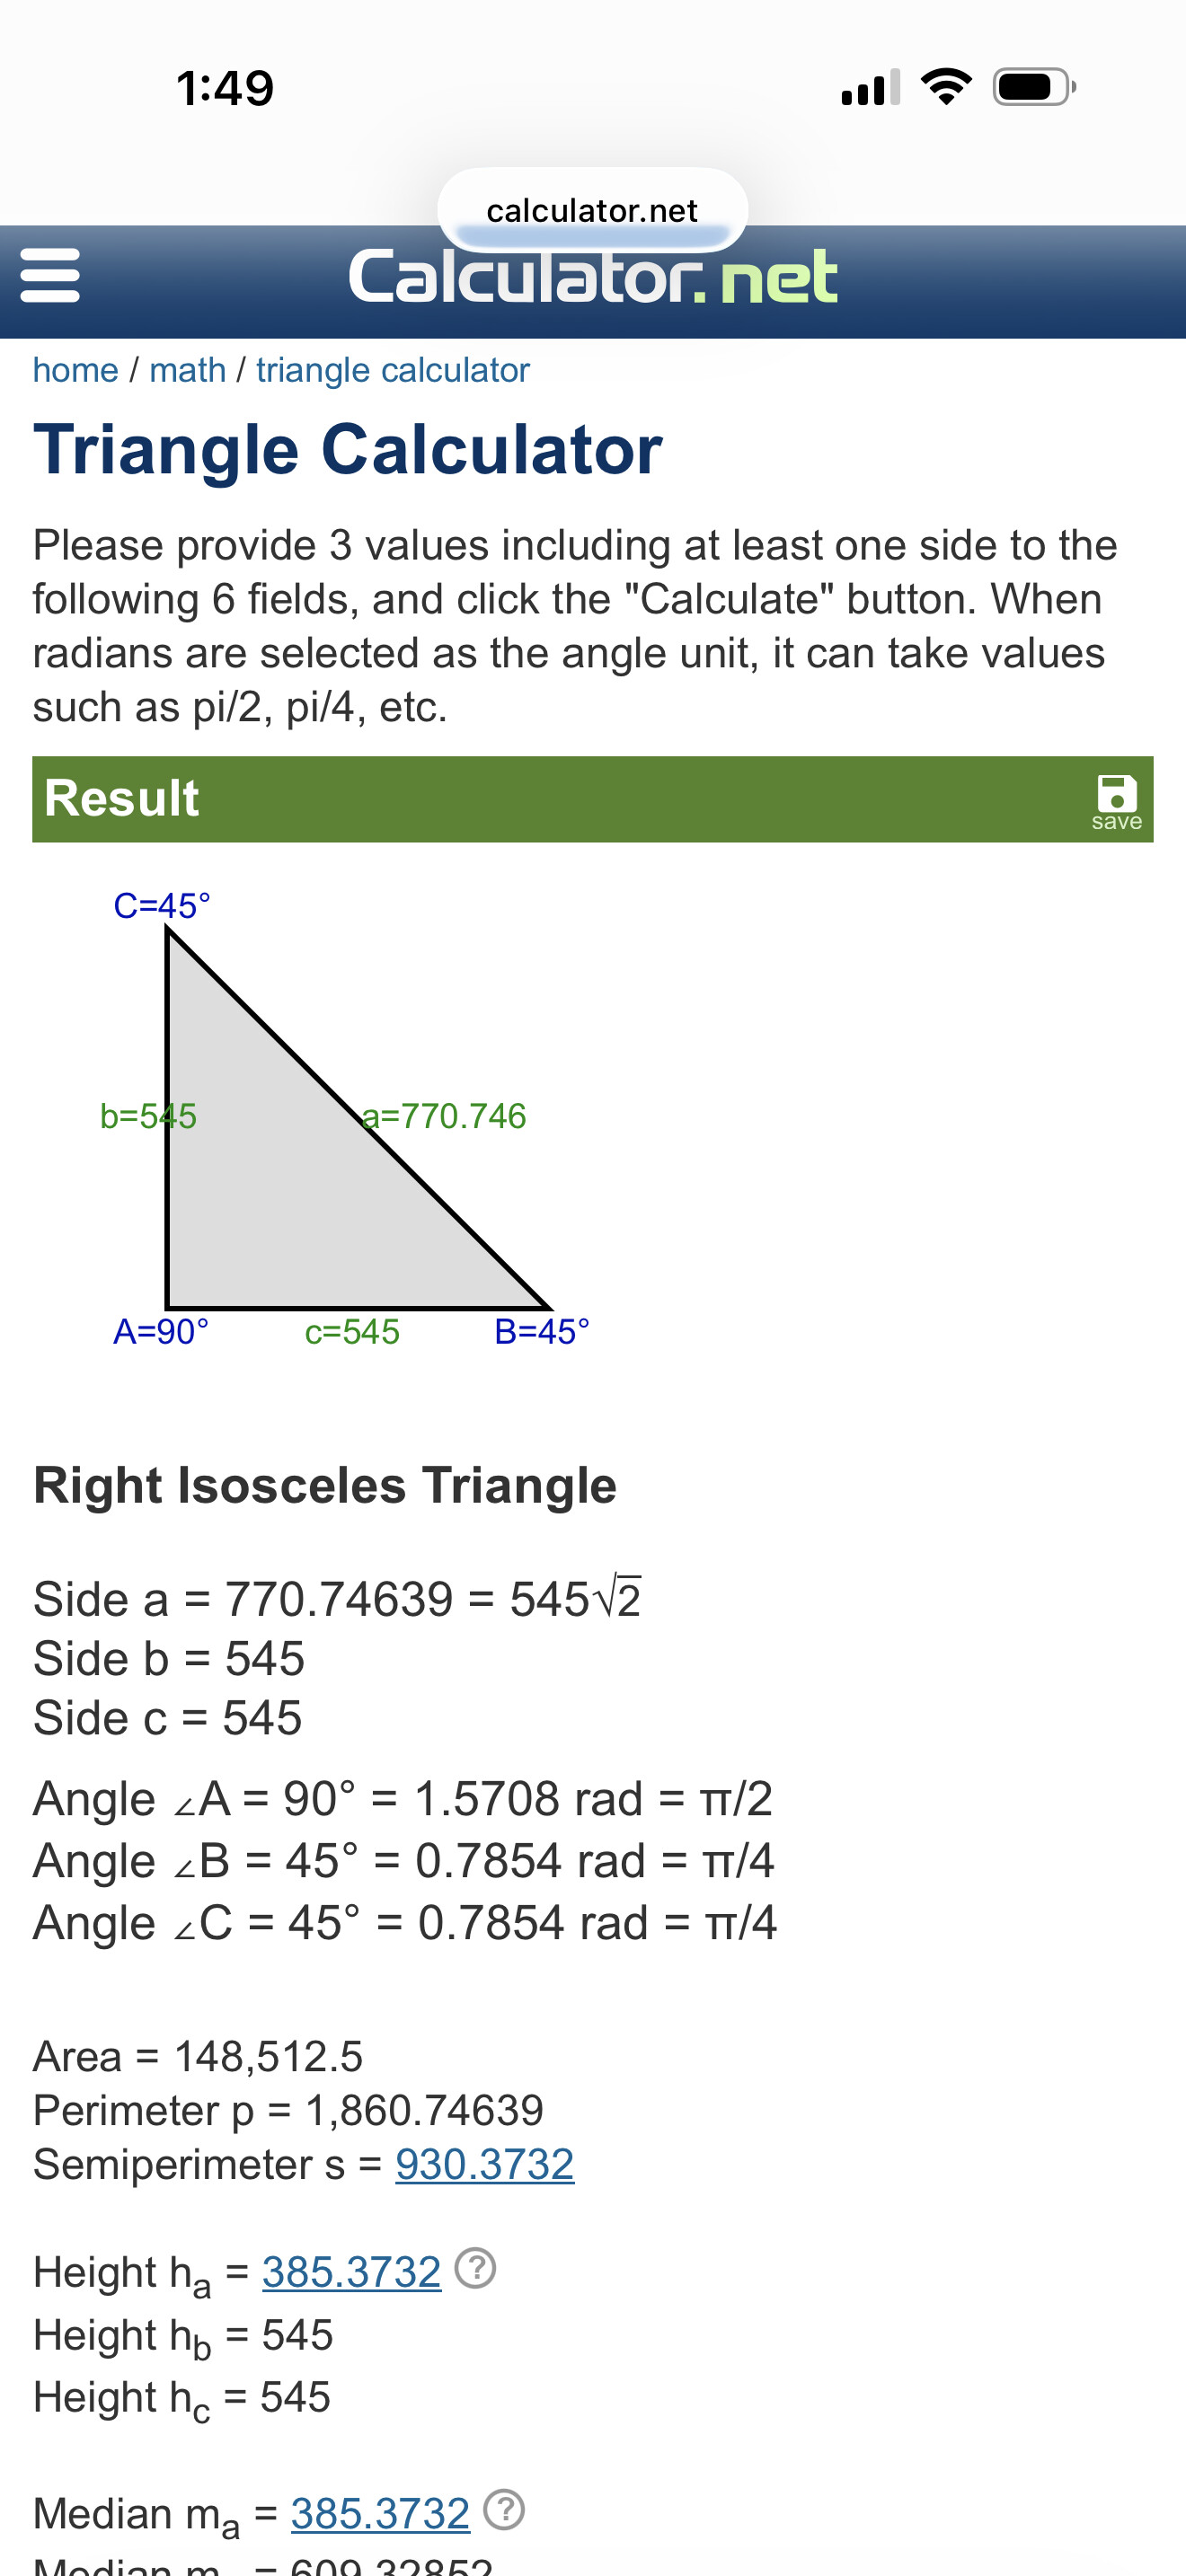
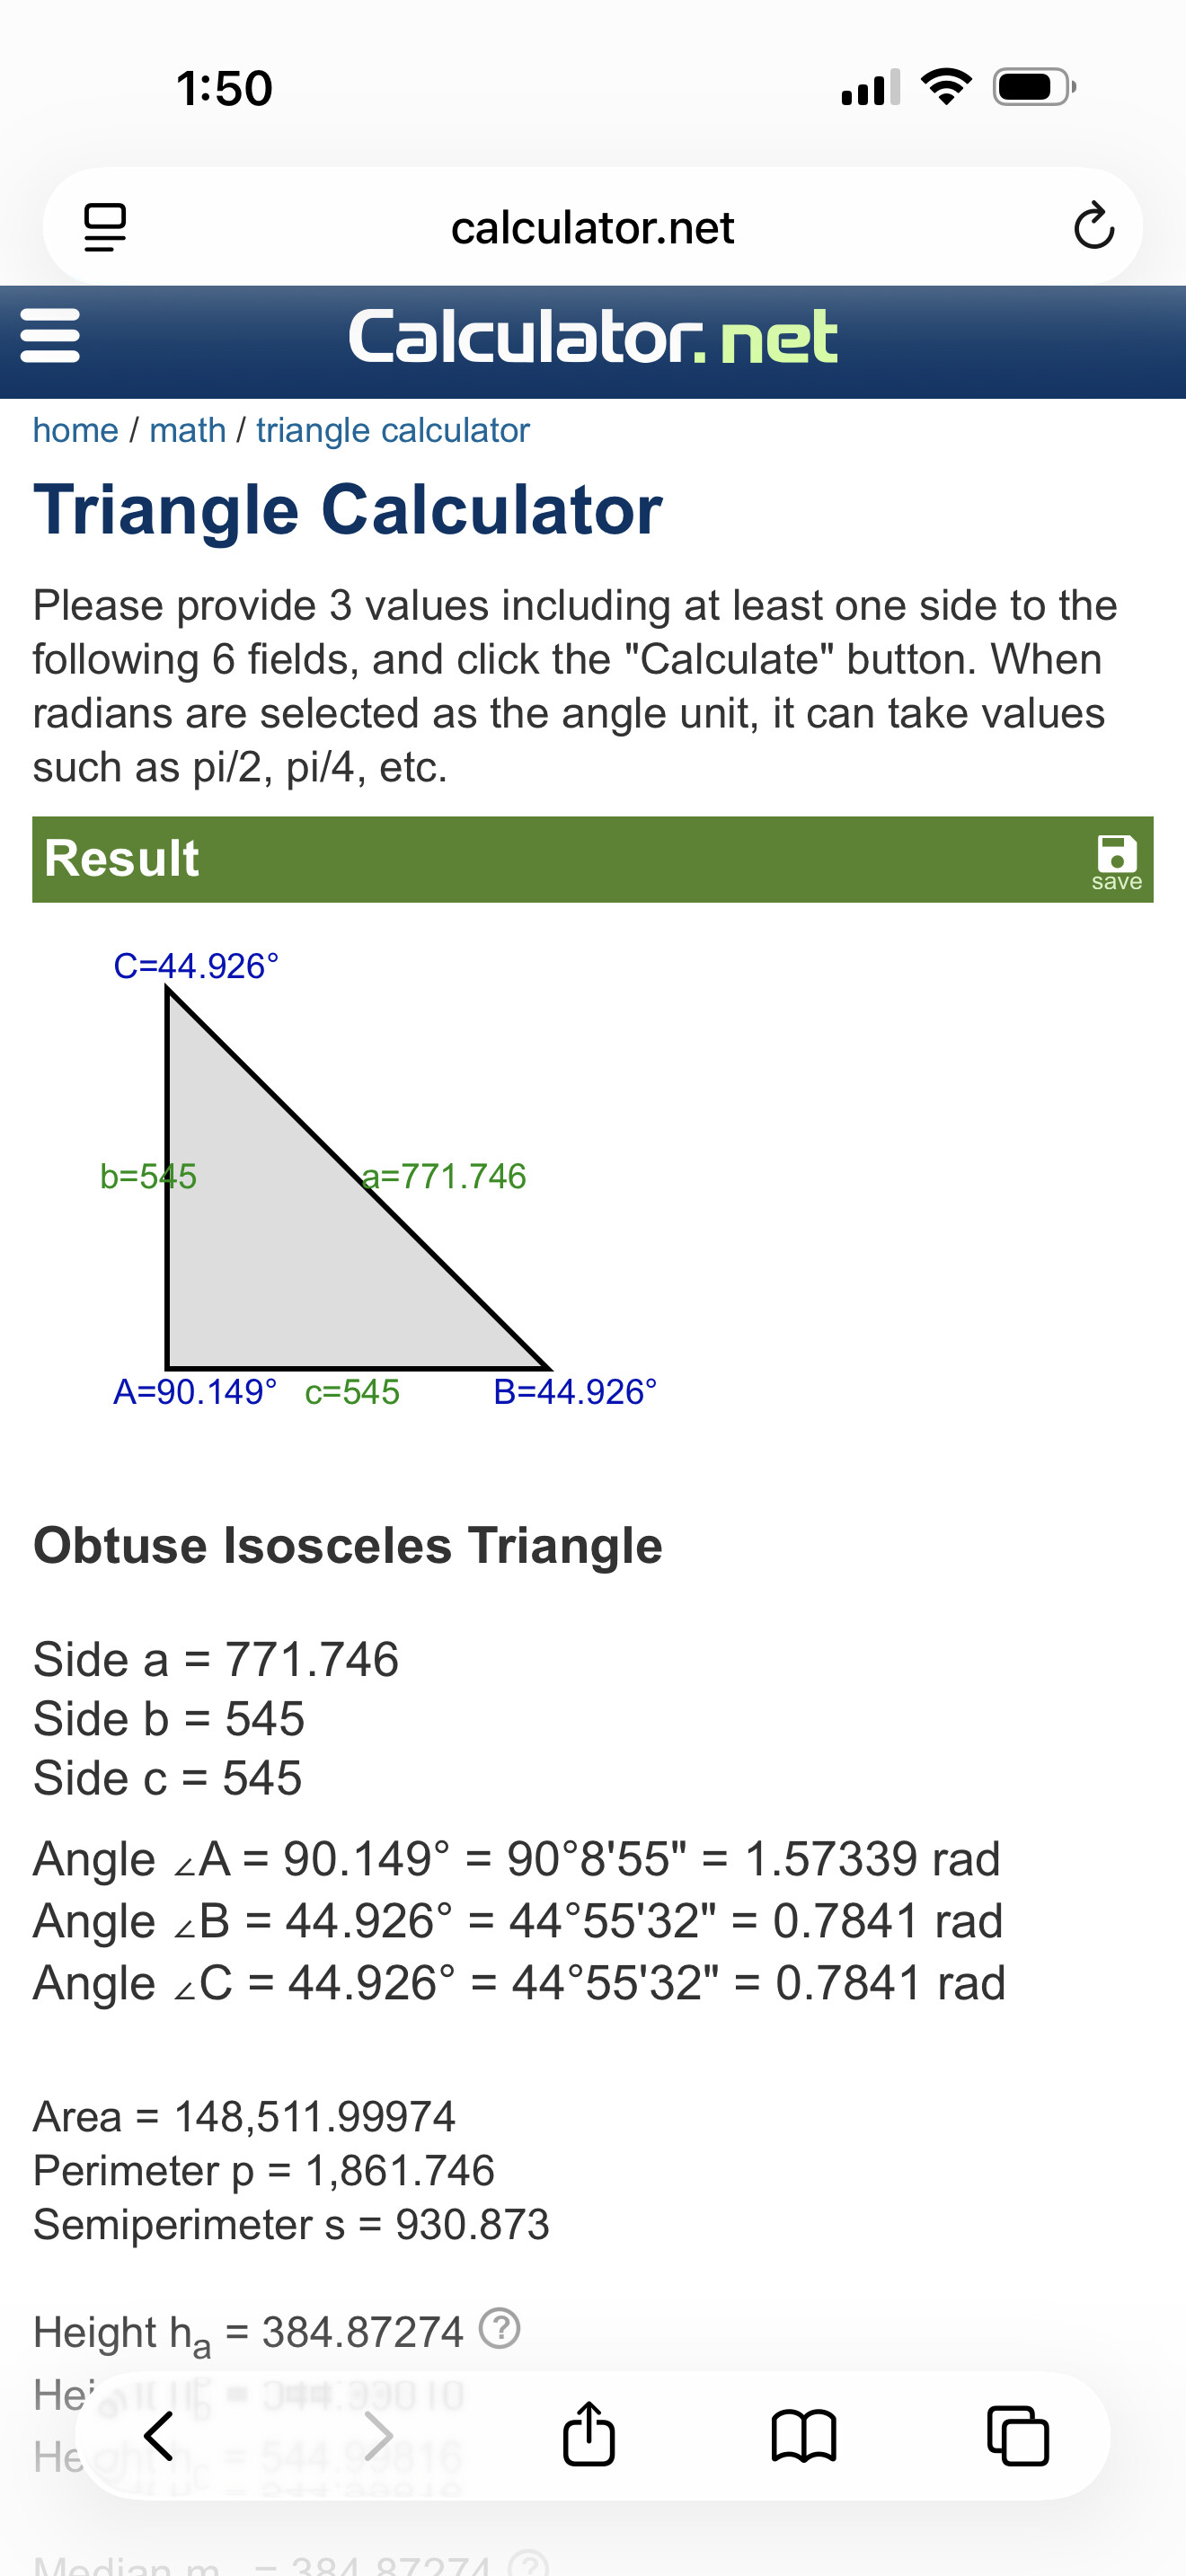
You are dealing with a 0.149 degree out of squareness.
The two ways I check square is the three, four and five method and checking the diagonals at the far outer points. 1. Diagonal measure from the corner to corner on the diagonal. measurement should be the same both directions. Be sure and have a quality measuring device. 2. Three four and five measure out in increments of 3,4 and 5 such as 3" one direction on edge of rail and make a mark, than measure 4" on the 90 degrees from first measurement and make a mark. Than measure from 3" mark to 4" mark and it should total 5". I made a table for me 5 Pro and made lines in the table so I knew where square is.
Yes, Pythagorean theorem, from 8th grade math, where a² + b² = c². I’ve been comparing the two corner-to-corner diagonal measurements to check squareness
For a square, both sides should be the same length, so the diagonal should be √(a² + a²).
To restate the intent of the Shapeoko 5/5.1 Pro design (because I haven’t gotten to do so in a while):
“Squareness” of the machine is not the goal and ultimately doesn’t matter because the machine is squared during homing. The only real requirement is that the right and the left sides are parallel to avoid binding.
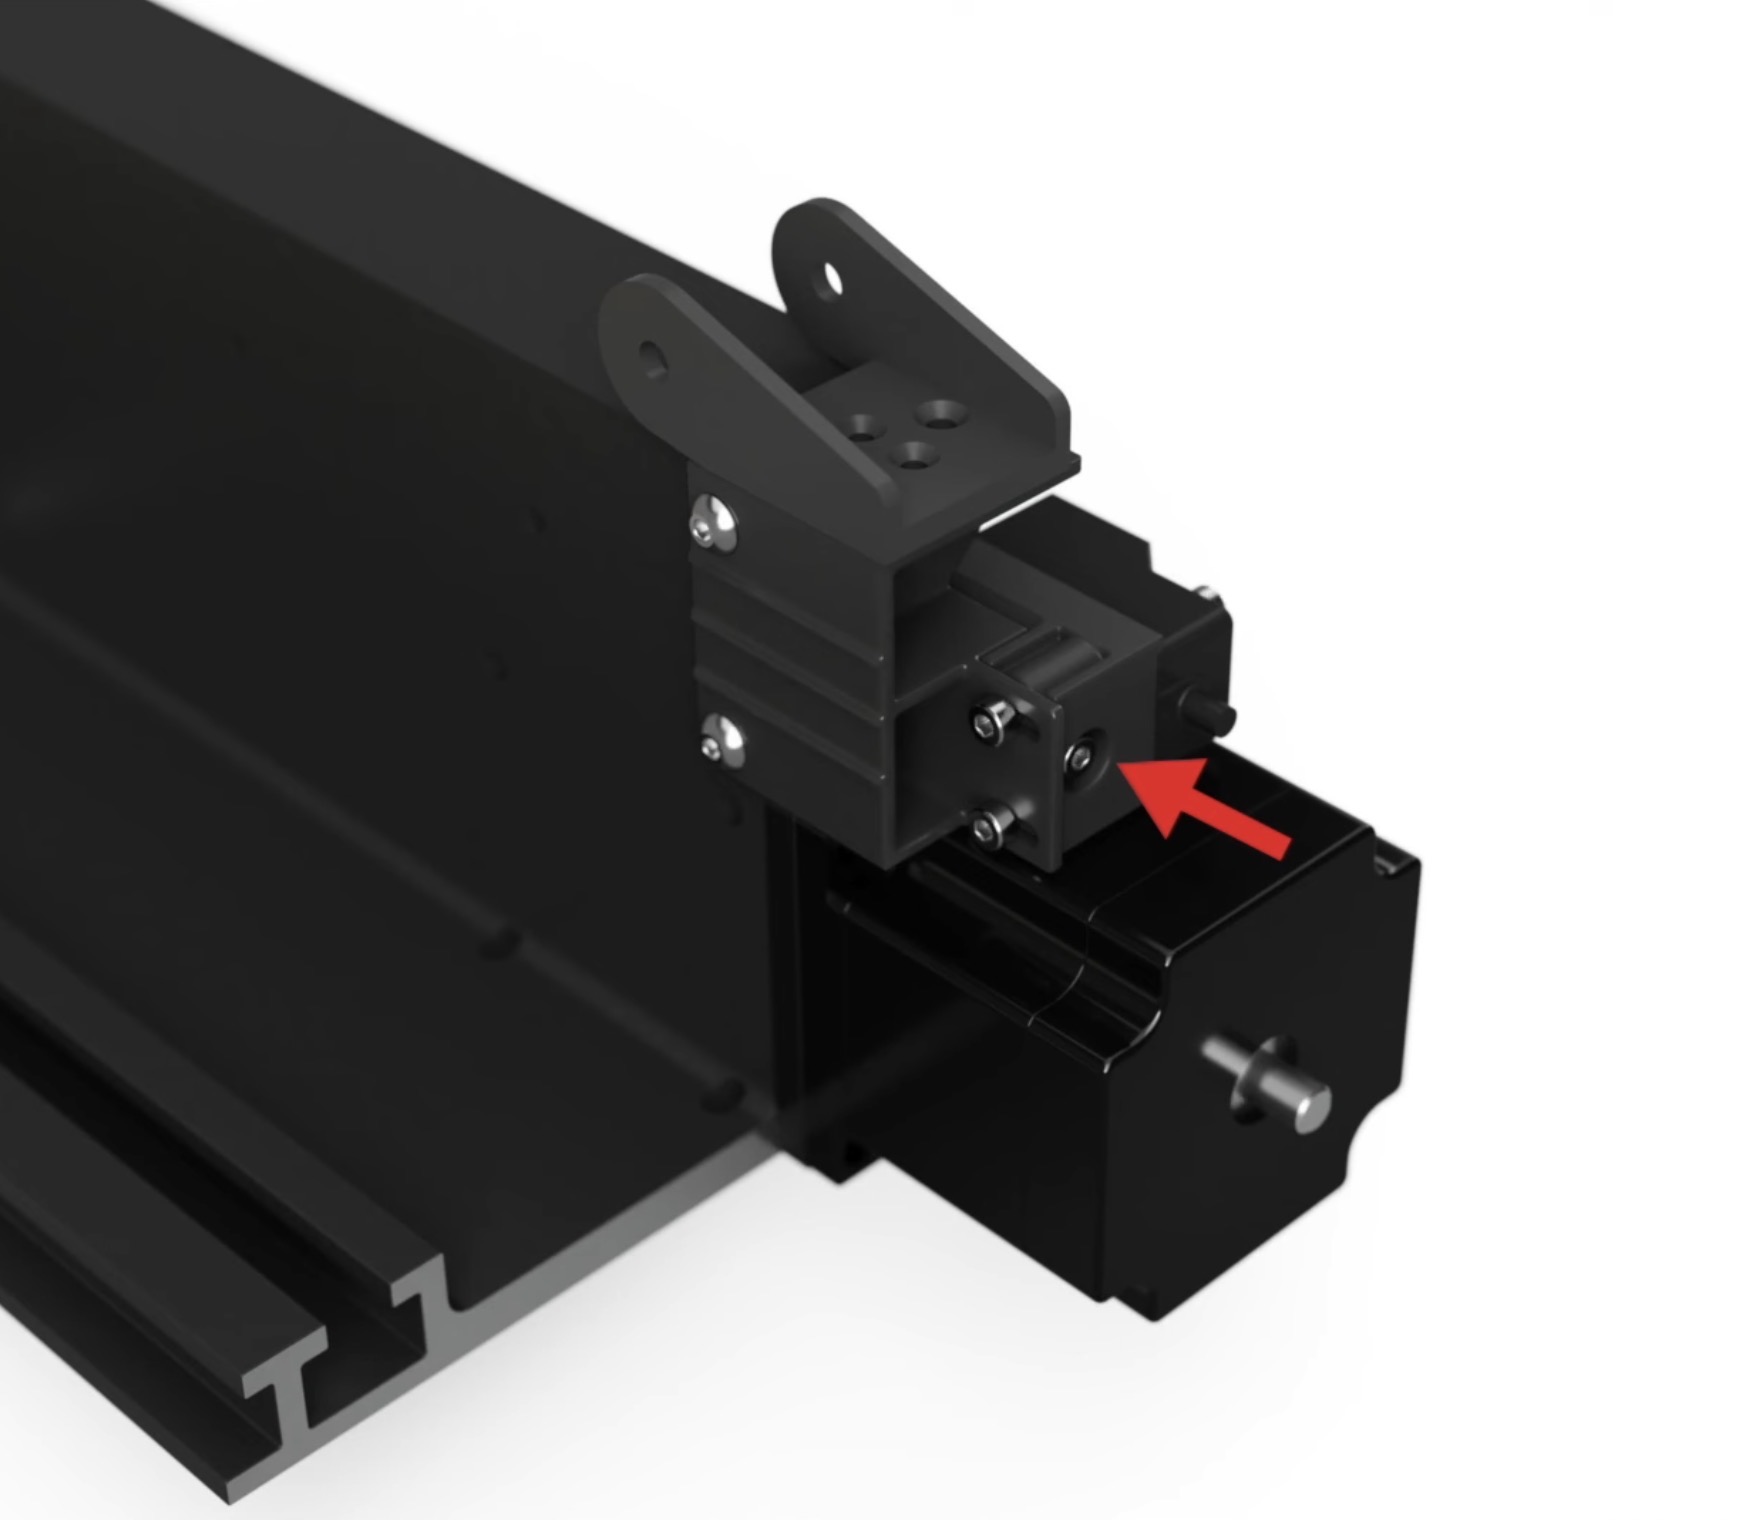
Once you have a machine that’s parallel enough to function (which should not be a problem), the squareness of the cut is adjusted with the homing switches on the back of the Y-left and Y-right.
The quickest way to get a good part is to measure the squareness of the cut, adjust the switches if there’s a problem, cut again to check, and repeat if necessary.
If I remember correctly, the adjustment screws are M3x.5, so a full turn is half a millimeter of movement.
Hi, does anyone have a link to some hear that meets these requirements? “precision of your metrology gear — you want something which is 10 times more accurate than the value which you intend to actually work to”. I have a 3’ aluminum rule but it doesn’t give me any reading that would meet this requirement. A digital rule would be useful but I haven’t seen any that would be long enough for this purpose. What do you guys use?
Pierre
While Will is generally correct that your measurement standard should be much more accurate than the machine that’s being adjusted, remember that, for most of us, this is woodworking; we’re not going to the moon.
Personally, I would say cut a test and see if it meets your requirements. If not, adjust again and cut another test.
I’d rather have a good dial caliper than a cheap digital one.
You just need to make your test cuts size to your measurement tools.
I’f you want more accurate your going for have to modify the issue with the machine. I would suggest looking at /a 5 cut method for squaring a fence on a table saw sled. You should be able to adapt thet ideal with a fence and cutting one side on the machine. But at some point you have to settle on good enough.
Thx Rob, I had alignment issues when machining and flipping mirror images of a body. This was one area I was looking at. I’ll investigate some more with test cuts.