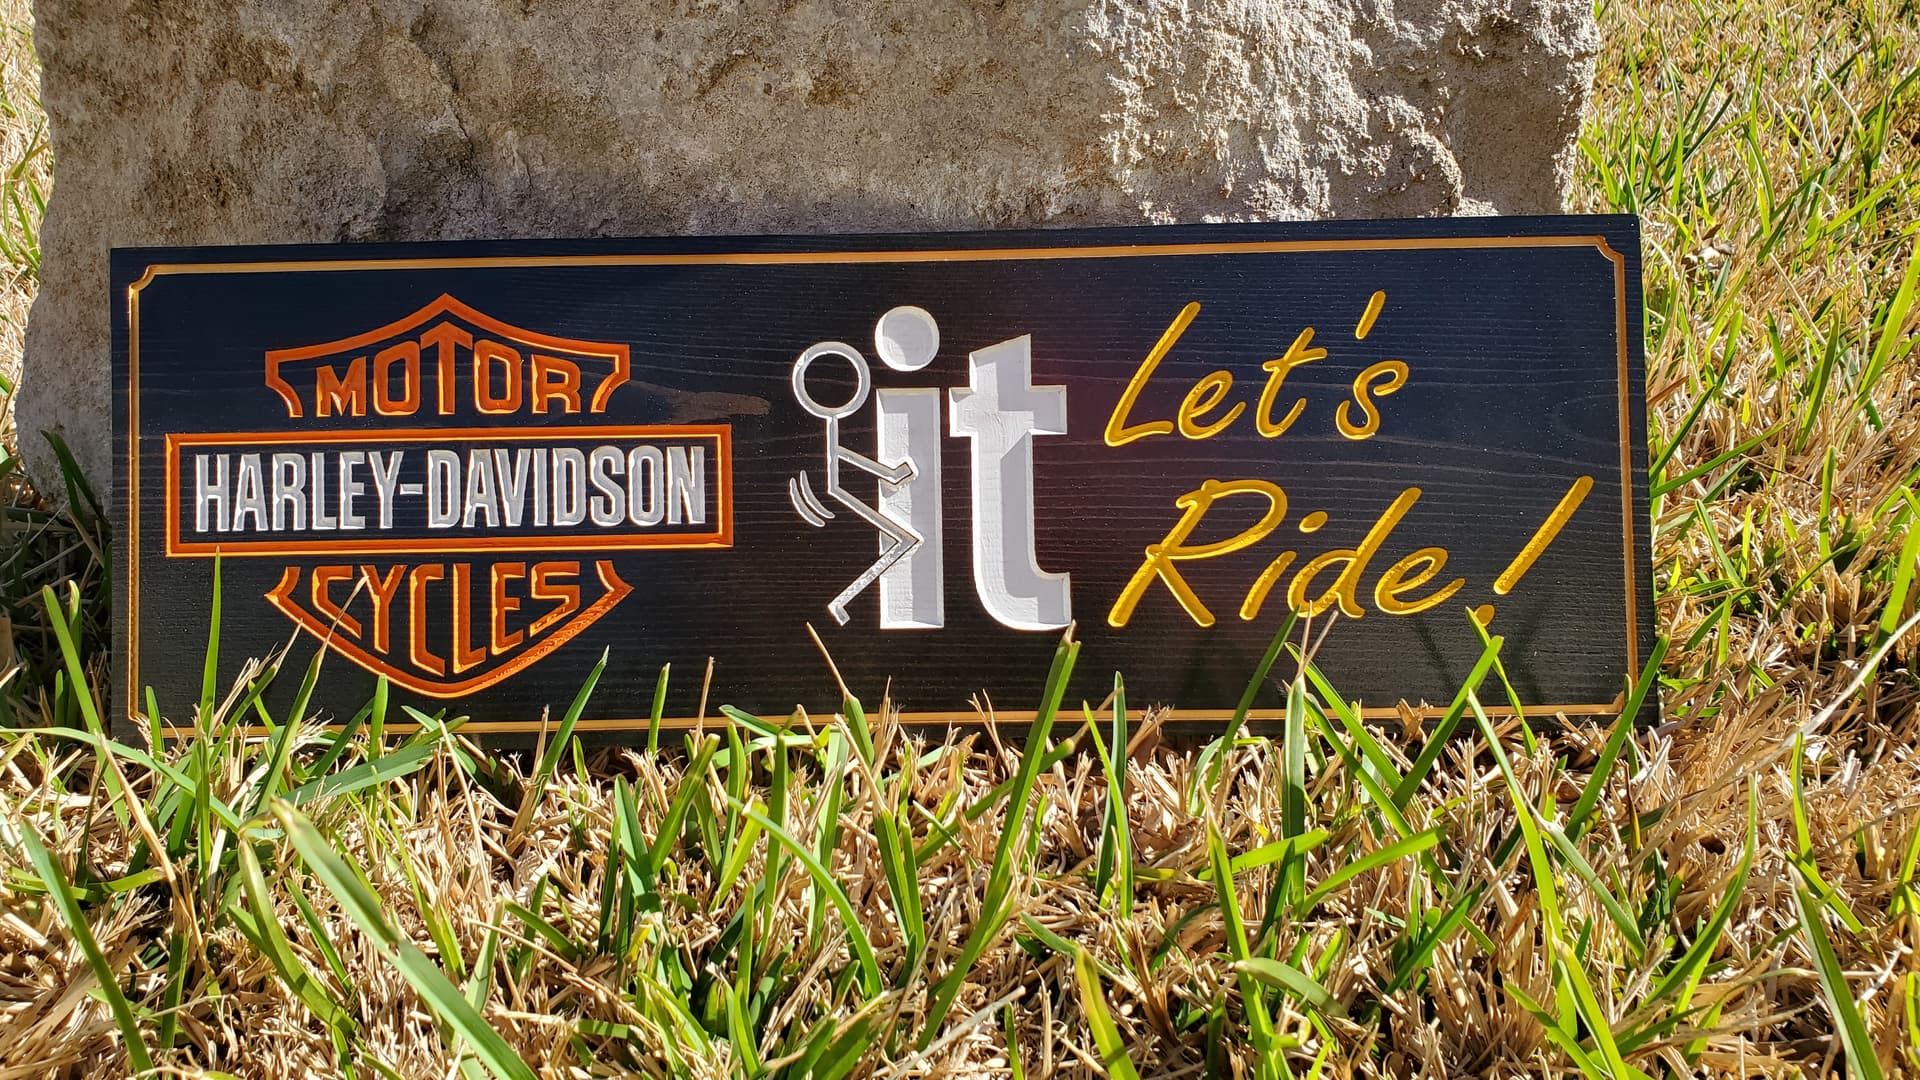
Hand painted, easy to wipe away the excess. Even for big pieces that you would think about Oramask, this is easier, sharper and less hassle. Think about getting that color into the Screaming Eagle…
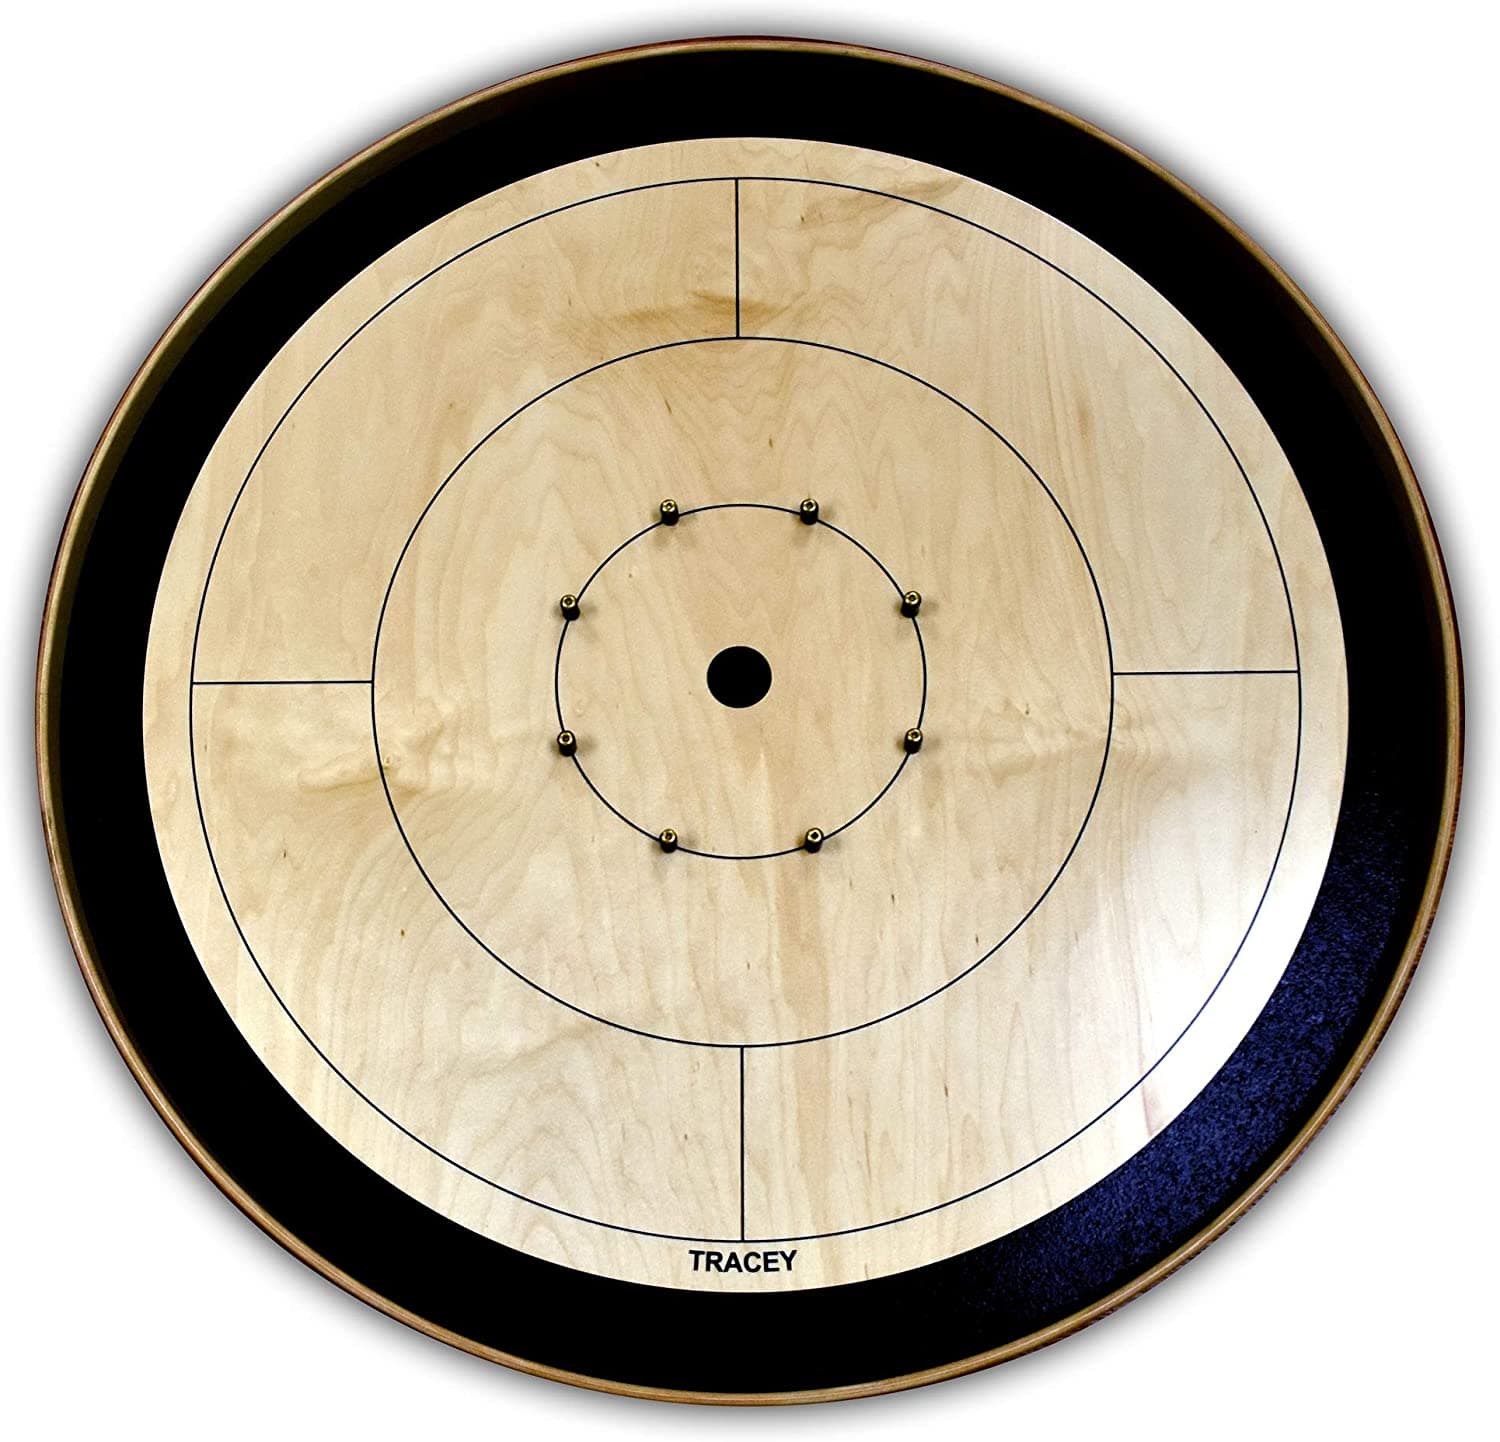
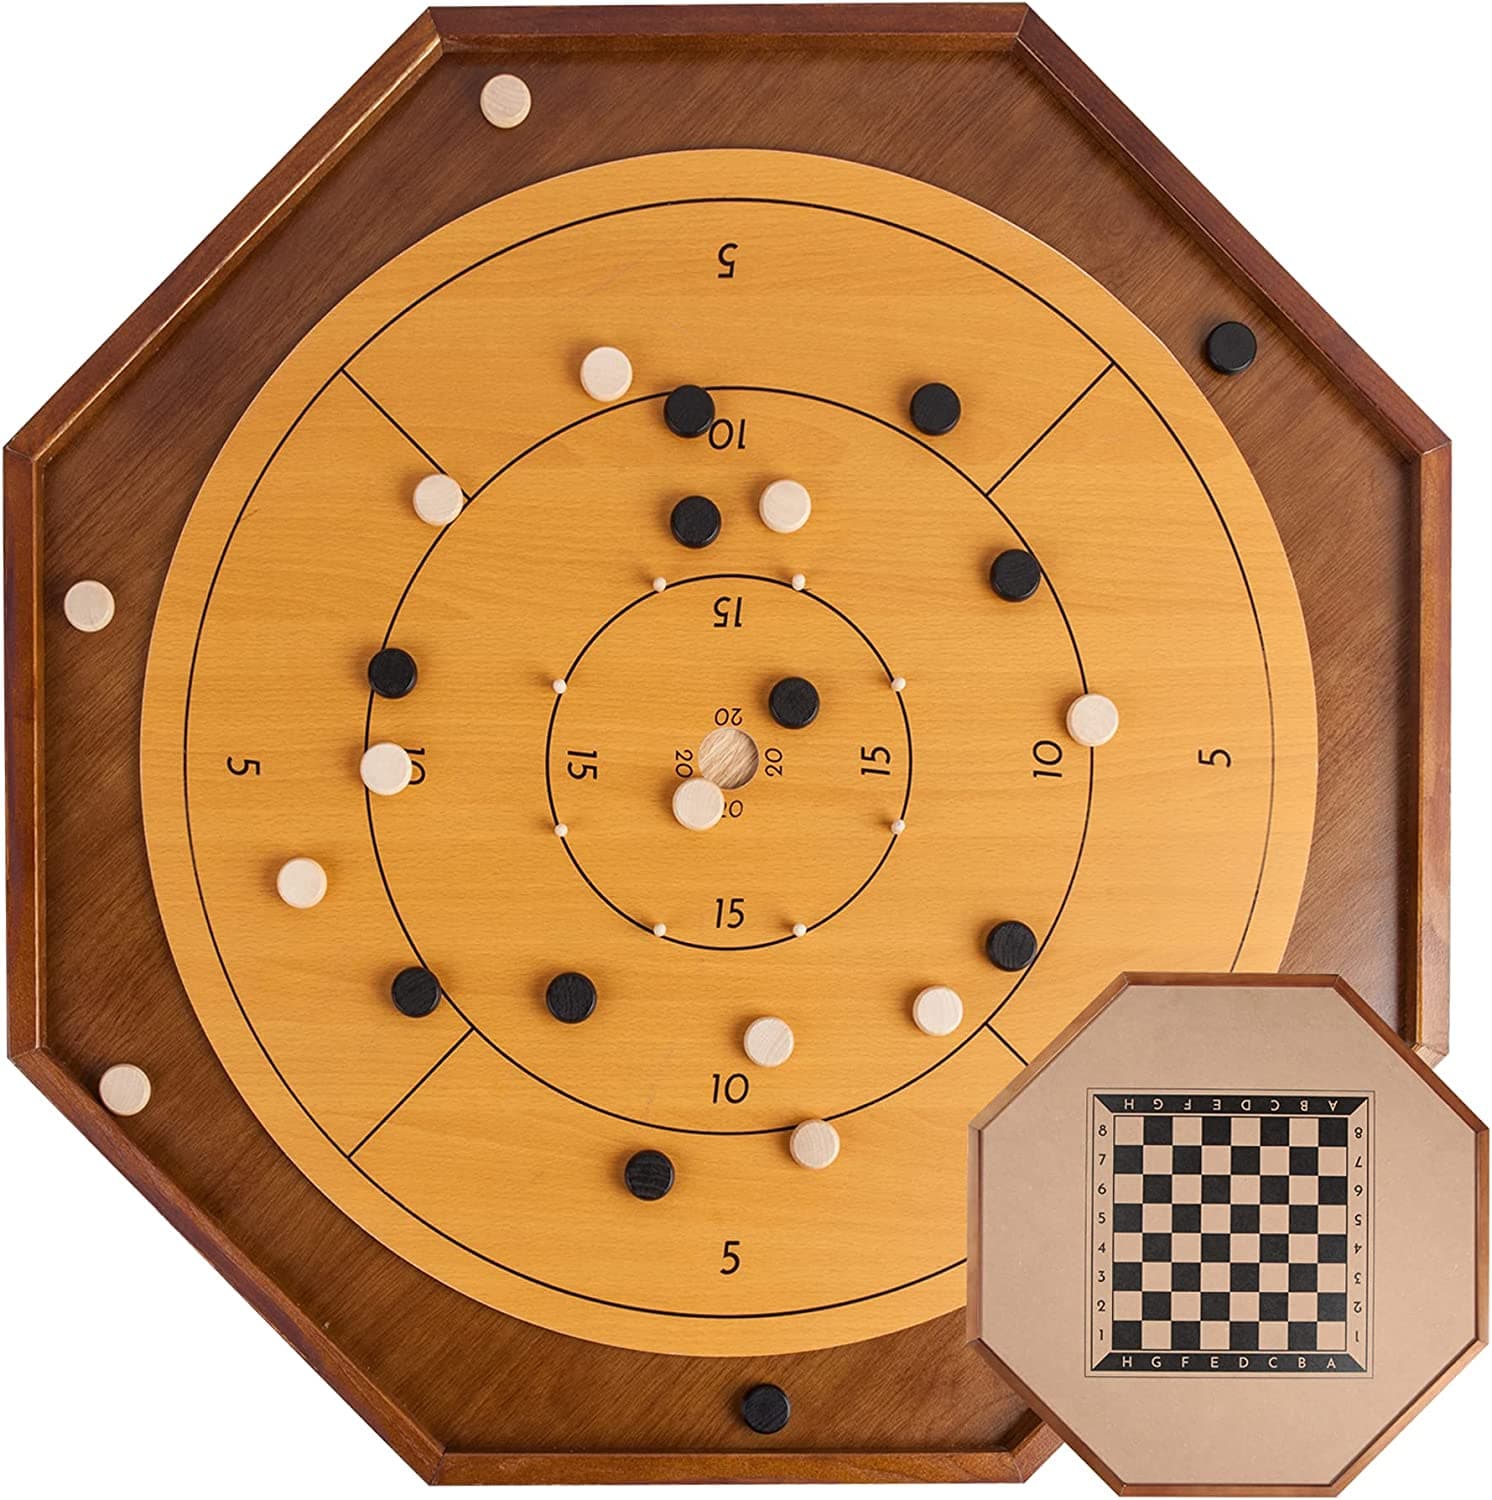
I’ve been using a similar method for probably 10 years in the building of crokinole boards. Instead of lacquer, I typically use polyrethane or polycrylic topcoats. I work in plywood, so I like to brush on five coats prior to doing the carving. I’ve posted this method lots of times here and on other woodworking forums. Here are some samples https://hilinski.net/woodgames/#!page-cnc .
I use dewaxed shellac to coat before carving and before painting.
The point is a top coat is important to toughen up the surface before carving and painting. It is 6 of one and a half a dozen of the other. Use what you like and what works. If you try something new you may find that it works better or worse. At least you can make a informed decision. The worst thing any one or any organization can say is we have always done it that way. With my 50 years of woodworking experience I have found that there are many ways to do something. Sometimes one things better than another but next time the other way may be better. Just be flexible.
If you are a hammer everything looks like a nail to you.
I have no clue what crokinole is, but your work looks great! I use poly on my work AFTER a coat or two of lacquer to avoid the yellowing effect on white painted parts.
I’m no genius and a relative noob to the CNC world. I learned the method in my post from a guy similar to you (with way more expertise than me) and have had pretty good results. The lacquer bit I use with the spray system and “brush on” is very economical. I can get ~ 6 cans @ $9 ea of rattle can coverage with ~ $20 for a quart + $12 spray system. I use a lot of poly for outdoor and H2O protection. I like the lacquer because it dries very quickly.
At the end of the day, it’s all about the finished product, and yours sir is impressive! Cheers.
Here is a very old howto that my brother made during our early years of board construction. This was before I got my XXL, but it’s a good starting point. Hilinski.net: Making a Crokinole Board #1 .
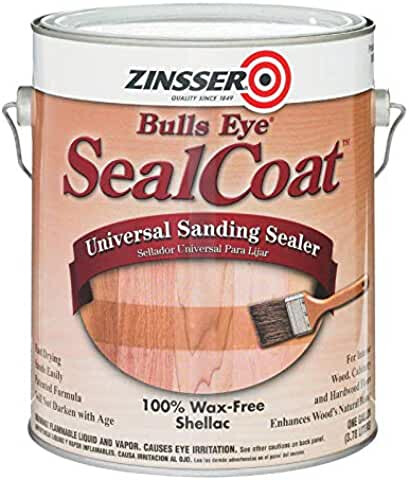
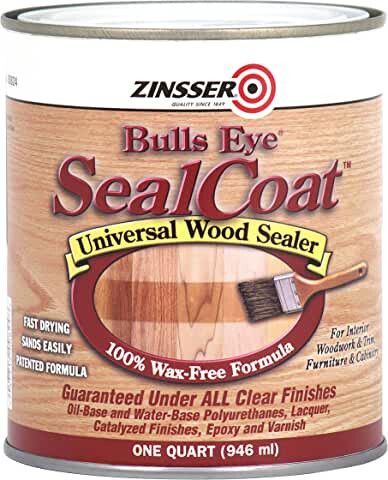
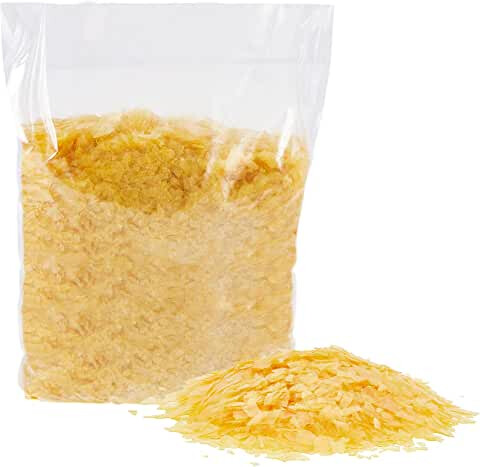
I use the Zinsser canned version. That does put a yellow glow to most any wood that is light. I like the warmth it gives to wood. You can buy shellac flakes that are various shades. You dissolve it in denatured alcohol. The shellac comes from India where bugs excrete this and it is collected and boiled down then dried and made into flakes.
Natural shellac has wax in it. So when you let it dissolve the flakes the wax floats to the top and you remove it. The Zinsser Universal Sanding Sealer is dewaxed. The waxed version that Zinsser makes can cause problems with top coats due to the wax. Shellac in the dewaxed form is universal for top coats that are water or oil based.
This is the dewaxed version.
This is the version that has wax in it.
This is the shellac in its natural form called blonde.
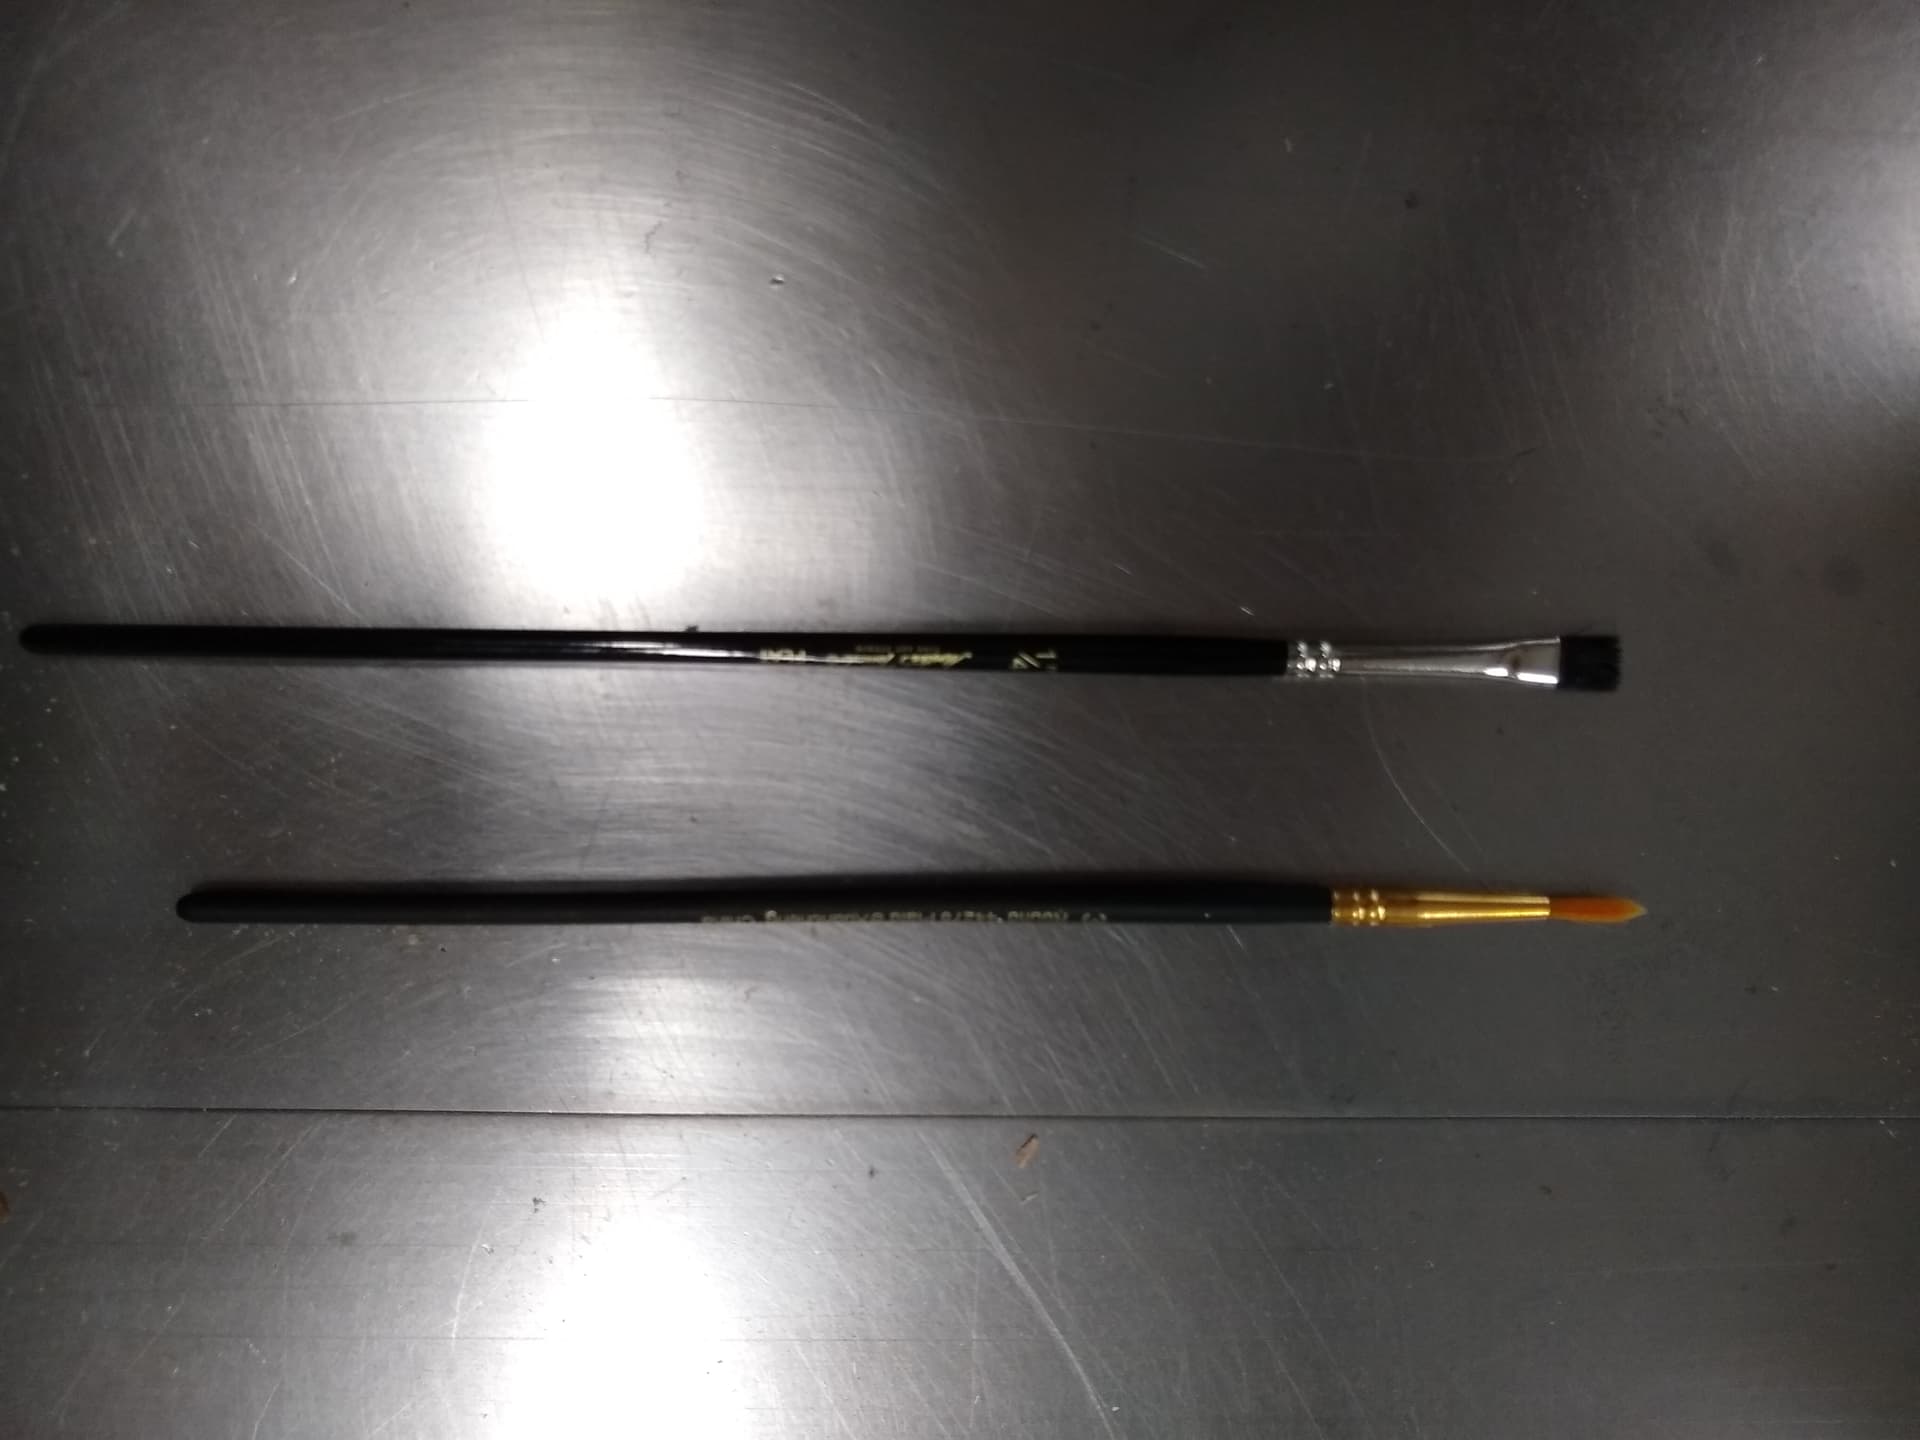
Let the paint dry and sand off excess. Masking helps with oramask or Easy Liner adhesive shelf paper. Even masking small areas get torn away while machining but overall there is less paint on the surface to sand off. I use a 1/4 inch Masters Touch flat brush for acrylic paint. I also use a small round tapered brush for intricate places. Thest two brushes cover well and get down in vee cuts.
I do a vcarve or Adv Vcarve, so the paint is in the groove or recessed portion of the design. Using a damp rag wrapped around a block of wood lets me clean off the “over paint” on the top surface. Looks clean, like it was painted perfectly into the grooves.
I’ve been using thinned brush lacquer in a sprayer and it’s been working great for my needs. Using canned lacquer (thinned) with the sprayer system saves me about 75% over rattle can lacquer and it dries super quick!
I really want to try out shellac. I’m so danged busy that I am not ready to do a change of process.
That being said, I have a couple of non-CNC projects coming up that call for shellac for finish, specifically. I’ll take that opportunity to slip it into my CNC projects. I really like the natural look of shellac, both on leather and wood pieces.
I like the dewaxed shellac because you can use it for both oil and water based finishes. The coat of shellac makes you use 1-2 less top coats. The only issue with shellac for a top coat is it is not as durable as other finishes but makes a good base coat.
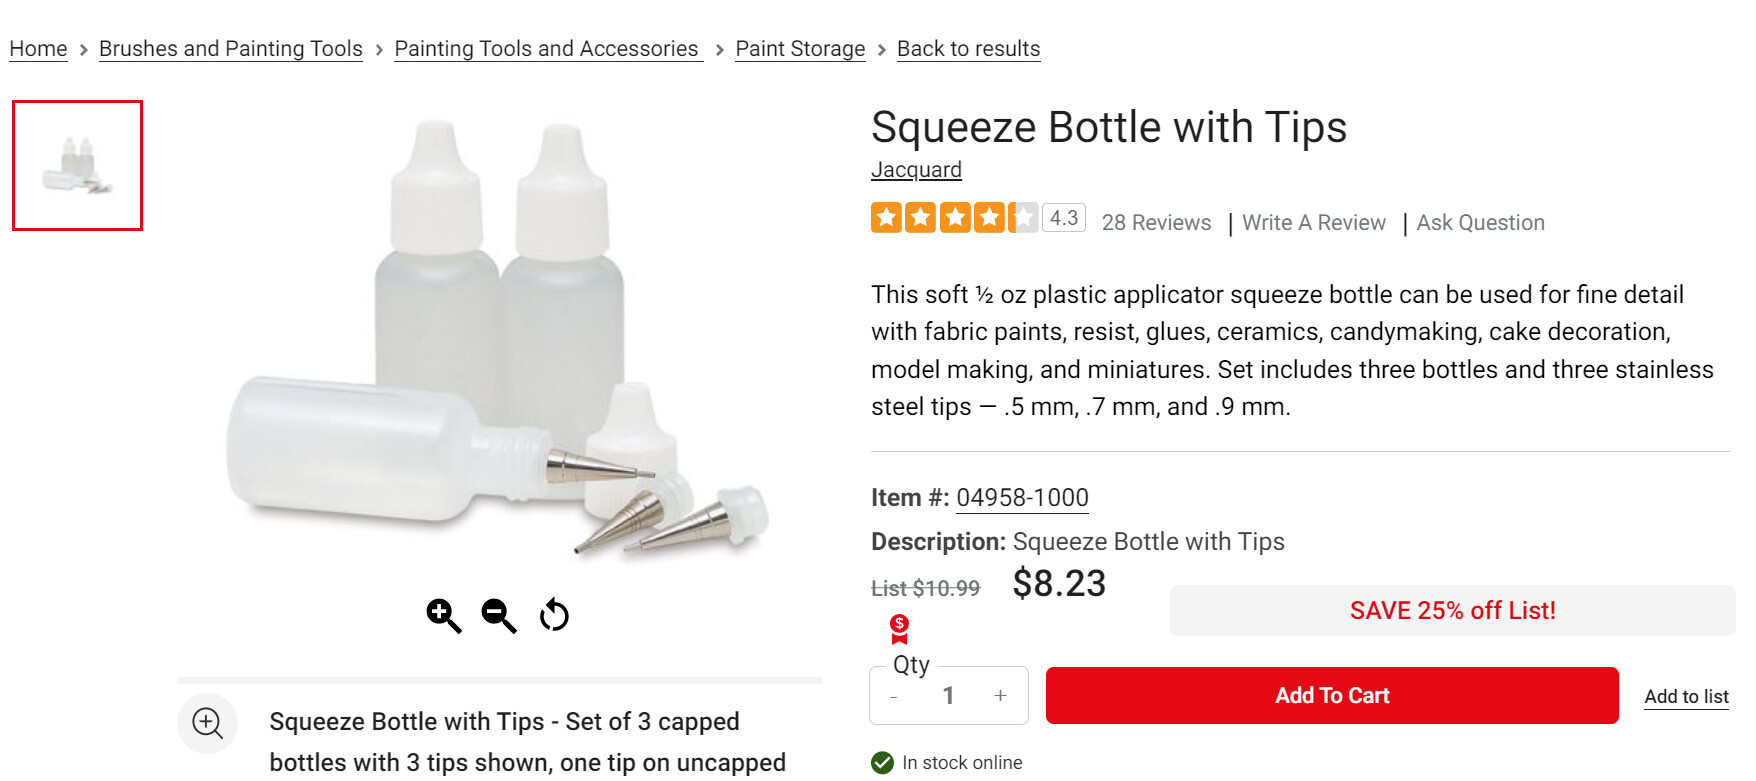
I have made a number of craft projects that contained vcarve images that I wanted to paint. After the cut and a light sanding, I also applied a spray coat of shellac to reduce the bleed-out of paint. For paint, I use the 2oz acrylic bottles available in a variety of colors from Amazon or your local hobby store. The Squeeze Bottles I found at Dick Blick art supply, and hold 1 oz of paint each. The tips are identical to the tip on a mechanical pencil. Fill halfway with the color you want to flow into the vcarve and add 4-5 drops of water to thin. Shake to mix. Insert the tip into the vcarve at a 45 degree angle, squeeze the bottle, then pull the tip along the vcarve to fill with paint. Adjust the paint viscosity as needed. Small errors are easily removed with the wet cloth. With a little practice you can complete the job quickly. The paint can be covered with a final coat of urethane.