I have the Shapeoko pro with bit setter. I did my first test project yesterday and found that it went pretty deep into my wasteboard. Just a hair over 1/8inch. I initially zeroed manually but when I start the job, it goes to the bit setter to zero anyway. Does this over ride the zero from my manual zeroing?
Could this discrepancy be causing the deeper cut into the waste board?
No but…I’m fairly new to the bitsetter and I’ve seen a couple of times that this has happened to me. I haven’t figured out what went wrong and/or if I am doing something something wrong…still trying to put my finger on the root cause.
Until then I set my Z, let the bitsetter do its measurement, then I RECHECK my Z…then I cut. PS: I just ran a 12 piece run using 4 different tools and it performed flawlessly…so odd.
It calculates the difference between the length of the current tool vs the length of the last tool it measured. That difference is added to your zero value.
This implies a restriction in that you can’t take out a tool that has been measured and replace it with one that hasn’t been measured unless prompted to do so.
As Gerry said the BitSetter does not set zero. When you zero a tool with BitZero or manually with the paper method the Z Zero is held in memory in the controller. Each time the BitZero is used it is simply comparing the last time you set the Z Zero with what ever tool you have in the router. The last time you set Z Zero may have been last time you used your machine or 30 seconds ago.
When you initialize a Shapeoko with a BitSetter the bit you either already have in the router or the bit you install will be measured and compared to the last time you set Z Zero. Anytime you want to replace the current tool you must go through the software interface to do so or your Z Zero will not be set properly anymore. You use the Change Tool Button or when a job is started and you are prompted to insert a tool. Either of those two cases the outcome will be the same. The BitSetter will compare the new tool to the last time you set Z Zero and set the new tool to that value.
The proper sequence to Z Zero is to first initialize your Shapeoko. A tool, any tool, will be requested, the bit is measured and the router will come to the front center position. If you wish to change a tool then use the change tool button and you will be prompted to insert a tool. The BitSetter will measure the new tool and set the bit to the last time Z Zero was set. Then use the job function to move the router and either use the BitZero or the paper method to set Z Zero and/or X and Y. Now load a file for a new job and you can run with the Z set as per your last setting.
If you manually change a tool you have lost all reference to the previous Z Zero and a zero procedure must be performed to synchronize the BitSetter and the Z Zero you want.
One last thing is where you set Z Zero in Carbide Motion. Most common is on top of the work but sometimes people accidentally set to Bottom but they physically set the Z Zero on top of the material. This will result in an air job because the cutting things the top of the material is higher than it is and the cutting always starts on top and moved down. The opposite is true if you select top of material but physically set to the bottom of the material the router will try to plunge deep into the material because the controller thinks the material top is on the bottom and will plunge to the bottom of t he material to start cutting causing a big hole in your material. Always double check your settings in Carbide Create before starting a job. After checking then open Carbide Motion and get ready to cut t he project.
I’m new to all of this and wanted to set my model 0 in the CAM software to the top of my stock. However my concern is to get the onion skin or cleanly cut through without cutting into the spoilboard you need to be sure on stock thickness or at least where you zero it is the same. For example I bought some 3/4" material but it is not perfectly flat and there’s a variance in thickness. So to me if its not passed through a planner or you level the stock with the CNC I think I rather zero off the spoilboard as there’s a chance where you zero is less that what you specified as stock thickness in the CAM and cut into your wasteboard. Well thats my concern anyways.
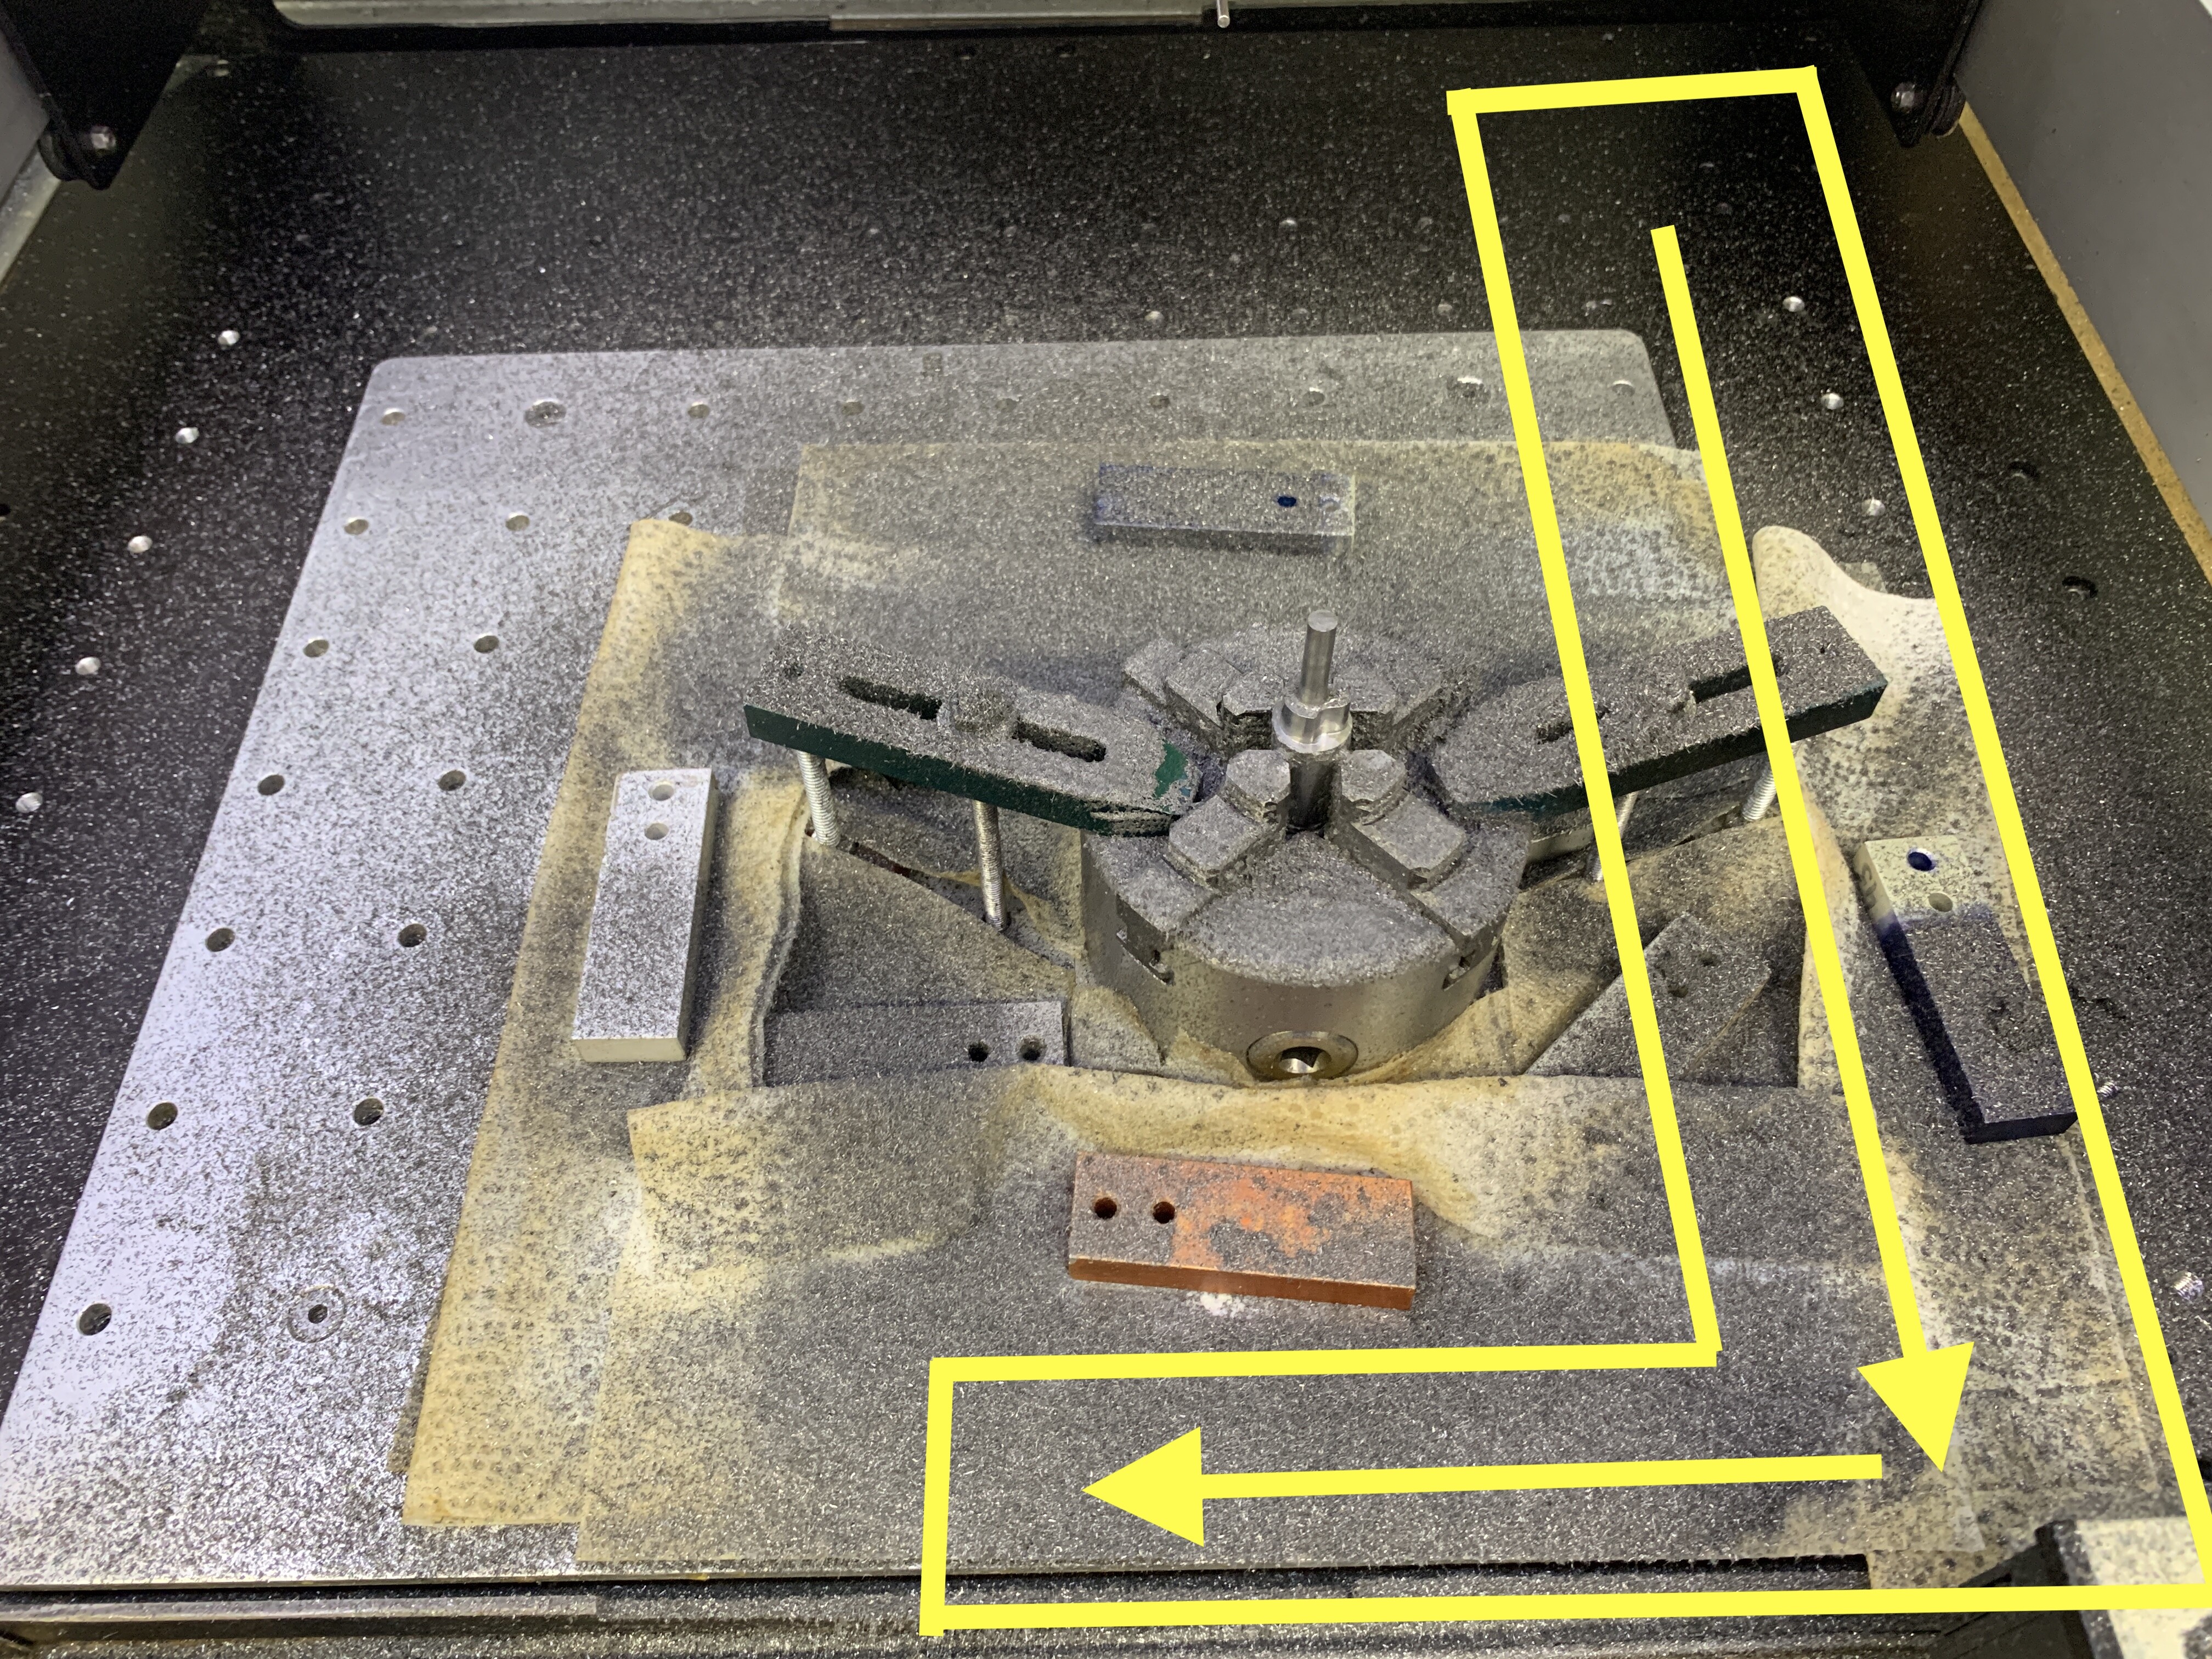
Not yet, but it hasn’t been used much since the part that I have been running for the last week is just a little too tall (so it doesn’t fit under the Z). Meaning I can’t let the machine do it’s crazy rapid move to the front center without crashing into my part. Grrrrrr. I wish I could decide WHERE the tool change position was located.
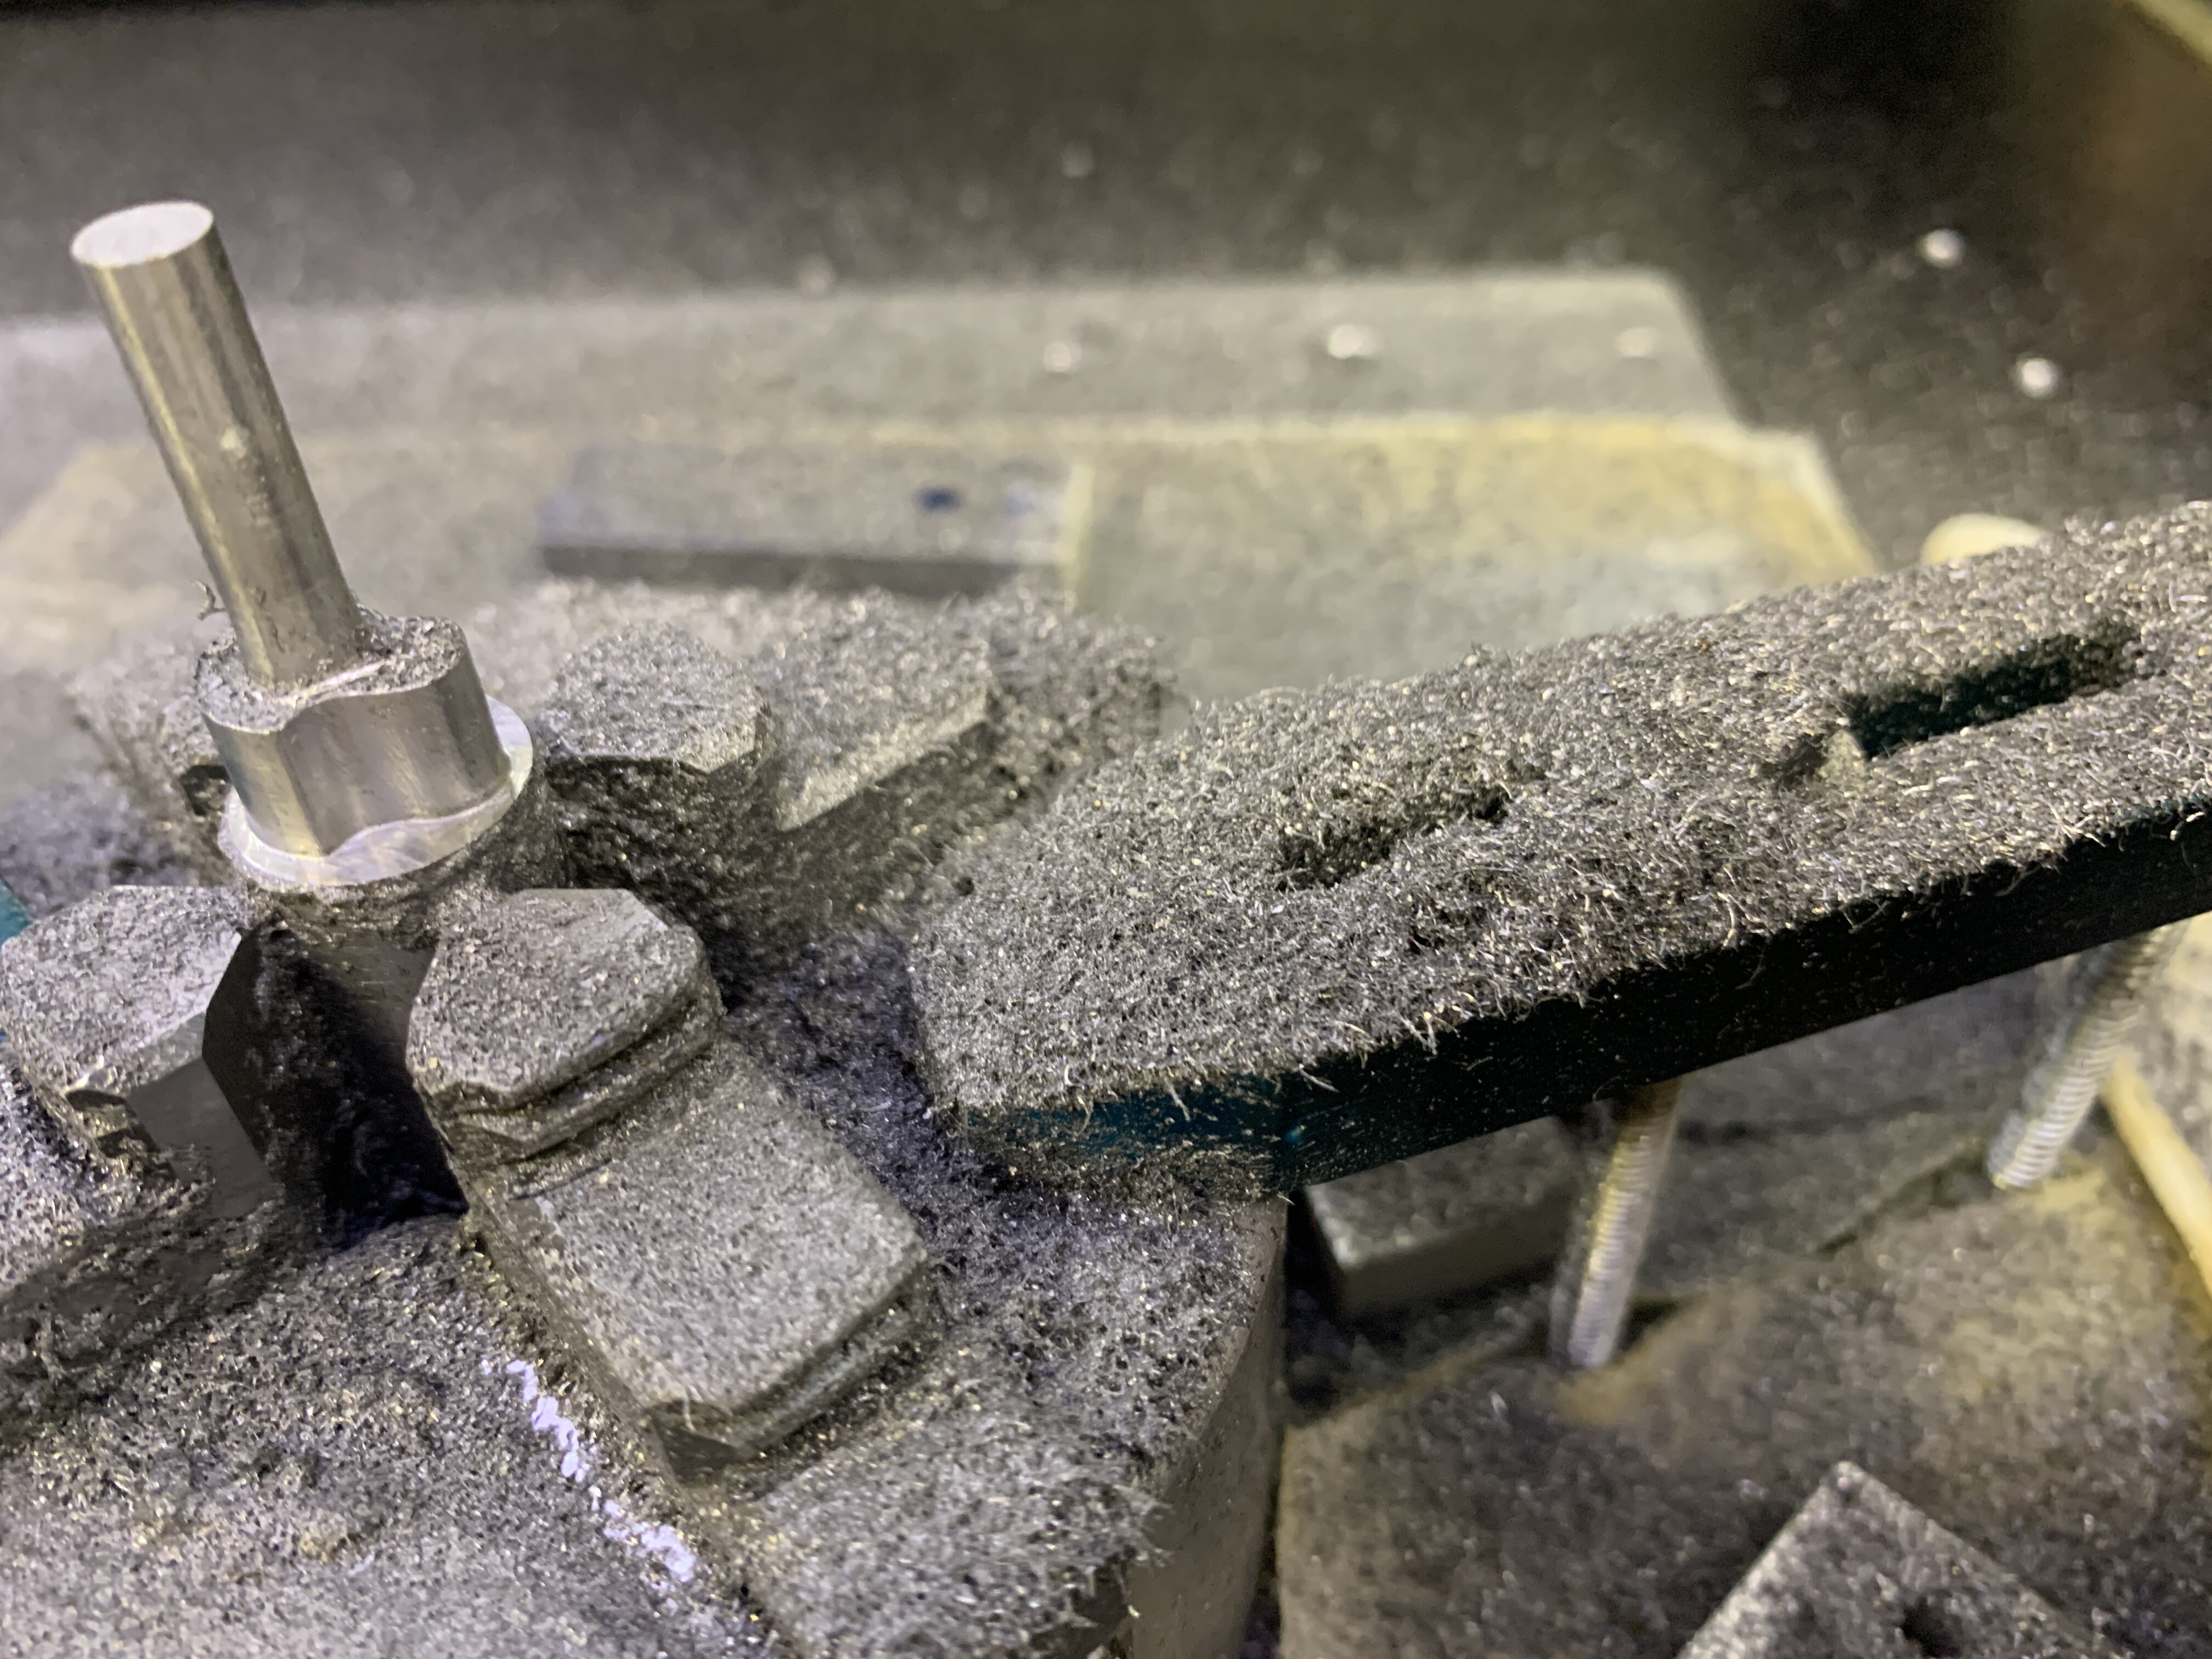
Roughing out five mini crankshafts out of O1 Tool Steel: (So messy)
EDIT (ADD) Yes I know that the Tool Length Sensor is going to rapid to the Front Center, but as a new user, I just plain forgot to setup my part in the New Safe Zone. My Bad.
CM’s fixed method / points has pissed me off many times and that’s one of them. I have to really think about the damn machine’s behavior more than anything else before I do anything. It isn’t always possible to make everything low-profile, and there’s no way out of it once you discover an interference.
I agree this is a significant “but why?” issue. I mentally map my machine’s area into “places I cut stuff” and “places out of bounds”. Having CM respect this would be terrific.
I don’t know about the person you replied to but I do this as well. Yes I have had it be incorrect when I check it after the change. Usually it is good but it happens enough that I am religious about checking. Usually the errors occur at the beginning of the project. I will set zero, load the nc file, start, it comes forward and says to change the bit, I usually already have the right one in but sometimes not, It goes over and checks the “new” bit and then is usually 10mm off or it is dead on. I still have not figured out the exact reason for this but my solution is stop the job, which technically has not started, and re-initialize the machine. I then bring it back, set zero again and start the job, this time it works fine. It always keeps x and y fine but z is off sometime. It is not consistent though. I would be happy if I could resolve it but it also has just become part of my workflow to check just in case.
The machine will always do what you ask for, even if the result is unexpected! WTF moments are a part of learning the machines bad manners! Note here that I have zero experience on the CNC side, but many years with CMM programming! The results are the same, only the curse words change! My turn is coming no doubt!