That’s what I’d recommend. Make sure you have a fixture to keep the board in place.
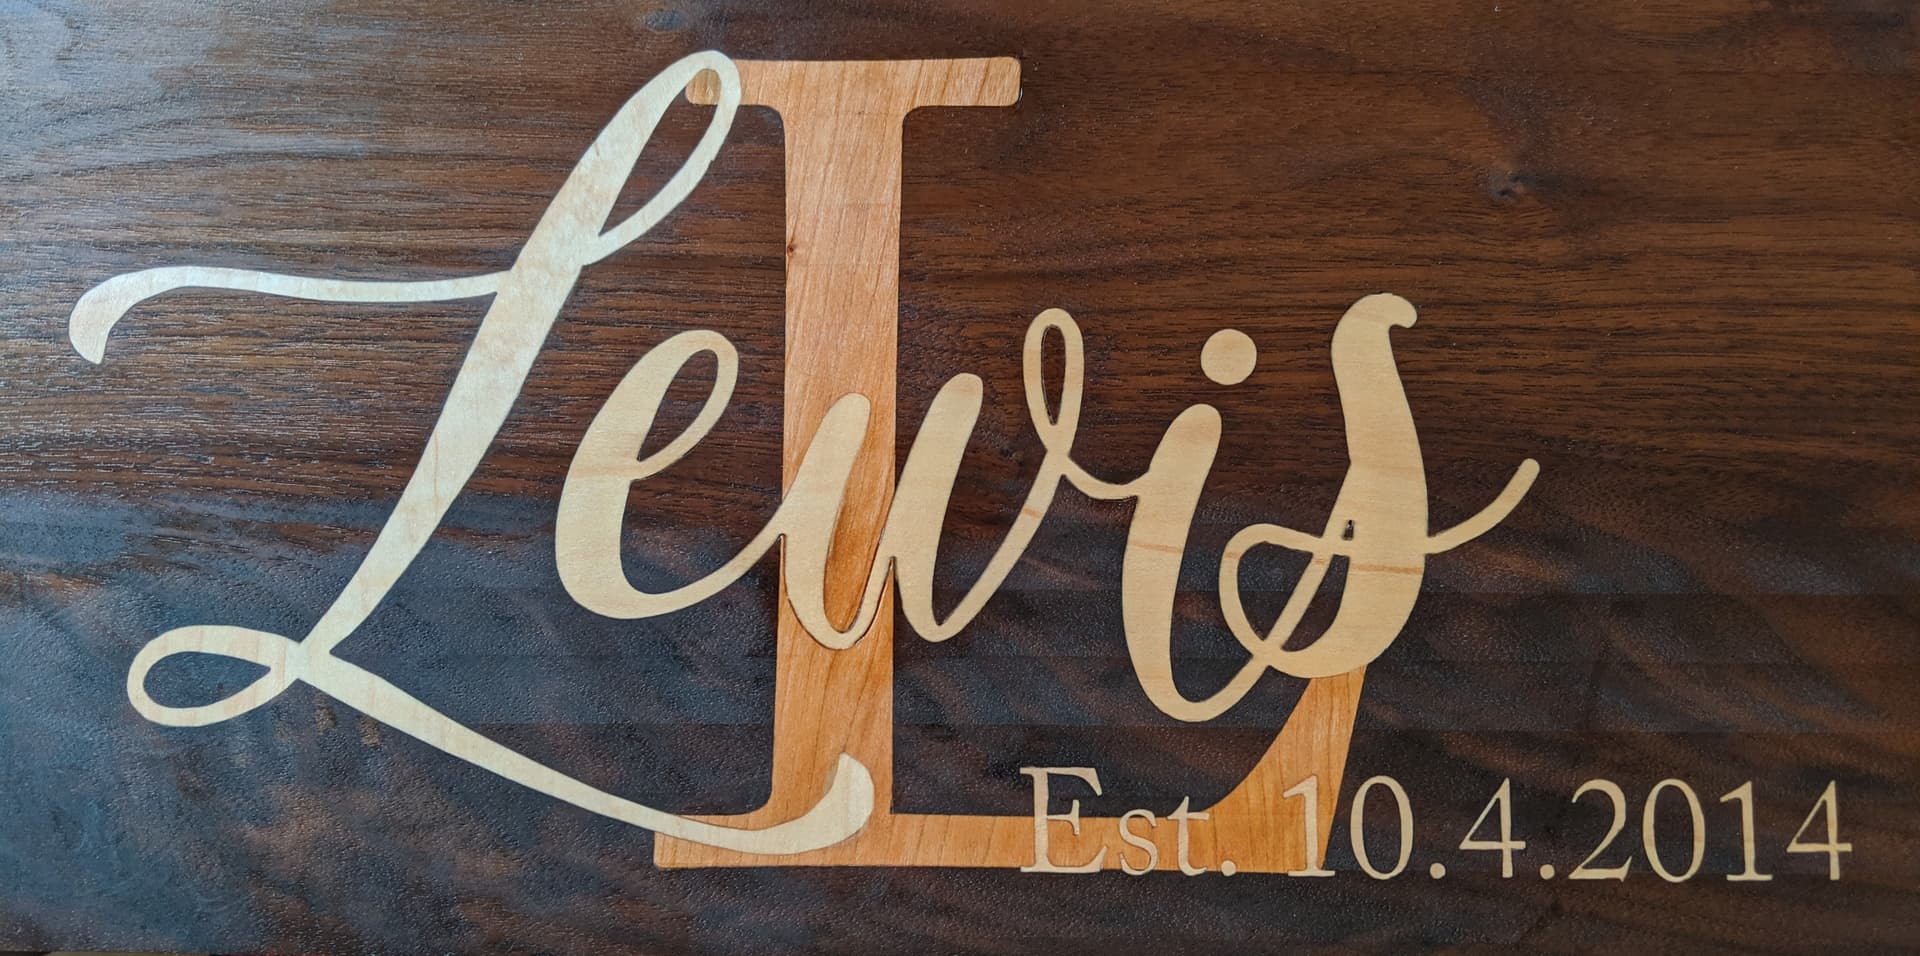
Here’s an inlay in an inlay I did. Maple in cherry in walnut.
7 Likes
So using the picture above. The large, single “L” was inlayed first completely. Your suggestion about having a fixture to keep the board in place I assume is because as I do each inlay I’m going to need to remove the board to cut each species of wood as I work my way through.
Once again, assuming you did the big “L” first. That operation was done completely. Meaning you cut the pocket for just the “L”. Then you cut the inlay for the “L”. Then you glued and clamped them together. Then you milled the excess off until it was flush to the surface. Once all that was done you moved onto the word “Lewis” and the date?
In this example it’s pretty obvious how the letters are stacked on each other. In the image I plan on inlaying all the different woods are on a single plane. Meaning they all butt up against each other rather then pass over.

Attached is the picture I’m looking to inlay. I plan on using a dark walnut for everything that is black. Maple for everything that is white and cherry for everything that is grey.
So following what both of you have suggested. I would inlay the entire image first with walnut. Then come back and inlay all the white and grey areas with maple into the walnut. Once that’s complete come back and inlay the cherry into the maple. Which would be all the grey areas.
Being that I will be moving the board I’m doing all the inlaying in that’s where the fixture comes in because I’ll need the board in the exact place each time I start the next inlay otherwise my image will look like a bad fitting jig saw puzzle.
Thanks you both for your suggestions.
1 Like
One thing I left out of the above steps, incase anyone else is reading this. I will need to make three versions of this image file. One that will cut the entire image for the walnut inlay. A second one that will just cut all the grey and white areas for the maple inlay and finally a file that will cut just the grey areas for the cherry inlay.
I will use a Advanced V bit operation to cut these.
The background is maple, correct?
I’d:
Cut inlay pocket (as if doing one inlay)
Cut inlay plugs.
Glue in walnut.
Surface to within a mm or so.
Glue in cherry.
Surface entire piece.
1 Like
I thought about doing it the way you mentioned but as I ran it through my head I thought about the possible problems that might acurr.
Not sure how to explain this. If I cut the entire inlay pocket first then install one inlay at a time I would run into a fit problem. One because only the last inlay will have a pocket that incompetences it all the way around. The other inlays won’t have that so when I glue and clamp them in place they could shift and depending one how much pressure I clamp them with the could over lap into the space of the next inlay causing that inlay not to fit well.
if I could put glue in the pocket and install and clamp all the inlays at one time they would probably all squeeze together as I clamped them down into the pocket but since I have to glue them one at a time I could not do it that way.
This topic was automatically closed after 30 days. New replies are no longer allowed.