My drag chains keep falling off of my XXL. I’ve tried new adhesive pads and they don’t last very long. I’ve debated tapping into the rails and screwing the loose end to the rail. I’ve seen some use aluminum U-channel, which might be an option. I thought I’ve seen some nifty 3D printed parts to help with this too. What’s everyone doing, or am I the only one with this problem?
2 Likes

A few 2-3" strips of HD Velcro placed in the right spots works well. Have this setup since assembly, haven’t had any issues. Just make sure you can go all the way to the left with the spindle without binding. Excuse the mess I rushed some work right before surgery and am not allowed to lift anything for another 2 weeks… ugh
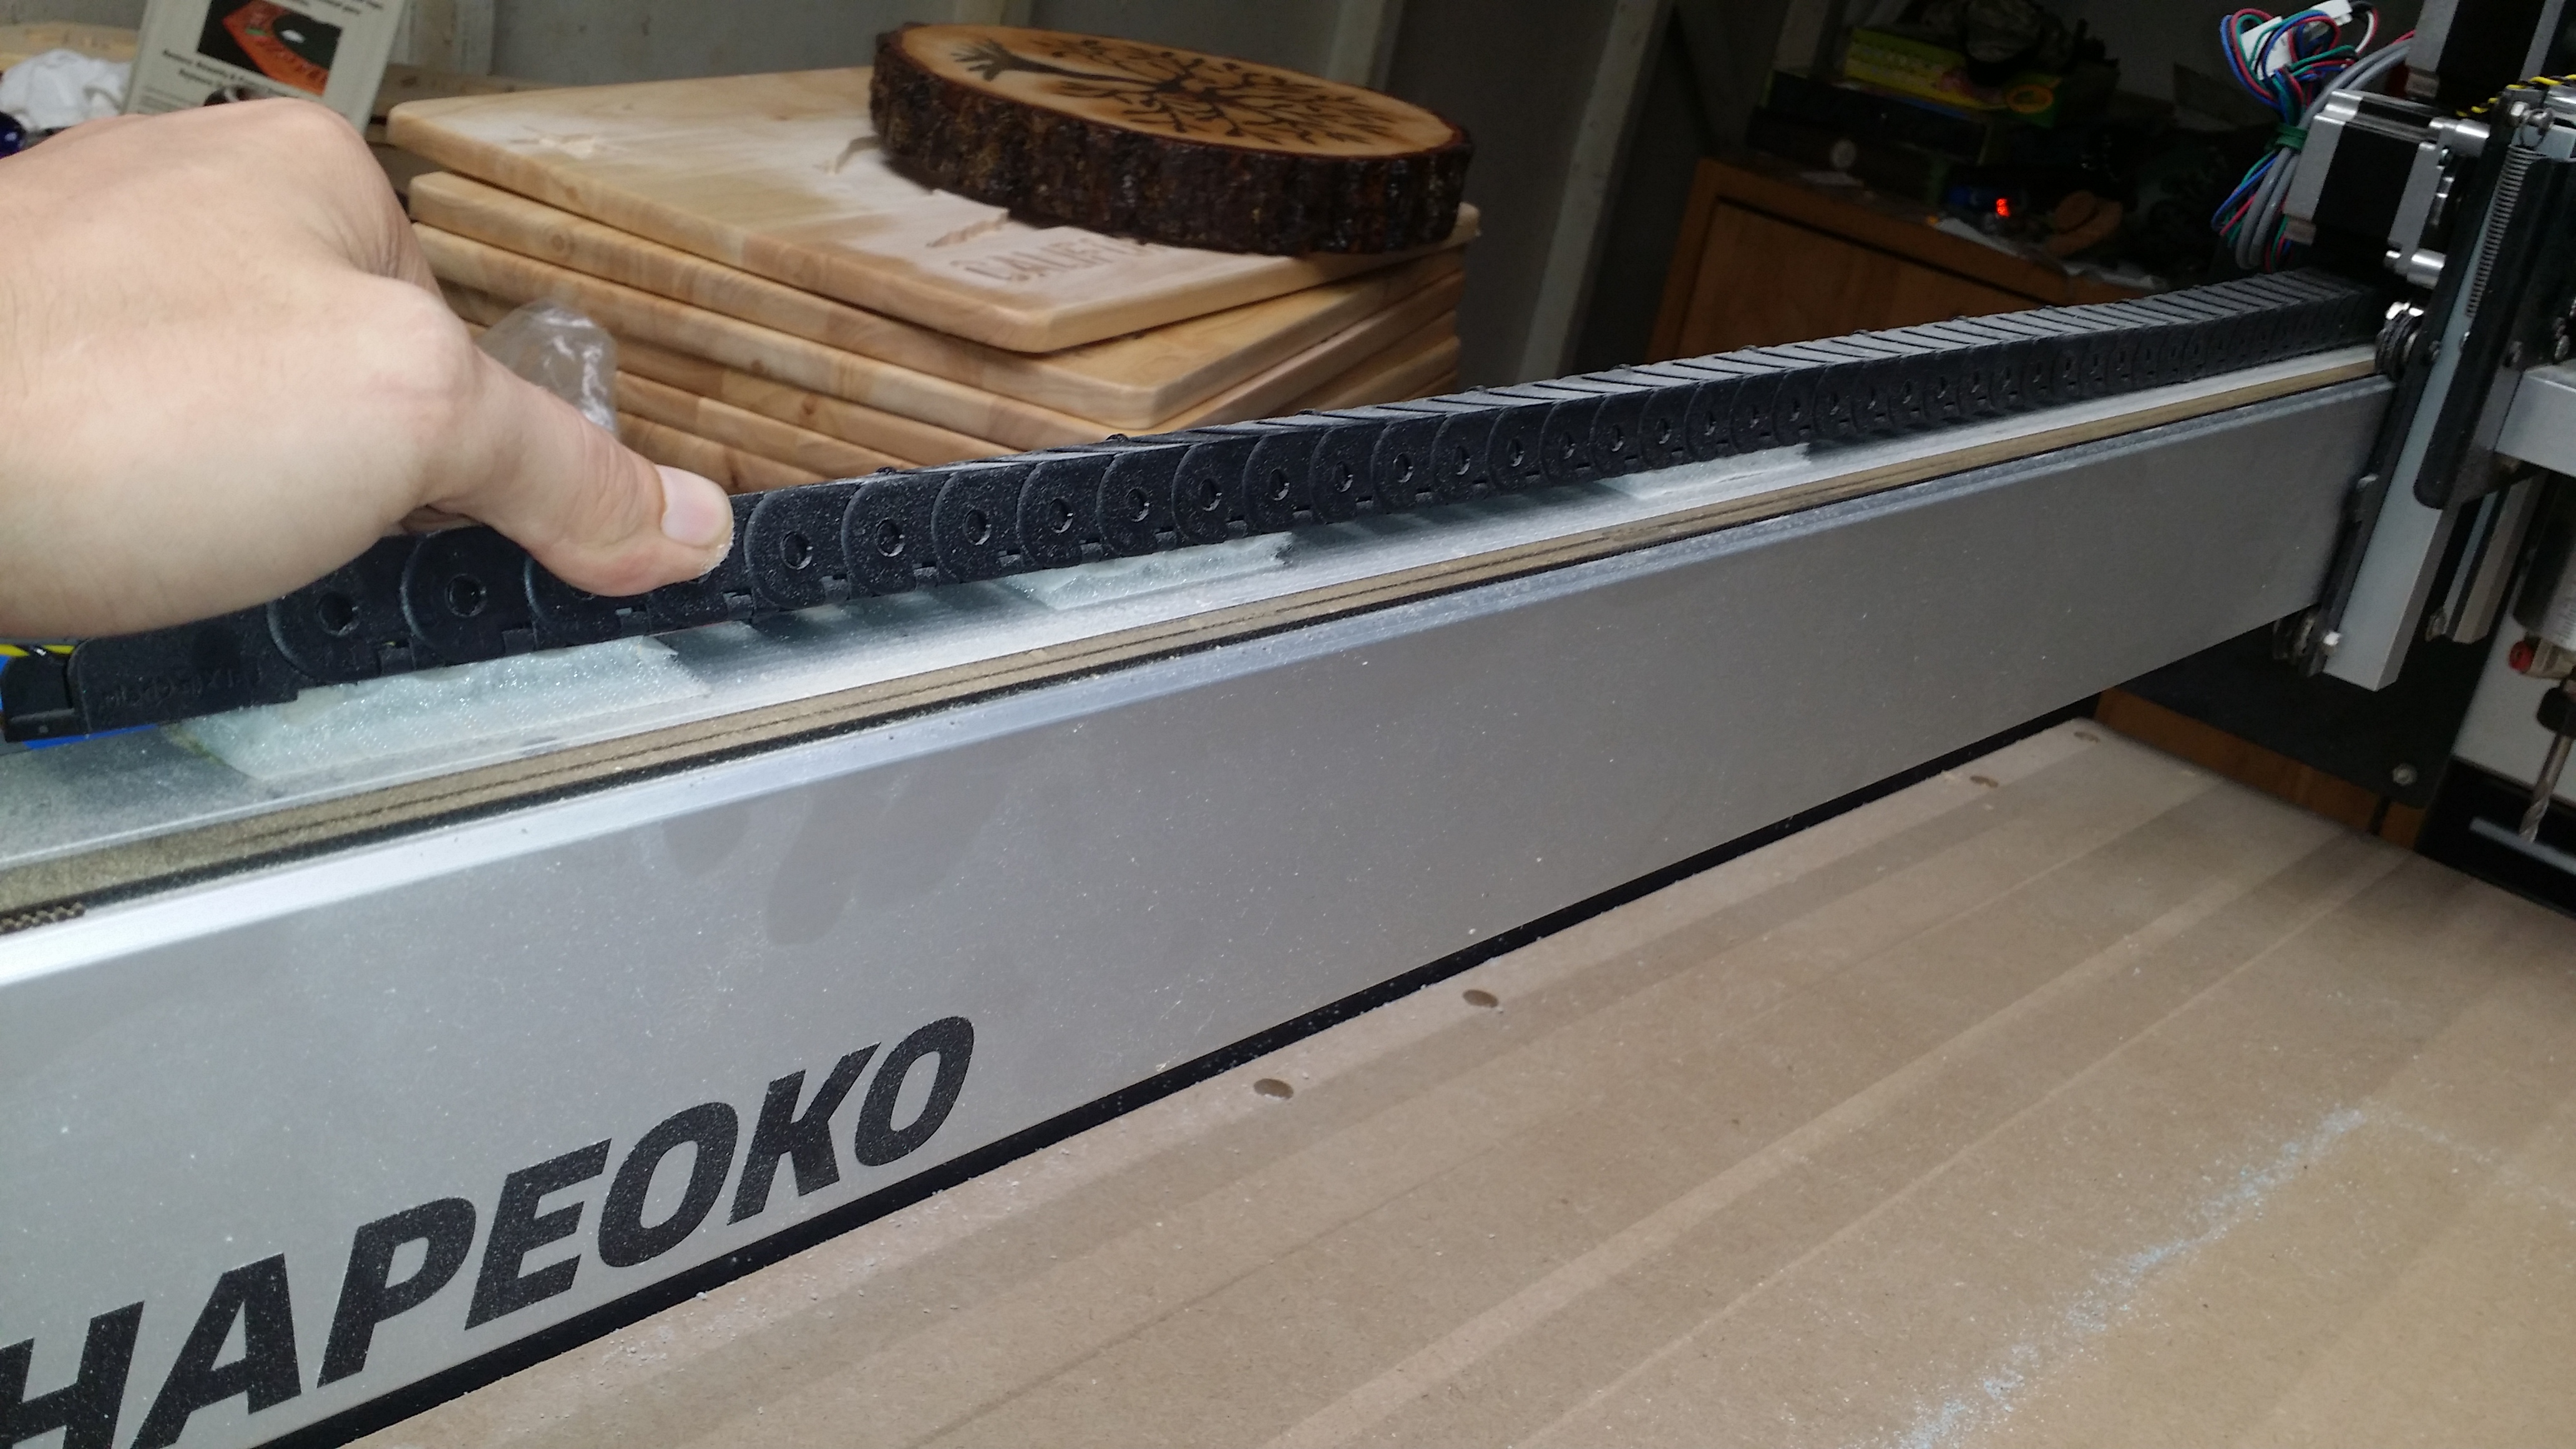

As for the X axis I put a strip of the same velcro parellel to the extrusion rail on the controller. This allows the x axis to travel full range without ever binding. Also allows for easy removal when needing access to controller during maintenance or upgrades.


3 Likes
Drilling and tapping holes is probably the most expedient — #4-40 for Imperial, M3 for folks who want to be consistently metric.
2 Likes
mjmike69688Michael
Wishing you a speedy recovery.
2 Likes
My X-axis drag chain has at last freed itself from its VHB tape, as I knew it would eventually do. And that’s even with me skipping the small, thin pad that came with the kit, and going with the most appropriate (and significantly larger area) VHB tape I already had at hand in the shop. I’m planning to affix the end of the drag chain with some nice, quality hot glue this time.
(I certainly don’t have to worry about it becoming cold enough to release hot glue, and it’s not quite hot enough in my work area to remelt the high-temp stuff.  )
)
I bought my Shapeoko used and therefore already assembled. I too had the gantry drag chain keep falling off and I cut some 1" X 4" long pieces of wood and used double sided tape to secure the blocks even with the top surface of the gantry. Since then I have not had the drag chain fall down. Since there is very little stress on these blocks the double sided tape has not come loose. My left side drag chain does occasionally fall down because the original owner did not secure the base of the drag chain in the correct spot. The blocks will not work for the side drag chain due to the movement of the gantry. I did try to stick the base of the drag chain to the controller cover but due to movement it will come loose and then the drag chain flops around and can fall off the side of the machine. Since it is infrequent I have not addressed the issue except by picking the drag chain up and putting it back in place.
I drilled holes into my rails and used pop rivets. Not as easy to remove as a screw, but it’s definitely not going anywhere. If I need to disassemble the whole machine, it’s not a big deal, to me, to leave the brackets in place and just remove the rest of the drag chain.
1 Like
My 3M tape went Tango-Uniform shortly after first cut in spite of meticulous prep. Harking back to my medical days, a quick trip to the drug store and now I just hope that I never need to remove it.
Tincture of Benzoin spread on mating surfaces is allowed to fully dry (do not touch!) And then the double stick goes on. Once contact is made with mating surfaces, it is perminent.
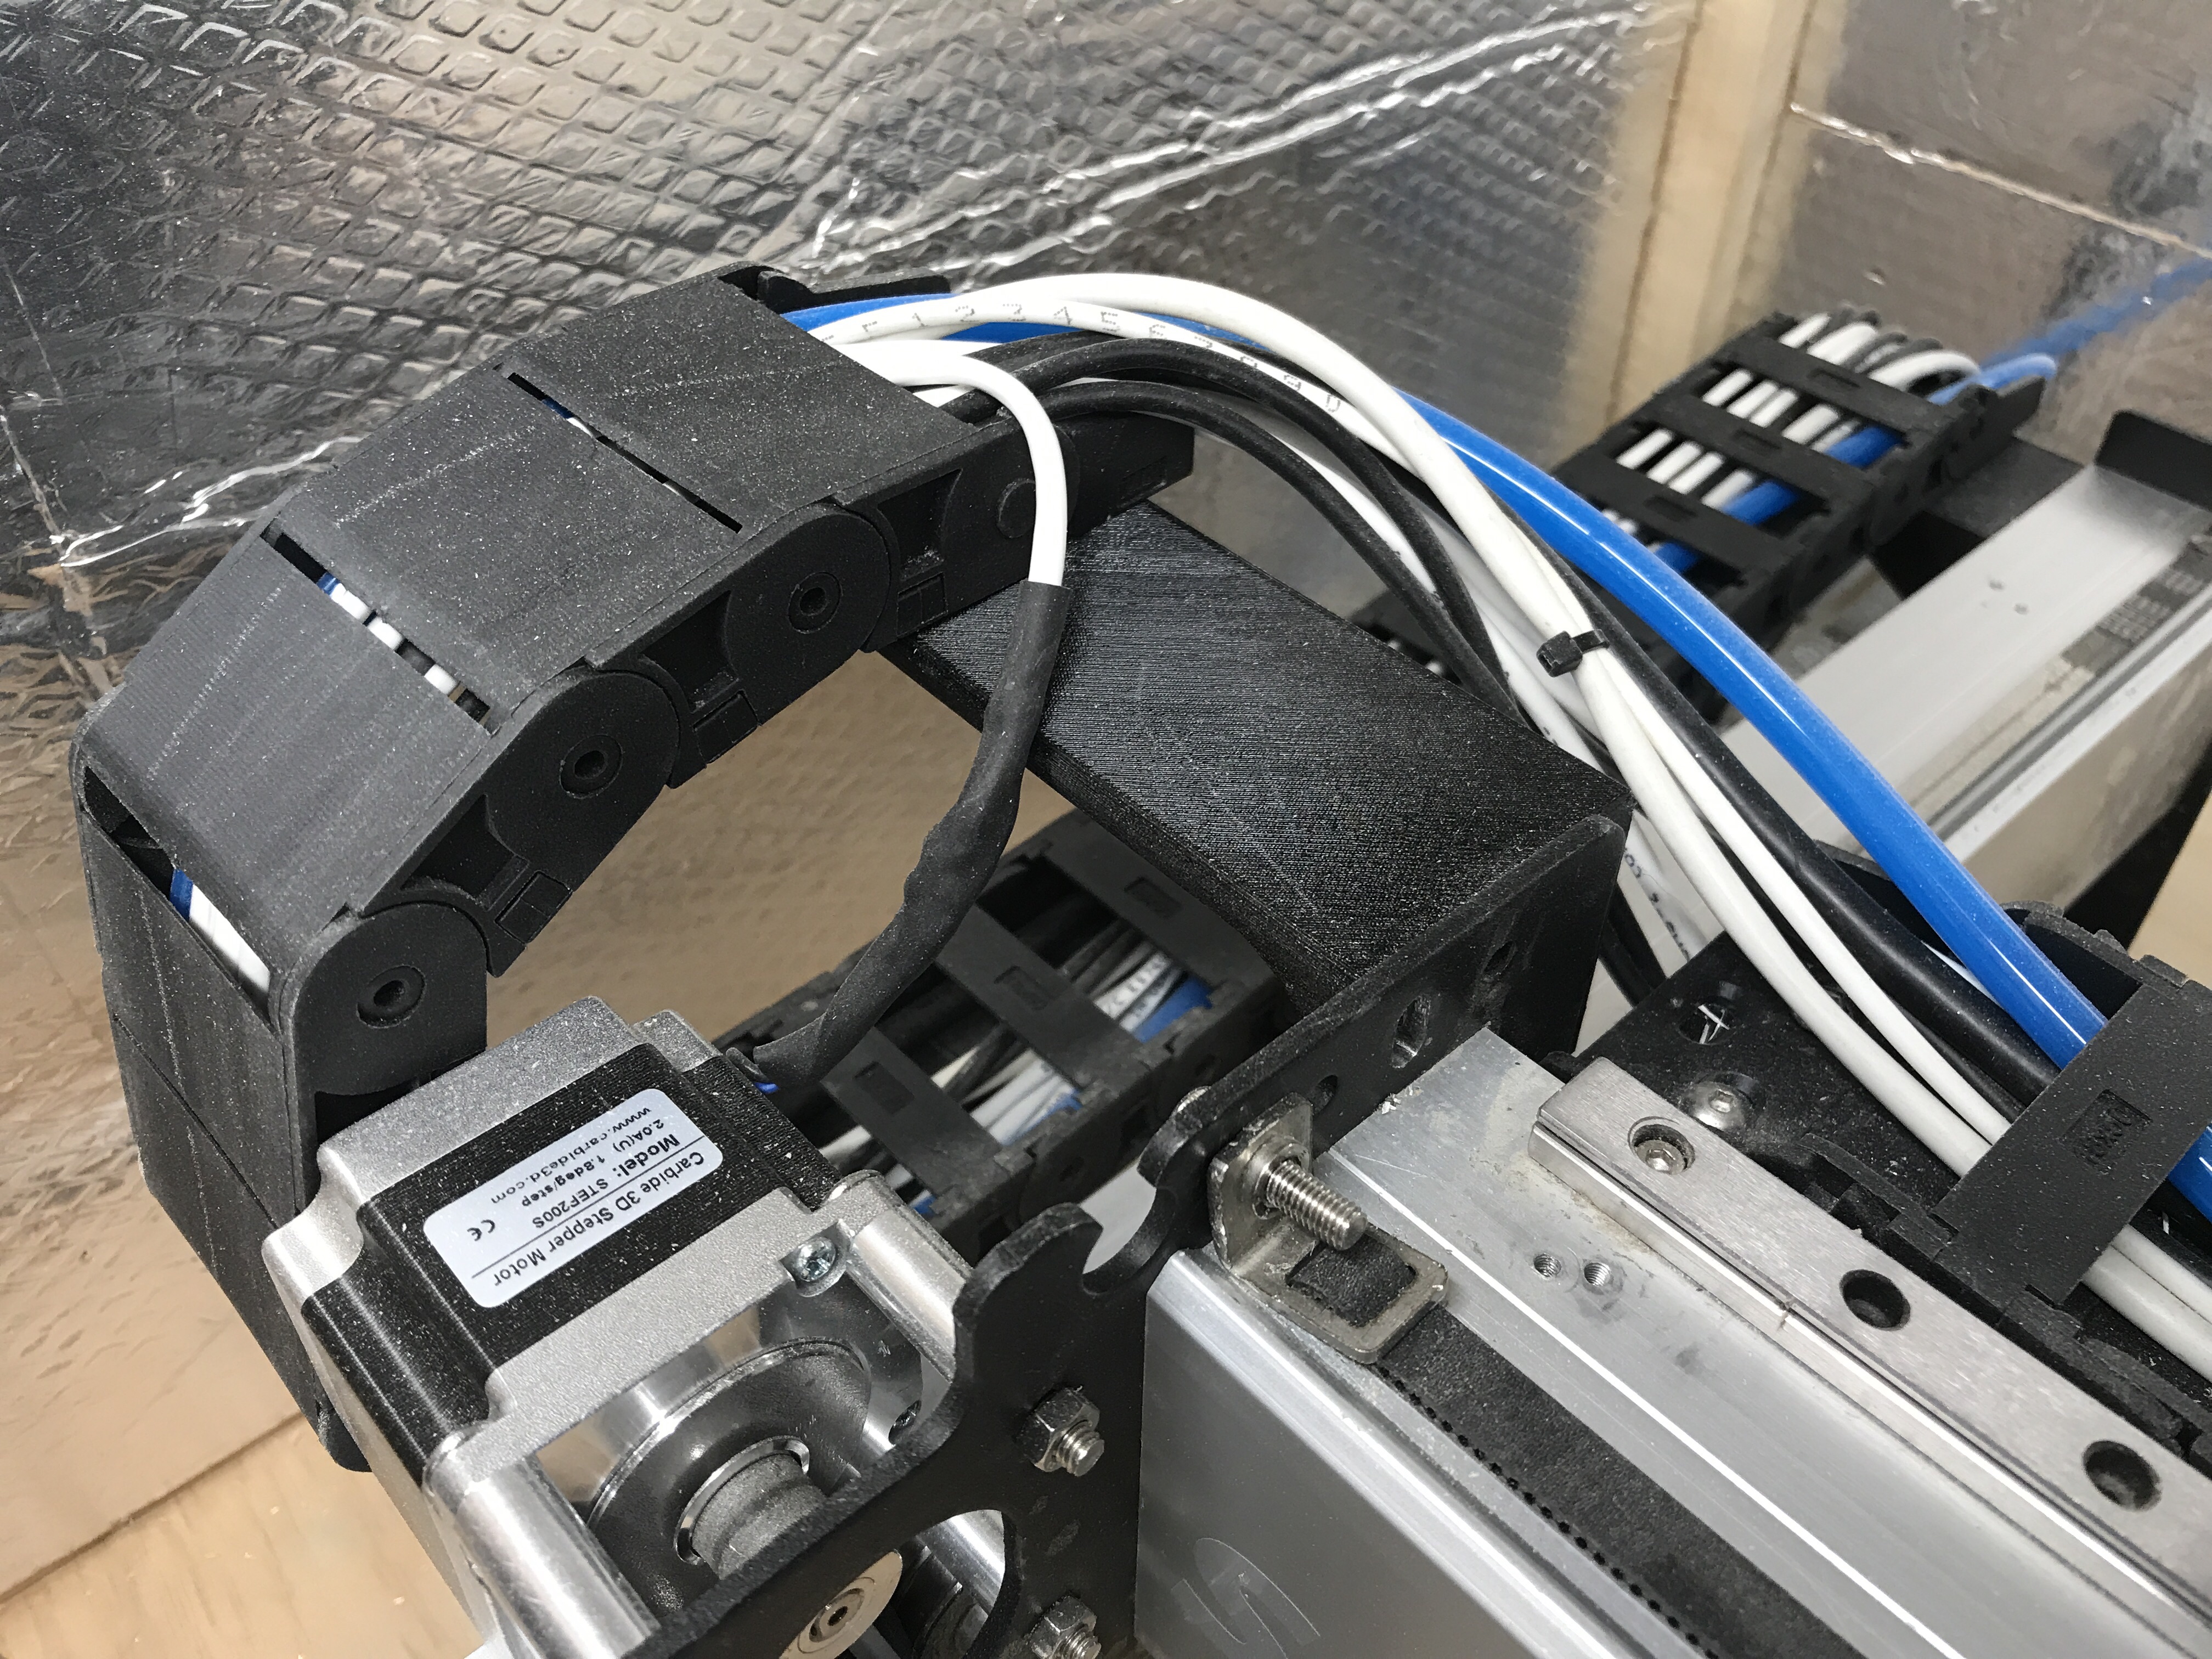
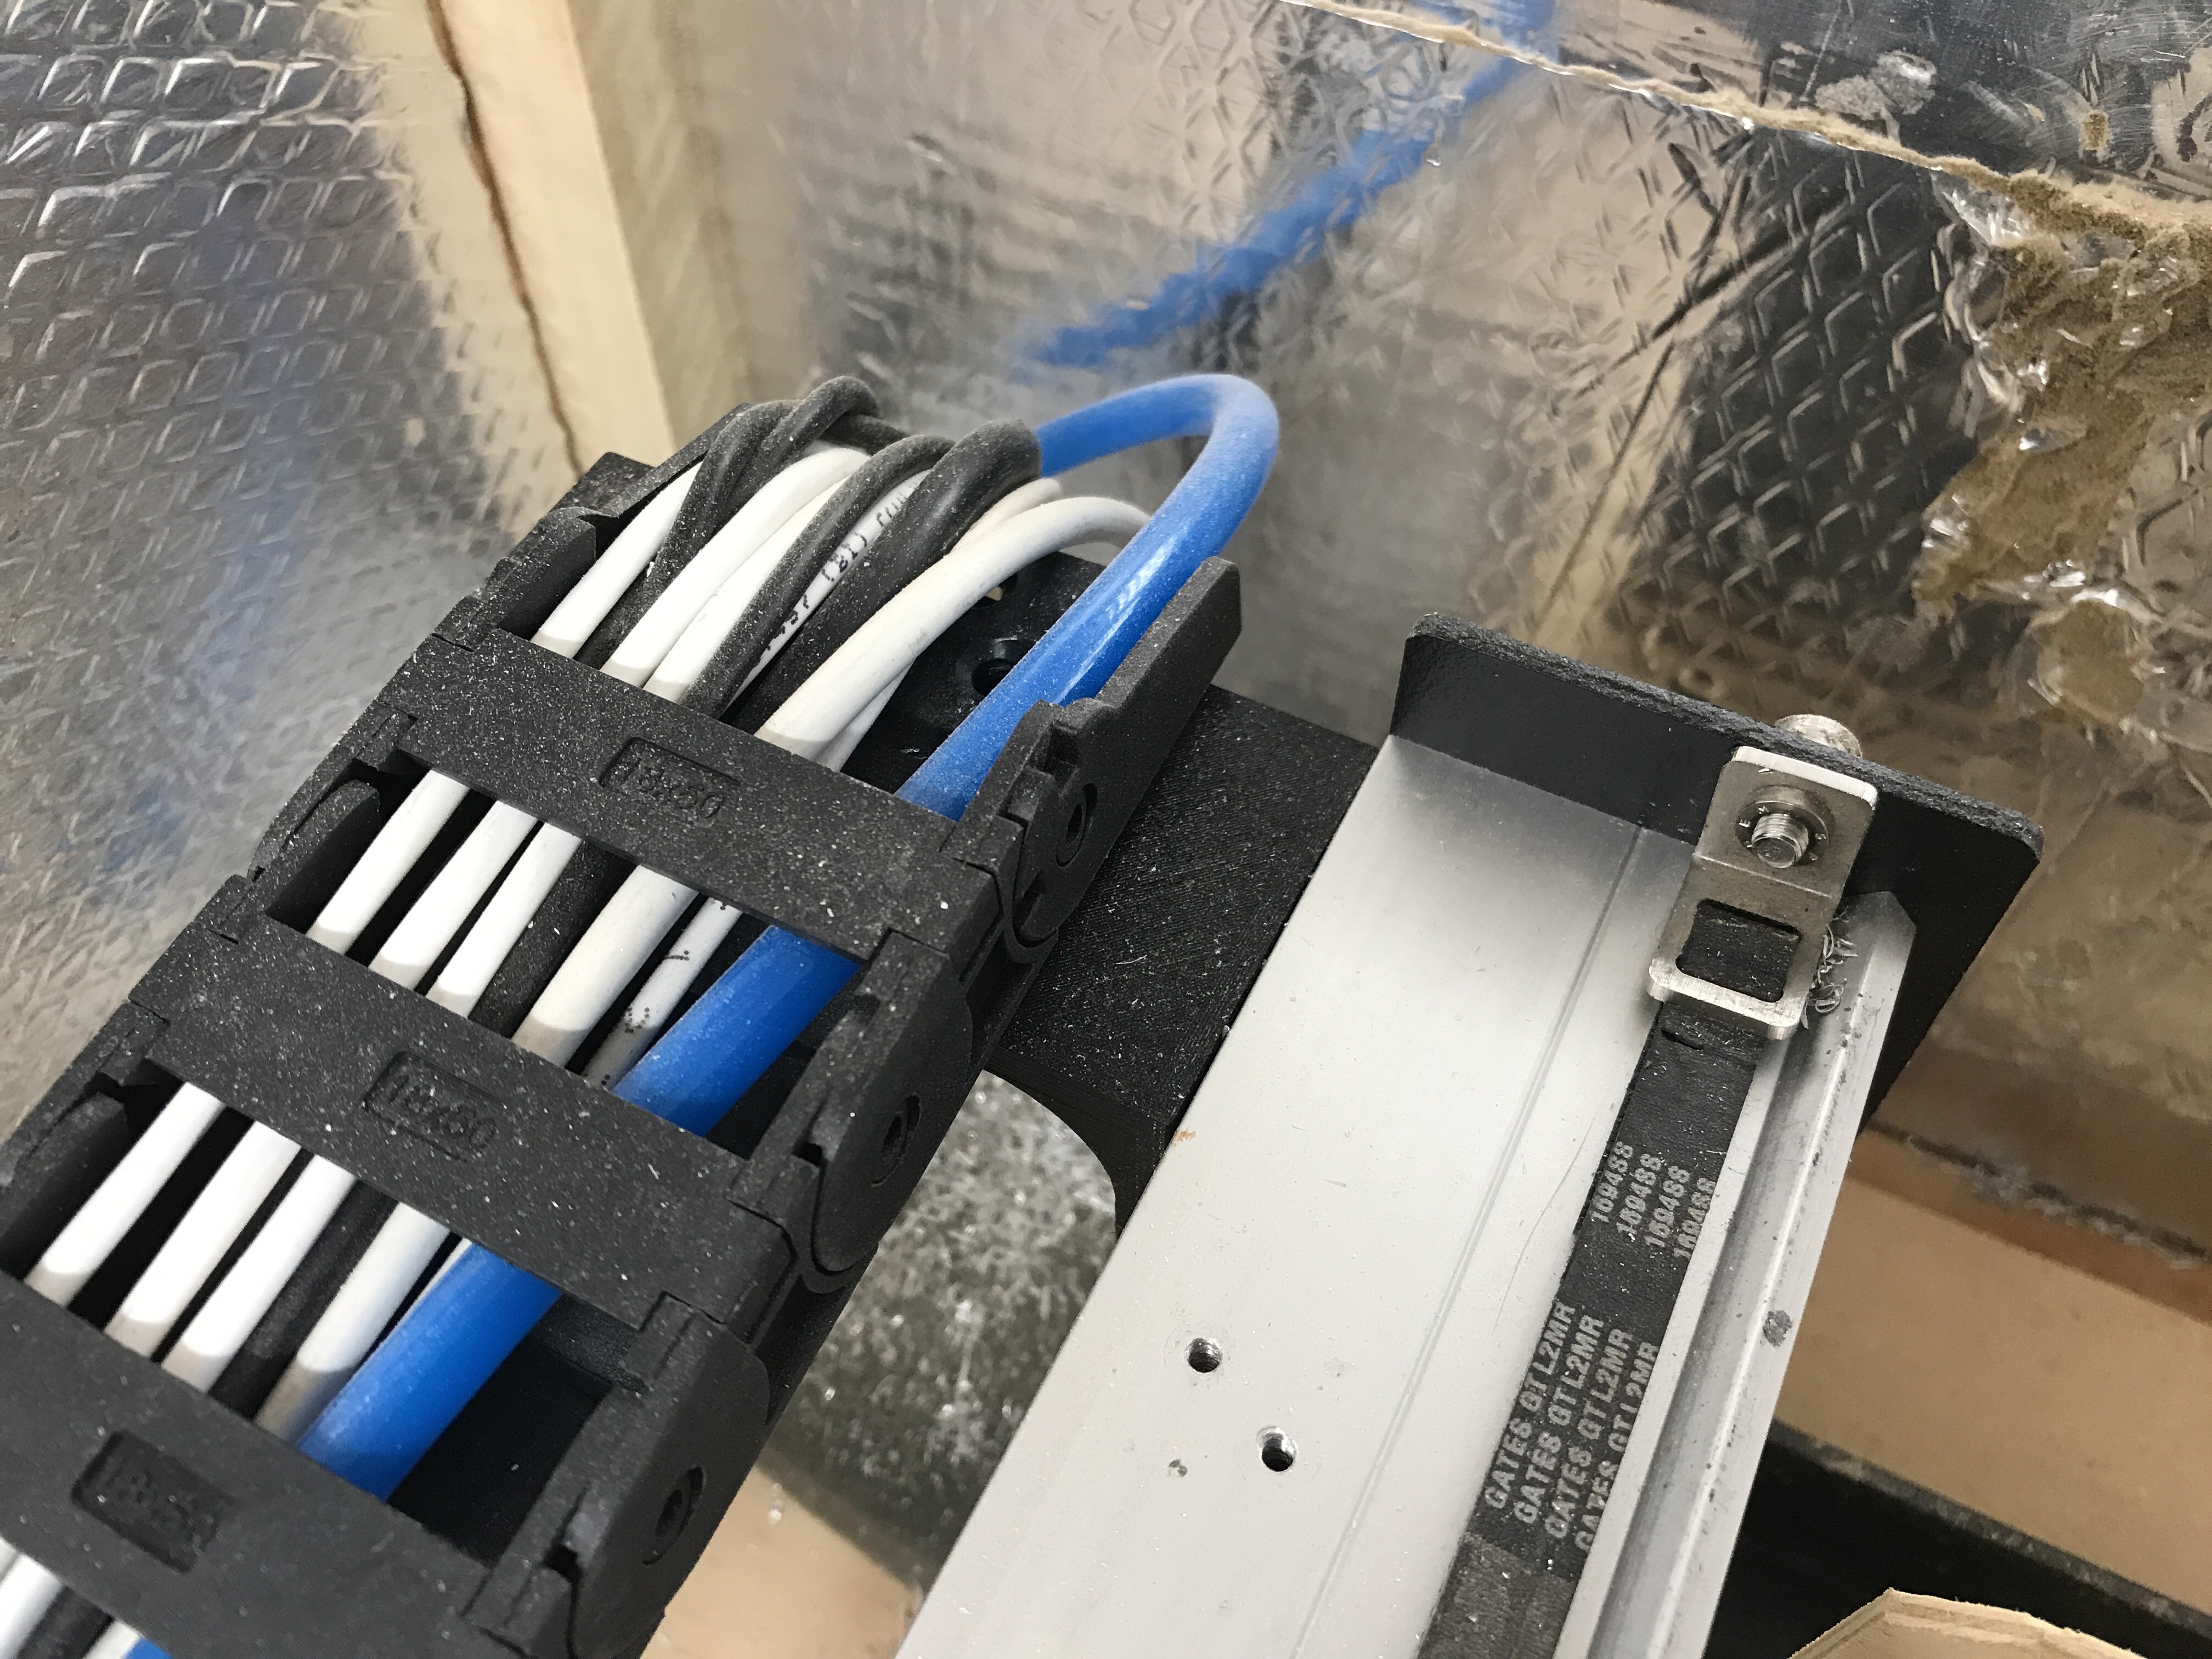
For the X axis - used a bit of aluminum angle from Home Depot with a full length strip of 3M double sided automotive tape. This helped aid the alignment of the link to the Z mount. Then, I bolted the drag chain link to the aluminum angle.
For the Y axis - drilled and tap the Y axis extrusion to mount the end of the drag link chain. Alignment here was great.
The supplied tape has poor retention to the drag chain link, even being meticulous with prepping the surface and compressing the tape to ensure complete adhesion. It’s just a small area of engagement.
I would probably do it again by making a couple large surface area plates of 1/8" aluminum. Drill and tap for M3 countersunk bolts. Then use 3M on the much larger surface area plates to extrusion. This would have a much better chance of holding on.
This topic was automatically closed 30 days after the last reply. New replies are no longer allowed.