The subject of textures recently came up on the unofficial Facebook Shapeoko group.
While Carbide Create has a native facility for this: http://docs.carbide3d.com/assembly/carbidecreate/video-tutorials/#textures for those occasions when one wants total control, here’s how to go about it.
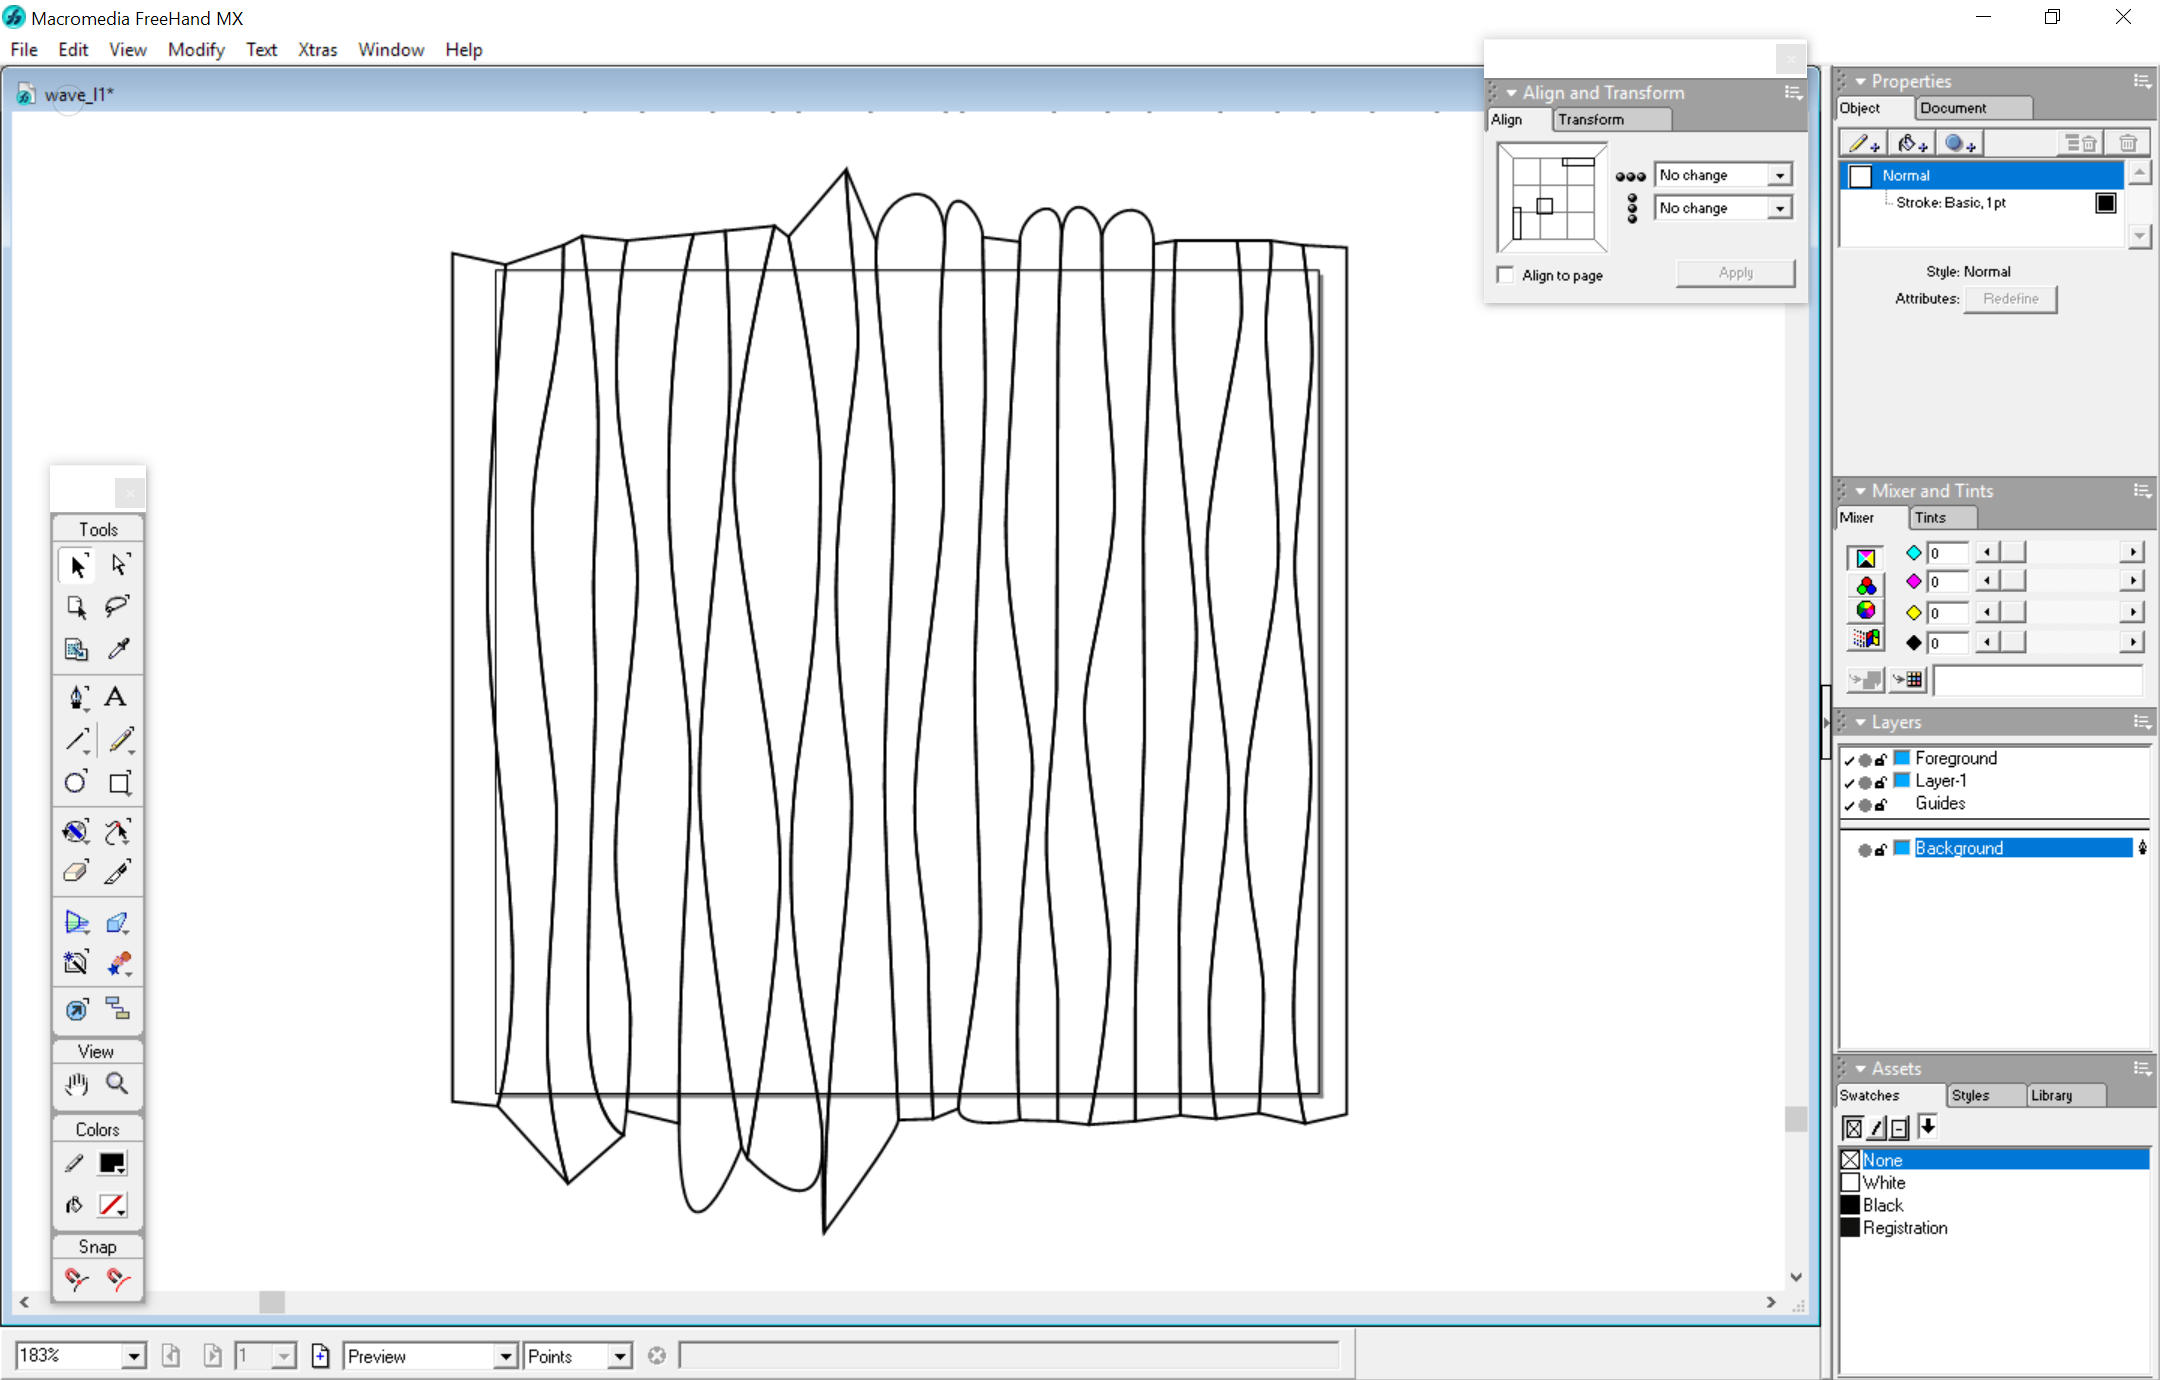
Begin by drawing up a series of paths (this guarantees that the paths will perfectly line up. One could draw in Carbide Create, but one would draw alternating closed paths and would then have to draw in polygon(s) encompassing the interstitial spaces and use Boolean operations to punch out those shapes.

Then clone/duplicate all of the drawn lines and connect them to make closed shapes:
An optional step would be to draw Boolean union alternating sets, draw in a pair rectangles, and use intersection to trim things down so that they fit — the overcutting will allow the pattern to be trimmed to match up with an existing design using Boolean operations.
One issue is that Carbide Create only supports V endmills for the V carving — paths which will be used for this — the previews won’t quite be right, also since CC limits the widths it will carve with a V carving to the width of the endmill (or the depth of the stock) one will have to work matching up a ball-nosed endmill to a V endmill, and the design must be scaled so that its widest point is no wider than the V carving will cut.
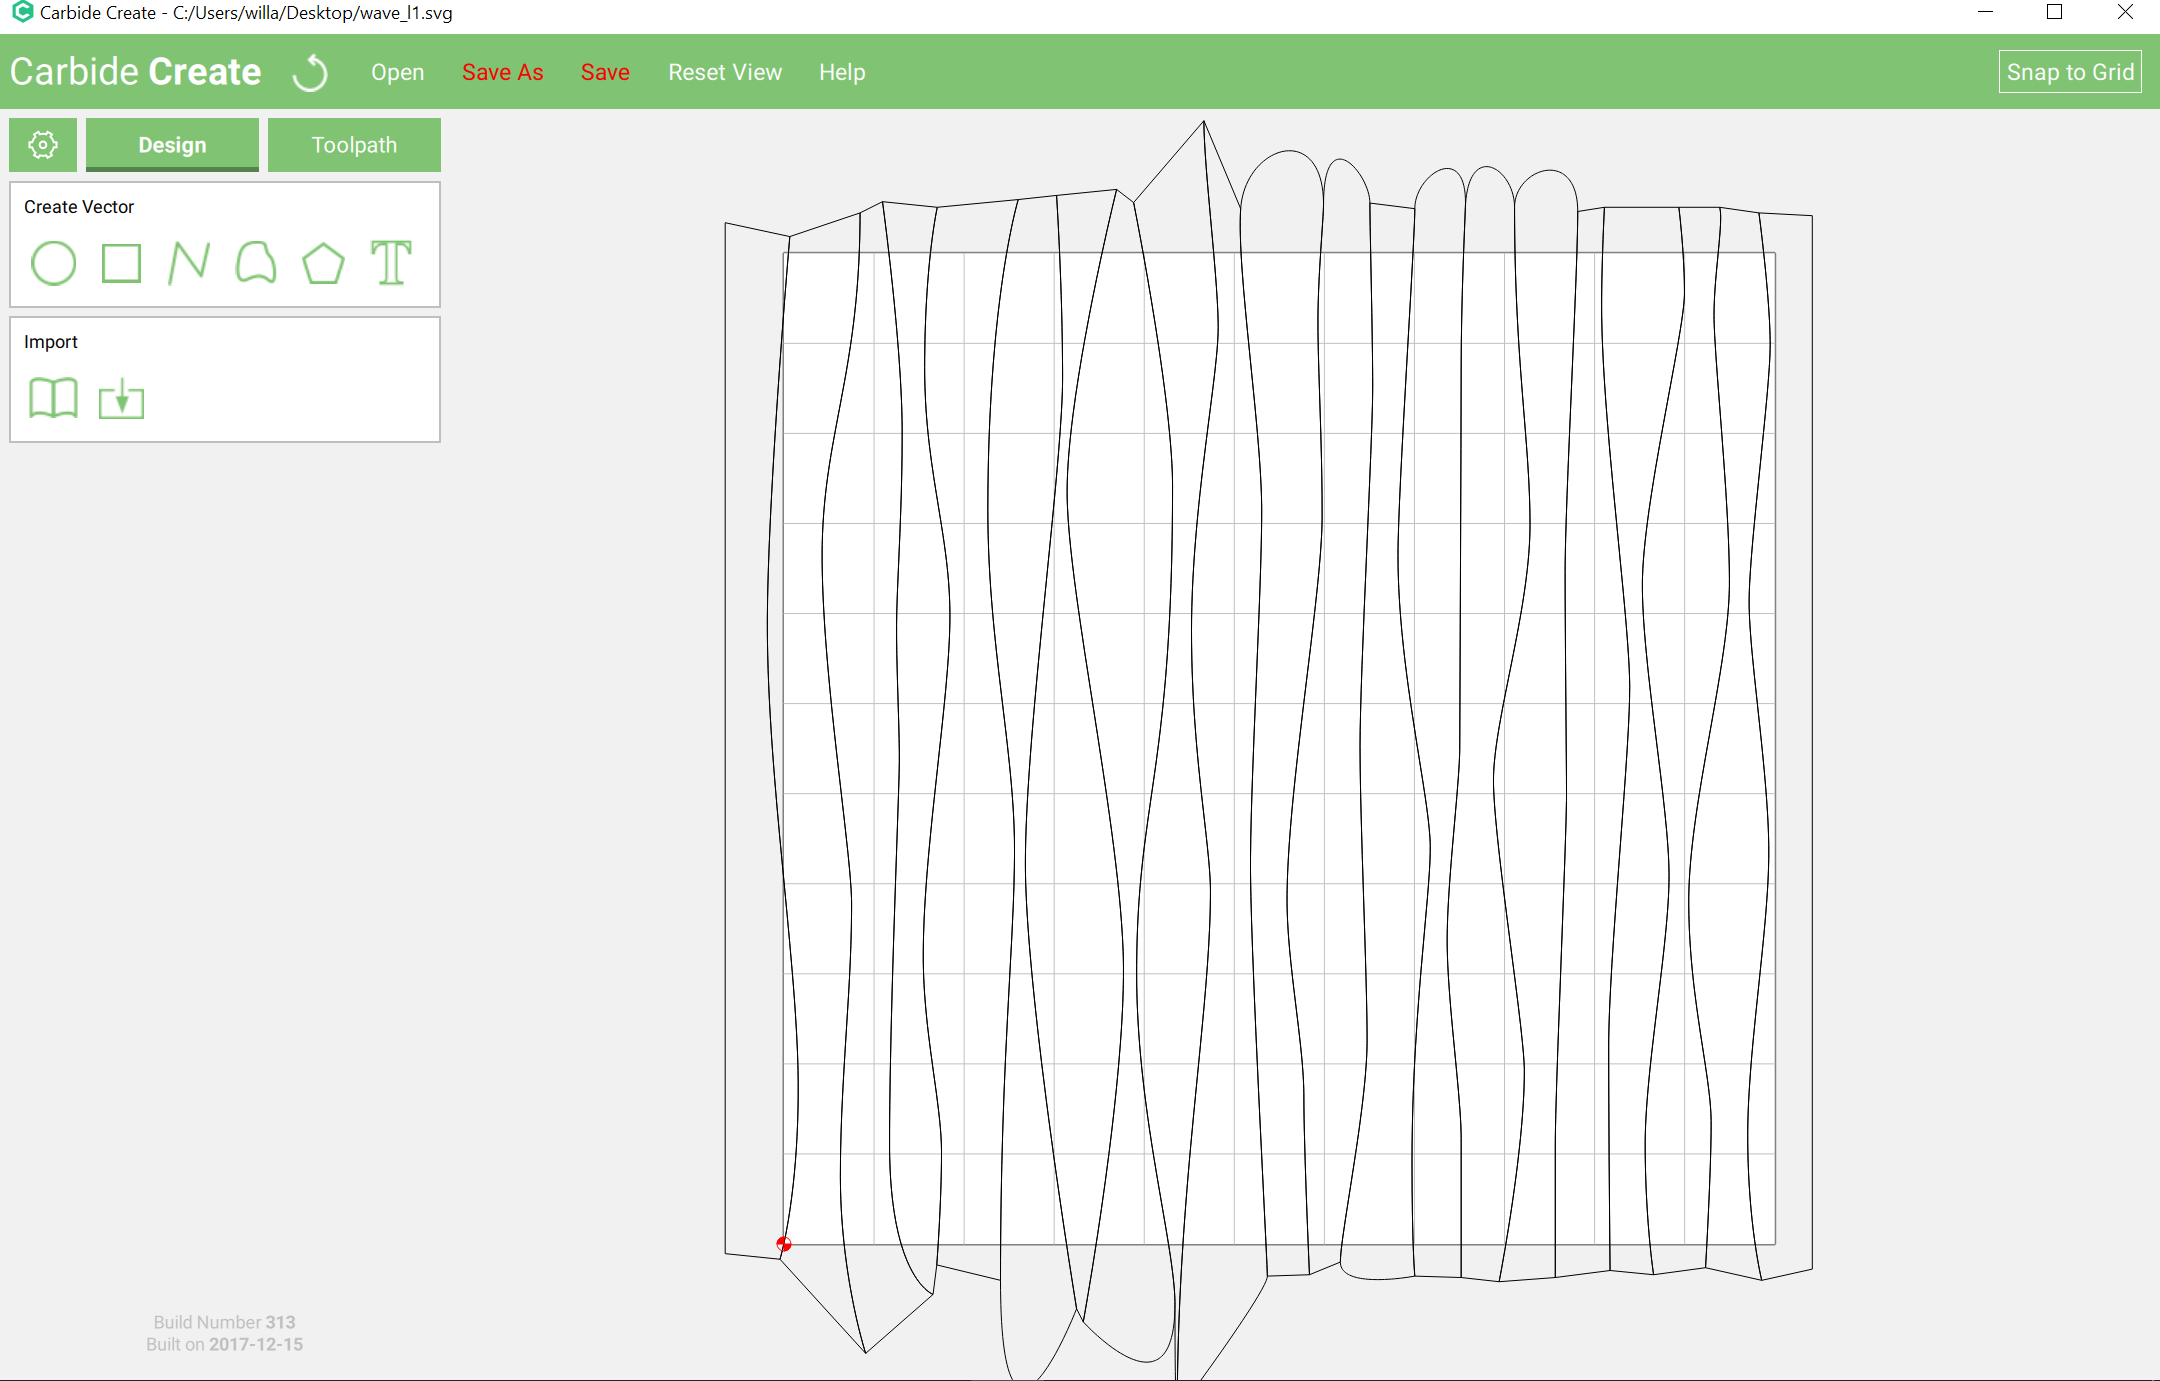
Import the design into Carbide Create:
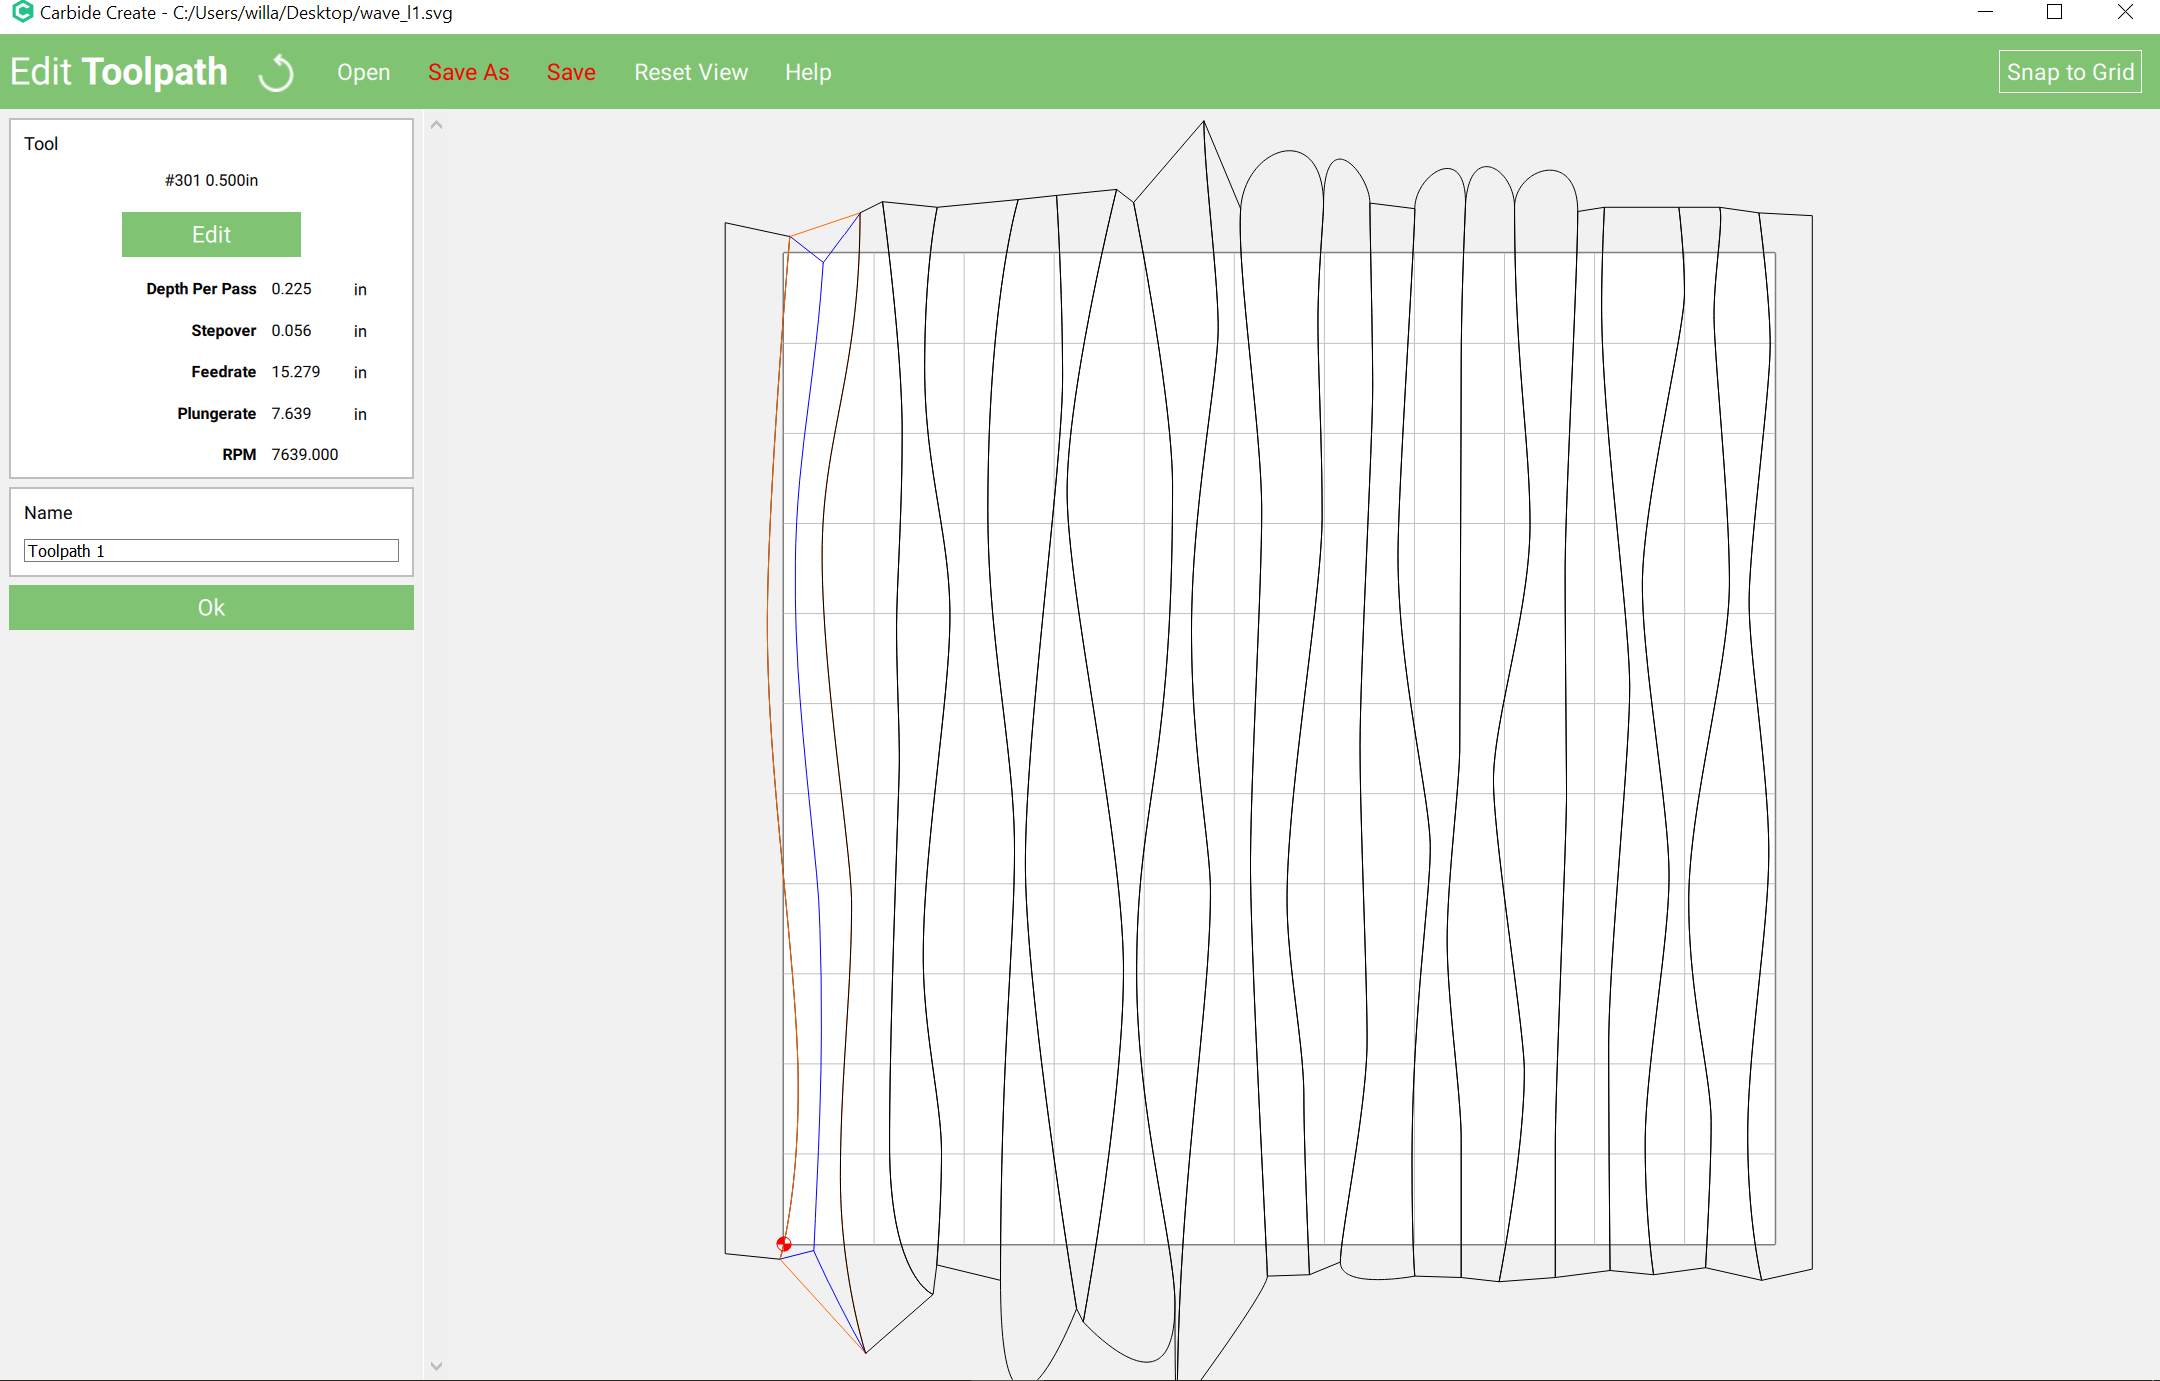
Assign a V Carve to each path, selecting a V endmill which matches the geometry of the endmill which you wish to use:
Repeat for each path to get a file which will preview as:

If cut with a matching ball-nosed endmill the appearance would be similar, but the ridges would occasionally be cut away because of the difference in geometry.
