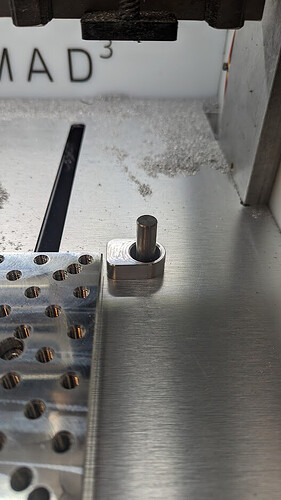
Some observations after using the probe for a couple of days. After measuring the deflection (0.0685mm for my probe), my little user macro can now reliably probe an internal corner in XYZ. The repeatability of this probe is impressive: I believe the main limitation at this point is Nomad’s mechanical precision.
Here is the macro I’m using (sorry for the weird format, but I’m pasting this out of CM’s actions.json file, because CM won’t let me access my macros unless a cutter is connected  ):
):
            "G21",
            "G91",
            "G38.2 F40 X-15",
            "G10 L20 P1 X0.9315",
            "G4P0.5",
            "G0 X3",
            "G38.2 F40 Y-15",
            "G10 L20 P1 Y0.9315",
            "G4P0.5",
            "G0 Y3",
            "G0 Z8",
            "G0 X-5 Y0",
            "G38.2 F40 Z-20",
            "G10 L20 P1 Z9.875",
            "G4P0.5",
            "G0 Z50"
Now, this works really good for X and Y, but not so much for Z. I mean, it does set Z very precisely, but it gets messed up after a tool change. One thing I haven’t checked yet: is it possible that the tool depth probe and my probe are wired to the same input? This would cause my probe to trigger before the tool length sensor and mess up the results. The other hypothesis is that it’s simply the probe’s slight deflection in Z that causes issues, but the errors I’m seeing are much larger than that. I’m still not sure what’s going on here.
I plan to try G38.4 probing (away from the stock) and compare results assuming the Nomad can do G38.4, but really what I’m getting right now is quite good already.
Also, as I’m switching between the “Jog” and “Run” screens in CM and hitting bottom buttons on both, I can’t help but wonder about the moment when I’ll accidentally click the “SPINDLE ON” button (can it be disabled?). That will be a suboptimal turn of events.
