Playing with the veneer wood backlighting has sparked the want to play with acrylic and light again. (Still playing with veneer, more photos incoming…I’m ashamed to say the rgb is really good )
This thread is just going to be testing and photos.
We’ll try some different tooling, different techniques for cutting, and different finishing techniques.
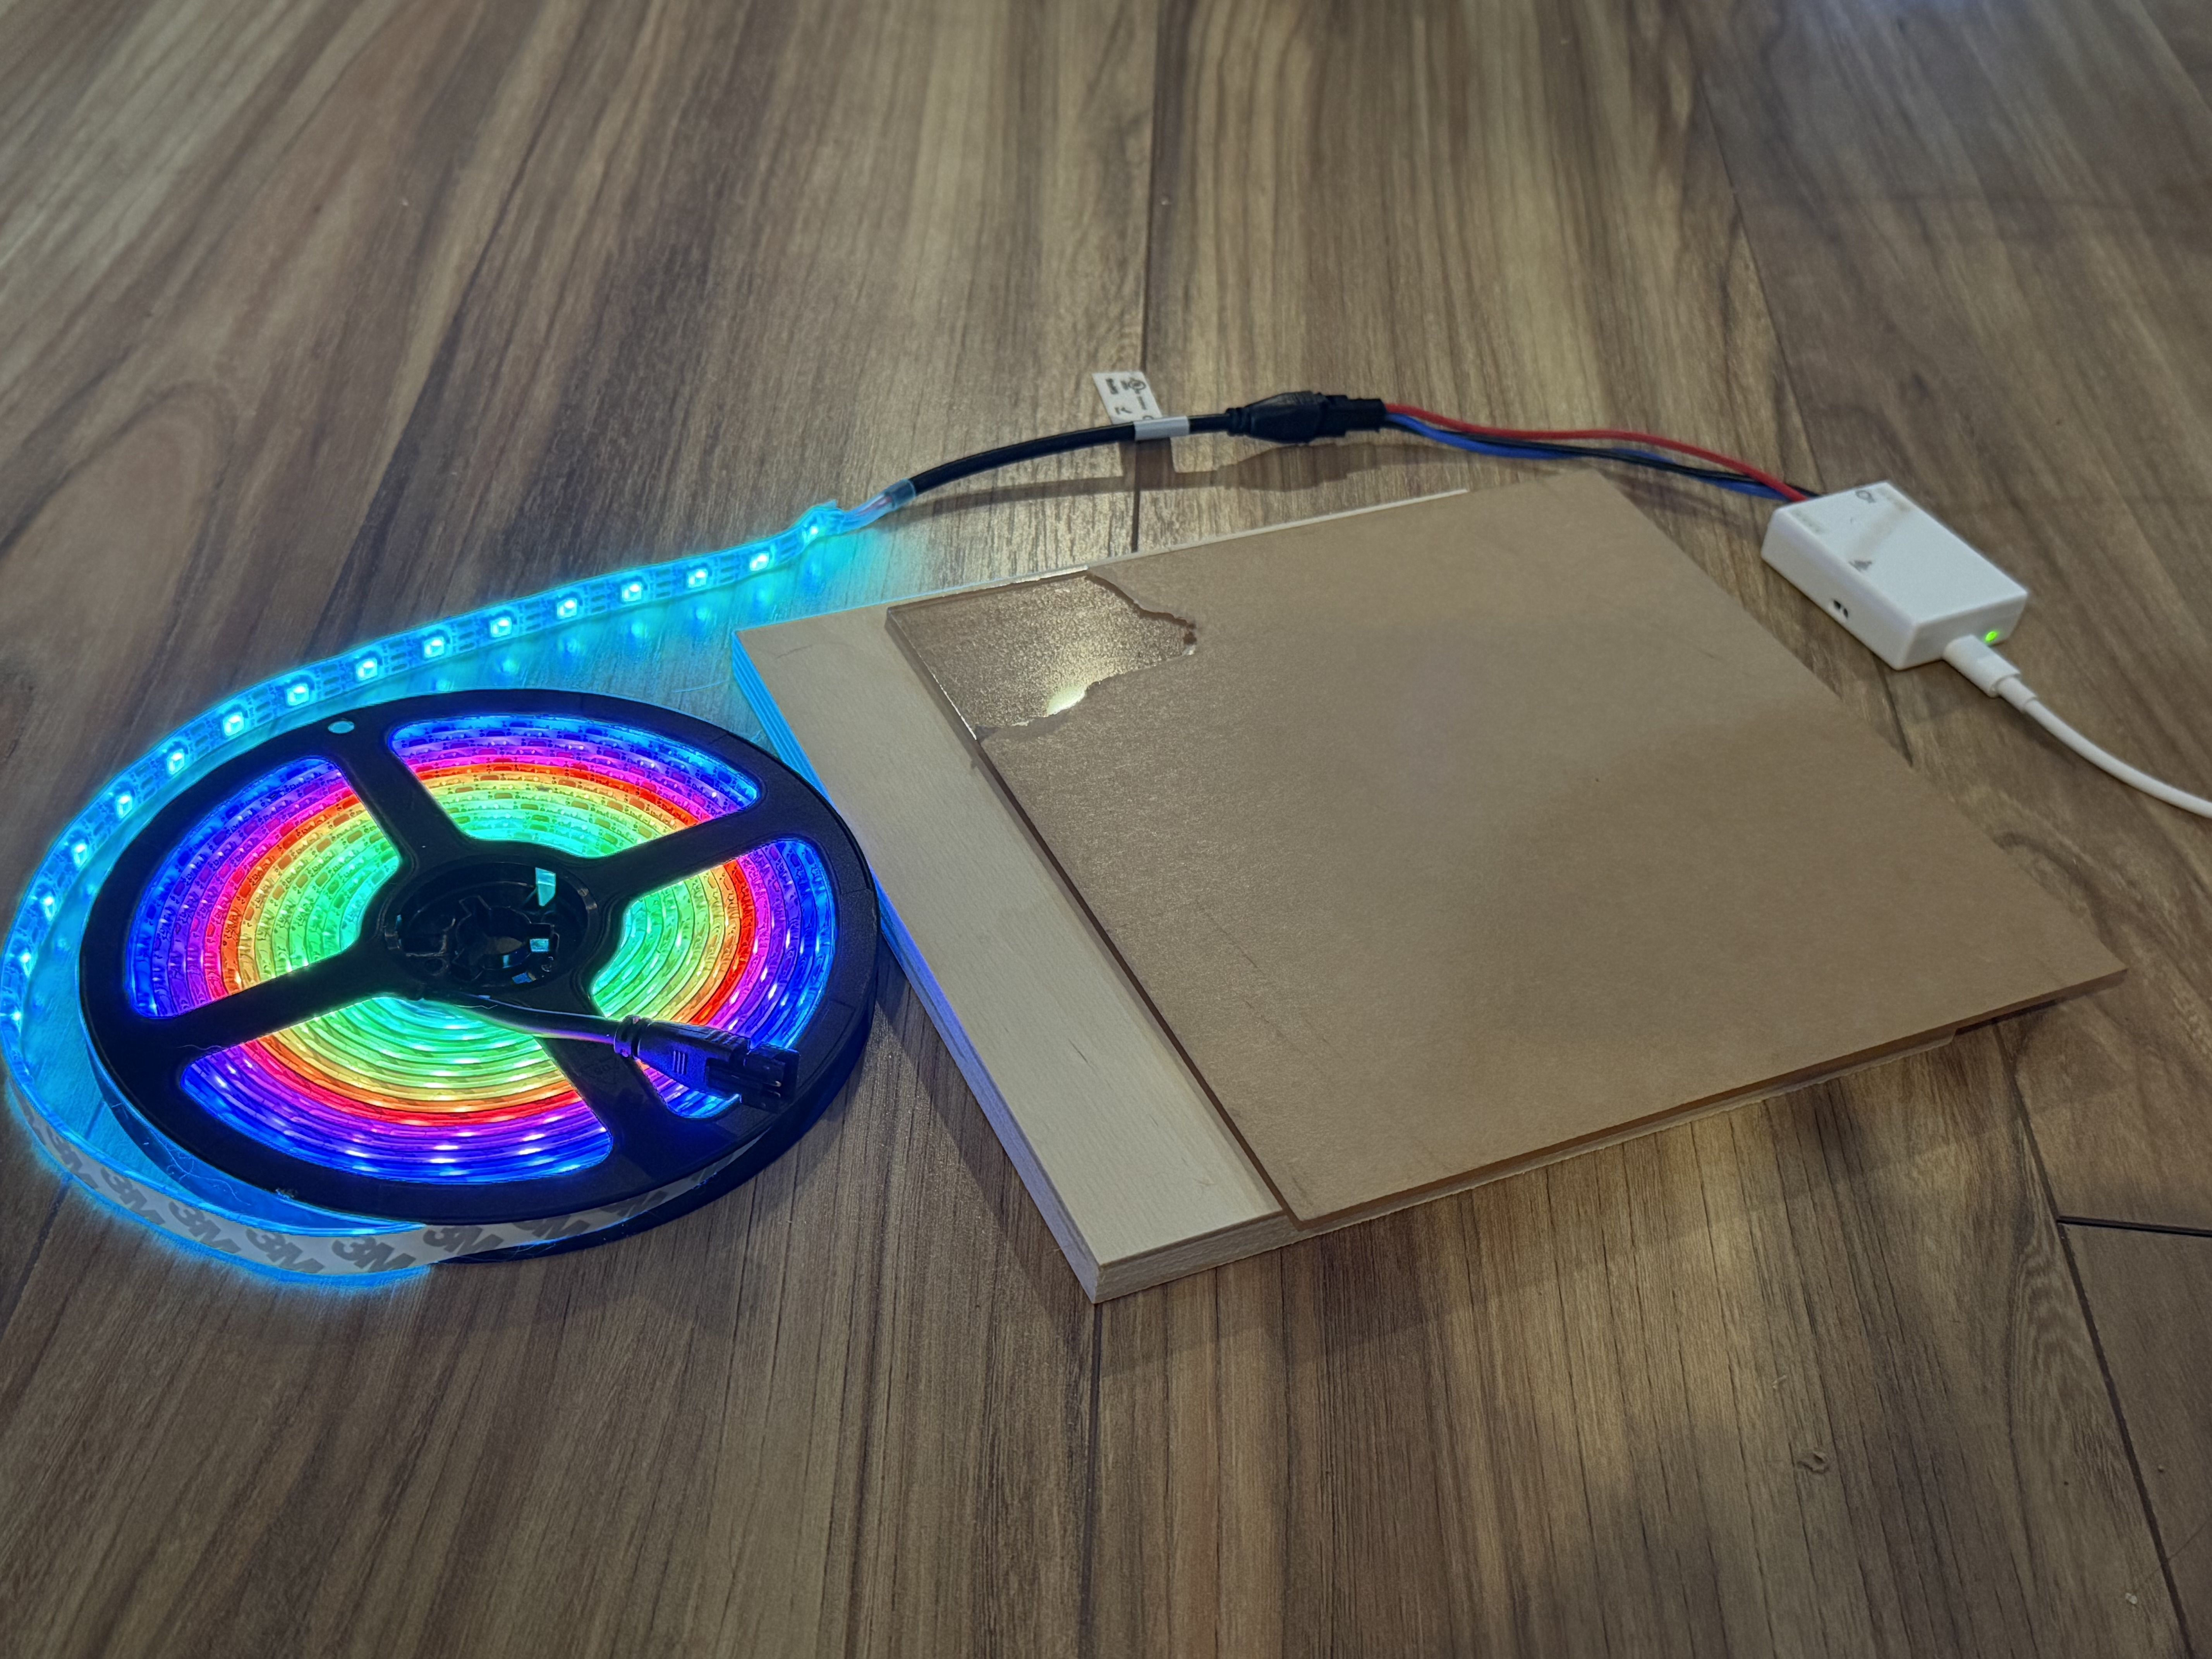
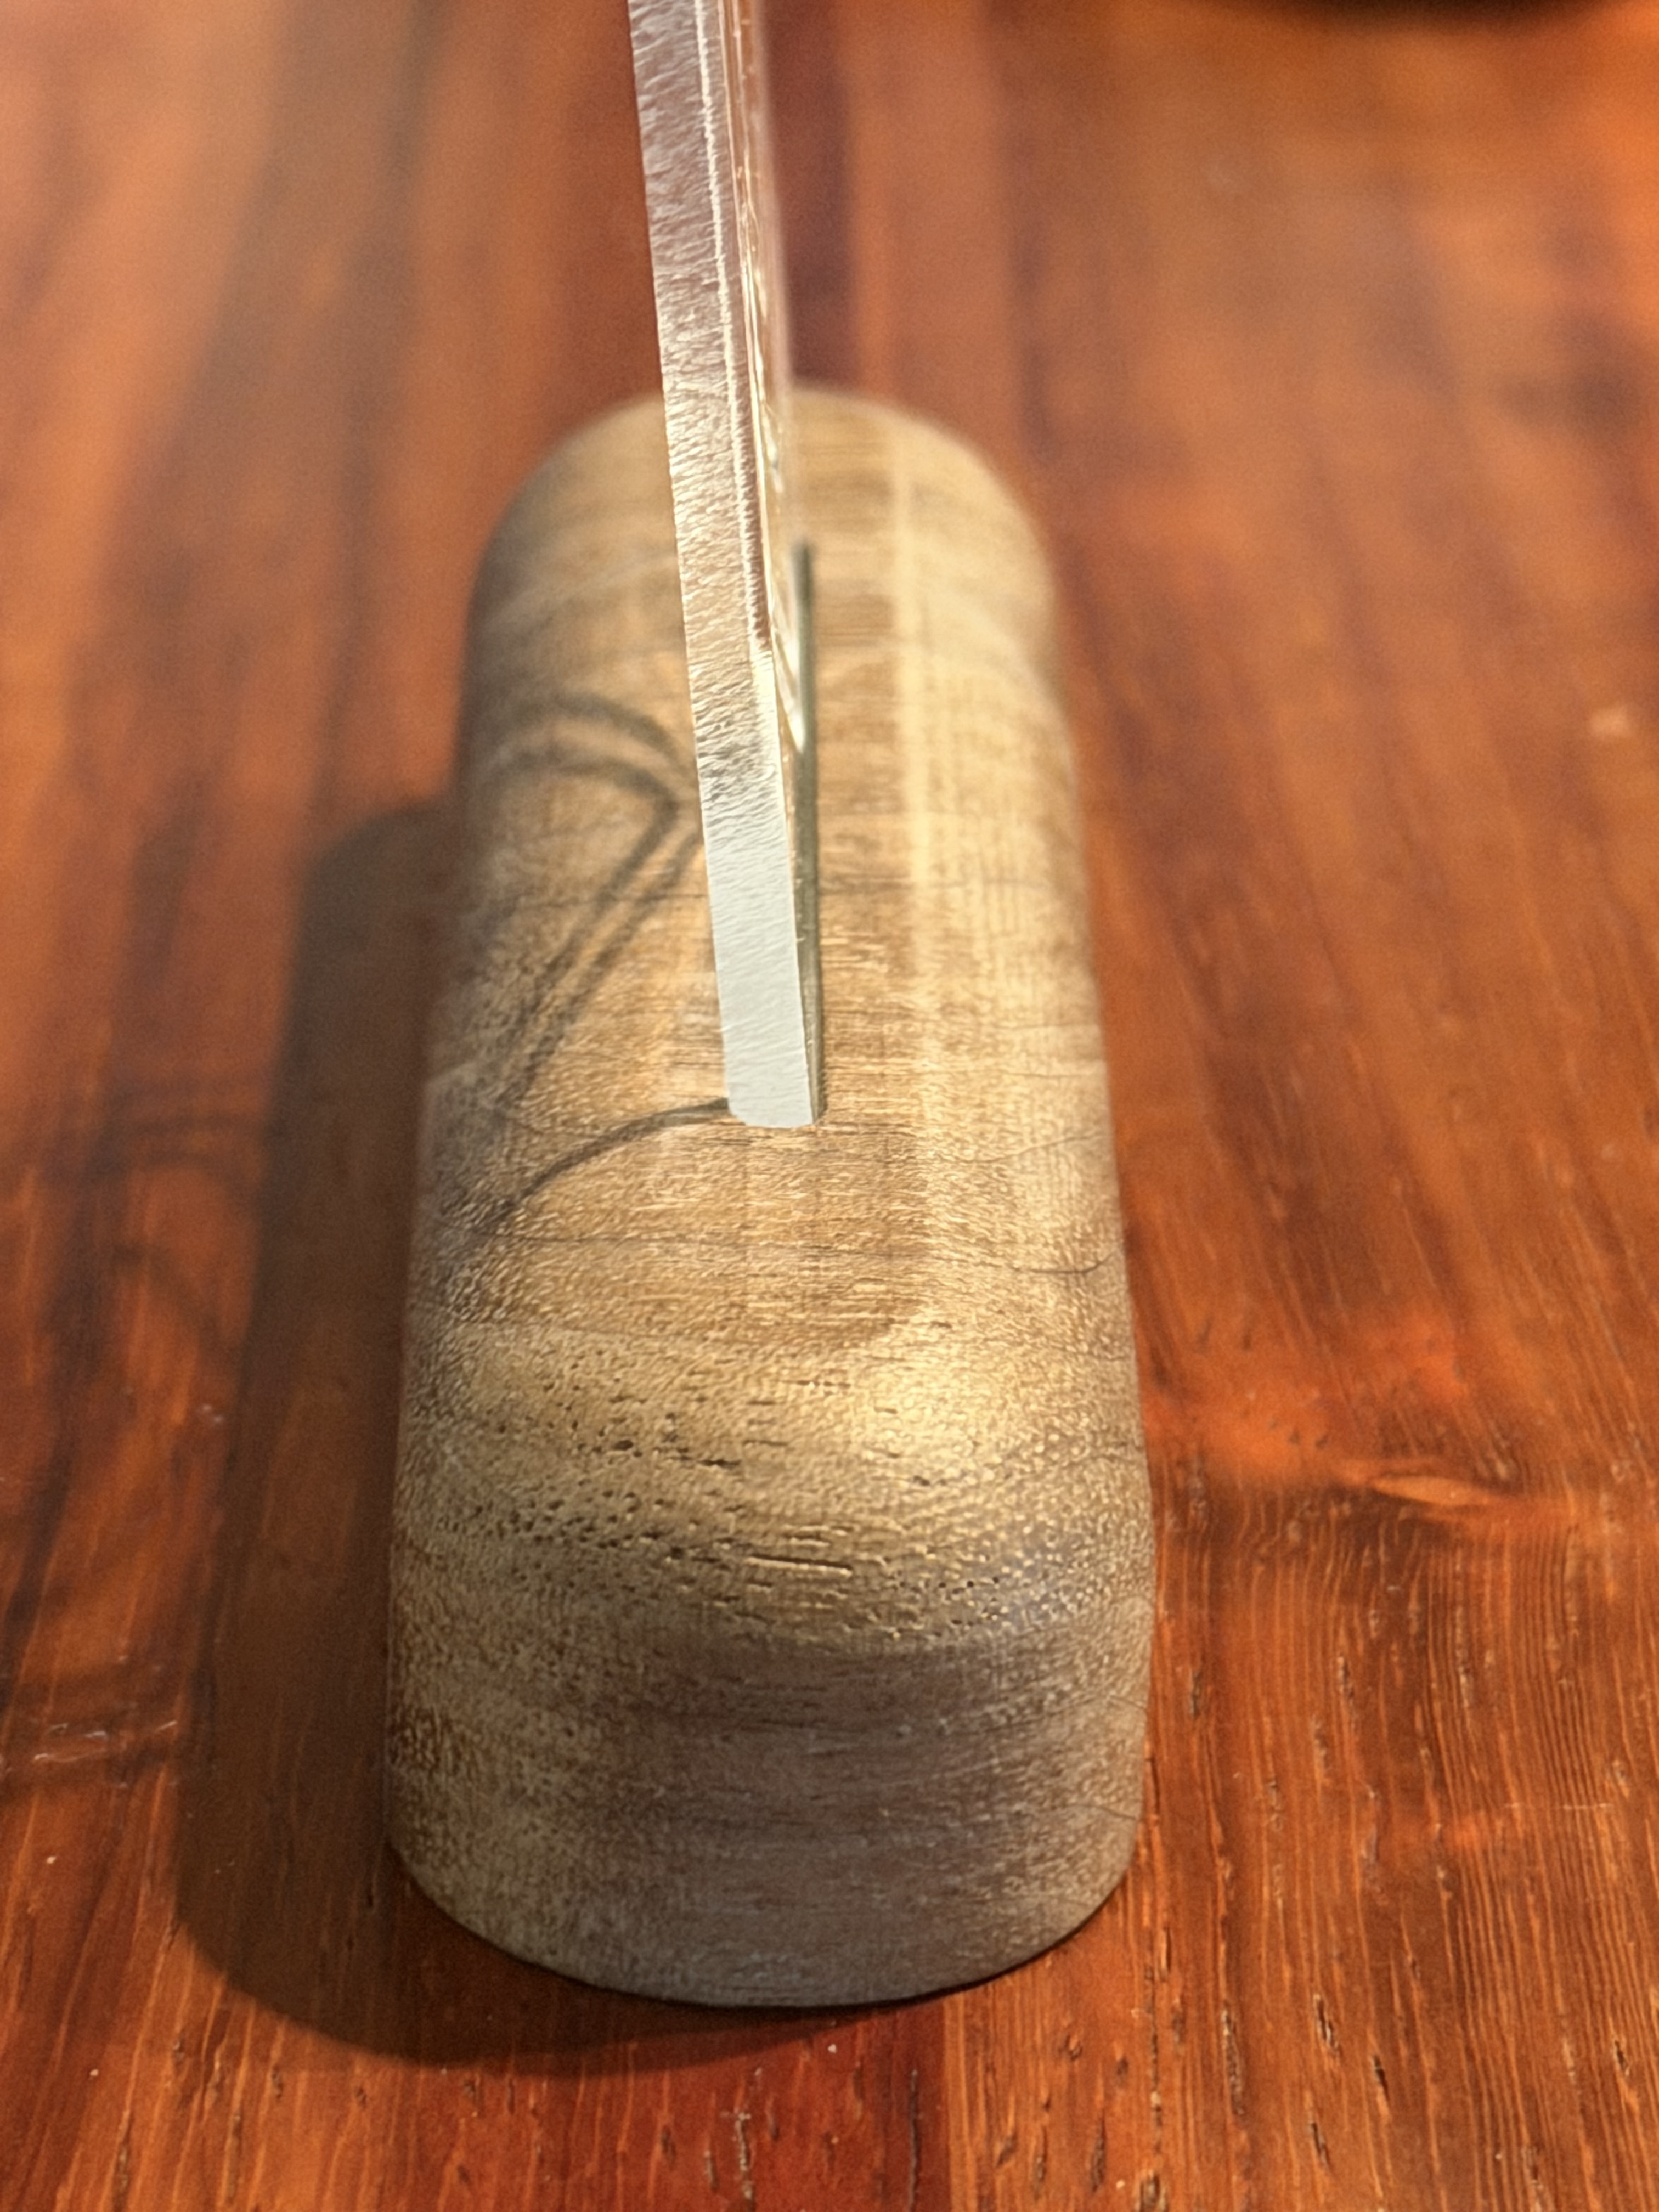
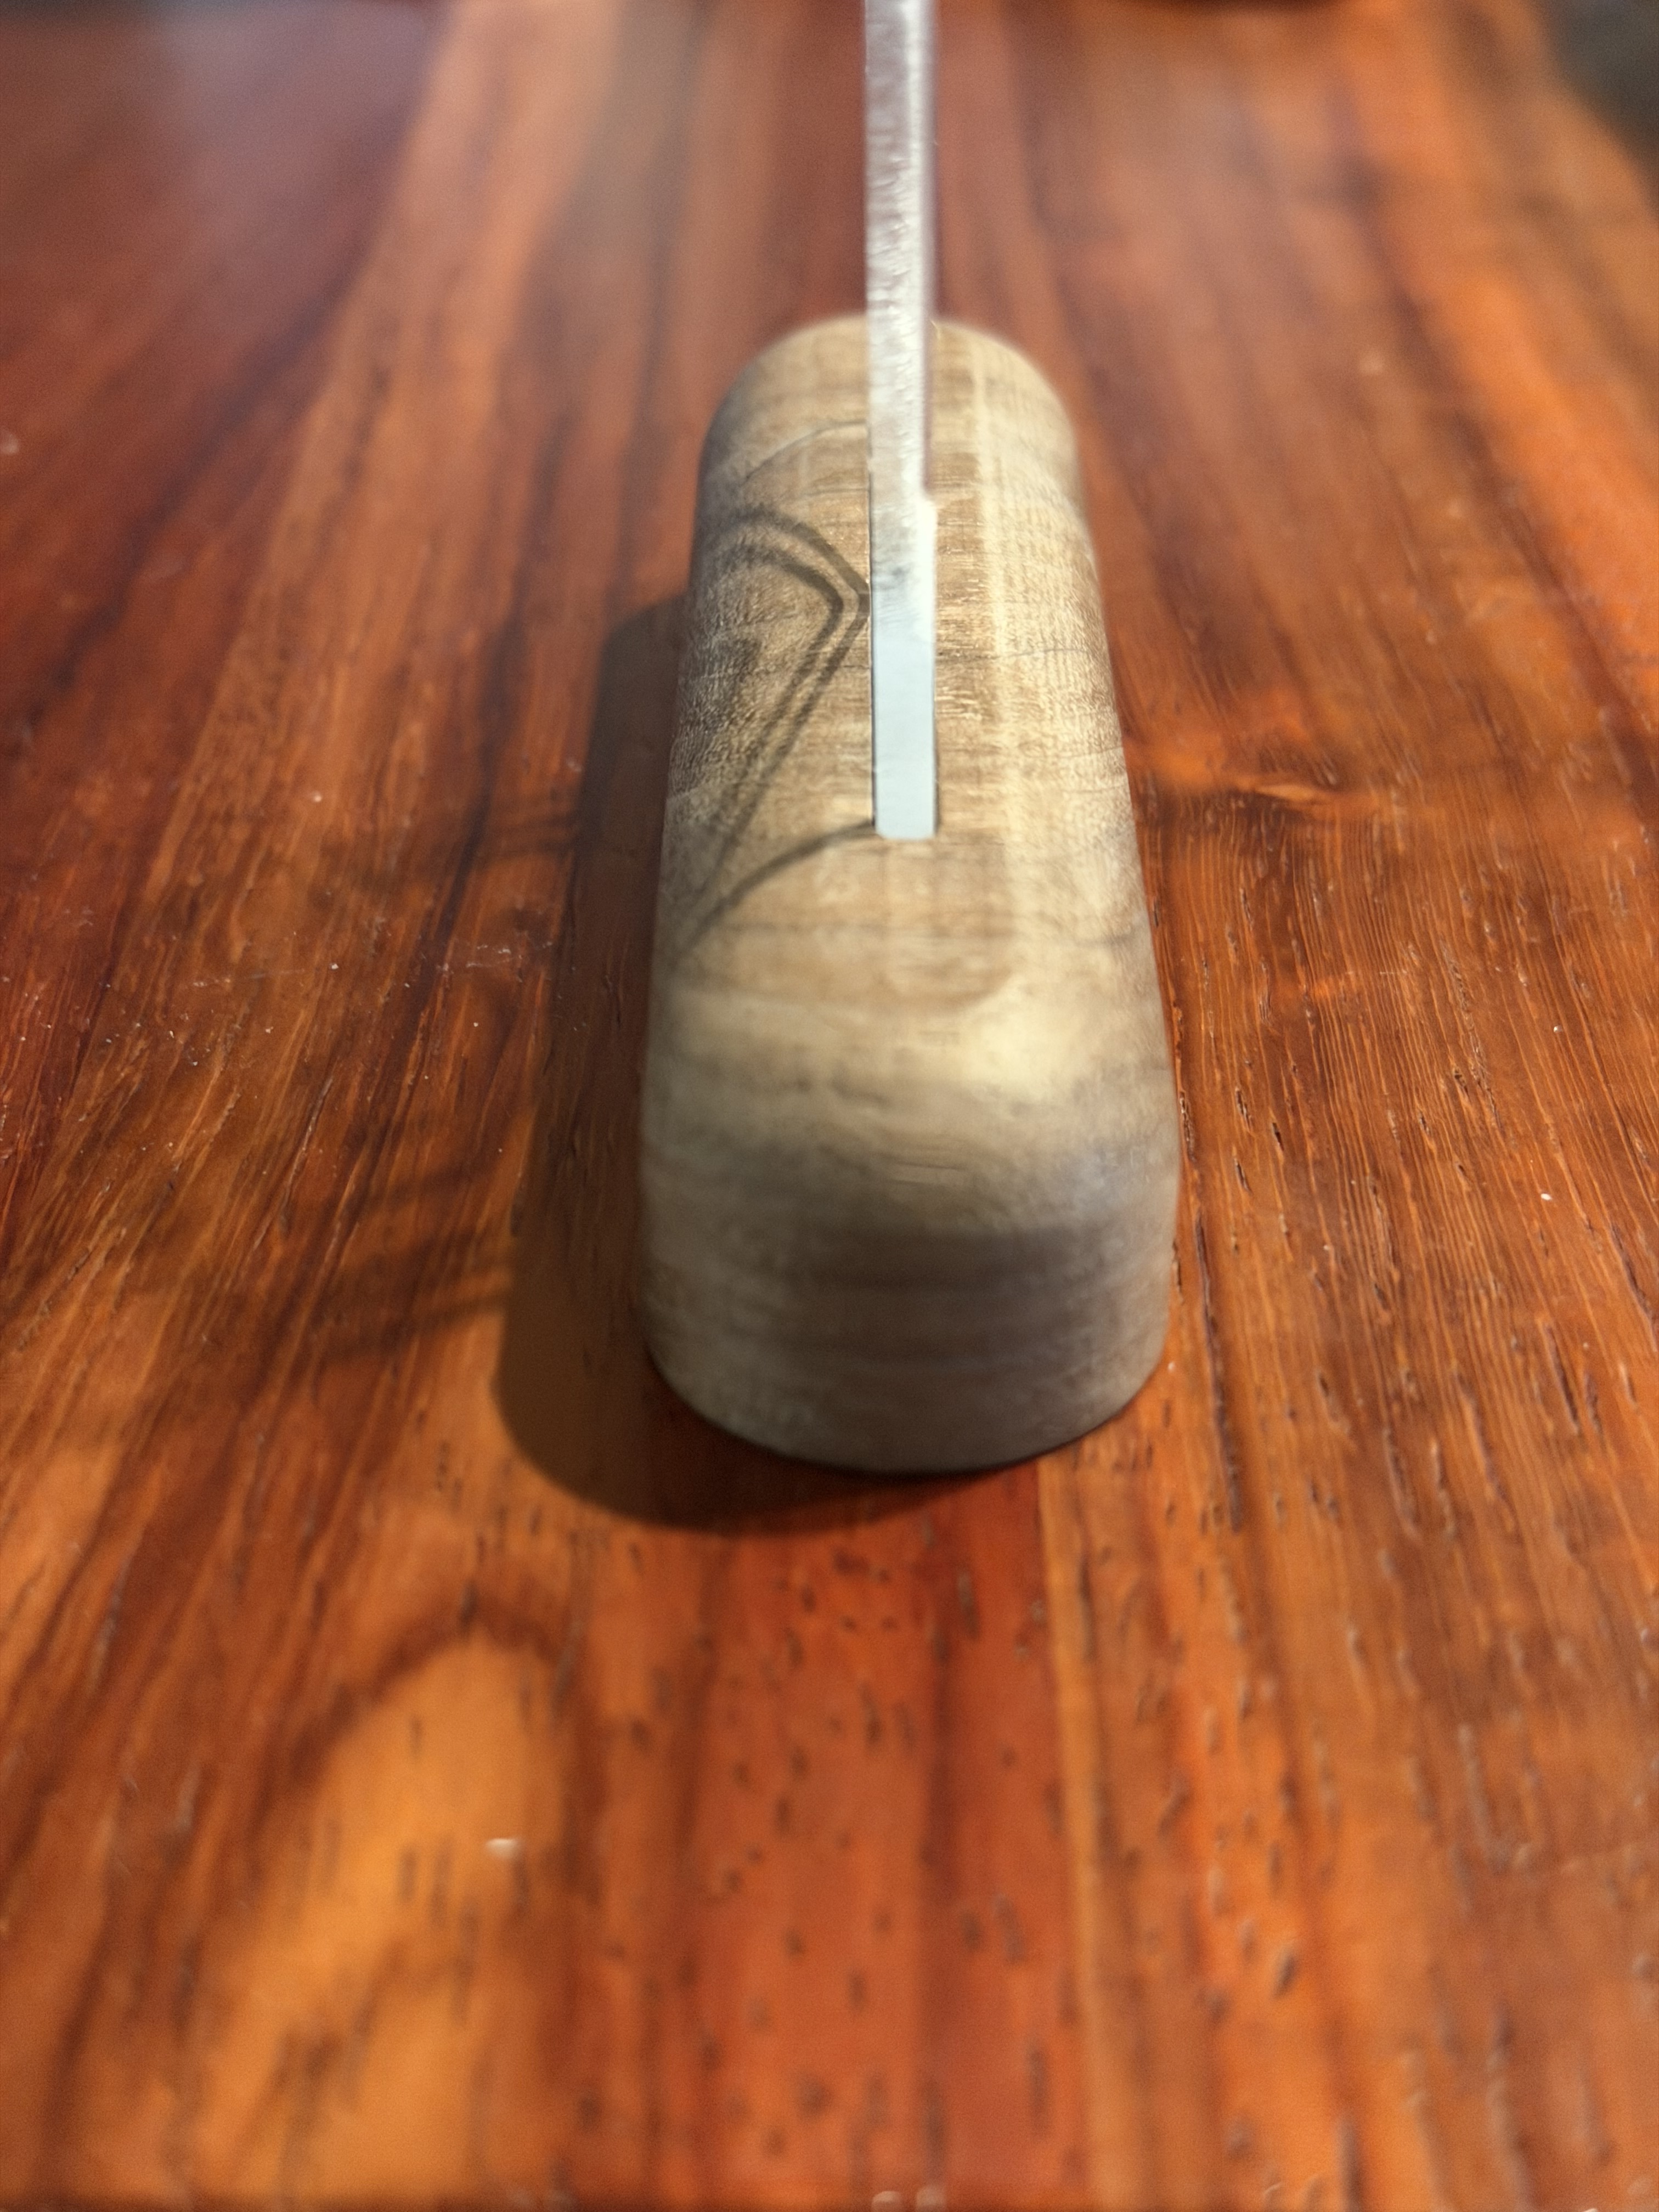
We’ll make a small test stand out of ply to hold the strips and test pieces. Nothing special, just a 10mm slot for the strip, maybe a diffusion layer, and a small slot for the acrylic.
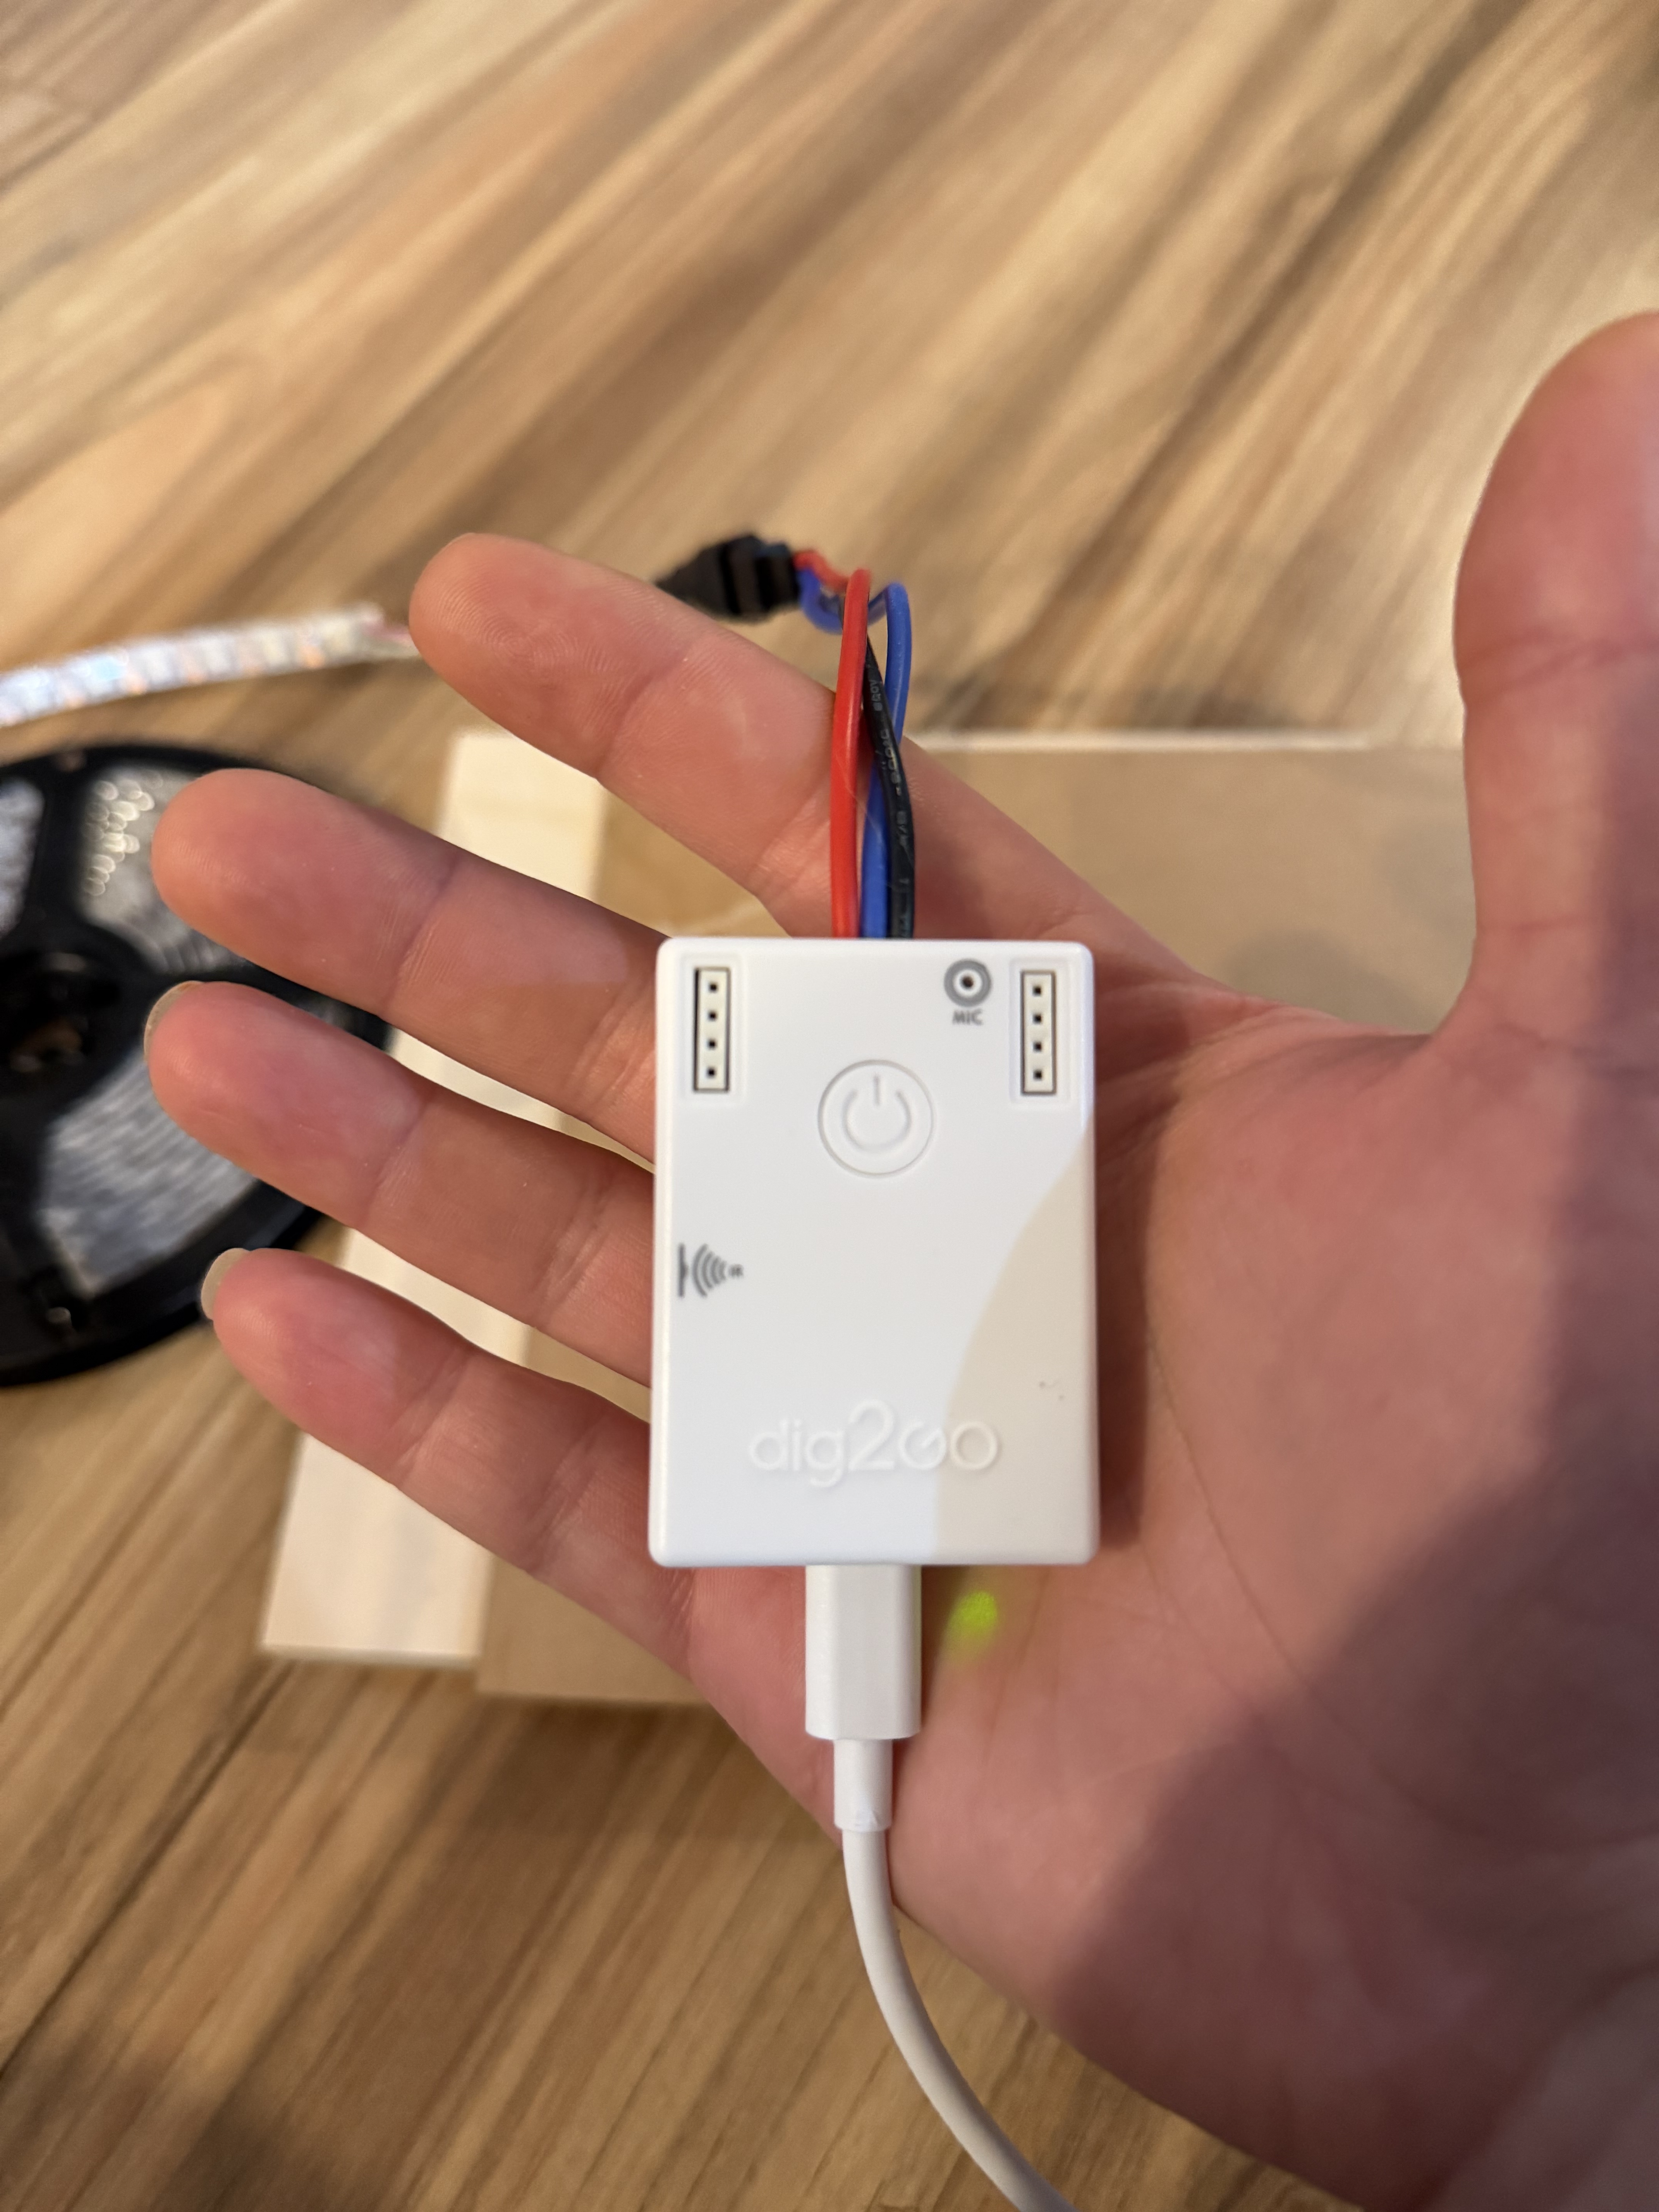
Controller is a dig2go. It’s a 5v controller that runs on usb-c with a ton of built in functionality like music reactivity and headers for expansion. It also works on WLED so controlling it is trivial from phone or WiFi.
It’s my goto development board, though I’d likely go with something cheaper if I was going to be selling pieces.
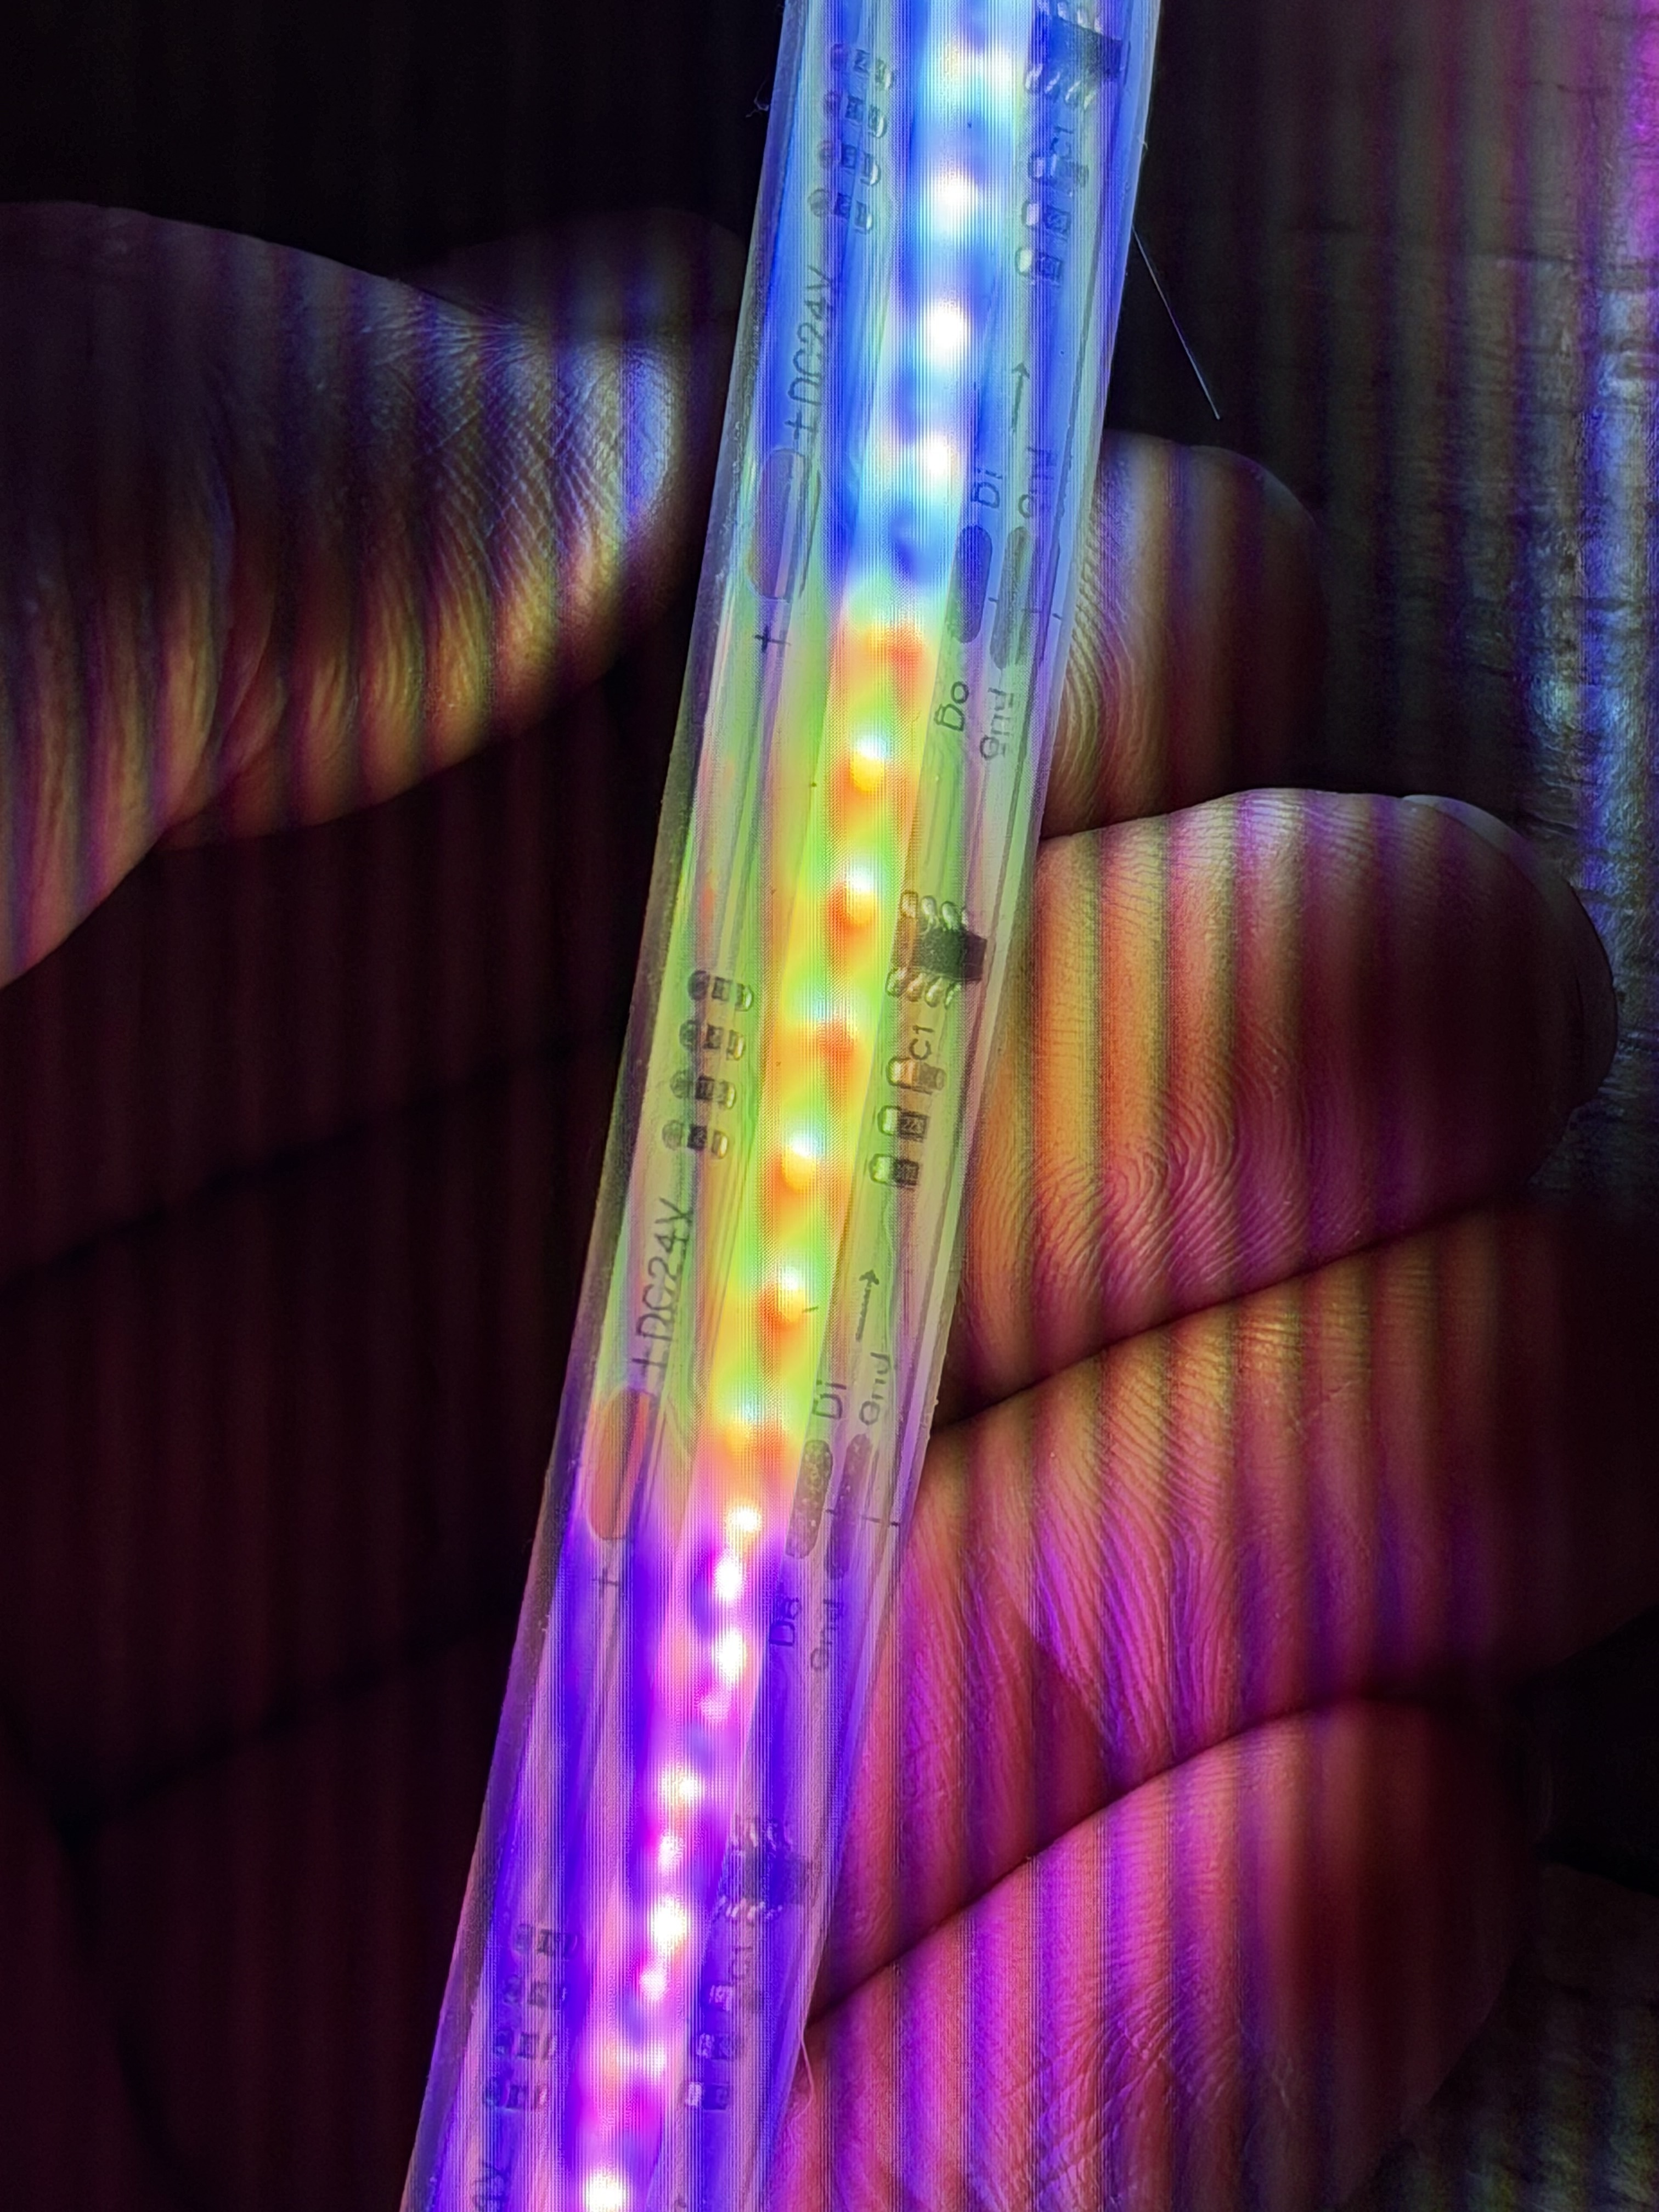
The test strip is a bit special. RGBW, the addition of the dedicated white lets you get really clean white light if you care about that kind of thing. Just a great all around strip with good versatility.
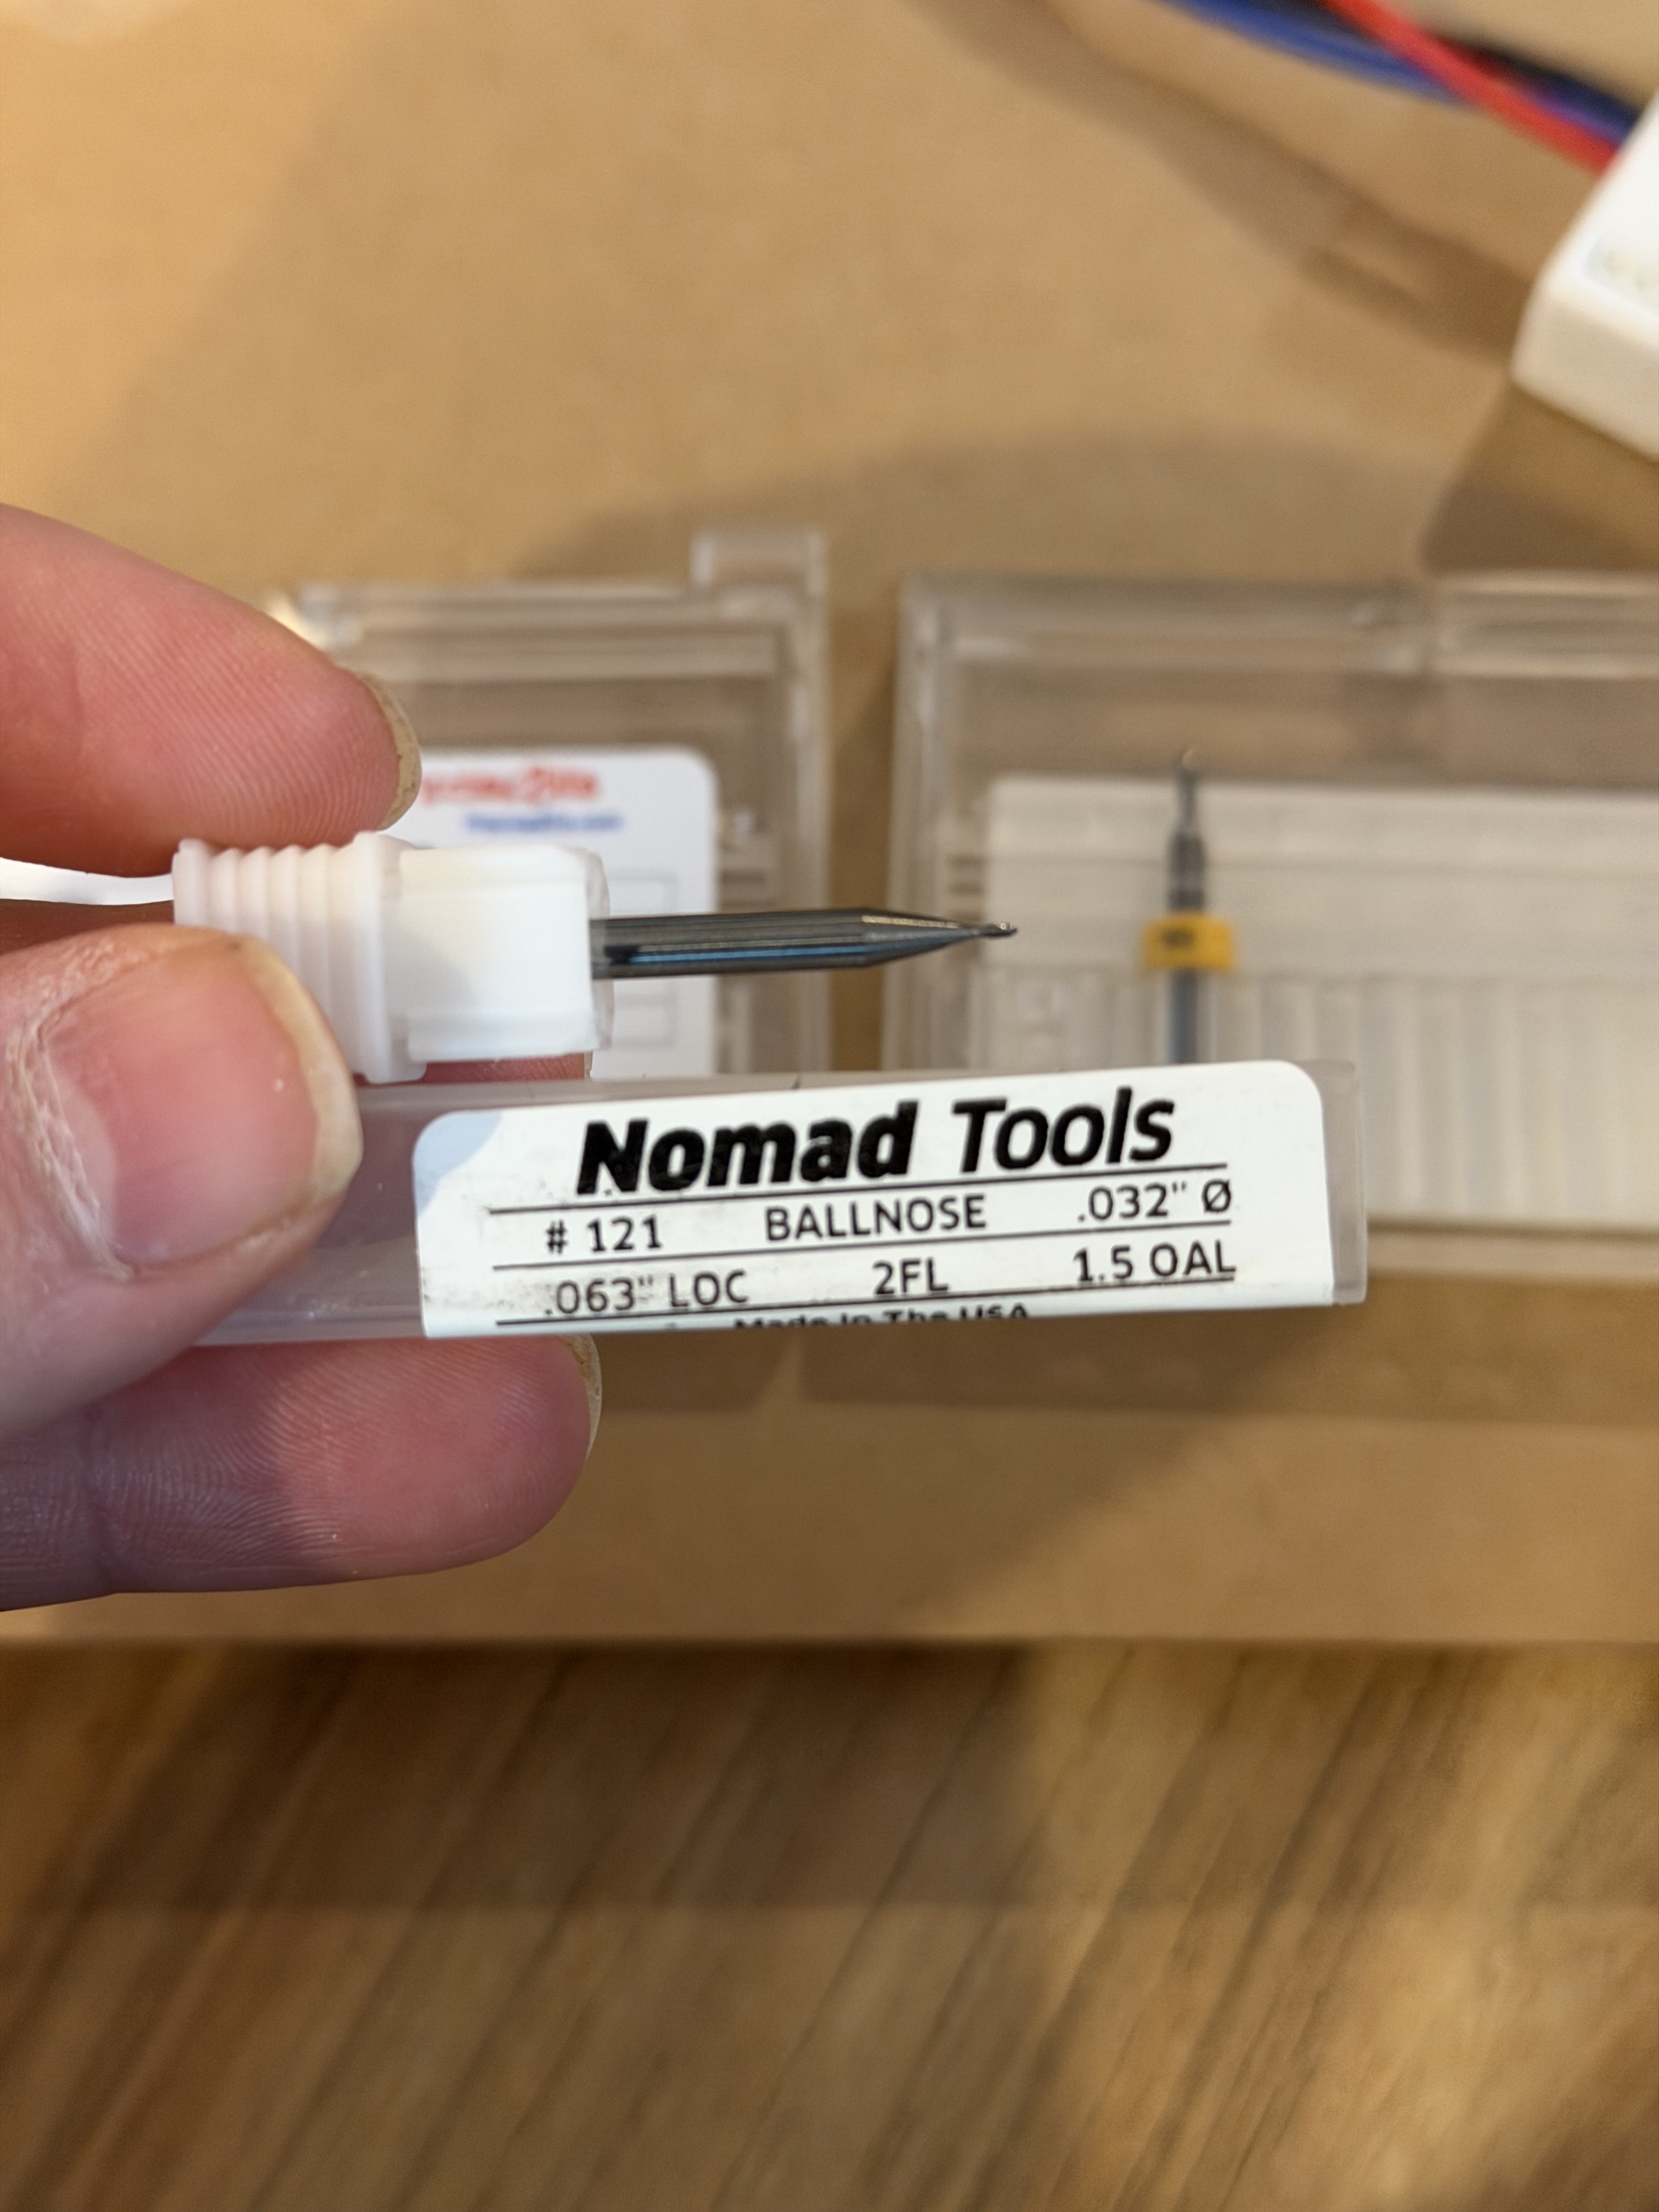
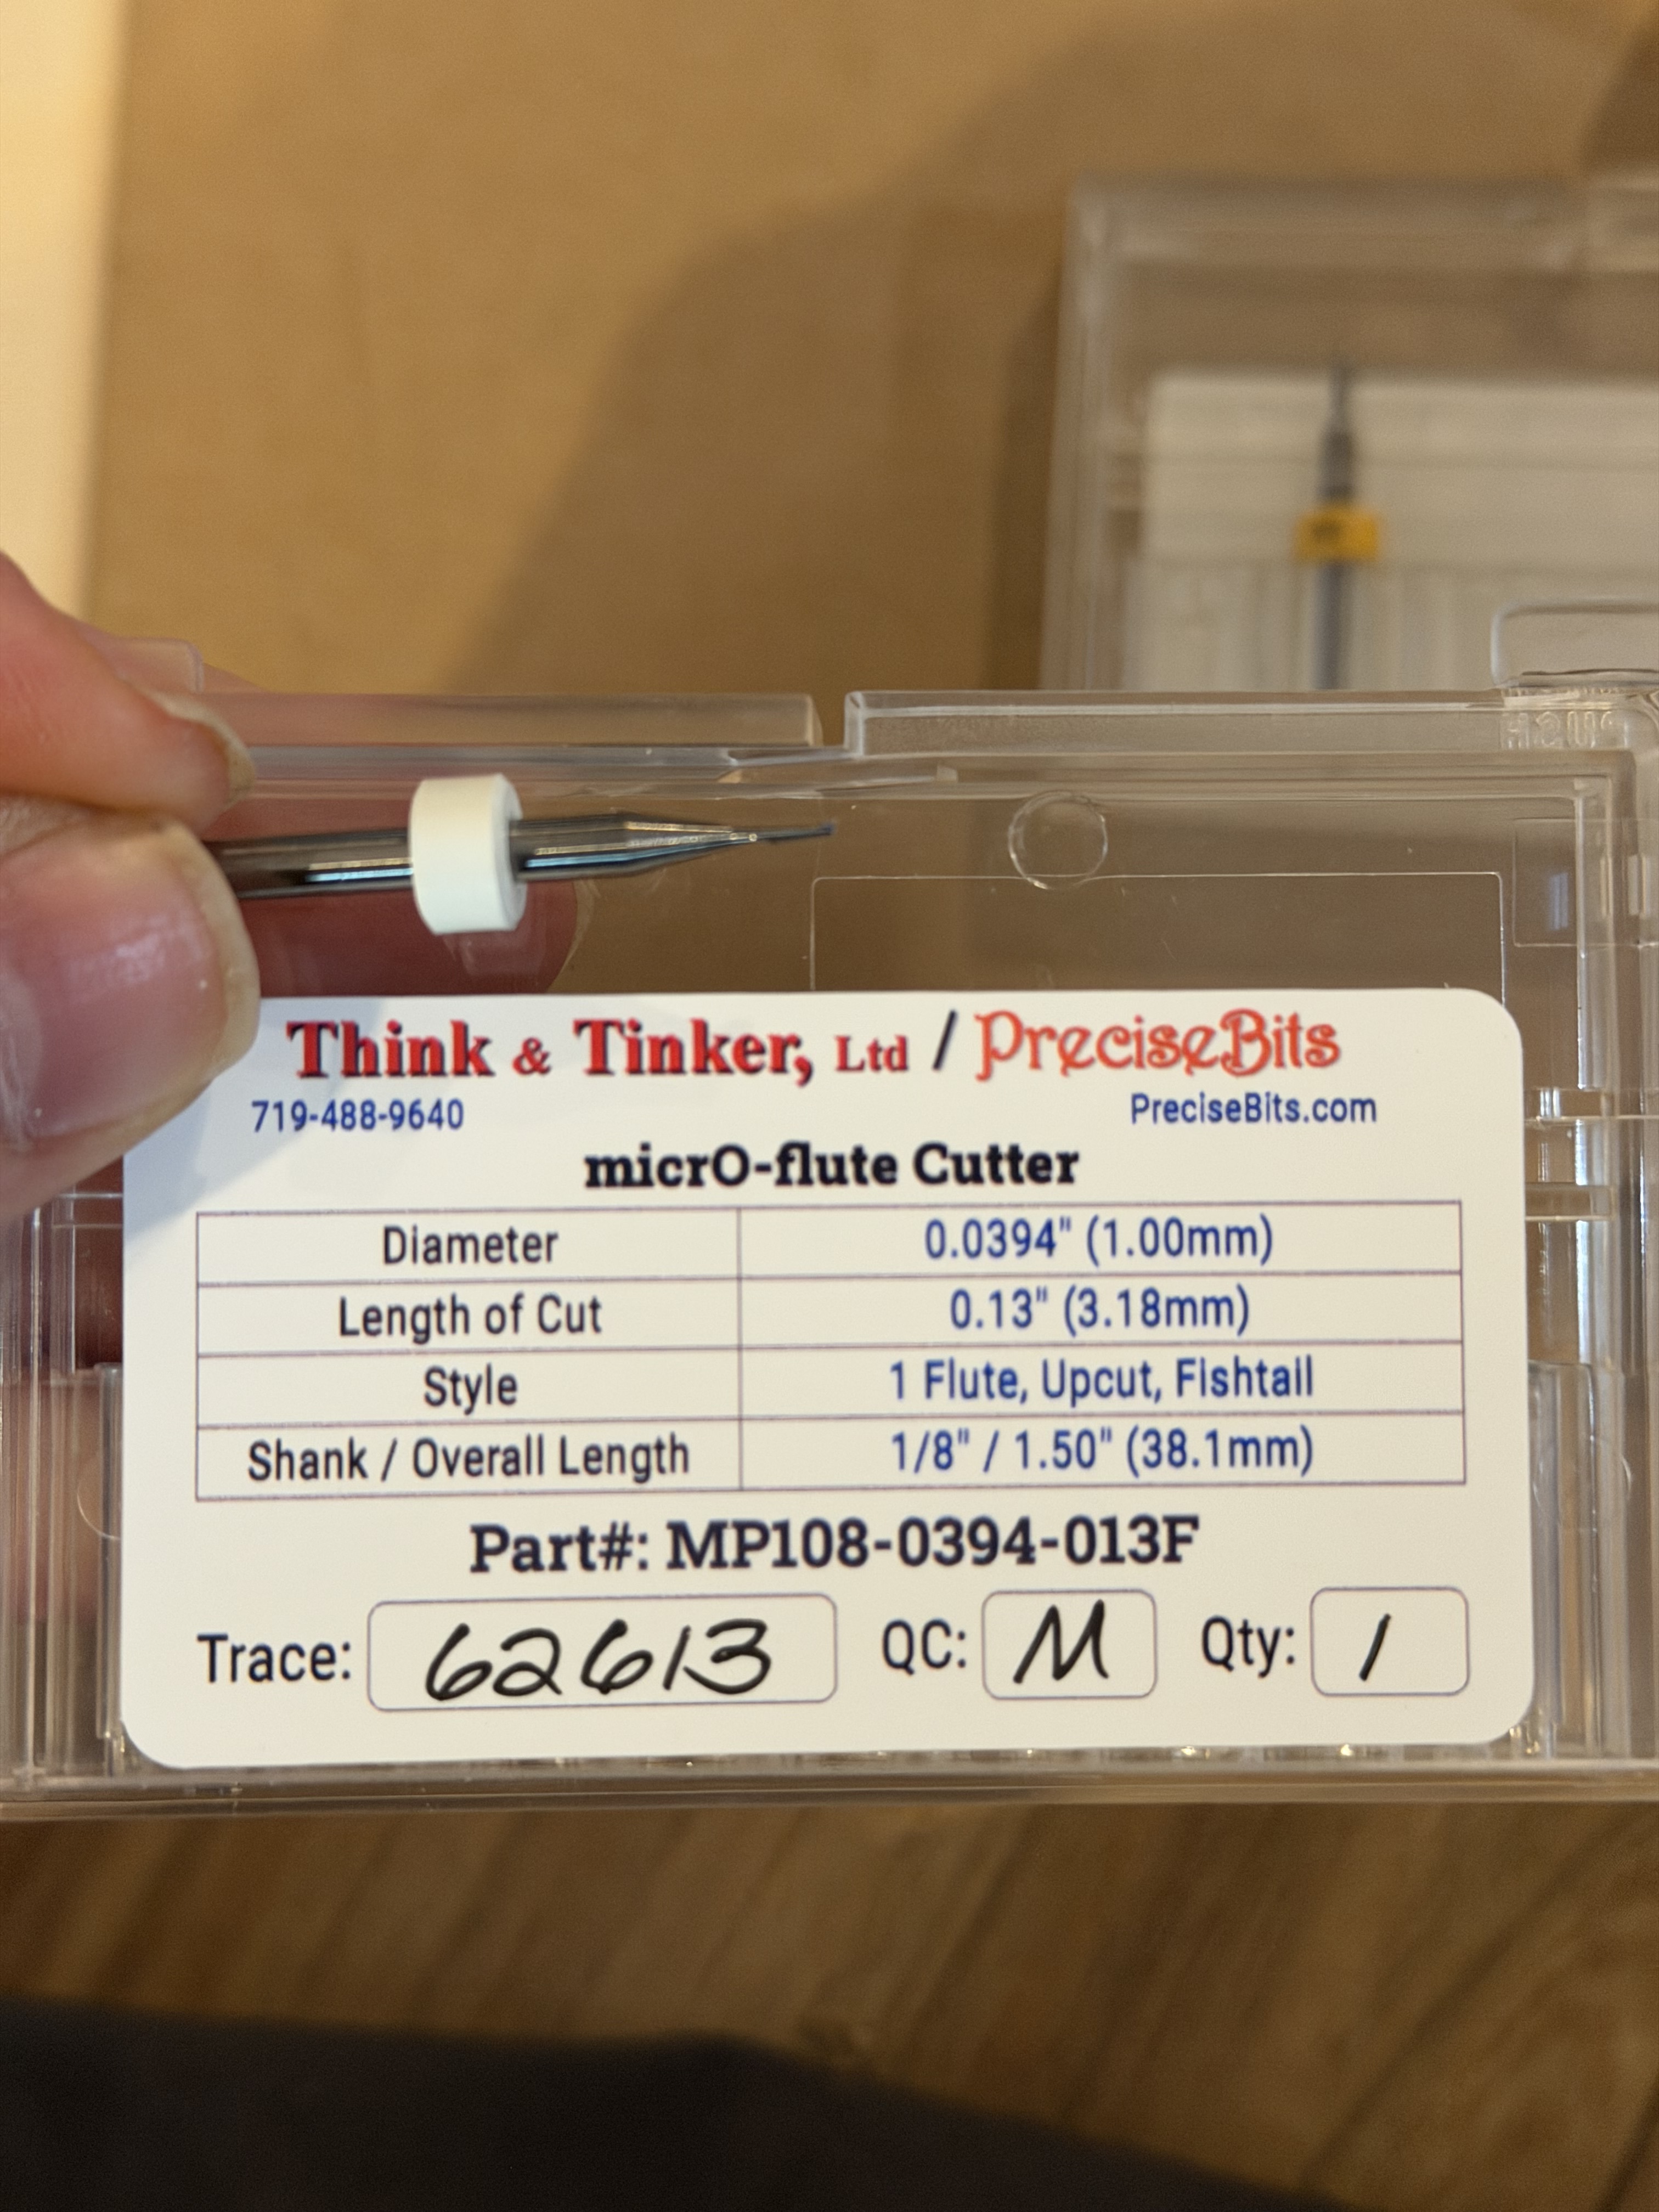
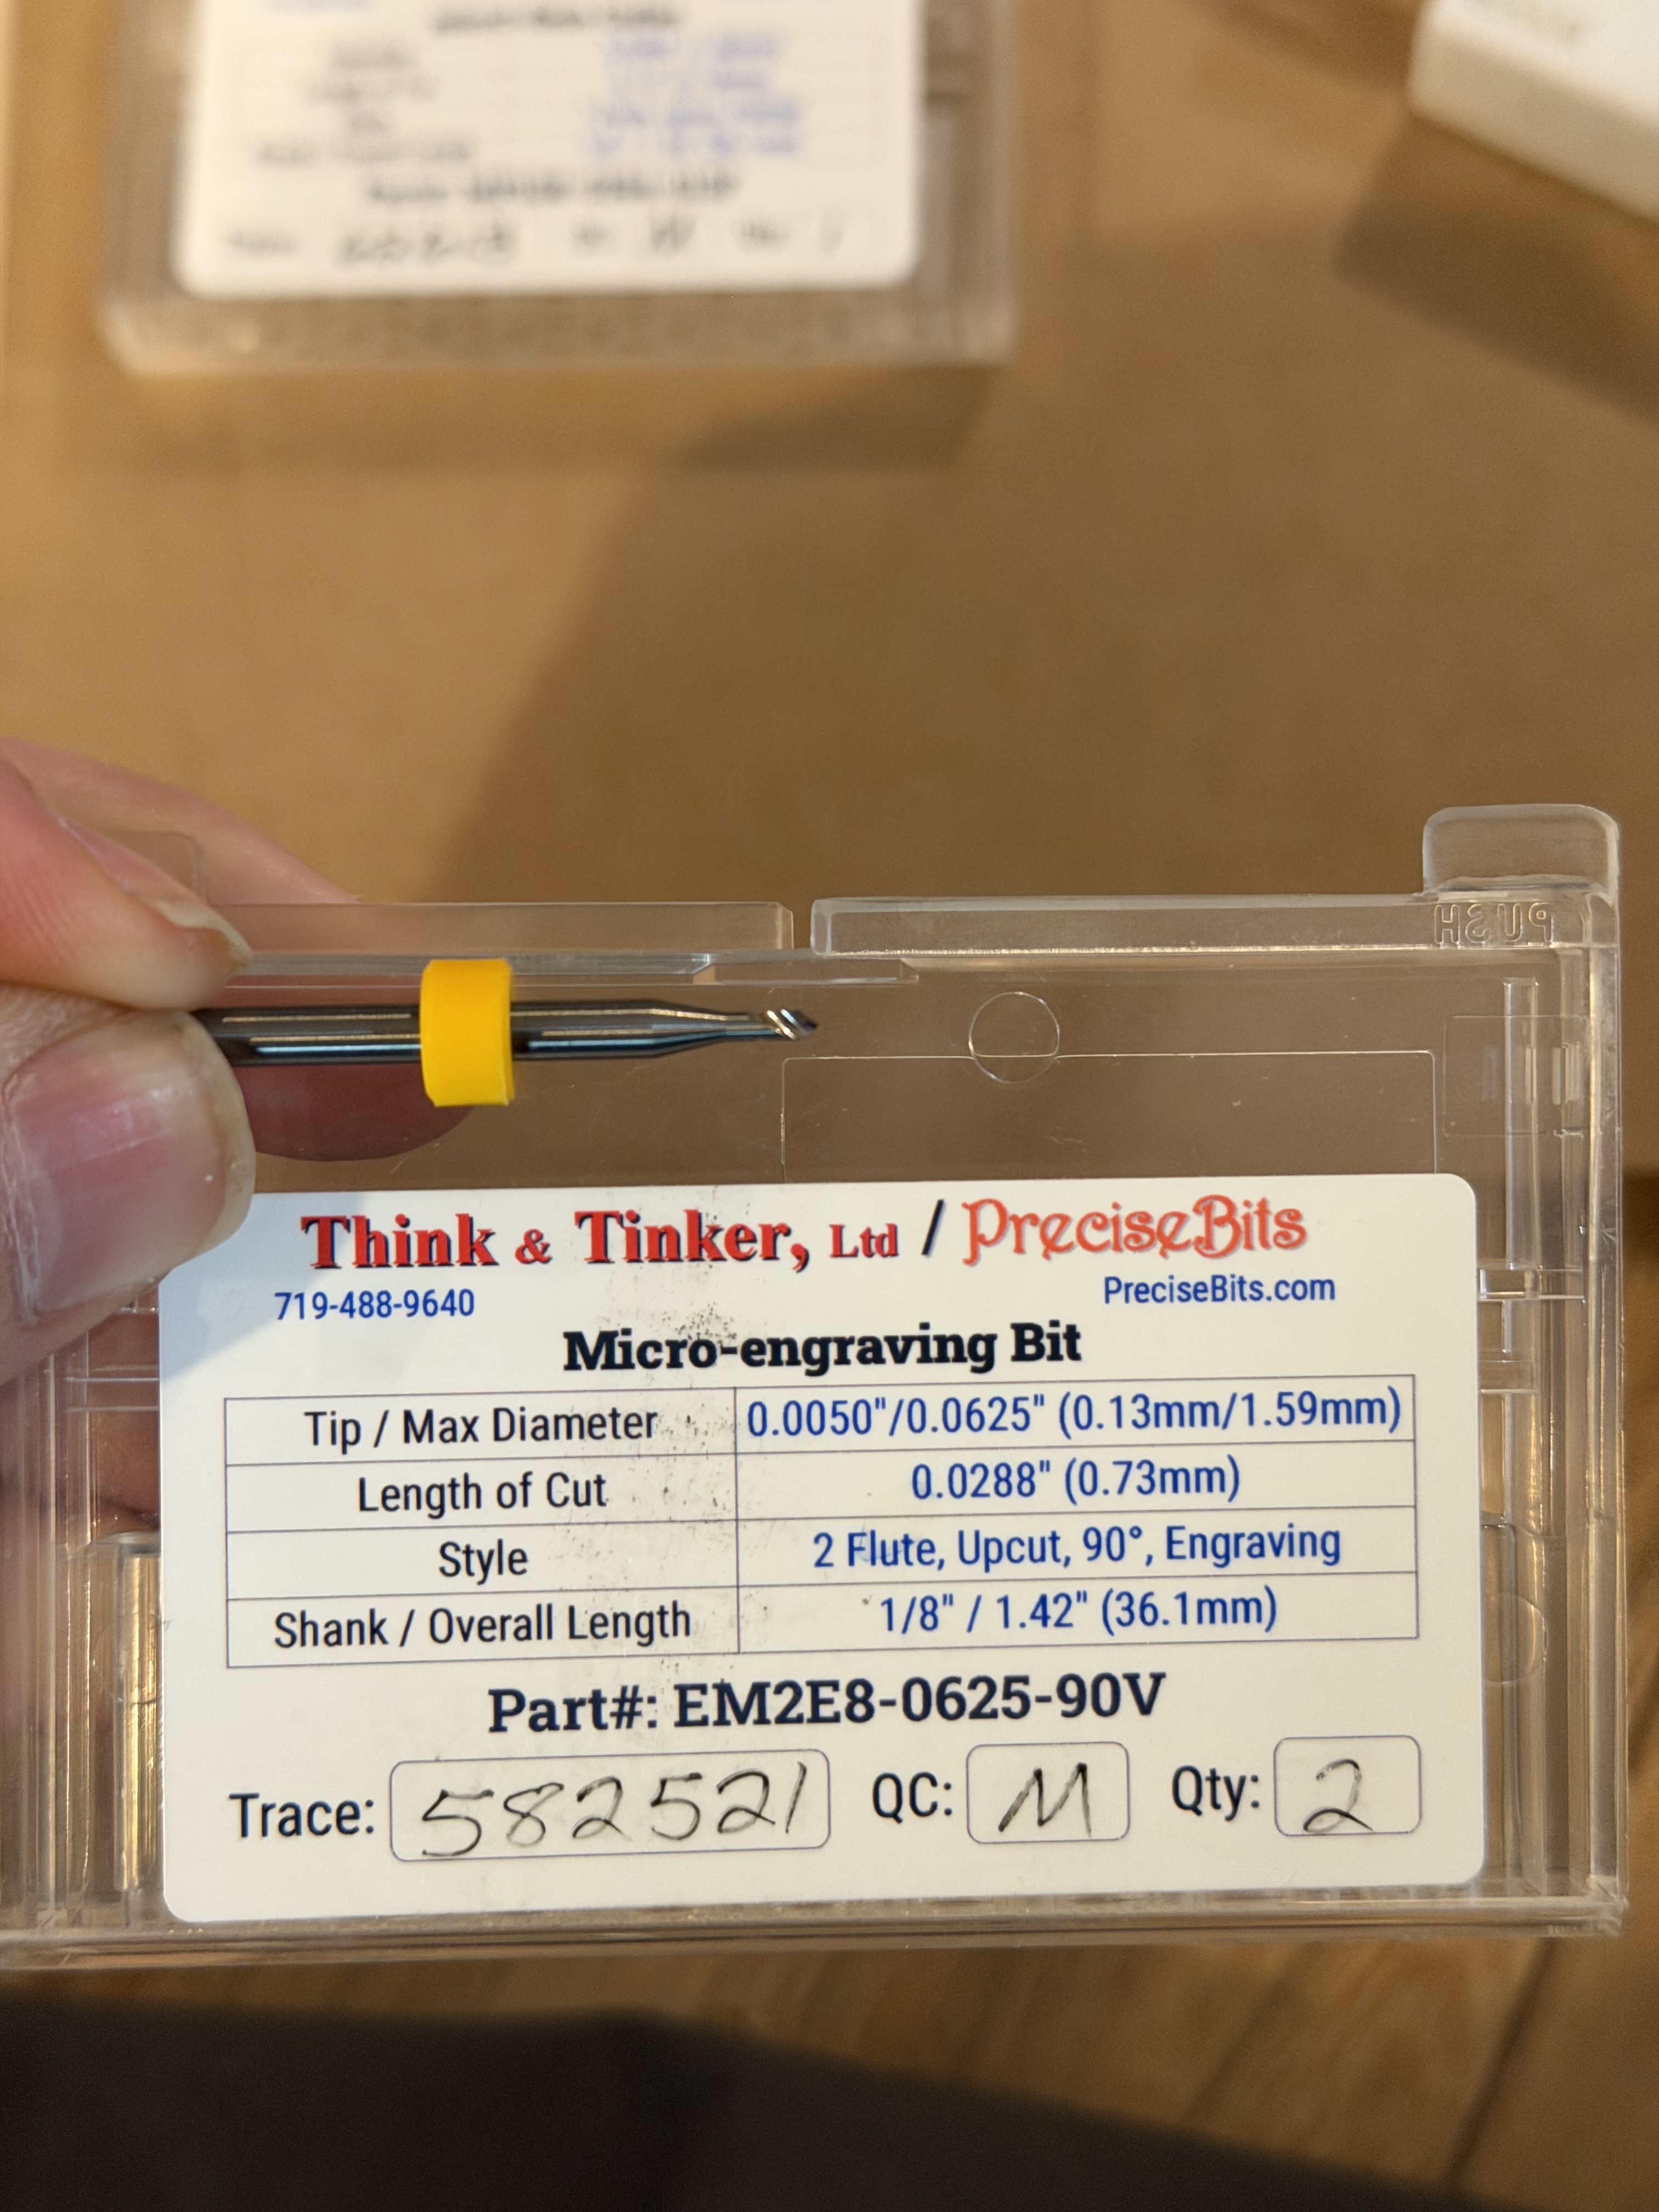
Tooling I’ll be testing today is a tiny ball mill, a v bit engraver, a tiny plastic specific single flute, and if I can find it…my MCEtcher. (If anyone knows where I left it, let me know )
I was going to try a topo map but I might put together a small test pattern for now to get something on the board. Then go with a real topo etch once I know what looks best.
Luckily I’ve got lots of shared experience to draw on from @jtclose posts.
Let’s see what we can do with a few hours to play with.
While RGB addressable LED strips are super-cool & great to experiment with, I’d also suggest looking at strips that use micro-LEDs or designed to simulate Neon lighting. These provide a more uniform light pattern into the edge of the acrylic. I’d also suggest getting hold of some coloured-mirror acrylic panel - it has a super-cool look!
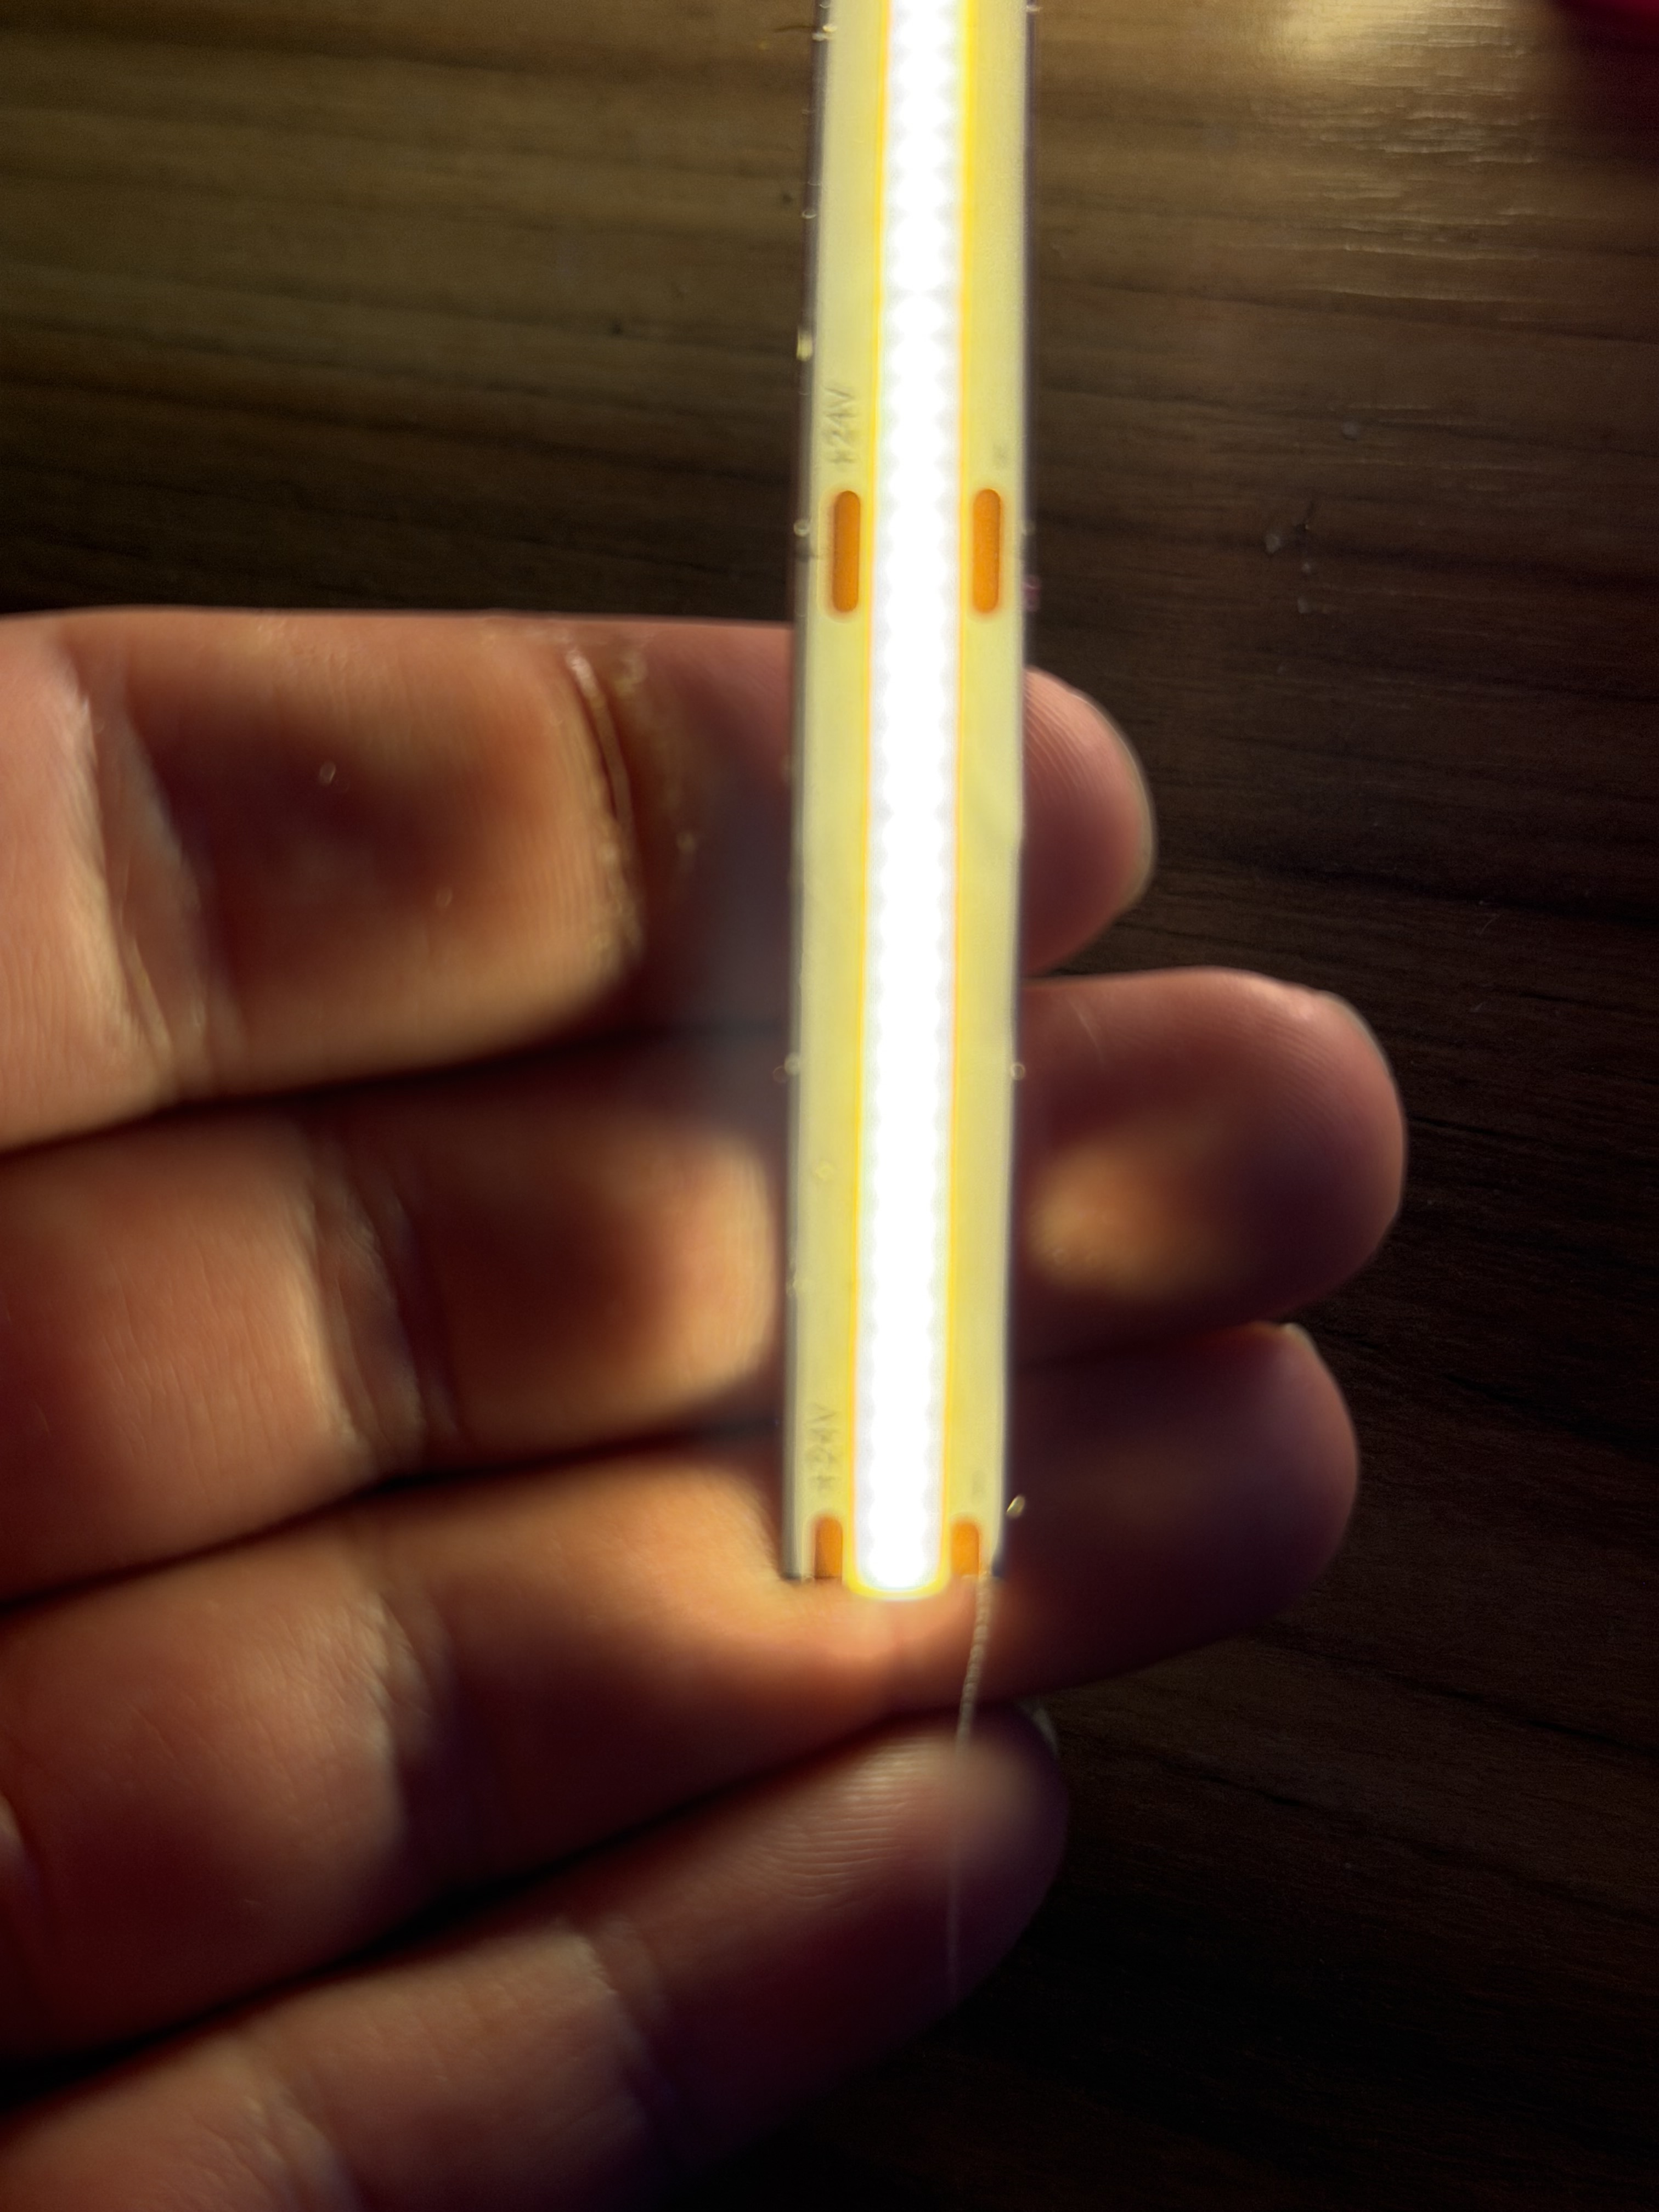
Yeah the fcob LEDs are my favorite, they just tend to be a bit more complicated to work with. They also tend to be overkill for what I expect to be smaller signs.
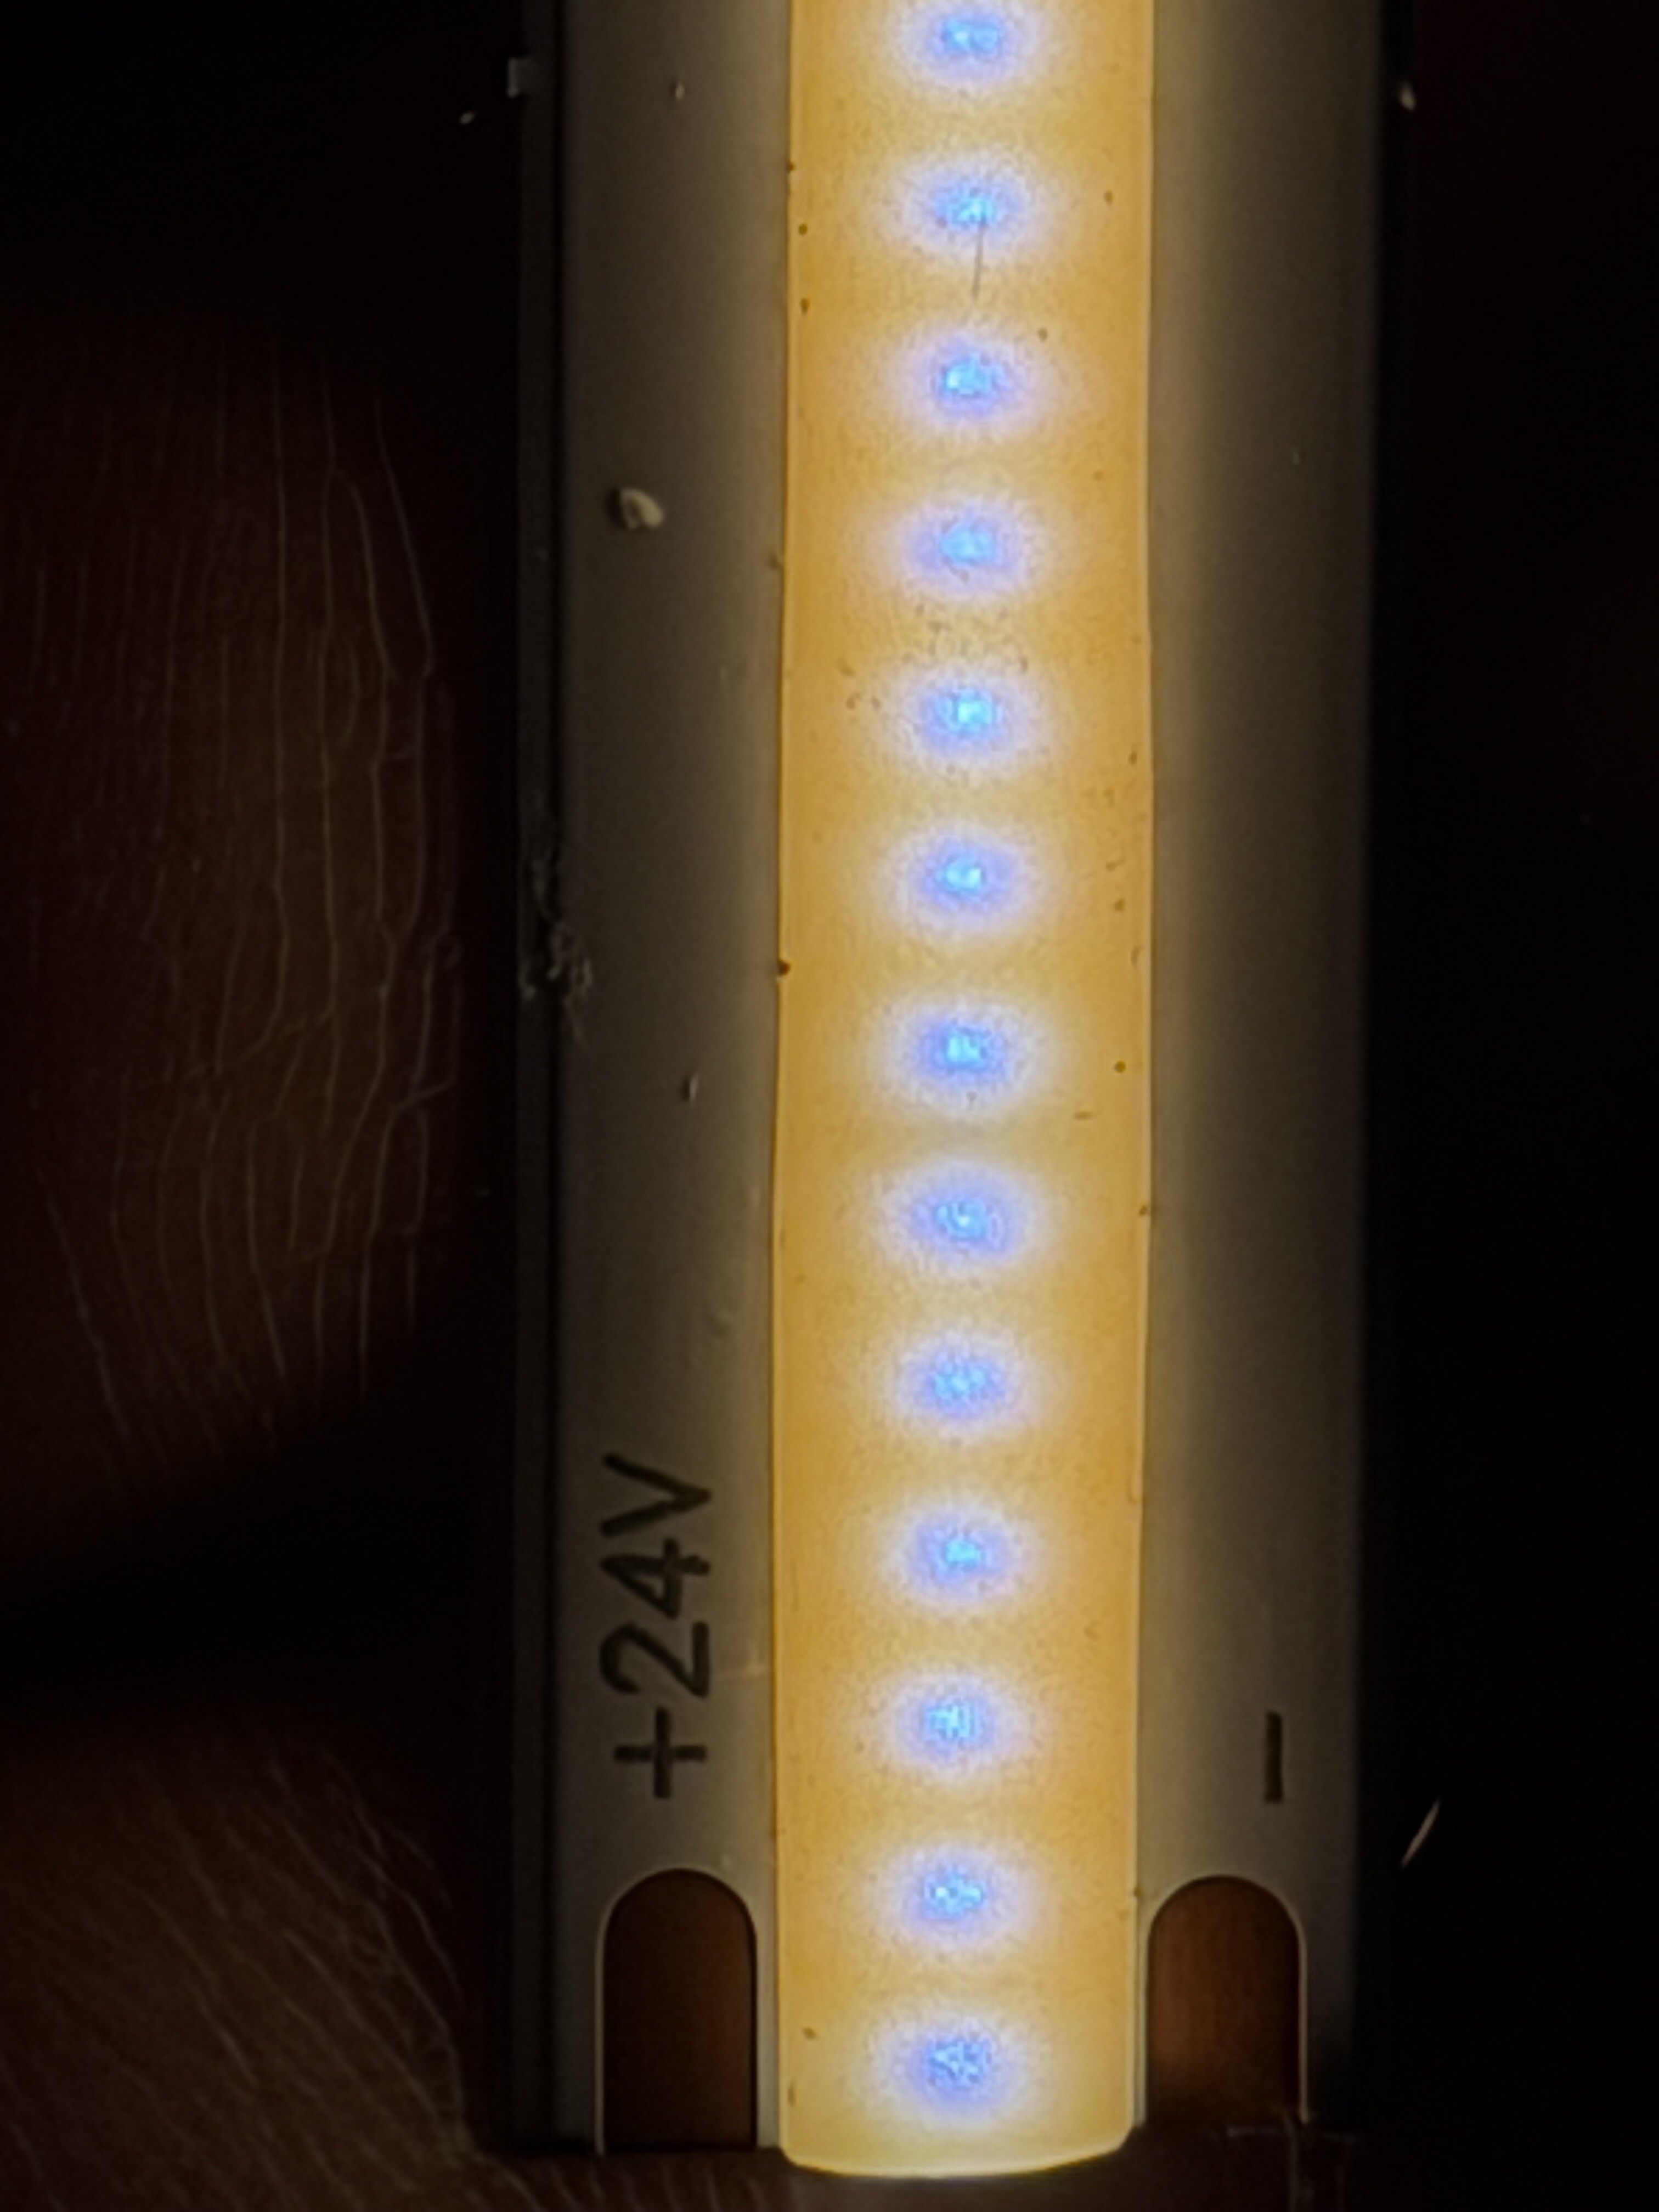
Here are some more dense rgbw fcobs for reference:
Most of the more dense strips I’ve found aren’t capable of being run off of usb power. But I’ll go into the more capable higher voltage controllers and strips after we’ve got some good testing done
Good call on the mirror backed acrylic, that’s going to be interesting to play with. Especially if we can do any forming on it.
Super excited to see what you do with that one @HeuristicBishop . A topo map has been on my todo list for a while now but to add LED lighting, that’s cool!
Little ~2” signs so I can get a bunch of em out of a single acrylic sheet.
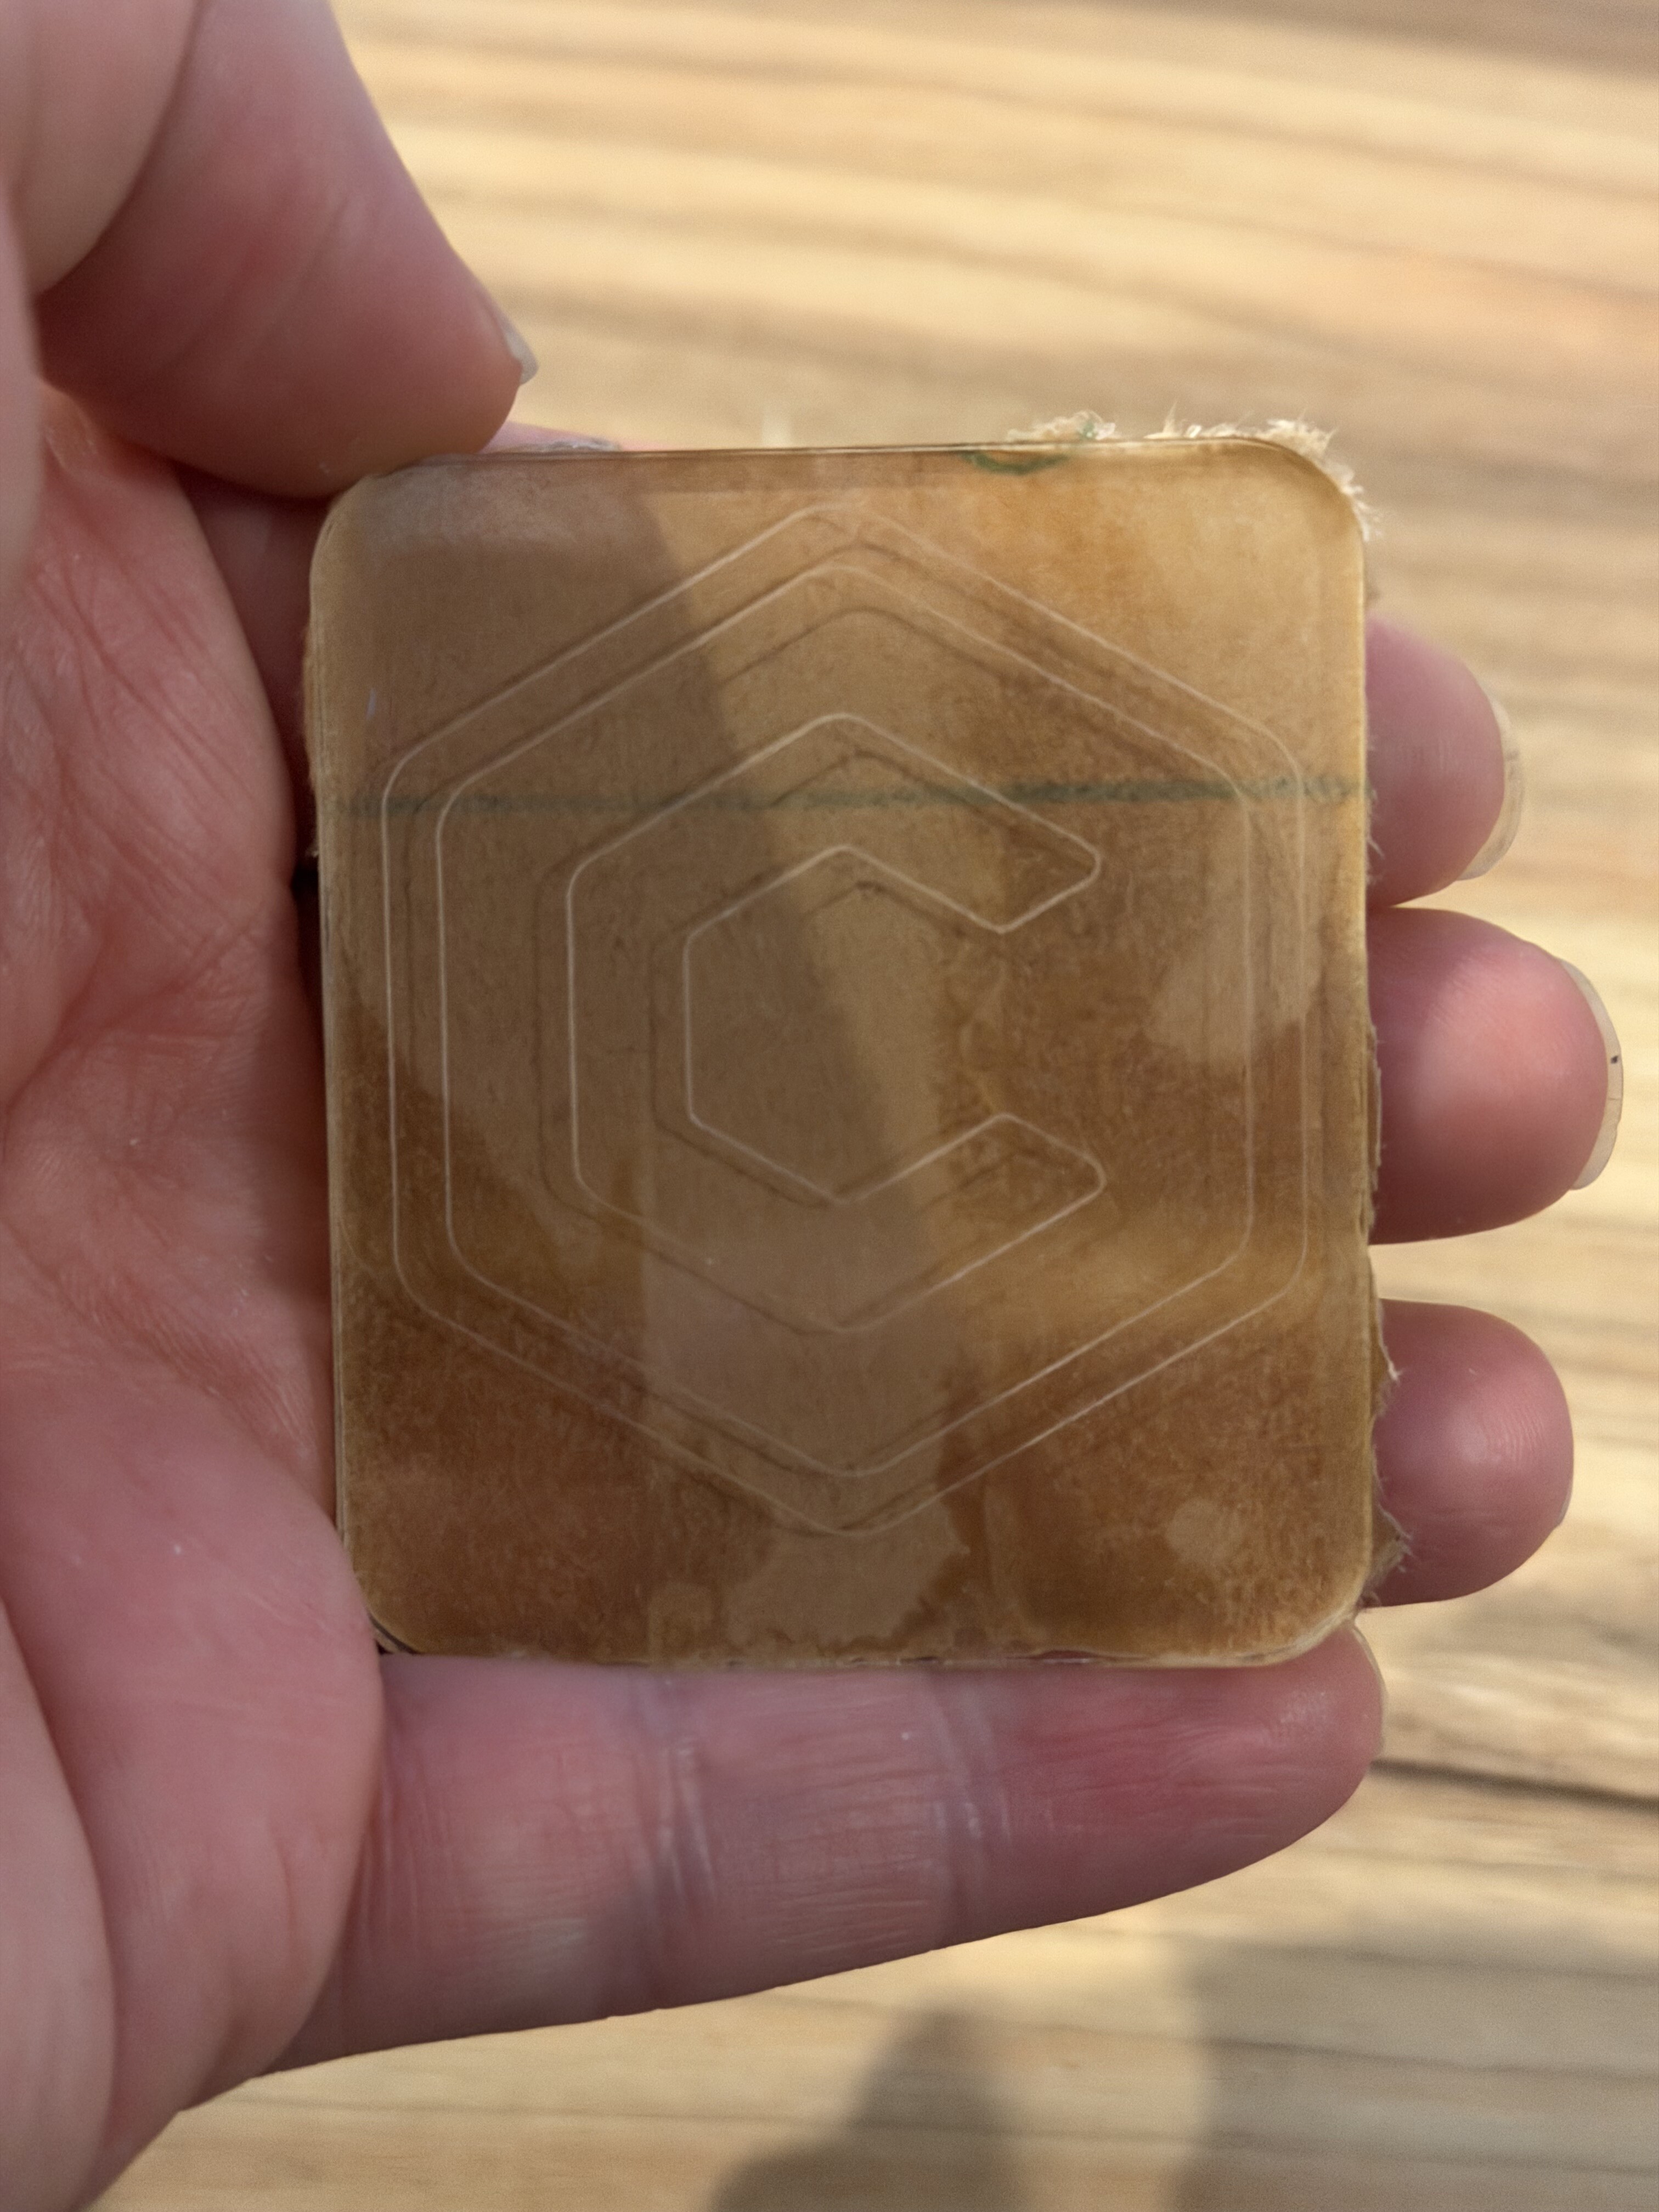
The soap and water on the surface trick that (I think) @WillAdams recommended seems to have worked very well.
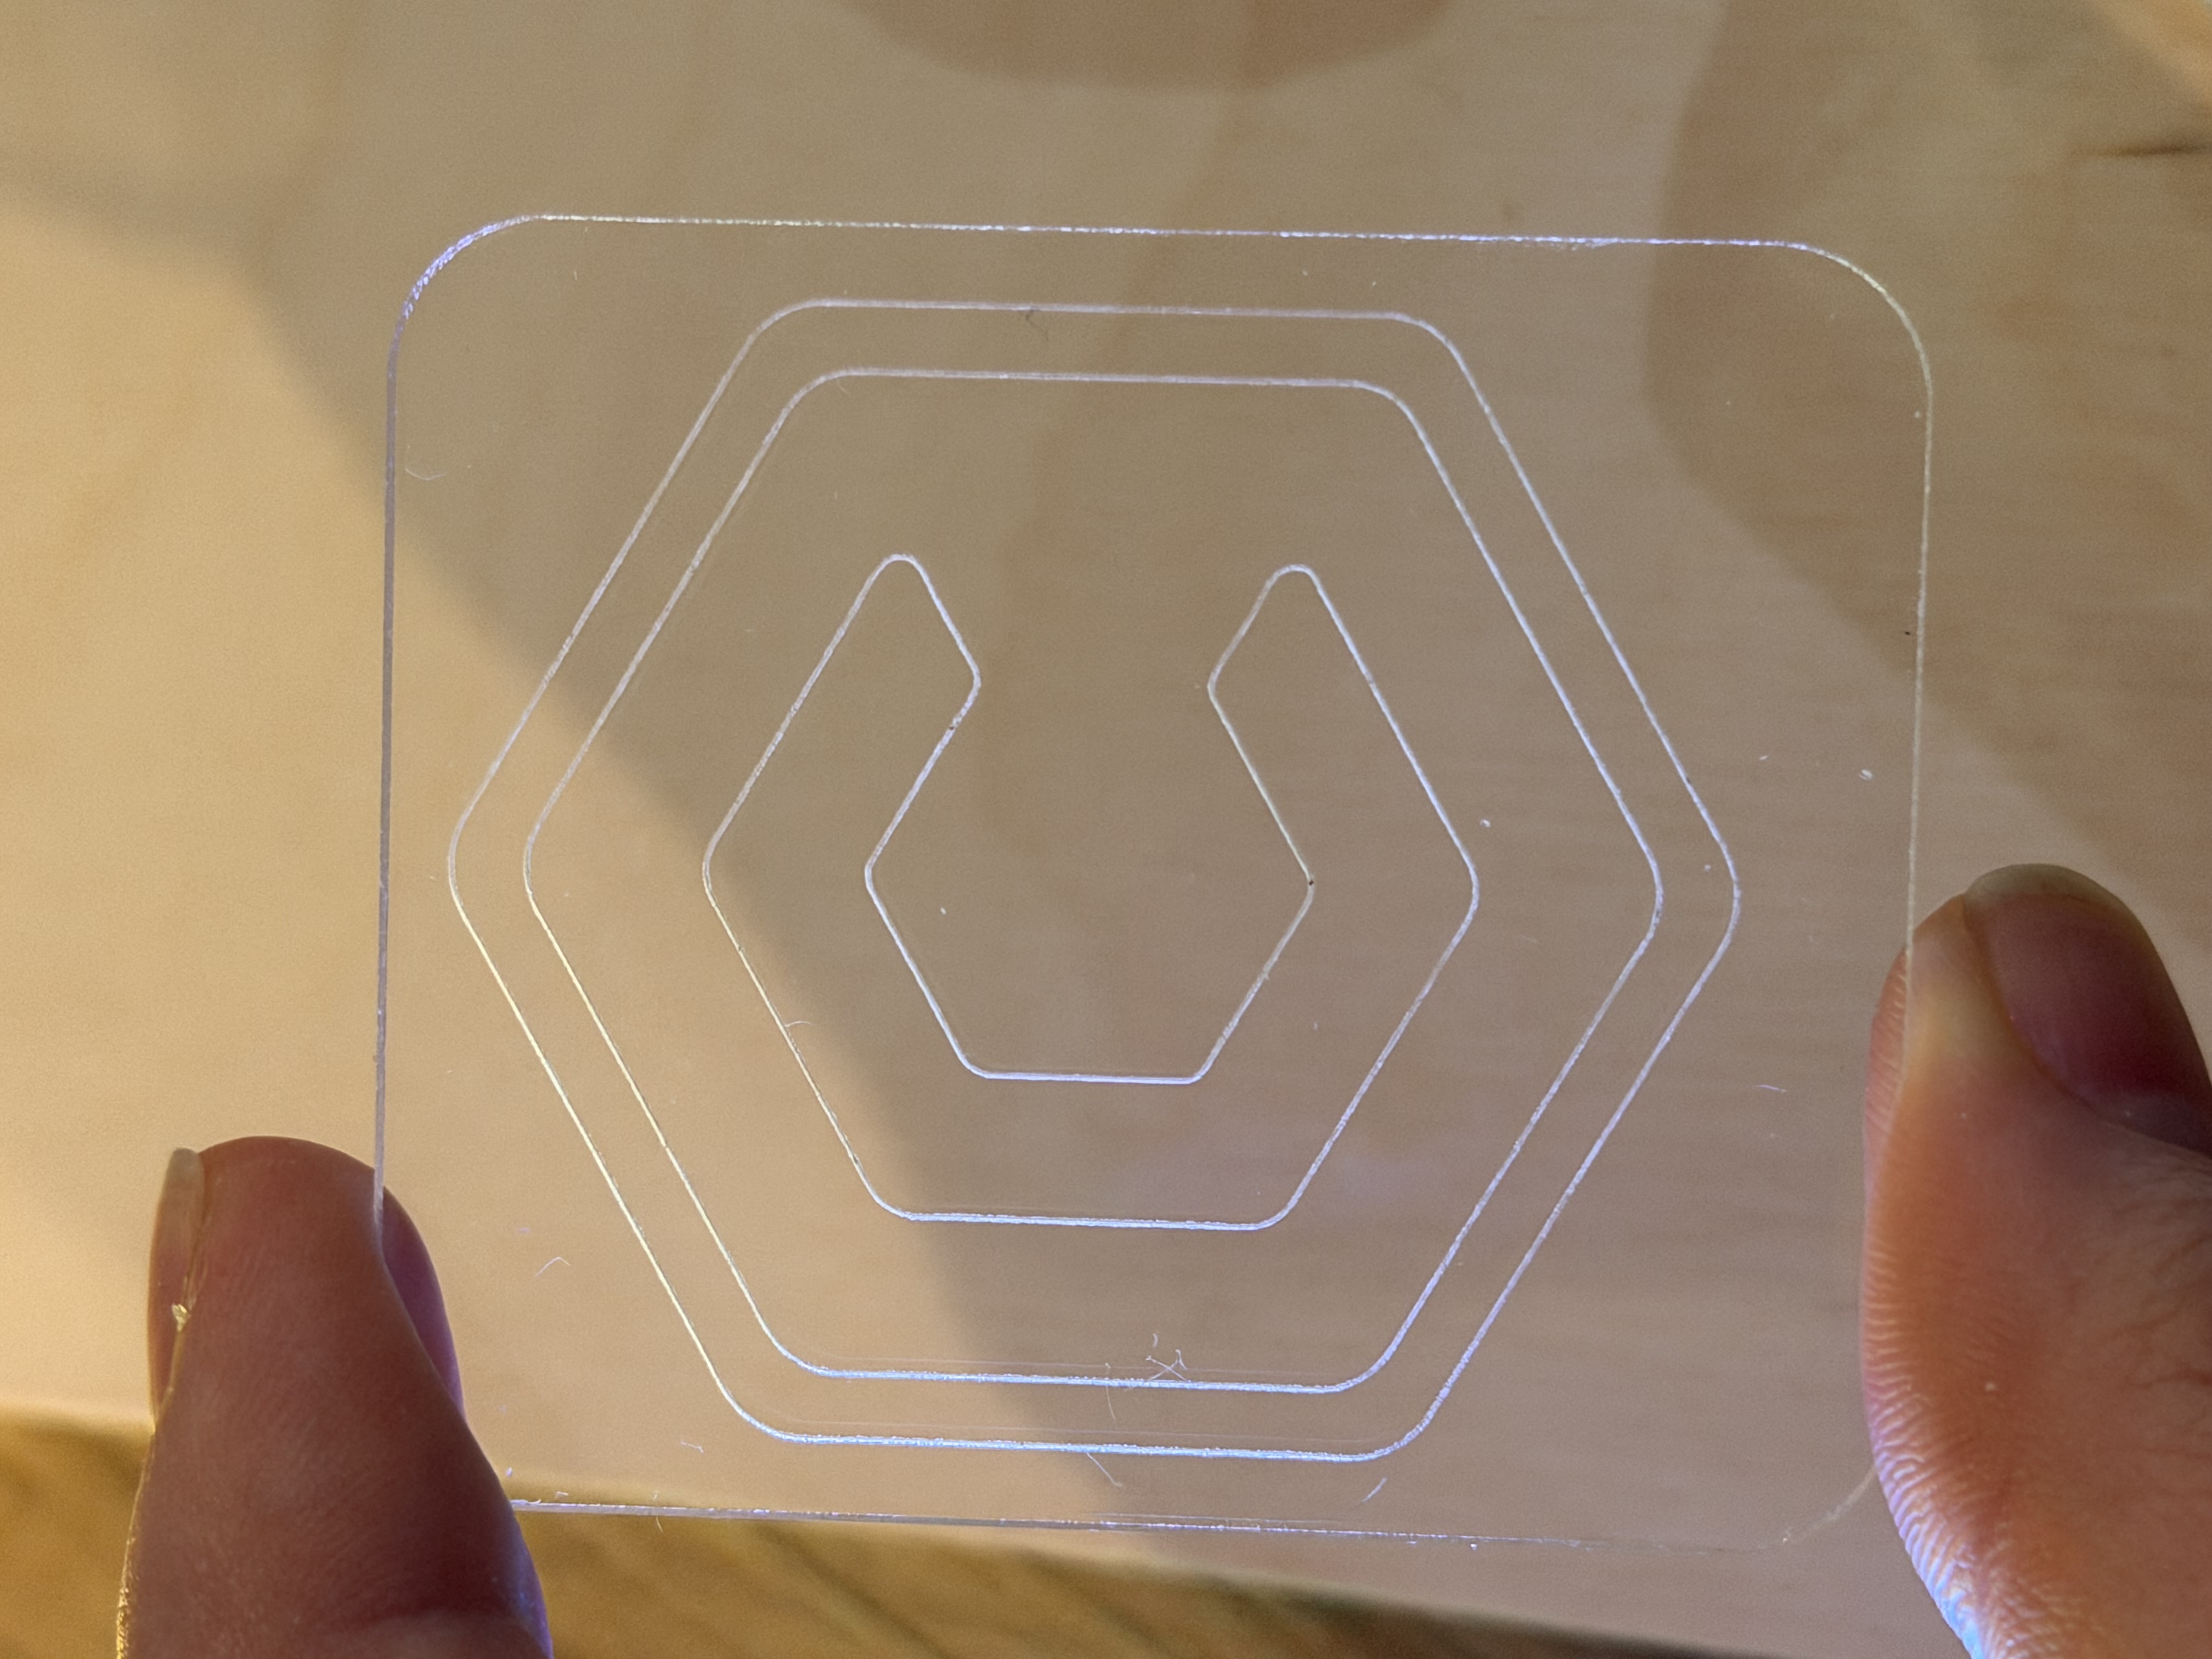
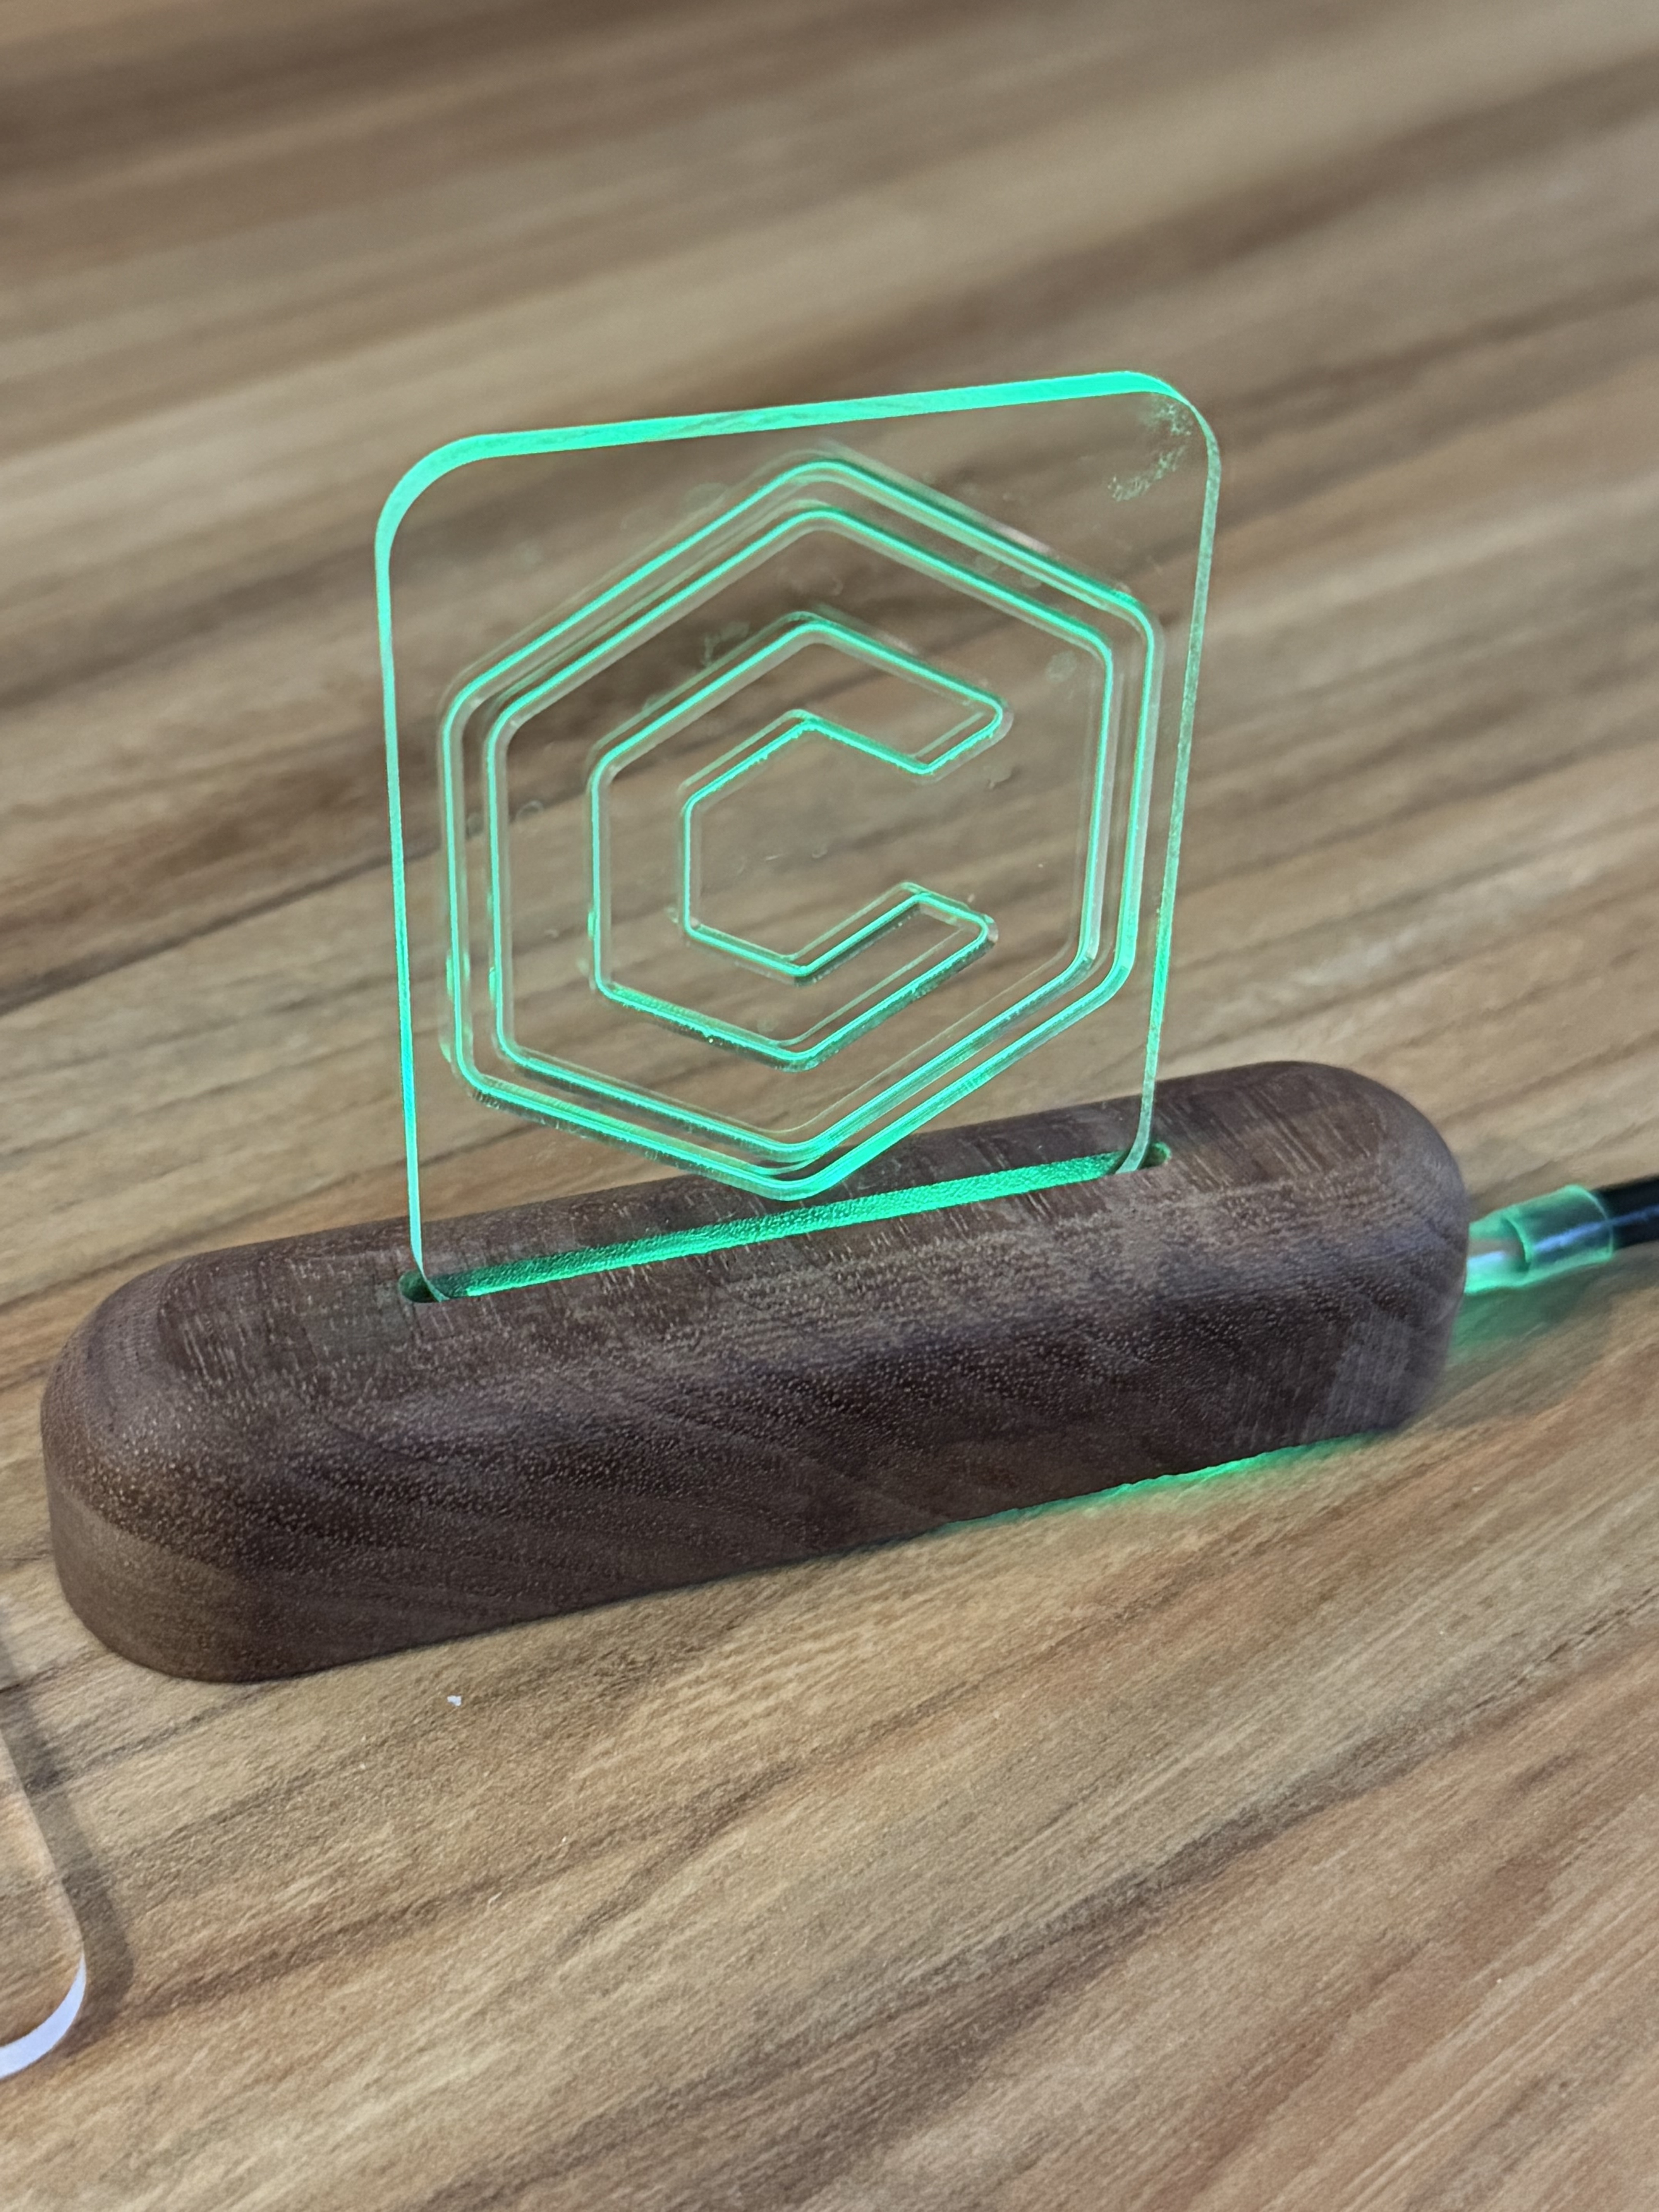
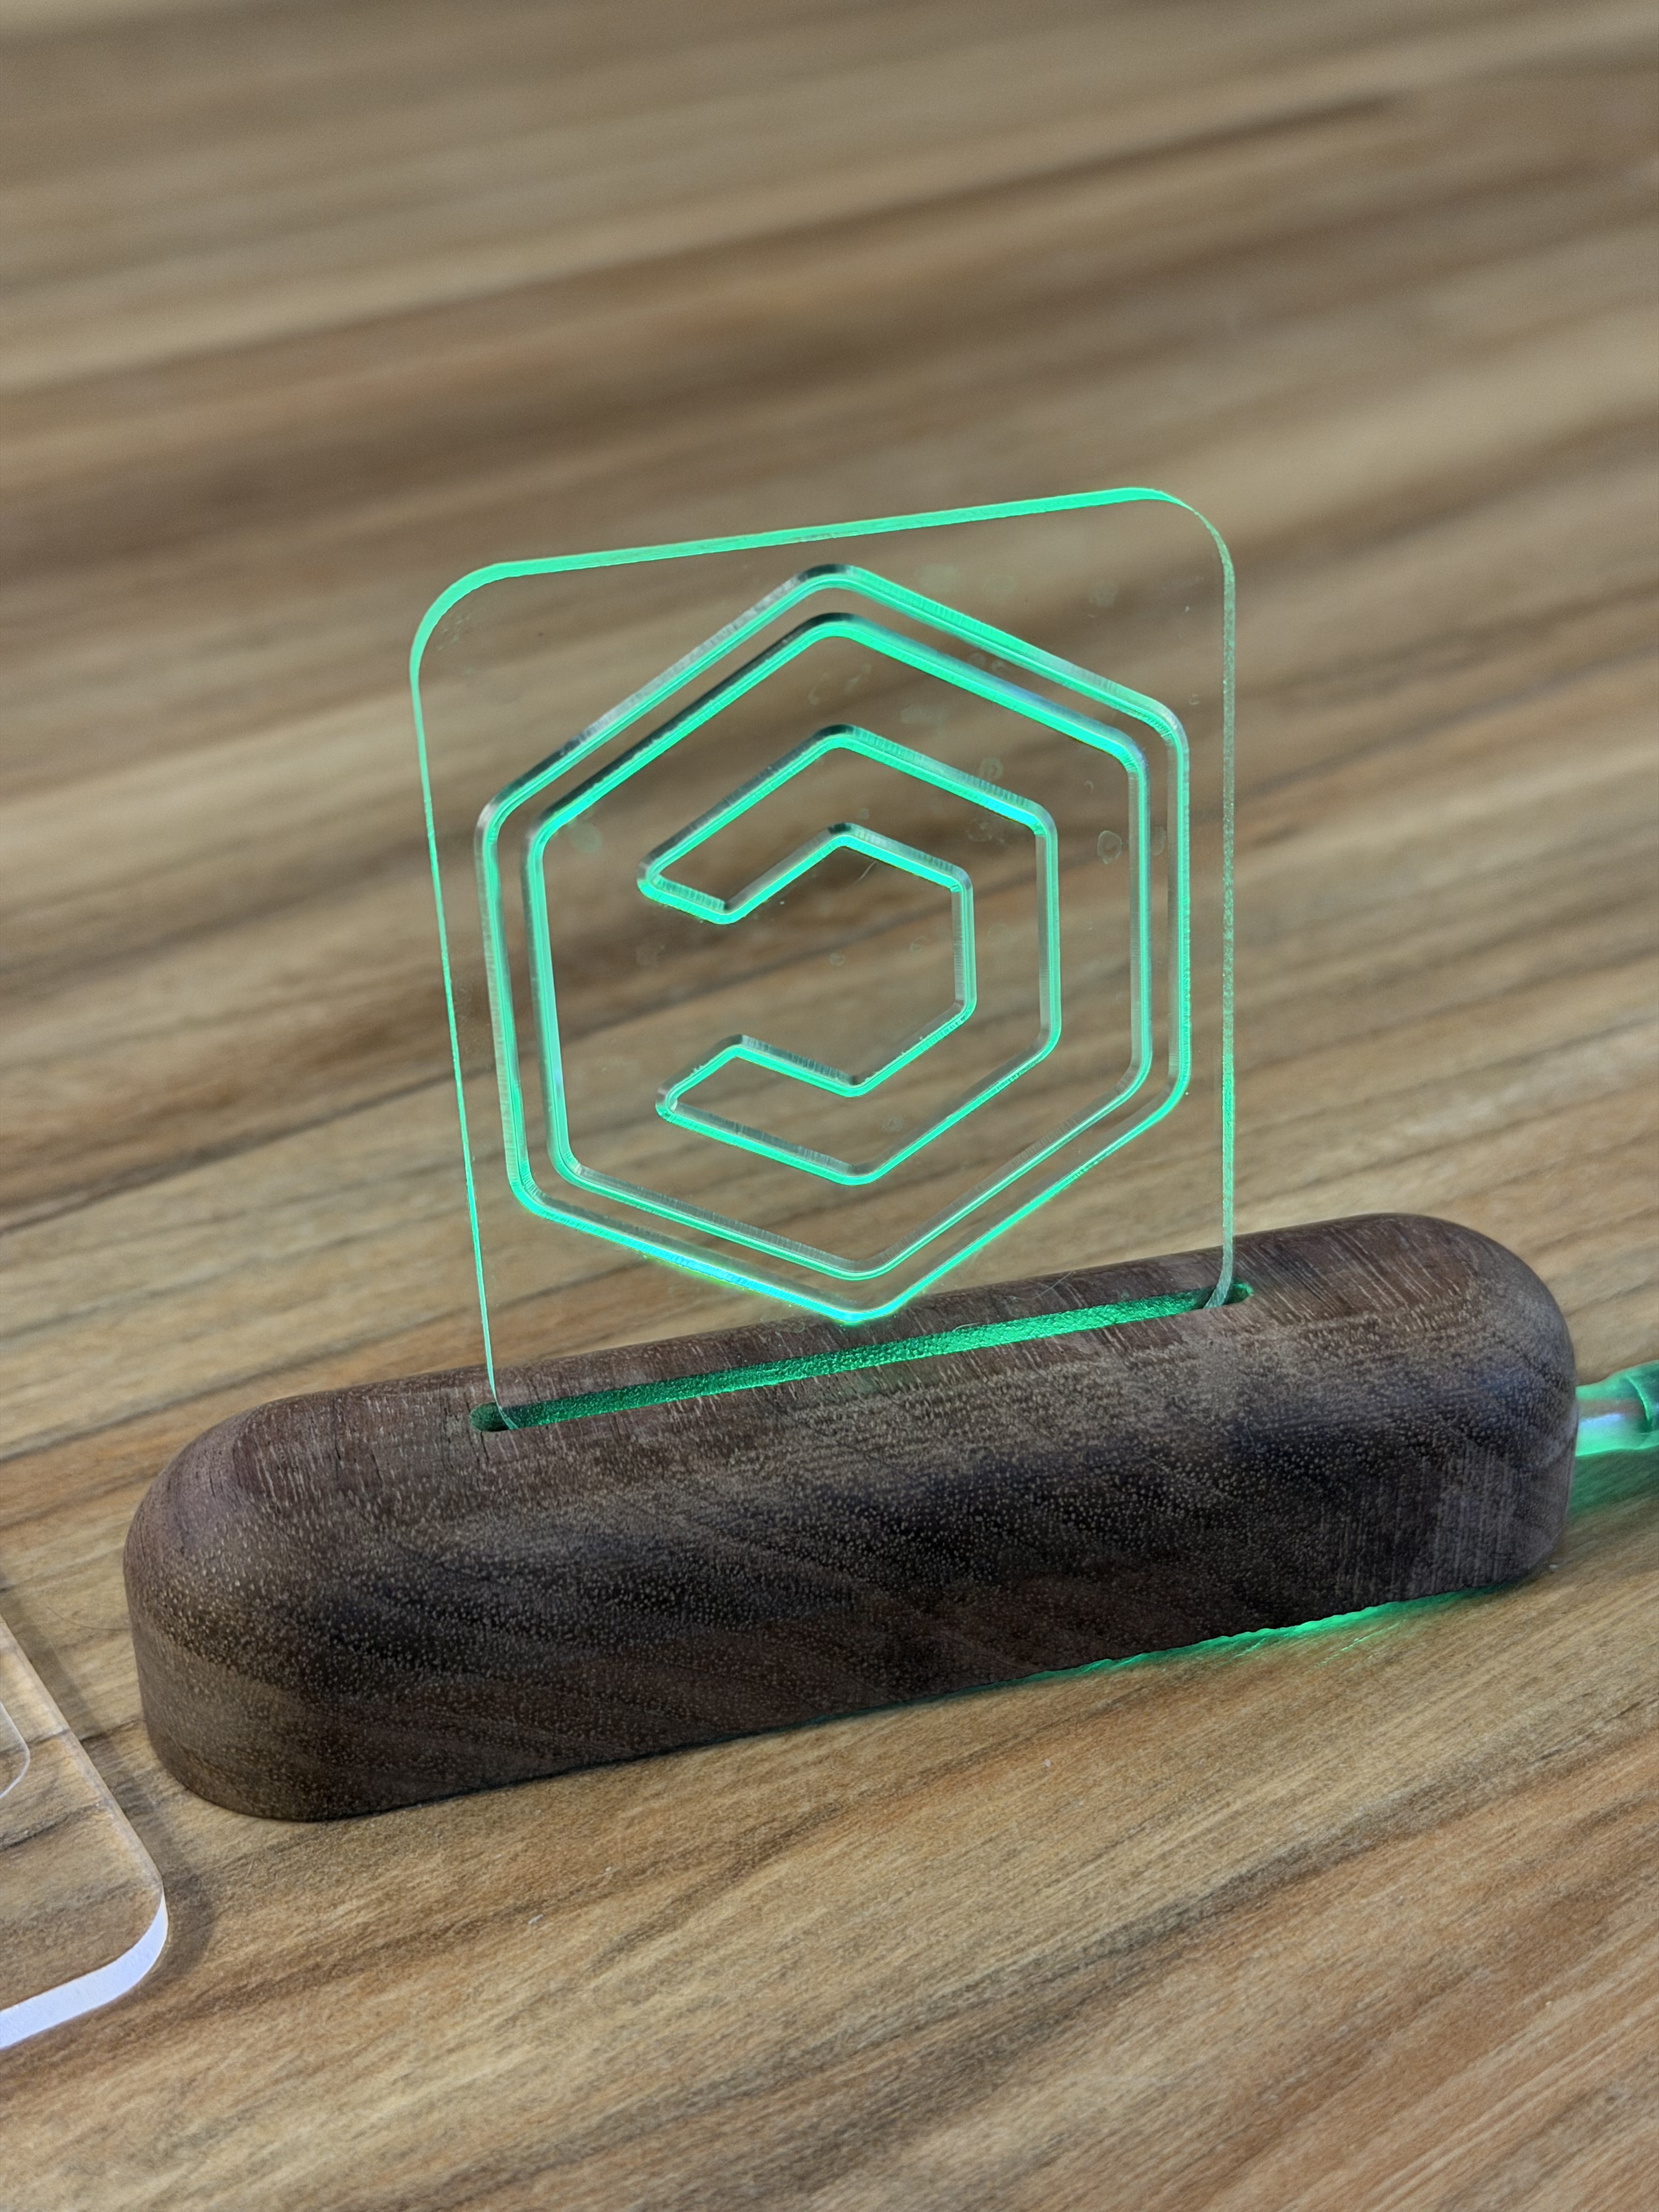
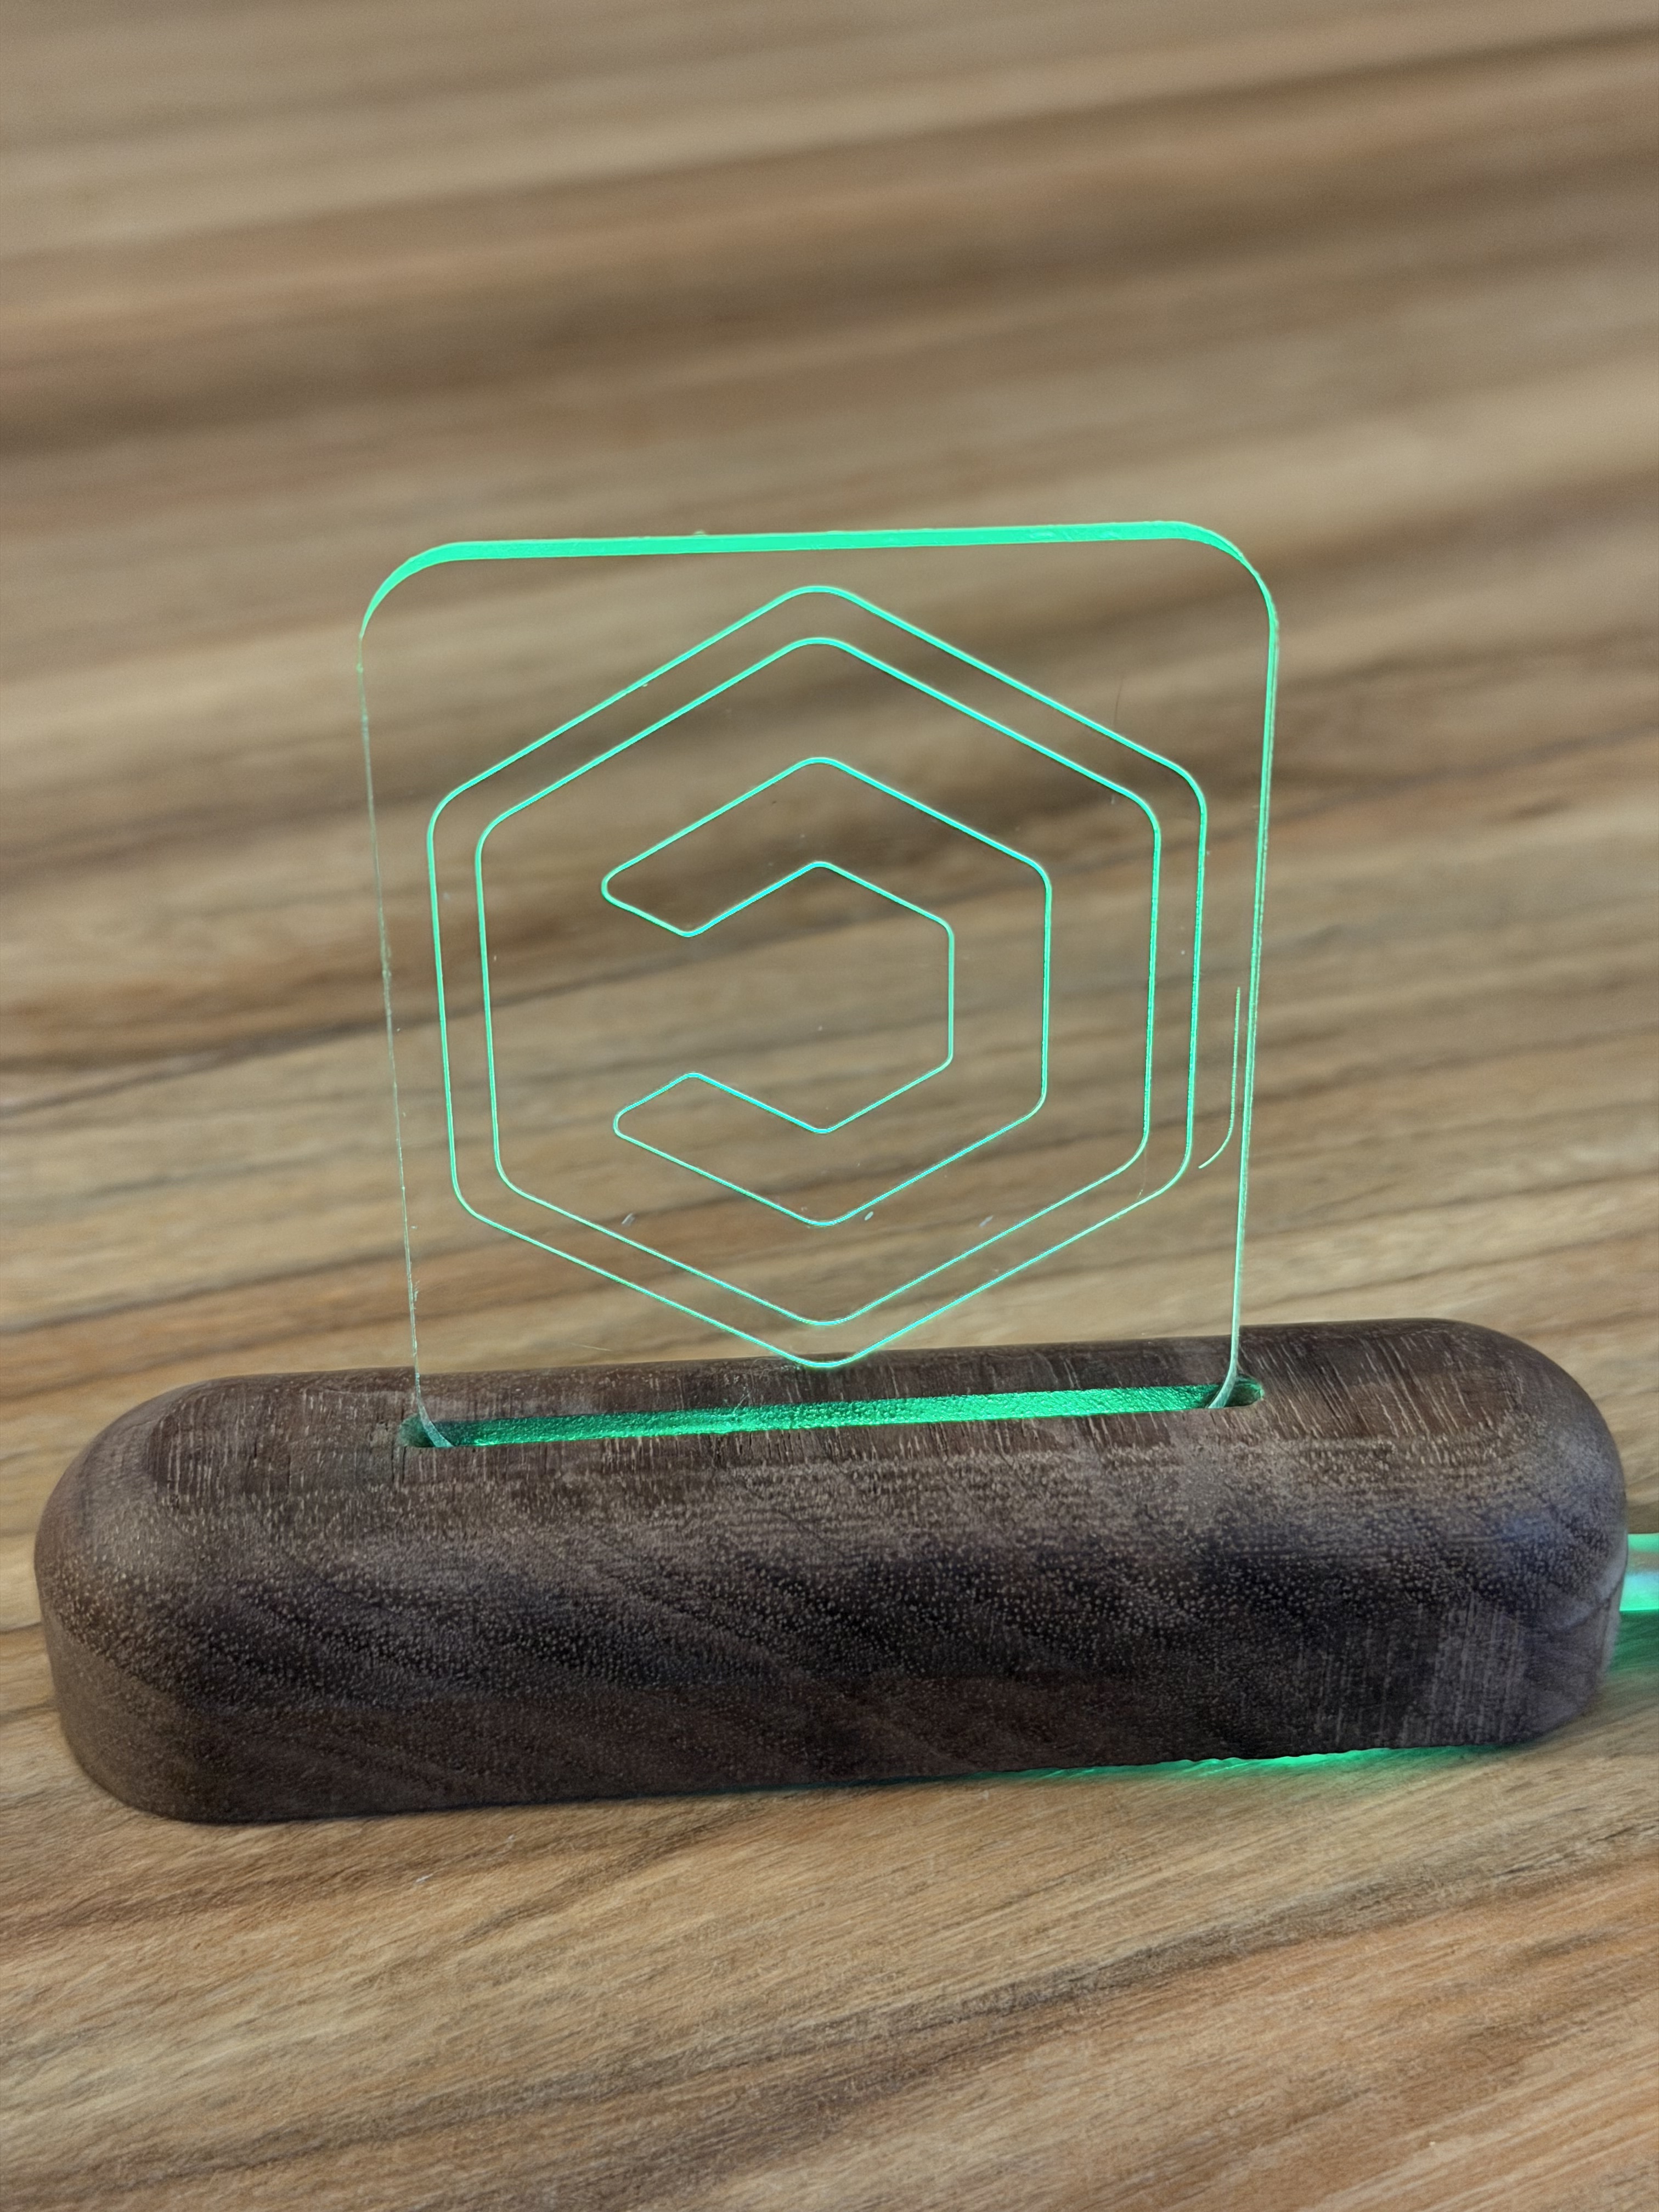
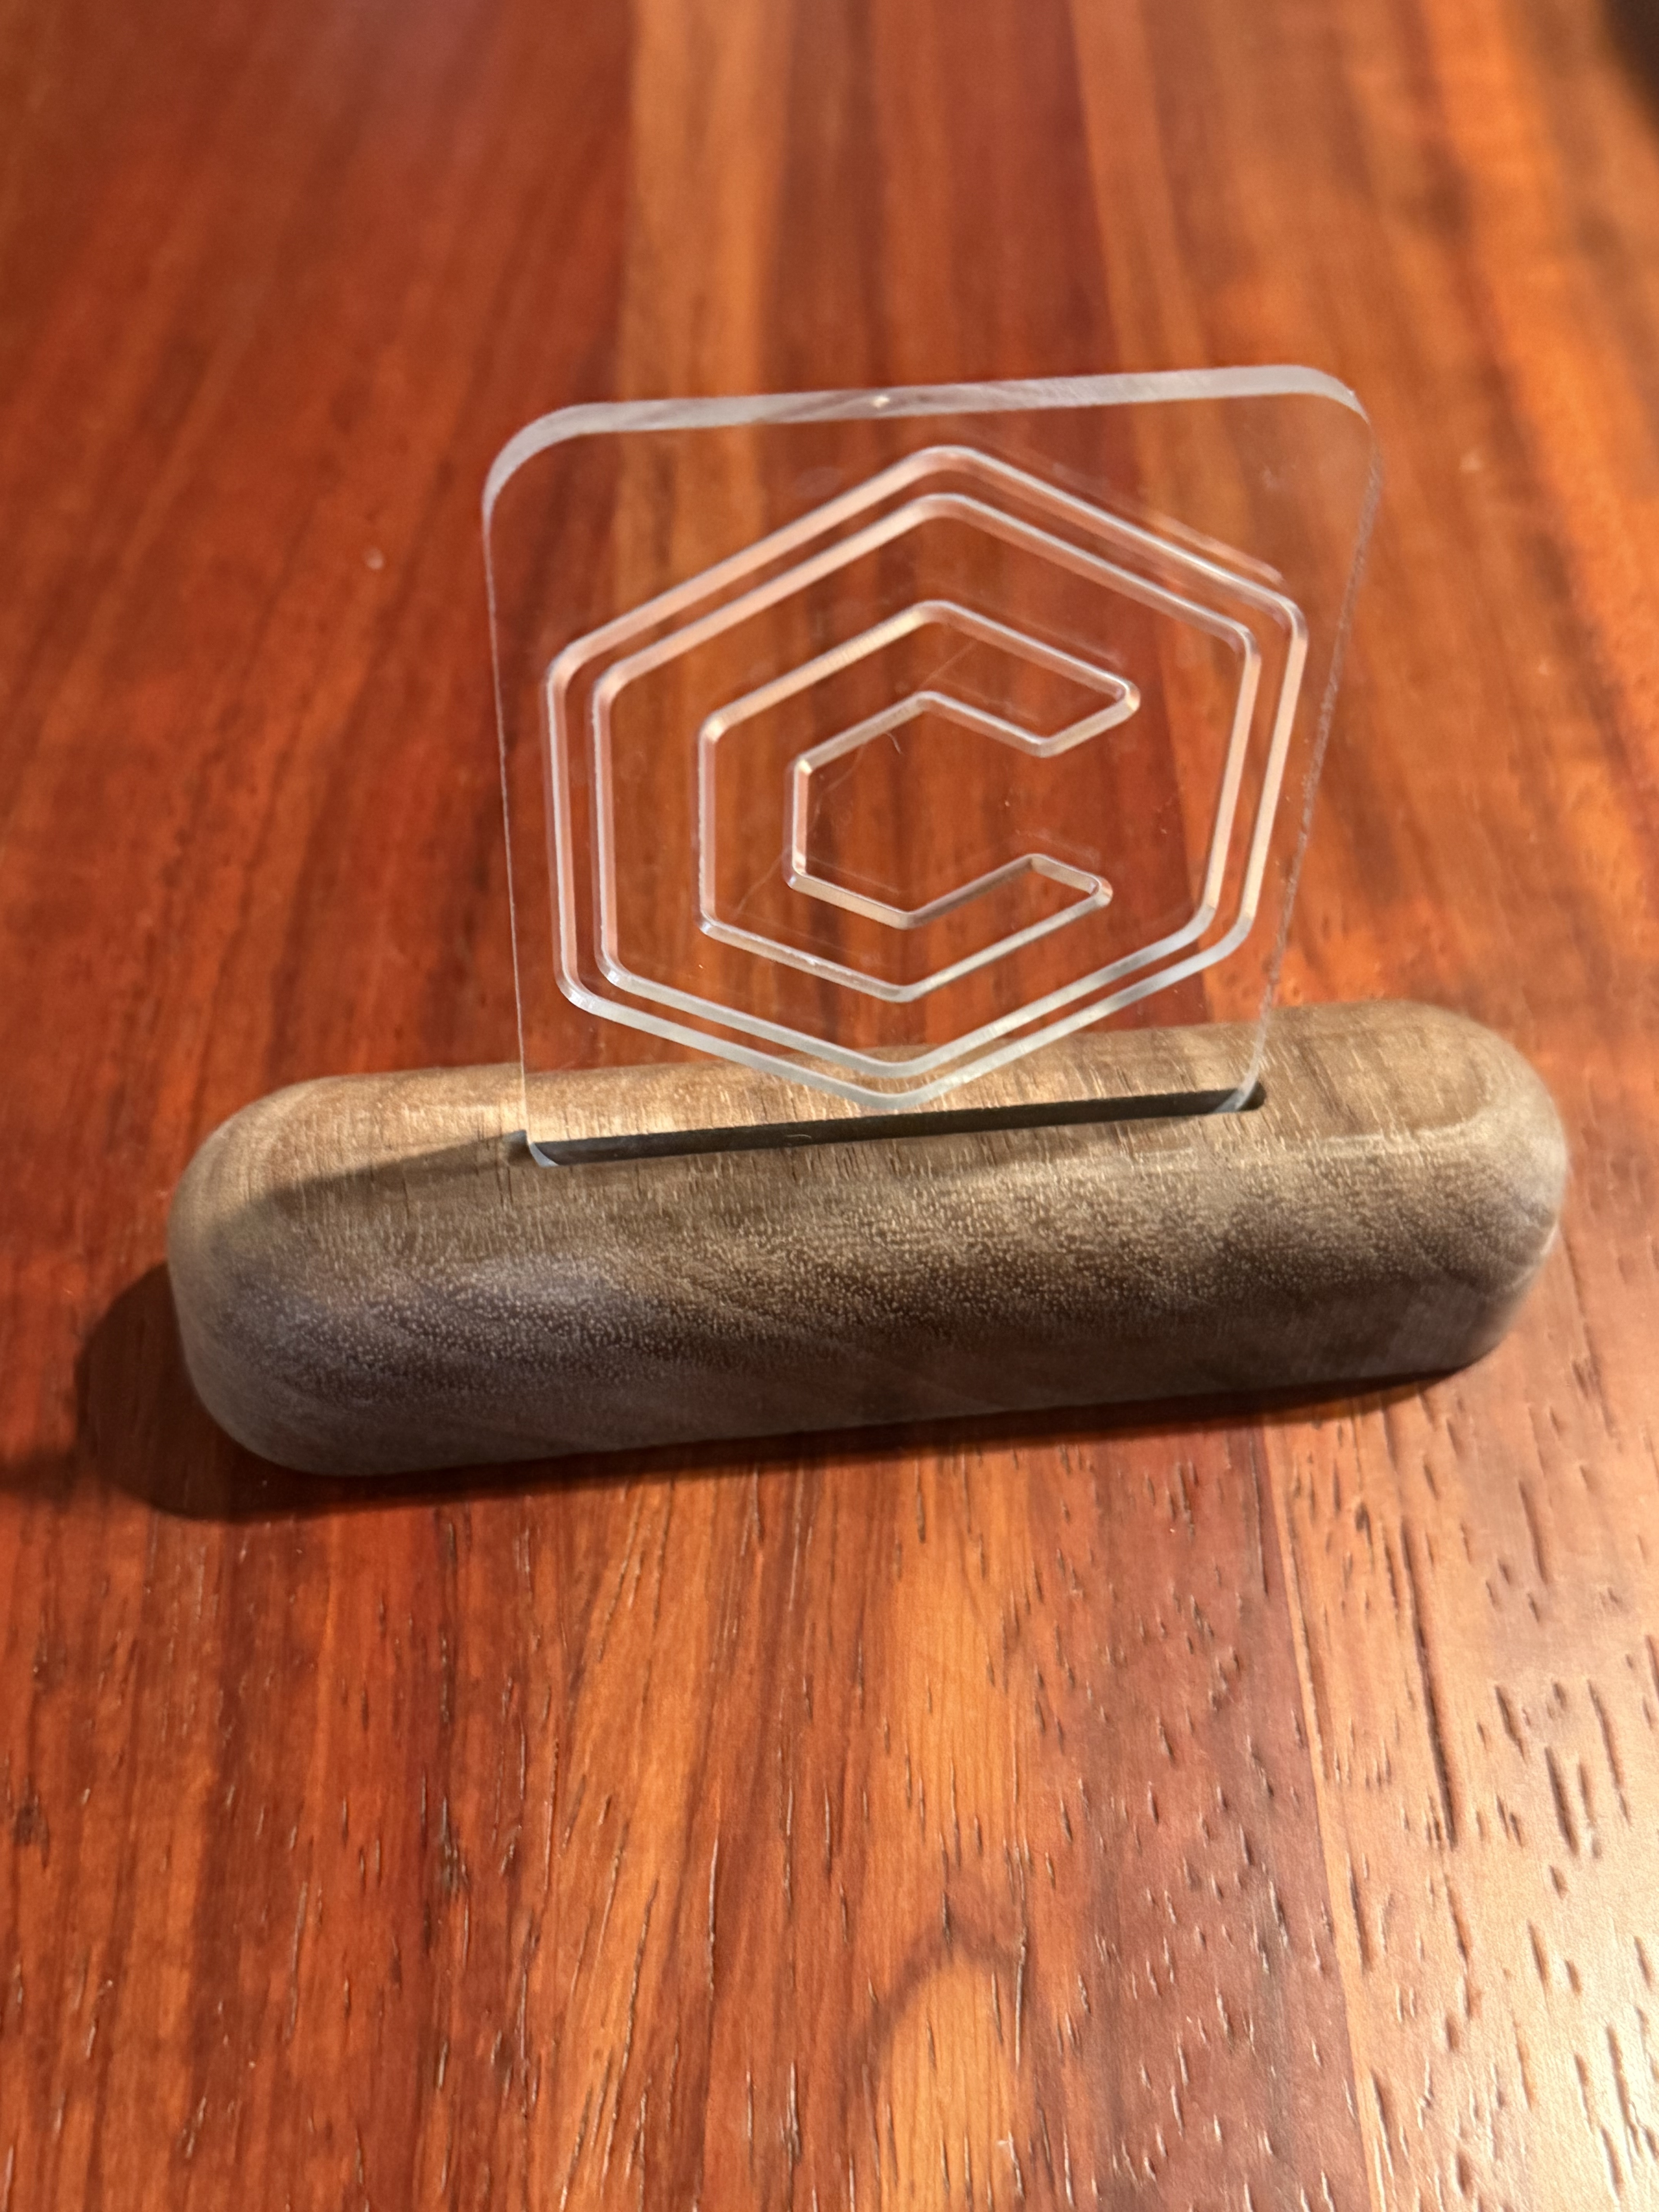
I’ll use the C3D logo for testing and get a few larger sheets of acrylic ordered for some 8” topo maps.
Mount Rainier here we come.
Super excited to try some thicker acrylic for 3d topo maps but I’m not sure how to finish it. Maybe a careful flame polish or something…3d topo will almost certainly be its own post
Looks good! I will have to get into these projects with acrylic. I have several projects in mind. I have learned a a significant amount from the posts on the forum!
So thank you to everyone that has demonstrated the projects and process’s used.
I’ve found that 1/8" acryilic is actually closer to 2.5mm - with the protective paper/plastic wrap it’s 3mm. A stubby 1/16" bit makes quick work of a slot that is 2.75mm.
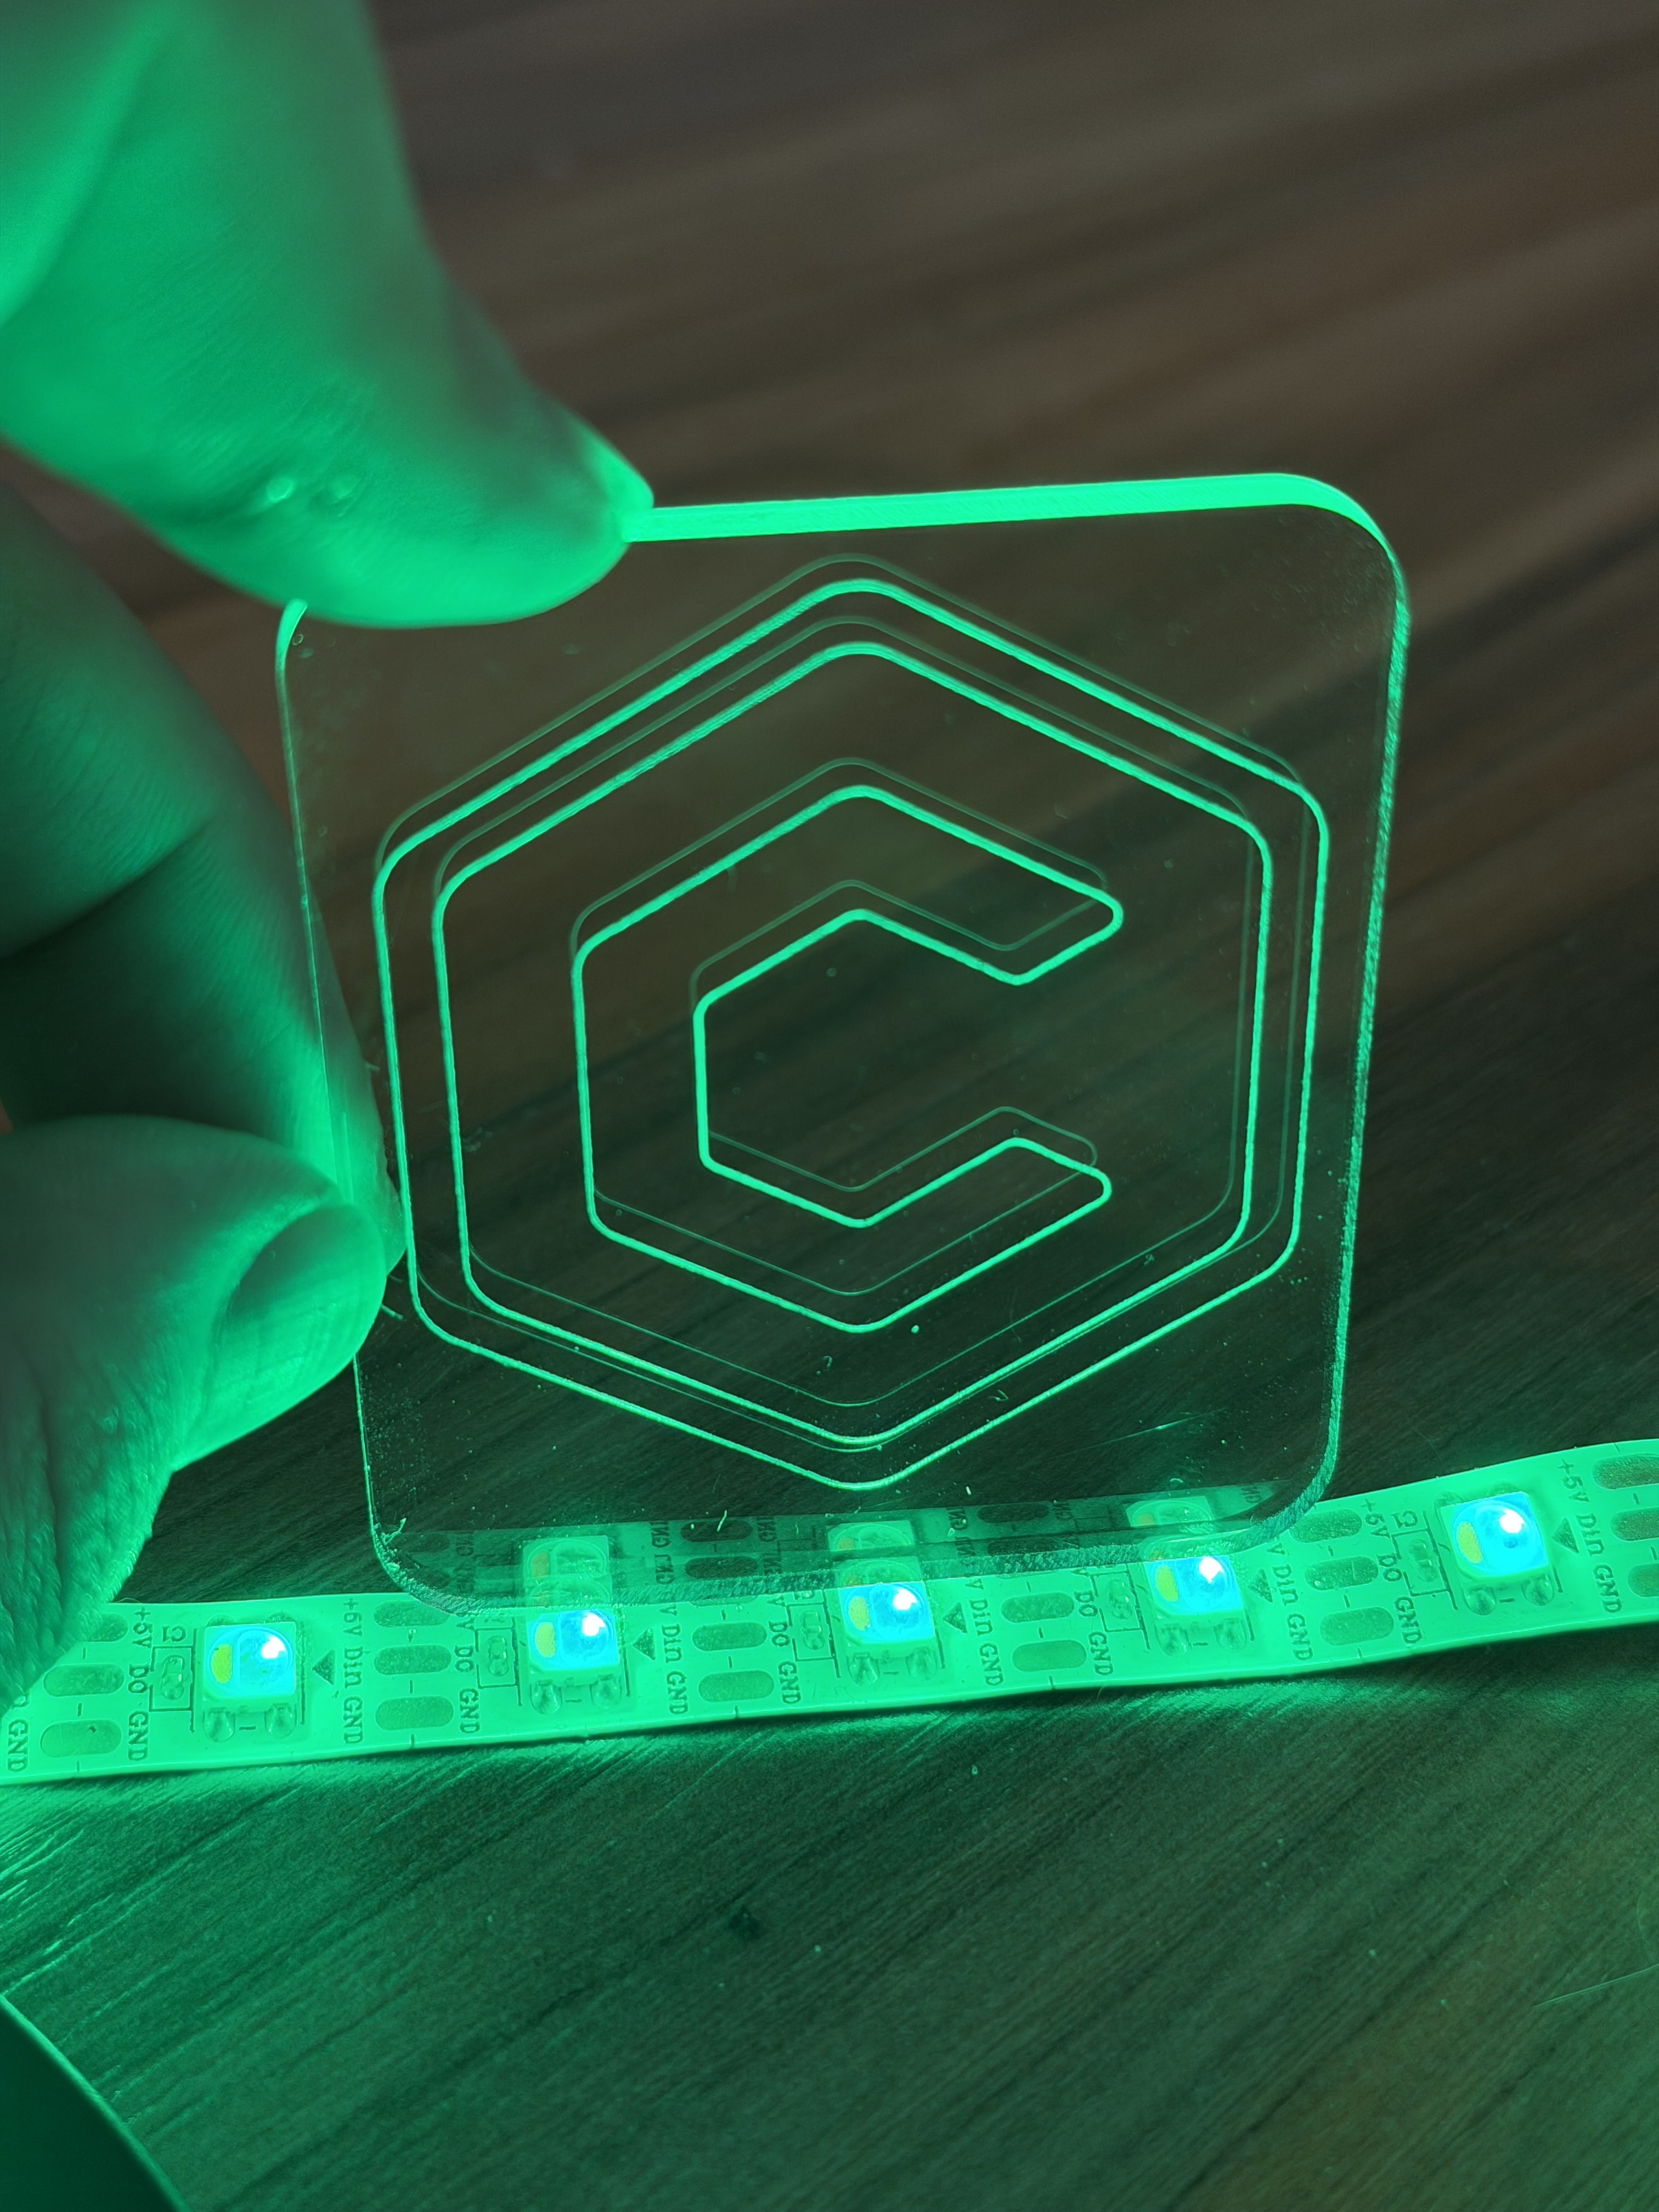
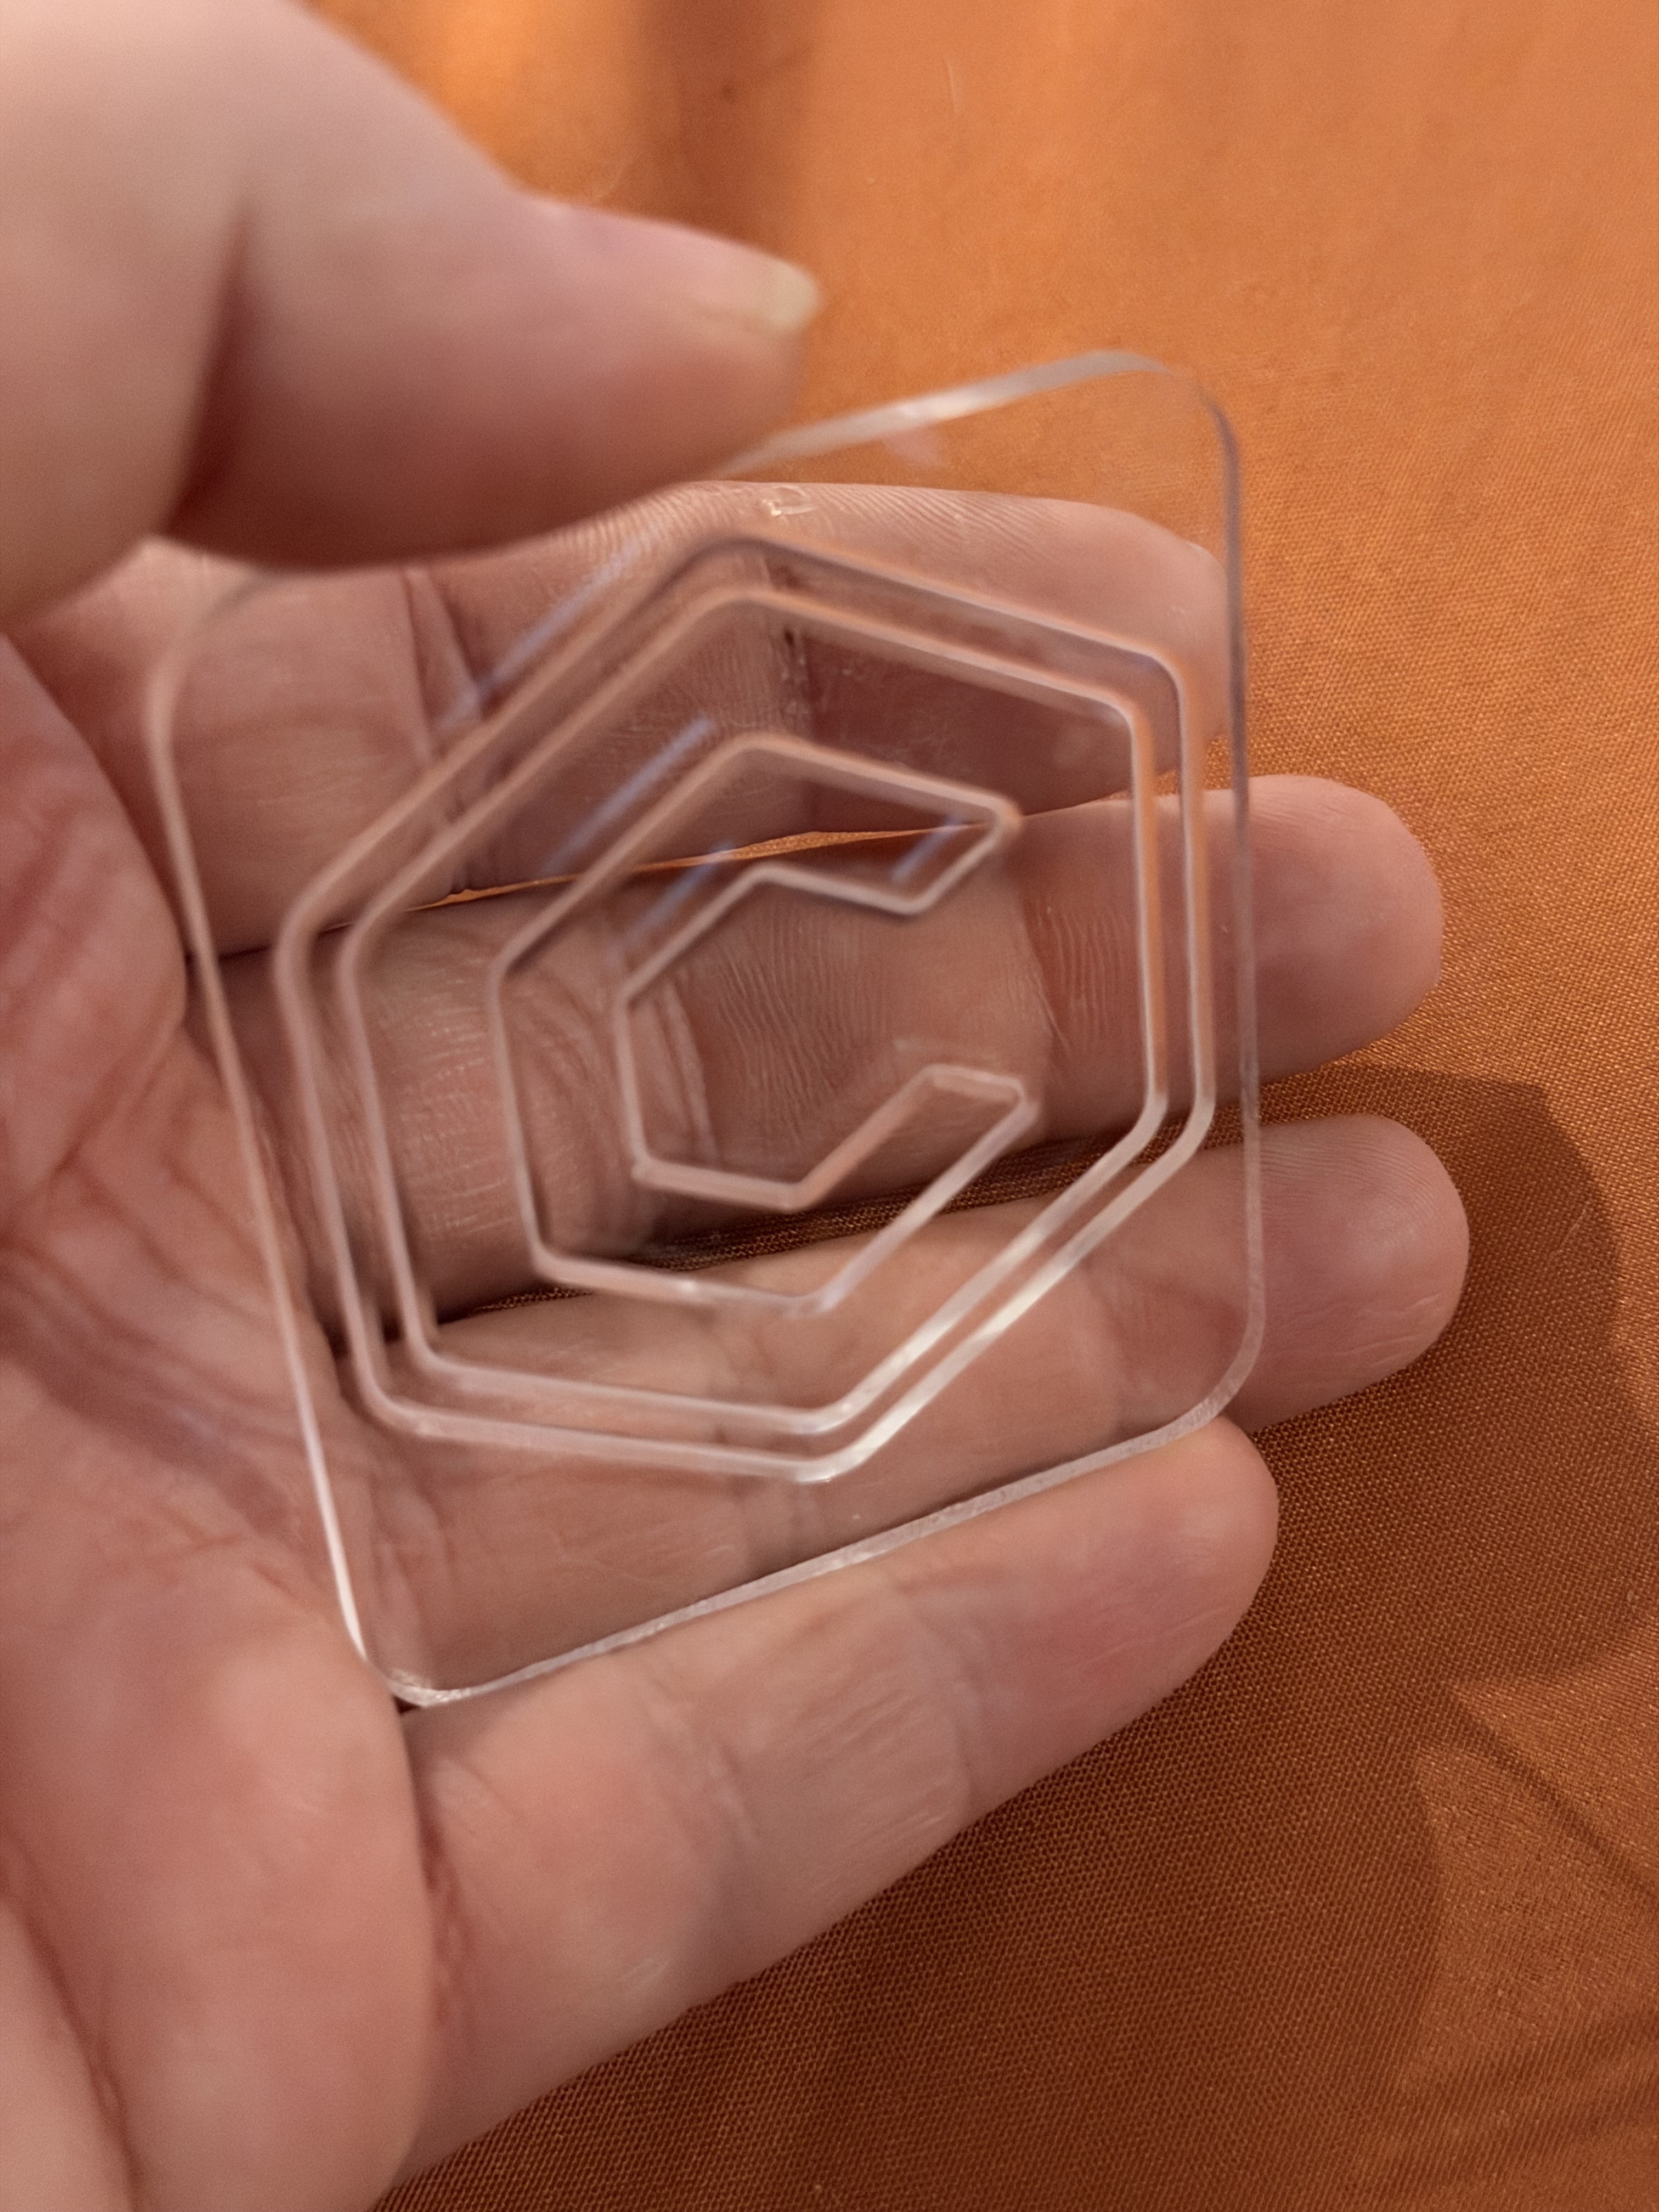
I cut the test piece with the ball mill today. Came out beautifully.
The biggest surprise for me in this testing has been how impactful the tool geometry is on the final product. The highlights of the signage end up finding their way just a little differently.
It makes sense when I think about it though, light is a fickle thing. Hitting a 90 degree wall vs a 45 degree vs a curve, they’re going to have dramatically different impact on the path of that light. That difference results in perceptible aesthetic differences.
Kind of like gem cutting I suppose. Those angles make a world of difference.
Pretty cool stuff so far. More pictures incoming tomorrow.