Hi Folks - I’m assembling my first Shapeoko - the new Pro 5 and I’ve got it on the Kreg mobile table with a 3/4" plywood top. My question for some of the more experienced people is - do you have any recommendations for where to mount the Electronics and the VFD (for the spindle)? I’m just not sure how often these are needed to be accessible and there are definitely some limits on cable lengths for the VFD controller (I don’t really think it can get a foot or so from the left Y assembly).
I’ve seen some mounted on the wall behind the CNC, but since the whole things is on wheels, I’d like to be able to pull it all out to clean behind etc. I’m guessing just the side or behind the table are the obvious options but that also makes the footprint larger and the whole thing harder to tuck into a corner.
That’s a nice solution - I like how it’s recessed. Unfortunately on the 4x4 I don’t think there’s enough cable length to bring it back to the front of the machine which is frustrating.
Hey Ryan - thank you - one concern I had, having never used a spindle and only a little dewalt router in my previous experience, was powering down for tool changes. I saw in one of winston’s videos he said you can hit the disconnect button on the VFD controller to ensure the system is completely off for Tool changes - is that overkill or from a safety perspective is that important? I just don’t know how much more likely a spindle could be to turn on randomly? I’m sure it’s not common, but with the old router you could just power it down from the unit itself. Thx
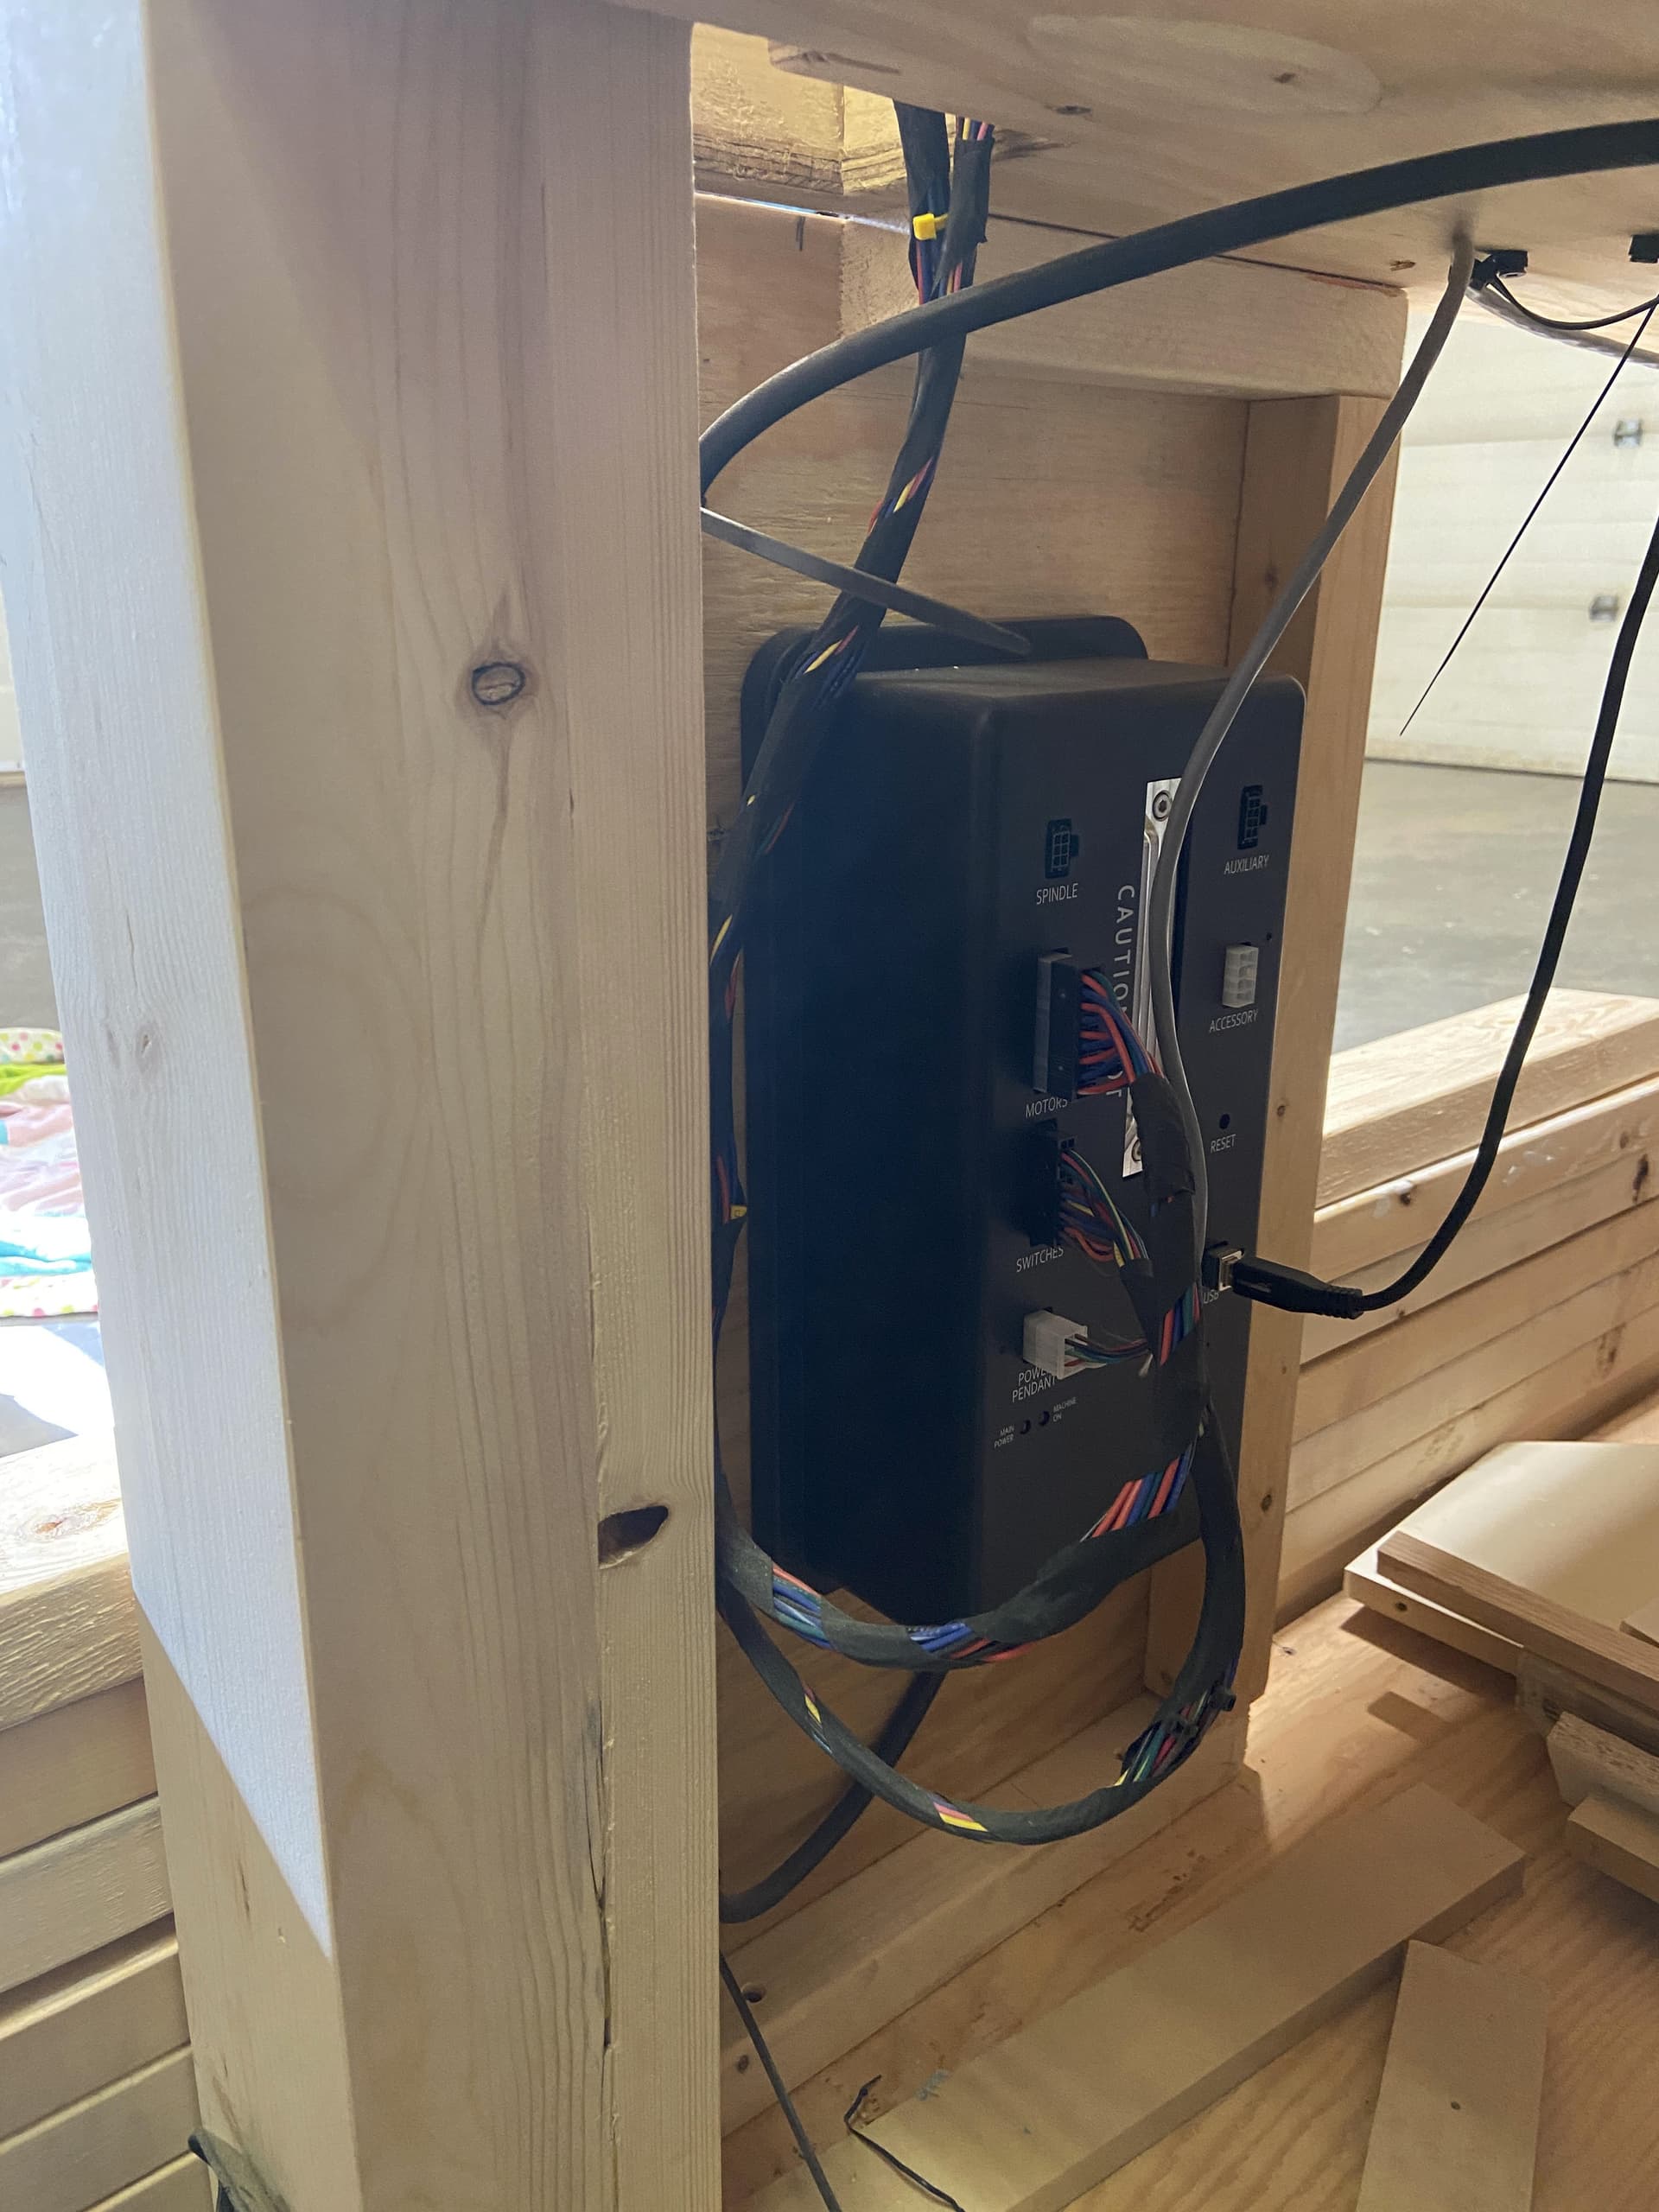
I made a bracket from leftover PVC from my enclosure, drawers & shelf. As close as I could get to the corner where the wiring enters the machine. The case has 4 5mm mounting screw holes on the back.
Unfortunately, with a 4x4 were screwed and forced to mount everything to the back of the machine. The cables arent long enough and in my talks with Carbide, they dont have plans to make wiring extension harnesses for people who want or need to have control access at the front. Becasue of shop set up, I am forced to leave everything powered on at all times with the kill switch as my on/off which keeps the tool from running, but the power box and VFD are still drawing power which I dont want/shouldnt have to put up with…or I have to pull my table out, walk behind it, power things on, push it back and do my work, then pull it out again, power down, and then push the table back. Cest la Vie.
The power cord for the power supply/control box is a bog standard C13 cord with a NEMA 5-20 plug — there used to be available extension cords for this sort of cord (they would plug into a monitor and connect it to a matching connector on a computer’s power supply) which would allow at least unplugging that pretty easily, just position the connection between the twain so that it is accessible.
That said, I plugged my unit into a surge protector and power it on/off using the switch on that.
I used the Rockler Rock-Steady bench, so basically the same thing. Although with the slightly smaller width and depth, my top overhangs the bench, making mine slightly more challenging. I also made sure that the only thing tethering me to a wall was the power cord as I have my machine on lifting casters and made it a requirement to be able to move it away from the wall for tiling. I love the 4x4 as i have used the full size, but I am jealous of the 2x4 owners and their ability to use a nice tool bench effectively. I love the set-up @brentgrizzle has above.
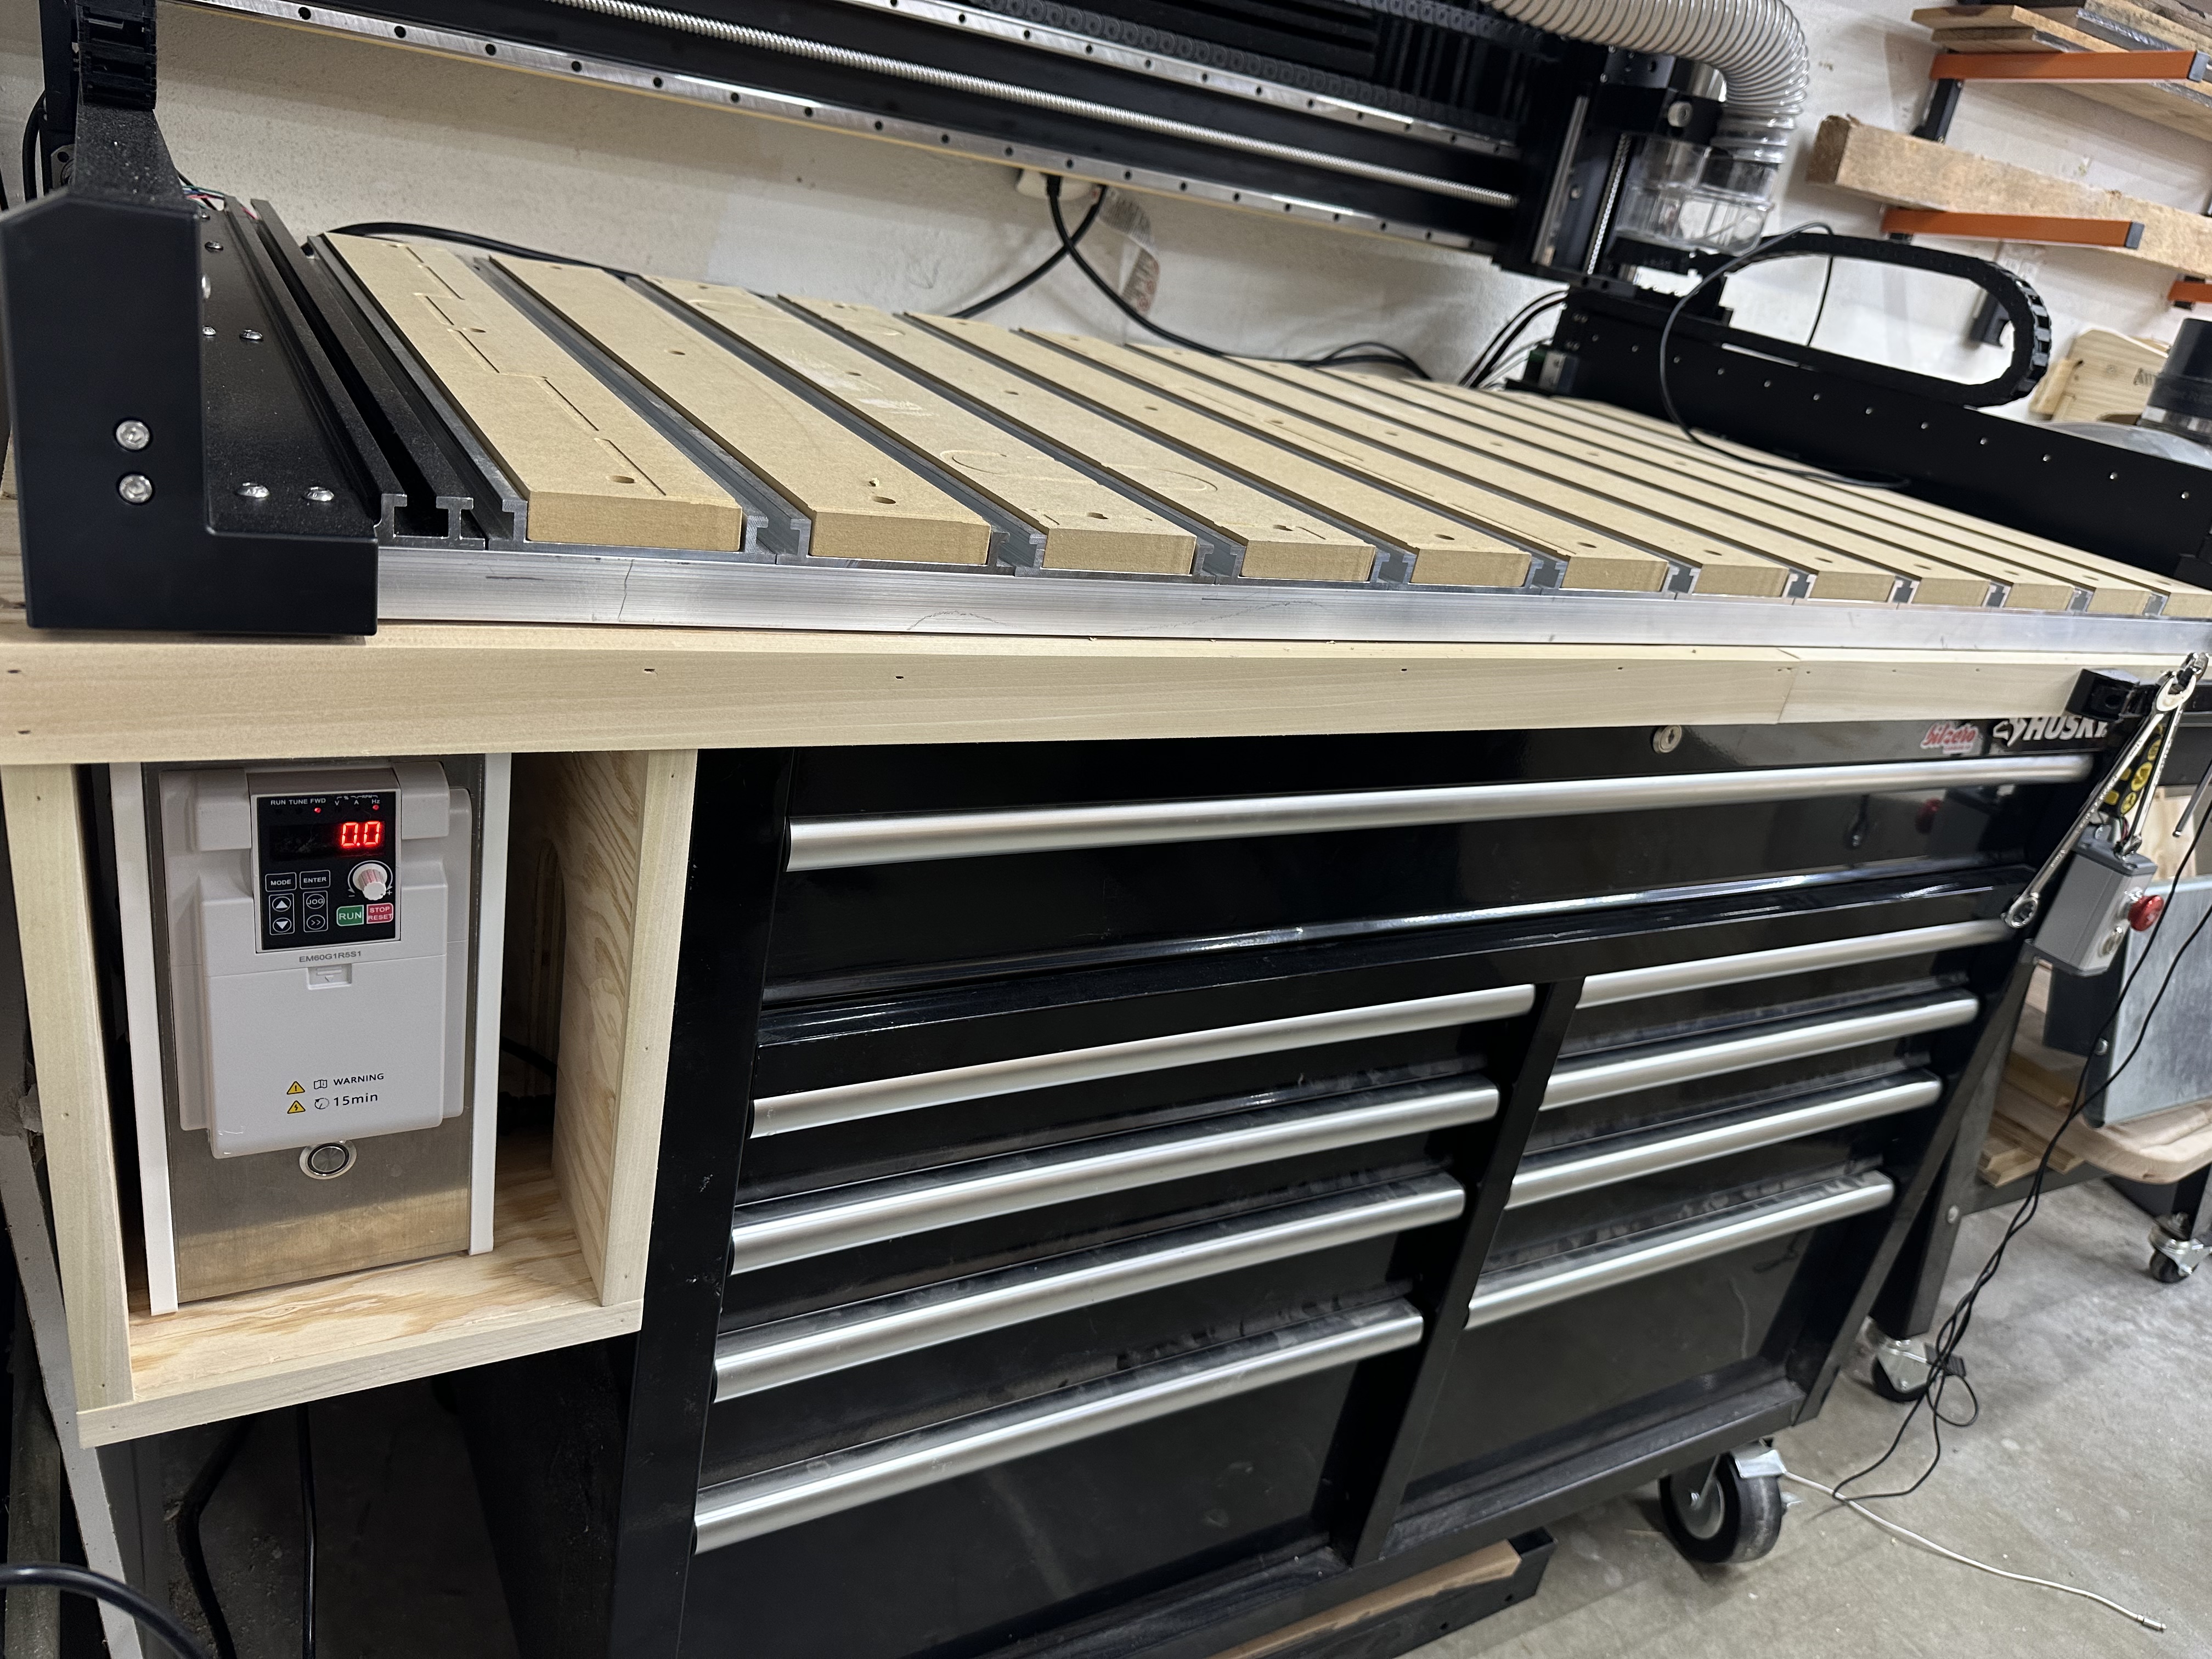
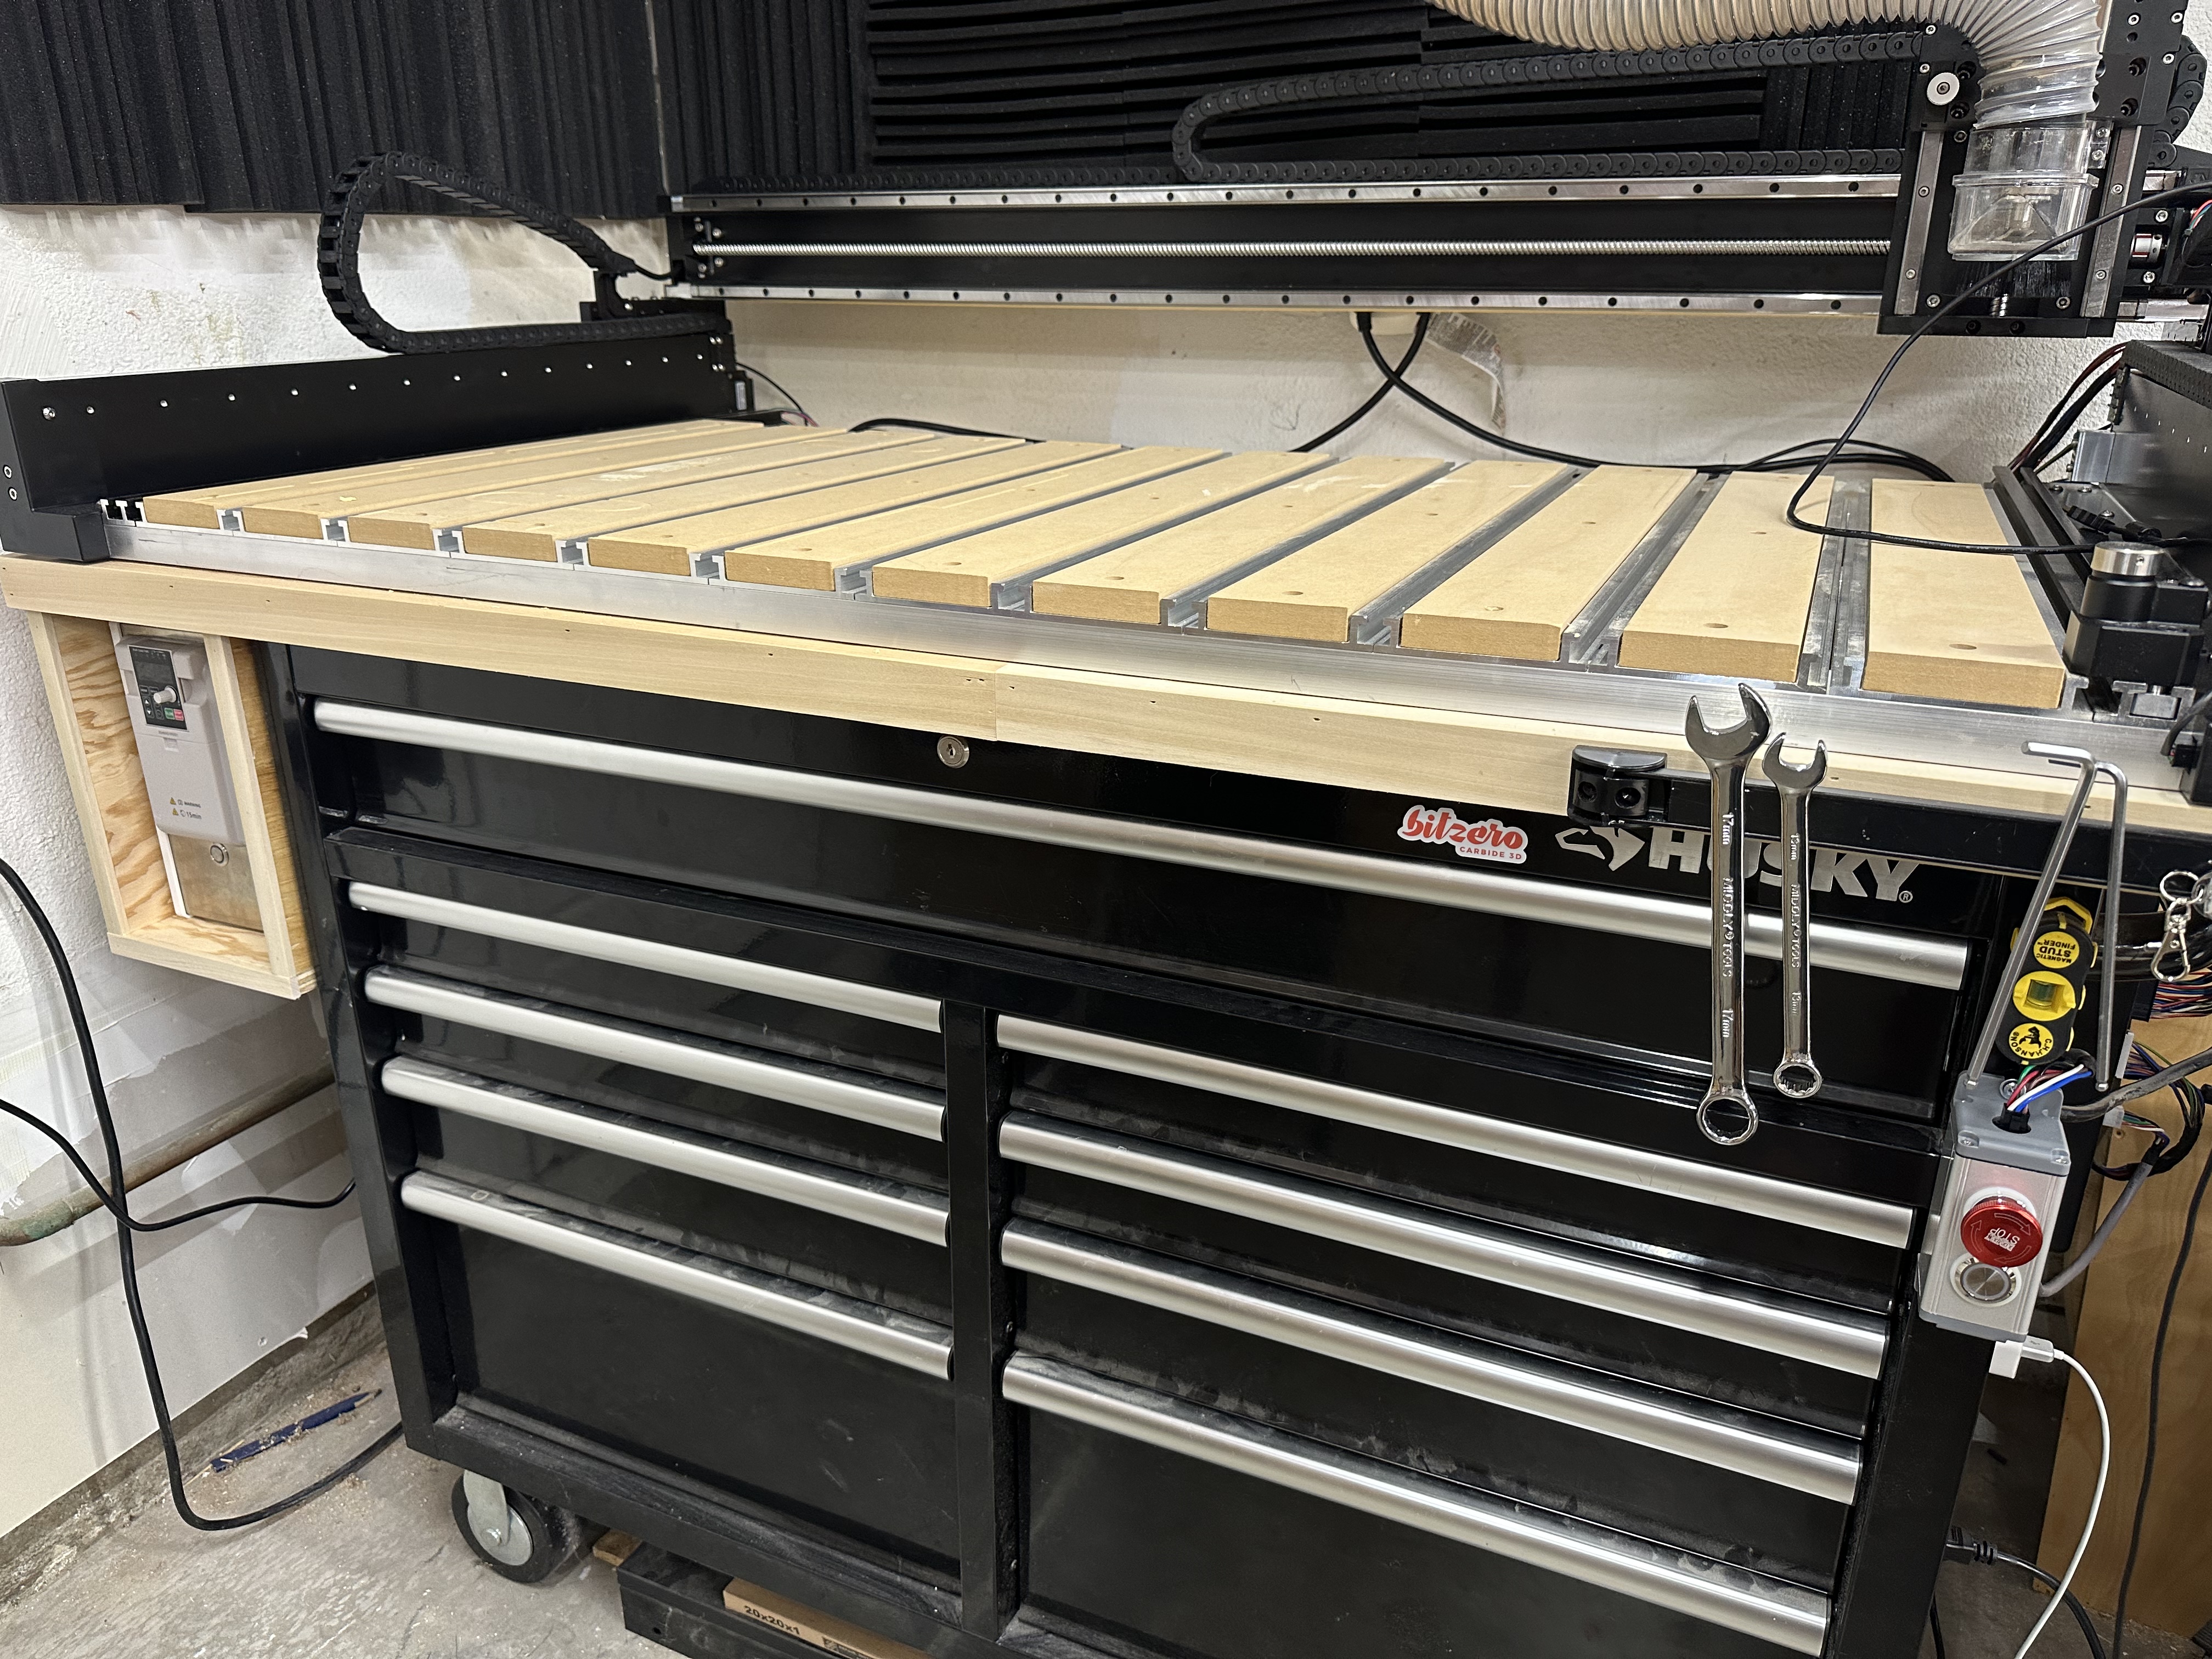
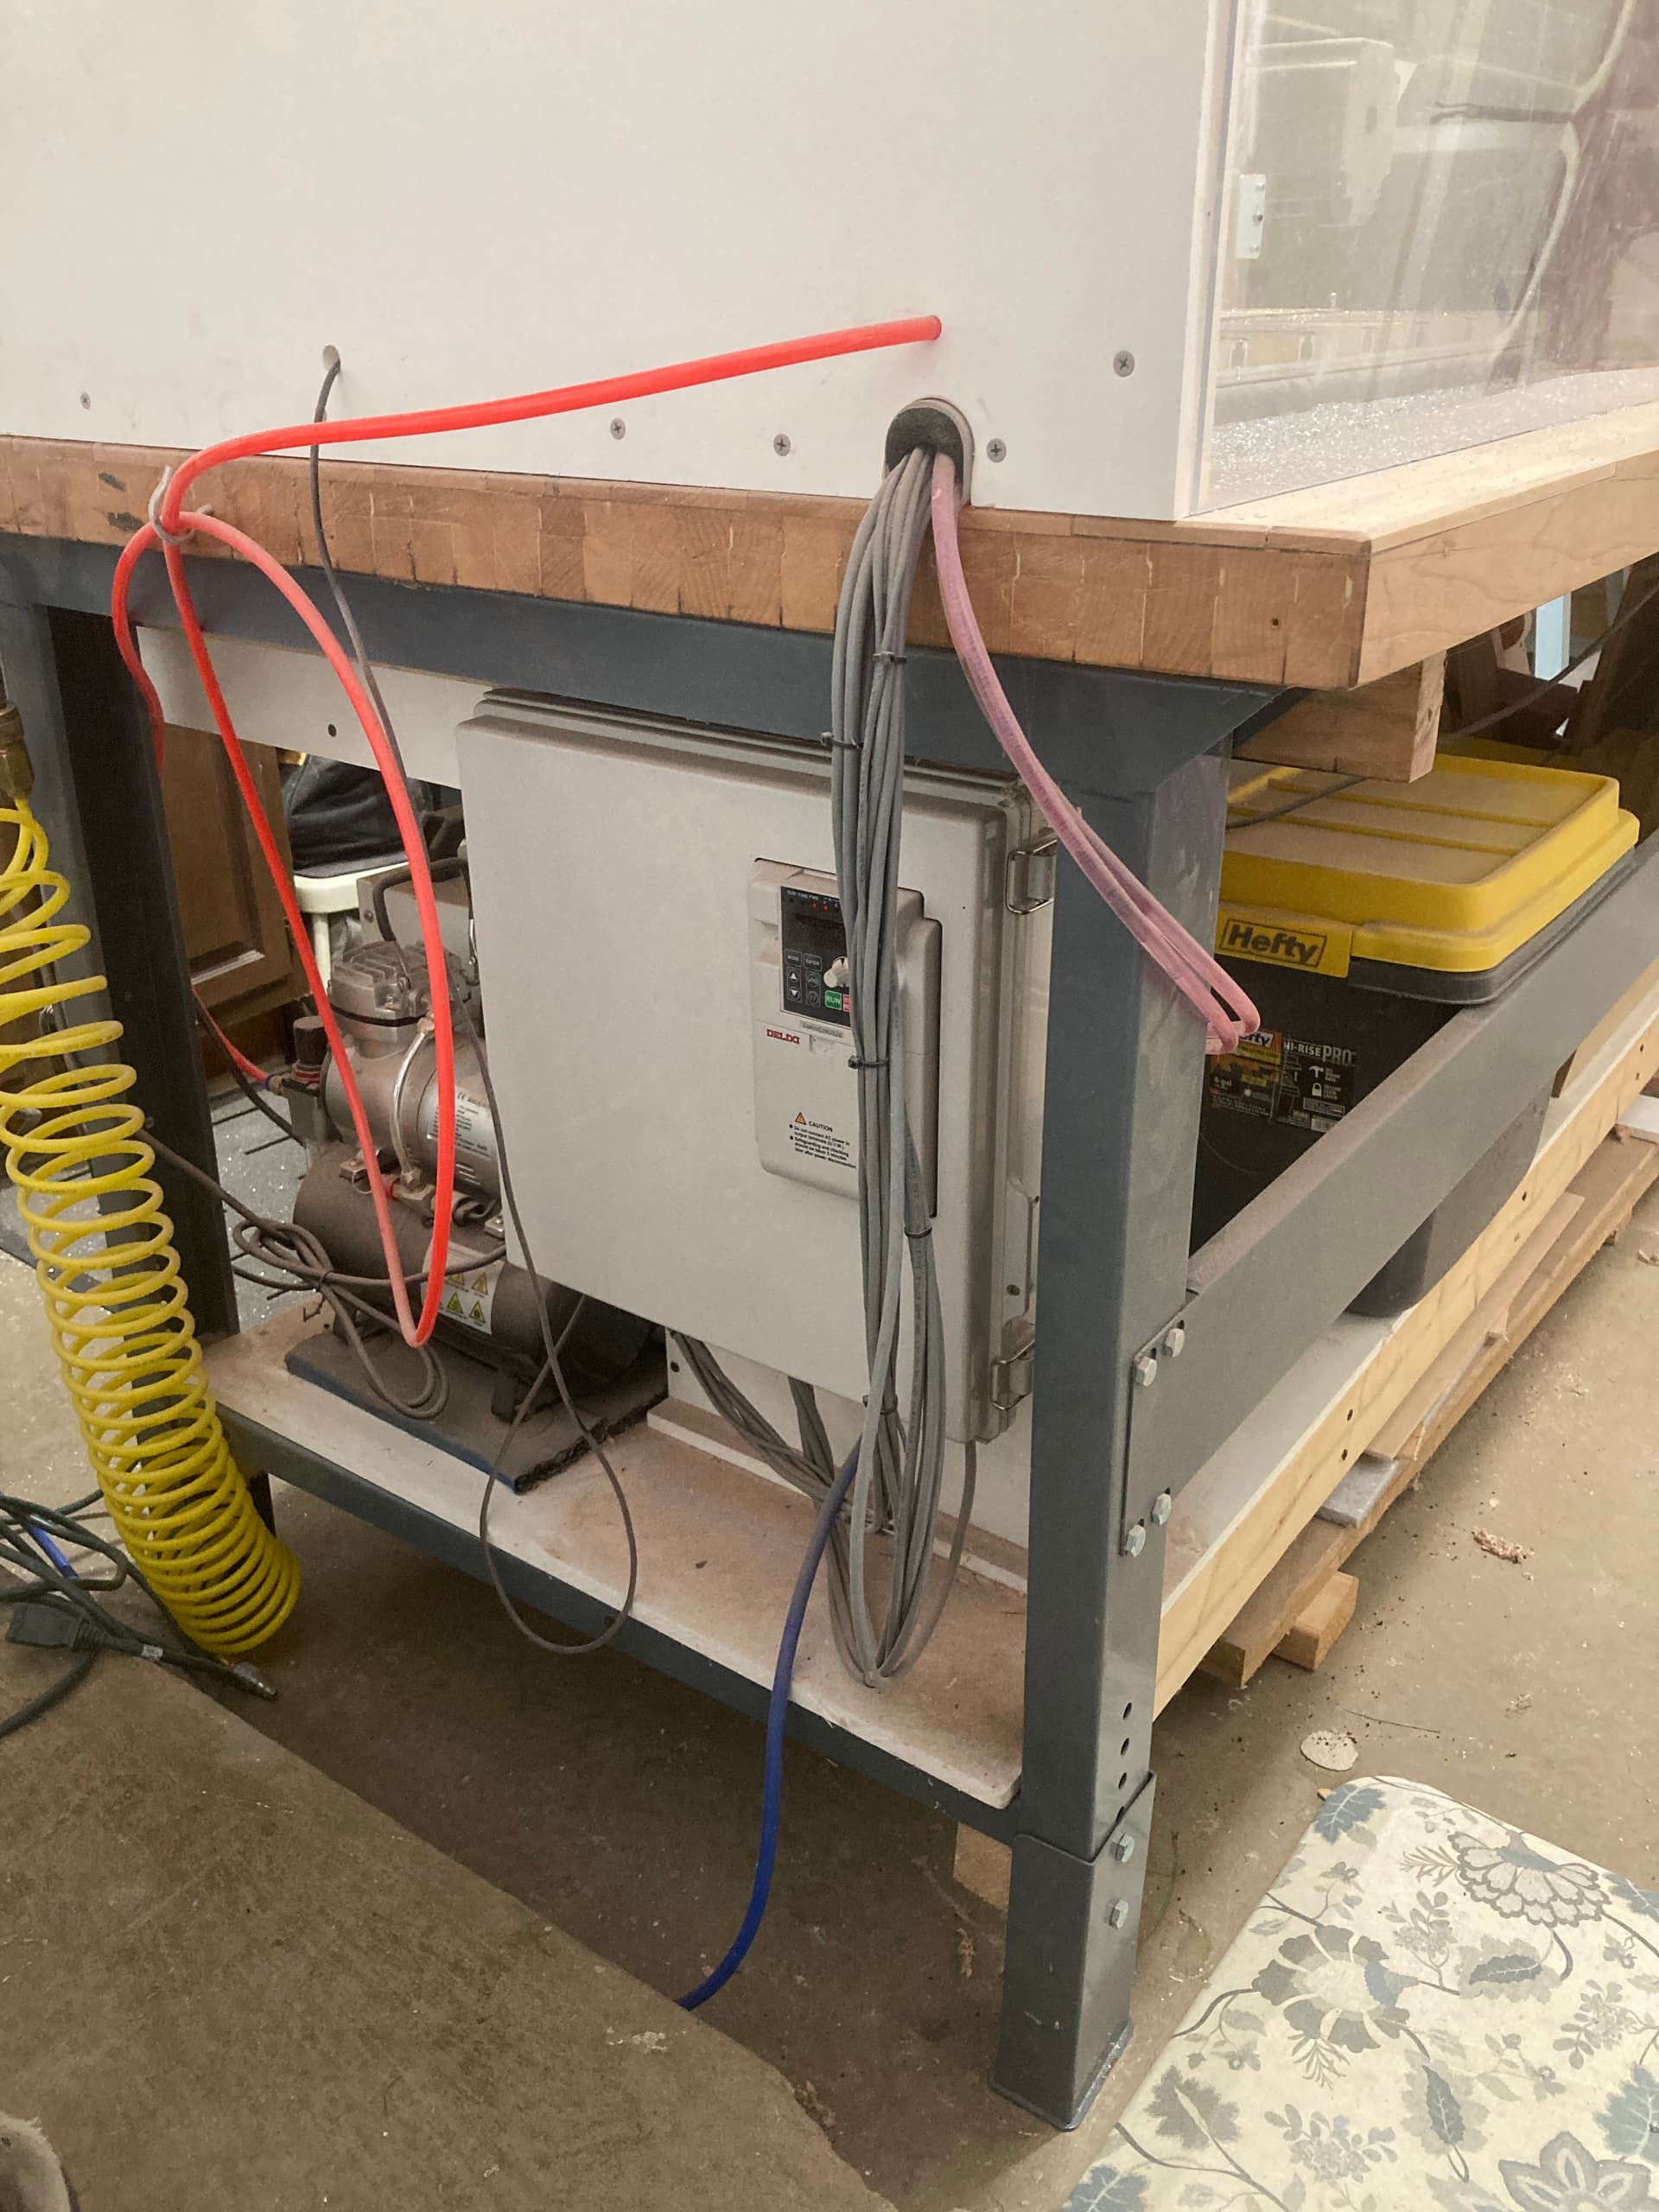
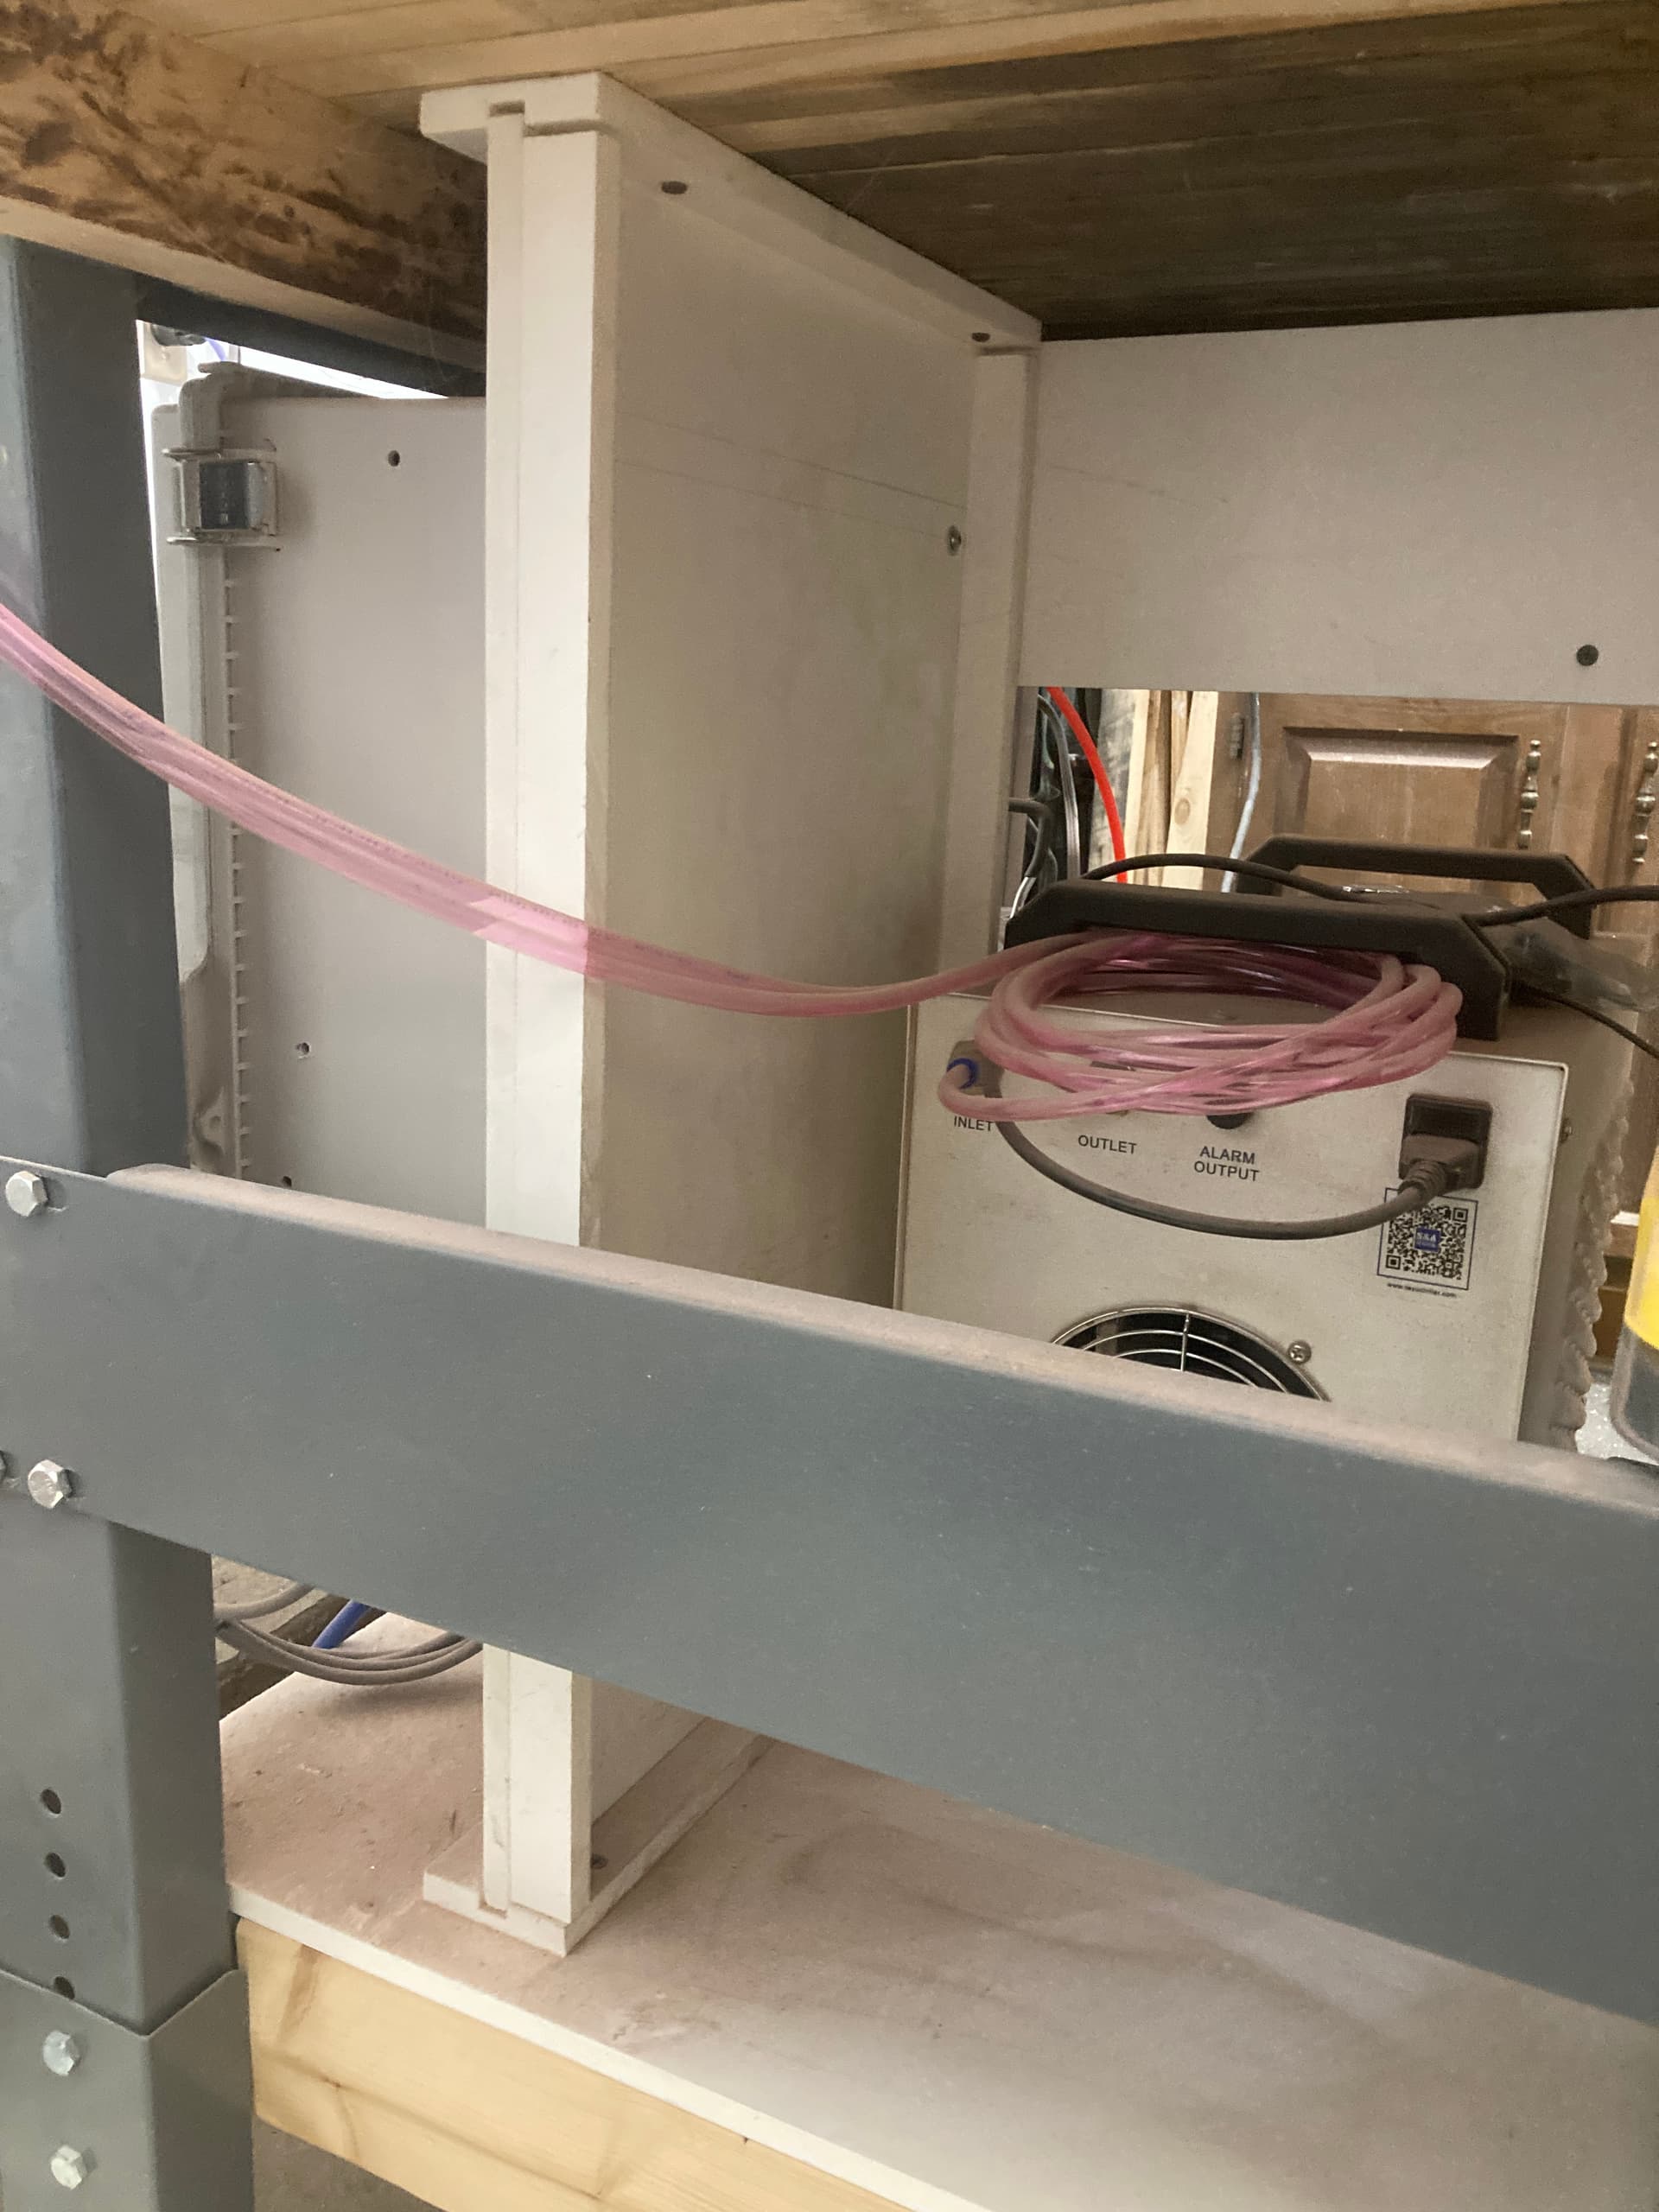
My S5Pro machine electronics are on the right side of the bench as I planned for mounting and both sides and rear of my bench bottom are enclosed with 3/4" thick project board walls. There was enough wire length to get them mounted right by the middle of the machine. I have a power conditioning power strip right next to the control box, slightly farther towards the rear.
For my C3D VFD electronics, I have it right by the left rear. My first input for C3D was that the wires needed to be at least 3’ longer. I barely had enough wire to get to the side right under the exit of the wires from the machine. Like @WillAdams pointed out, the power cord is a standard one. So I purchased a longer one for it off of Amazon and have it ran to the power strip on the other side and use it for on/off for the whole machine, VFD, and computer.
Thanks Josh - It looks like mine will end up being setup just like yours. I totally agree if we had another 3’ of cord on the VFD it would make a huge difference in giving you options. With the 4x4 the controller for the VFD barely has enough room to be mounted under the bottom left which isn’t a great spot for me and I’m sure a lot of people.
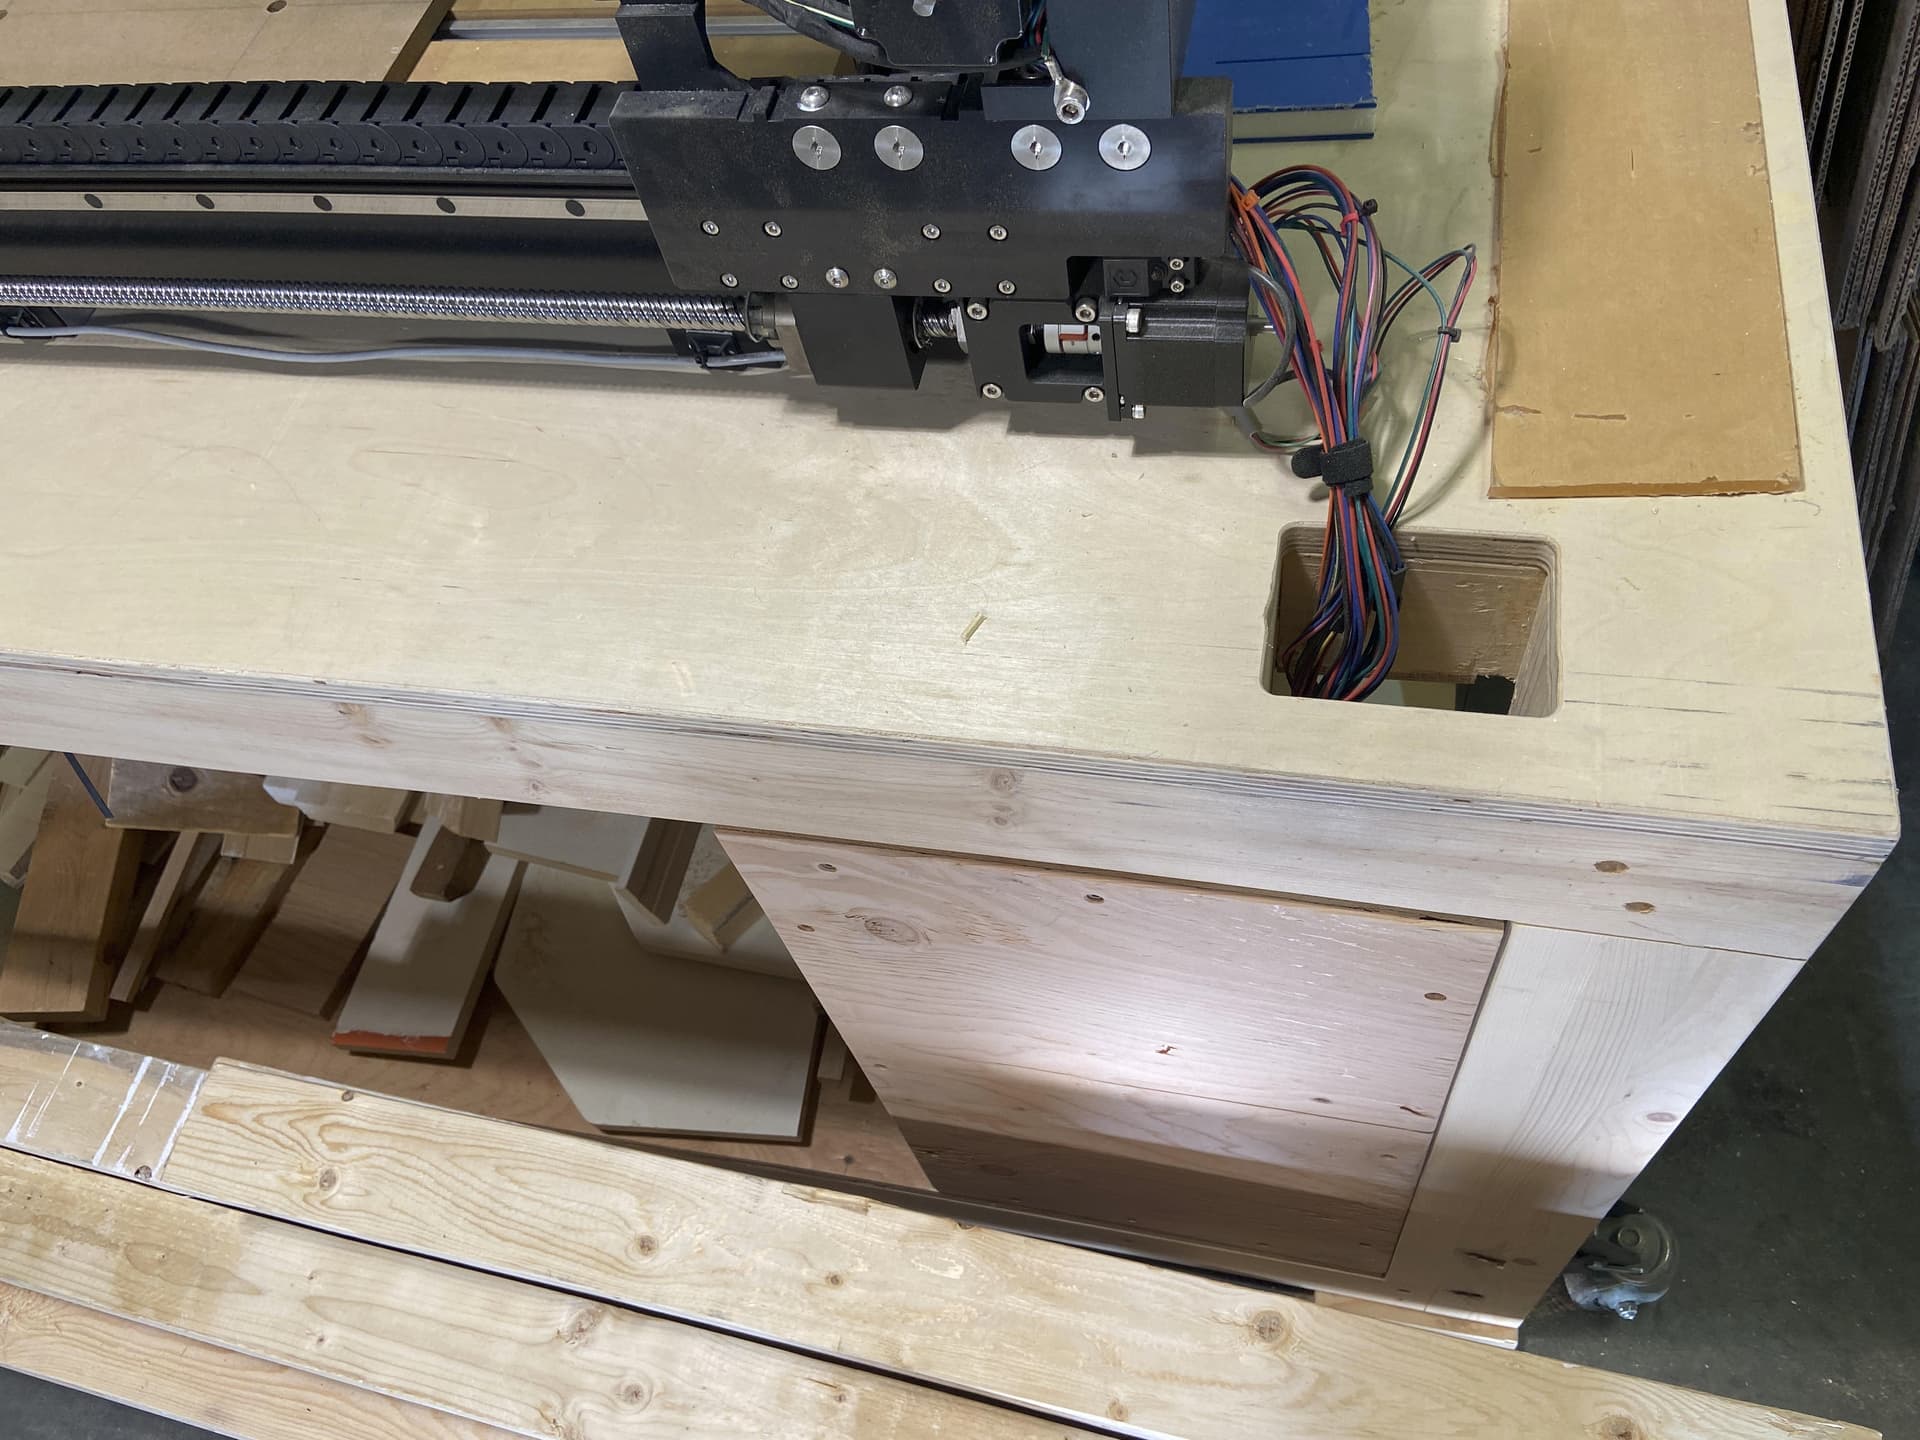
I thought the wiring harness on the s5 would be longer as well. I had to mount mine on the underside in the back of my table. Ideally I would have this out front. My power source is on the back as well as I thought there would be enough to bring the controller out front.
I kinda like the control box not being in the front. Other that turning it on, you don’t really need access to it. And I do on/off via the power strip. I prefer it being in the back/side, out of the way of my uncoordinated self. That way I don’t knee it in a connector and break something. In the not too distant future I might even drill a hole and mount the electronics inside my bench for further protection from the nut running the machine.
Hi Scott,
I don’t have the Kreg table, but I’d recommend mounting the controller (which gets pretty warm) somewhere that’s accessible to a fan. I’ve had mine now for about 3 wks and have just figured out that the controller starts to malfunction (at least mine does, still working with C3 to resolve). My initial problem was a crashing bit setter after about 4 or 5 set ups (controller got to warm). The problems are (at least mine) resolved when I run a small fan over the box…running the Pro 5 with VFD using beta motion software (wouldn’t initialize with the released version). Other than that, I love the machine and finally hope to start running projects (shortly).
Roger
Update…appears my internal fan wasn’t working at all (at least no observable flow). Looks like the controller started to fail once the heat sink reached more than 110F. I used an external box fan to cool the controller and it started working again. I’d also recommend turning the machine off if you don’t plan on using it for 10 min or more (that’s when it got the hottest, reaching 134F). Carbide is sending me a new control box…they did respond and help right away, will keep all in the loop regarding heat issue. Resolved (for now).
Hi I also have a shapeoko my advice is to install a lower shelf in the Kregg stand and mount everything on that. Then build an arm to hold the controler.