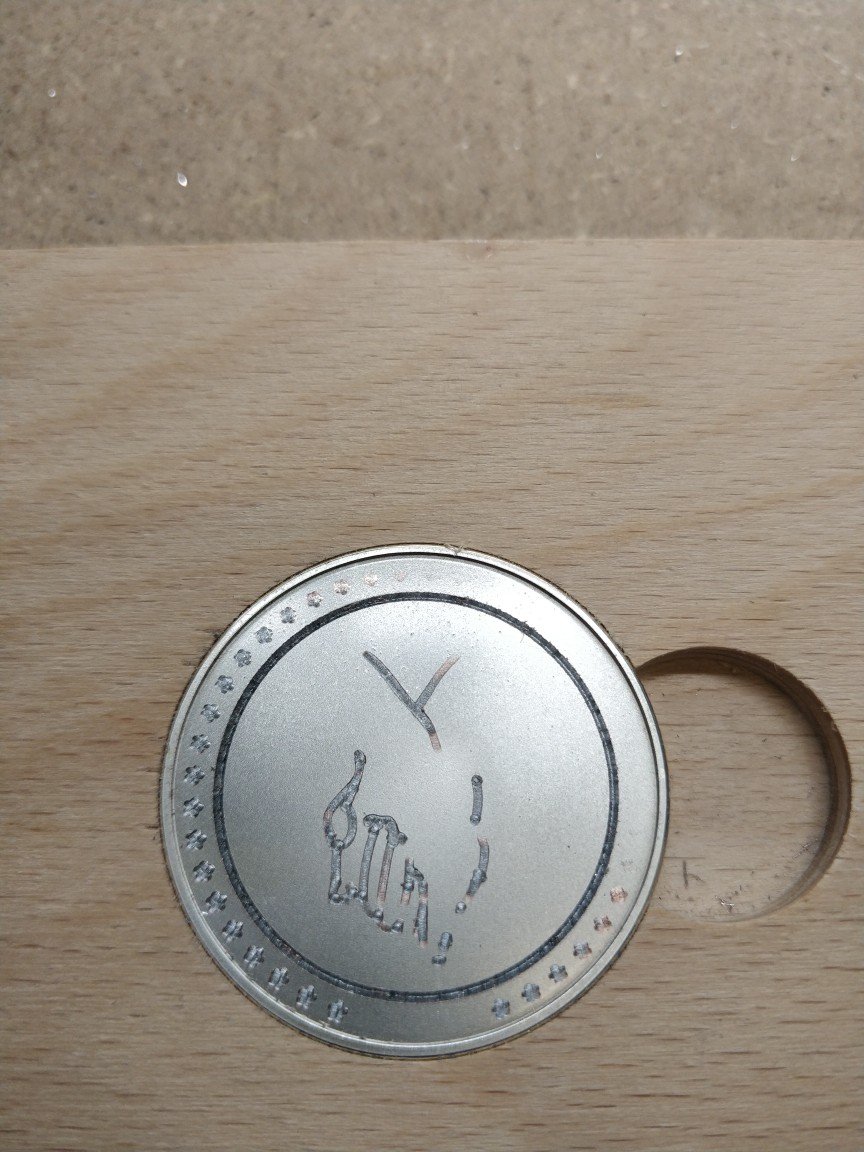
I recently bought some cheap coin blanks from Amazon that I want to engrave. Unfortunately those coin blanks only have an iron core that is coated with different finshes (brass, copper and silver).
As my engraving is only 0.3mm deep, I guess the problem could be the unevenness of the coin surface/the coating. How would you deal with that? My initial idea would have been to mill the surface flat, but as the coating is so thin, this doesn’t work.
I used bCNC with its autolevel function for a PCB that I experienced the same issue with.
Not 100% sure if it would work on your coin, but if you are up for a challenge, give it a go
The autolevel grid is a square, but I’m sure you can find a way to get around that.
For the surface mapping. Connect a wire from your probe to the coin, or change your workhding jig to something conductive and simply place your probe so it’s touching the conductive material. This will rectify the square “issue” also.
Try a tiny flat endmill, depths may vary but widths will be good.
Manual “auto level”: touch off the surface whilst holding the bit setter against the metal of the coin and determine how the height varies. Run gcode in 2-4 runs for each height over their respect paths for that height. Have some overlap. I’ve done this for silver where the height varies over the length of a bangle. Crude, needs patients, but works where more depth than a drag bit can provide is needed.
Thanks a lot guys for your suggestions - very much appreciated!
I just checked the only(?) european distributor for Carbide 3d tools and unfortunately the drag bit is currently out of stock, so I guess I have to wait a bit until I can give that a try.
Manual “auto level”: touch off the surface whilst holding the bit setter against the metal of the coin and determine how the height varies.
could you maybe elaborate that a bit more, please. Do you mean the bit setter or the Bitzero?
Previously, I’ve only used the Bitzero for autoleveling a PCB with bCNC (as @Nessk described). Therefore, I connected a wire from the Bitzero to my workpiece and let bCNC probe the copper coated PCB. I’ve tried to do something similar with Carbide Motion, but unfortunately the z value is then off by the height of the Bitzero.
While bCNC is a really great tool, I like the simplicity of Carbide Motion. But so far, I haven’t found a way to touch probe a conductive stock material.
Sorry, got my setters and zeros mixed up. I meant the bitzero. I touch it to the metal (bangle in my instance) and probe with a bit along the metal using the controller to move yhe bit and spindle. I read off the varying z heights so that i get an idea where along yhd bangle the surface is up/down vs the first probong i do. I ten set my payhs up to cut at different depths along the bangle depending on how it varies in height. Not simple, but worth it for big jobs using silver. I use this approach with 15deg bits
Got it! Thank you very much for the detailed explanation - very much appreciated! Didn’t think of that at all, but that’s actually a great for manually probing the surface.