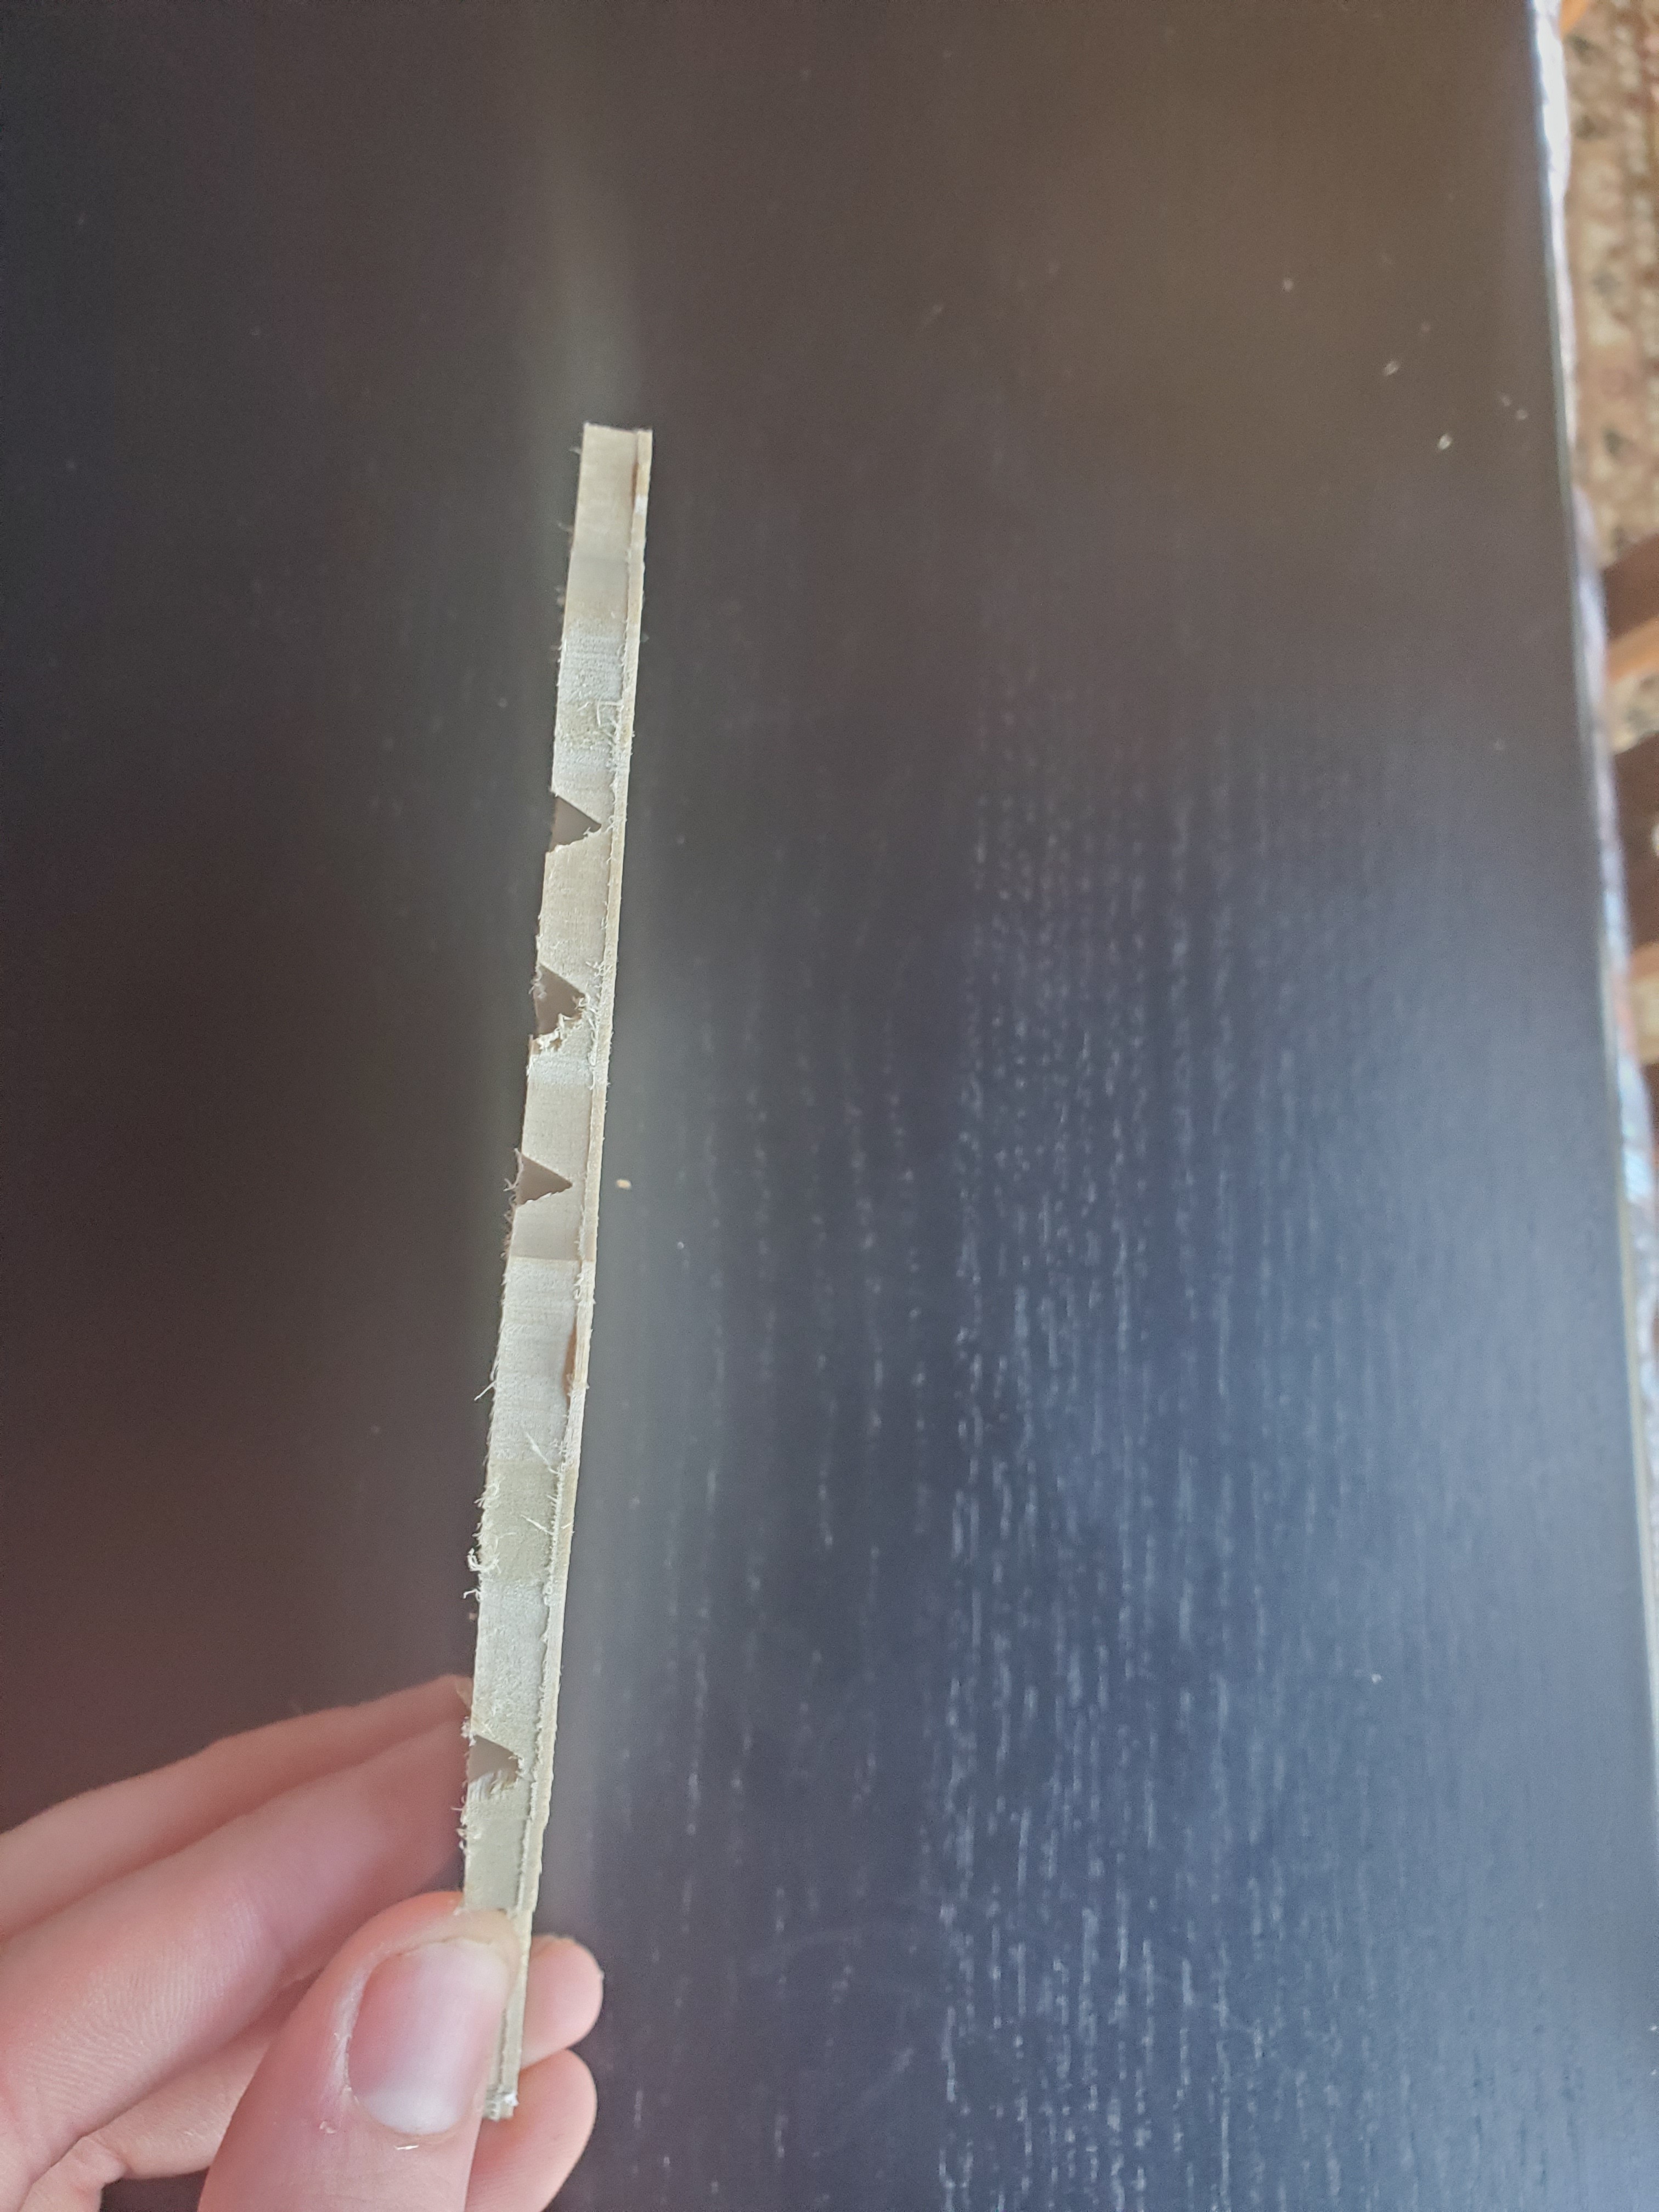
One operation (the lines) I am doing a contour with no offset using a 60 degree v cutter. I tell it I want to cut to a depth of 1/32". However the cut ends up almost .1 inches (see picture 1)
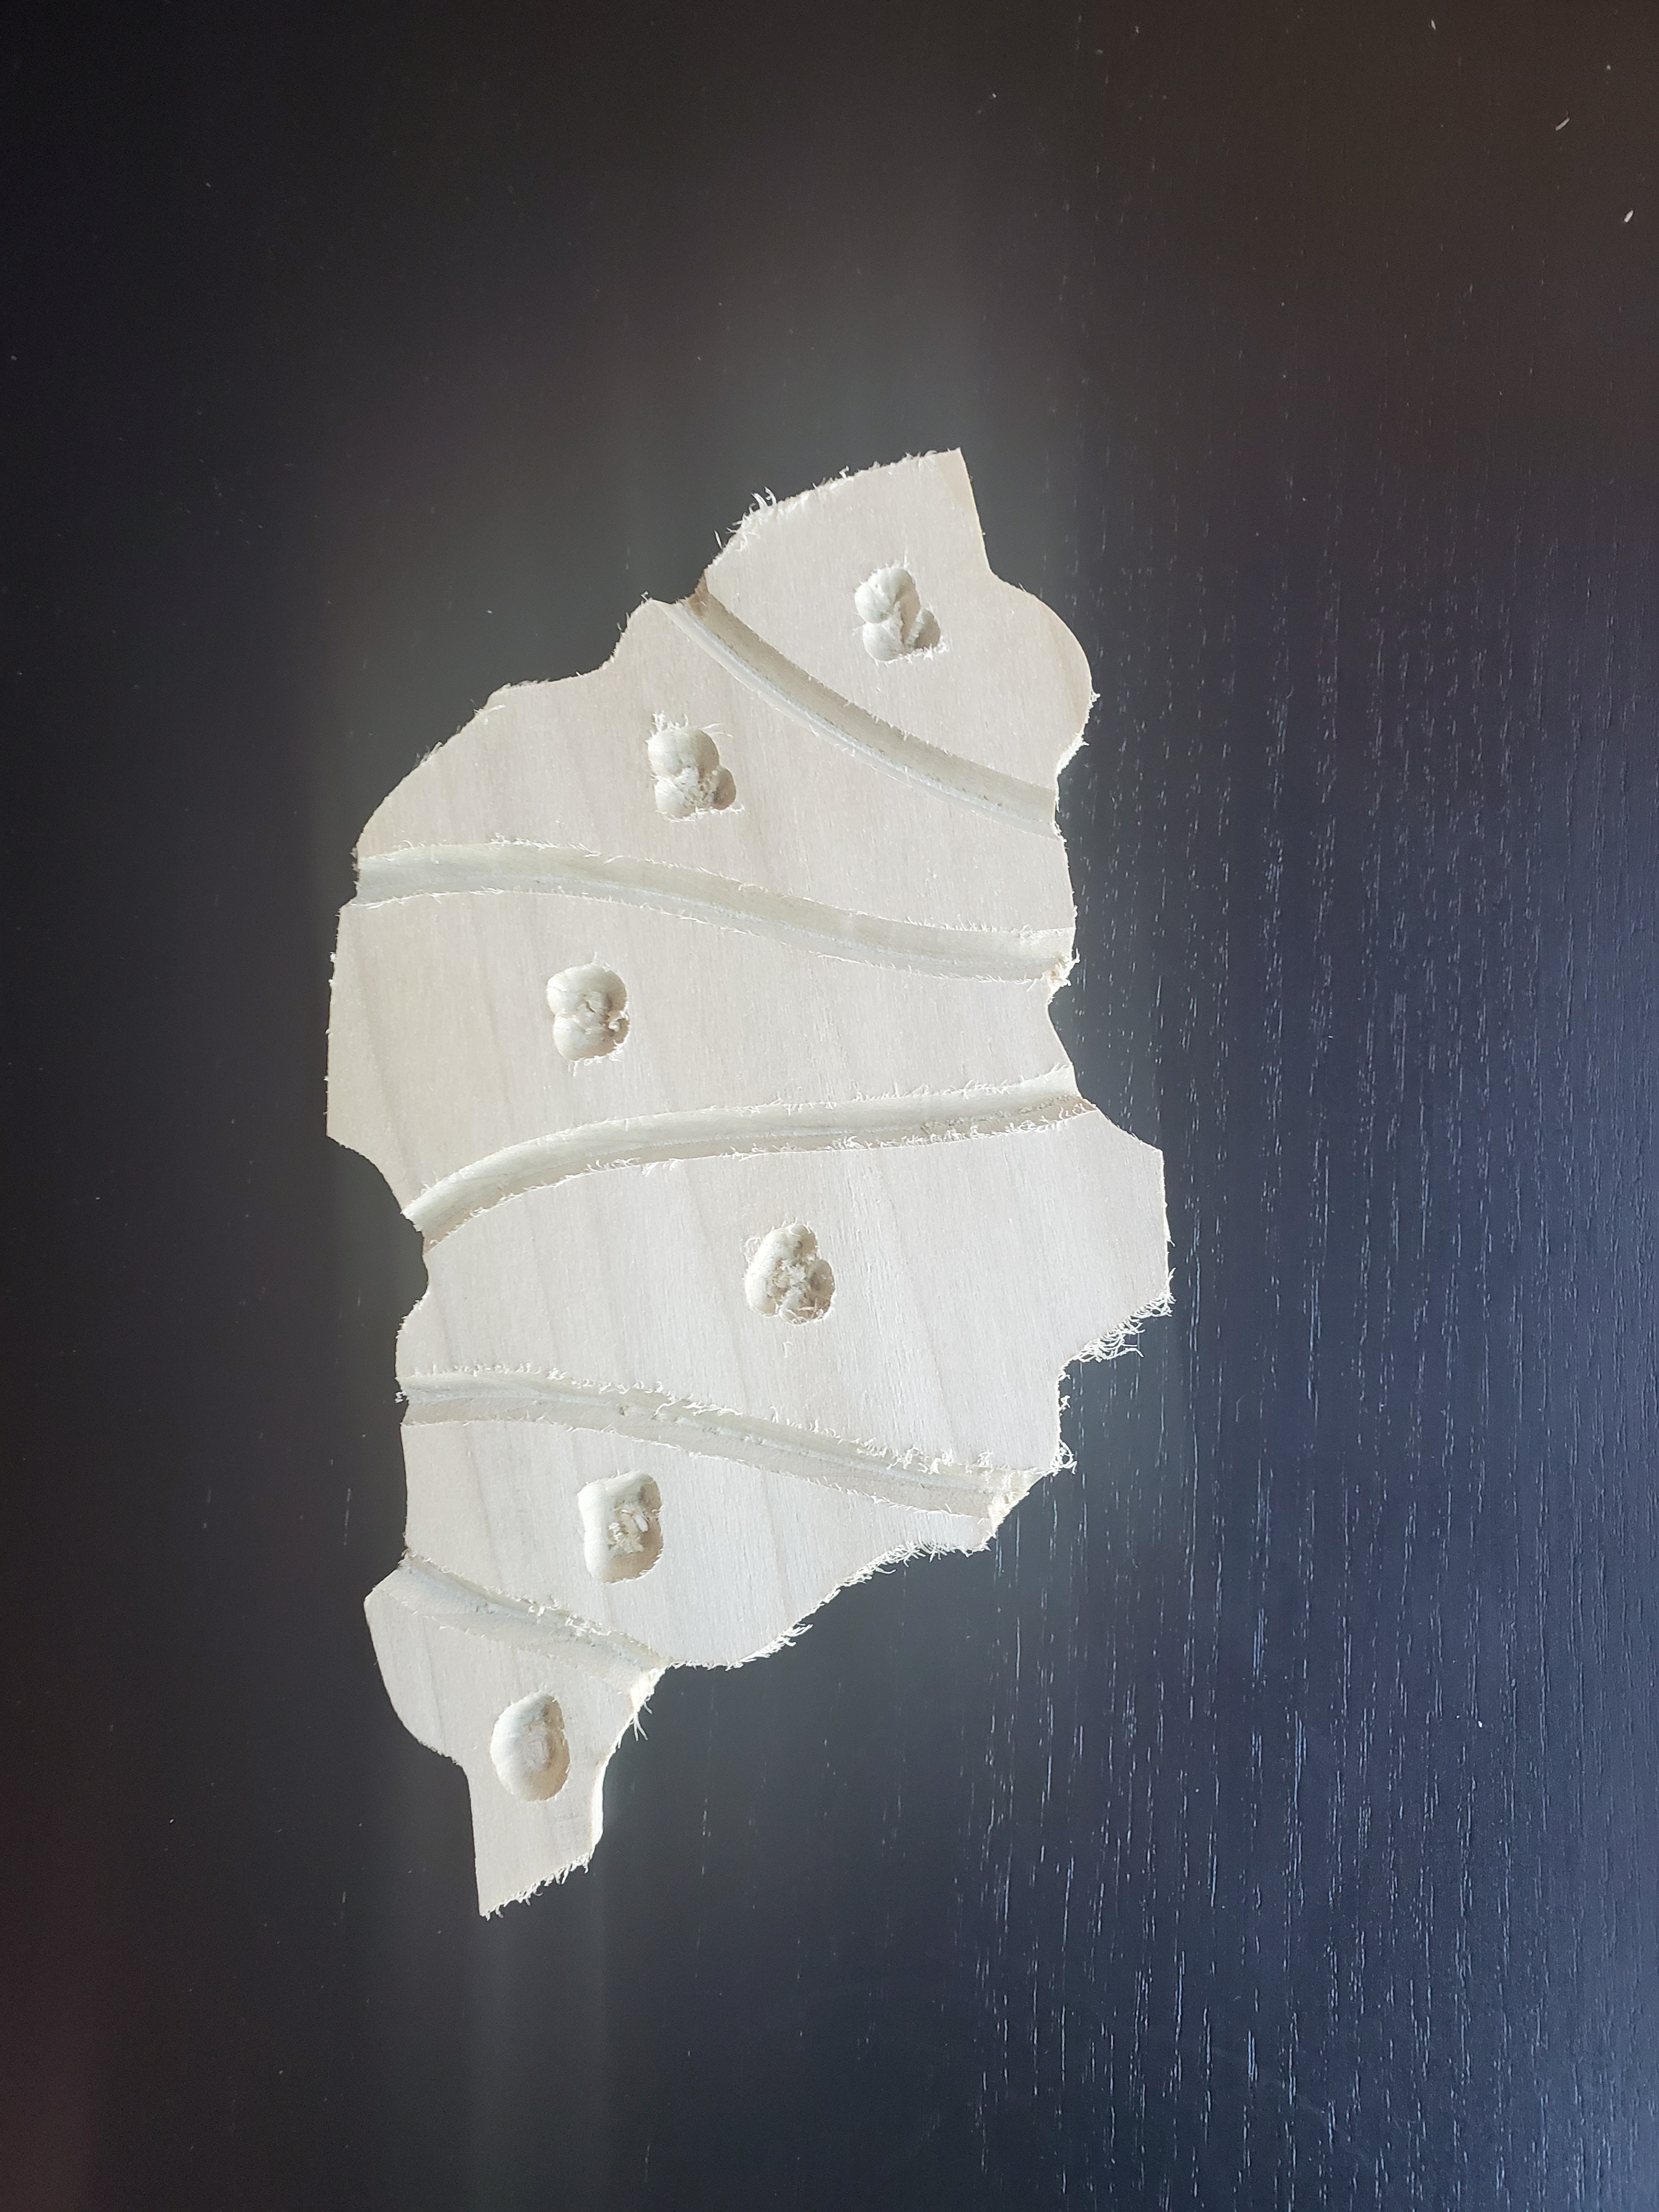
The second operation (the numbers) I do the traditional vcarve, 1/32" depth. However the bit looks like it went way deeper than that. Se picture 2.
I used the same bit for both operations. Is it possible I simulated the bit wrong when entering parameters or something else I may be missing.
Post the .c2d file, generated G-Code, step-by-step notes on how you are securing your stock and setting zero relative to it, and a photo showing an attempt at cutting still in place and we’ll do our best to look into this with you.
I am securing the stock to a custom wasteboard i made that is secured to the shapeoko wasteboard. I am using 3d printed clamps to hold the stock on corners. I zero X and Y in the lower left corner of the stock. I zero z on my custom wasteboard. I have measured the thickness of the stock with calipers an used that as my stock thickness.
I am using a whiteside 1550 60 degrees v bit i got from amazon using the #302 tool profile as it seems to match that ( besides flute length which i cant seem to change
Will is starting to look like an Microsoft Support bot : ) Not meant to be offensive - good questions all round, but I think there are 40+ identical responses.
The .c2d file shows your zero is at the bottom of your stock, so your wasteboard - which is good.
The file shows your stock is 0.1245 inches thick (3.1mm or thereabouts)… is that correct too? it looks a little thicker in the pictures (unless your hands are very small)?
I think you may have found my error…I just checked with calipers again. I totally misread them. Doh. Newbie mistake The stock is ~.250" Im going to try changing that and see if there is a difference.
Explains why my chips looked rather large during the endmill operation
Easy mistake to make. I think that’s probably why many people set their zero to the top of the stock rather than the bottom, particularly if you want to run the same .nc file on lots of different thicknesses of material.
Just ran the file again. Huge difference and looks correct now. Appreciate the help. Looks like my numbers may need to be a little bigger but thats an easy fix